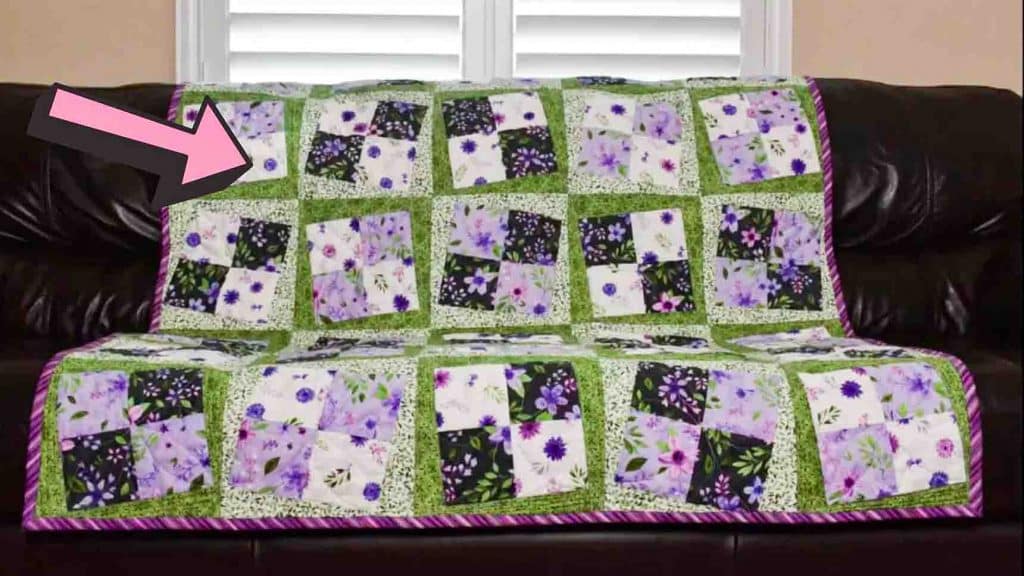
If you’re new to quilting, I recommend this rocking block quilt pattern from Fallon Caldwell on Youtube as your next project. This quilting project is so fun and easy to make and you can do it over the weekend. Practice your skills and techniques with this easy quilt block! Watch the video tutorial below to learn the step-by-step process.
Materials:
(click here for the quilt pattern and supplies)
- 1/2 yard dark purple design
- 1/2 yard medium purple design
- 1/2 yard light purple design
- 1-yard dark green design
- 1-yard medium green design
- backing fabric to size
- batting to size
- thread
- 9 & 1/2″ square acrylic ruler
- basic sewing tools and supplies
Directions:
Step 1
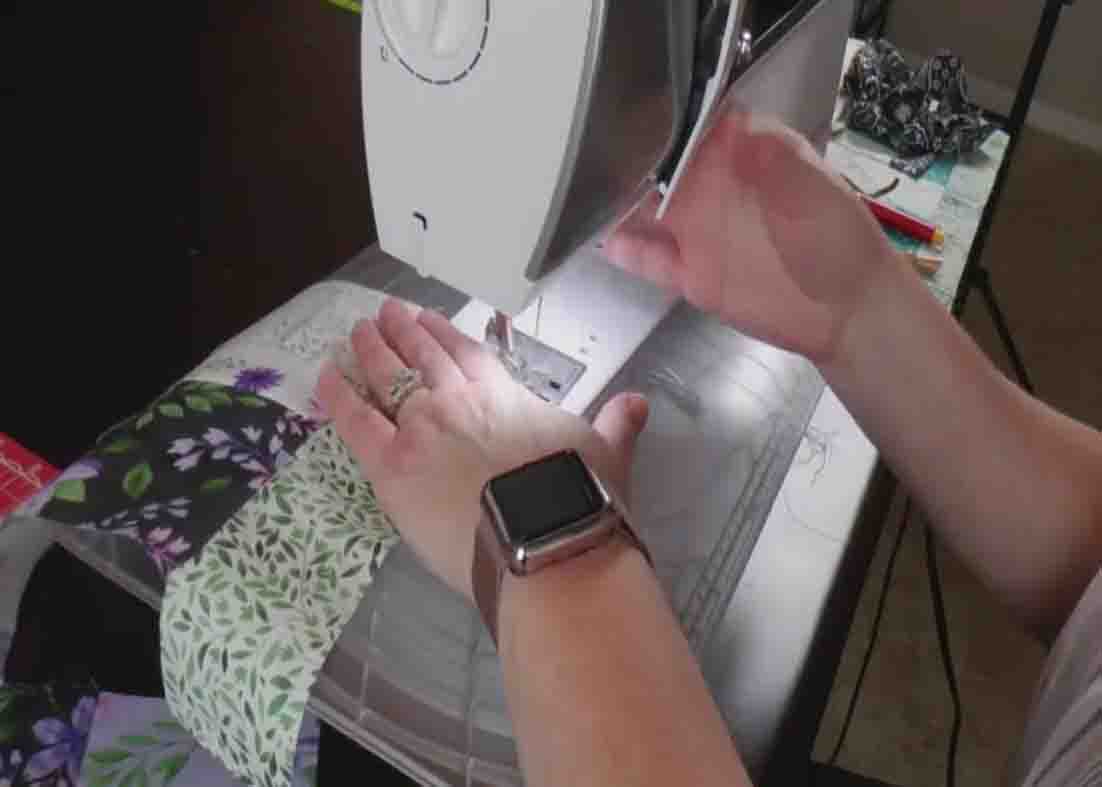
To start, square up both sides of your fabric, then cut 8″ strips. After you cut all the strips, turn the strips, and sub-cut them down into squares. Do this to all of the strips and for all of the fabrics that you’ll use. Next, prepare the border fabrics. Just do the same process as you did in the first batch of strips, cut it out, then cut those strips down to the proper size needed for the border on the blocks. After this, take the squares and take contrasting squares and place them right sides together. After doing this, mark the center of the squares for sewing. Now, go ahead and pair up a bunch of different squares, making sure you are getting a nice variety of them. You’ll be sewing directly along the drawn line in the middle of the square along both sides, a quarter inch away. After sewing, cut directly along the drawn line and that will leave you two rectangles sewn together, then you will cut that rectangle in half as well right along the middle of the rectangle. Open them up and you’ll have a nice four-patch to be sewn together later. Now, go ahead and get all of these squares cut in half.

[social_warfare]
Step 2
Next, start sewing the border along each side of the four-patch. When you sew the first border on, you’re going to leave a little bit of room at the end of the border strip. Press this open and along the side that you first sewed on, you will add a border strip. Sew all the way along it this time with a 1/4″ seam. Press this border strip to open as well, then add on the next border strip. Now, sew the final border strip and it will go to the edge of the four squares and over part of the border on the other end. Press this border as well and after this, sew the rest of the first border strip in place, completing the border on the block. Border all of the four squares the same way. For the trimming stage, divide your blocks into two different piles because half of them are going to be tilted in one direction and half in another direction. So tilt your block on one side, then put your template square on top and cut around. After this, piece all the rows together, then sew all the rows together and after that, quilt and bind as desired.