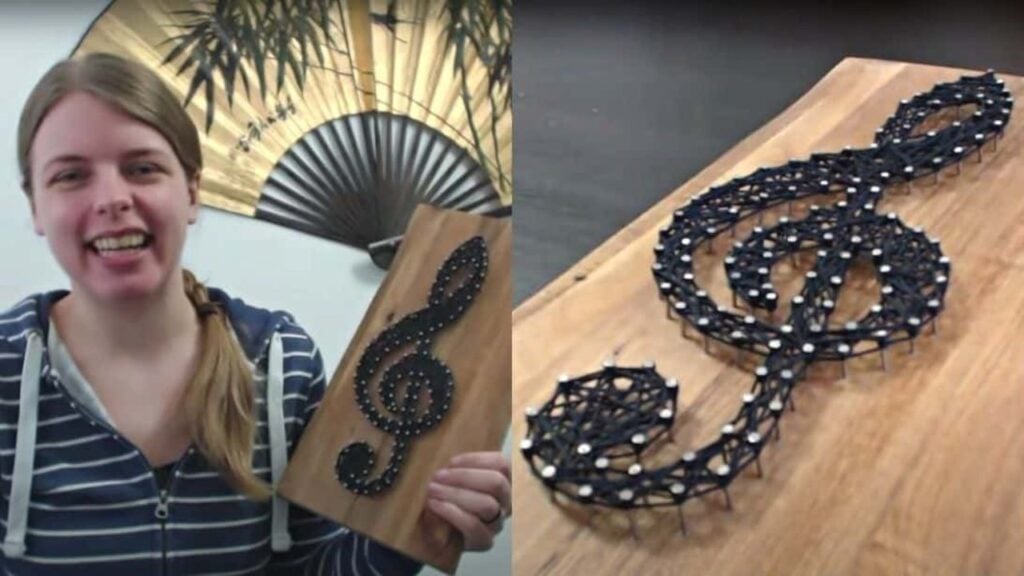
String arts are one of the trends that are taking over the internet by storm! They are such a great addition to your room décor, plus they can be a fun hobby too. I made some of these already and they turned out pretty, my family and friends loved it as well. Now, I have a few string art requests in line and they’re all paid! So, if you’re looking for some craft that you can make and sell online, you should read through this tutorial from Crafts With Ellen via YouTube.
Materials:
- A piece of wood
- Saw, to cut the wood to size
- Sandpaper
- Lots of small nails
- Hammer
- Small pliers
- Hooks/other hardware to hang your piece
- String (what’s used in here is a cotton yarn that is used for crochet)
- Scissors
- Big (yarn) needle
Directions:
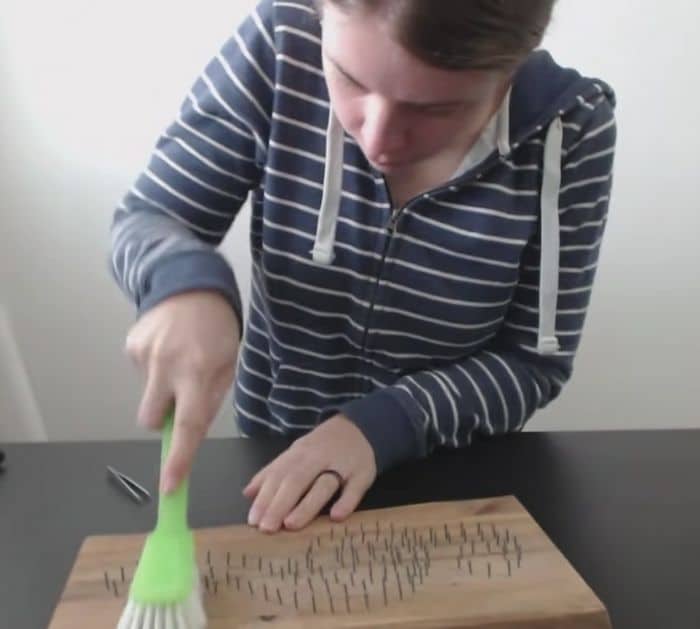
Step 1
Print the picture that you prefer, then cut out the shape. Cut the wood to the size of your pattern, then smooth out the edge with sandpaper. Attach the hook at the back of the wood for hanging on the wall, then place the pattern at the front of the wood and tape it in place. Slowly and accurately hammer the nails onto the wood with the pattern. Remove the paper pattern from the wood, you can use a dishwashing brush to tear out the leftover paper from the edges of the nails.
[social_warfare]
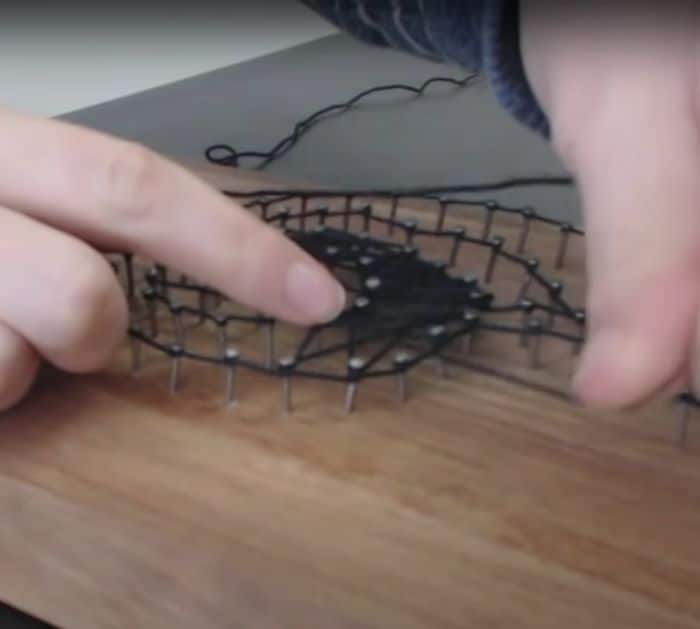
Step 2
Then, start winding the string but first make sure that you tie a knot at the end of the string, loop it around each of the nail heads, starting on the outline. When you reach the first nail that you looped in, just tie it around the end and knot. To avoid the nails from coming loose, just put glue on it and put it back in. Try making a geometric pattern once you start working on the inside of the pattern, be careful with yarn to not unravel the ties. Make sure you end up at the same nail you started at, then insert the end of the yarn in a needle and insert it under a yarn attached to the nail before tying at the ends.
*All image credit belongs to Crafts With Ellen via YouTube. Follow and subscribe to her channel for more!
How to Make String Art for Beginners


