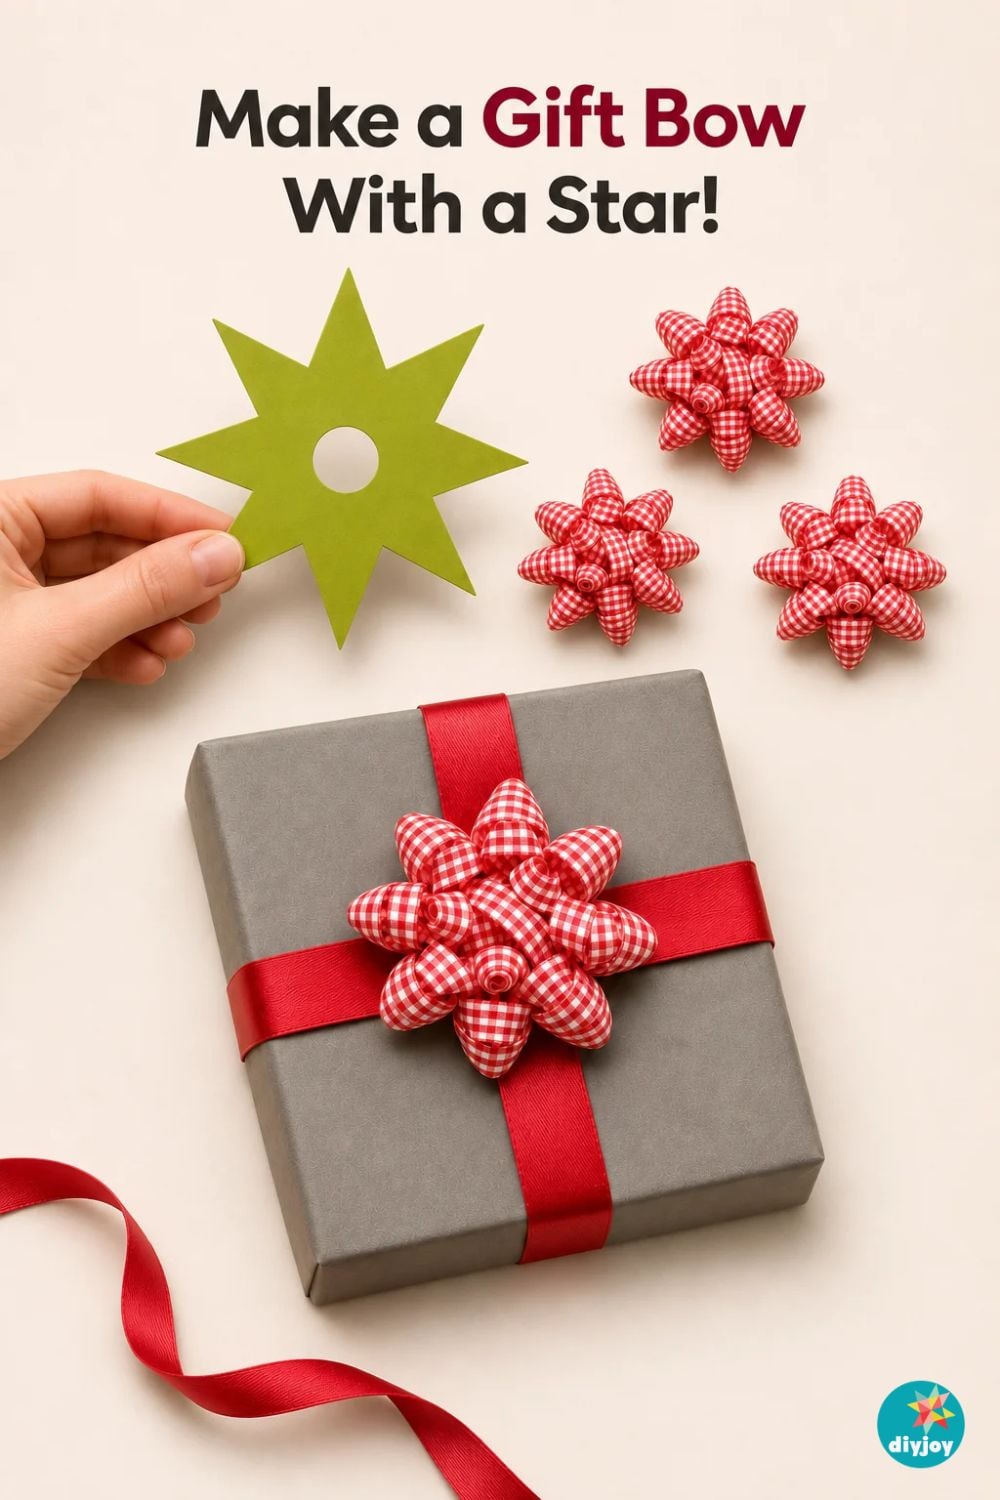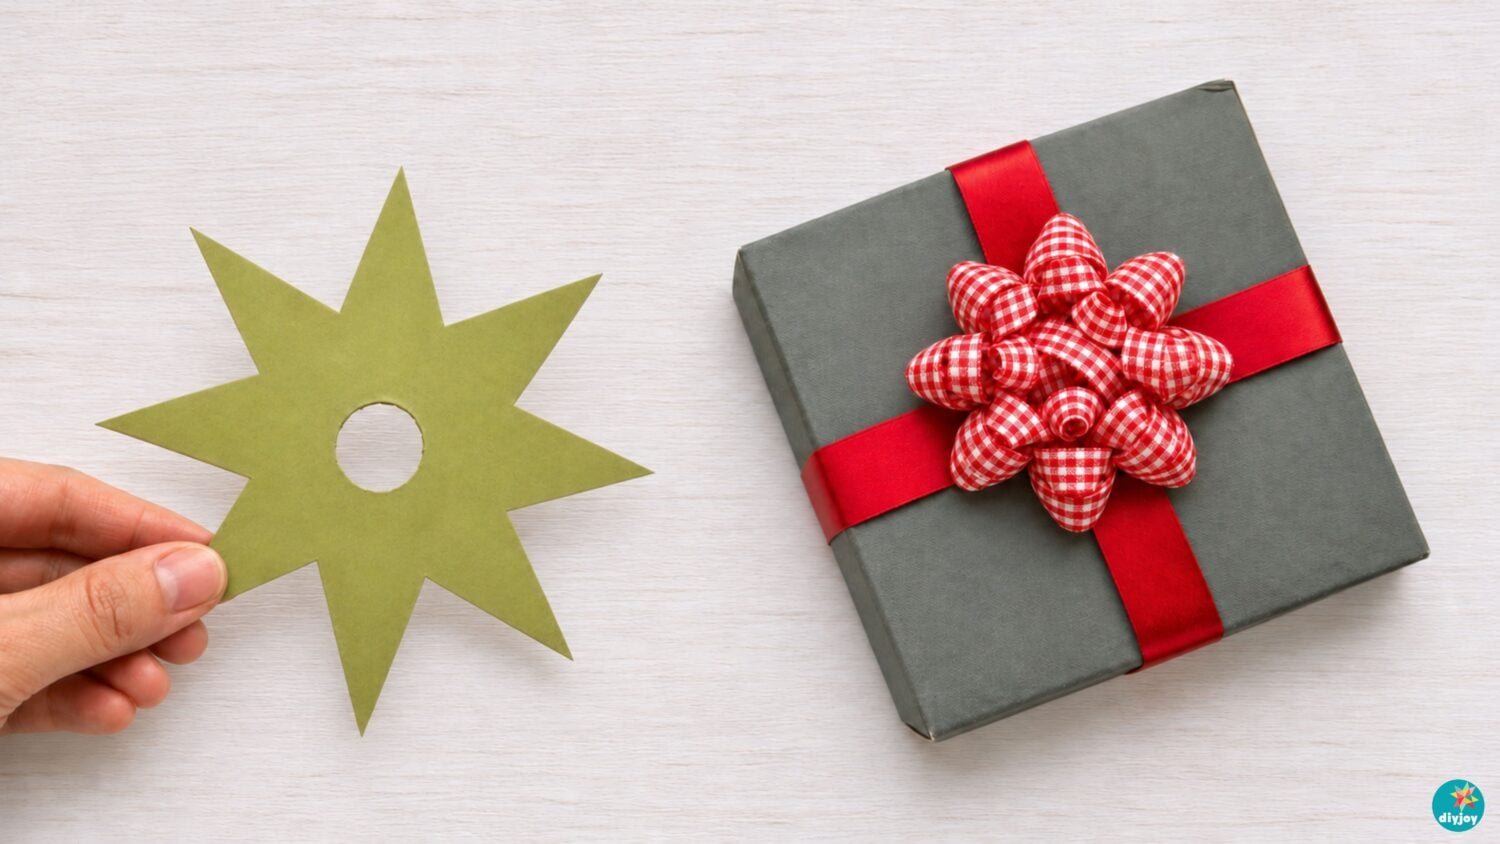
Learn how to make a gift bow with this easy tutorial! With a star template, ribbon, and a few basic craft supplies, you can create your own pom-pom gift bows in just a few minutes. The template guides your ribbon loops, making it easier to get an evenly shaped bow without complicated folding or tying. It’s a simple bow-making trick for beginners and a fun way to finish your DIY gifts or homemade decorations.
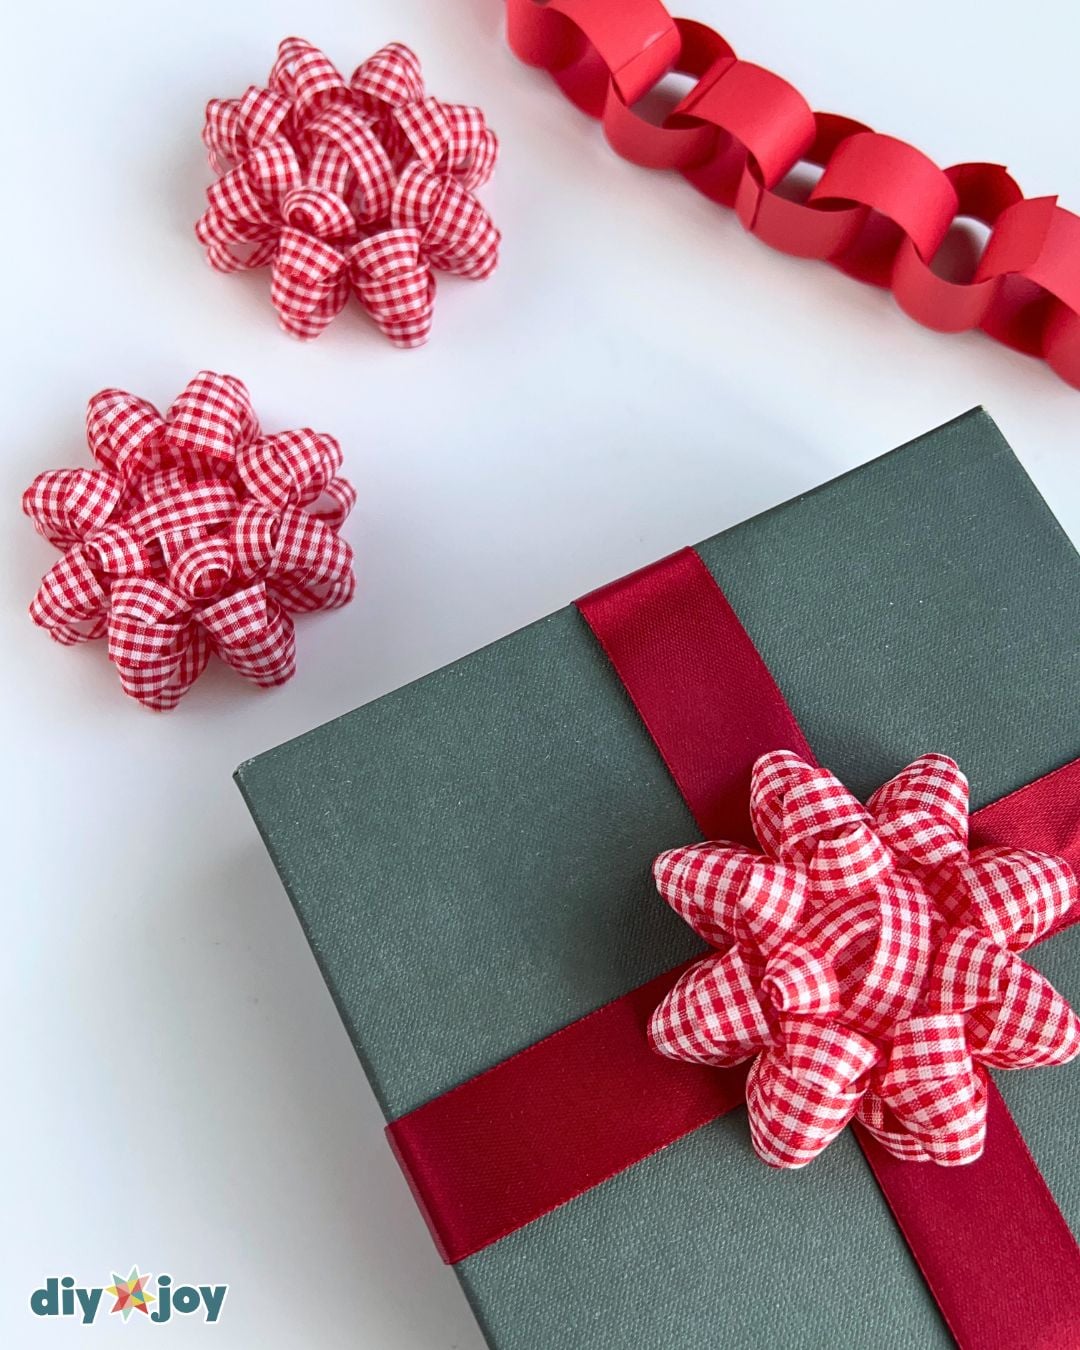
If you want to upgrade your gift wrapping this year, give this ribbon bow tutorial a try! These handmade gift bows are cute, customizable, and easy to match with your wrapping paper. Choose festive ribbon for Christmas presents, bright prints for birthday gifts, or soft colors for wedding favors and baby showers. You can also change the size of your star template to make small bows for gift bags or larger ones for boxes and baskets. Once you learn this easy gift-wrapping idea, you’ll have plenty of ways to turn a plain package into something special.
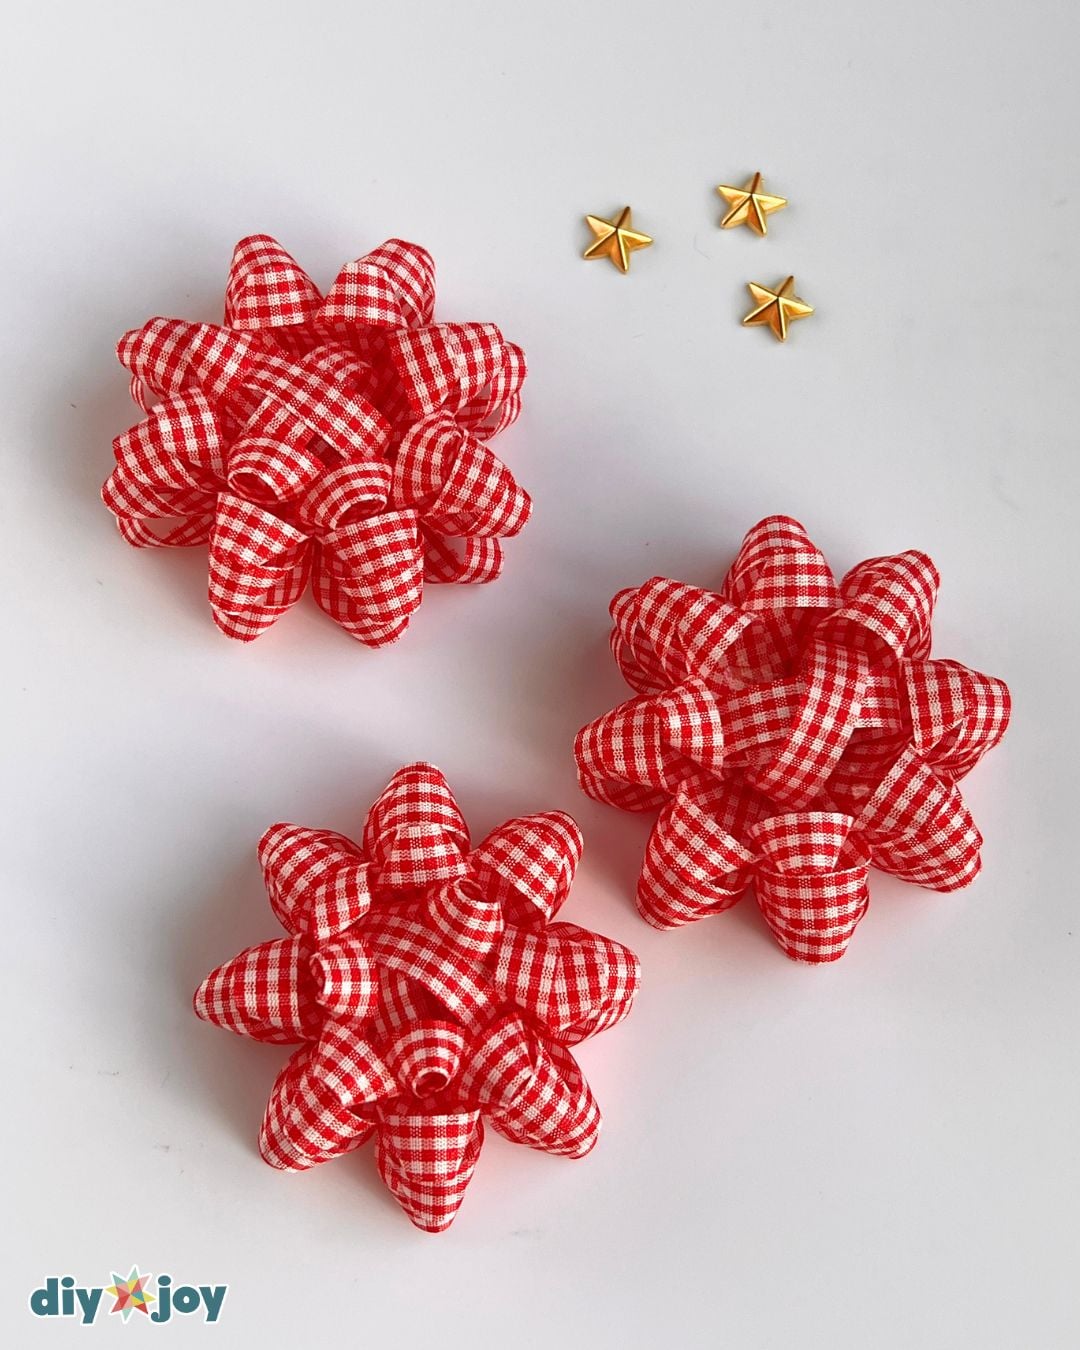
Pom Pom Bow Supplies
- Star template – Download the Star Template (PDF)
- Thin ribbon or metallic foil/poly curling ribbon
- Tape
- Scissors
- Stapler
- Glue gun and glue sticks
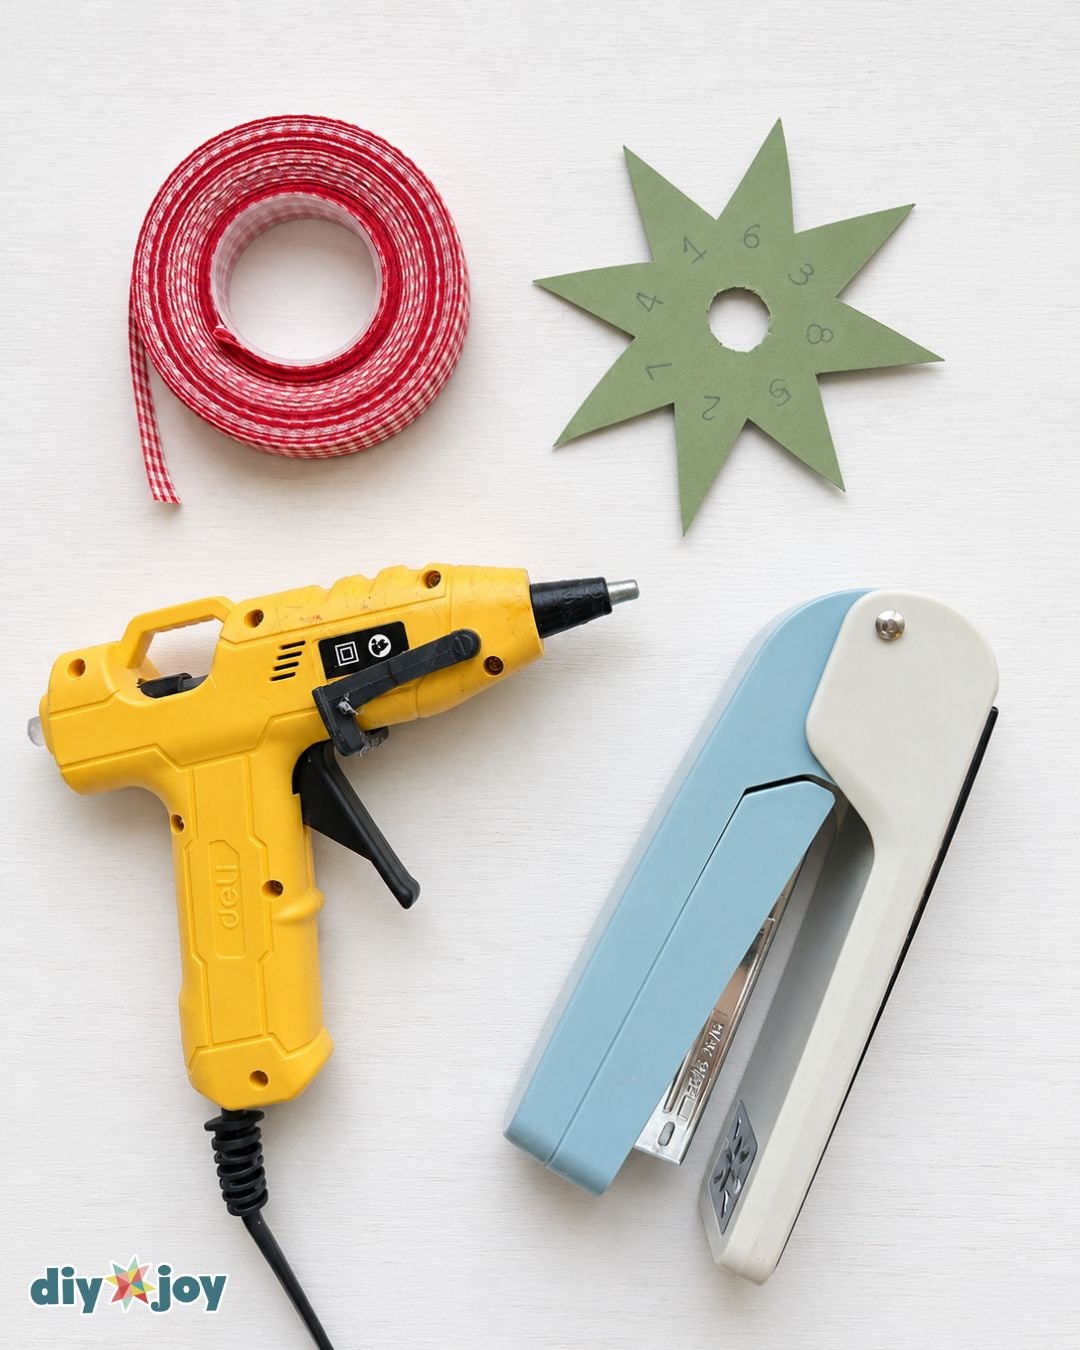
Shop the Supplies
Here are the main supplies we used for this DIY pom pom bow, so you can grab the same ones and get straight to crafting.
Ribbon
Rotating Stapler
If you are planning to make these flowers, get this rotating stapler.
Glue Gun
*Some of the supply links above are affiliate links. If you buy through them, I earn a small commission at no extra cost to you.
How to Make a Gift Topper
Step 1:
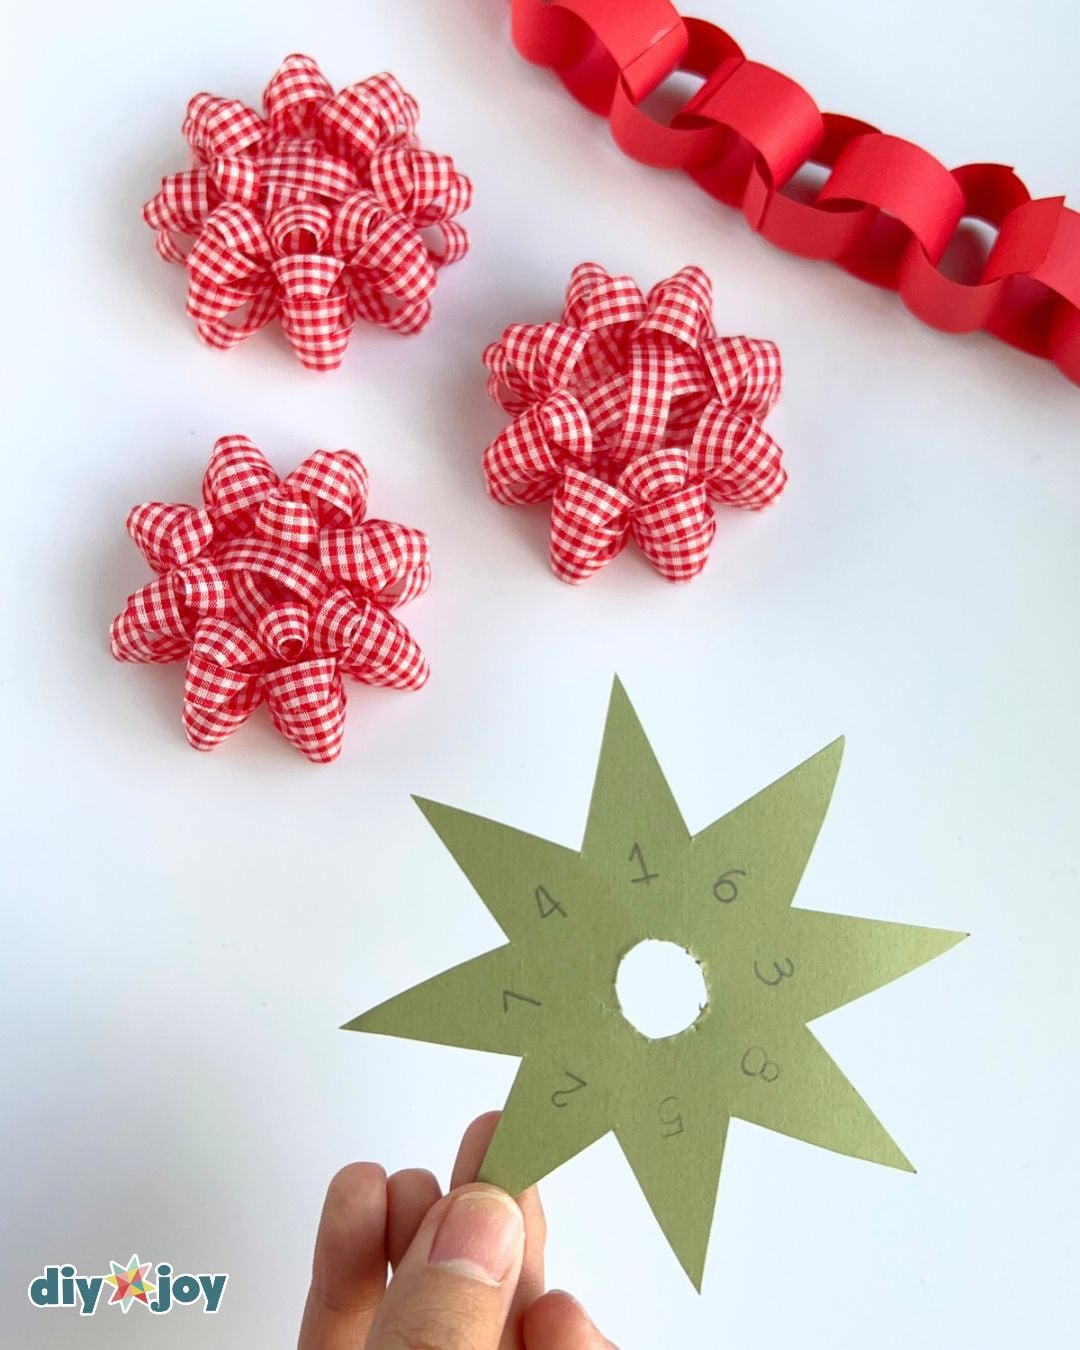
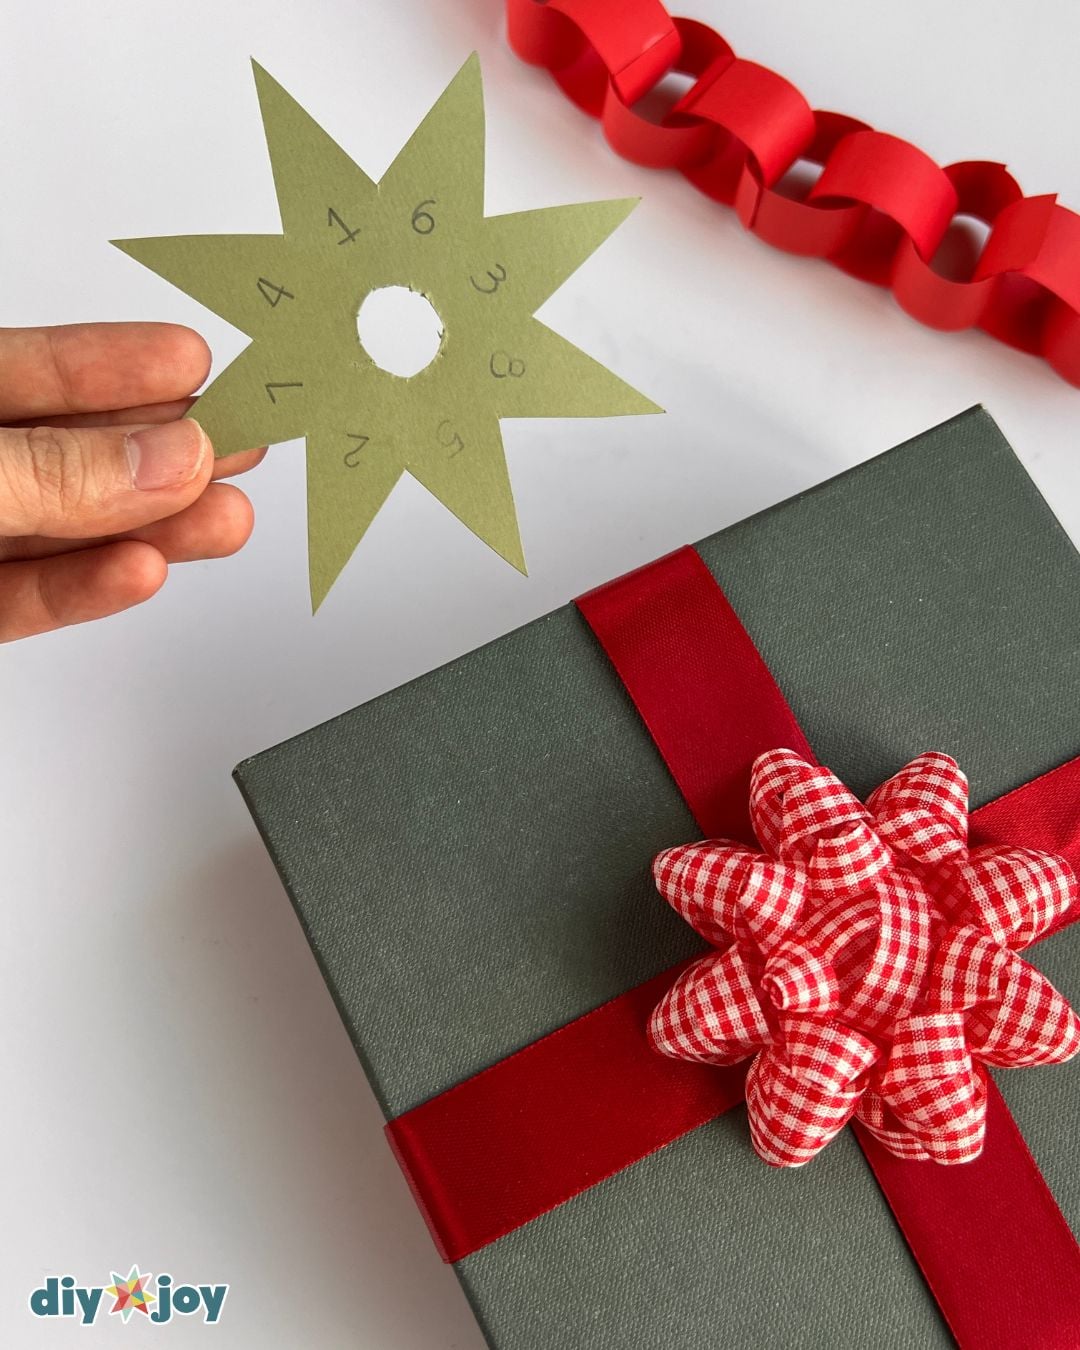
Insert the ribbon through the hole. Tape the ribbon between 5 and 8.
Loop the ribbon through the points in numerical order, starting at 1.
Staple the center.
Carefully remove the ribbon from the guide. Trim the excess ribbon at the top and back.
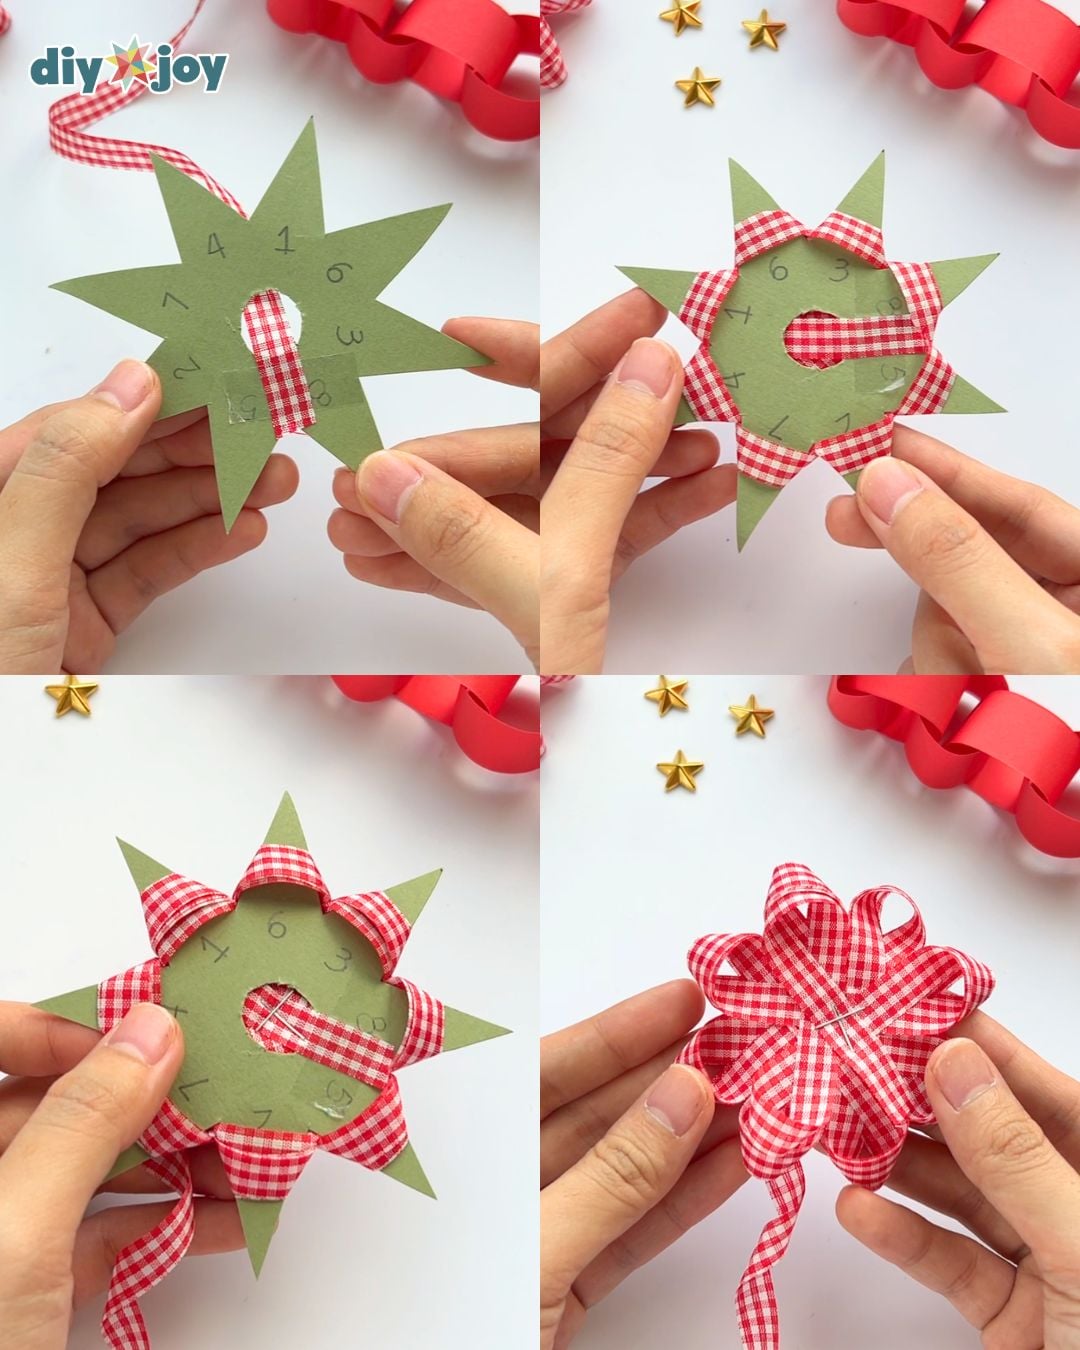
Step 2:
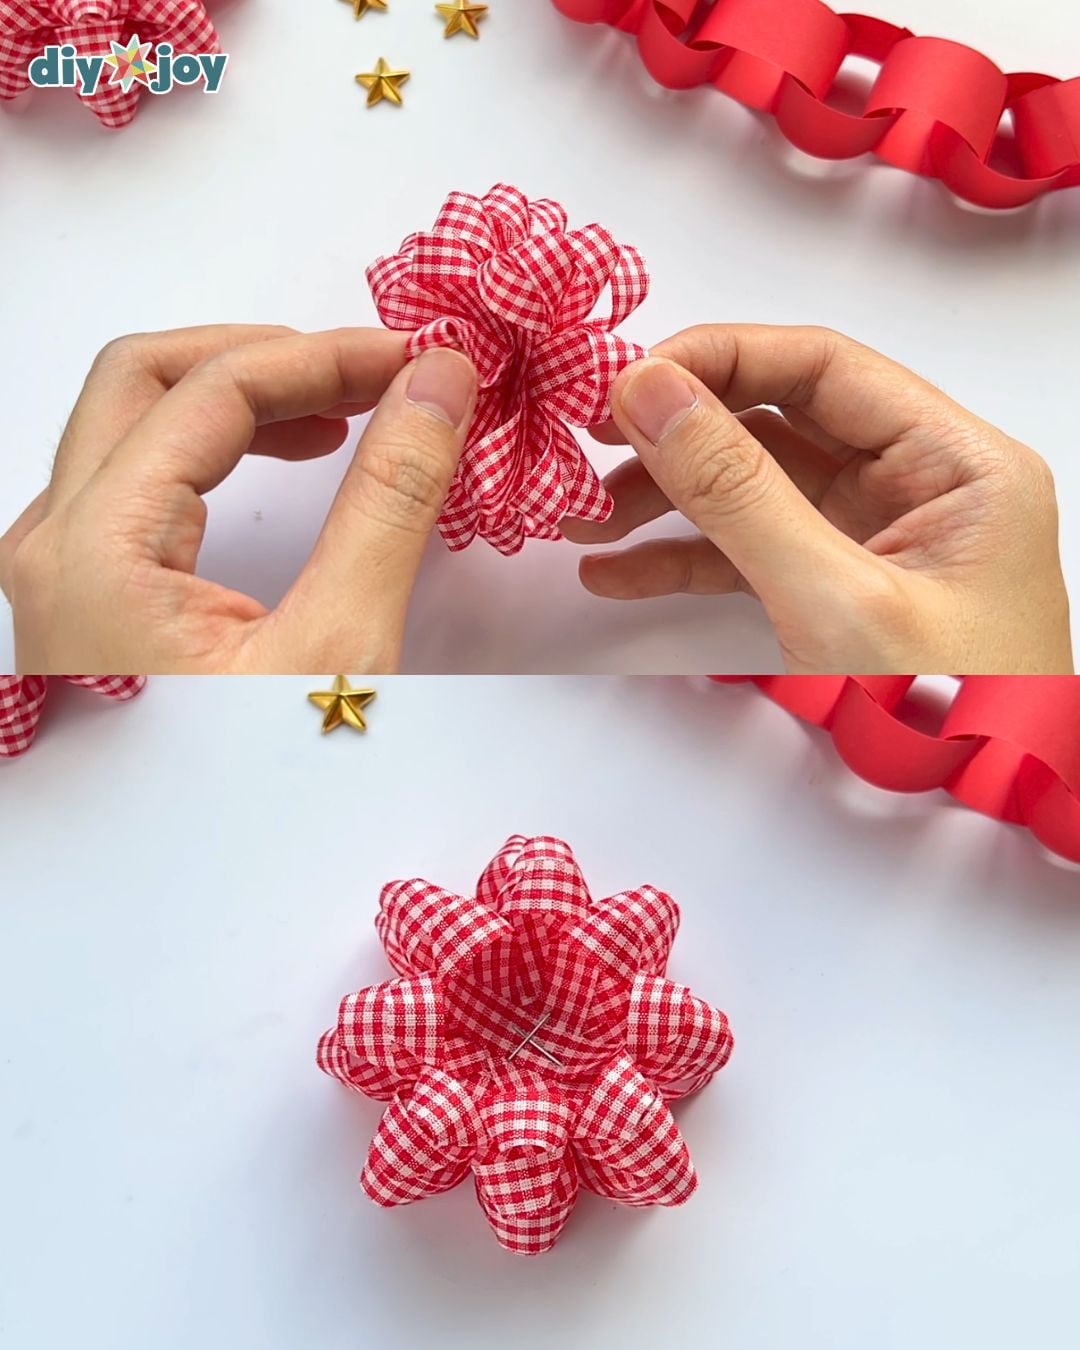
Step 3:
Make two small loops with the ribbon. Insert one loop into the other to form a cross. Apply glue to the top and bottom.
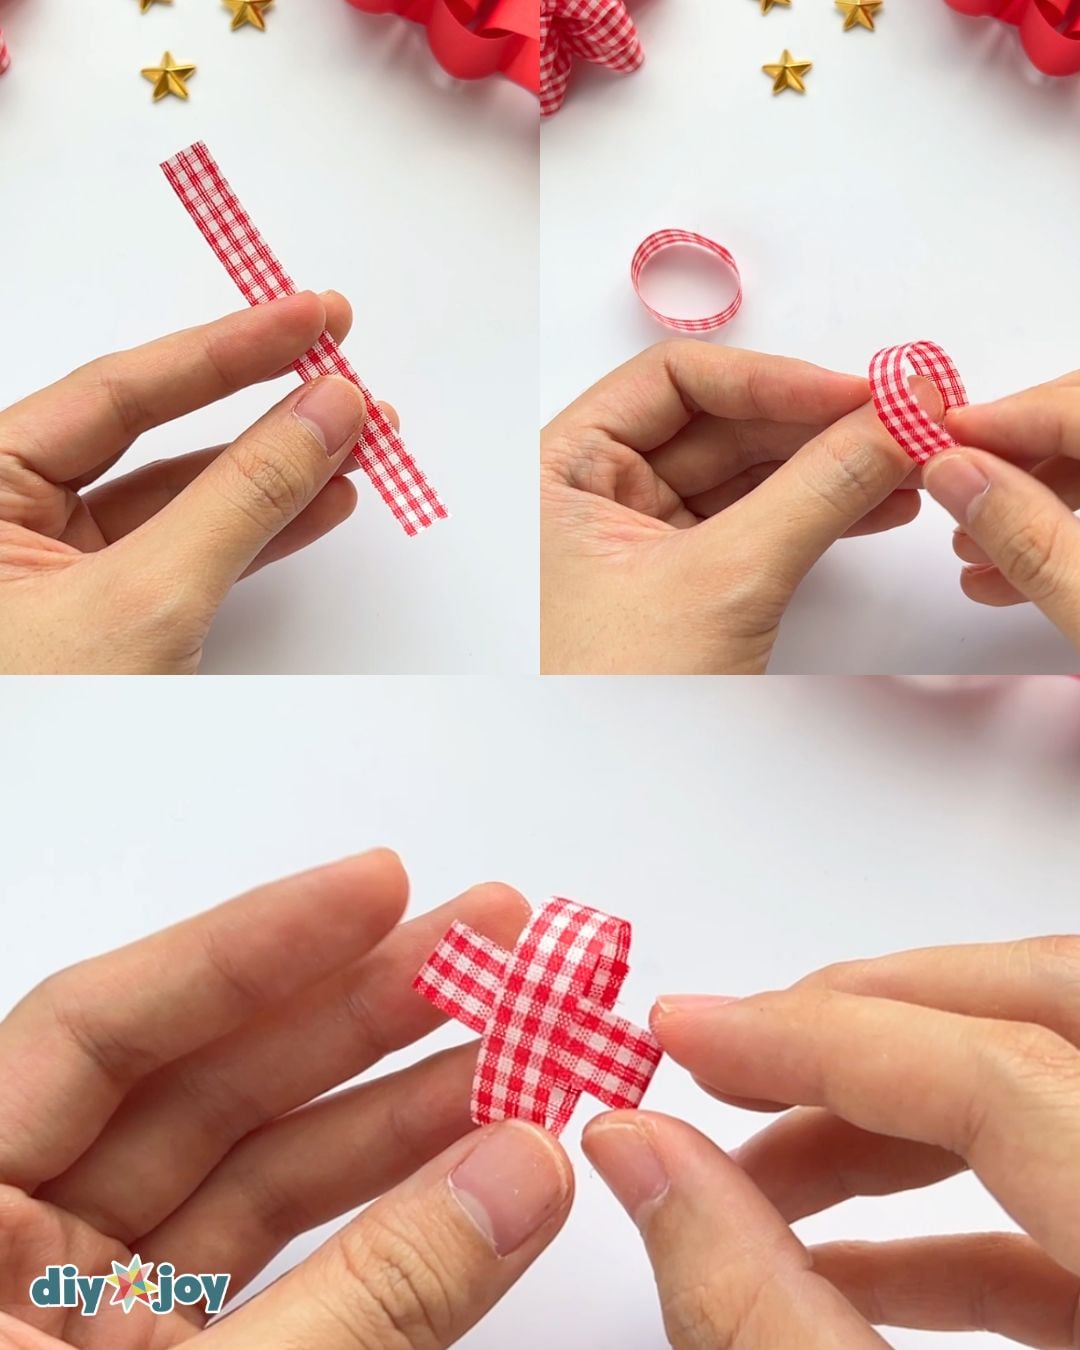
Step 4:
Glue the crossed loops to the center.
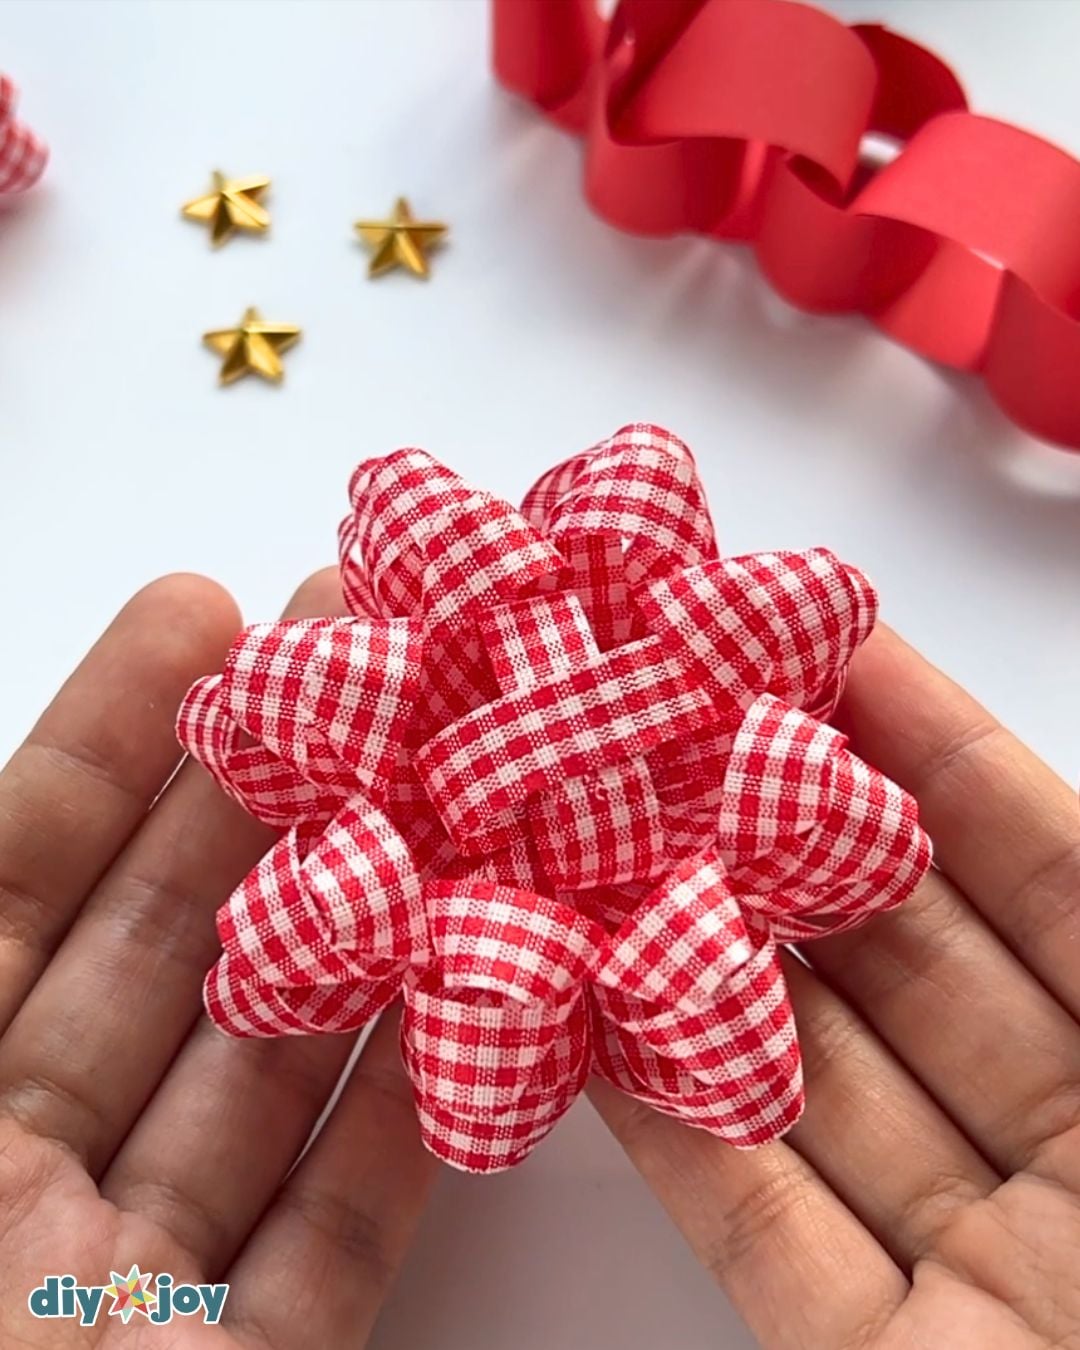

Pro Tips
- Straighten the ribbon as you loop. Smooth it along the back of the guide after each pass to prevent twists and folded edges.
- Use a gentle, steady pull. Keep the ribbon secure against the guide without tugging hard enough to stretch it or buckle the cardstock.
More Gift Bow Ideas and Ways to Use Them
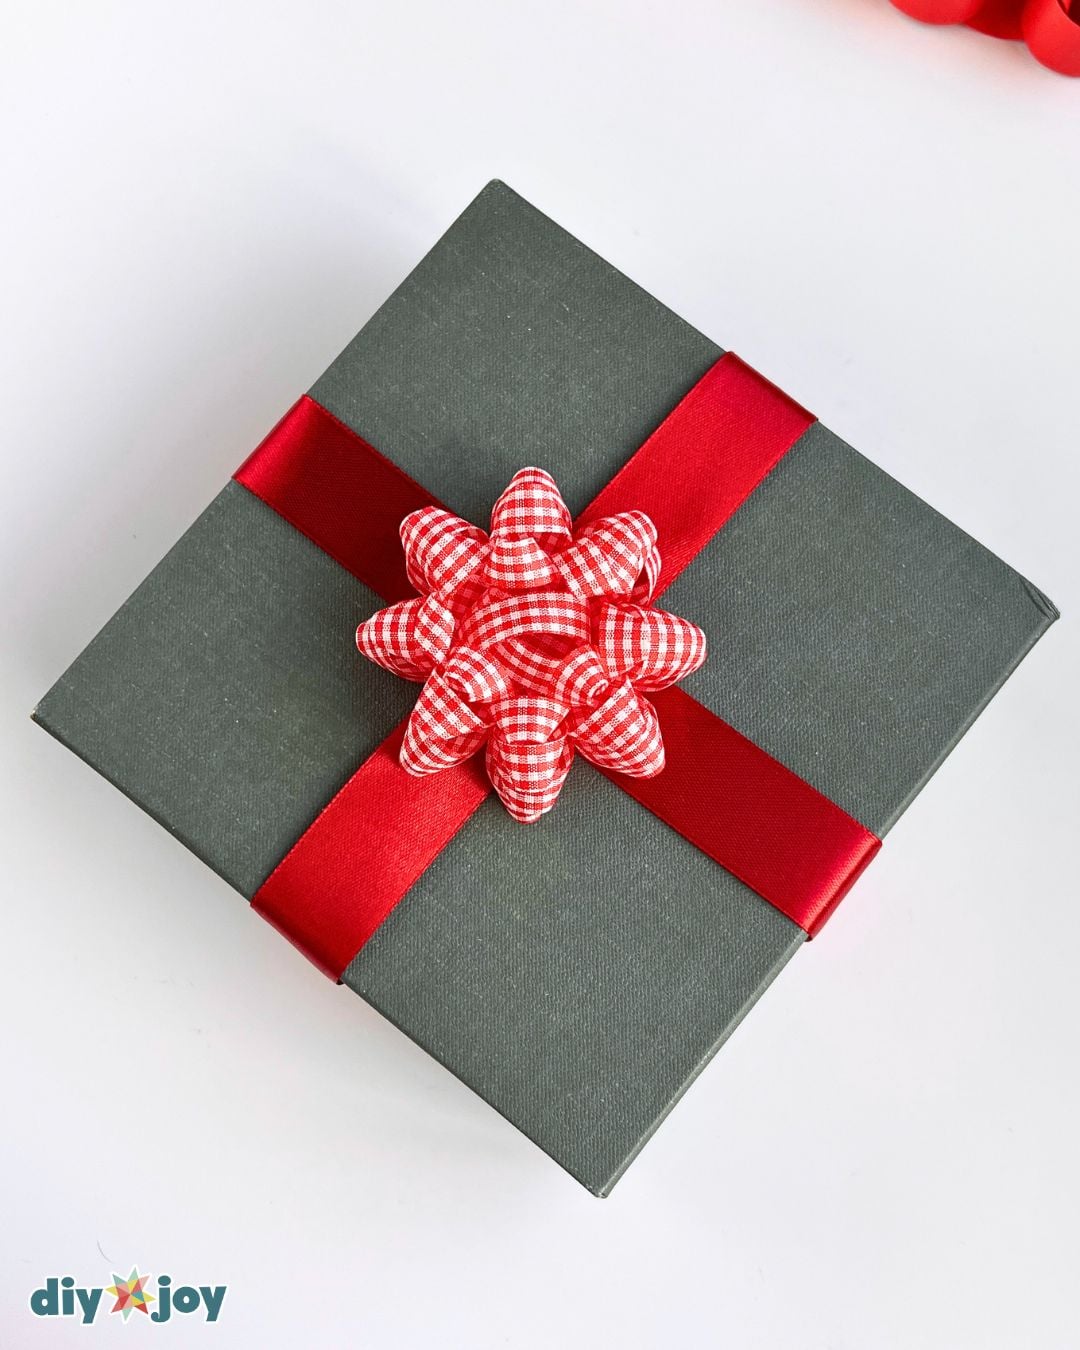
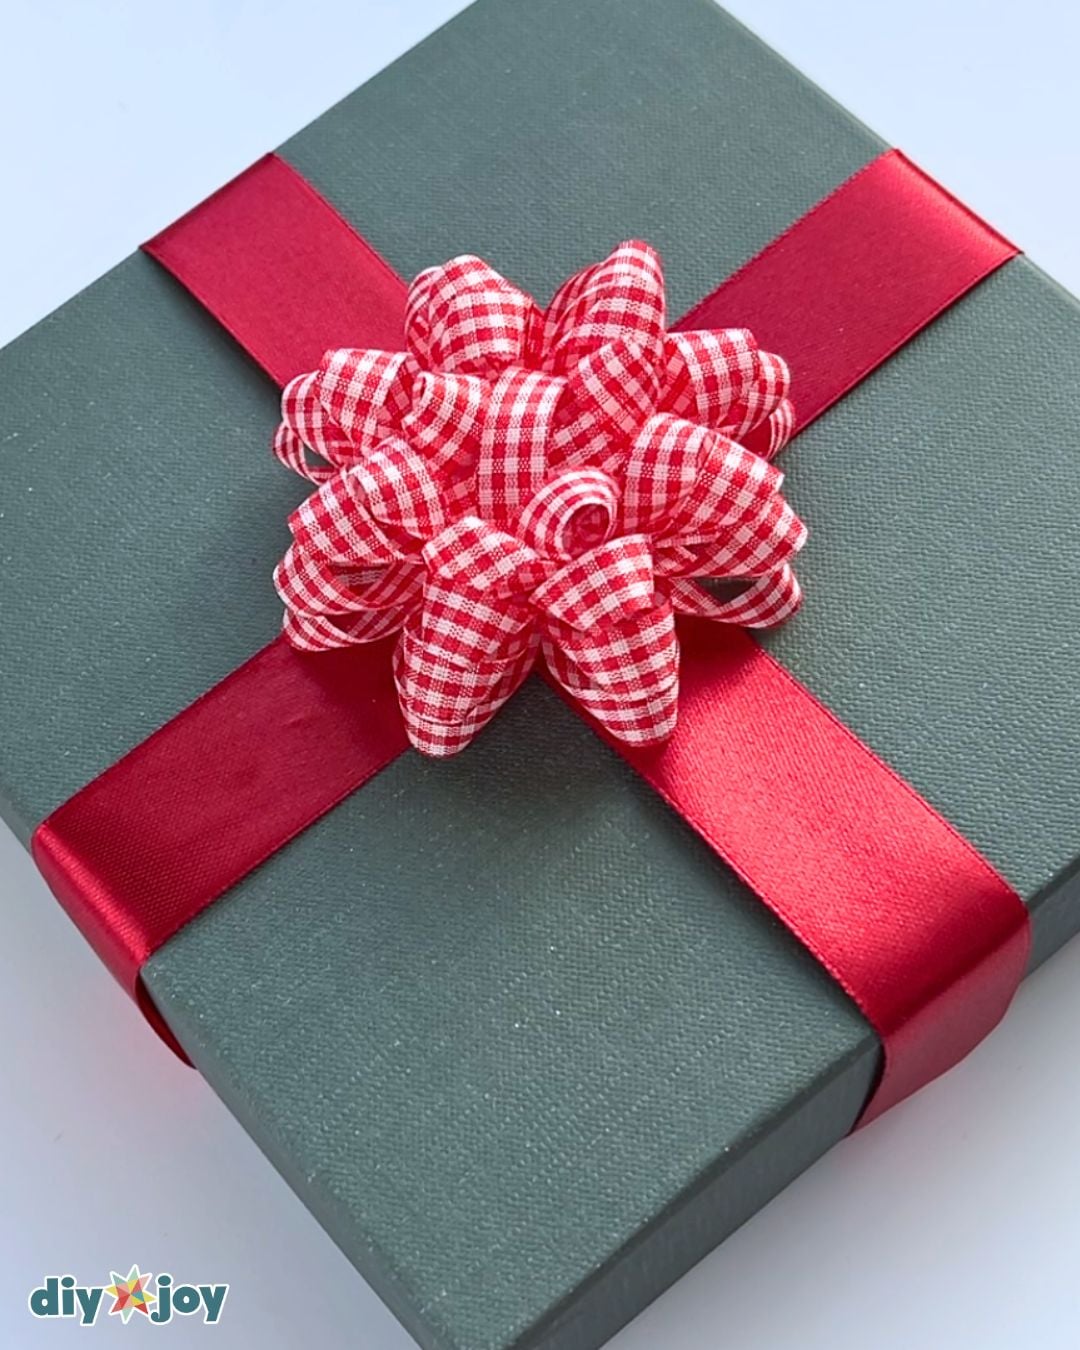
You can make this gift bow as big or as small as you like by changing the size of your star pattern. Try different ribbon colors and prints to match your gifts or decorations. For this bow-making technique, I suggest using thin ribbon so you can easily staple the center. Since you’ll be making several loops, the ribbon layers stack up in the middle. Thick ribbon can make it harder for the staple to go all the way through and keep the bow together.
Aside from using it as a gift topper, you can add this pom-pom bow to wreaths, garlands, or Christmas trees. Make smaller bows for napkin rings and place cards, or use them to decorate party banners, chair backs, and balloon strings. You can also attach one to a vase, wrap it around a bouquet, or place it on a basket handle or a jar of treats.
For more easy bow ideas, try our ribbon bow tutorial and learn how to make a paper bow for your next gift-wrapping project.
Pom Pom Bow FAQs
Thin, lightweight ribbon is a good choice because the overlapping layers are easier to staple. Try satin, grosgrain, or a lightweight patterned ribbon, and make a sample first to check how well it holds its shape.
Yes! Adjust the size of your star template to change the size of your bow. A larger star makes longer loops, while a smaller guide creates a compact bow for little boxes and gift bags.
The ribbon may be turning as you move between the points. After each pass, smooth it against the back of the guide before continuing. Fixing twists as you go is much easier than straightening them once the bow is finished.
The ribbon may be too thick, or the stacked layers may exceed what your stapler can handle. Try a thinner ribbon and make sure the layers lie flat before stapling. Avoid forcing the stapler through a bulky center.
Use the same gentle tension throughout and follow the numbered points in order. Pulling some loops tighter than others can change their size and make the finished bow look lopsided.
Use double-sided tape or an adhesive dot on the flat underside of the bow. For a reusable option, attach it to a separate ribbon tied around the package.
Save this Craft on Pinterest
Roll over the image to get the button.