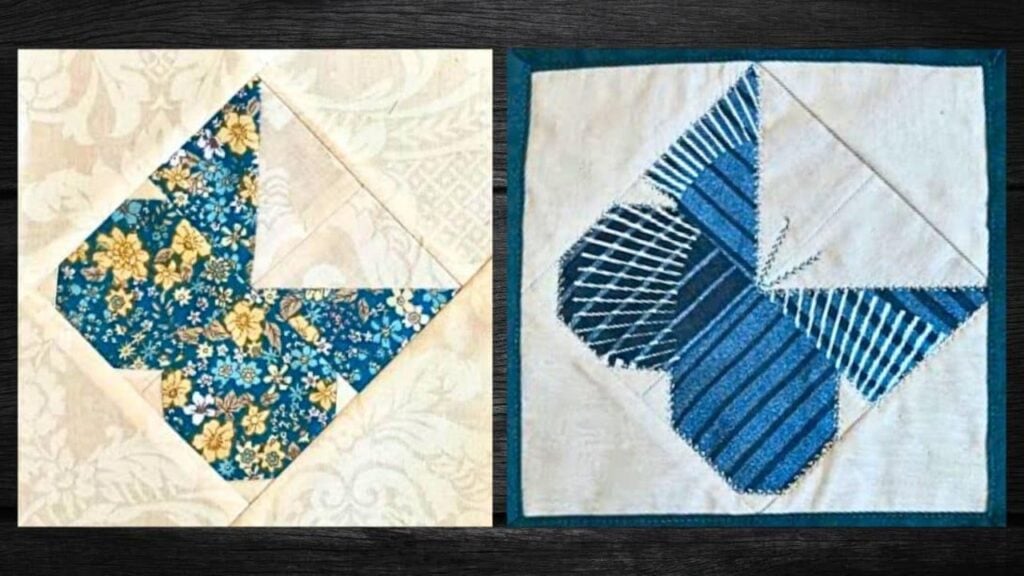
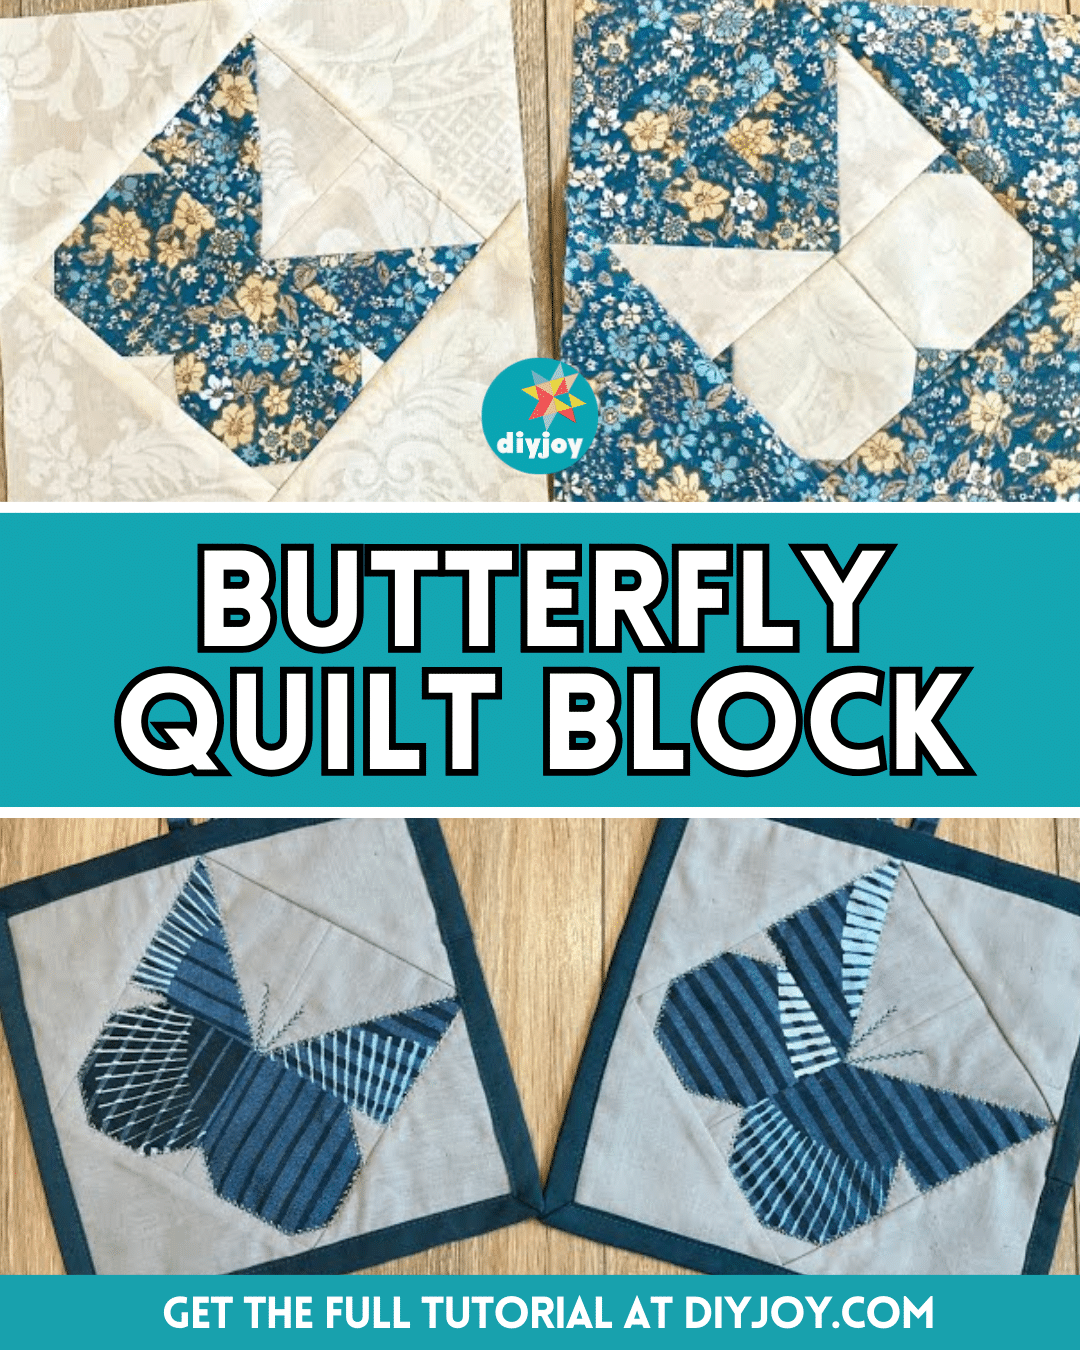
I have done a couple of quilt blocks before but when I saw this video tutorial by The Melody of Sewing on YouTube, I immediately knew that this is going to be my favorite project ever! This tutorial will teach how to make a neat and lovely butterfly quilt block with only a few simple steps that are perfect even for beginners.
RELATED: Easy Social Butterfly Quilt Sewing Tutorial
I’m sure that you can make this perfectly even on your first try because the steps are super easy to follow, and you will only need two different fabrics to make a single quilt block. Proceed to read the written instructions below now to learn how. I hope you enjoy this project as much as I did!
Materials for Patchwork Butterfly Quilt Block:
- Background fabric
- Print fabric
- Pencil or chalk
- Ruler
- Scissors or rotary cutter and a cutting mat
- Needle and thread
- Iron, for pressing
- Sewing machine
How to Make a Patchwork Butterfly Quilt Block:
Step 1
Cut the background and print fabrics into 3.5-inch squares, lay them together with their right sides facing, and stitch on either side with ¼ inch seam allowance. Press the seams nicely, cut off the nubs, and then lay them beside each other making sure that the print fabric side is in the middle as shown in the video.
Step 2
Cut two 3-inch background squares, then place them on the bottom of the half-square triangles, and make sure to position them where the point of the print fabric is going. Cut 8 print squares at 1¼ inches, then line them on the wrong side diagonally from corner to corner, and place them on all corners of the background squares with their right sides facing.
Step 3
Stitch the small square to the background squares along the drawn line, then cut off the excess with ¼ inch seam allowance, and press the seams nicely. Now, stitch the block units by pair, then stitch the pairs together to form the block, and press the seams.
Step 4
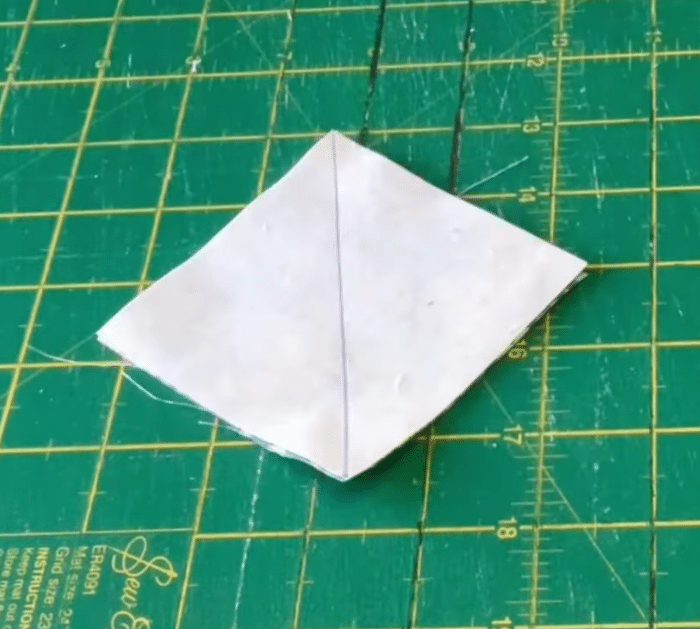
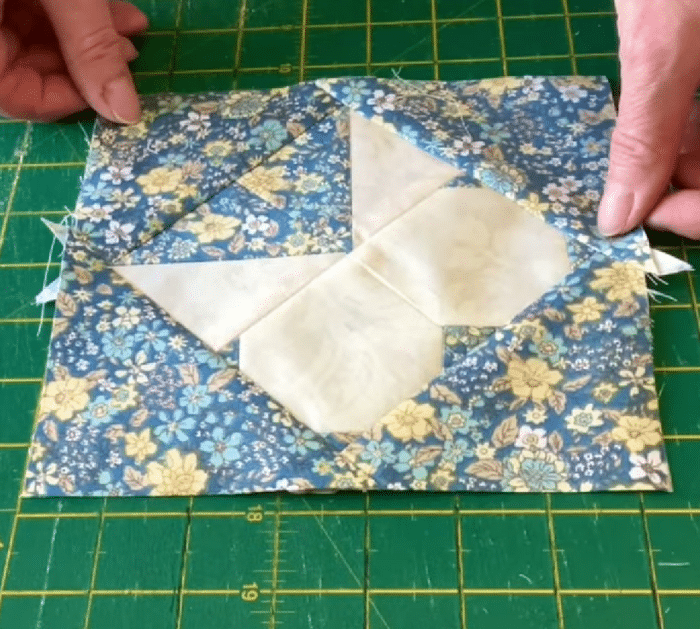
Cut two print squares at 4¾ inches, then cut them in half diagonally, fold the triangles in half, and pinch the midpoint. Open the triangles, then lay them over the butterfly block unit with their right sides facing and midpoint matching the center, place one triangle on the top and one on the bottom.
Step 5
Stitch the triangles along the straight edges, then press them open, and repeat the same steps adding the remaining triangles on each side as demonstrated in the video. Once done sewing, make sure to give it a good press, and square the block.
*All image credit belongs to The Melody of Sewing via YouTube. Follow and subscribe to her channel for more!
Easy Patchwork Butterfly Quilt Block for Beginners


