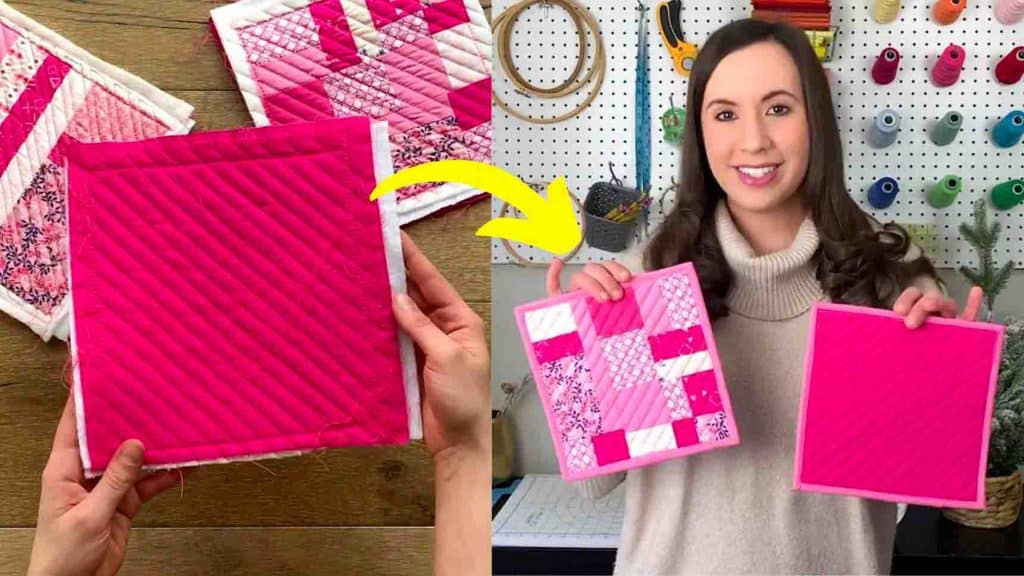
Do you have some unfinished quilting projects piled up in a corner? It’s time to finish them with this easy binding method from Art Gallery Fabrics on Youtube! Binding can be pretty intimidating, especially when you are a beginner, but starting with small projects and perfecting your craft with this tutorial – you’ll be a pro in no time! Start learning this method today by watching the video tutorial below.
Materials:
- a finished quilt sandwich to bind
- clear quilting ruler
- rotary cutter
- pure solids (art gallery fabrics, you can use anything you want)
- fabric marking pen
- clips
Directions:
Step 1
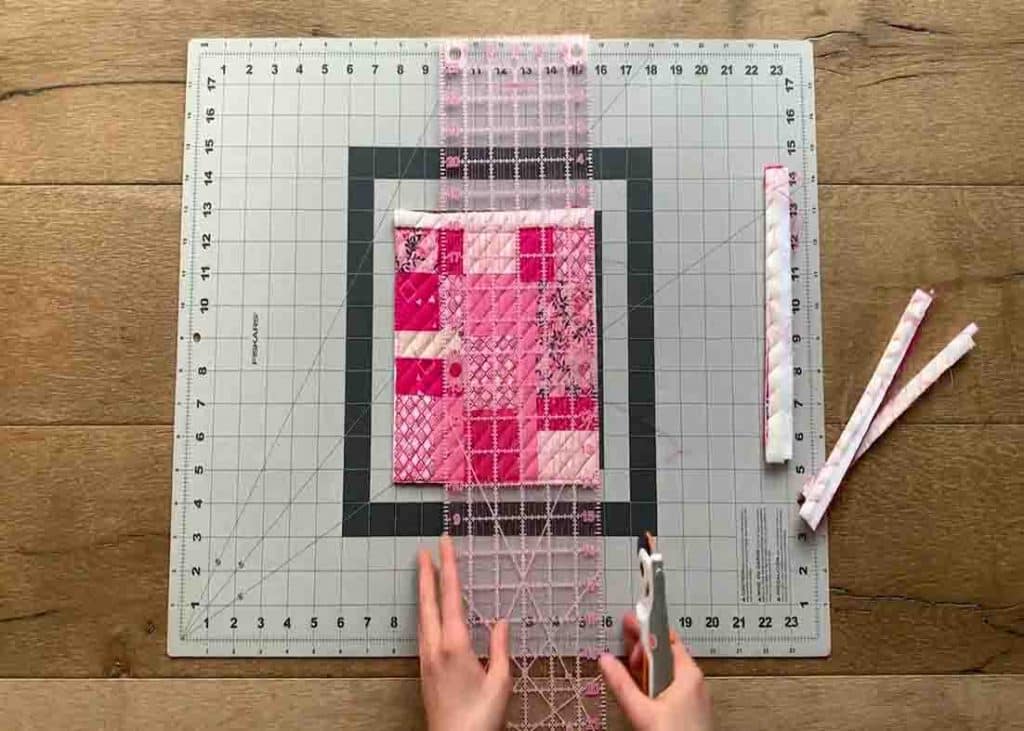
Trimmed your project and square it up by using a clear quilting ruler and a rotary cutter. Next, pick your binding that will match back your project. (In this case, agf pure solids were used.) Measure all four sides of your project to find out how long you will make your binding strip. (The project here was measured 8″ so multiply x 4 sides and get 32 inches.) Make sure to add a few extra inches to add some extra room. Cut the strips at 2 and 1/4″ by the width of fabric. To attach the strips, place a 45-degree lined up with the end of one of your strips. Draw a 45-degree line going through the corner of your strip with a fabric marking pen. Place the strip’s right sides together to form a 90-degree angle. Pin to place and sew on the line you drew. The strips should be lined up perfectly to create one long binding strip. Give the excess fabric trim at 1/4″ and press the seam flat. Next, fold the binding in half and line the raw edges up with each other, giving the binding a nice press.
[social_warfare]
Step 2
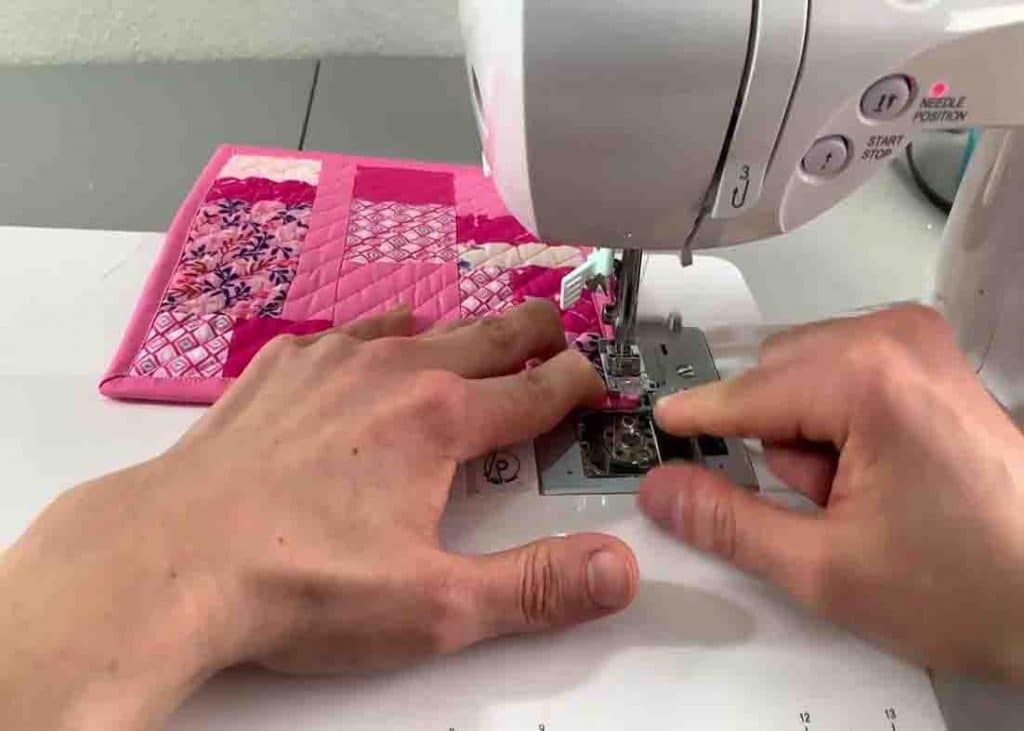
After this, open up the binding strip and trim 1 edge at a 45-degree angle. Fold that edge at 1/4″ and press it flat. Open up the binding strip again and place the folded edge in the middle of one of the sides of the project. Place the raw edge of the binding to the raw edge of the wrong side of the project. Sew at about 1″ down the strip, then fold the binding in half so all the raw edges meet. Sew again at about 2″ down from the top of the binding strip. Sew at 1/4″ around the entire project. Stop at 1/4″ before you reach the corner of the project and with the needle in the down position, lift your presser foot, and turn the project so you can stitch to the corner, creating a diagonal line. This step will help you in folding your strip out, creating a 45-degree line, and then folding the strip over on top of each other to create the mitered corner. Next, stick the project back up under the presser foot and continue sewing on the rest of the binding, following the process at each corner. Before getting to the end of the binding strip, trim off the excess if necessary, and stick the end of the binding strip into the beginning opening of the binding. Finish sewing the rest of the binding to the end.
Step 3
Trim any excess fabric and threads before folding over the binding. Fold and press the binding over the top edge of the project and clip it into place with some wonder clips around the project. With the needle positioned as close to the edge of the binding as possible, stitch around the entire project, securing the binding to the top of the project. When you get to a corner, stitch slowly or manually hand crank the stitches to make sure not to go too far past the corner. With the needle in the down position, lift the presser foot and turn your project and continue stitching slowly to get the project moving through the machine again. Once you make it back to where you began your stitching, you should now have a finished bound project.


