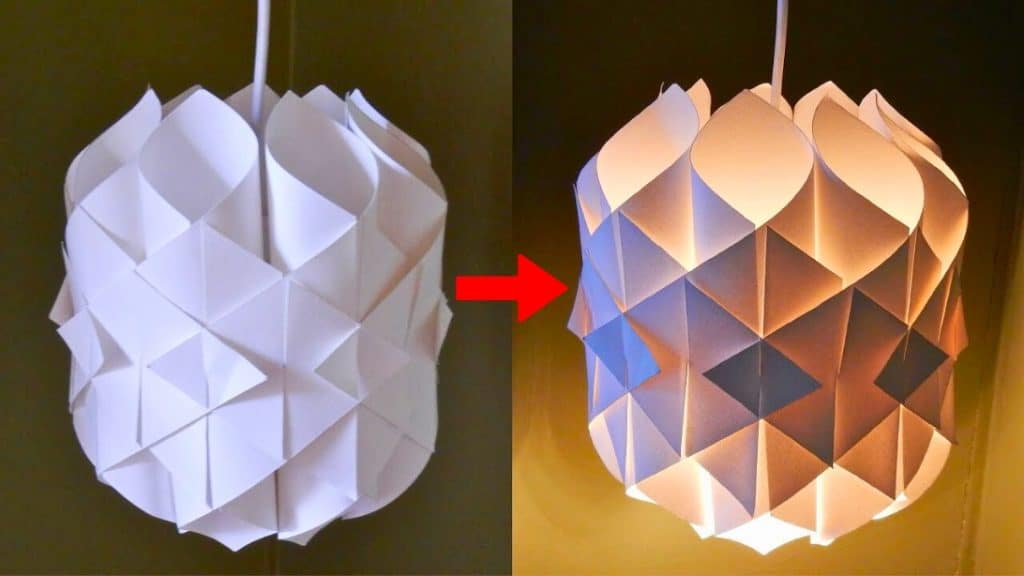
Look at this gorgeous DIY paper cathedral light by EzyCraft! I super love the shape – it’s definitely unique! This can add mood and character to your space, so if you have a boring corner might as well put this up. Watch the video below for full instructions.
Materials:
- 9 pieces of watercolor paper (A4, 180 gsm)
- 2 pieces of sketch card (A4, 300 gsm)
- craft knife
- ruler
- double sided tape
- template (download here)
- glue
[social_warfare buttons=”facebook,pinterest,twitter,whatsapp”]
Instructions:
Step 1:
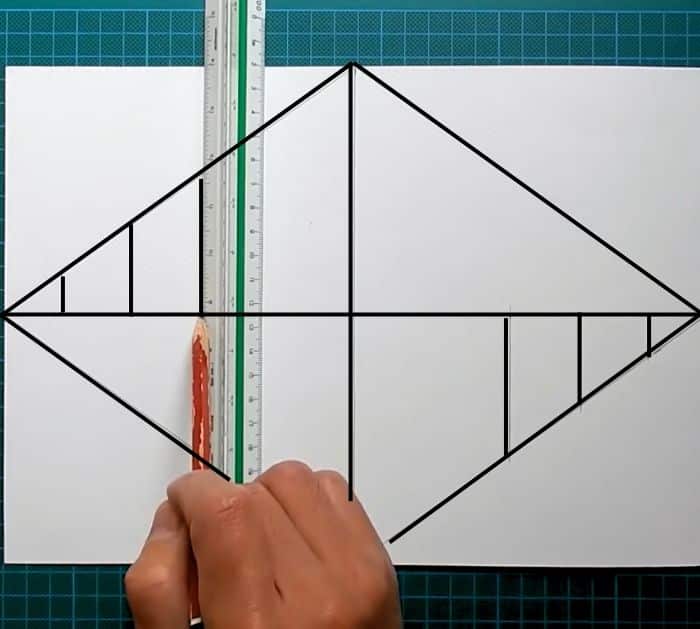
Get one piece of watercolor paper. Mark the middle points on all sides. Once done, connect all points to make a diamond.
Step 2:
Draw horizontal and vertical lines that cross the middle points.
Step 3:
Your paper should be in the landscape position. Place your ruler on the horizontal line. From the left, mark 0.94, 2.1, and 3.3 inches After that, draw vertical lines from the point towards the diagonal line on top. Rotate the paper and repeat the process on the opposite corner.
Step 4:
Cut out the diamond. Next, cut through the lines and erase the pencil lines.
Step 5:
Repeat steps 1 to 4 to make 9 pieces. Stack them together in the same orientation.
Step 6:
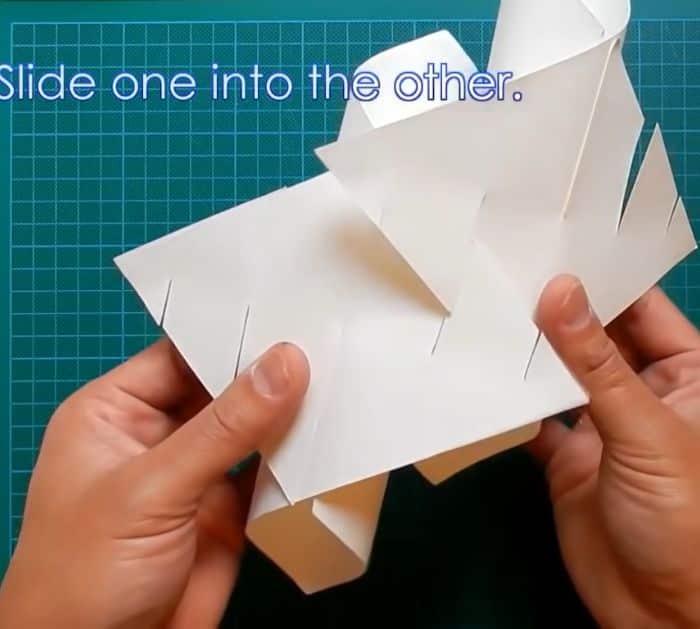
Get one of the pieces and slide two inner cuts into each other. Pull both to the end, then straighten the cuts. Repeat with the remaining 8 pieces.
Step 7:
Build the lamp by sliding one into the other just as shown below, then pull both sides to the end. Place the third one on the other side the same way you did with the first two. After that, slide the tips of the first and third ones together. Continue this process until all the pieces are connected.
Step 8:
Connect the first and last pieces together.
Step 9:
Print out 2 copies of the template and turn them over. Attach the sketch card on top and secure it with tape. Cut out the patterns carefully. Glue the same pieces together.
Step 10:
Slowly insert the ring inside the lamp. It should be placed 2/5 of the depth. Adjust the tubes in symmetry. Glue the ring onto the tubes.
Step 11:
Turn the lamp over. Place the power cord in the middle of the circle cover, then put it inside the lamp. Glue at each contact point.
DIY Paper Cathedral Lamp