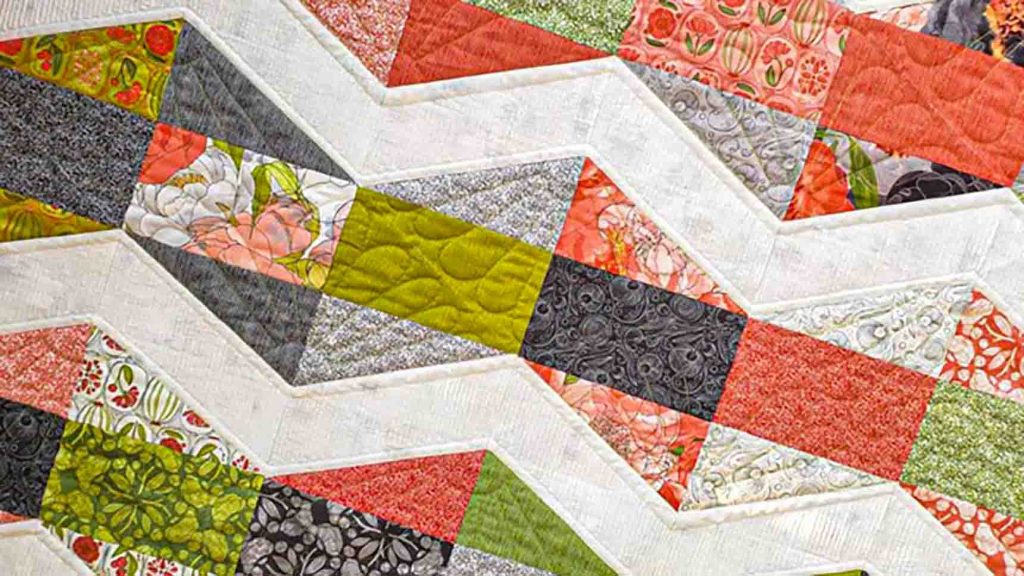
If you’re looking for an easy quilter pattern, try this triple chevy layer cake from Moonkin Stitchery on Youtube. This gorgeous quilt pattern may look complex, but it’s actually pretty easy to make. It’s perfect for beginners that like to try intermediate patterns. Seasoned quilters will also have fun making this quilt. Watch the video tutorial below to learn how to make this.
Materials:
For a throw size:
- 42 – 10″ printed fabric squares
- 21 – 10″ background fabric squares
- 1/2 yard binding
- 4 yards backing
- 67″ x 83″ batting
- (click here for the free pattern)
Directions:
Step 1
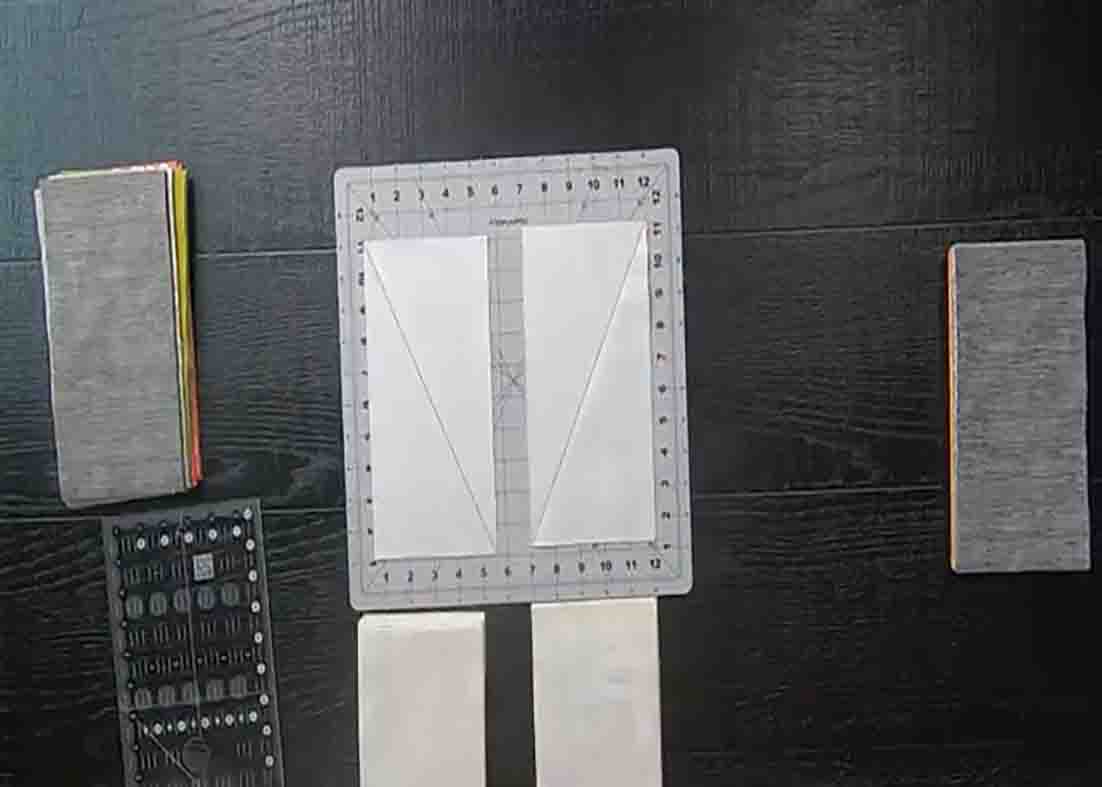
Subcut your 10″ background fabric squares into 5″ x 10″ rectangles. Cut the printed 10″ squares into 5″ x 10″ rectangles as well. Now, using a marker, draw a line from corner to corner on the wrong side of the fabric. (diagram B). (You will need the free pattern to determine how many background rectangles you need.) Then, do the same thing but the opposite of the line you previously drew (diagram A). Now, it’s time to make half rectangles. Take one print and one background 5″ x 10″ rectangle. Lay the background rectangle, right sides together on top of the print rectangle, then rotate it on top. Each corner should line up together, then sew a 1/4″ seam allowance on both sides of the line. After this, take a rotary cutter and cut on the line you drew. Press them open, then trim. Repeat these steps until you have enough blocks for your desired quilt size.
[social_warfare]
Step 2
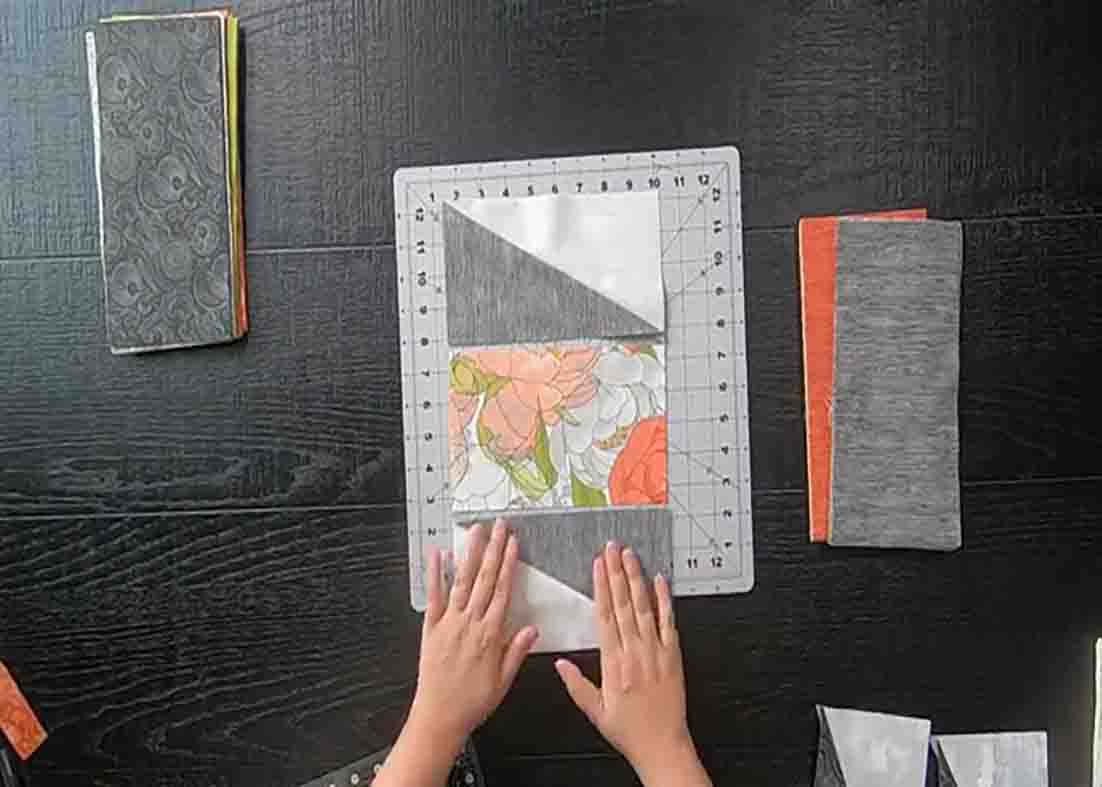
Now, do the same thing but in the opposite way. Take one print and one background 5″ x 10″ rectangle. lay the background right sides together on top of the print rectangle, and rotate it on top. Make sure each corner is lined up, then sew on both sides of the line. After this, cut directly on the line you drew. Press open, then trim. Once you have all half-rectangles you will need, take the printed 5″ x 10″ rectangles and trim them to the same size as your half-rectangles. After this, take two matching half rectangles and one print rectangle, and place them like in the diagram (see free pattern). Sew these together.
Step 3
Now, it’s time to build the block. Take two matching half-rectangles in the opposite direction and one print rectangle. Place them like in the diagram (see free pattern) and sew those blocks together. Make several blocks for your desired quilt size. After you have all of your blocks, start laying them out. Sew your blocks together to form rows, then sew your rows together to finish the quilt top.
Triple Chevy Layer Cake Pattern Tutorial


