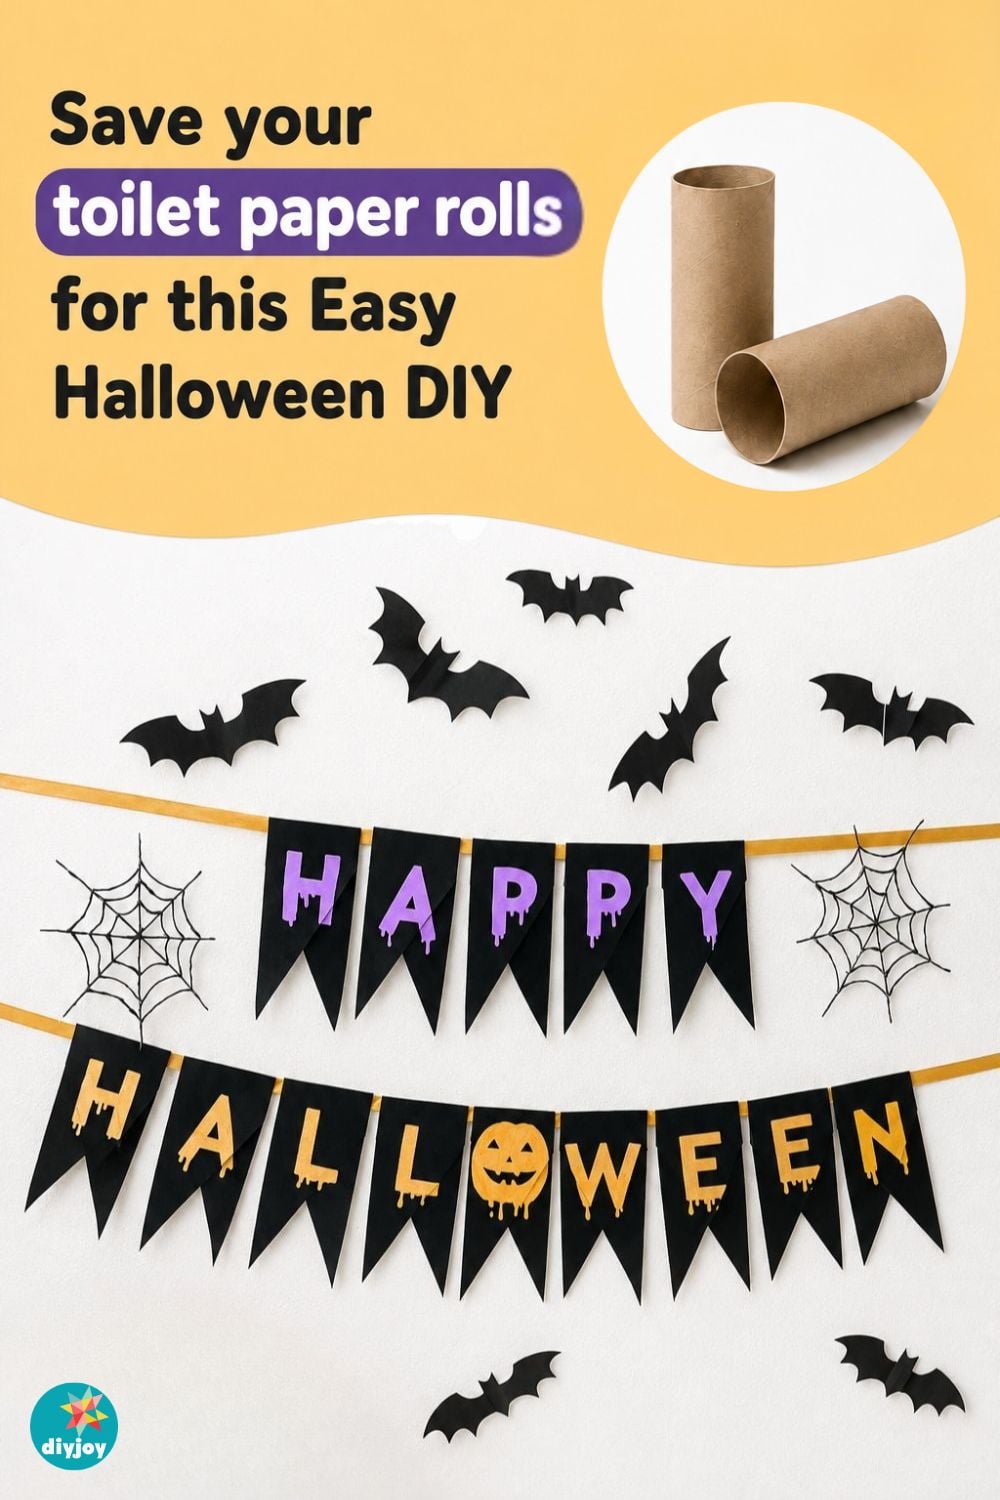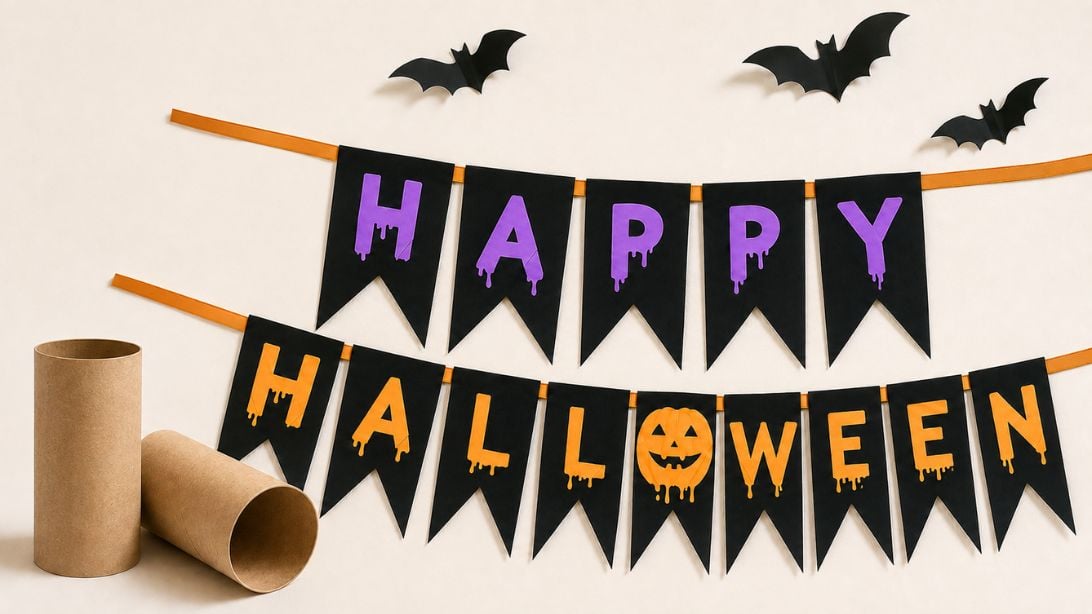
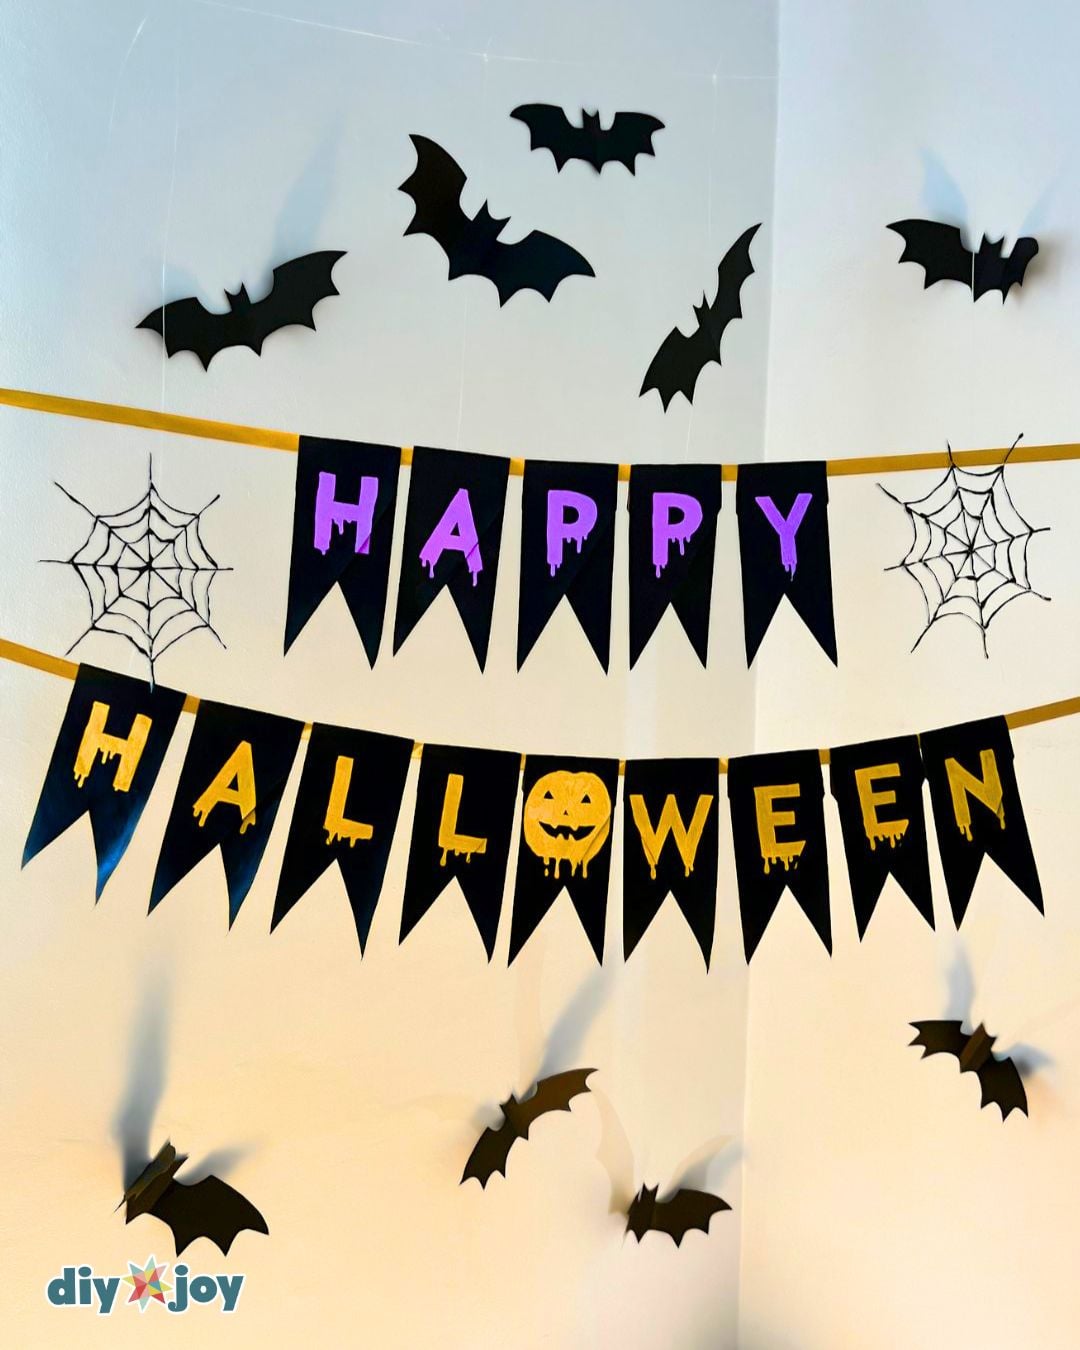
Looking for easy Halloween crafts that cost almost nothing to make? This DIY Halloween banner is made from empty toilet paper rolls, a little acrylic paint, my favorite Posca acrylic markers and a piece of ribbon – one of those cheap, budget-friendly DIY Halloween decor ideas you can finish in an afternoon. It is a fun project for adults and a great one to make with kids, and the finished bunting looks adorable strung across a mantel, doorway, or party table. Keep this one and enjoy it for years to come!
DIY Banner YouTube Video Tutorial
If you love toilet paper roll crafts for Halloween and fall, this how-to is about as easy as they come – and the drippy hand-lettered look gives it that cute homemade charm no store-bought banner has.
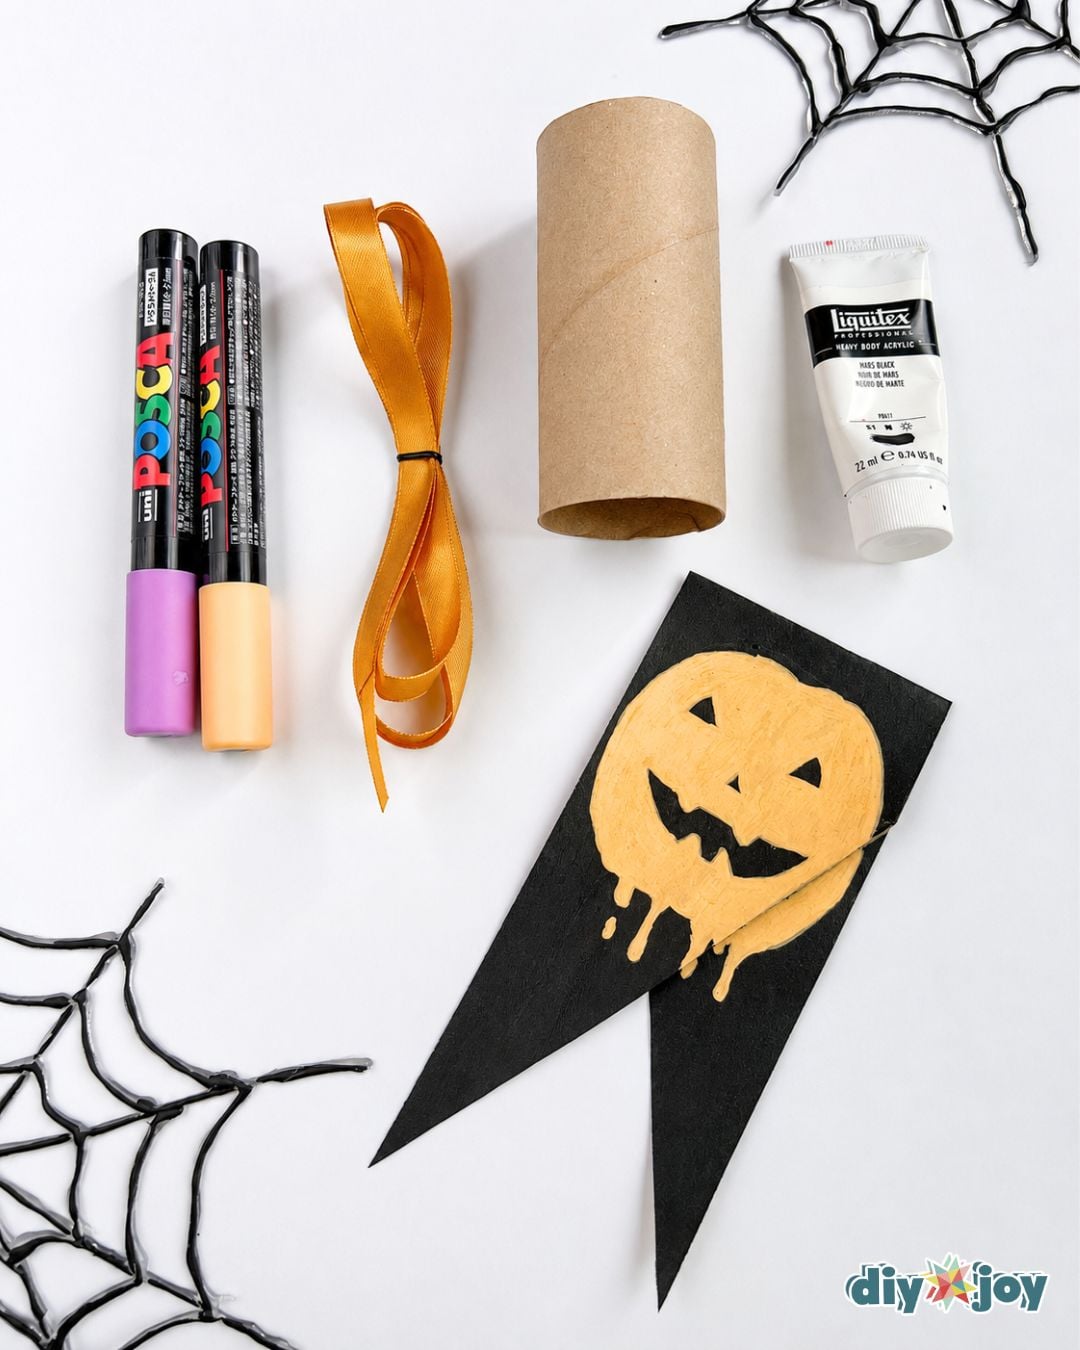
Craft Supplies Needed:
- acrylic paint
- toilet paper tubes
- acrylic markers
- ribbon
These products are all listed on our DIY JOY Amazon store, so you can order and know exactly what you will get, and when. We do earn a small commission on these links and very much appreciate your support ❤️
DIY Halloween Banner Tutorial
Learn how to make a DIY banner for Halloween using empty toilet paper rolls. The step-by-step tutorial below walks you through flattening the tubes into bunting pieces, painting them, and lettering the classic Happy Halloween message – with a pumpkin standing in for the letter O. Save your tubes for a couple of weeks and you will have exactly what you need.
Step 1:
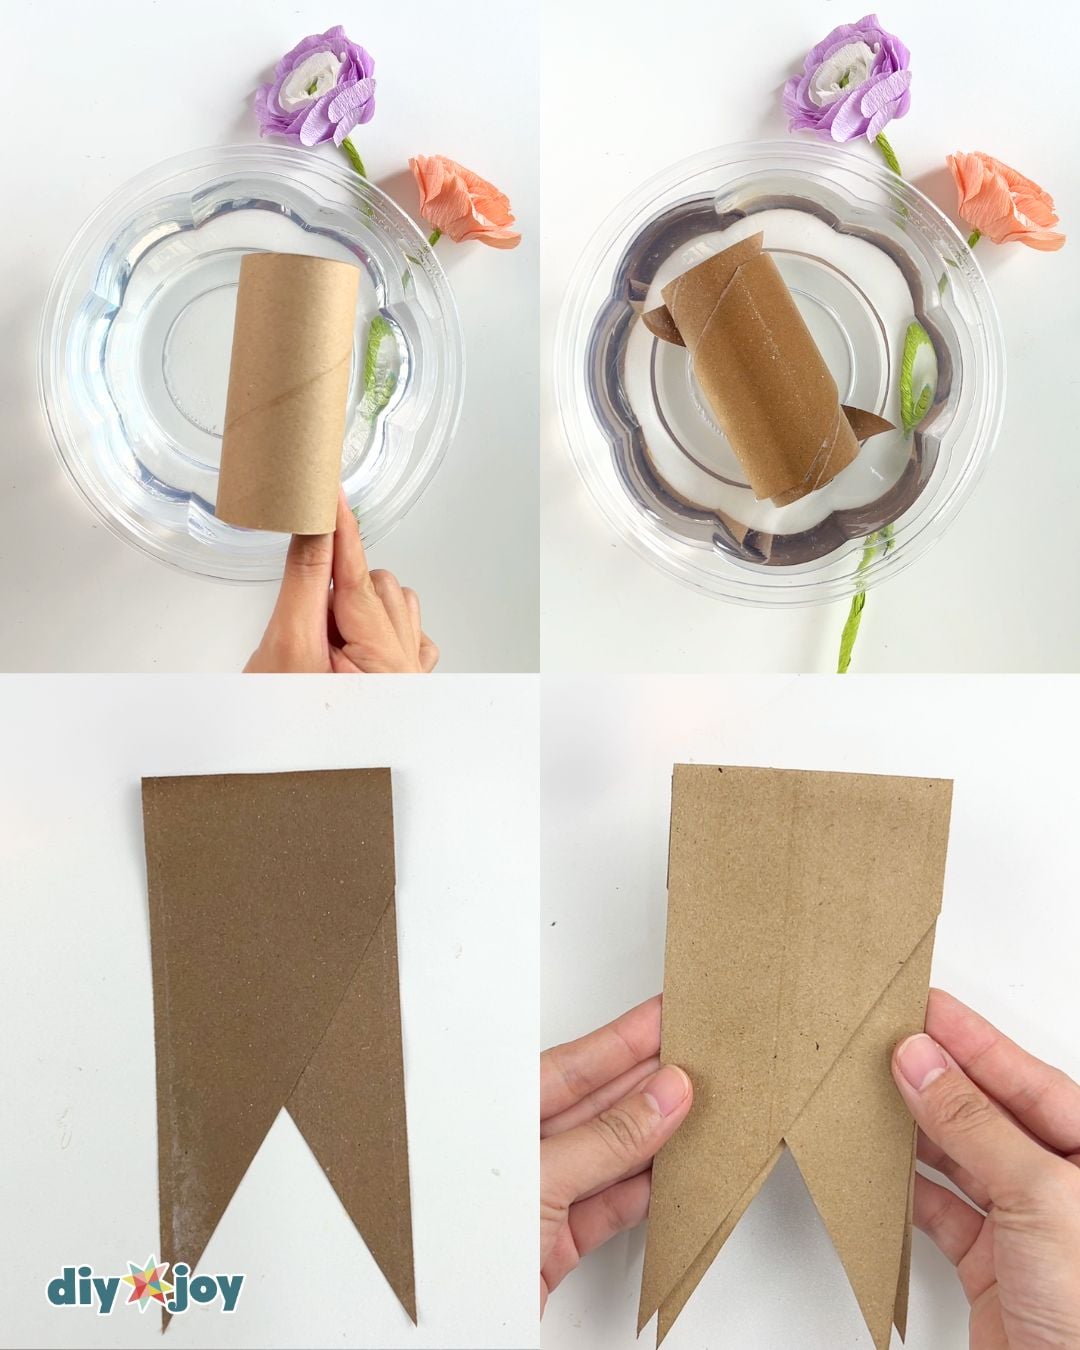
Soak 7 toilet paper tubes in water for 1 to 2 minutes, or until the pieces separate.
Remove them from the water, then fold each in half to make bunting. Let them dry.
Step 2:
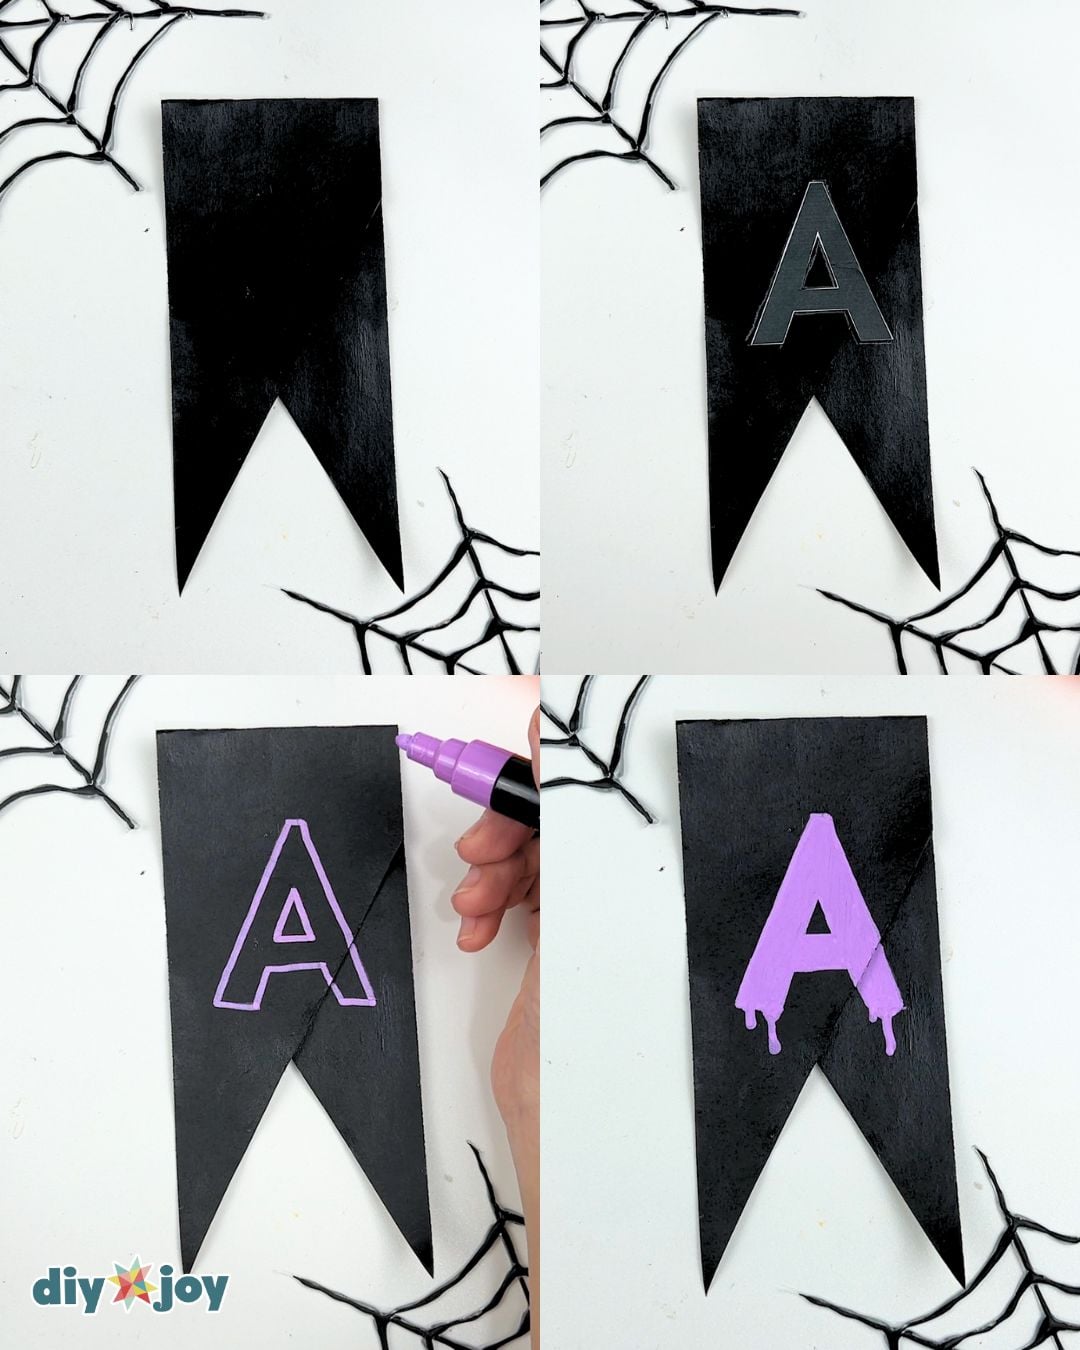
Paint all the pieces black.
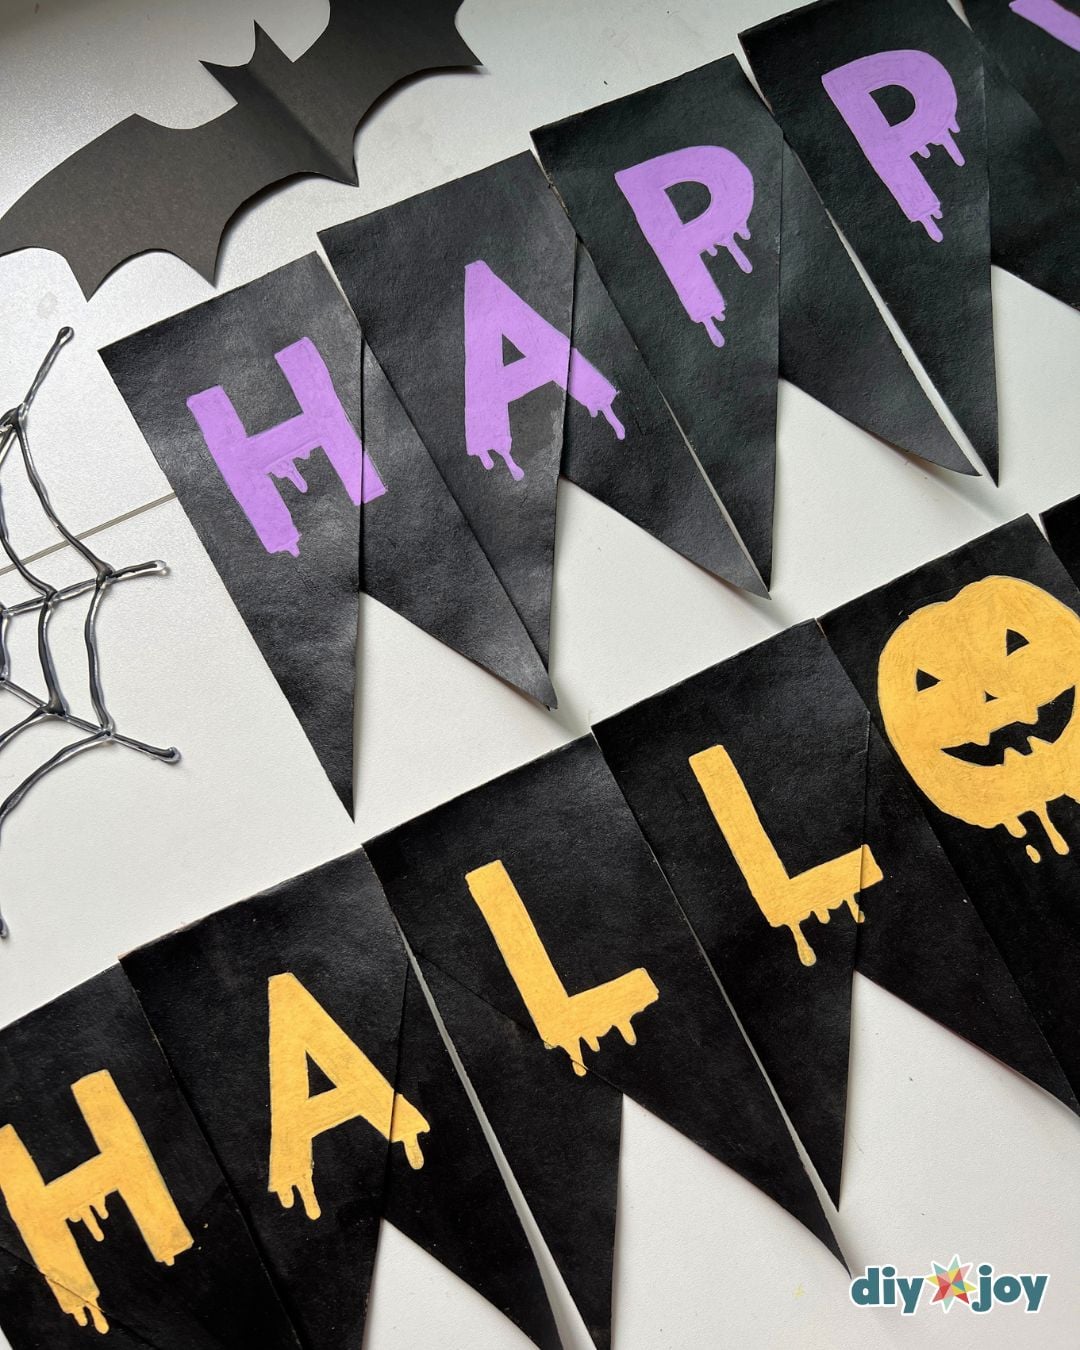
Place the letter templates for the word ‘happy’ in the middle of five of the pieces. Trace them with a pencil.
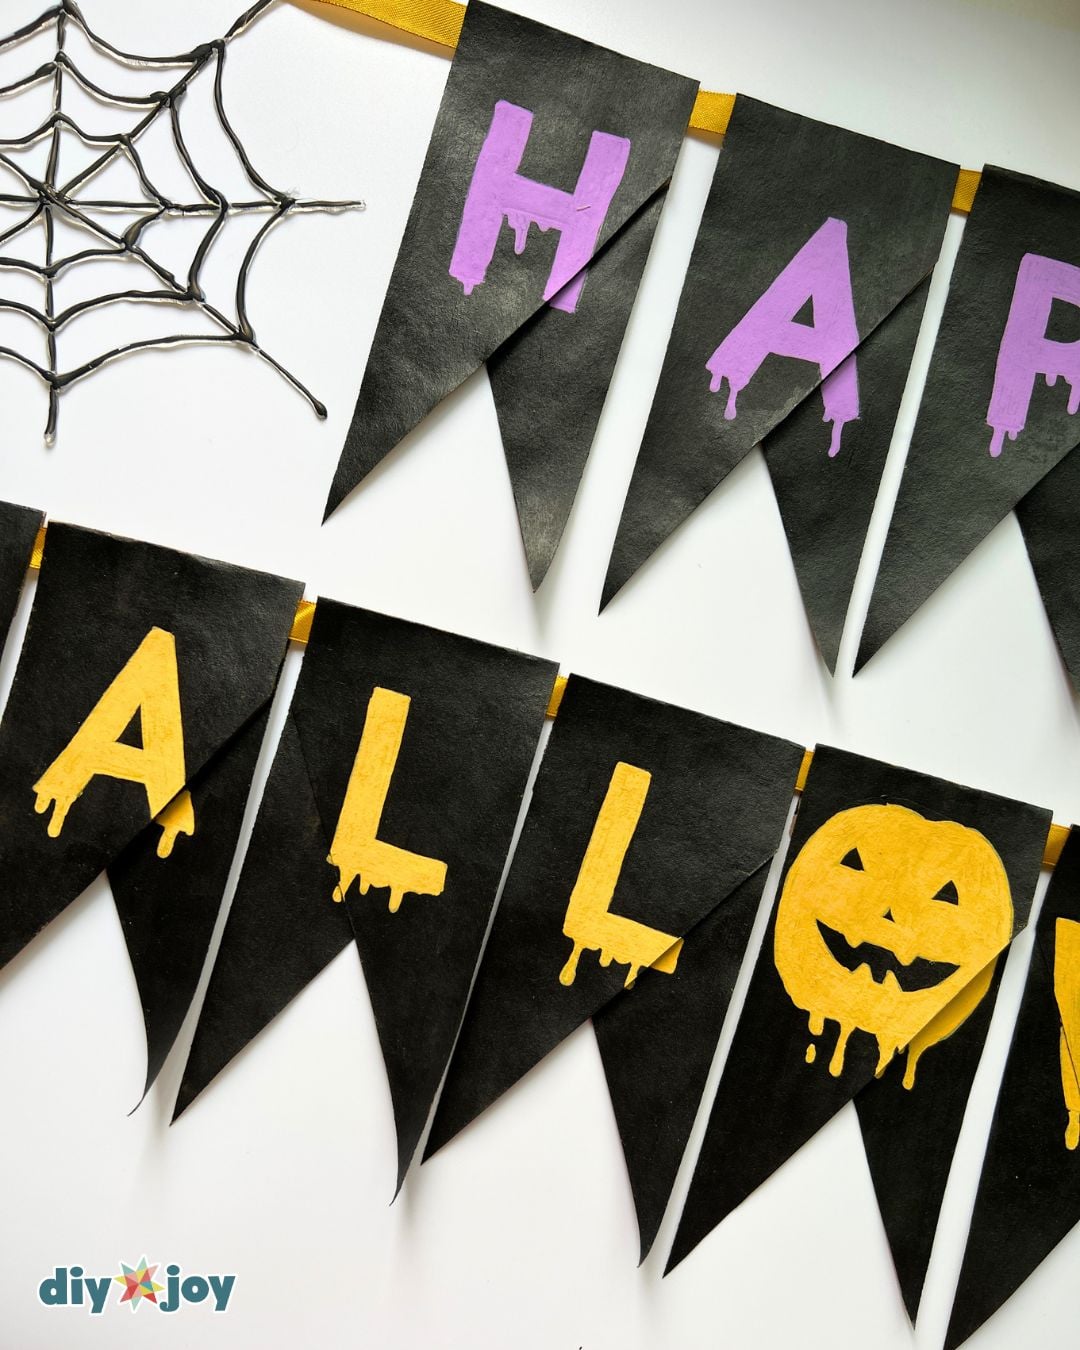
Trace the outline of the letters using a purple acrylic marker.
Color the letters in, then draw the drips.
Step 3:
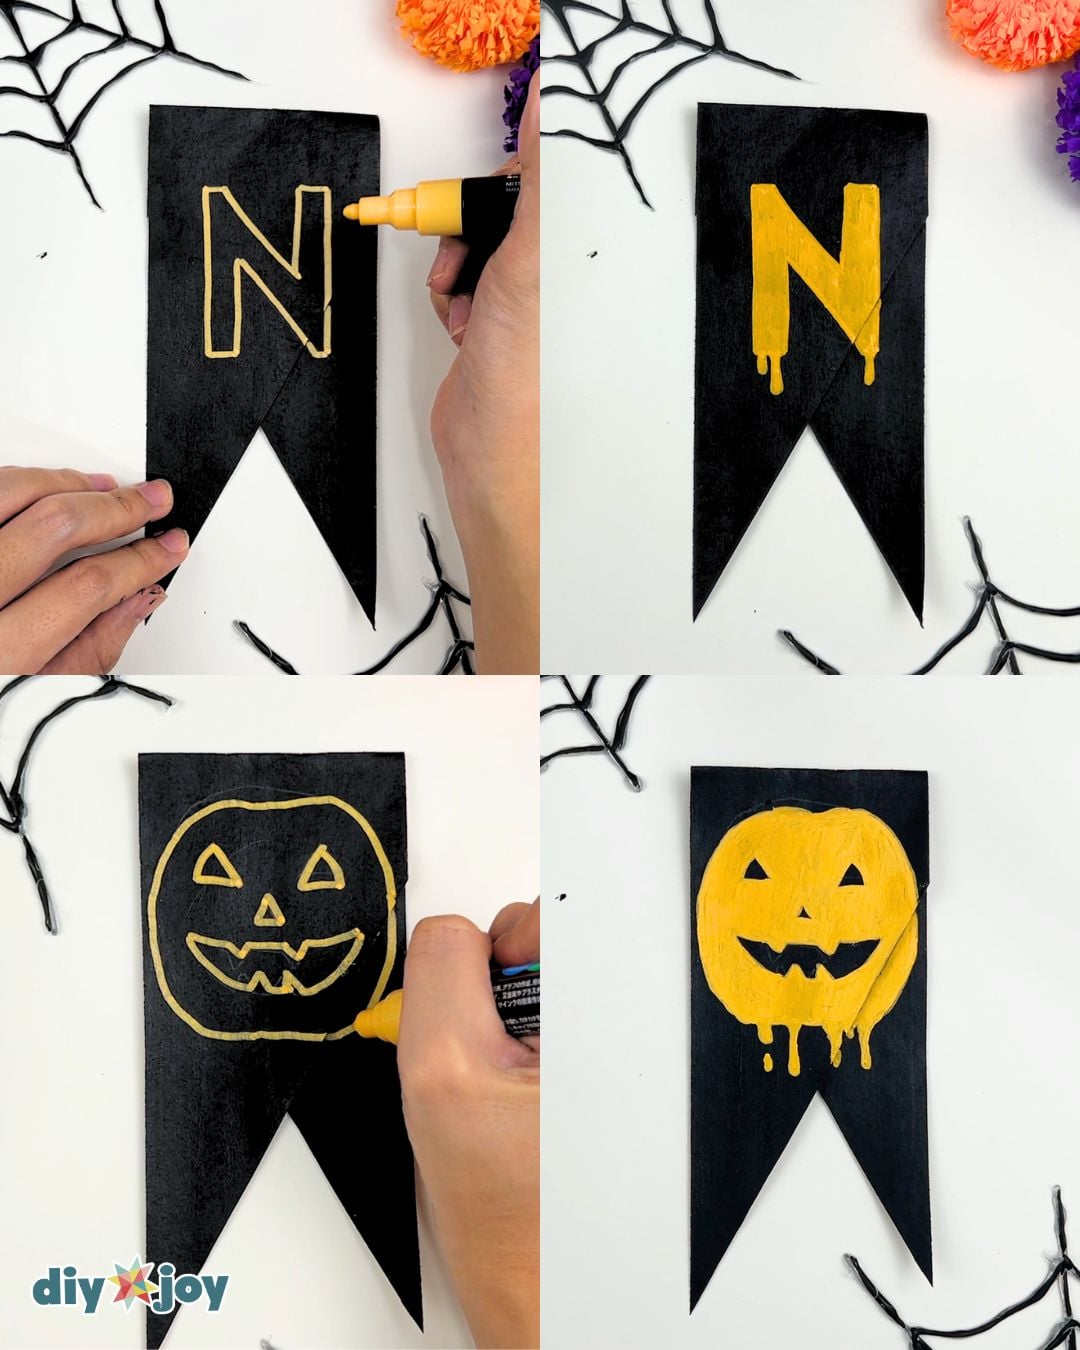
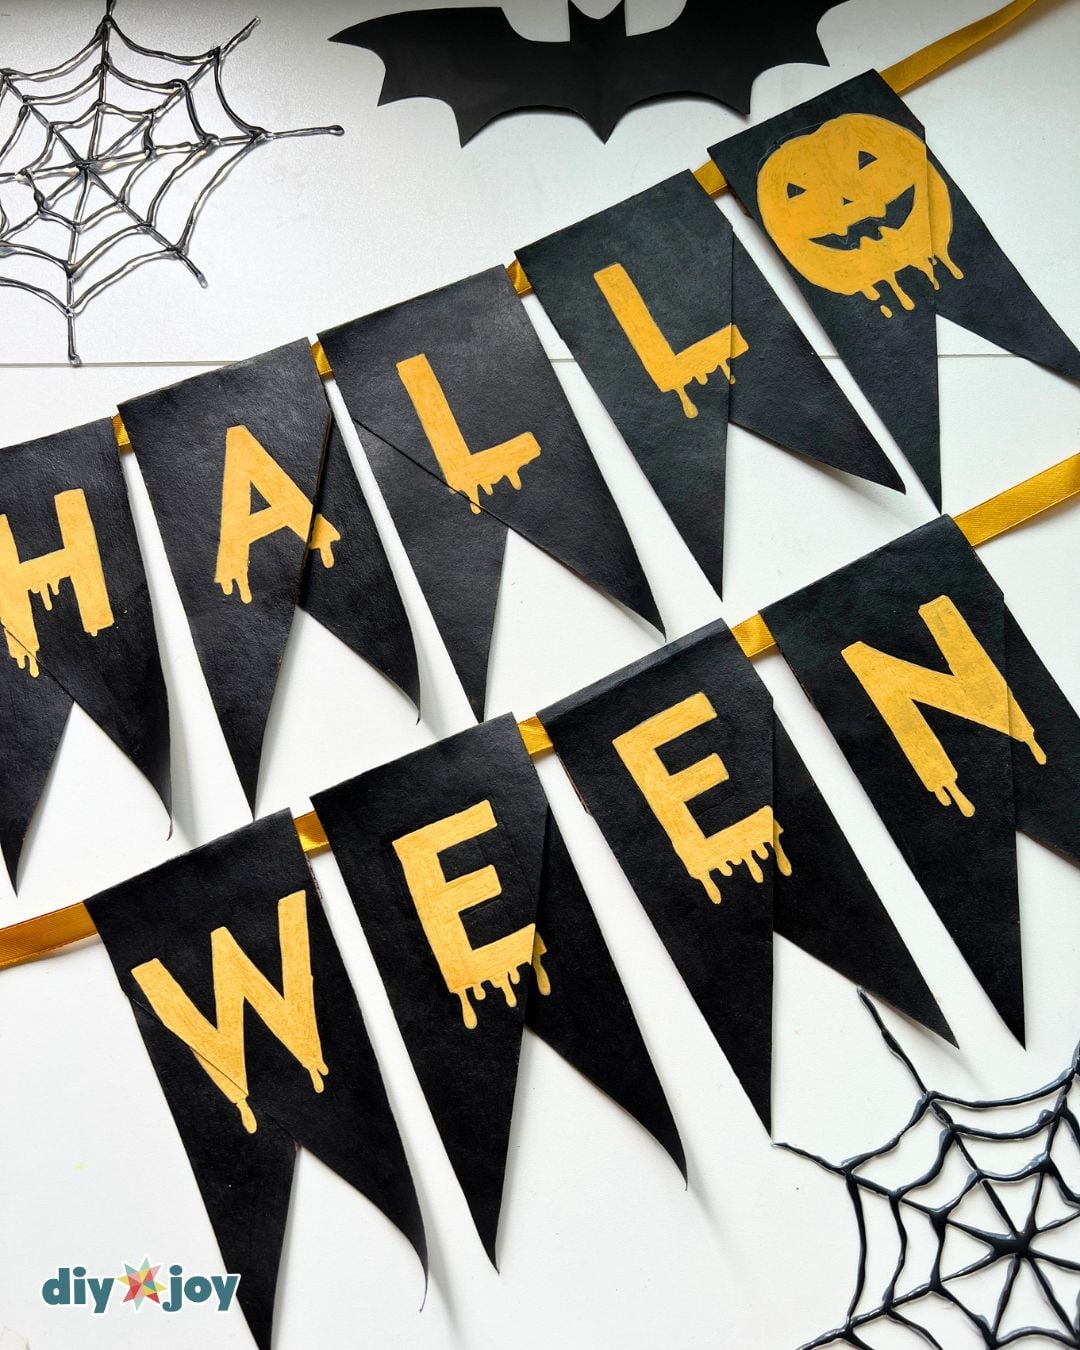
Place the letter templates for the word ‘Halloween’ in the middle of nine of the pieces. Trace the templates with a pencil.
Change the letter ‘O’ to a pumpkin. Color the letters in, then add the drips.
Step 4:
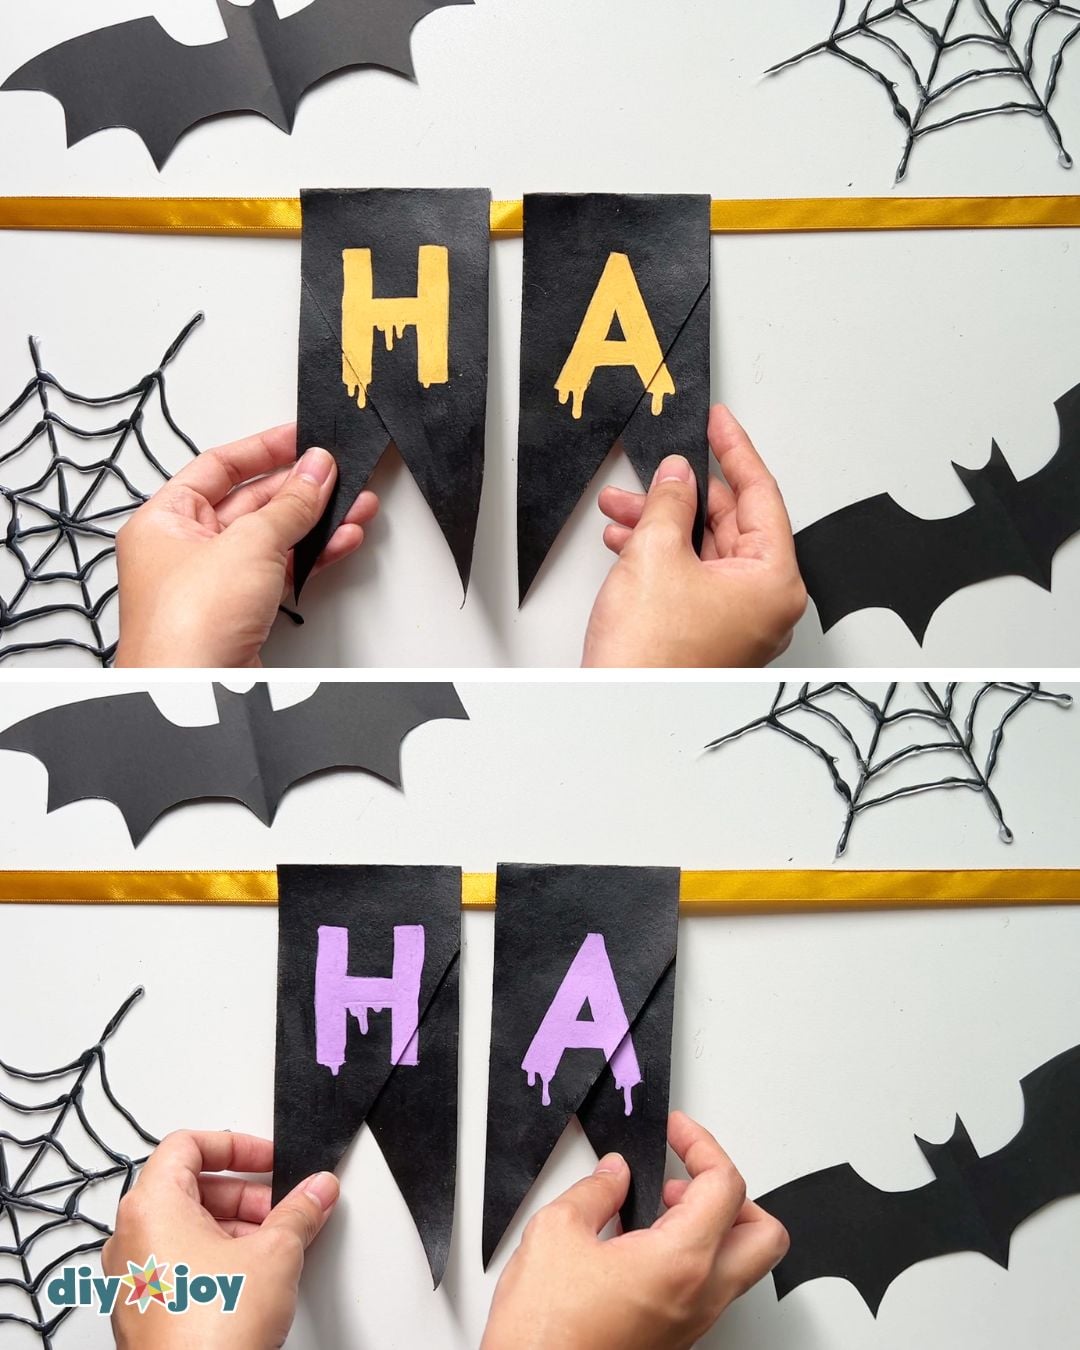
Hang the pieces on a ribbon.
Step 5:
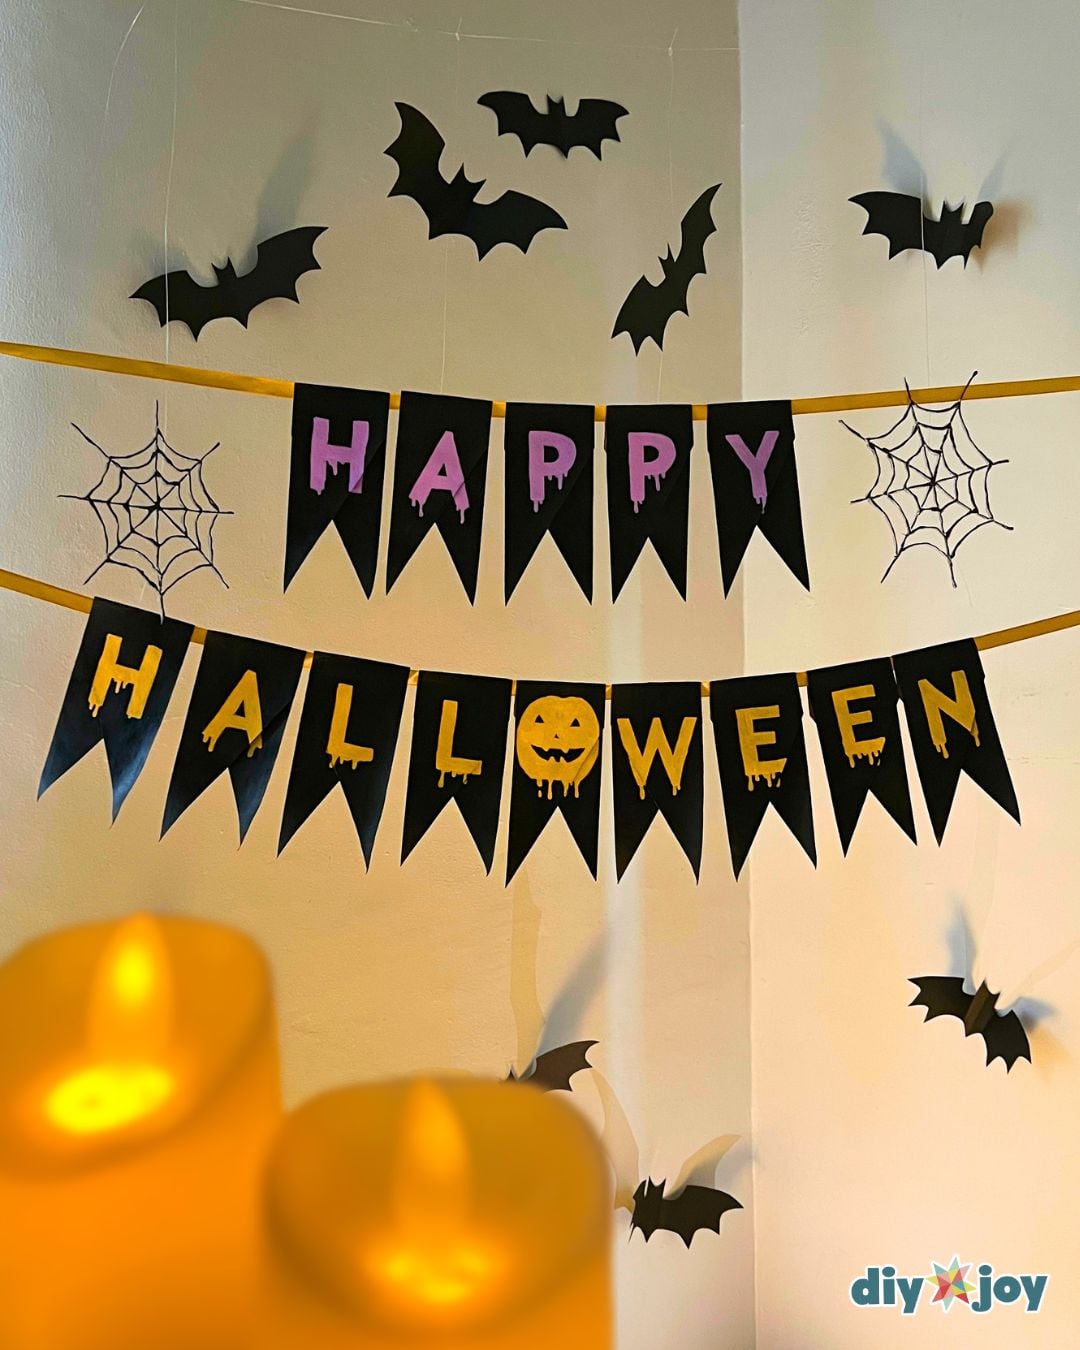
Hang the DIY Halloween banner on your wall.
Optional Steps
Make paper bats and glue gun spiderwebs to hang around your banner for even cuter DIY Halloween decor.
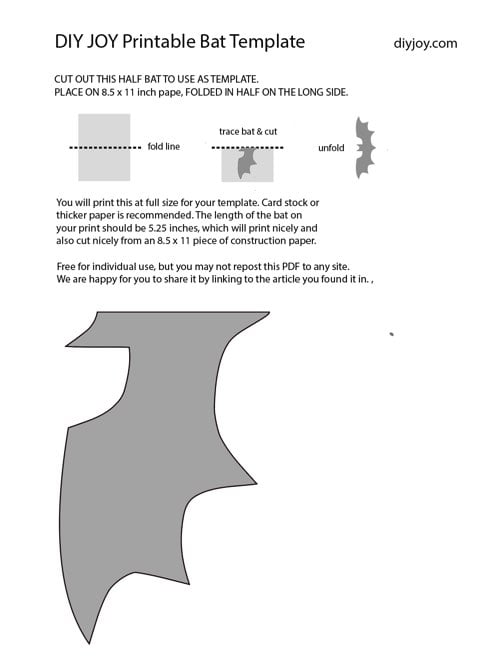
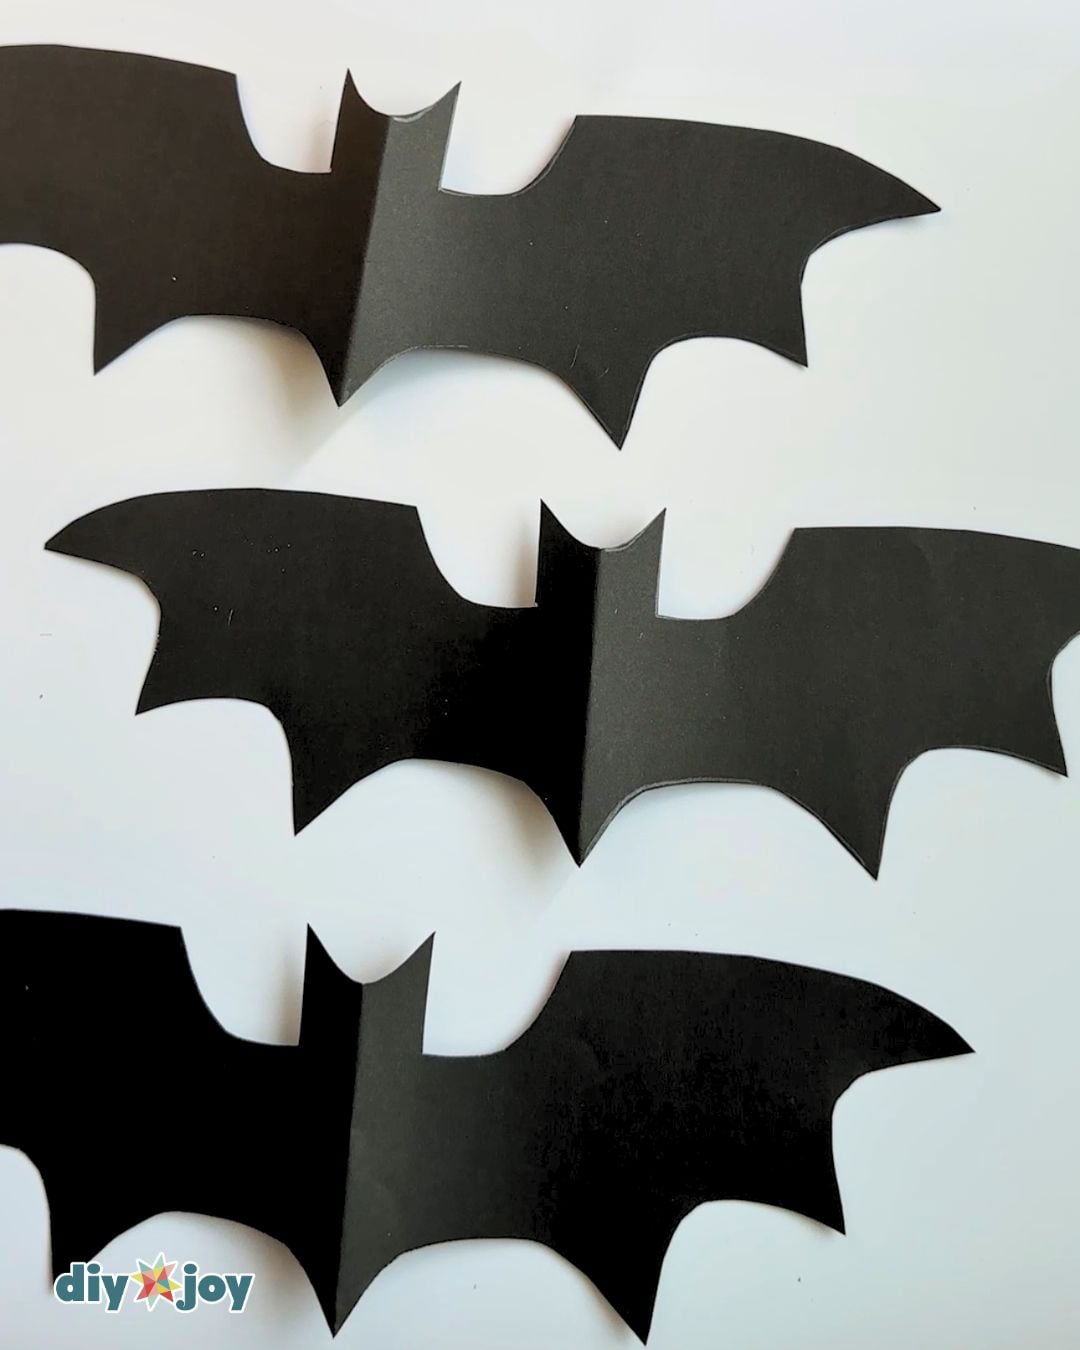
The bats look like this and are just cut from black construction paper. There is a downloadable bat template you can use for a piece of paper folded in half. Place the template next to the folded side of your paper. Draw your bat with a pencil or chalk, then cut. Repeat to make as many bats as you would like.
FREE Printable Bat Template here

Crafting Tip
To prevent the tubes from curling, cover them with plastic wrap while they are still slightly damp, and use books to weigh them down
More Halloween Banner Ideas and Ways to Use It
This Happy Halloween banner is proof that the best DIY Halloween decor does not need a craft store haul – just recycled tubes and supplies you likely already own. Make several and string them along the porch for trick-or-treaters, or hang one over the dessert table at your Halloween party. The same folded-bunting trick works for any holiday banner you can dream up – we first used it on our DIY 4th of July banner, and this spooky season version might be our favorite yet. If you enjoyed this project, explore more of our toilet paper roll crafts and DIY Halloween decorations for the season.
Want a different look? Trace the letters in orange or lime green for a brighter palette, swap the pumpkin for a tiny ghost or bat, or letter the word BOO on three tubes for a mini mantel version. You can even punch a hole in each corner and weave the ribbon through instead of gluing the pieces down – it makes these DIY Halloween decorations easier to store flat and reuse again next year.
FAQs
How do I stop the rolls from curling when they get wet?
Warping is totally normal, but easily prevented! While the tubes are still slightly damp, simply cover them with a layer of plastic wrap and stack a few heavy books on top. Leave them weighed down until they are completely dry, and they will come out perfectly flat.
What can I use if I don’t have acrylic markers?
No markers? No problem. Your best alternative is to grab some regular acrylic paint and a paintbrush. Although acrylic markers like Posca show up best on dark colors, regular acrylic works, too. The tip of a toothpick or a cotton swab works wonders for hand-painting those drippy details!
What kind of paint is best to use?
Go with acrylic! It is generally our top pick for cardboard crafts because it provides excellent, even coverage over that standard brown tube and dries in a flash.
Use regular or heavy body acrylic to paint the banner pieces.
Can kids help make this Halloween banner?
Absolutely – this is a very kid-friendly craft. Let little ones handle the painting while an adult traces the letters, and nobody has to touch anything sharper than a pencil.
Can you save this Halloween craft to use again?
Yes, of course! It’s just paper and long-lasting paint, both the acrylic paint and acrylic markers retain their color if you store them properly. When you pack this up for next year, you just want to keep it dry and out of the sun. If you can keep it out of the heat, even better. I wrap mine around a piece of flat cardboard to keep the banner pieces flat, then wrap in white tissue or a brown paper bag before placing it in a plastic tub with the rest of my Halloween decor. I recommend storing it on the bottom or top of the bin so it stays flat.