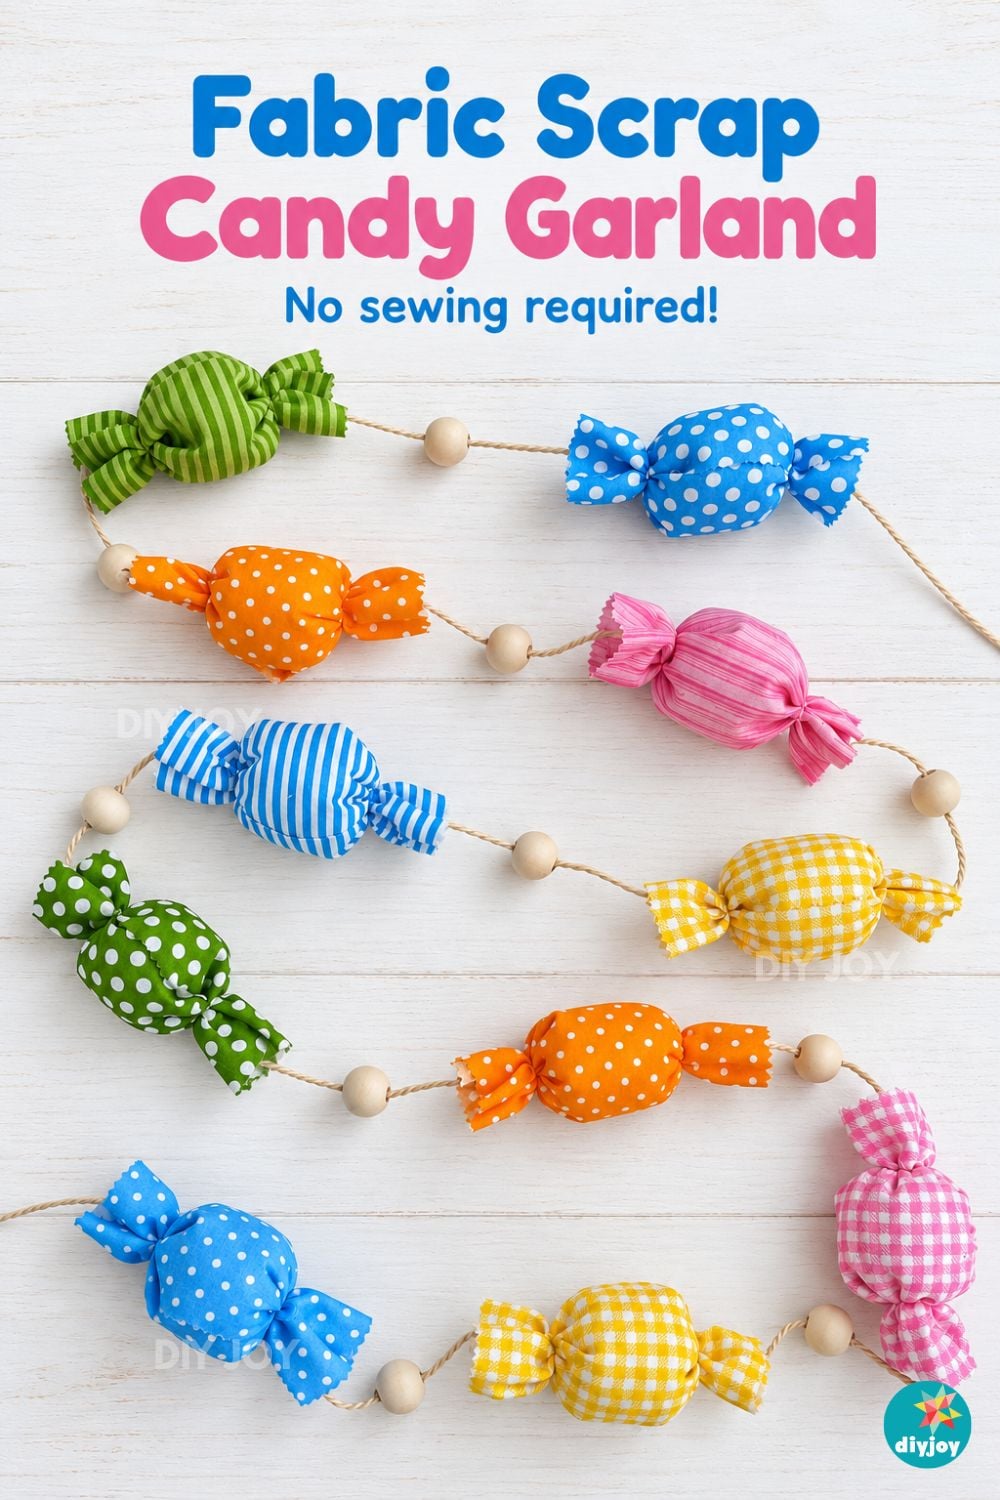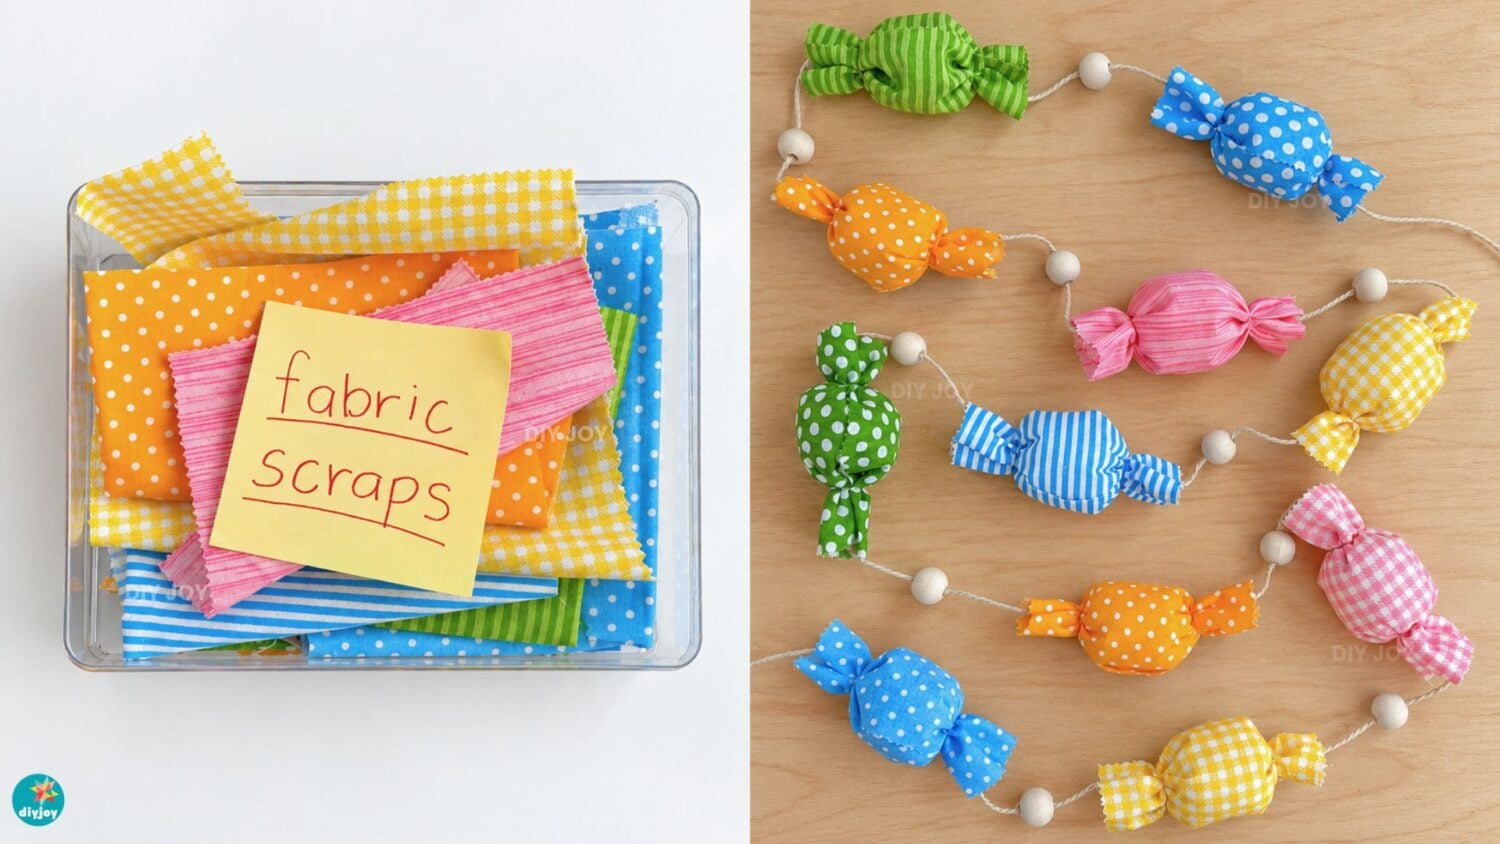
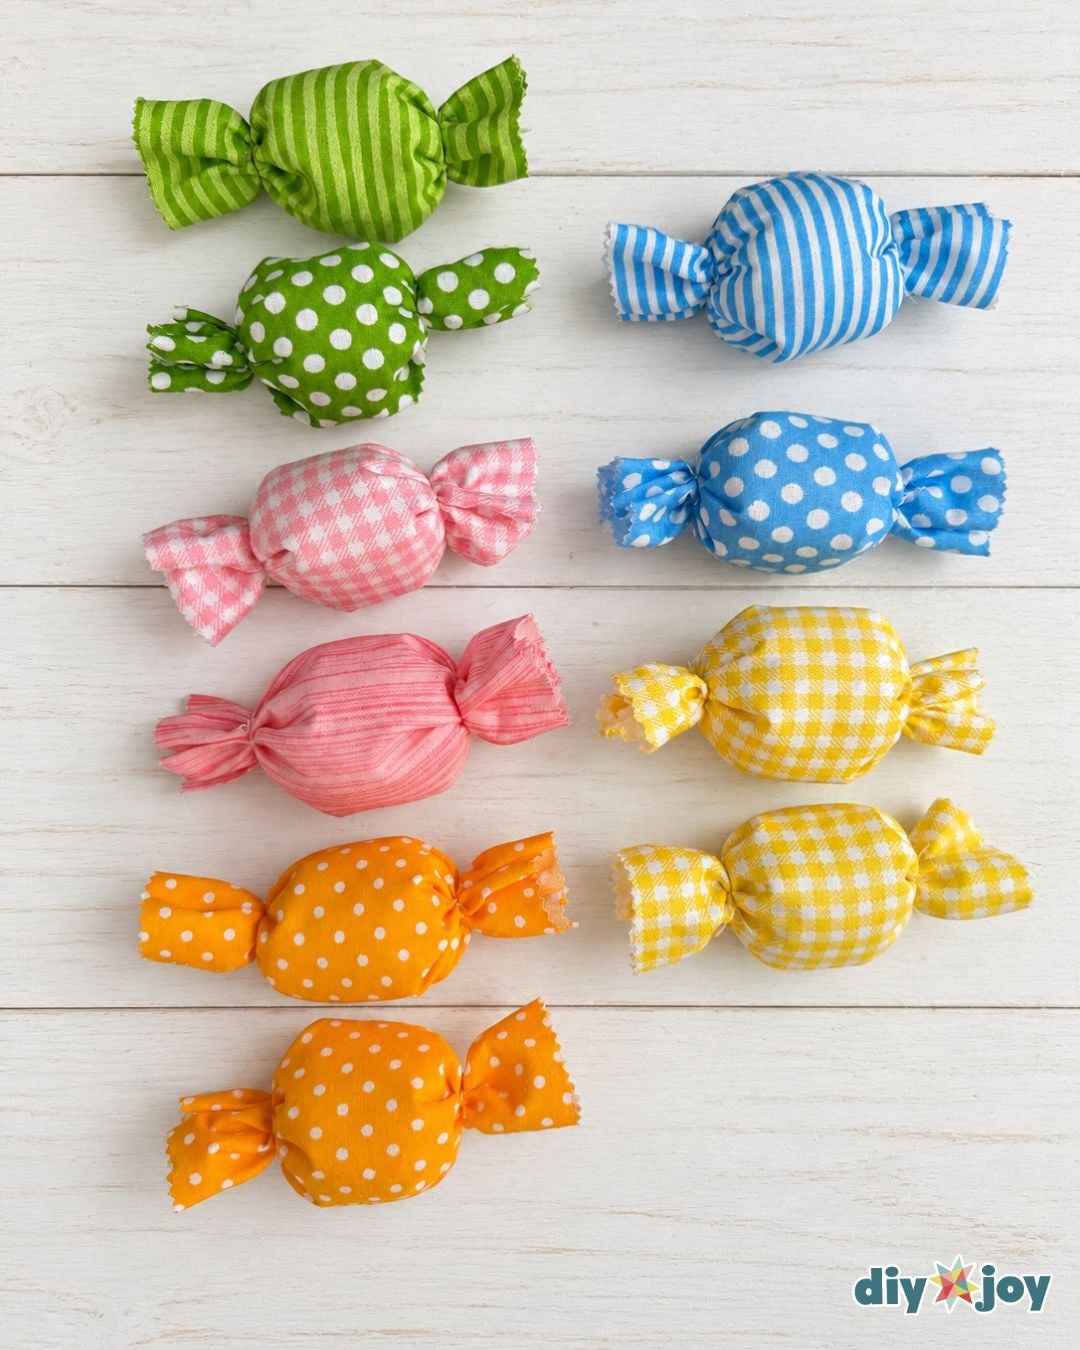
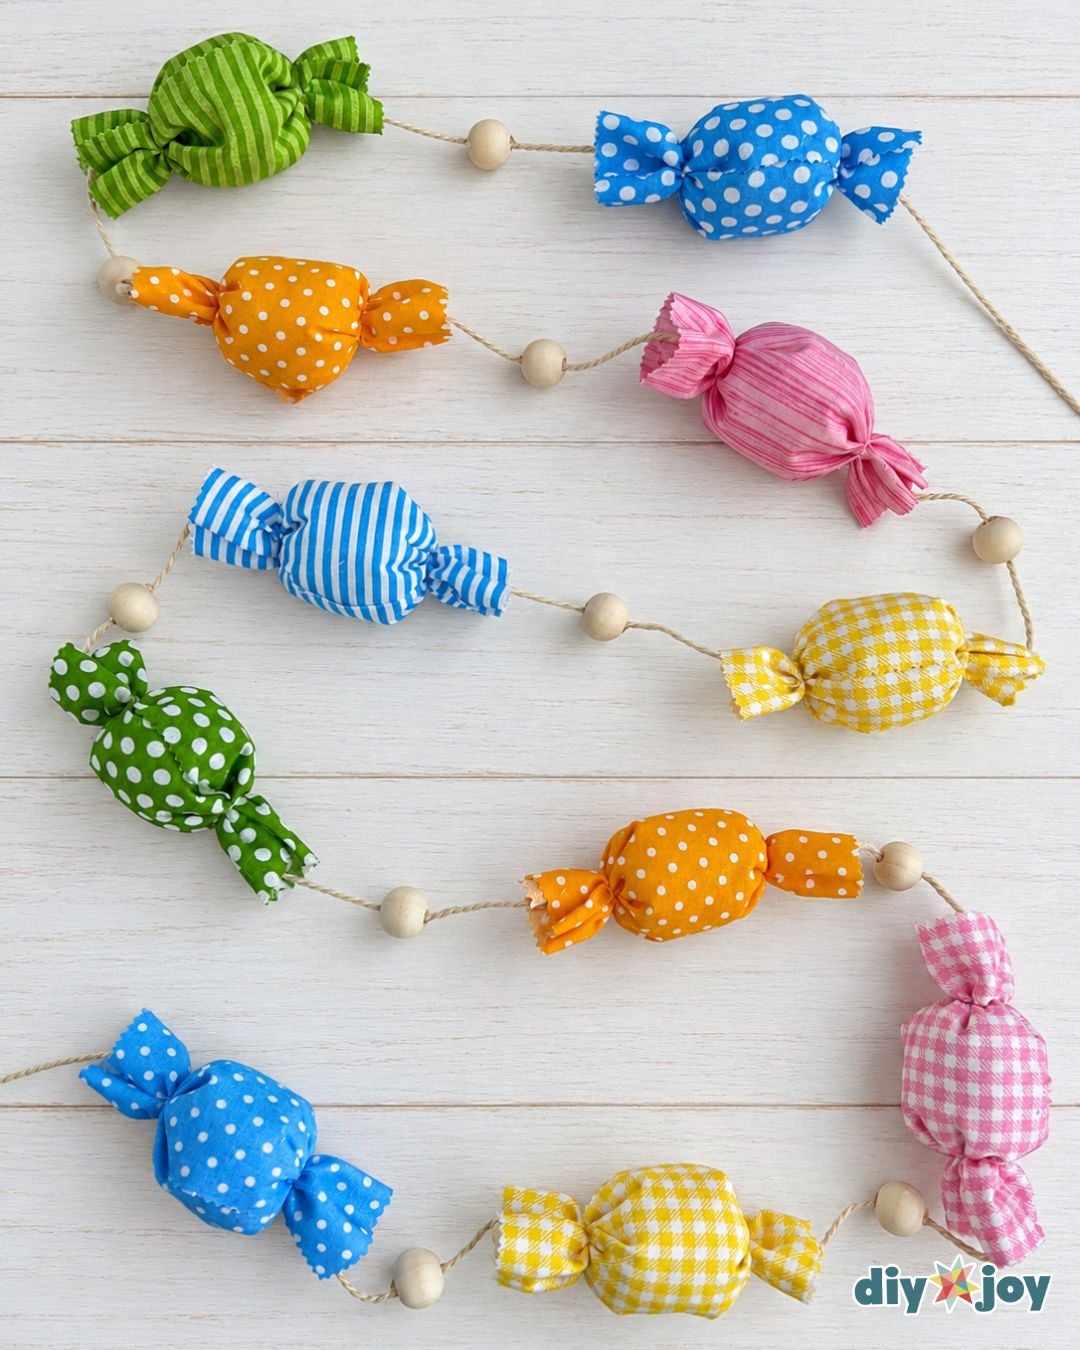
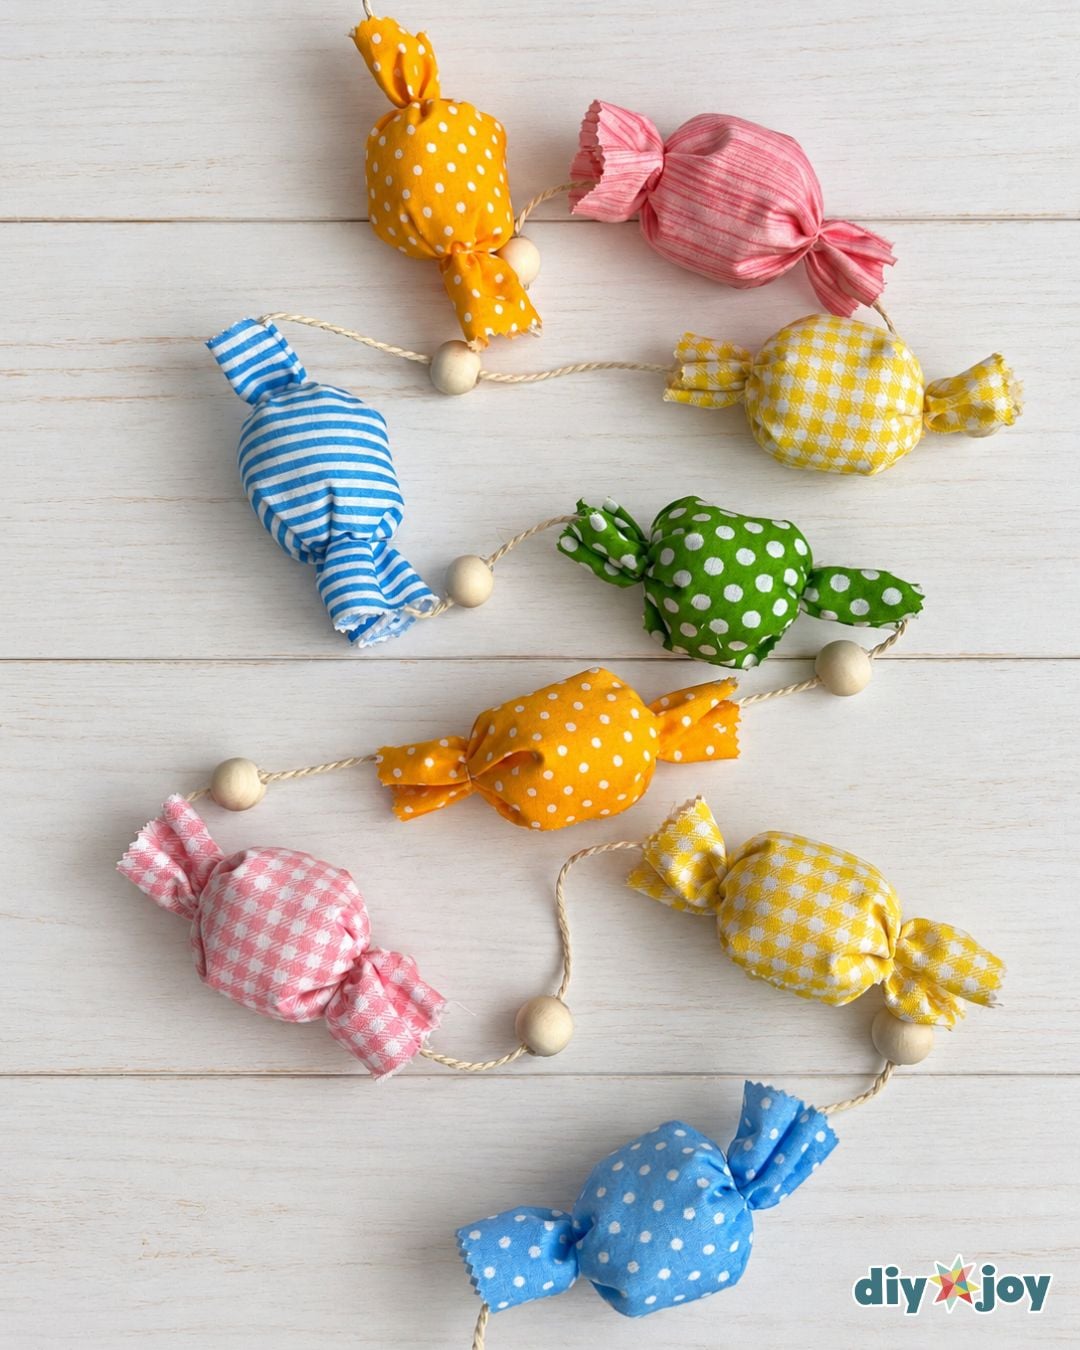
This DIY candy garland turns leftover fabric scraps into no-sew Christmas decor that looks sweet enough to unwrap. You cut fabric rectangles with pinking shears, wrap each one around a little fiberfill, tie both ends with thread, then string the candies on twine between 14 mm wooden beads with a loop turner and a dot of hot glue.
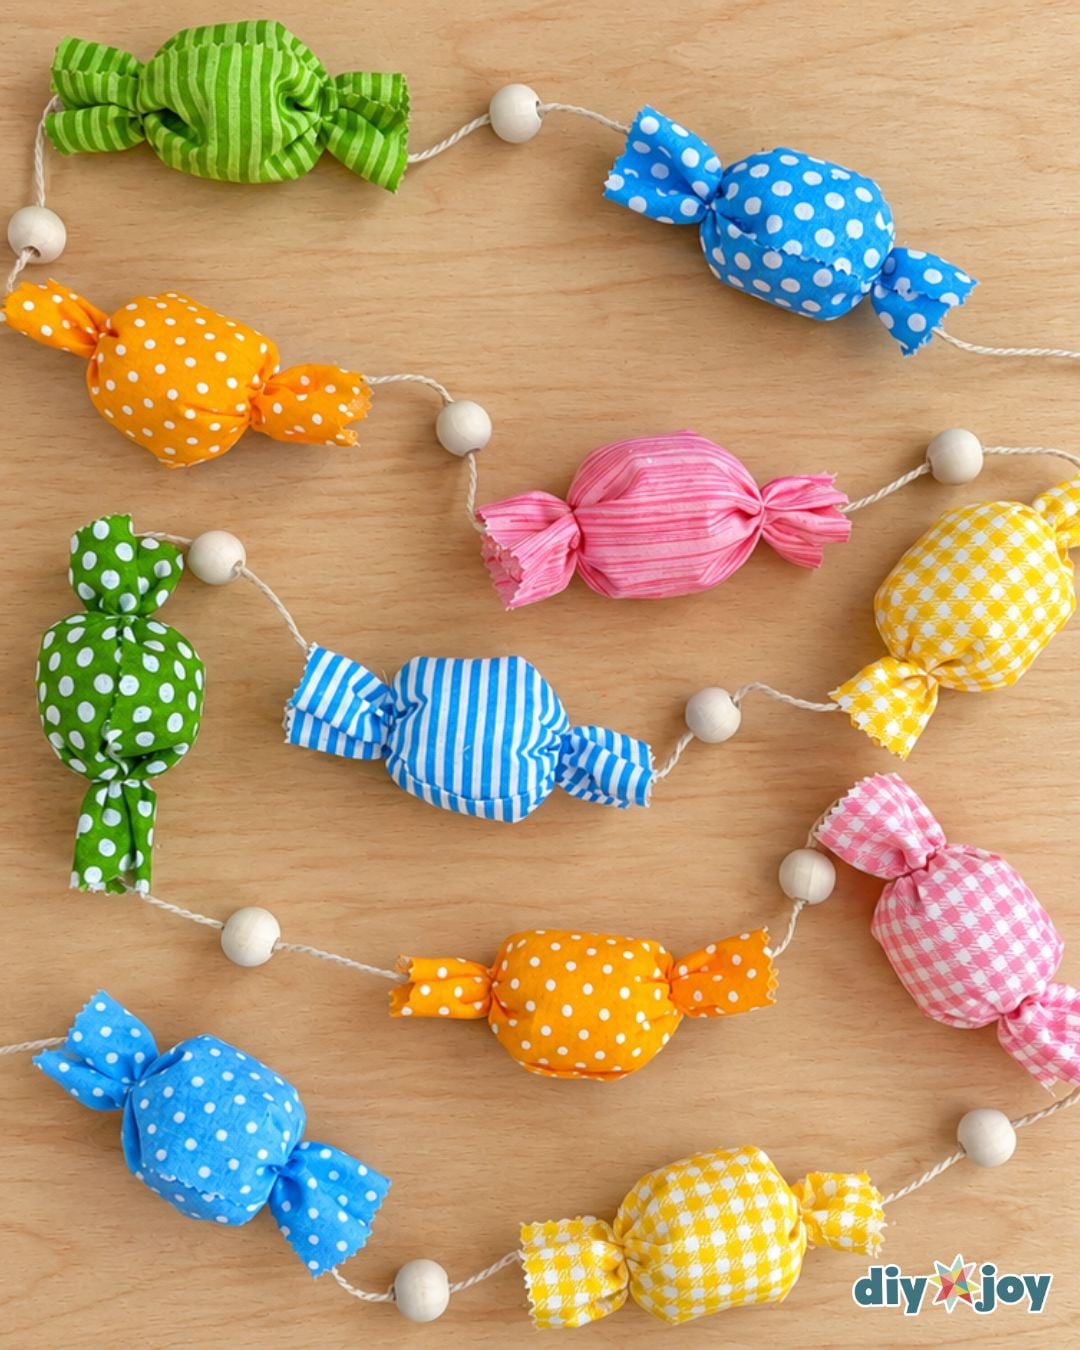
And not one stitch is involved. No sewing machine, no hemming, just scraps, stuffing and a spool of thread doing all the heavy lifting (okay, the very light lifting). It is one of those beginner-friendly no sew crafts that looks far fussier than it is, and since most of the supplies are probably already in your craft stash, it is a budget-friendly way to make your own DIY Christmas decorations this year.
What to Do With Fabric Scraps
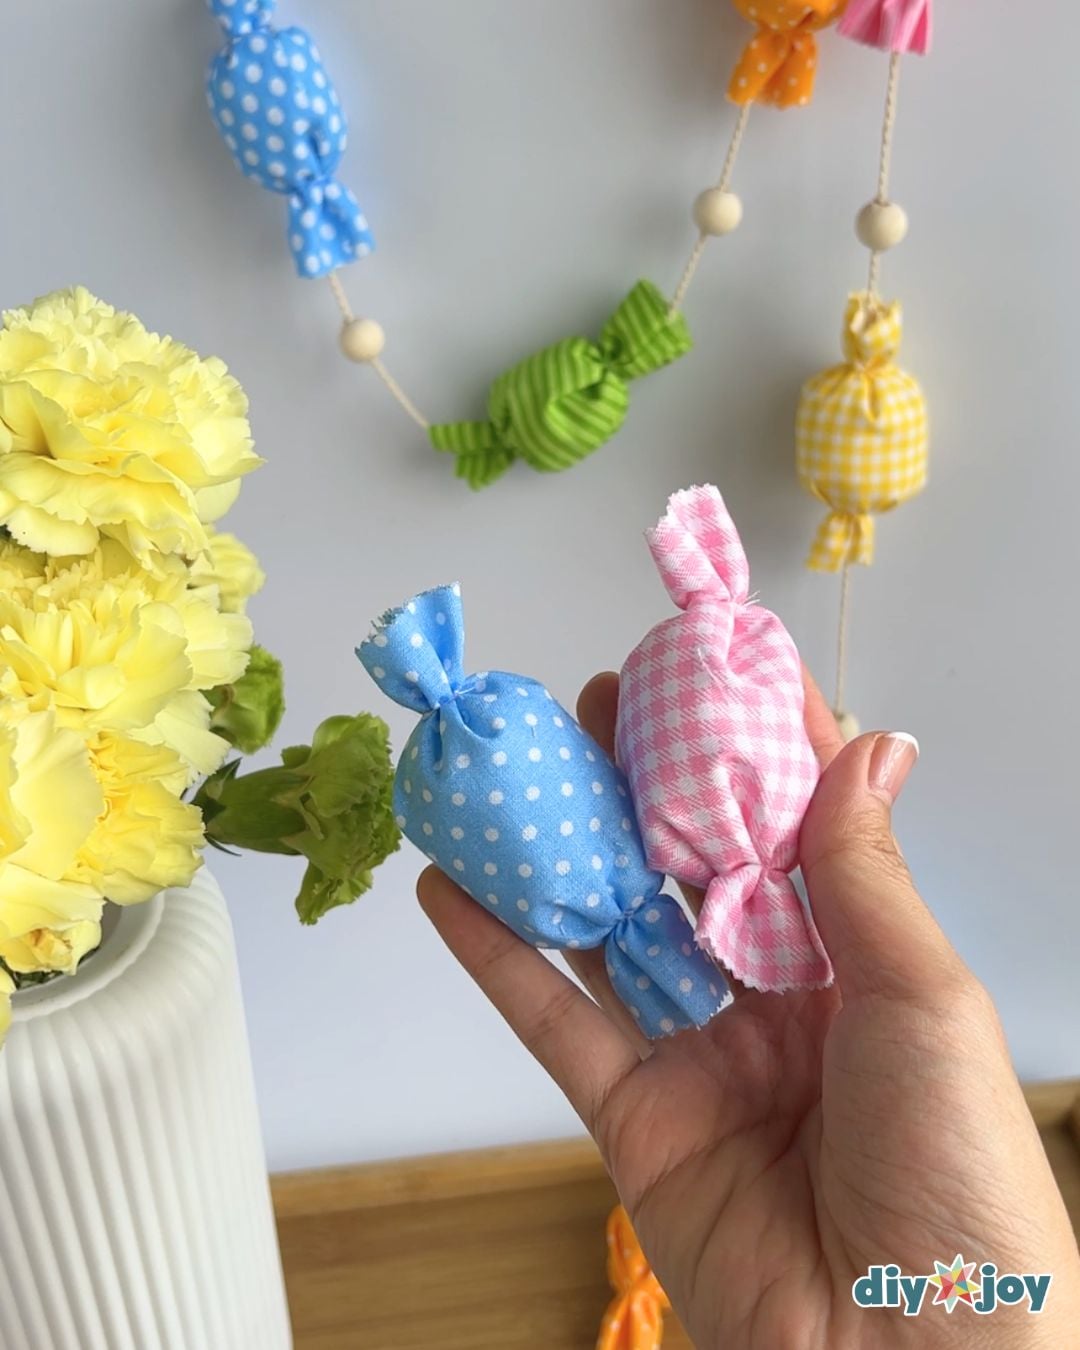
That little pile of leftover fabric still has plenty of life in it. Long strips can become a braided fabric bracelet, while smaller pieces are great for fabric bows, patchwork designs or soft handmade decorations. Sort your scraps by color first and play with the prints side by side; that is half the fun of crafts using fabric scraps.
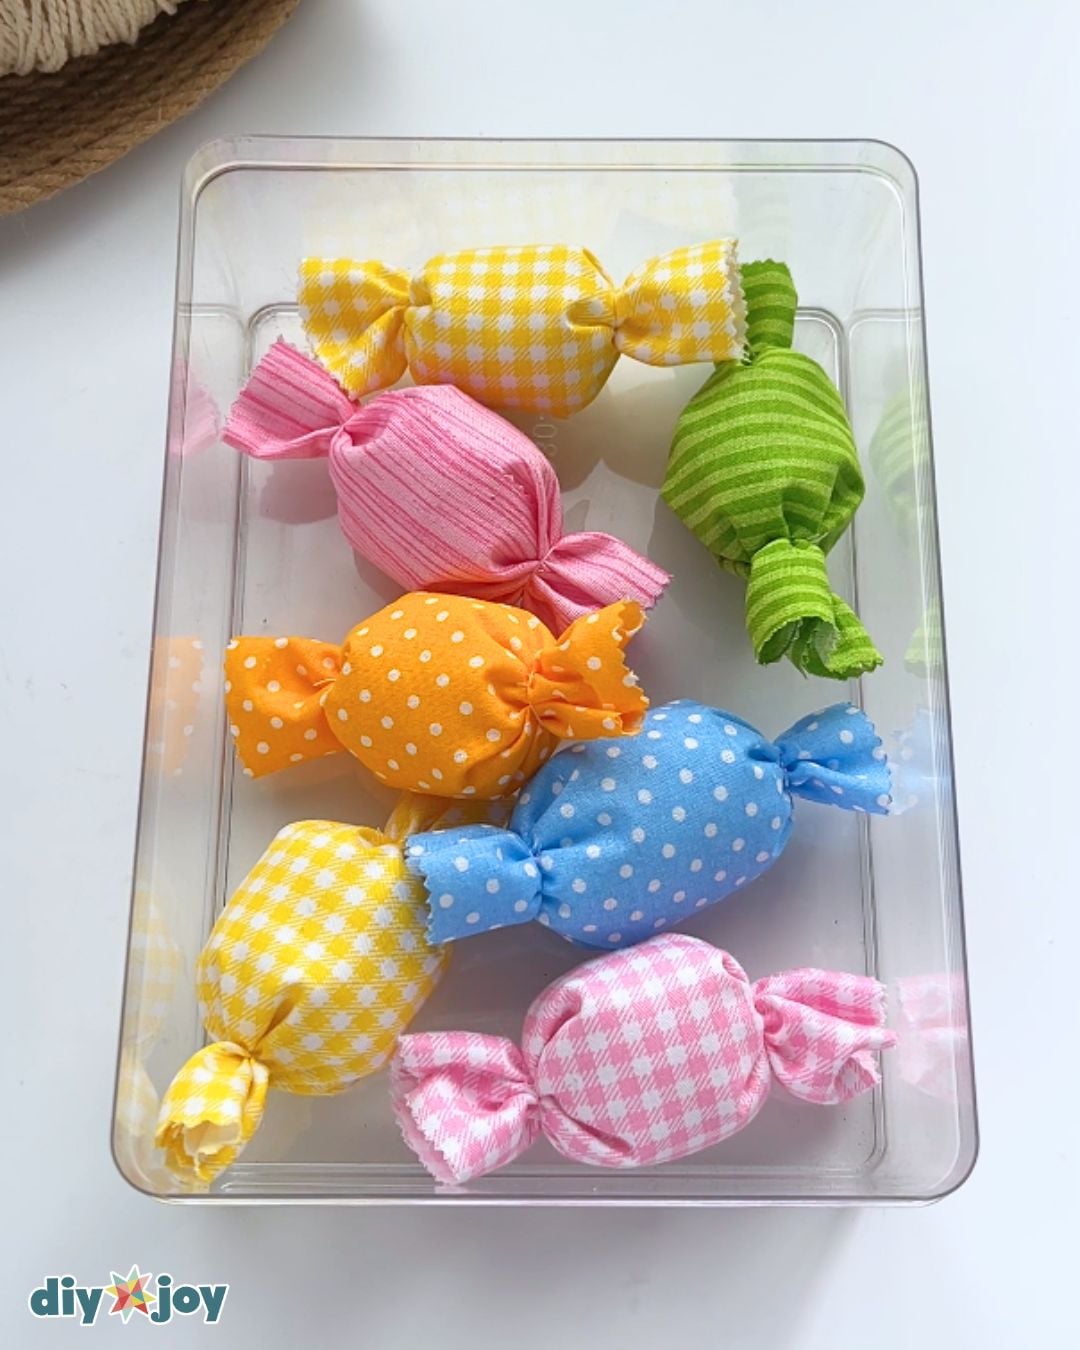
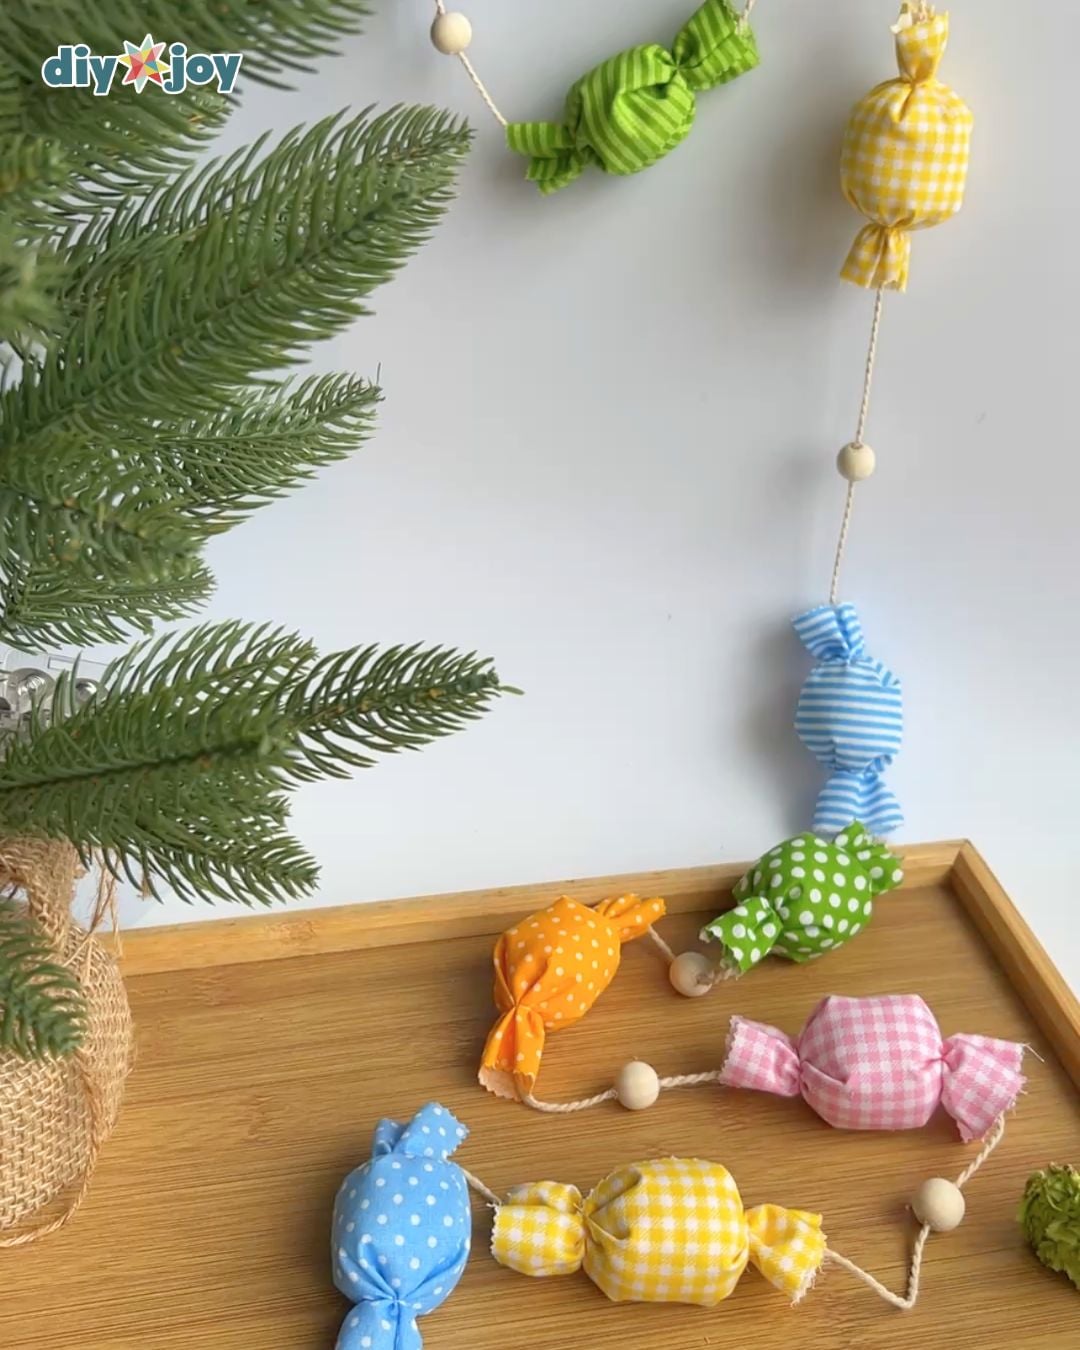
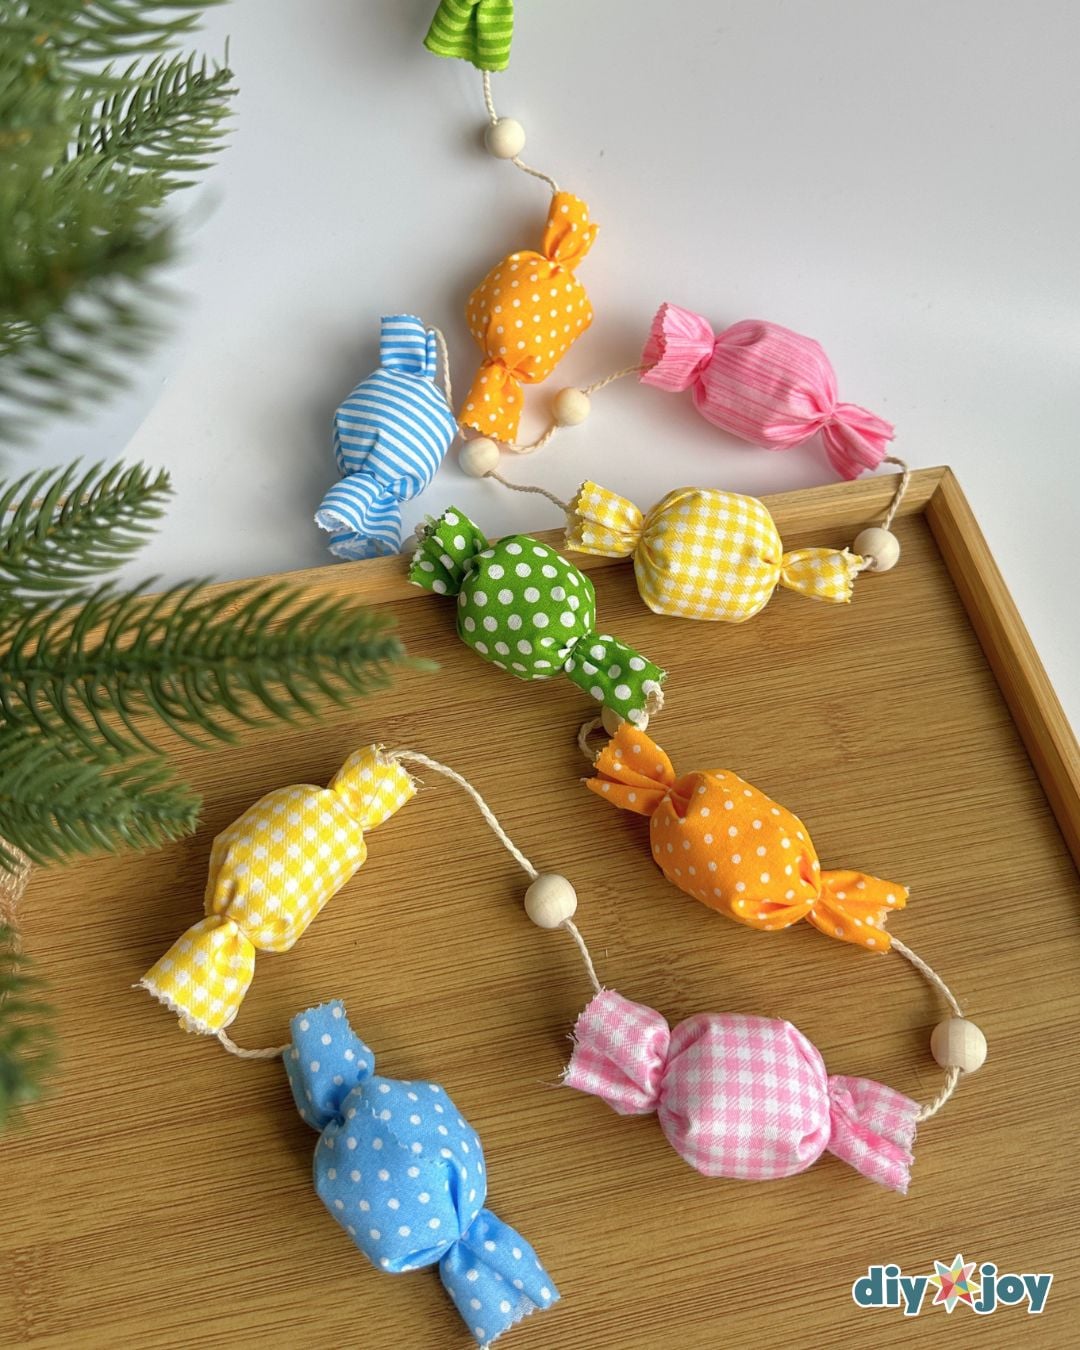
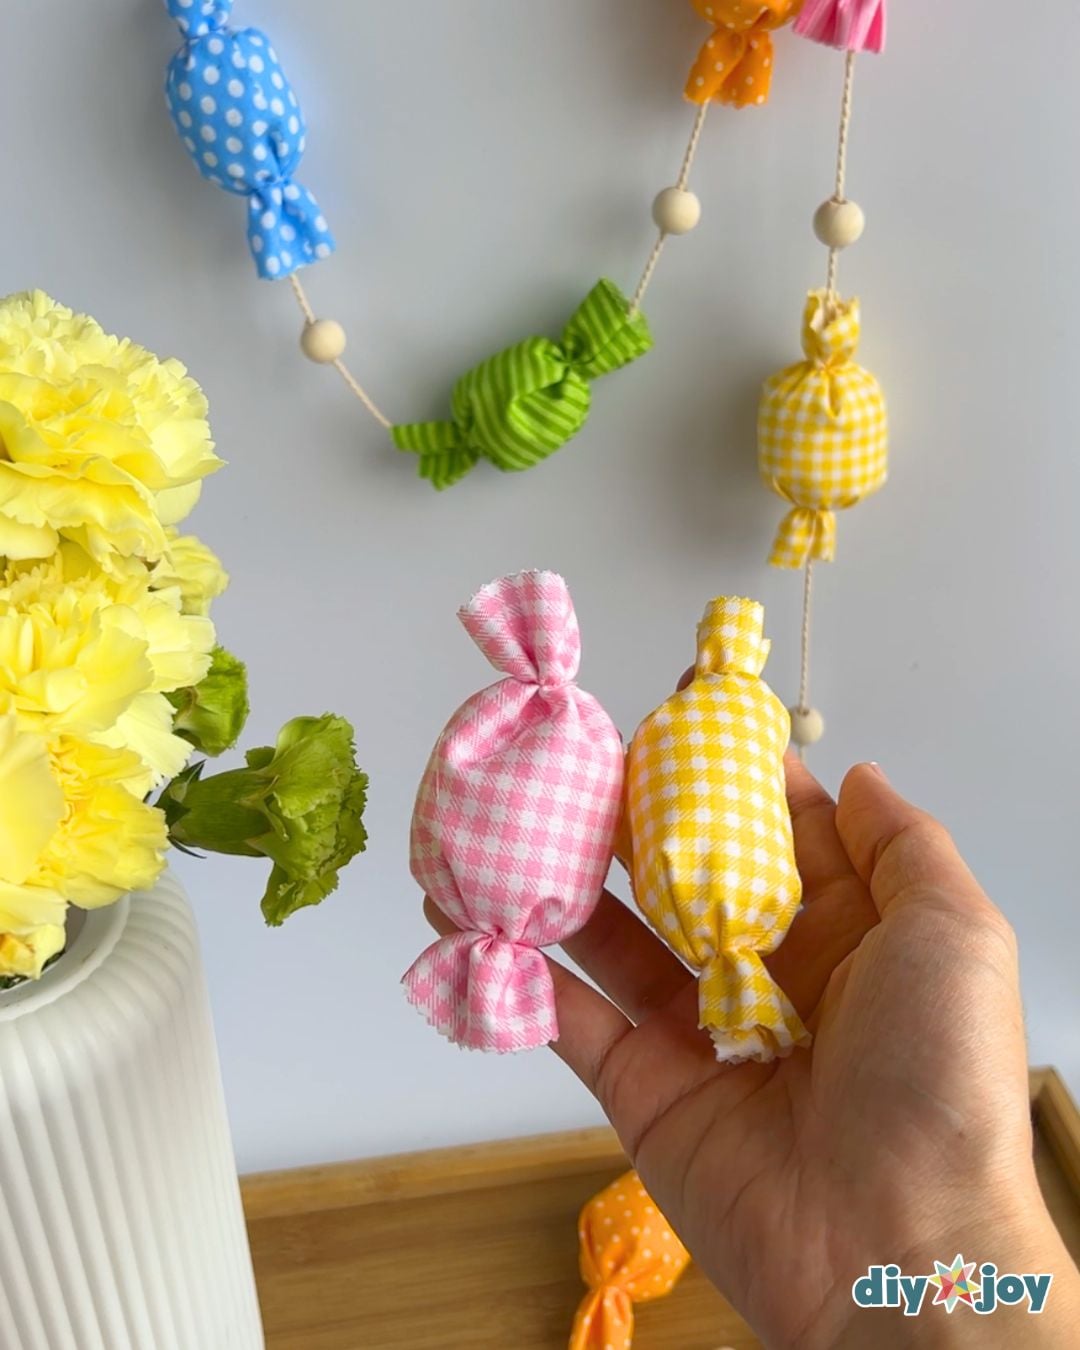
This fabric candy garland is the best excuse yet to dig through your stash. Gingham, stripes and polka dots turn into little wrapped candies without a single stitch. String them with wooden beads to drape on the mantel or the Christmas tree, or pile a few loose candies in a bowl. If you love scrap fabric crafts, this one earns its spot on the holiday to-do list.
Fabric Candy Garland Supplies
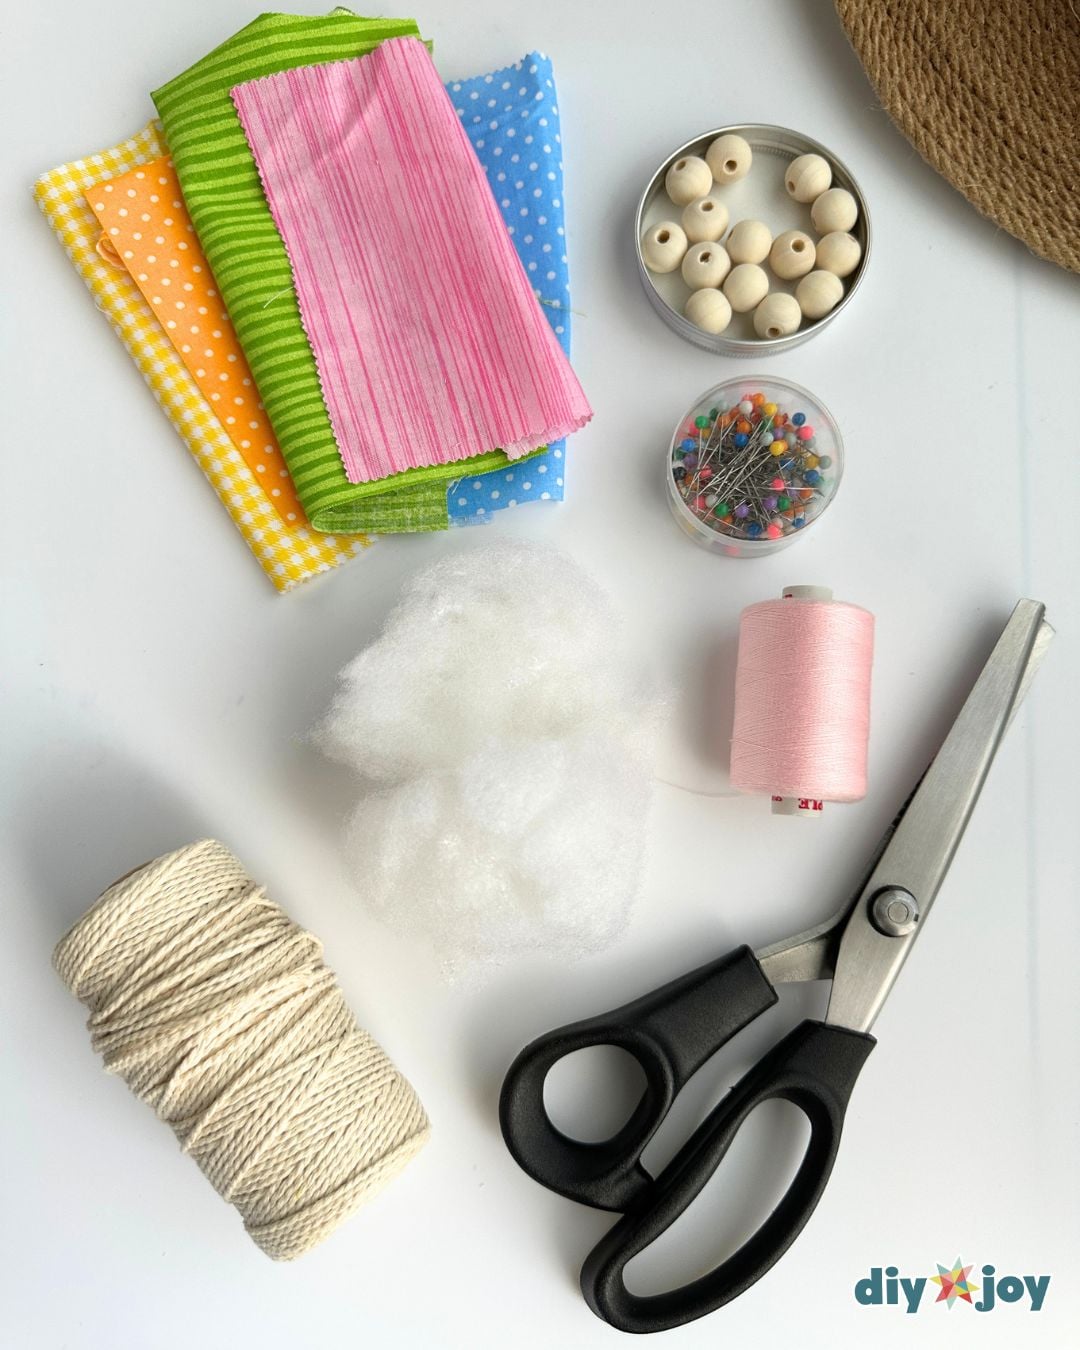
- Fabric scraps or fabric squares
- Pinking shears
- Fiber fill
- Twine string
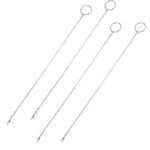
- Loop turner
- 14 mm Wooden beads
- Hot glue
- 4 3/8 in x 5 1/8 in rectangle pattern
Shop the Supplies
Here are the main supplies we used for this fabric candy garland, so you can grab the same ones and get straight to crafting.
Fabric Squares
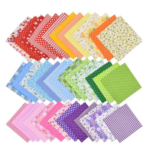
Pinking Shears

Fiber Fill
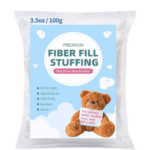
Twine String
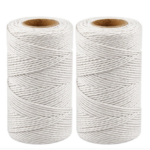
Loop Turner
Wooden beads

*Some of the supply links above are affiliate links. If you buy through them, I earn a small commission at no extra cost to you.
How to Make a Candy Garland
Step 1: Cut the fabric
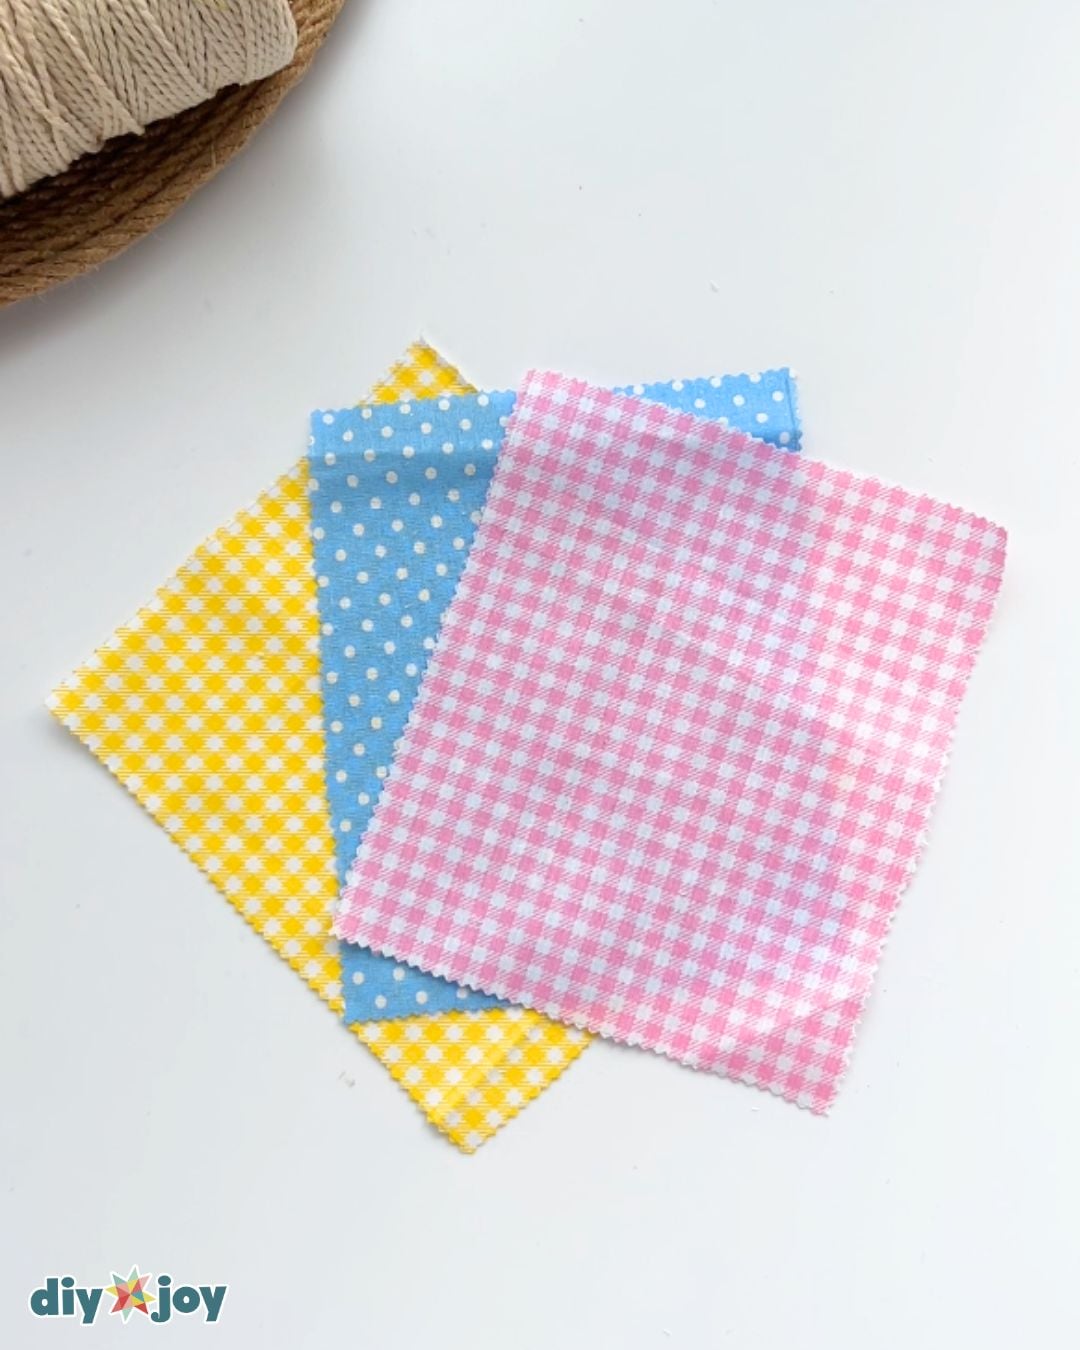
Cut the 4 3/8 in x 5 1/8 in rectangle pattern out of cardstock.
Lay your fabric flat on a surface, right side down, and trace the pattern. Cut the fabric with pinking shears, set it aside, then repeat with the other fabrics.
Step 2: Make the candy
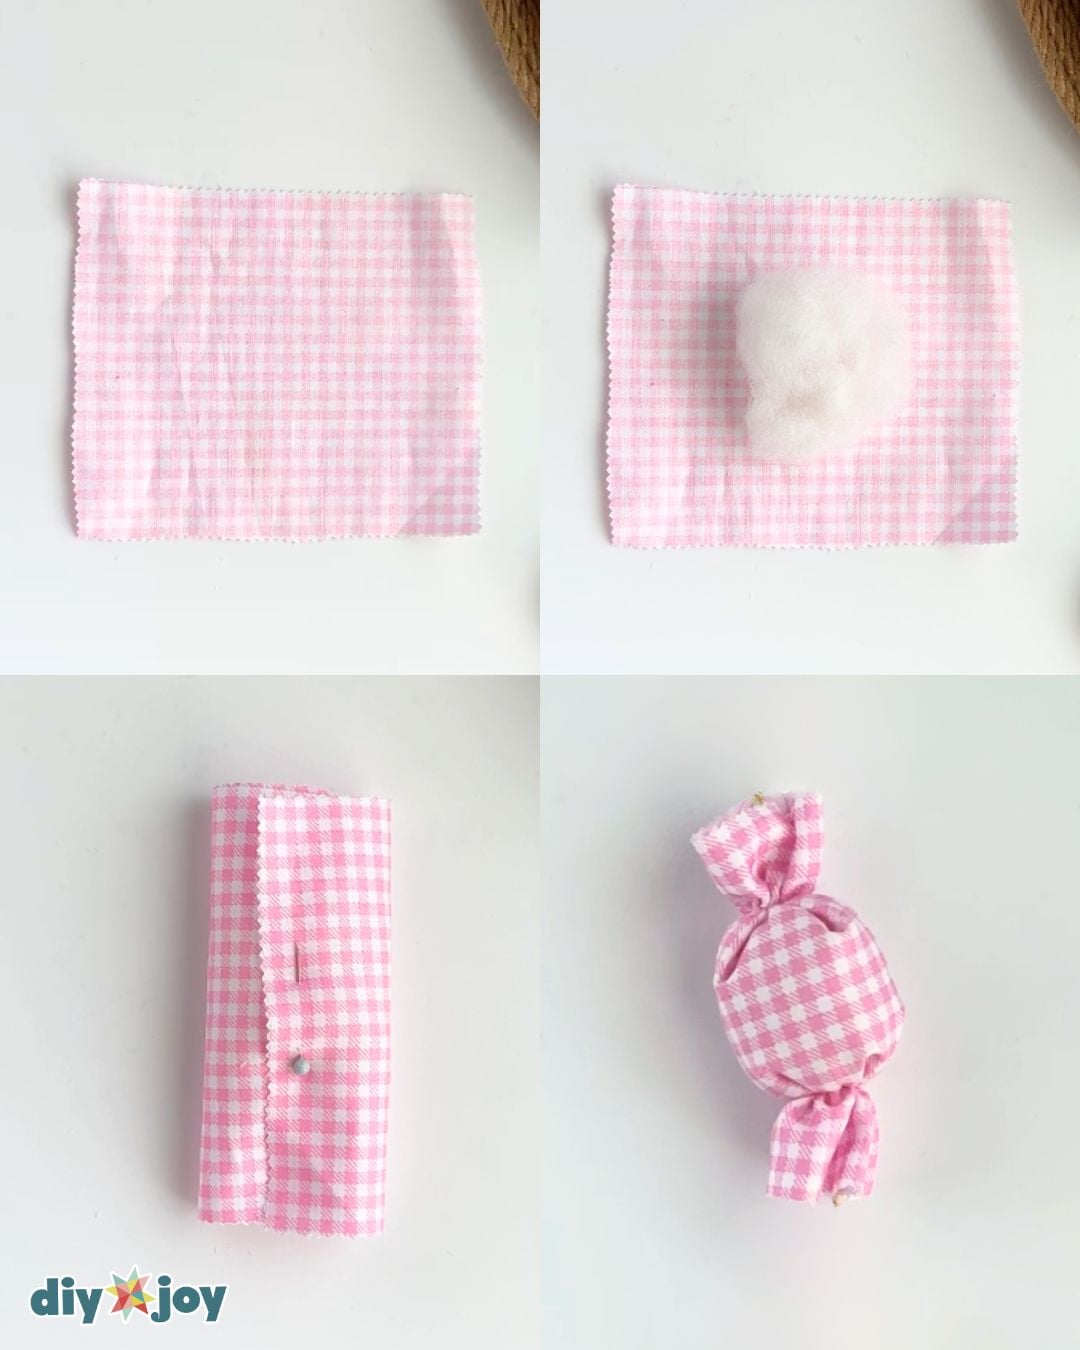
Place a fabric rectangle right side down with one of the short sides facing you. Add a small amount of fiberfill in the center, then fold the bottom and top edges toward the center. Secure the folds with a pin.
Tie both ends with thread to form the candy shape. Secure each end with a double knot, then trim the excess thread. Both ends should measure about 7/8 in to 1 inch. Remove the pin.
Step 3: Make more fabric candies
Repeat step 2 with the remaining fabrics.
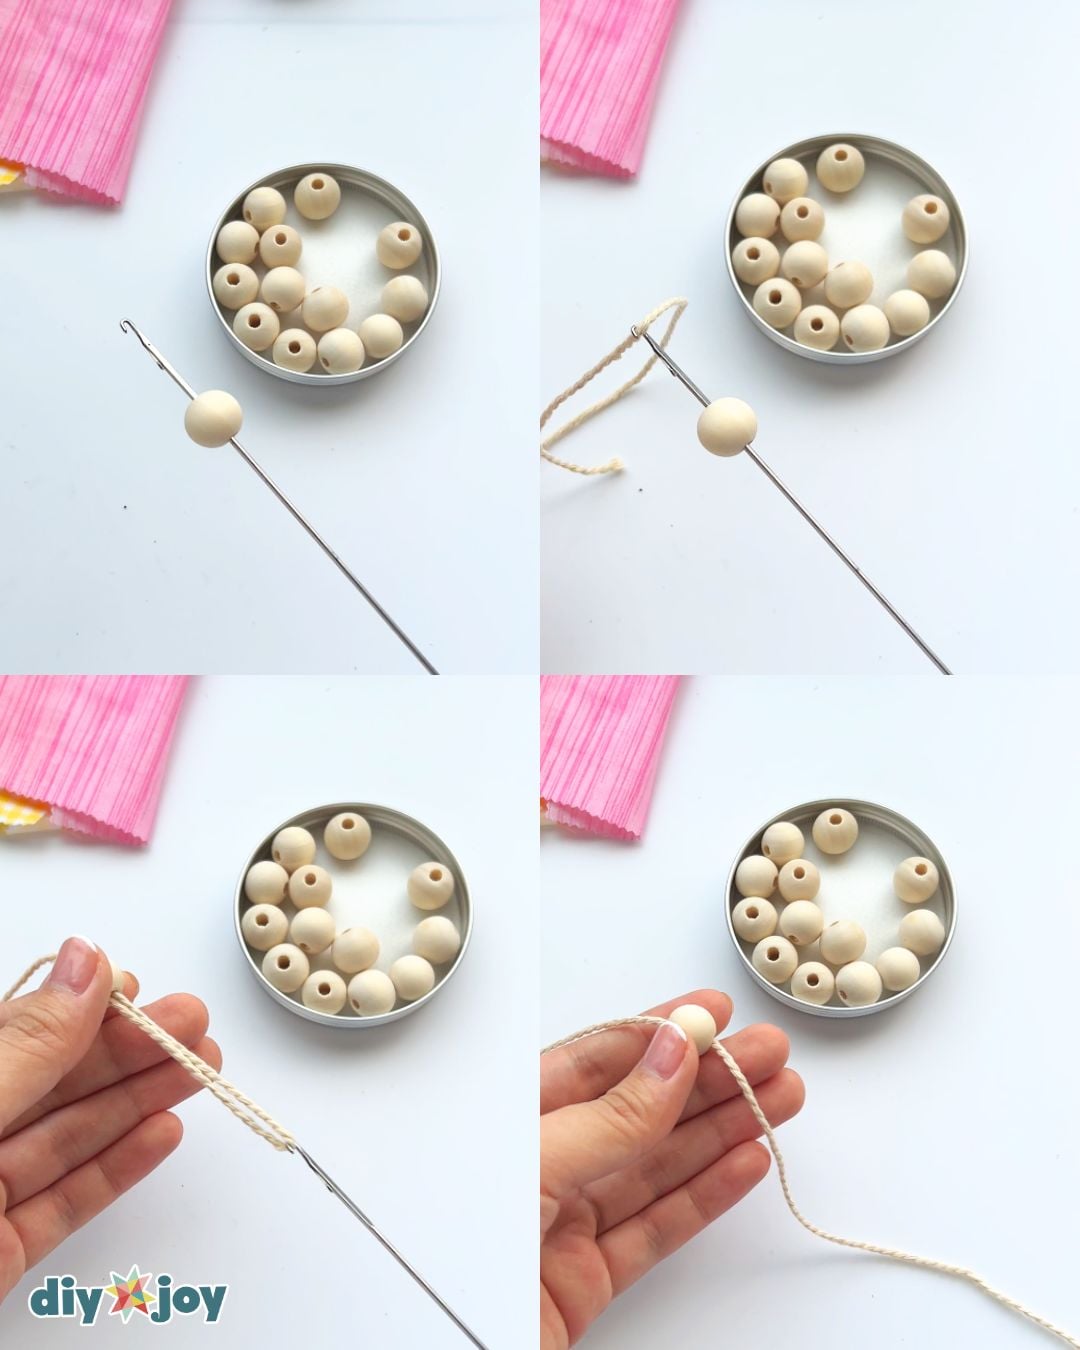
Step 4: Thread the string through a wooden bead
Open the hook on the loop turner and insert it through a wooden bead. Place the string onto the hook, close it, then pull the string through the bead.
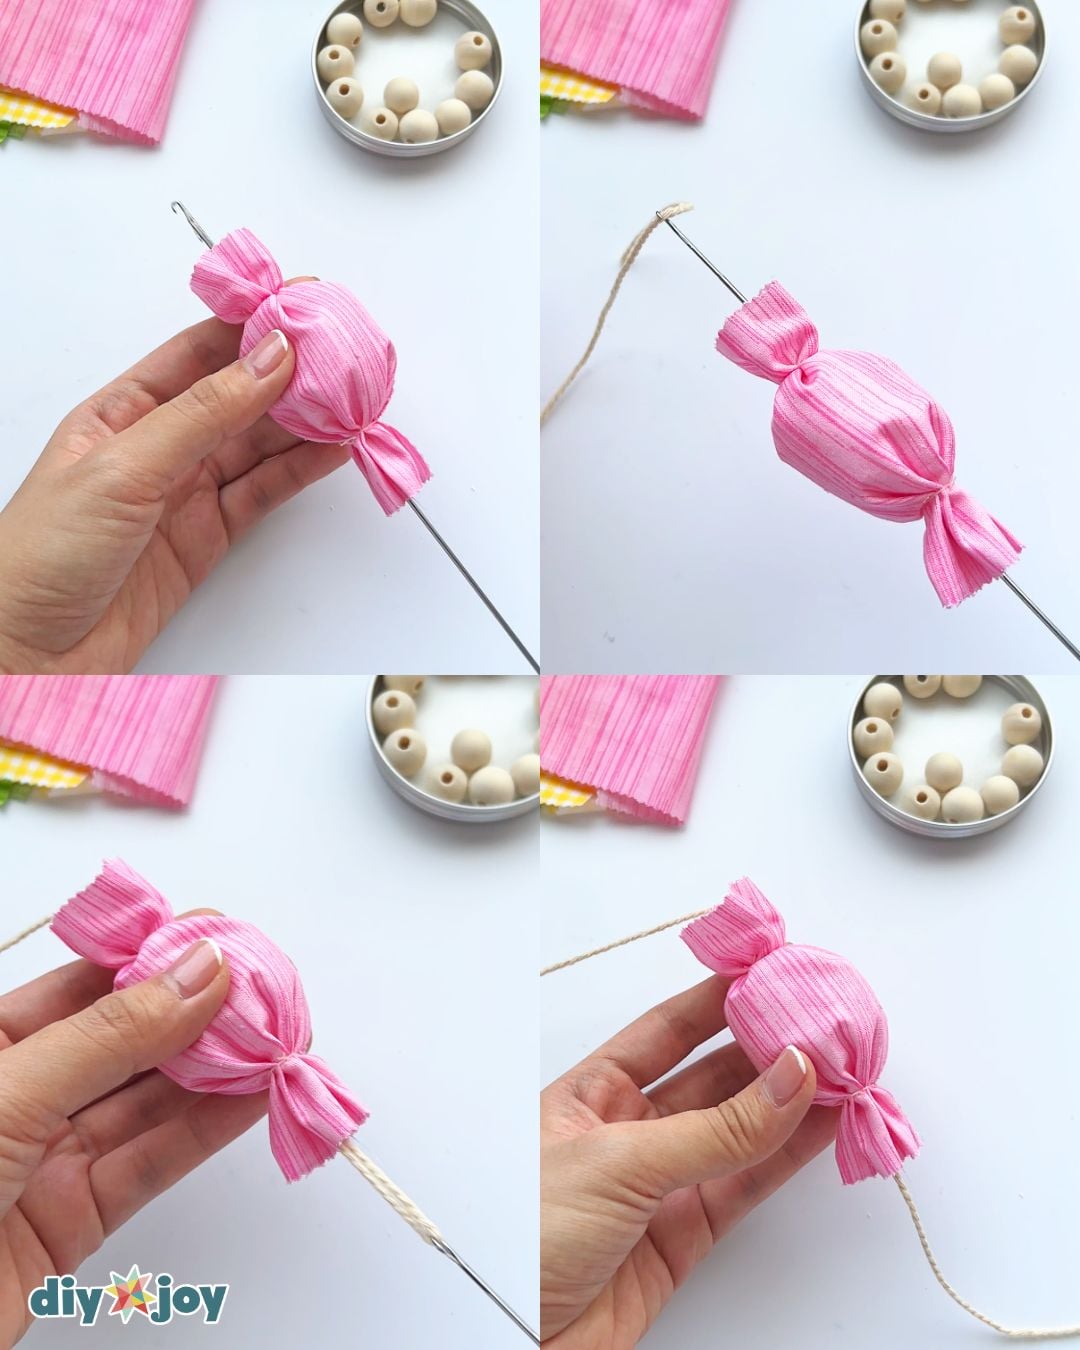
Step 5: Add the fabric candies
Insert the loop turner through a fabric candy. Open the hook, catch the string, then close the hook and pull the string through.
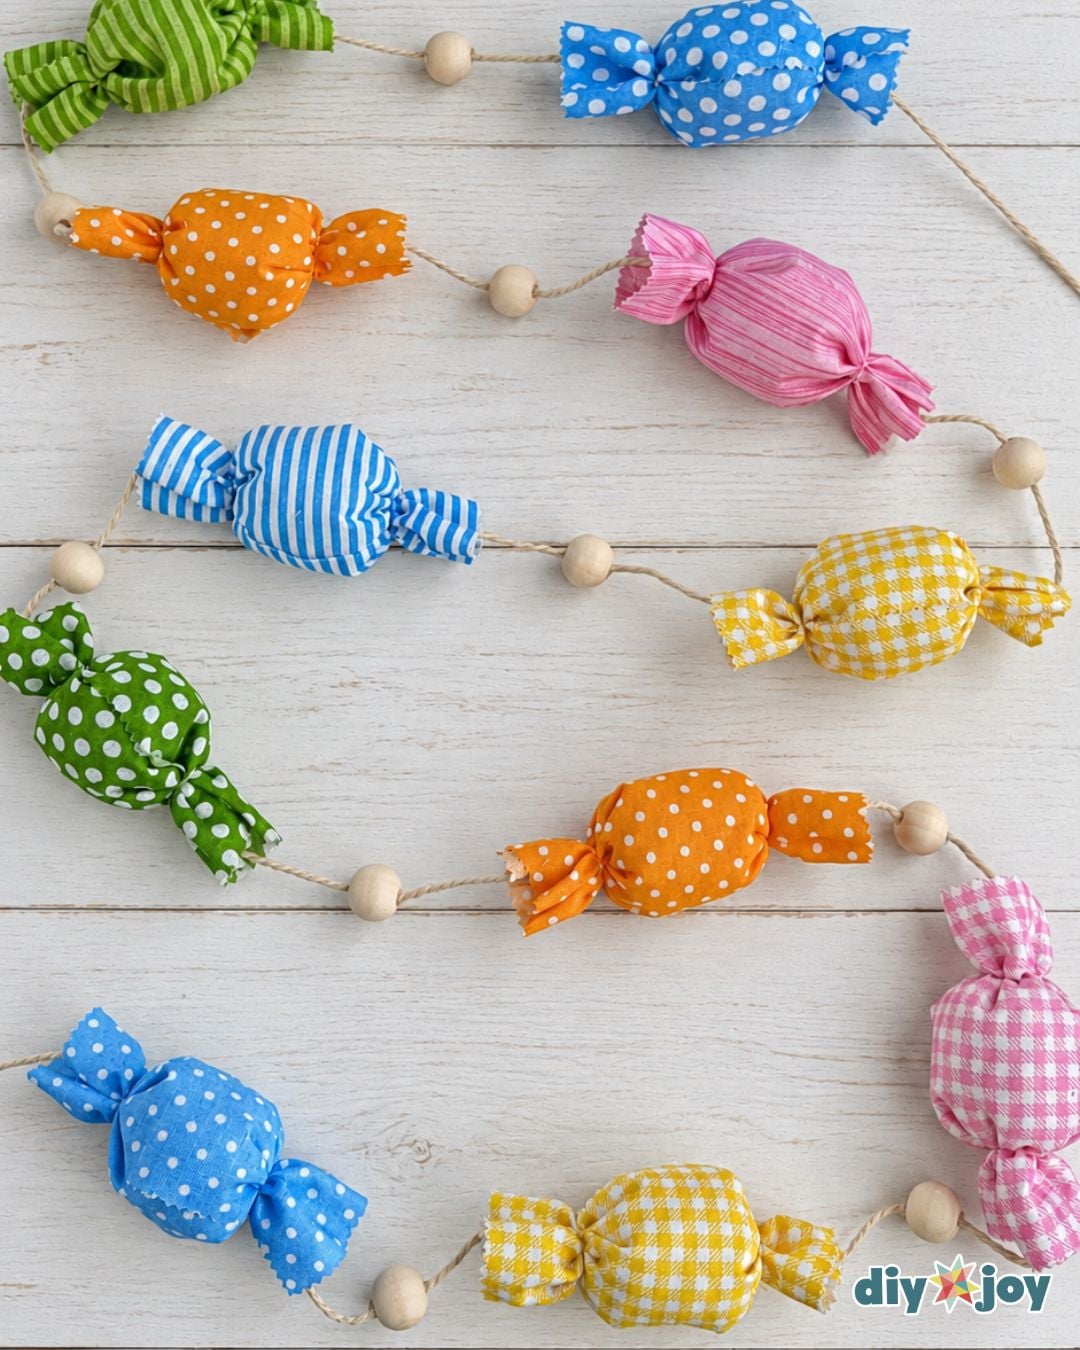
Step 6: Finish the garland
Repeat steps 4 and 5, alternating wooden beads and fabric candies, until your garland reaches the length you want. Leave some space between the beads and candies, then secure the wooden beads in place with hot glue.

Pro Tips
- Use just the right amount of fiberfill. Too much will stretch the candy into an oval, while too little won’t hold the round shape.
- To make the fabric candies extra cute, keep the center as round as possible.
More Candy Garland Ideas and Ways to Use Them
For my candy garland, I chose a mix of pink, blue, green and yellow-orange fabrics in stripes, polka dots and gingham. To keep the combination looking coordinated, choose colors with a similar level of brightness and repeat a few shades throughout the garland. Mixing small prints adds variety while giving your finished fabric candies a balanced, cohesive look.
For Christmas, red and green scraps make a classic candy cane look, or go full sweet shop with bright prints for a candy-themed Christmas tree. And the garland is not just for December: try pastels for spring, vibrant colors for summer or birthday party decorations, orange and black for Halloween, or pink and red for Valentine’s Day. Simply change the fabric to match your celebration.
This no-sew scrap fabric project also works without the string. Display the loose fabric candies in a tray or bowl for a colorful table decoration that nobody will try to eat (probably). It is an easy, budget-friendly way to turn leftover fabric scraps into reusable DIY decor.

Candy Garland FAQs
No. This is a no-sew fabric craft: the candies are wrapped around fiberfill and tied with thread, and a loop turner pulls the twine through them.
Use leftover fabric scraps large enough to fit your cardstock pattern. Mix stripes, polka dots and gingham, or choose matching colors for a coordinated garland.
Start with a small amount in the center. Use enough to give the candy a plump shape while leaving room to fold the fabric and tie both ends securely.
Pinking shears create zigzag edges that help reduce fraying and give the candy ends a neat finish. They do not completely prevent fraying, so handle the cut edges gently.
Tie each end tightly with thread and secure it with a double knot.
A loop turner makes threading easier, but you can skip it. Thread a wooden bead onto your string first. Lay your fabric right side down and place the string across the center so it runs through both ends of the finished candy. Add the fiberfill, fold the fabric and tie the ends as usual, enclosing the string inside. Repeat, alternating wooden beads and fabric candies.
Save this Craft on Pinterest
Roll over the image to get the button.