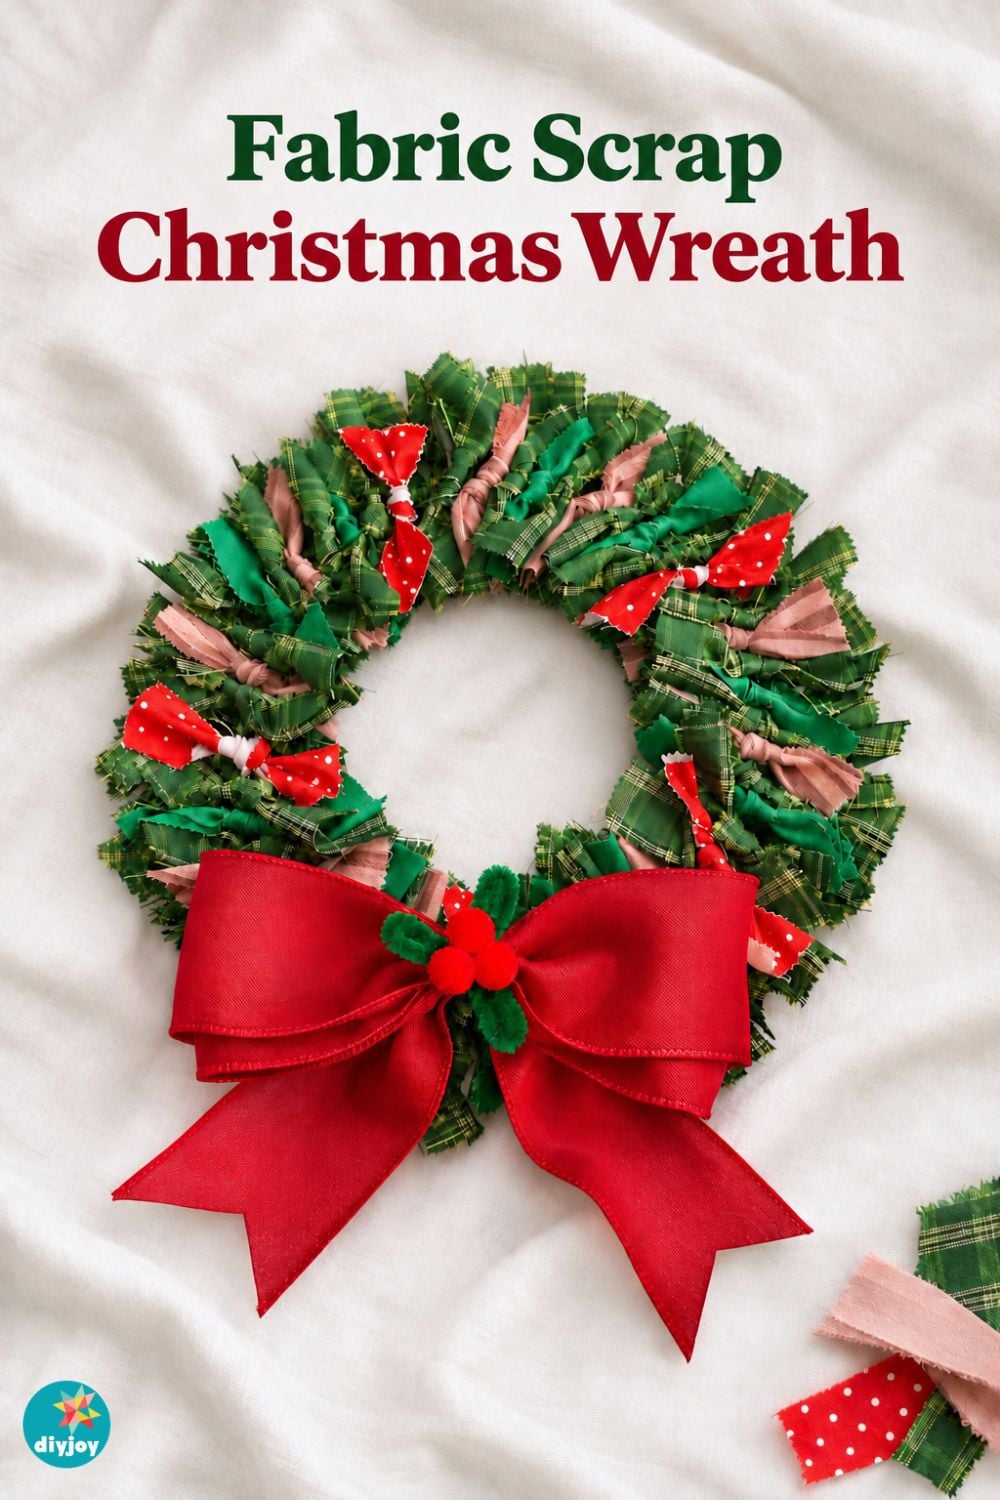
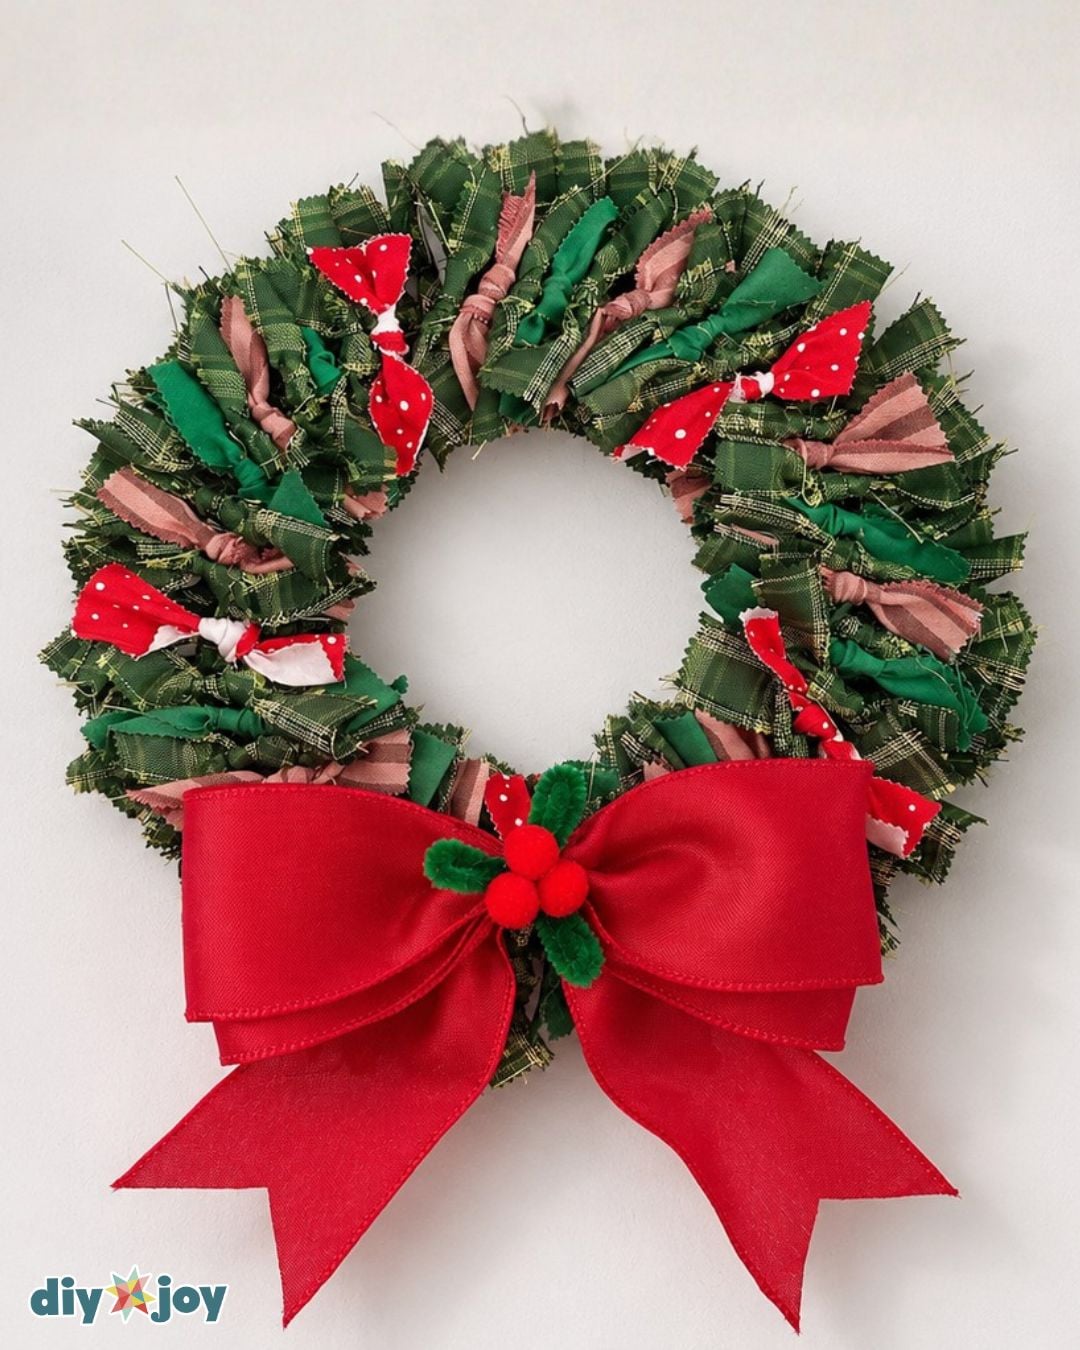
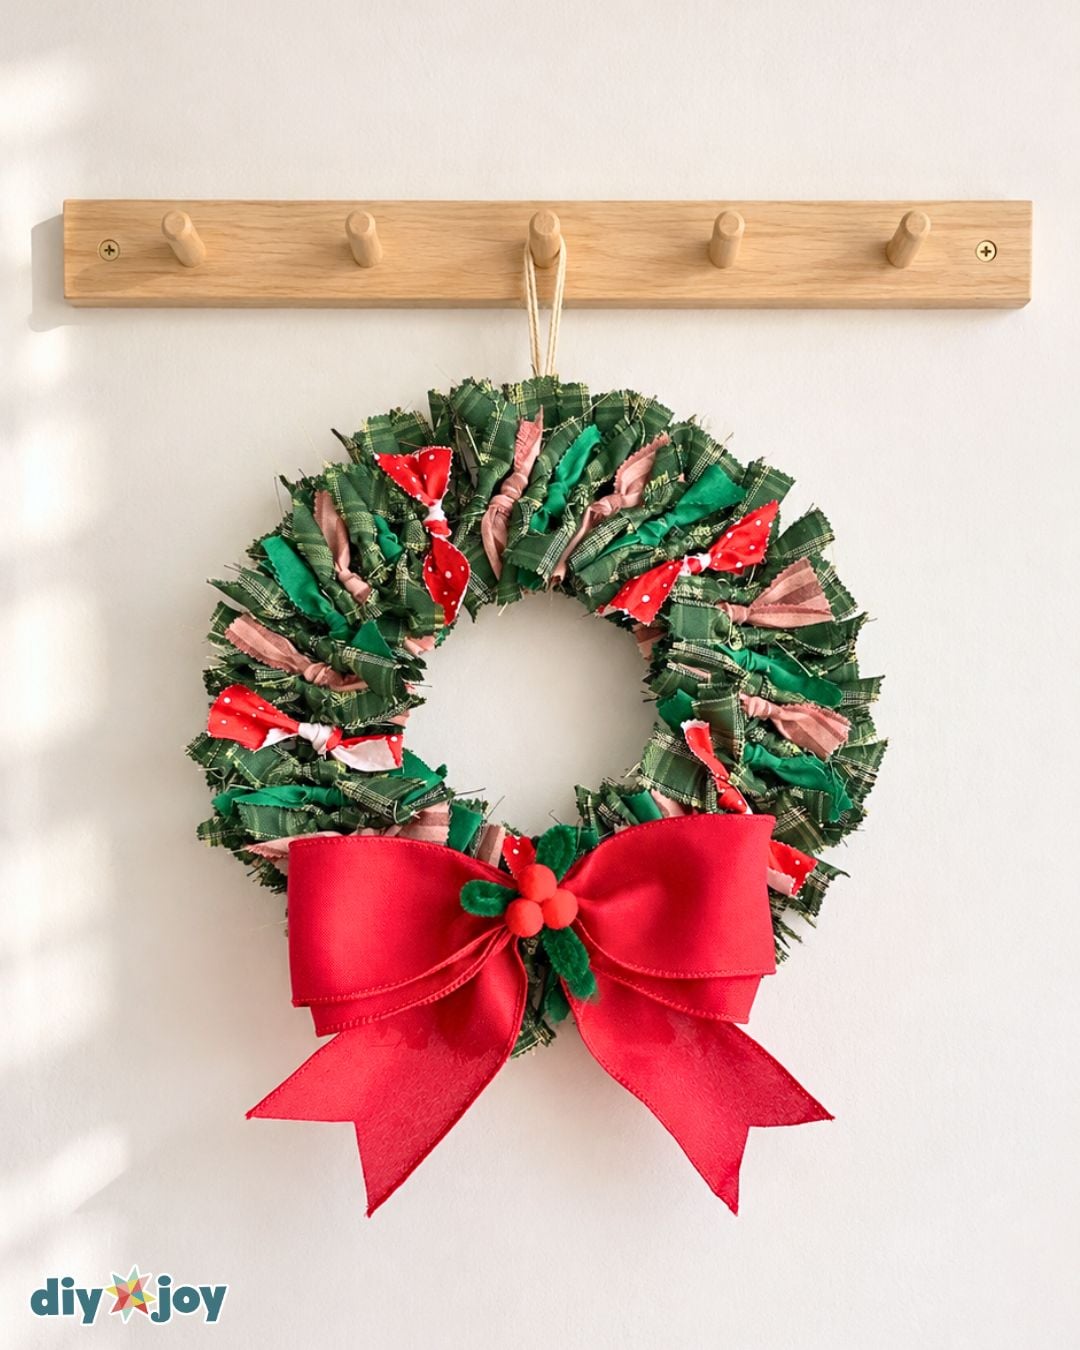
Grab those fabric scraps you’ve been saving and turn them into a DIY Christmas wreath! Leftover quilting cotton, pieces from past sewing projects, or even an old plaid shirt can all go into this budget-friendly holiday craft. All you have to do is cut the fabric into strips, tie them around a wire wreath form, and add a ribbon bow. It’s an easy no-sew project, even if you’ve never made a wreath before.

If you’re looking for ways to use up leftover fabric, this Christmas rag wreath gives those odds and ends a place in your holiday decor. Hang it on your front door or prop it up on the mantel where you can see all the little patterns up close. I’ll show you how big to cut the strips and how many I used on each ring so you have a starting point for your own wreath.
Fabric Christmas Wreath Supplies
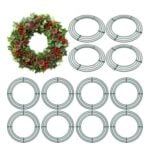
- 8 inches metal wreath
- Pinking shears
- Fabric scraps
- Ribbon bow (optional)
Shop the Supplies
Here are the main supplies we used for this DIY wreath, so you can grab the same ones and get straight to crafting.
Metal Wreath
Pinking Shears

Wired Ribbon
Pom Pom Balls

Green Pipe Cleaner
*Some of the supply links above are affiliate links. If you buy through them, I earn a small commission at no extra cost to you.
How to Make a Christmas Wreath With Fabric Scraps
Step 1: Cutting the fabric
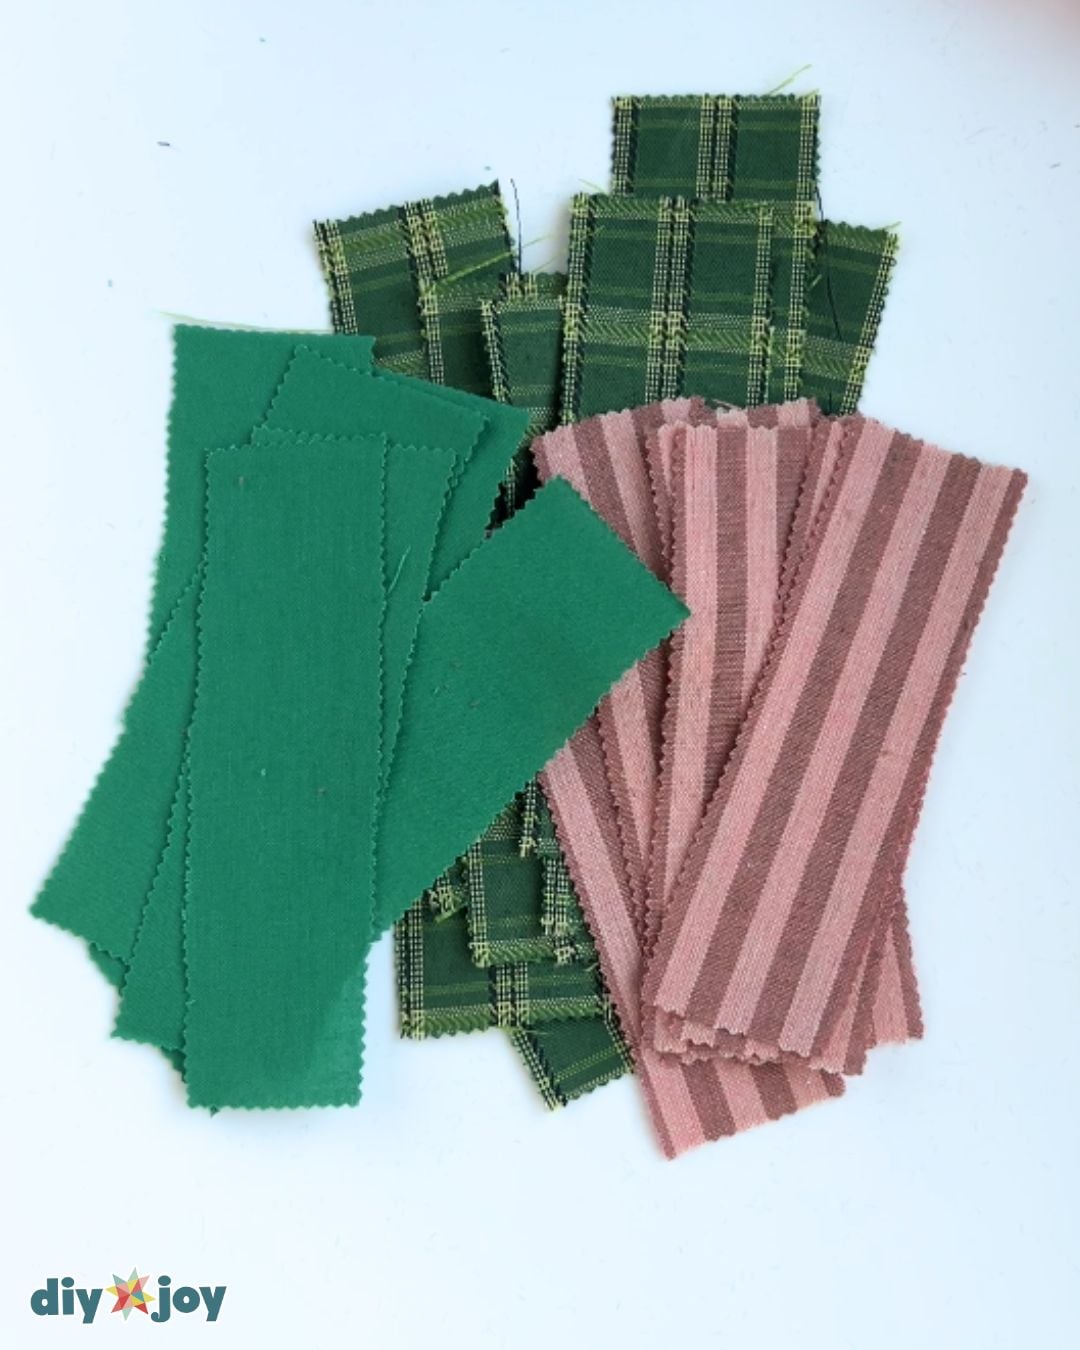
Cut your fabric scraps into rectangles measuring 1¾ × 5¾ inches. Use pinking shears to reduce fraying along the cut edges.
The edges may still fray a little, so handle the fabric gently.
Step 2: Filling the outermost layer
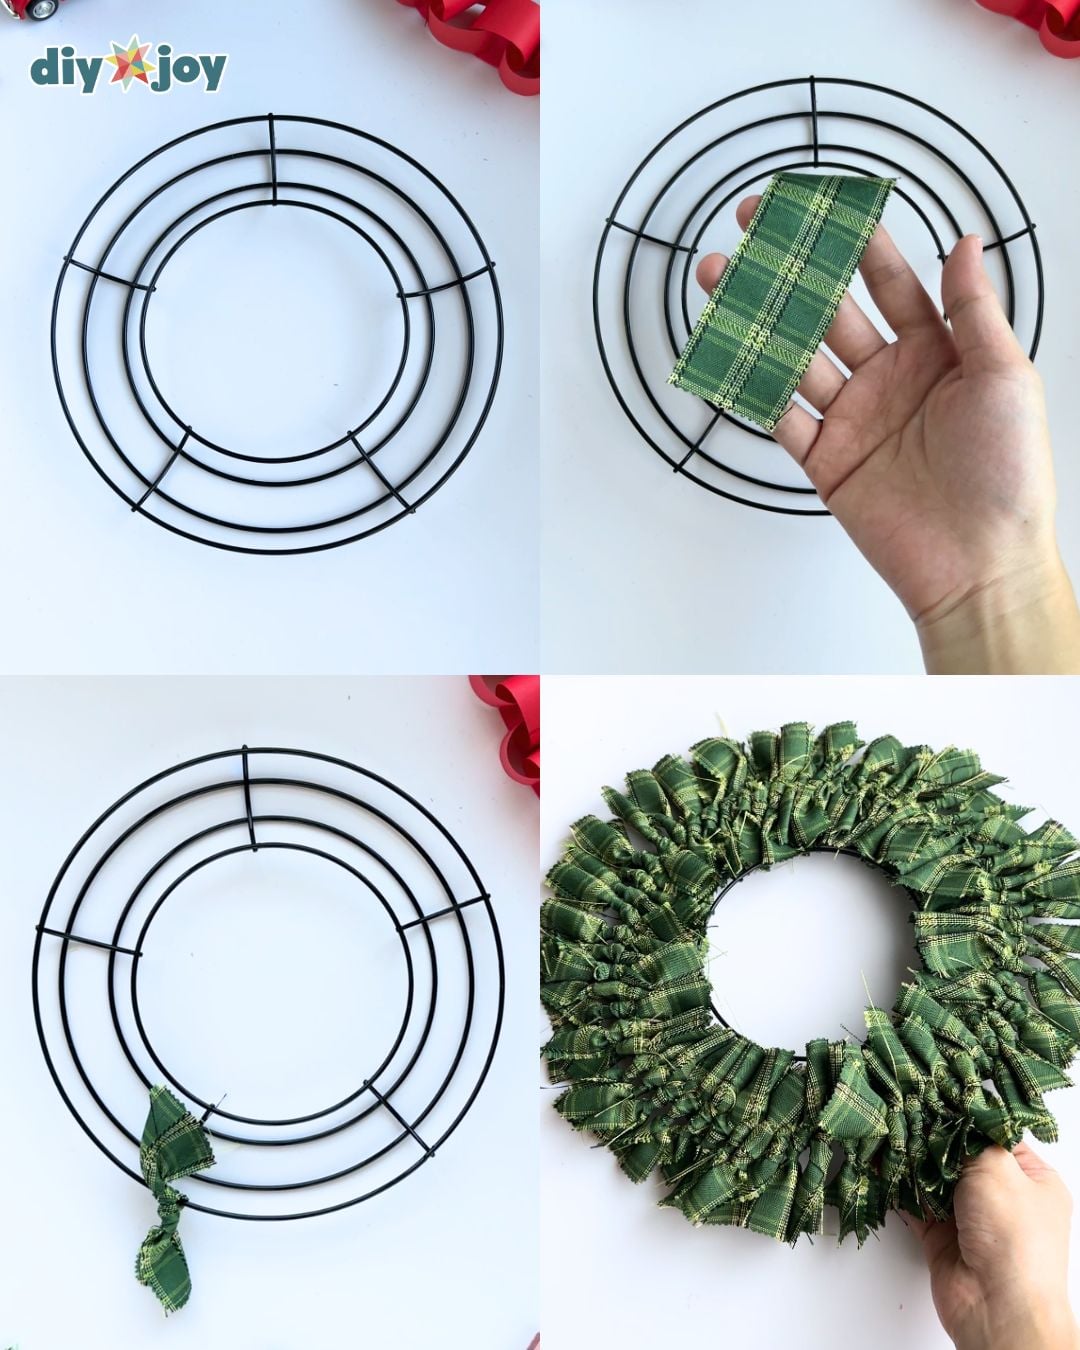
Place the wreath form on your table with the outermost ring raised. Take one rectangle of your main fabric and tie it around the outermost ring. Repeat until the entire outer ring is covered.
I used 12–14 rectangles per section. Feel free to mix and match fabric patterns.
I used Oxford fabric, which frayed quite a bit as I tied the knots. If your fabric frays easily, handle the strips gently as you tie them.
Step 3: Mixing fabric patterns
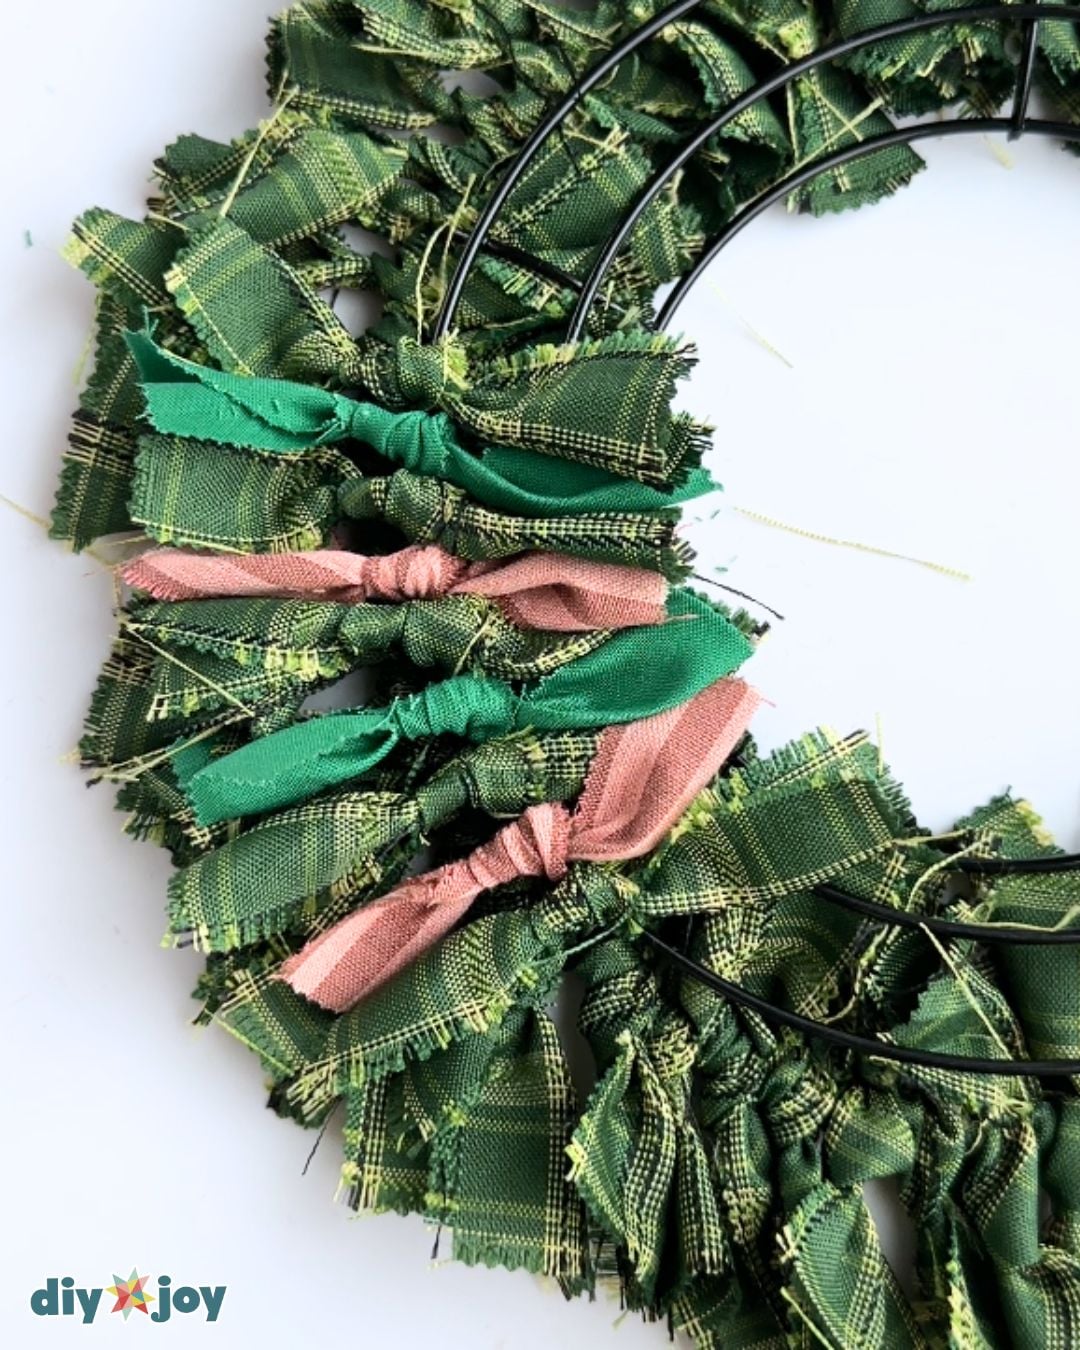
Flip the wreath form over. Tie the fabric rectangles around the second ring from the outside. Feel free to mix and match colors and patterns. I used nine rectangles per section and mixed solid colors with plaids and stripes.
Step 4: Filling the top layer
Continue tying fabric rectangles around the ring until it’s fully covered.
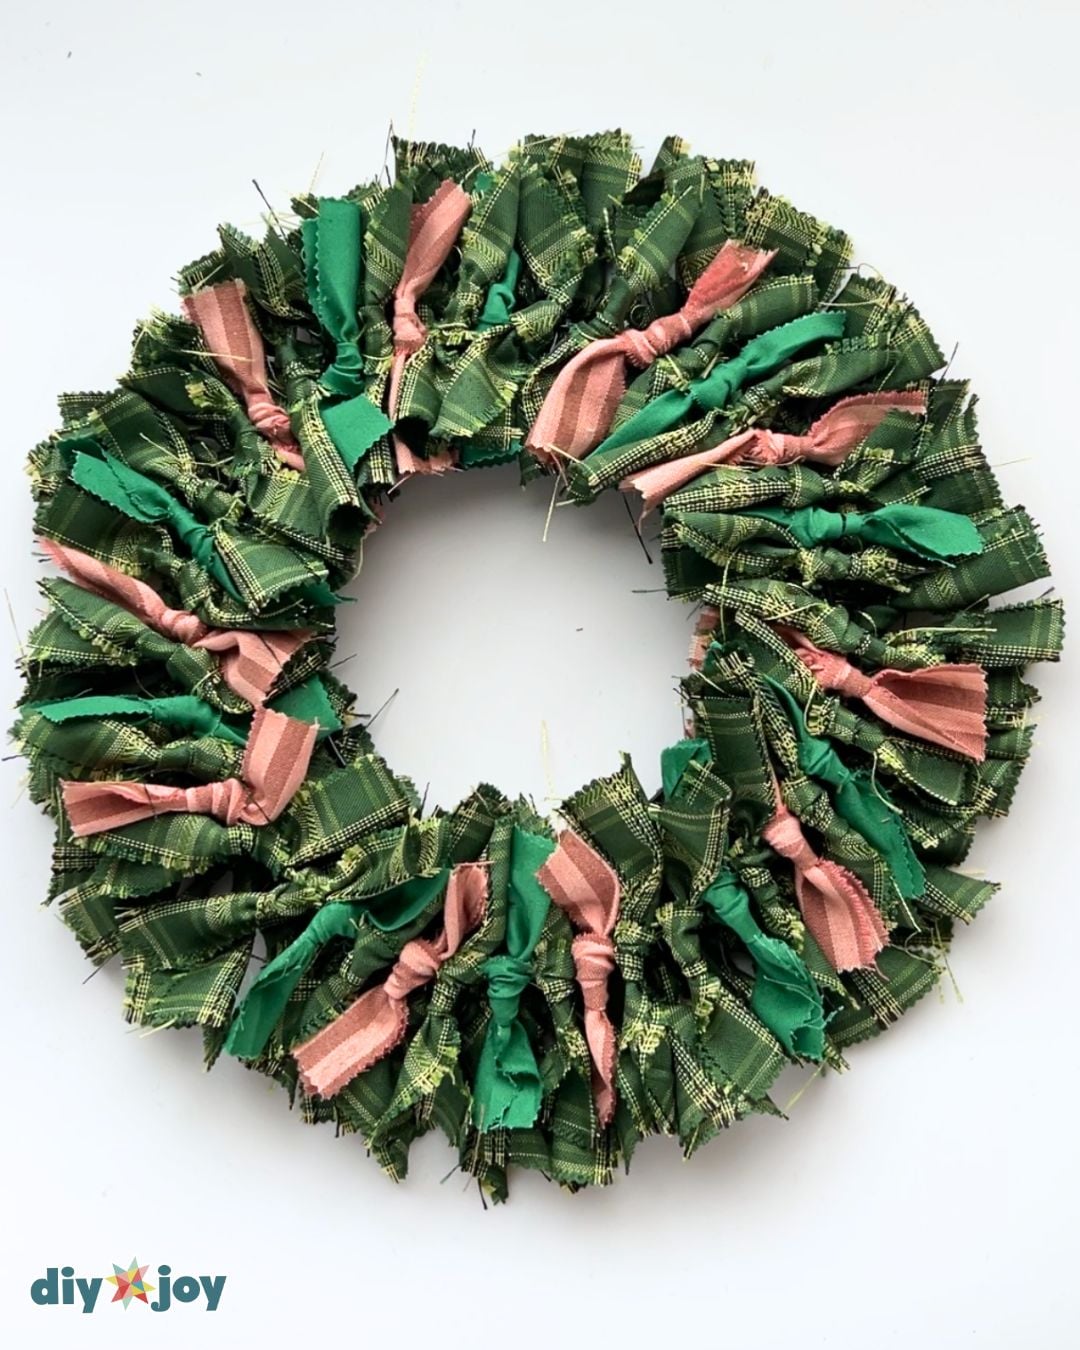
Step 5: Adding color
Add a pop of color to your wreath with some red fabric rectangles.
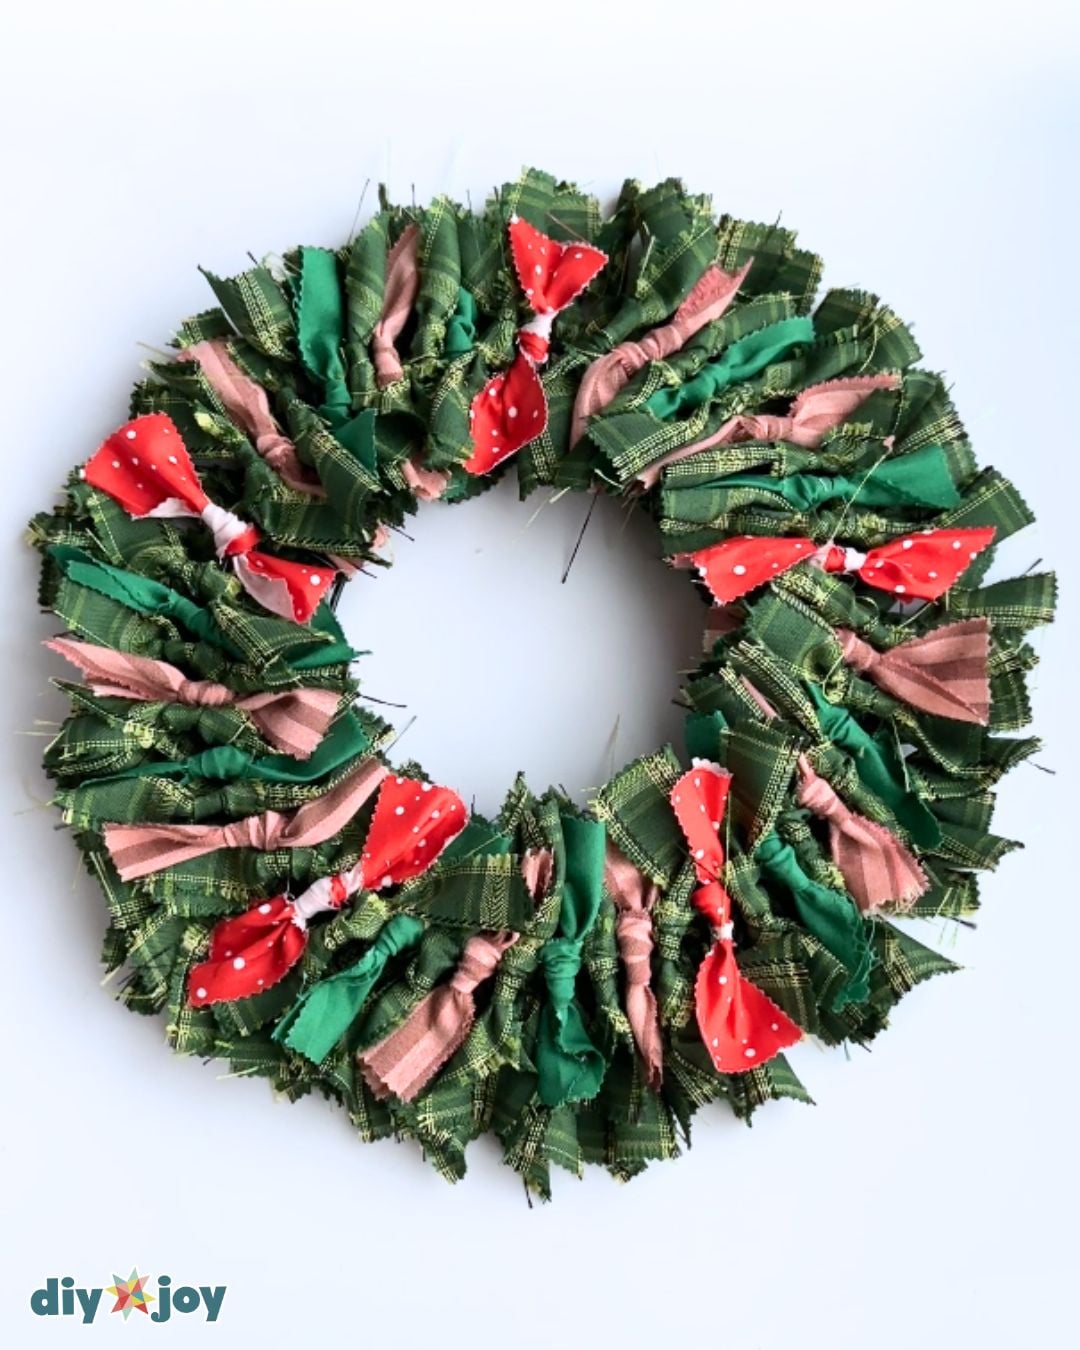
Step 6: Adding bow
Finish the wreath by attaching a bow at the bottom.
Learn how to make the bow here: Wired Ribbon Bow Tutorial
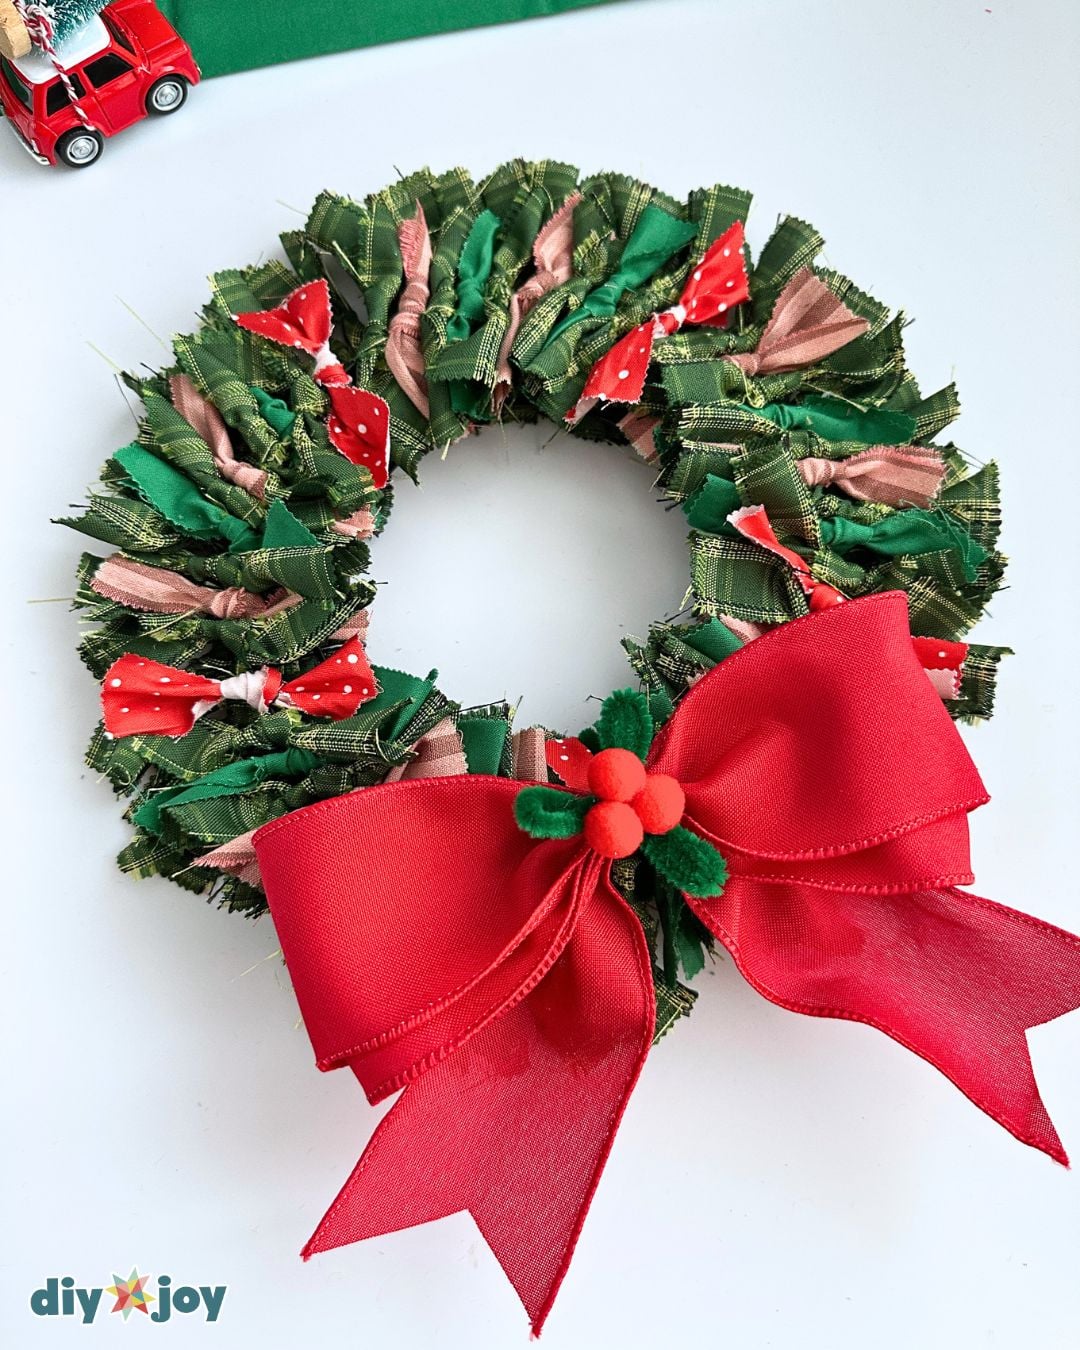

Pro Tips
- Choose fabric that frays less. Try tightly woven cotton and use pinking shears to reduce fraying. Tie a test strip first to see how the edges hold up when you knot it.
- Repeat colors across your fabrics. Pick one main fabric, then pull two or three colors from it for the rest of your scraps. If your plaid has red and cream in it, for example, repeat those colors in your solids or stripes to tie the patterns together.
More Christmas Wreath Ideas and Ways to Use Them
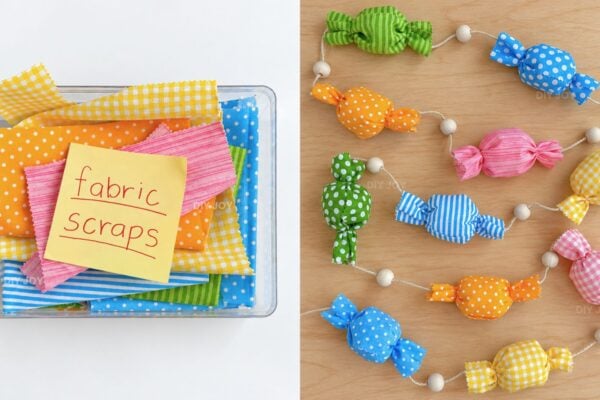
Start with what’s in your scrap pile. This no-sew fabric scrap wreath is a way to use up leftover quilting cotton, offcuts from sewing a shirt, or even an old cotton pillowcase. Cut woven fabrics with pinking shears to reduce fraying. For edges that are less likely to unravel as you tie the knots, try strips from an old T-shirt. Jersey tends to curl at the edges, giving the wreath a softer look. Tie one test strip around the wreath form before cutting the rest to see how the fabric sits and how much it frays.
Mix prints for a vintage Christmas wreath. Start with mostly white or cream fabrics, then work in red and green plaids, stripes, and solids. Tuck in a few cherry-print scraps and repeat the same shades of red and green around the ring to tie the different patterns together. For a bolder pattern, group matching scraps in small clusters. For an even mix, scatter them around the wreath.
Dress up your DIY Christmas wreath. Tie a red ribbon bow at the bottom to pick up the red in the fabric. Add a few faux cherries to echo the print, tuck in small flowers or beads, or weave battery-operated mini lights between the knots. Hang your finished fabric wreath on the front door or above the mantel as part of your handmade Christmas decor.
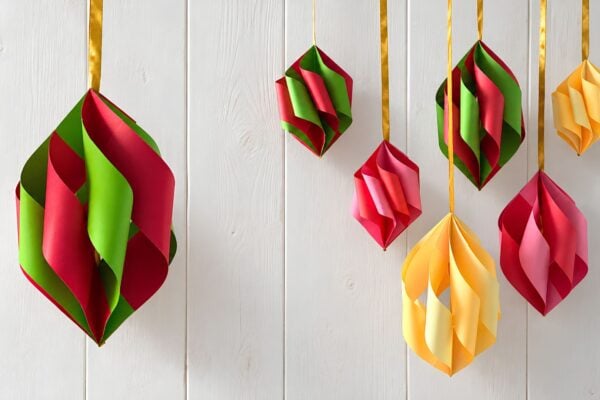
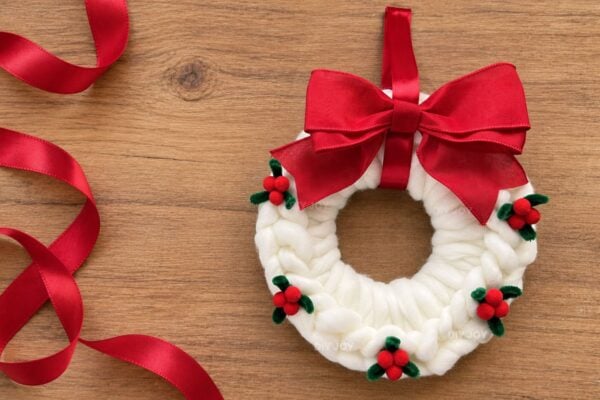
For more holiday projects, browse our DIY wreath ideas or try making a chunky yarn Christmas wreath or an easy paper Christmas wreath.
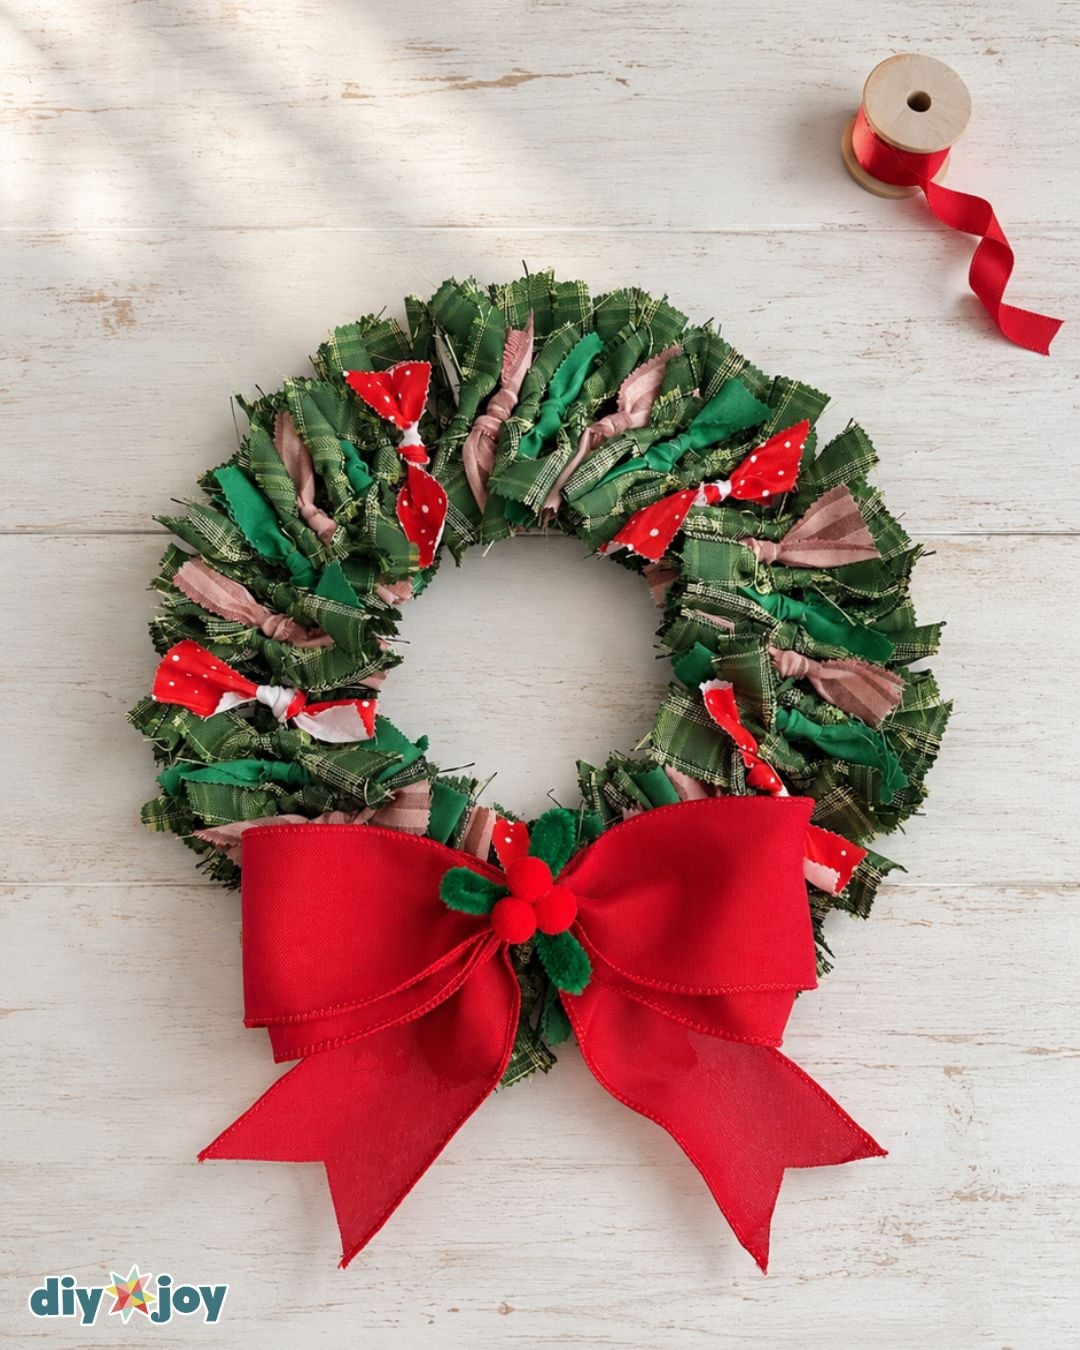

DIY Fabric Scrap Christmas Wreath FAQs
Some woven fabrics shed threads when you pull the ends through a knot. Pinking shears can help reduce fraying. I’d leave any loose threads alone while tying and snip the long ones once the wreath is finished.
You only need a simple knot for this no-sew Christmas wreath. Tie each fabric rectangle directly around the wire ring, then adjust the ends so the part of the print you want to show faces forward.
Slide the knots closer together wherever you can see wire. If a section still looks bare, add a solid strip in one of the colors from your plaid or stripes. It fills the gap and lets the prints on either side stand out.
I used 12 to 14 rectangles in each section of the outermost ring and nine in each section of the second ring. If your scraps are thicker than mine, you may cover the same amount of wire with fewer knots.
Save this Craft on Pinterest
Roll over the image to get the button.