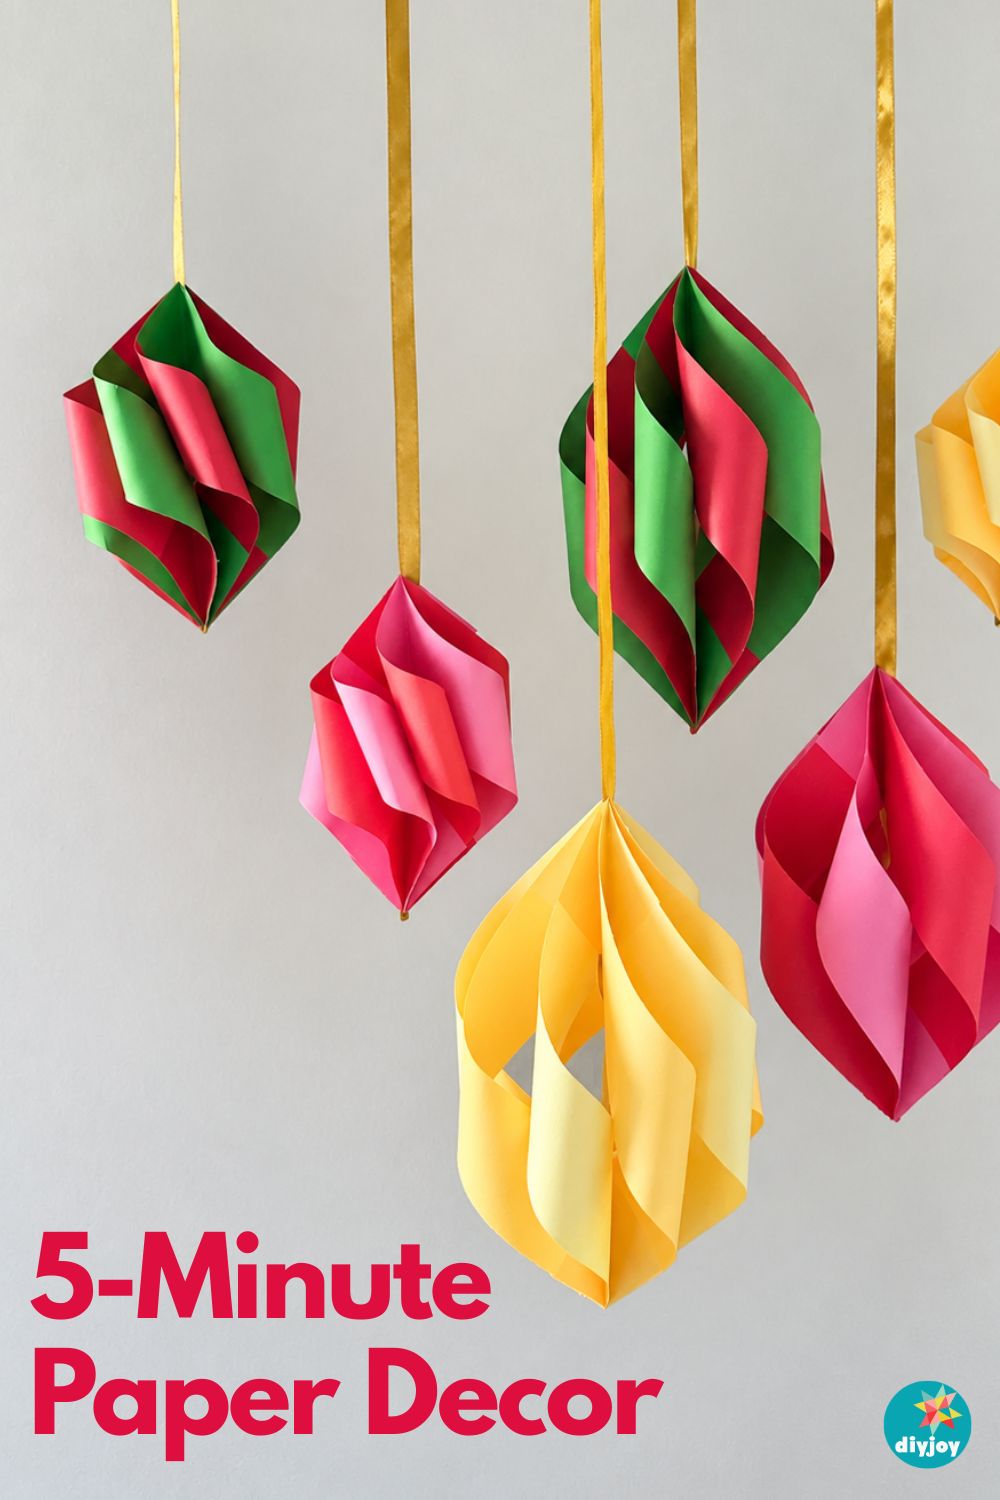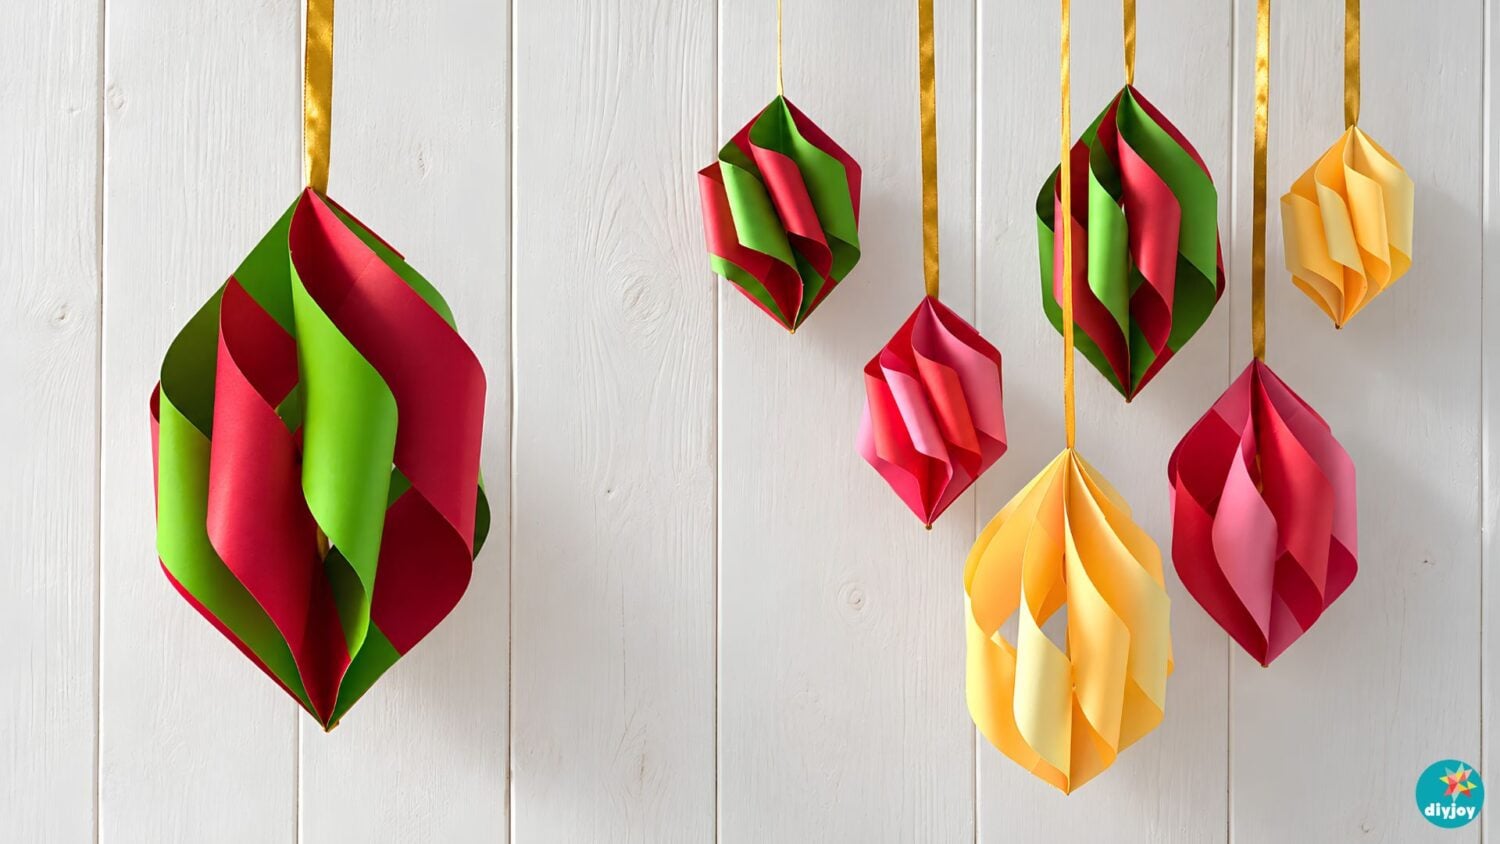
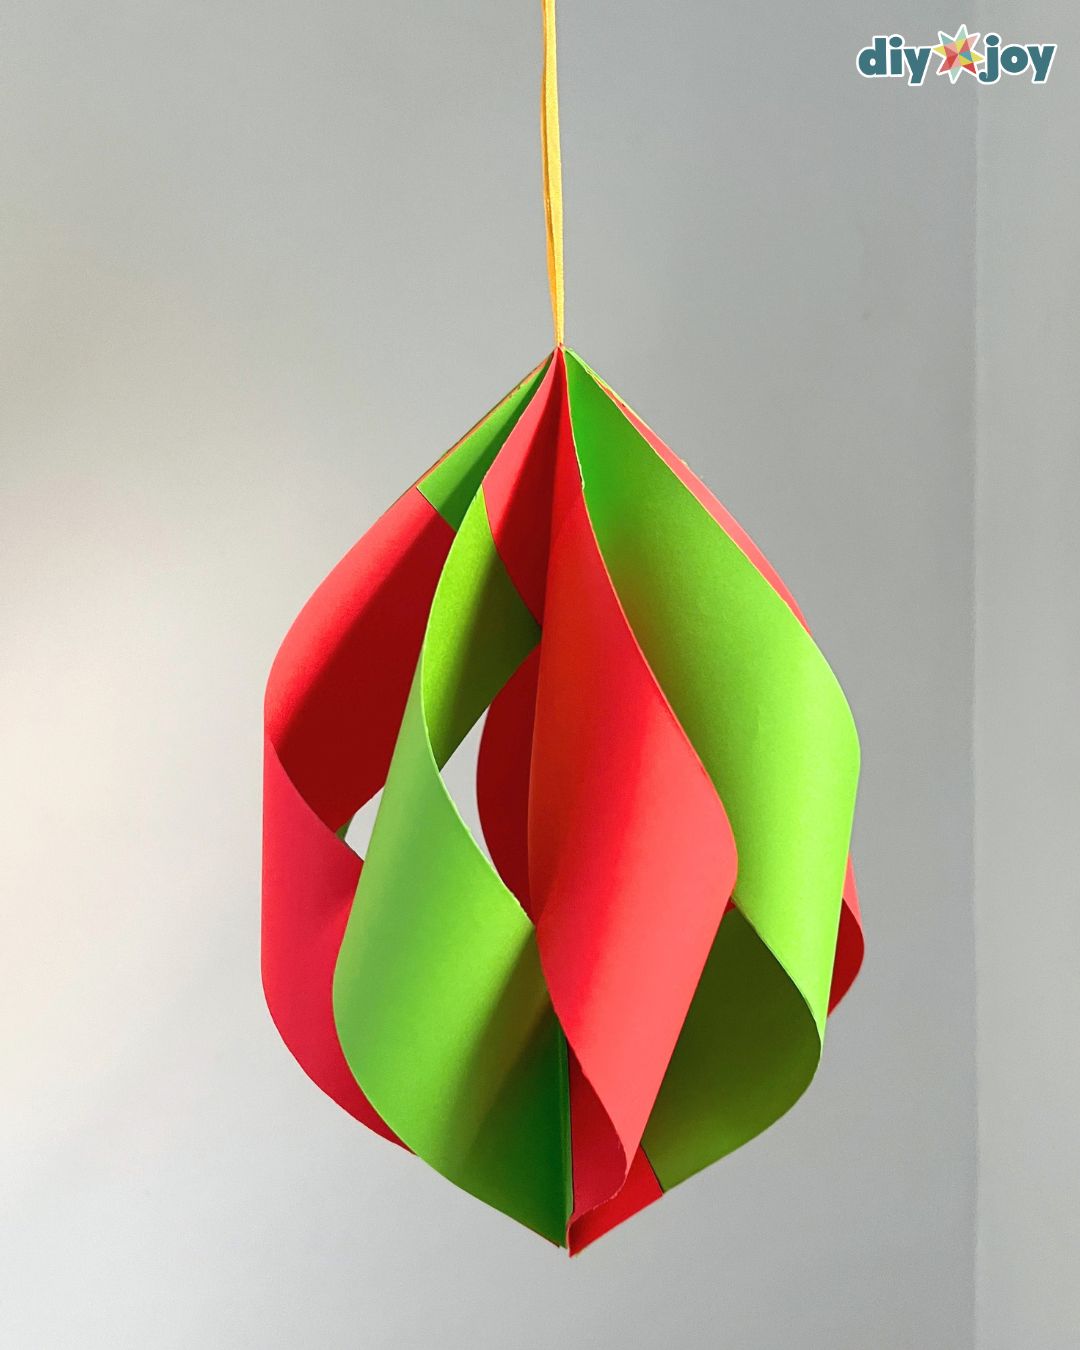
These folded paper ornaments are some of the easiest DIY Christmas decor you can make, and each one takes about five minutes. All you need is colored paper, a glue stick and a little ribbon.
Here’s the short version: cut two sheets of paper into eight strips, fold the corners of each strip into triangles, glue the strips together in alternating colors, then close the ornament around a knotted ribbon and gently pull the top into shape.
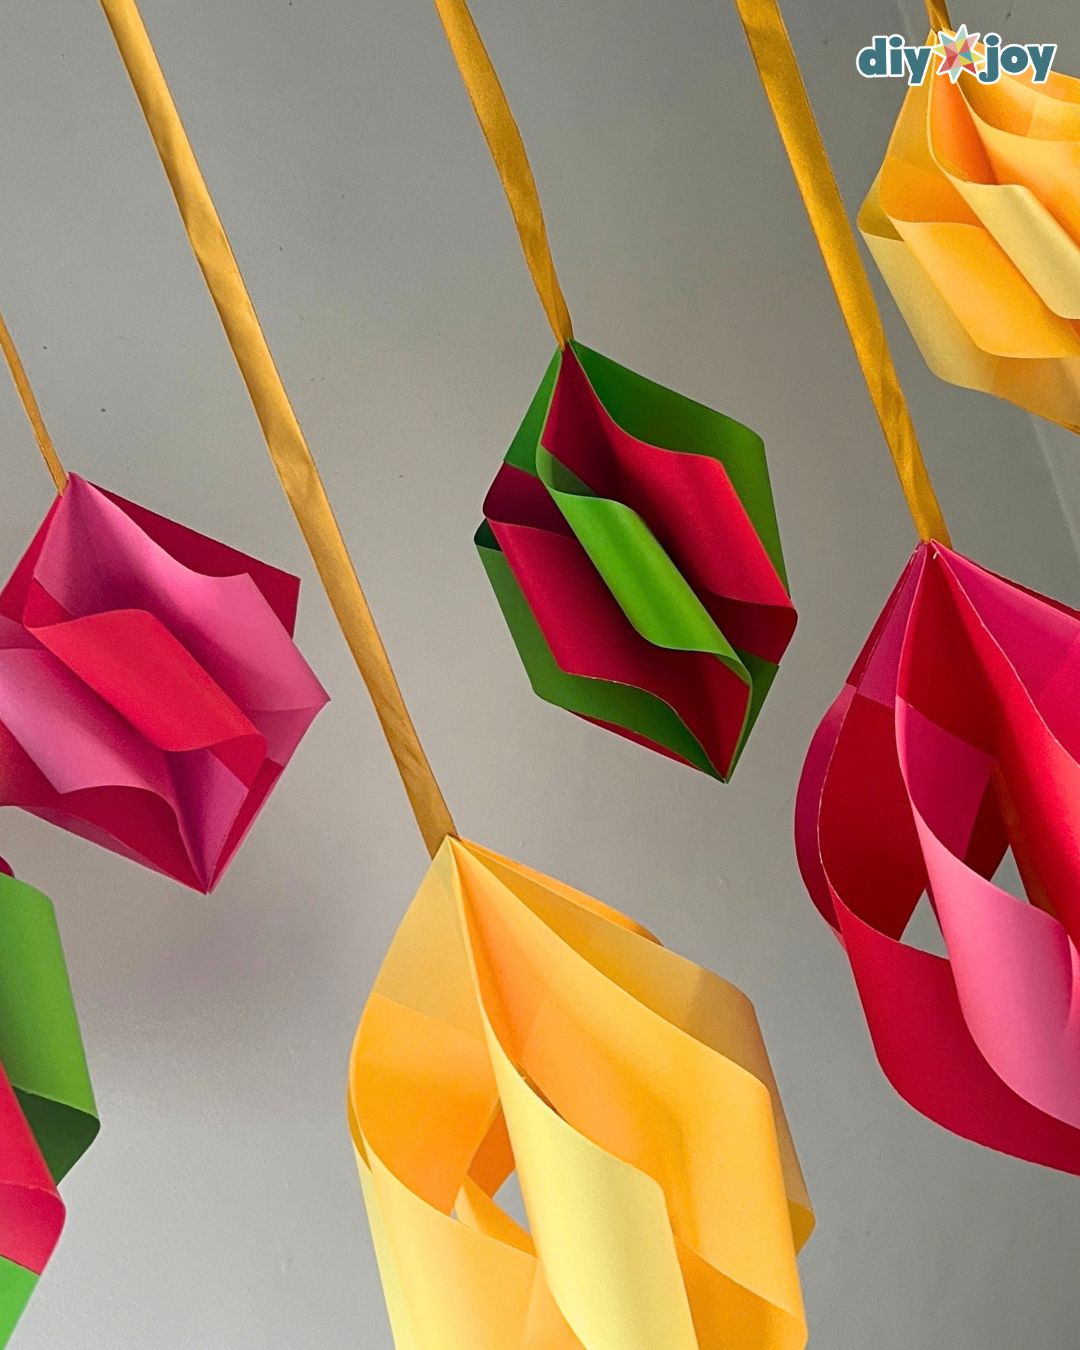
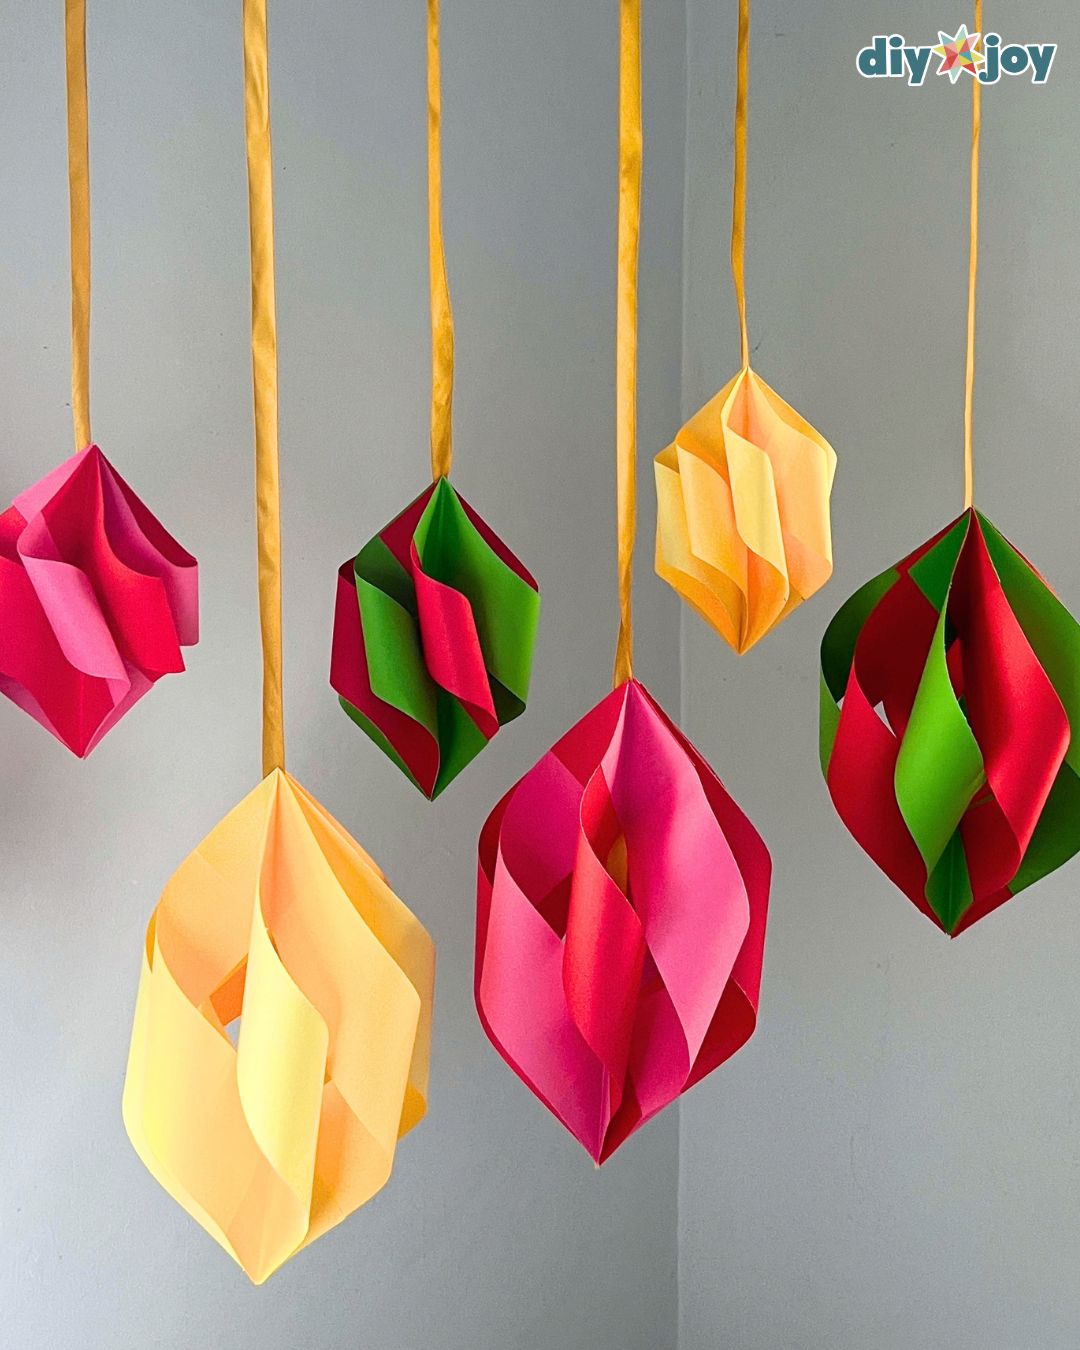
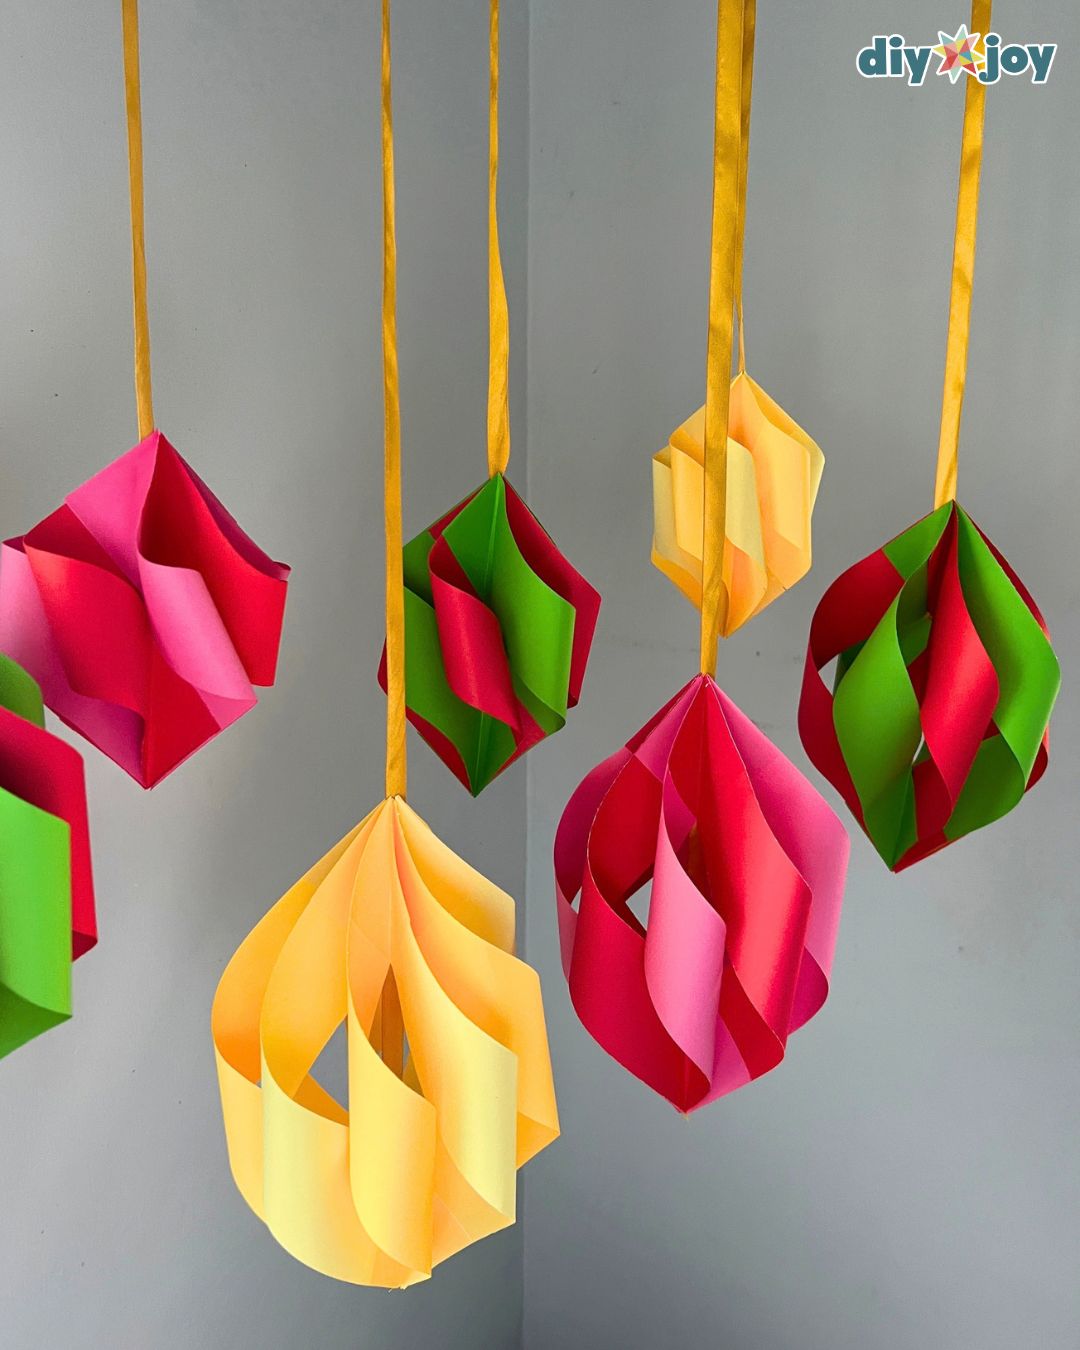
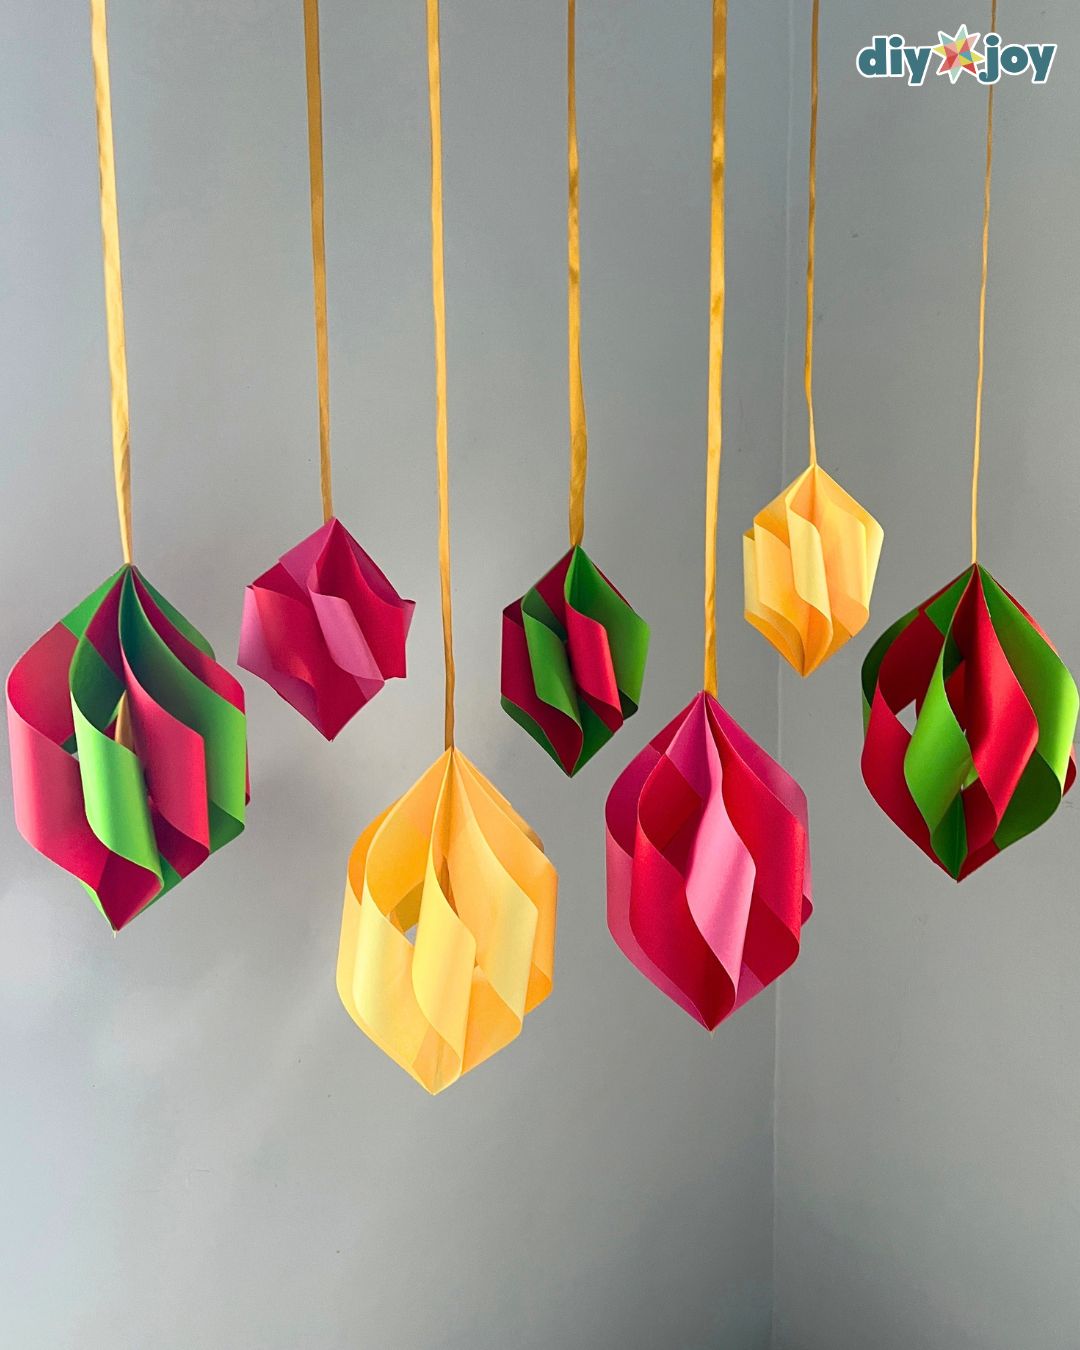
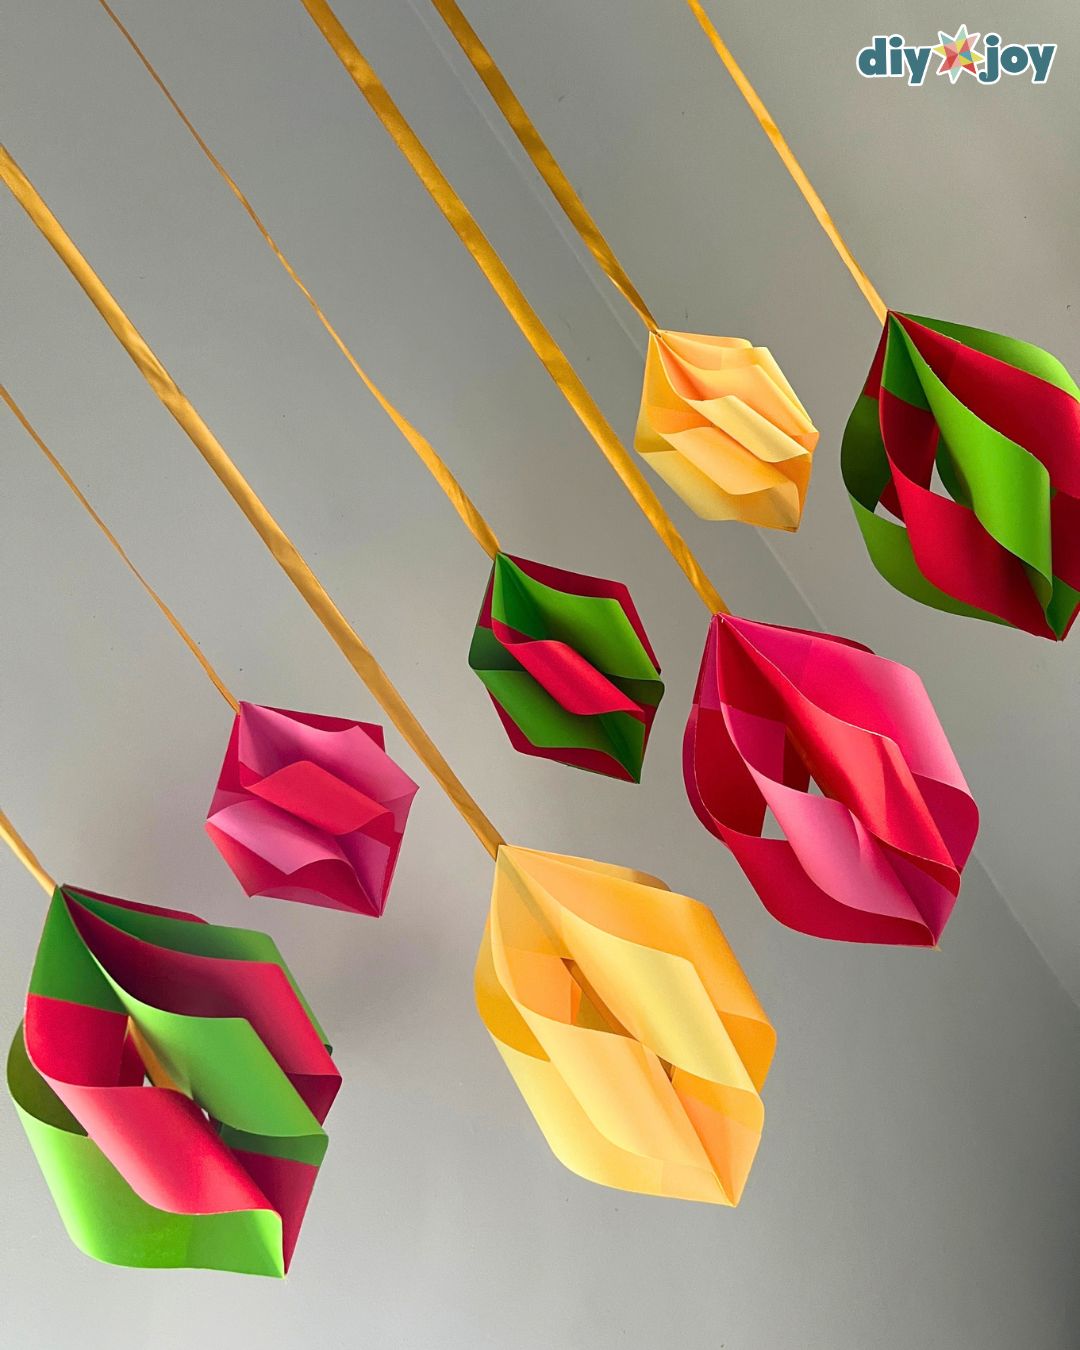
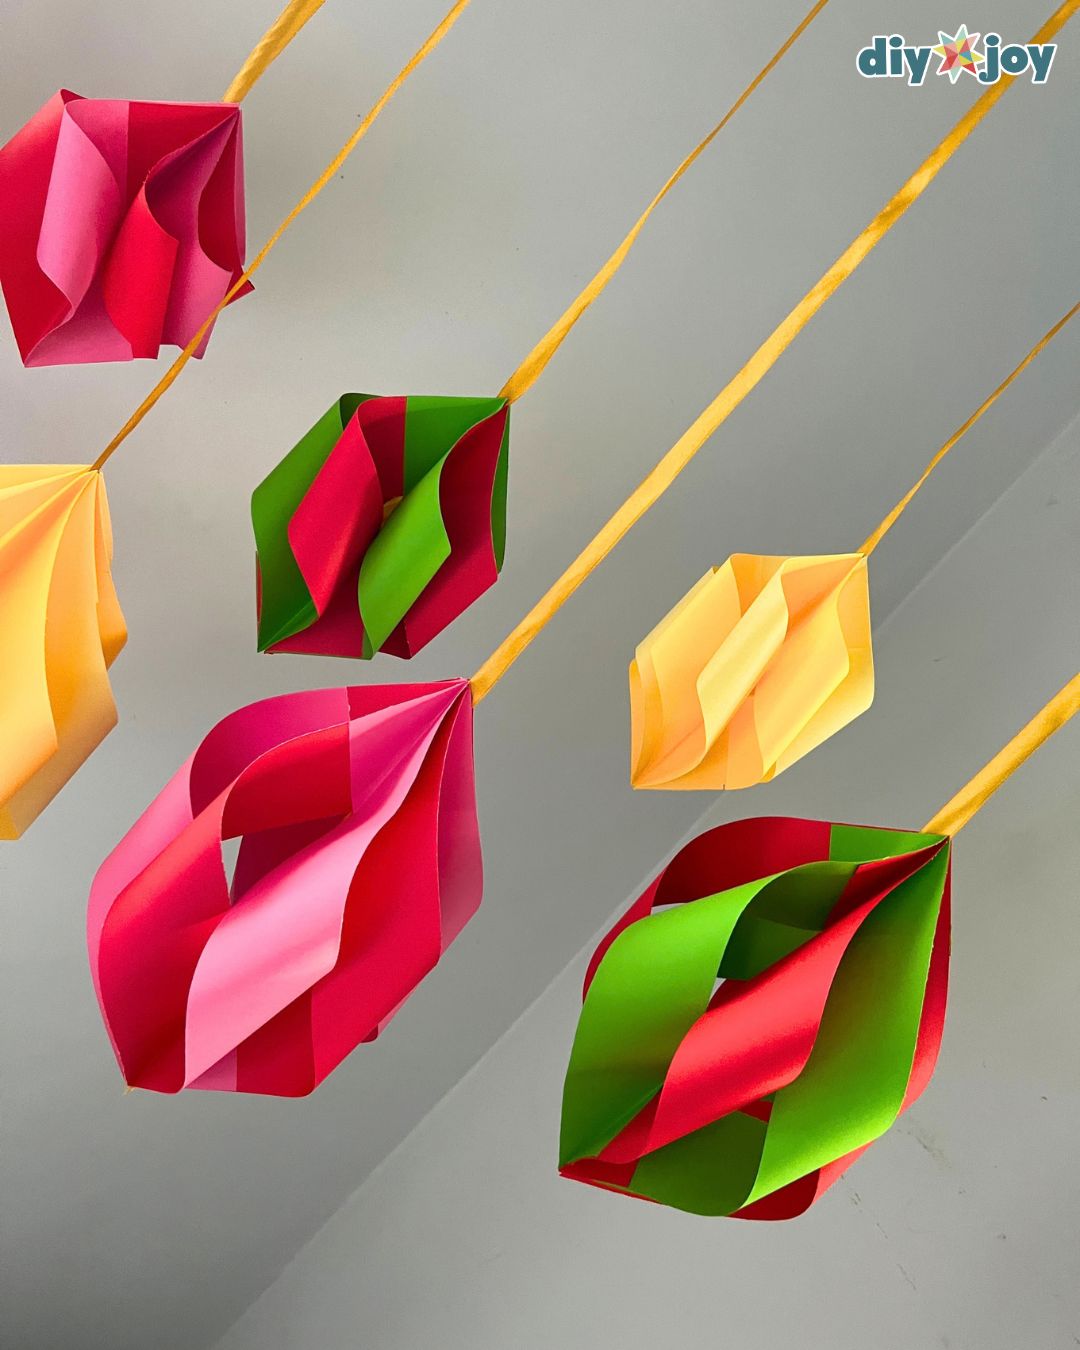
I had so much fun making these with kids and friends around, and they turned out beautifully! They look lovely hanging on a Christmas tree, tucked into a garland or displayed around the house.
They’re perfect for a budget-friendly holiday craft, a family craft afternoon or a whole set of handmade Christmas decorations in your favorite colors.
Supplies for Paper Christmas Ornaments
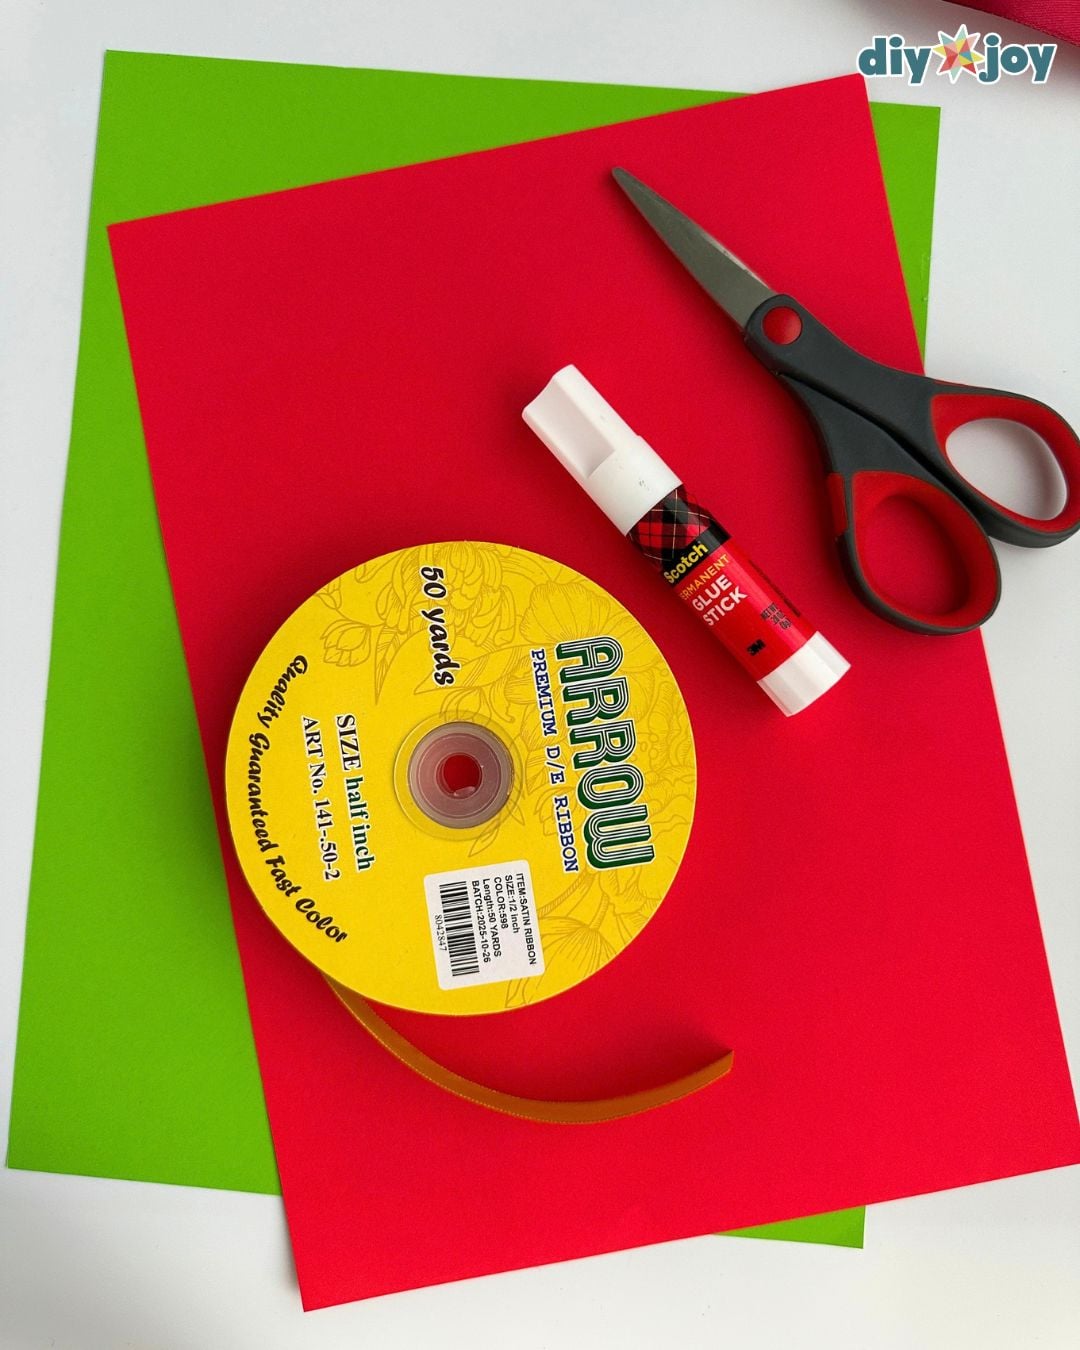
- Scissors or a paper cutter (recommended)
- A4 colored paper
- Ribbon
- Glue stick
Shop the Supplies
Here are the main supplies we used for this paper ornament, so you can grab the same ones and get straight to crafting.
Cardstock
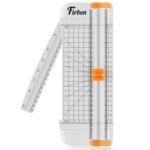
Paper Cutter
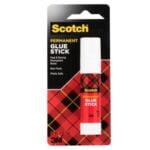
Glue Stick
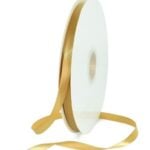
Gold Ribbon
*Some of the supply links above are affiliate links. If you buy through them I earn a small commission at no extra cost to you.
How to Make Paper Christmas Ornaments
Step 1: Fold and Cut the Paper Strips
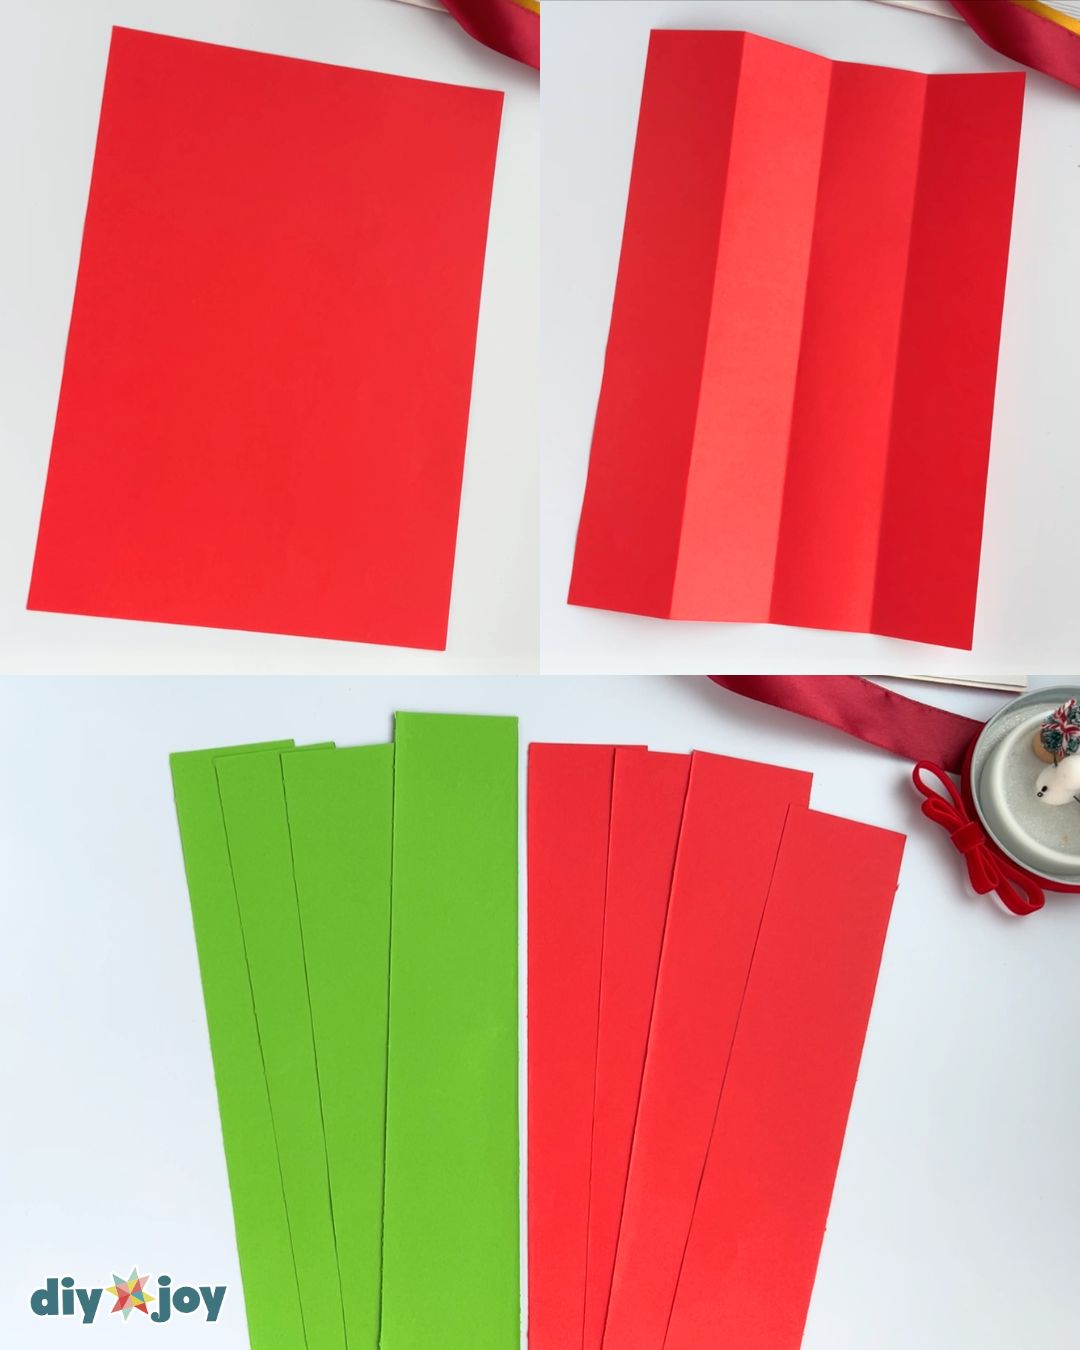
Fold the paper in half lengthwise, then fold it in half lengthwise again. Unfold it and cut along the creases to make four strips. You’ll need eight strips for one paper ornament.
Step 2: Fold the Triangles and Glue the Strips
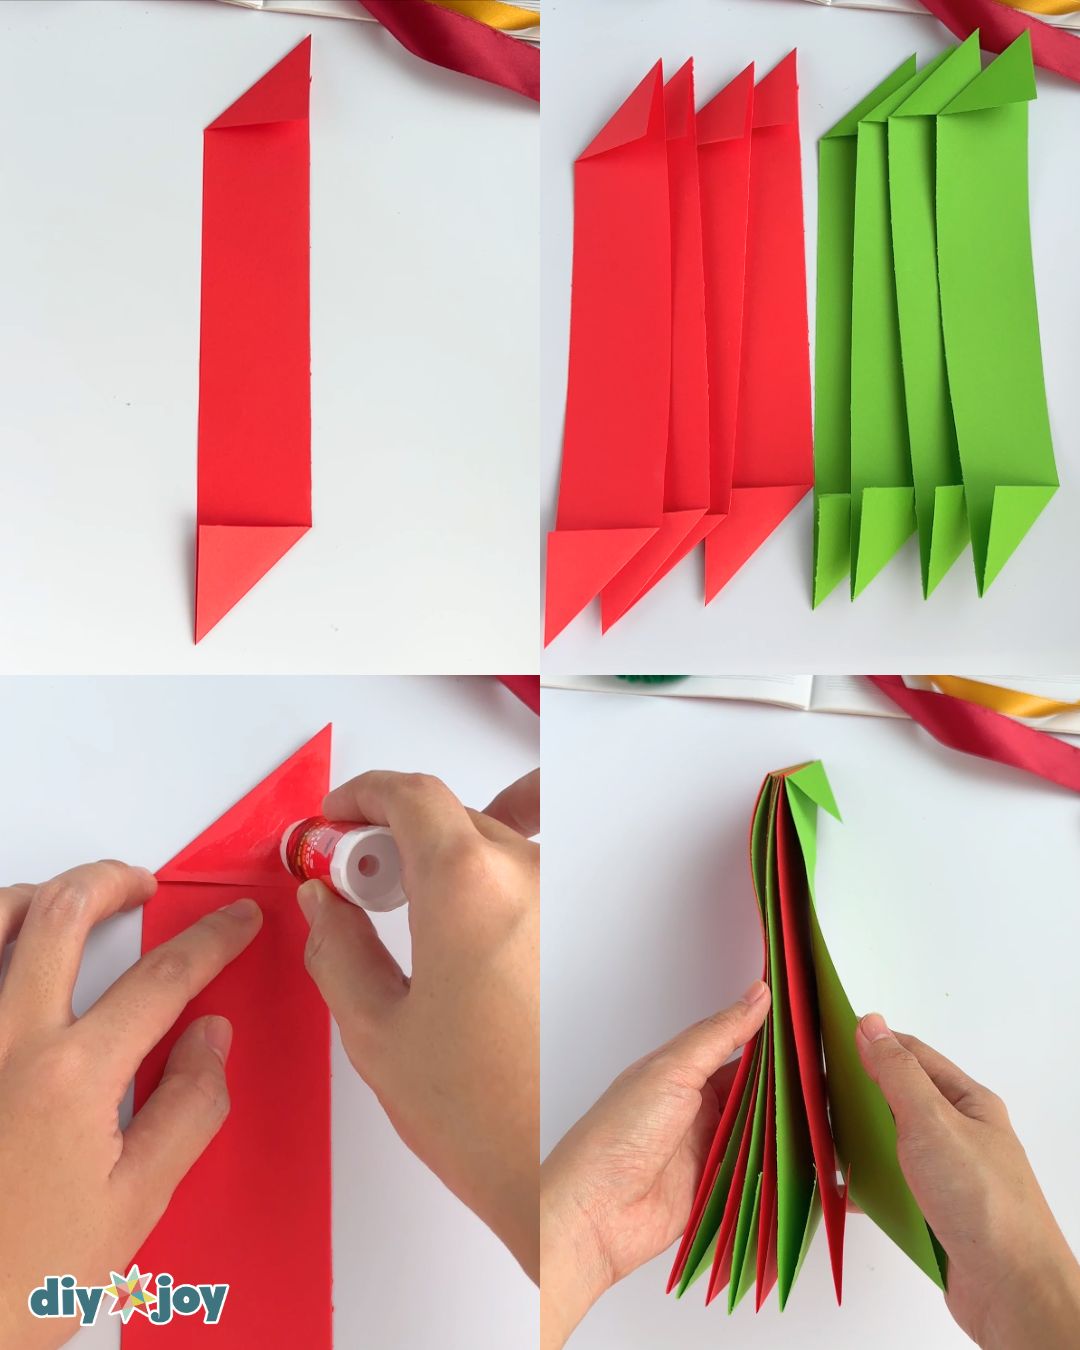
Take one strip and fold the top left corner toward the right edge, aligning the edges to form a triangle. Fold the bottom corner in the opposite direction. Repeat with the remaining strips.
Glue the strips together at the top, alternating the colors.
Step 3: Twist and Join the Strips
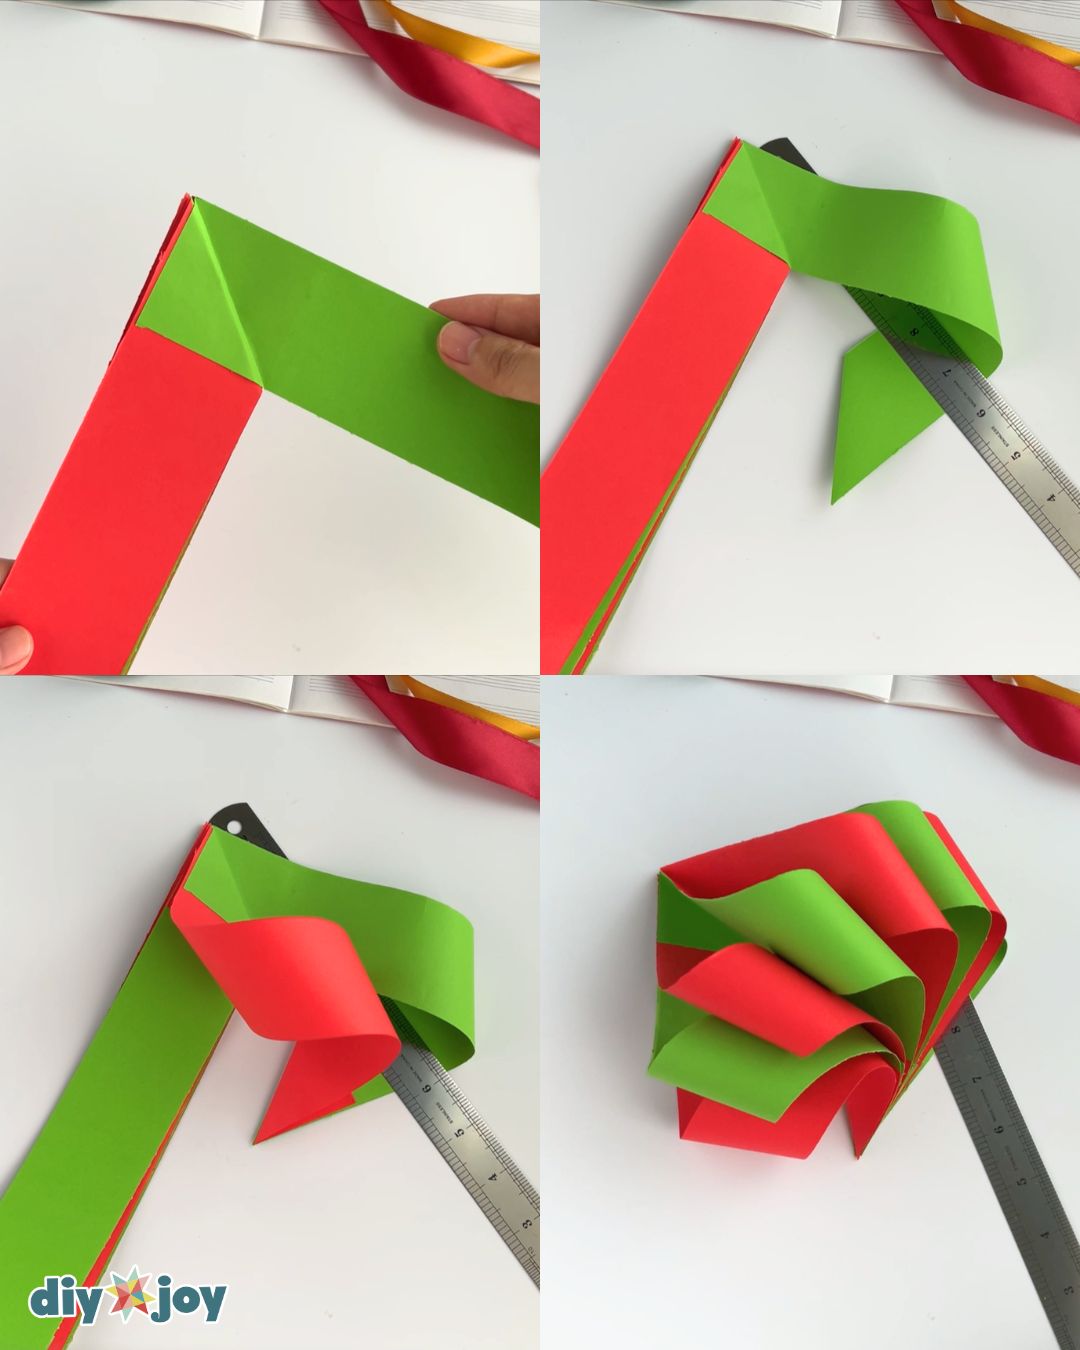
Fold the top triangle of the front strip toward the back and glue it in place. Unfold the top strip to form an L shape. Twist it and hold it in place with a ruler.
Take the second strip, apply glue to its bottom triangle, and attach it to the bottom of the first strip. Repeat with the remaining strips.
Step 4: Add the Ribbon and Close the Ornament
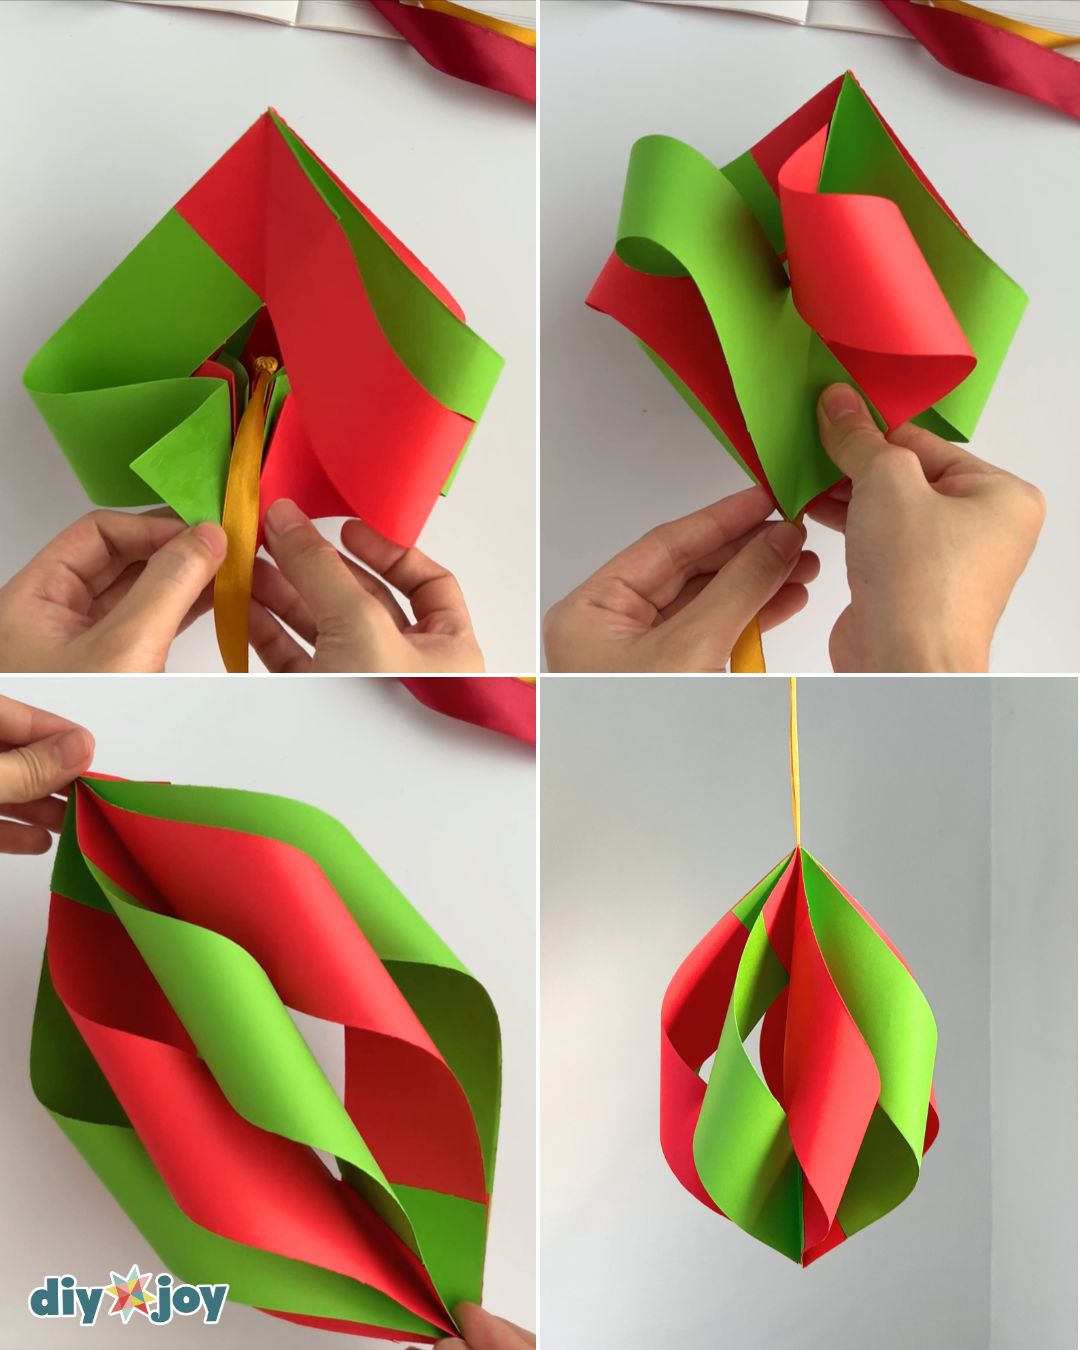
Cut a long piece of ribbon and tie several knots at one end to make a large knot. Trim the excess ribbon below the knot.
Flip the ornament over and place the ribbon between the unglued ends, with the knot at the center of the ornament. Apply glue to the bottom triangle and attach it to the other end to close the ornament.
Gently pull the top of the ornament into shape, then hang it.

Pro Tip
Cut even strips and fold each corner the same way to keep your ornament balanced.
More Paper Ornament Ideas and Ways to Use Them
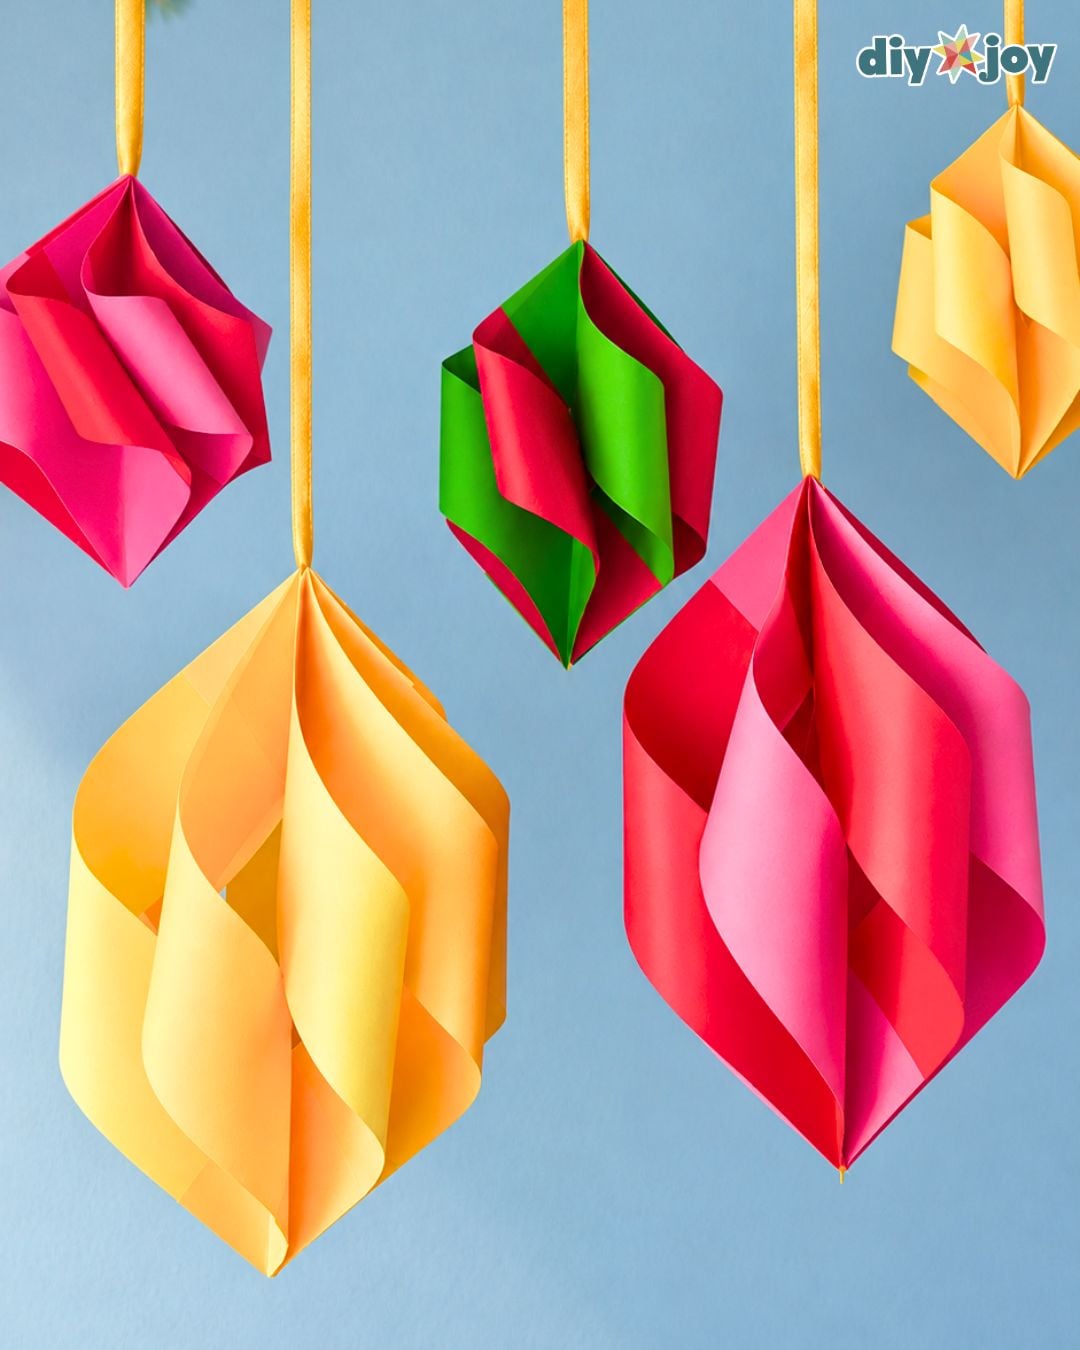
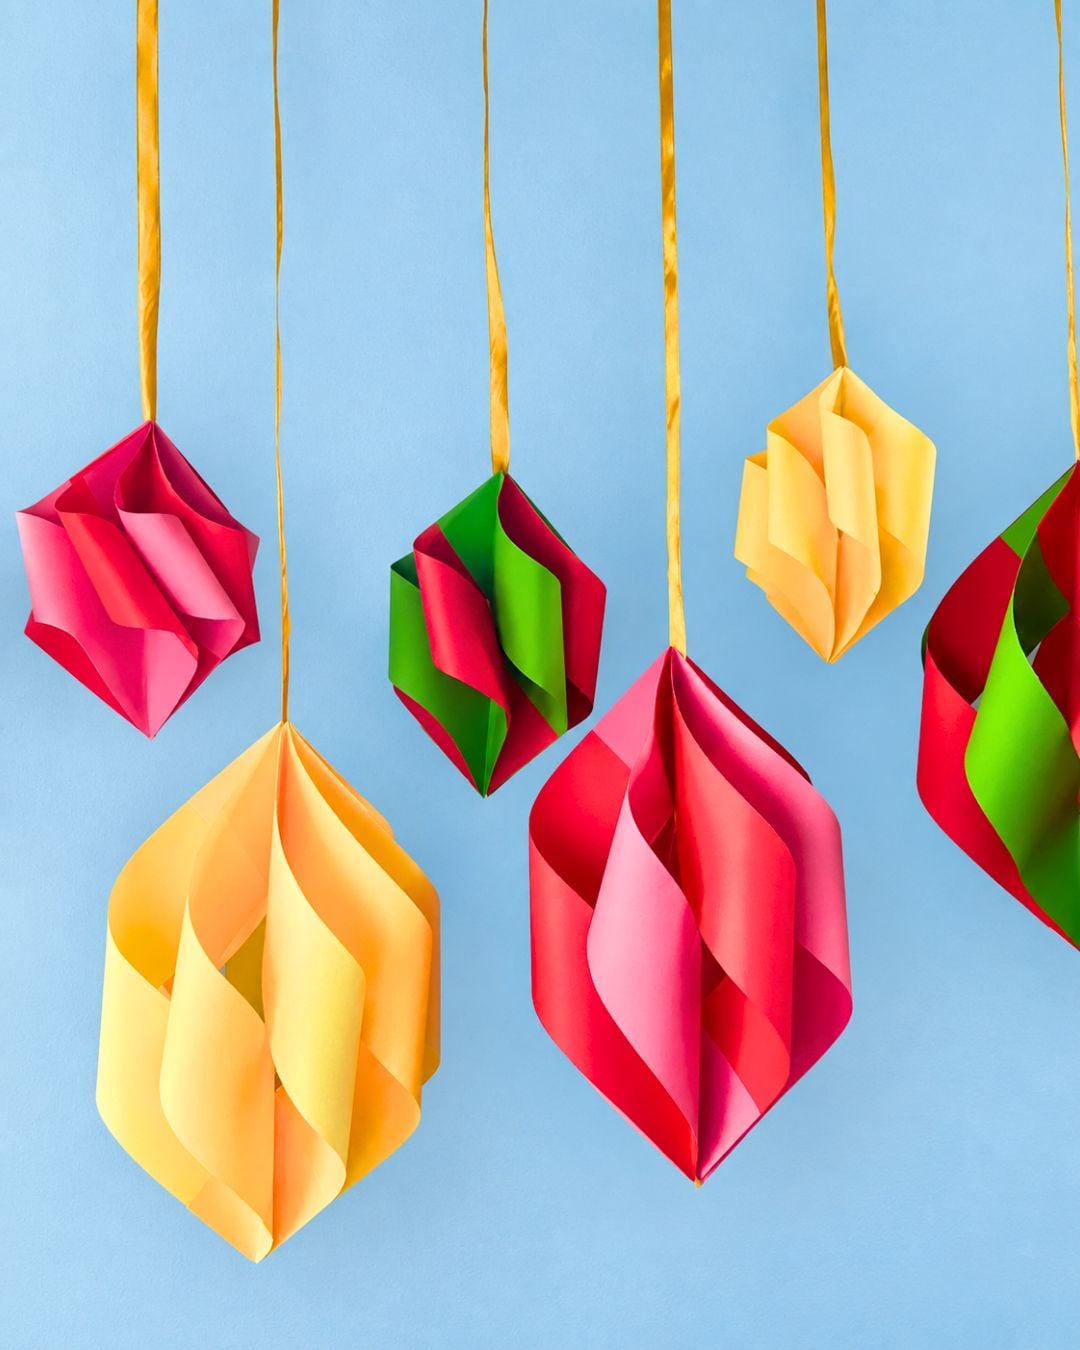
Try making a few paper ornaments in different styles. Use one color for a simple look, alternate two colors, or mix several shades. Metallic paper gives them a little shine, and a thin line of glitter along the edges adds sparkle. Sturdy paper from old gift bags works well, too.
Make ornaments in several sizes to hang together. Keep the strip lengths and widths in the same proportions so each one holds its shape. Hang them on your Christmas tree, string them into a garland, or use a small one as a gift topper. For birthdays and other celebrations, choose paper that matches the party colors.
Love paper crafts? Try these paper bag star ornaments, the cupcake liner Christmas ornaments or a classic DIY paper star ornament next.
Paper Ornament FAQs
You can. For a larger or smaller ornament, adjust both the length and width of the strips by the same amount so the shape stays consistent.
Check that your strips are the same size and that the corner folds line up. Small differences can become more noticeable once the strips are joined.
Hang a few at different heights from the ceiling, add them to a garland, or tie a small one to a wrapped gift.
Yes! Try craft paper, metallic sheets, or a clean section of a used gift bag. Paper that folds neatly and bends without fighting you will be easiest to work with.
Use eight strips for each ornament. One sheet gives you four strips when you fold and cut it as shown, so you’ll need two sheets.
Save These Paper Christmas Ornaments on Pinterest
Roll over the image to get the button.