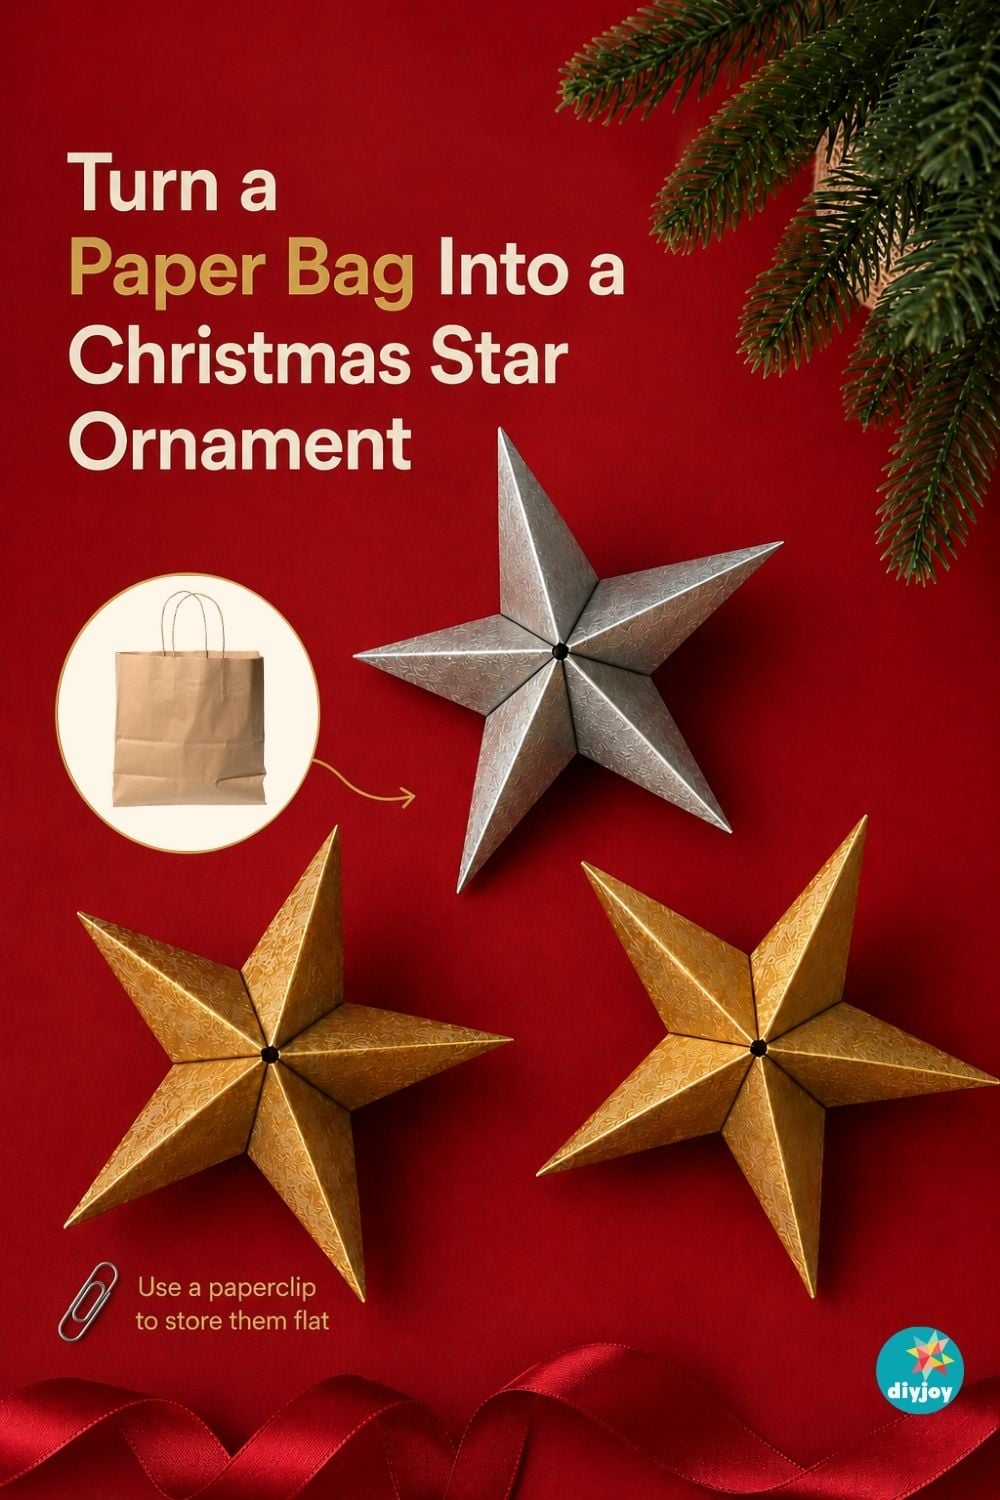
Want to know how to make a paper bag star ornament that looks like hammered metal instead of a grocery run? You paint a paper shopping bag with metallic acrylic, flicked on with a toothbrush for texture, then cut five squares, fold each one into a diamond and hot glue the pieces into a 3D star Christmas ornament. That is the whole build. Paper crafts and painting are my two favorite things to make, but these paper Christmas stars are now at the top of my list. One note, since the finish does all the work here: skip bargain paint. It has less pigment and more filler, so you will do four coats and still end up with a star that looks like a painted paper bag. I am making lots of these stars for my DIY Christmas decor, and I hope you get to as well!
Paper Star Ornament Video Tutorial
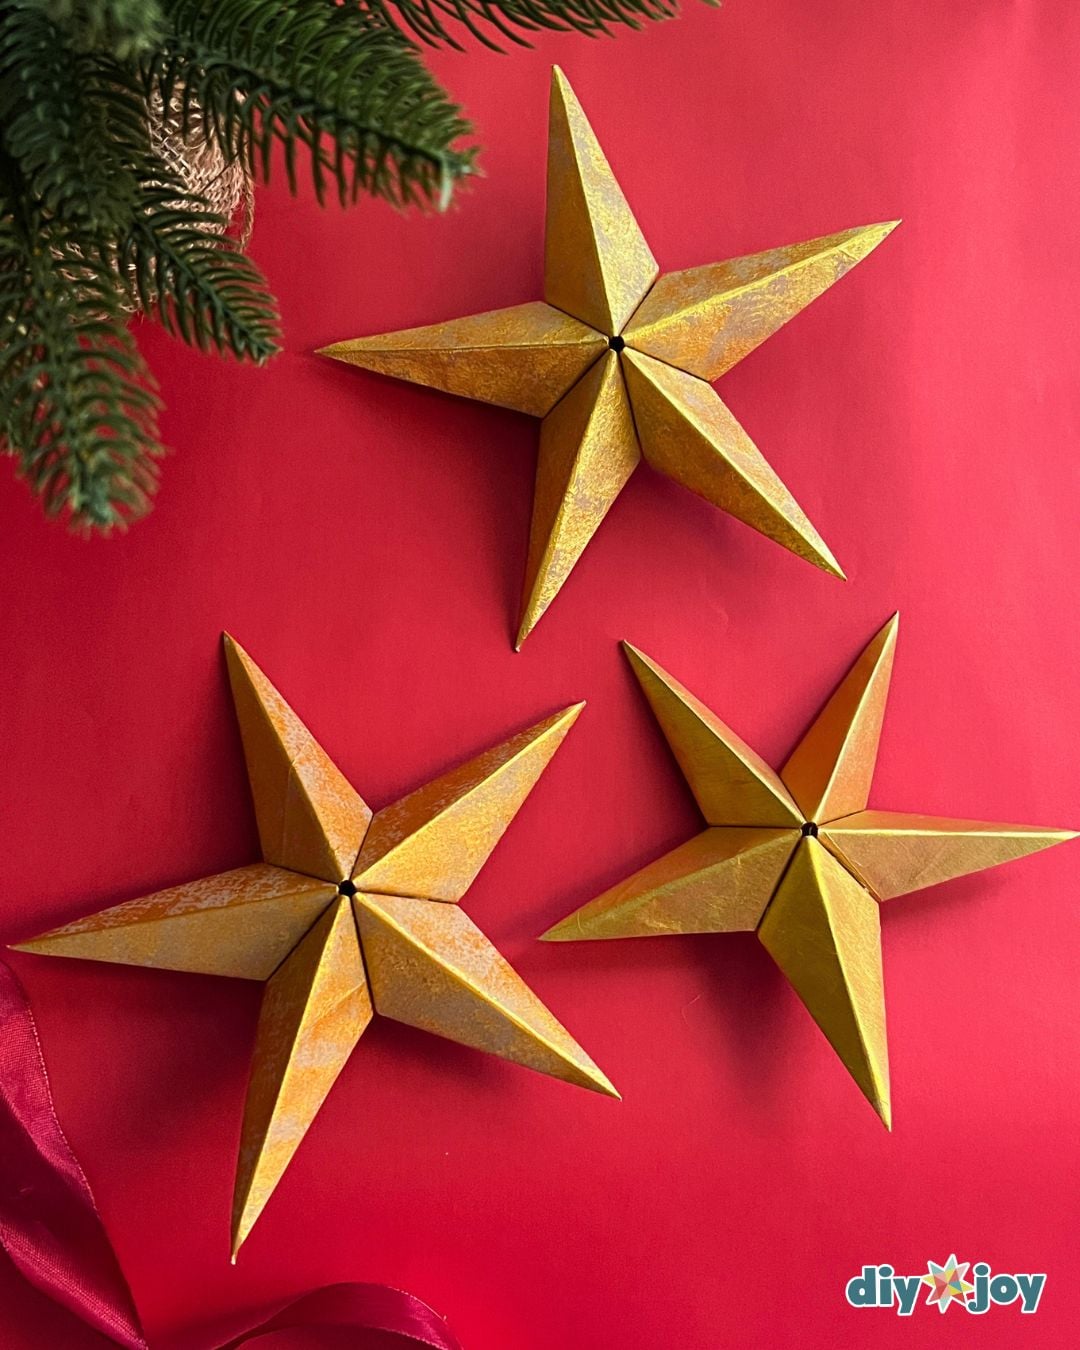
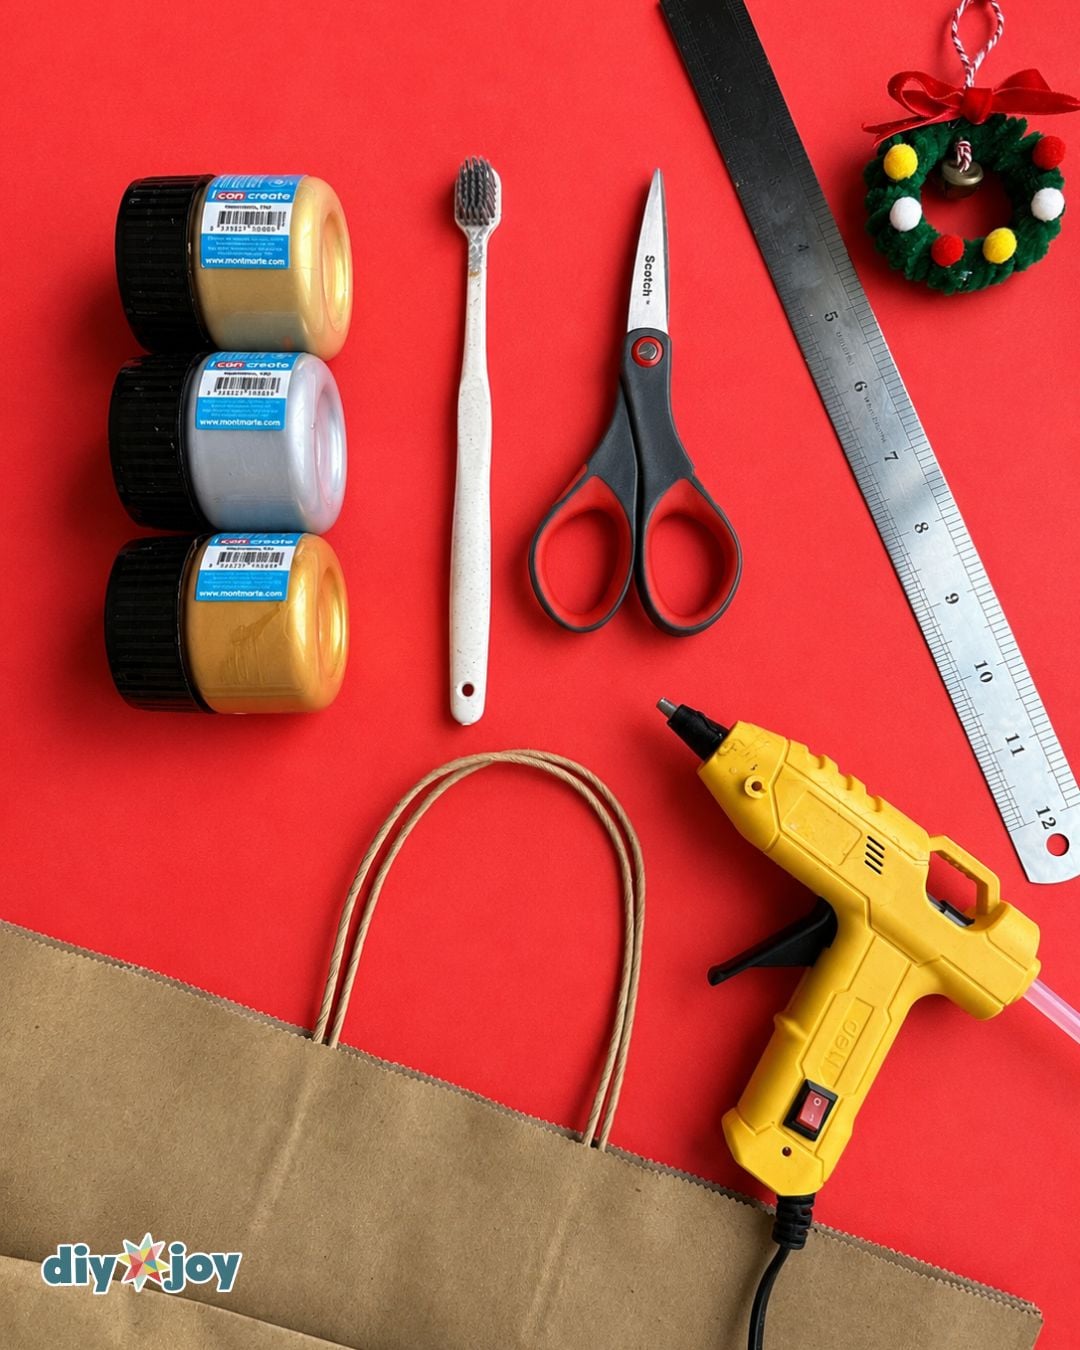
Craft Supplies Needed:
- paper bag
- metallic acrylic paint
- toothbrush
- scissors
- paper cutter (optional but recommended)
- glue gun
- glue sticks
- jute twine, string, or ribbon for hanging
- ruler
- pencil
Shop the Supplies
Here are the main supplies we used on this star, so you can grab the same ones and get straight to the folding.
Gold Metallic Paint
We love using this paint on our paper stars! It makes them look shiny and metallic.

Paper Cutter
This paper cutter makes it easier to cut perfect squares with straight edges.
Glue Gun
Silver Metallic Paint

*Some of the supply links above are affiliate links. If you buy through them I earn a small commission at no extra cost to you.
How to Make a Paper Star
Learn how to make a paper star ornament with a paper bag with this easy step-by-step tutorial.
Step 1
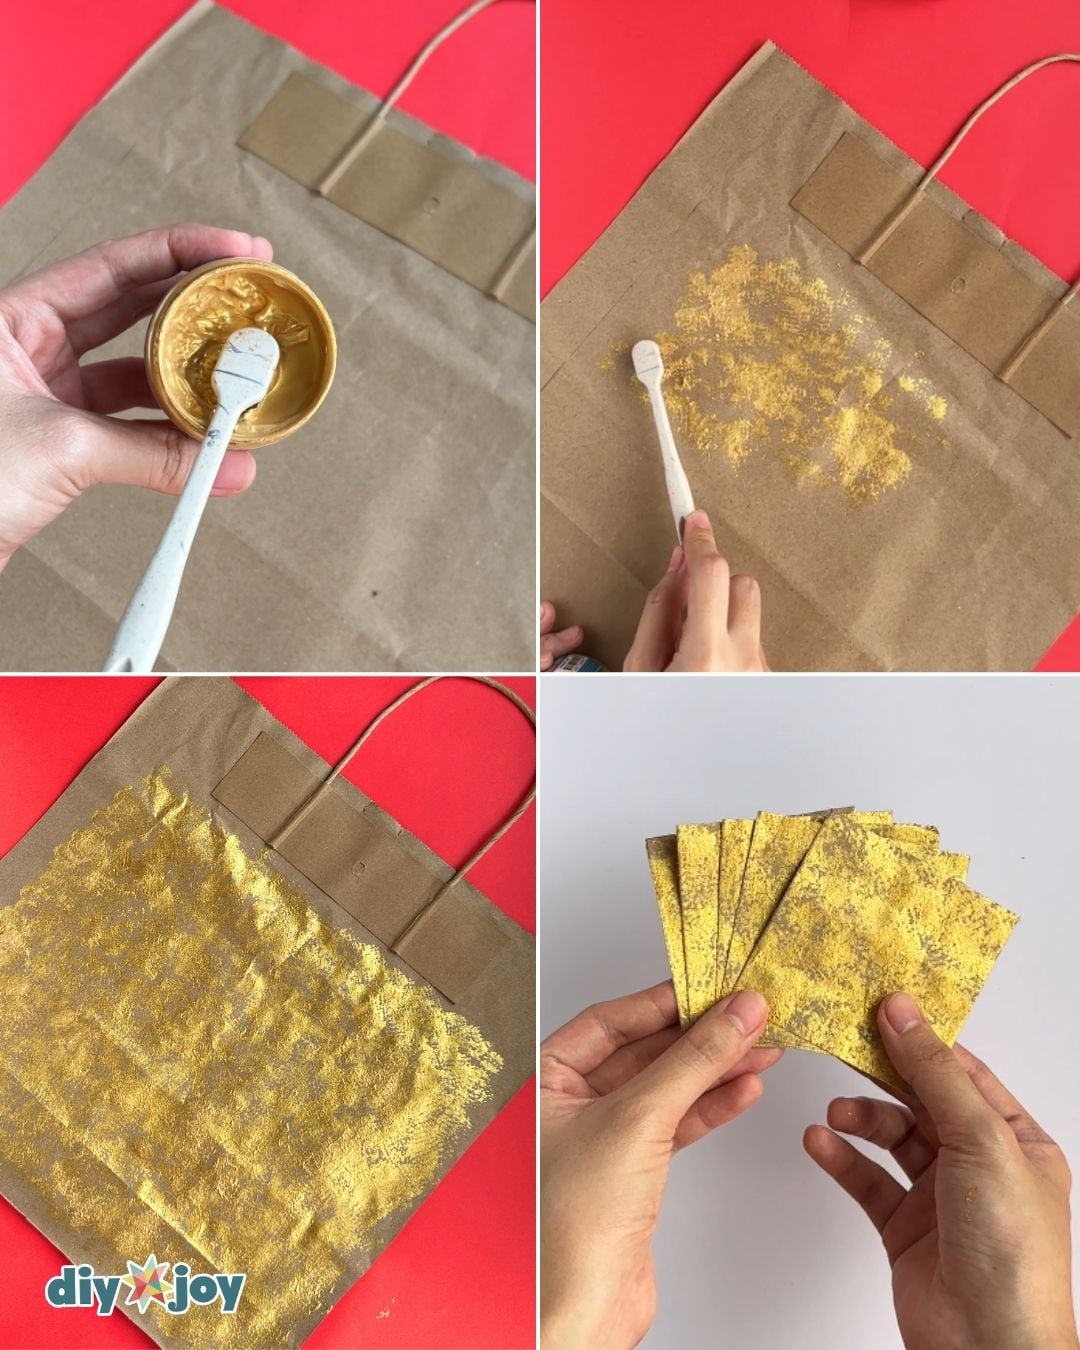
Cut the paper bag into sections, using the creases as a guide. Take the front section and place it right side down.
Lightly dab the toothbrush into the acrylic paint, then tap it onto the back of the paper bag to create a textured finish. Let the paint dry completely.
Once dry, cut five 3.5-inch squares using scissors or a paper cutter.
Step 2
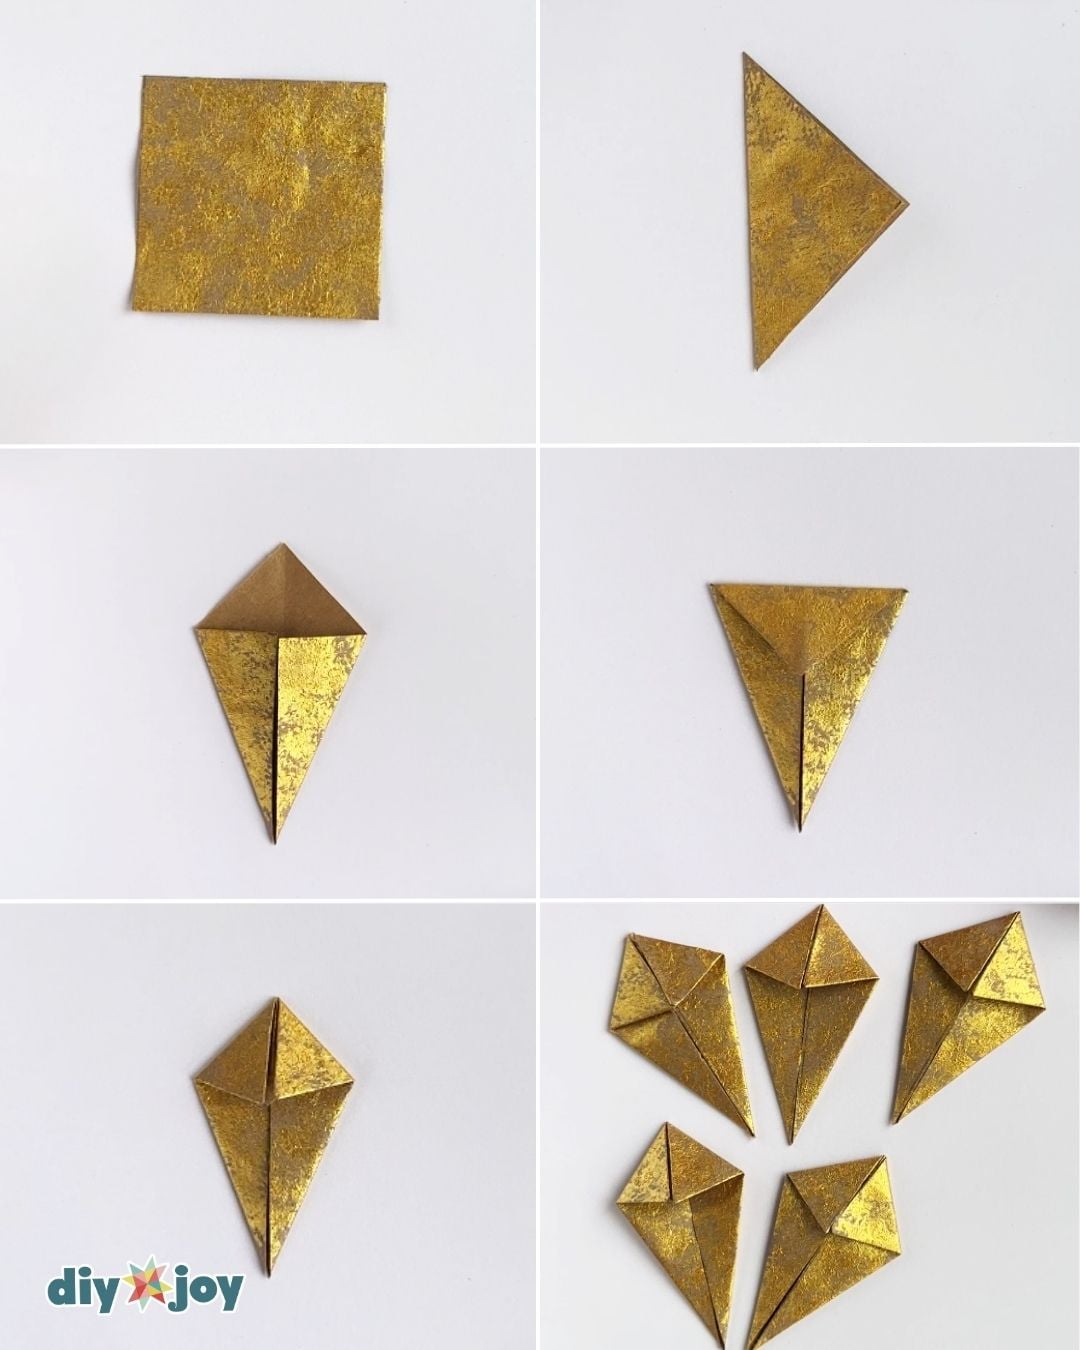
Take one square and fold it in half diagonally, with the wrong sides touching, to make a crease.
Unfold the paper, then fold both sides toward the center to form a diamond. Fold the top point down to make a triangle, then fold both corners toward the center to form a diamond again. Repeat with the remaining four squares.
Step 3
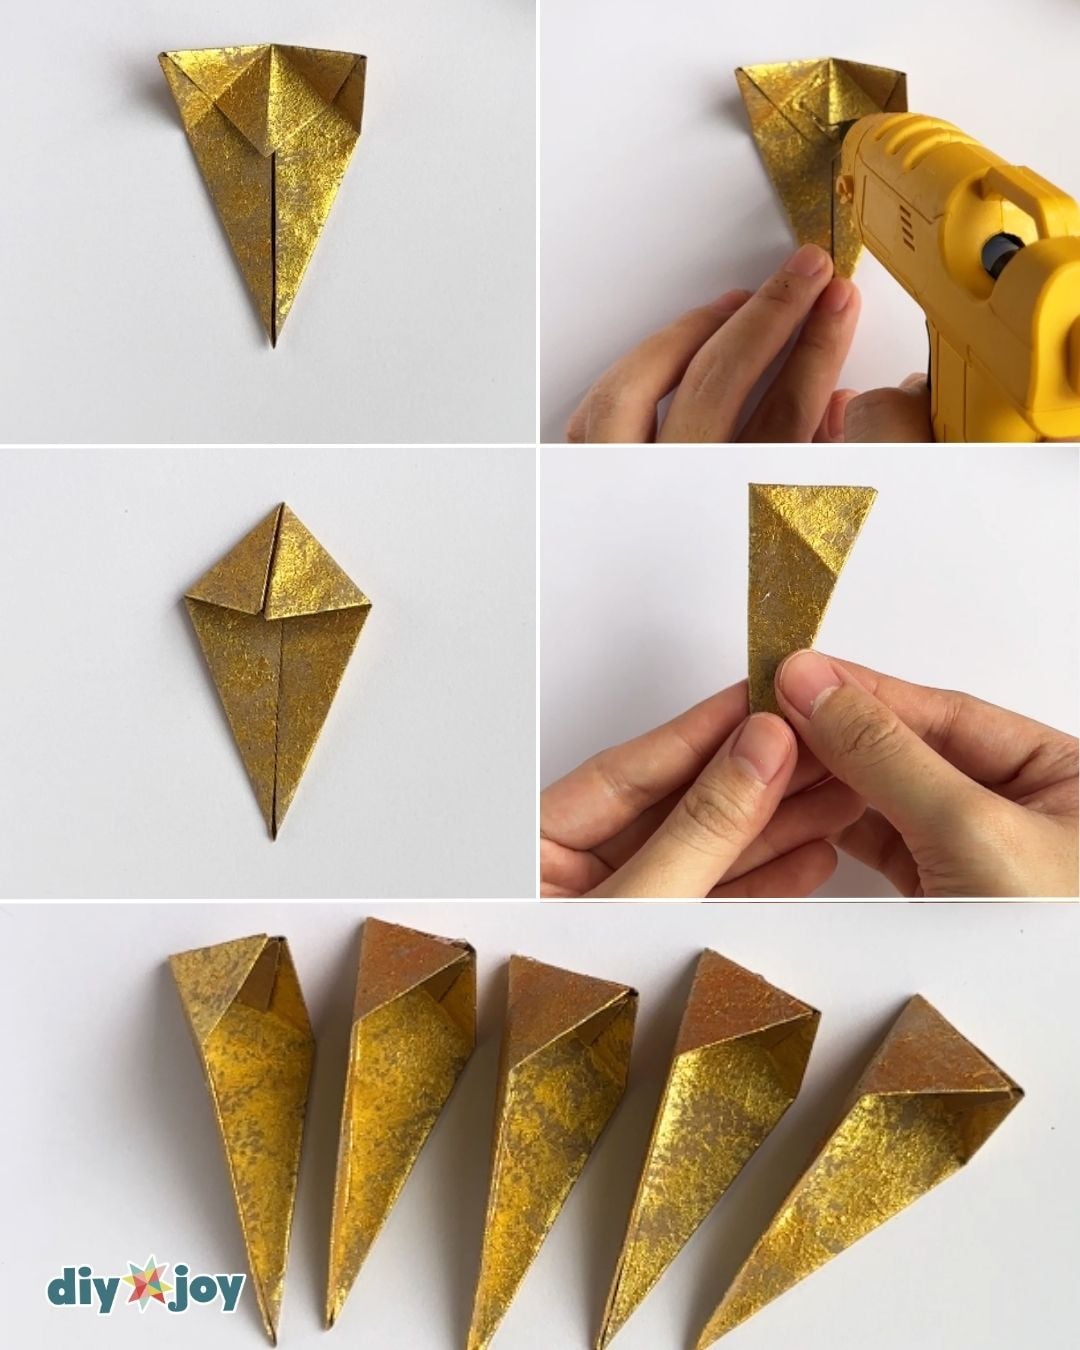
Take one piece and unfold the flaps. Apply hot glue to the top center, then glue the flaps in place.
Unfold the top section and flatten the bottom to create a 3D triangular shape. Repeat with the remaining pieces.
Step 4
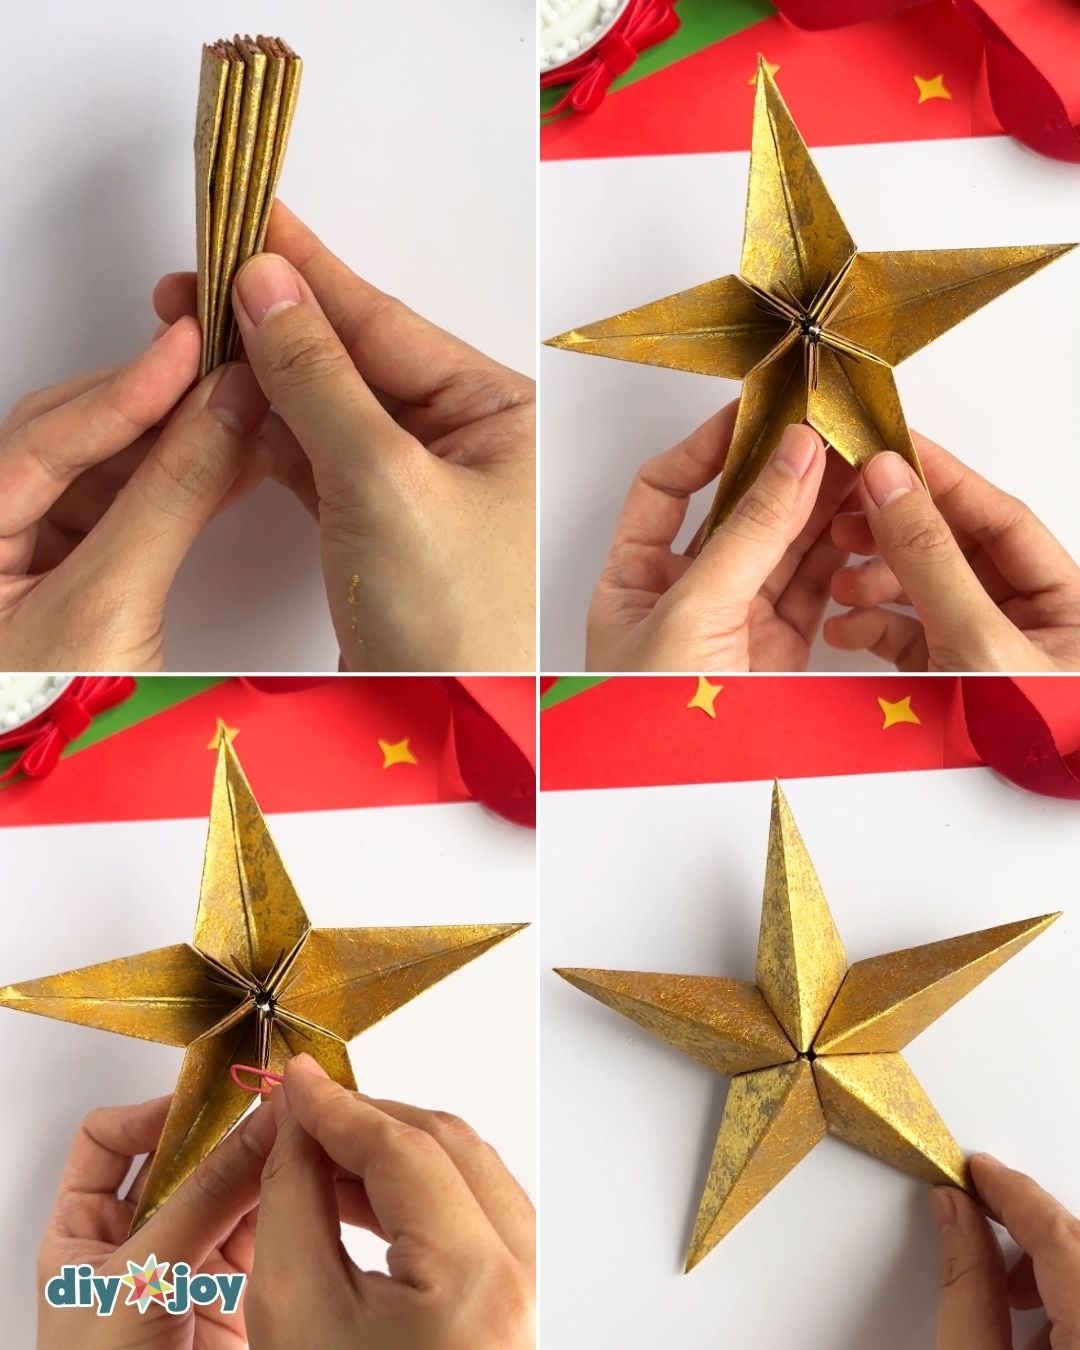
Take one piece and apply glue only to the top wide triangular section. Place another piece on top, then repeat with the remaining pieces.
Open the glued pieces to form a star, then glue the ends together. If you want to reuse or store the paper star, secure the ends with a paper clip instead.

Pro Tip
Measure carefully and make sure all the squares are exactly the same size! Use a paper cutter to create clean, straight edges.
More Paper Star Ornament Ideas and Ways to Use Them
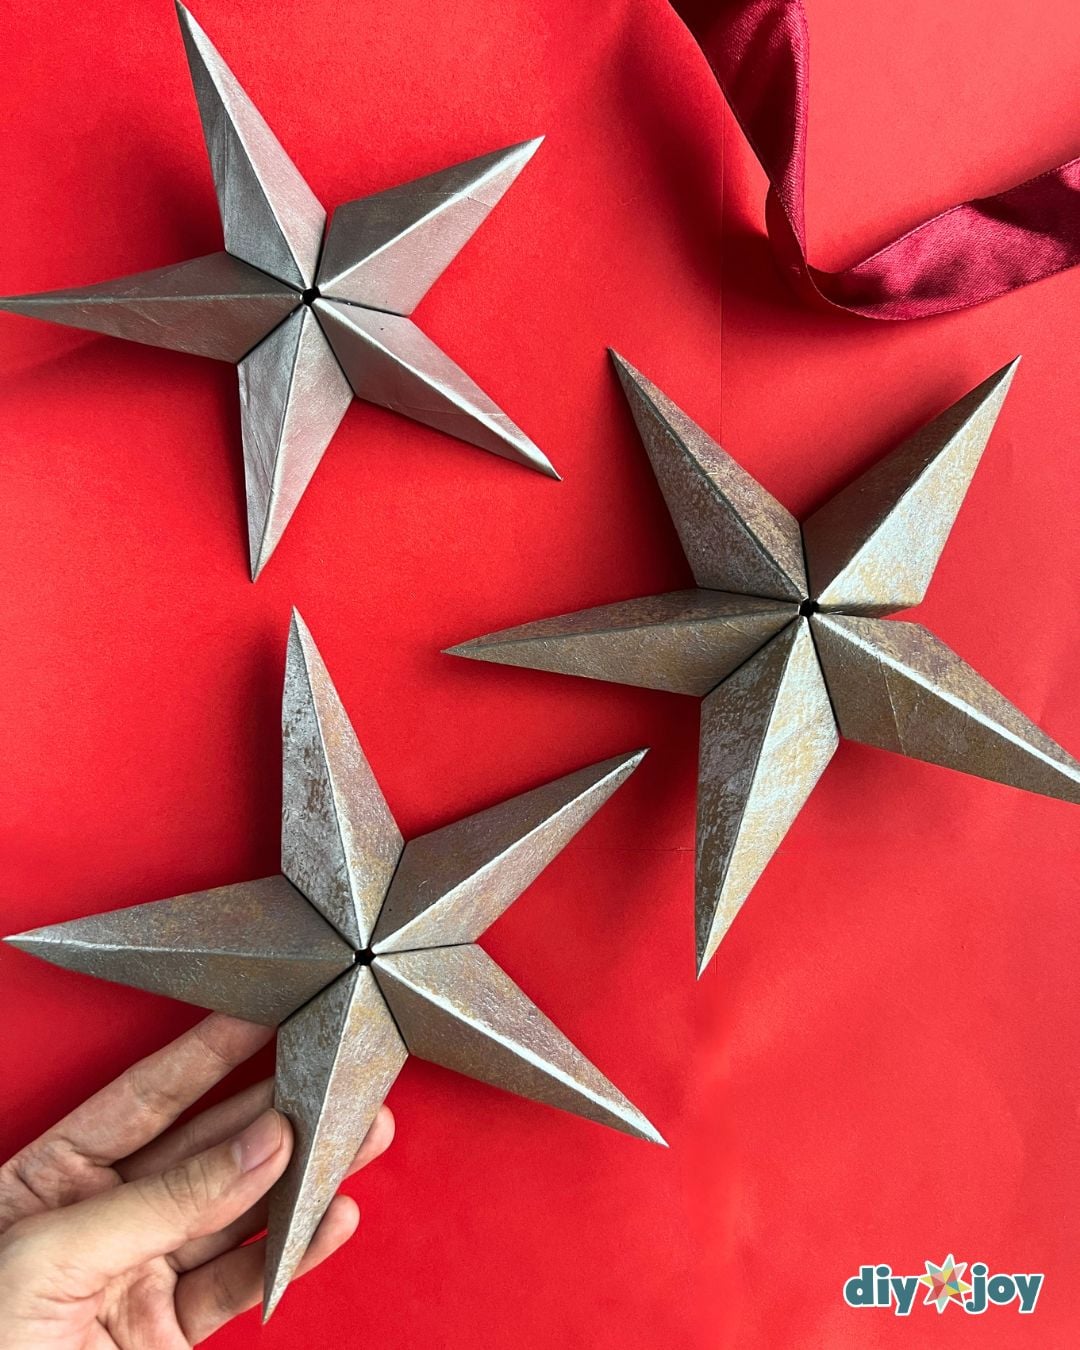
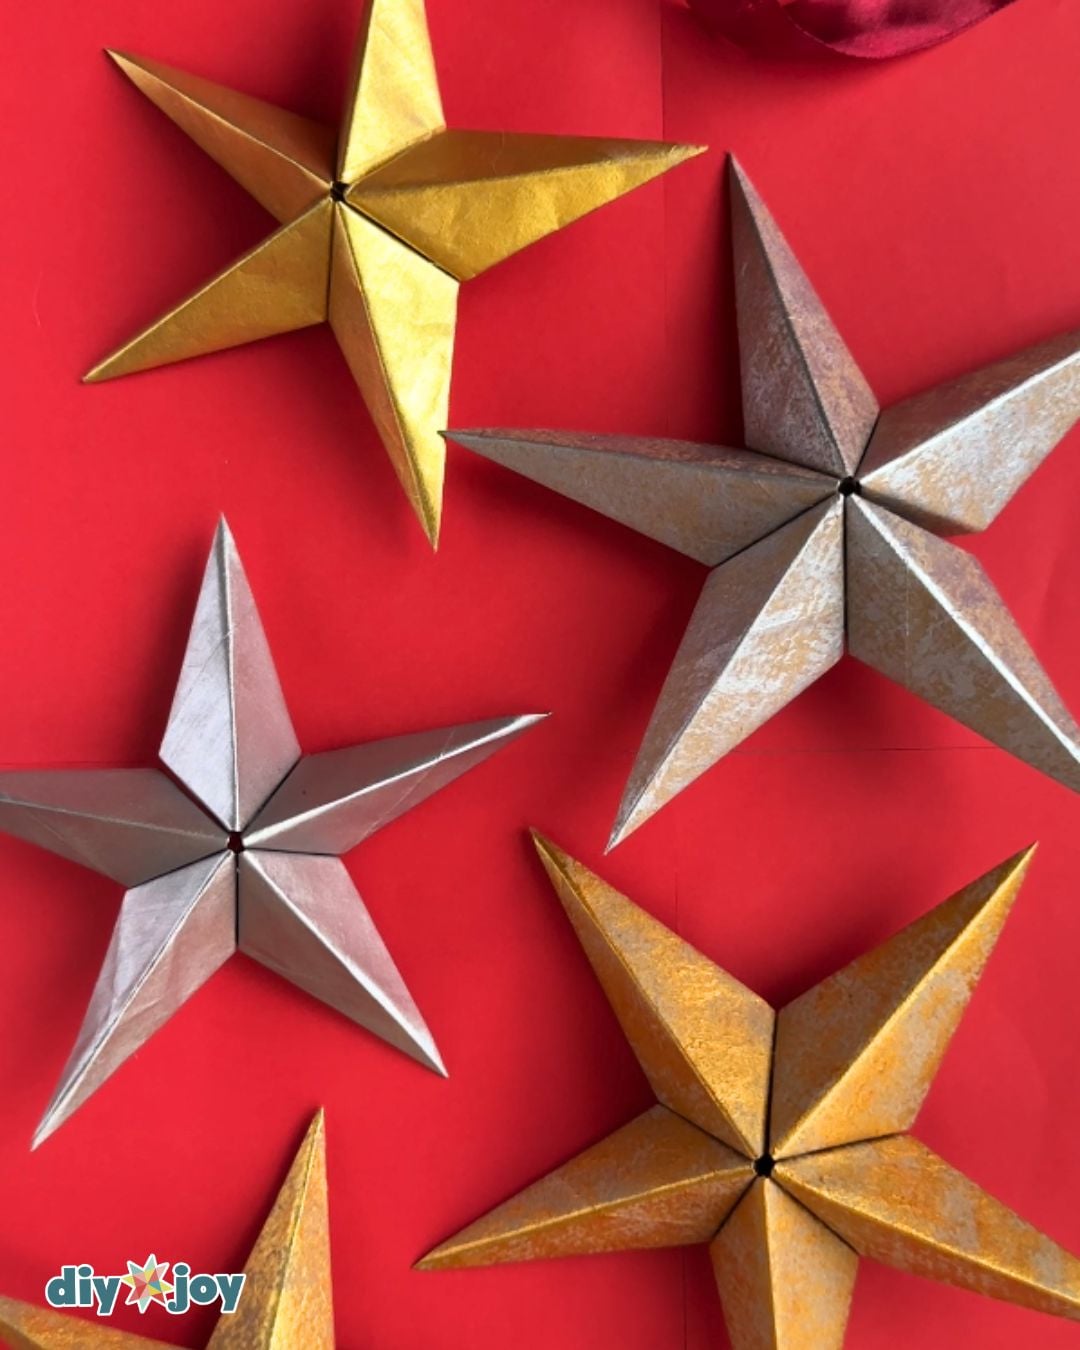
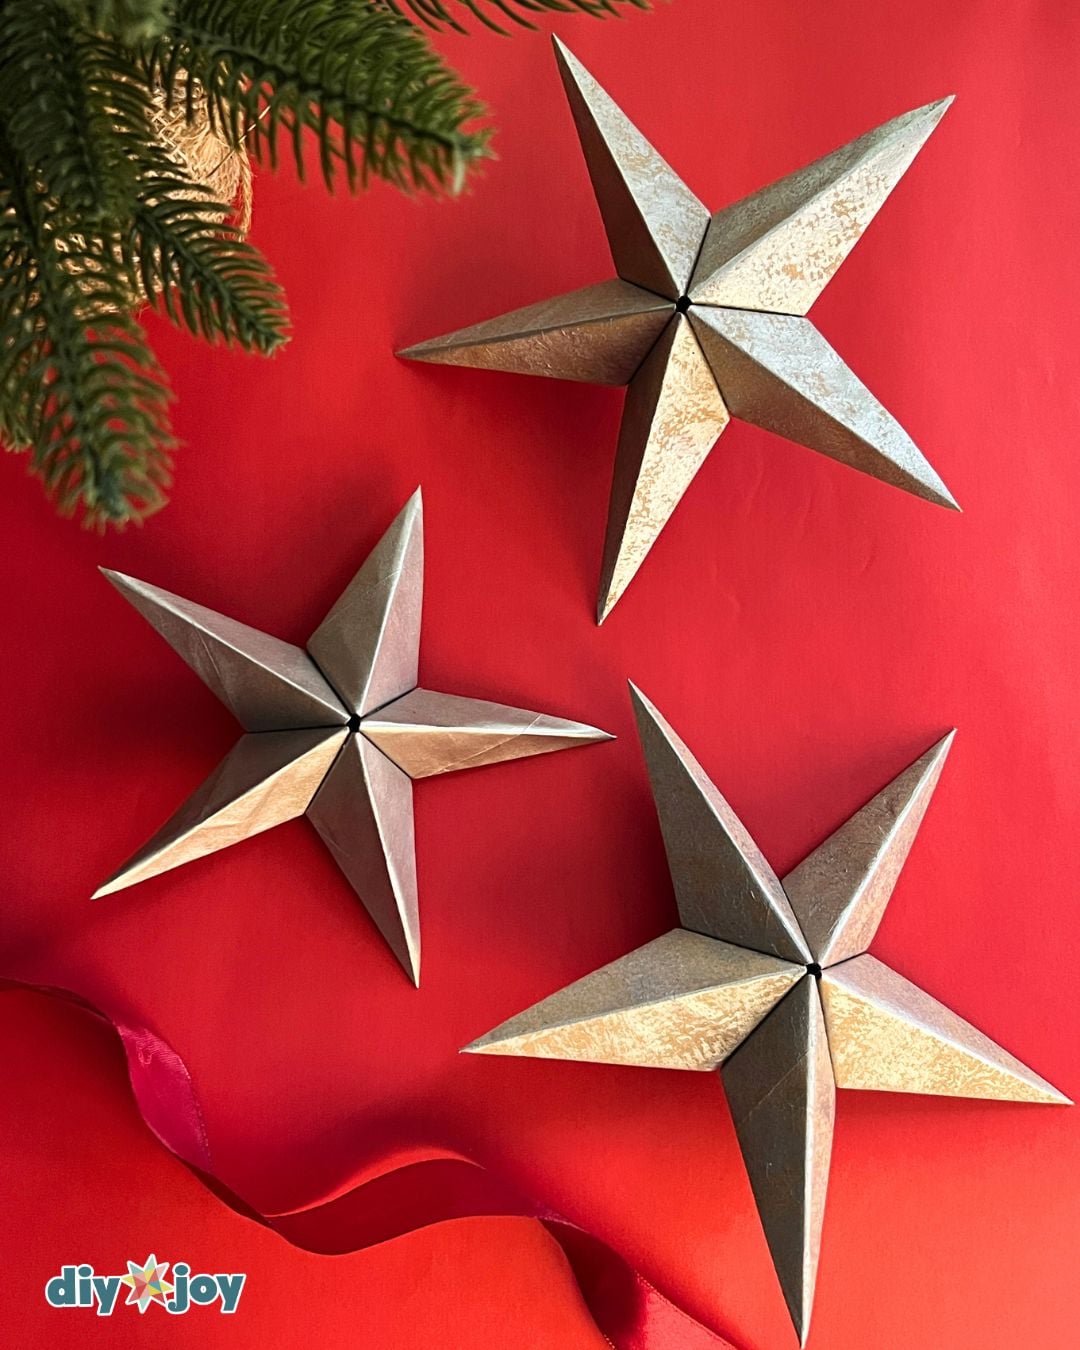
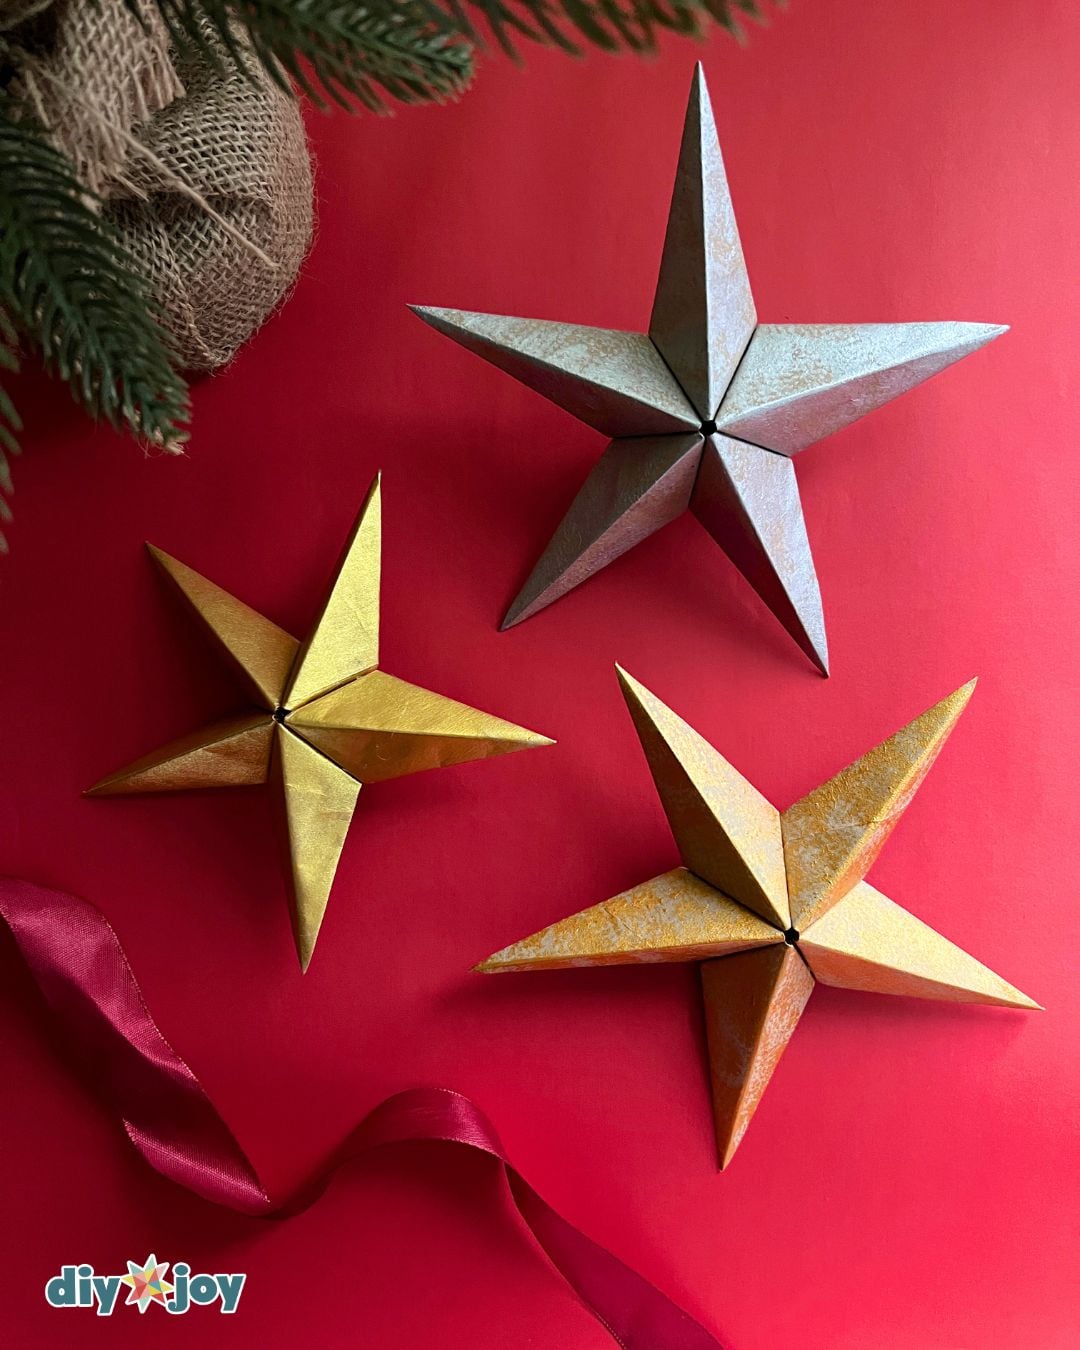
These DIY paper star ornaments are easy to customize for any Christmas theme. Paint the paper bags gold, silver, white, red, or green, or decorate them with glitter, small beads, ribbon, and festive patterns. You can also make folded paper stars in several sizes to create a matching set of homemade Christmas ornaments. Using old shopping bags makes this an affordable upcycled paper bag craft and a creative way to turn simple materials into beautiful Christmas decorations.
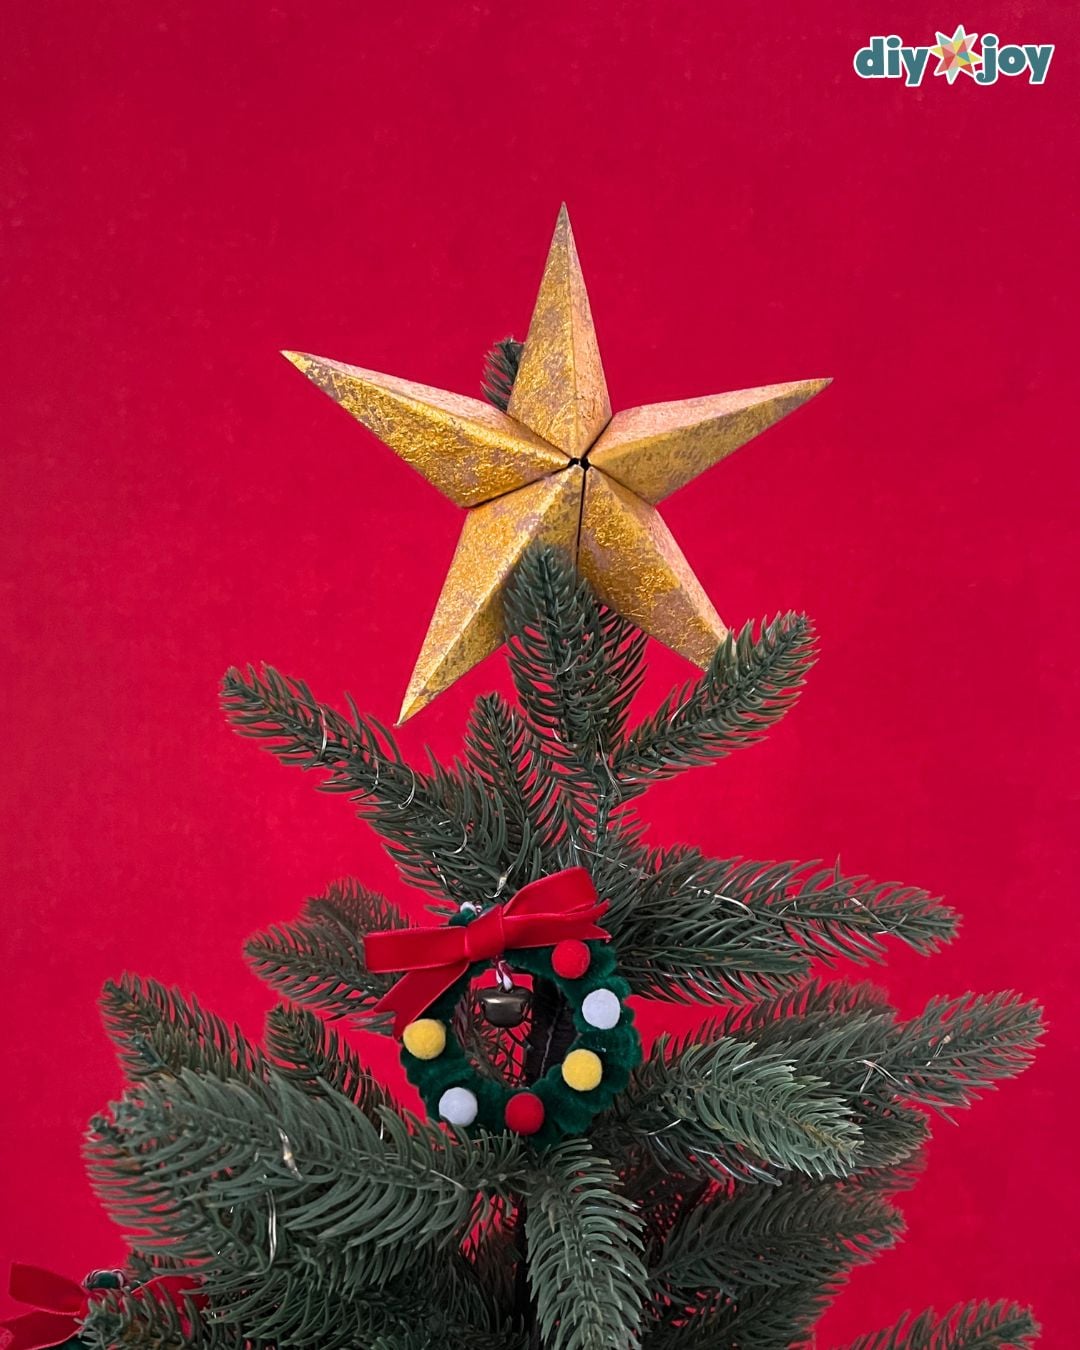
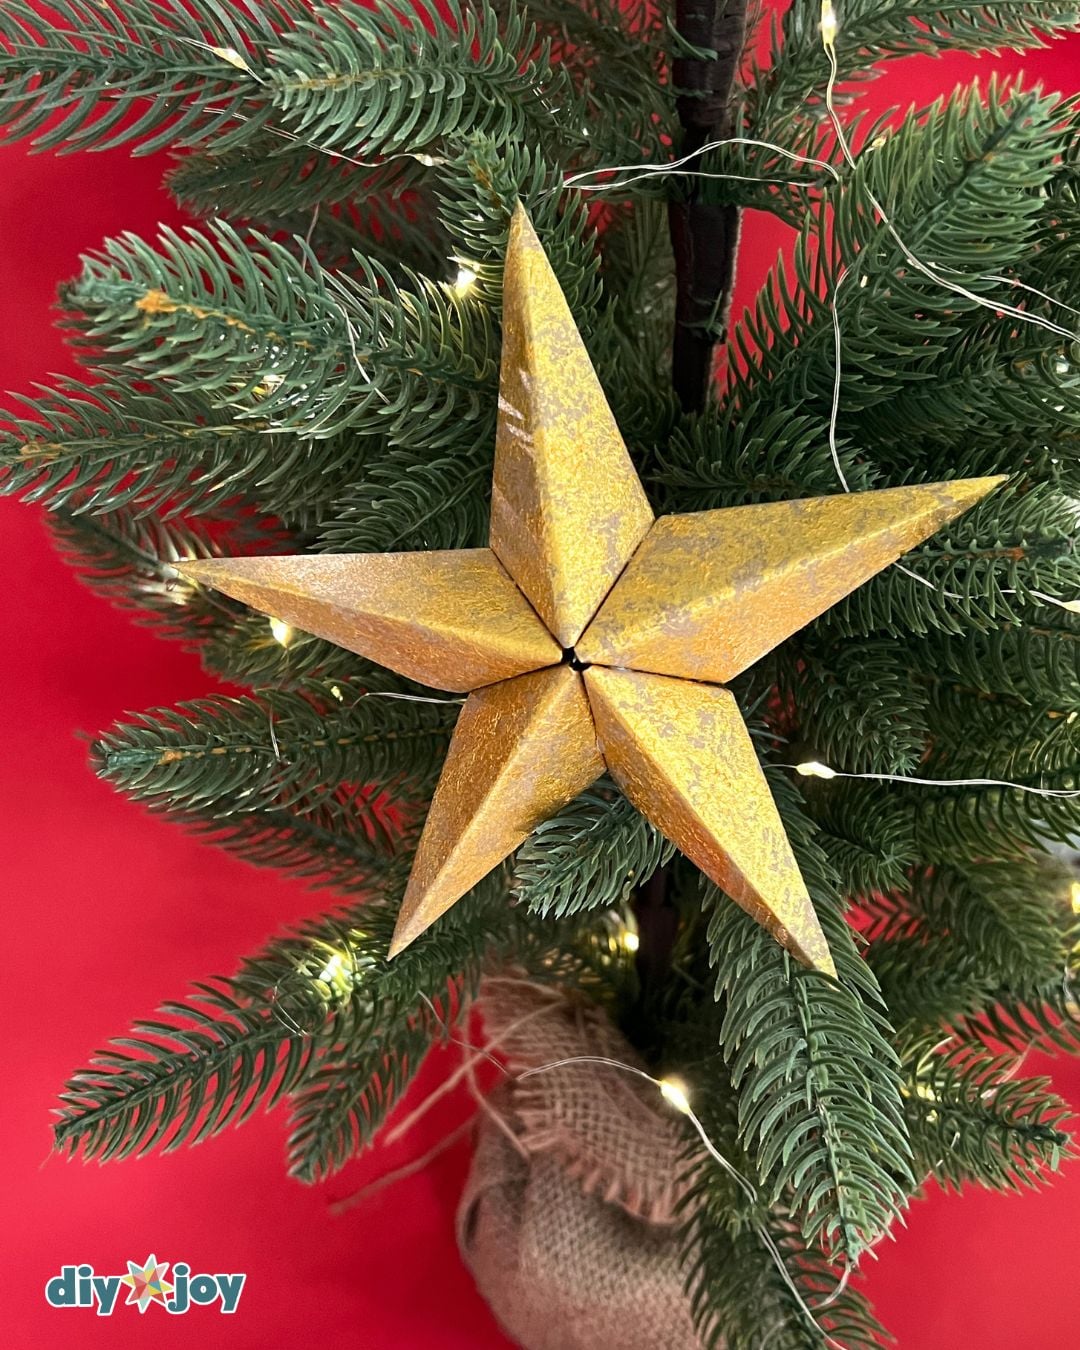
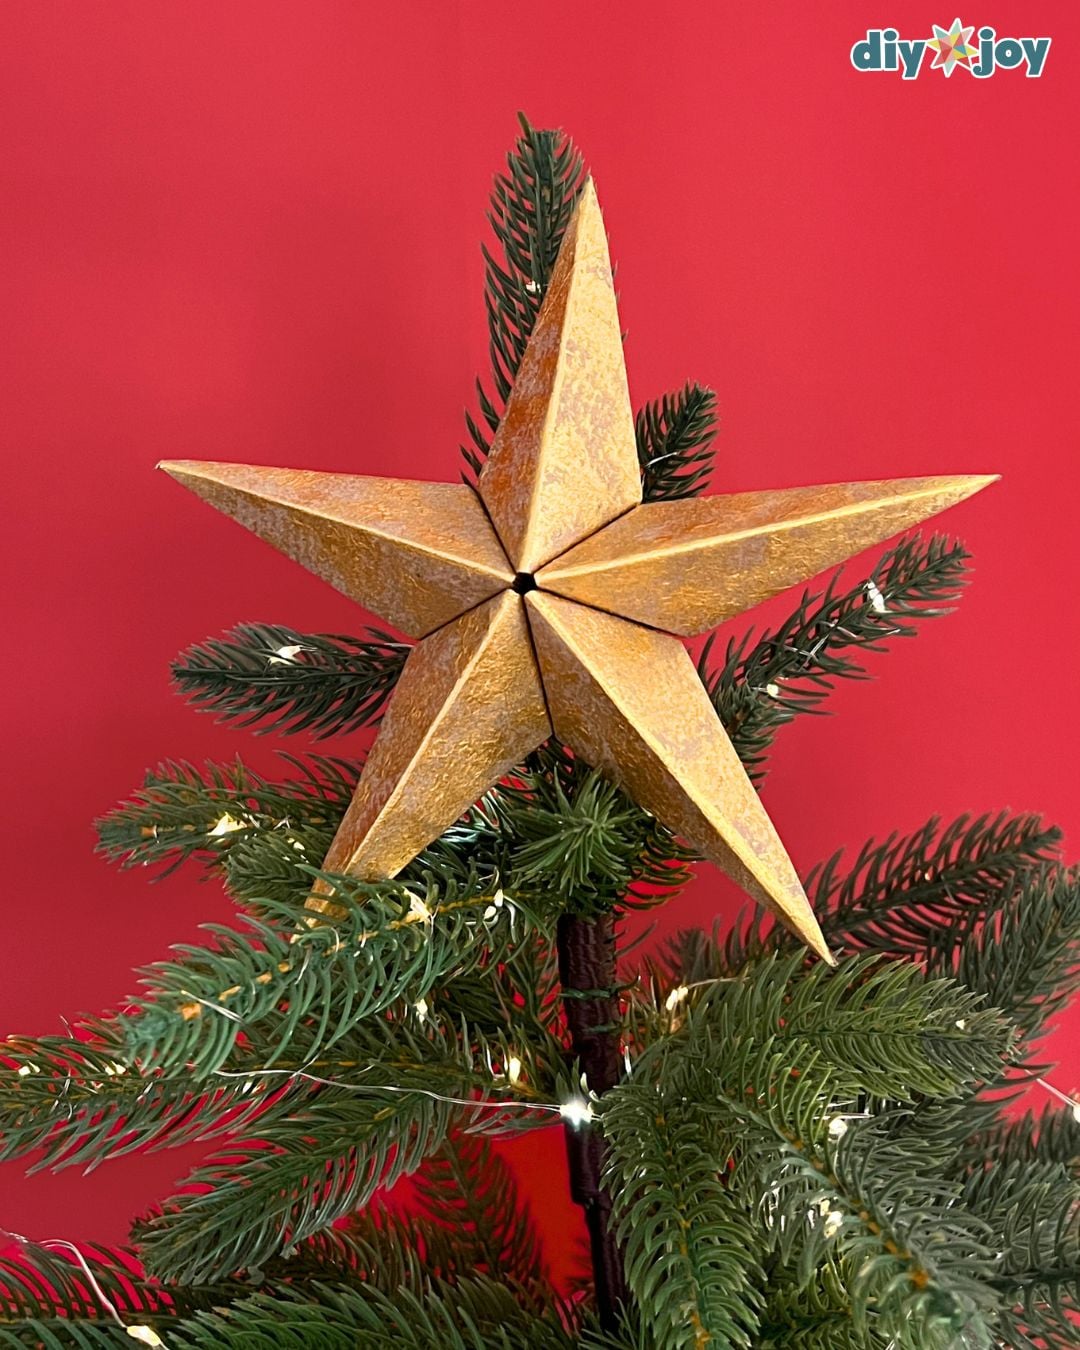
Hang the finished paper bag star ornaments on your Christmas tree, windows, walls, mantel, or doorway. You can also join several stars with string to make a DIY Christmas garland or hang them from the ceiling at different heights. Smaller paper stars work well as gift toppers, place-card decorations, or handmade gifts, while larger stars can become the main feature of your holiday display. These easy paper Christmas crafts can be folded flat for storage and reused each holiday season.

FAQs
A medium-weight kraft paper bag works well because it is sturdy enough to hold the folds but still easy to cut and shape. Avoid very thick or glossy bags, as they may be difficult to fold and glue.
Uneven points usually happen when the squares are different sizes or the folds are not aligned. Measure carefully, cut five identical squares, and make sharp creases before gluing the pieces together.
Yes, but use a ruler to mark each square before cutting. A paper cutter is a better option if you want faster, cleaner cuts with perfectly straight edges.
Hot glue works well because it dries quickly and holds the folded pieces securely. Apply only a small amount so the glue does not create bumps or show along the edges.
Yes. Instead of permanently gluing the final two ends together, secure them with a paper clip. Remove the clip after Christmas and gently fold the star flat for storage.
You can use kraft paper, scrapbook paper, old book pages, wrapping paper, or regular printer paper. Choose a medium-weight paper that is easy to fold but sturdy enough to hold the star’s shape. Avoid thick cardstock because it can be difficult to crease and glue.
Save this Craft on Pinterest
Roll over the image to get the button.