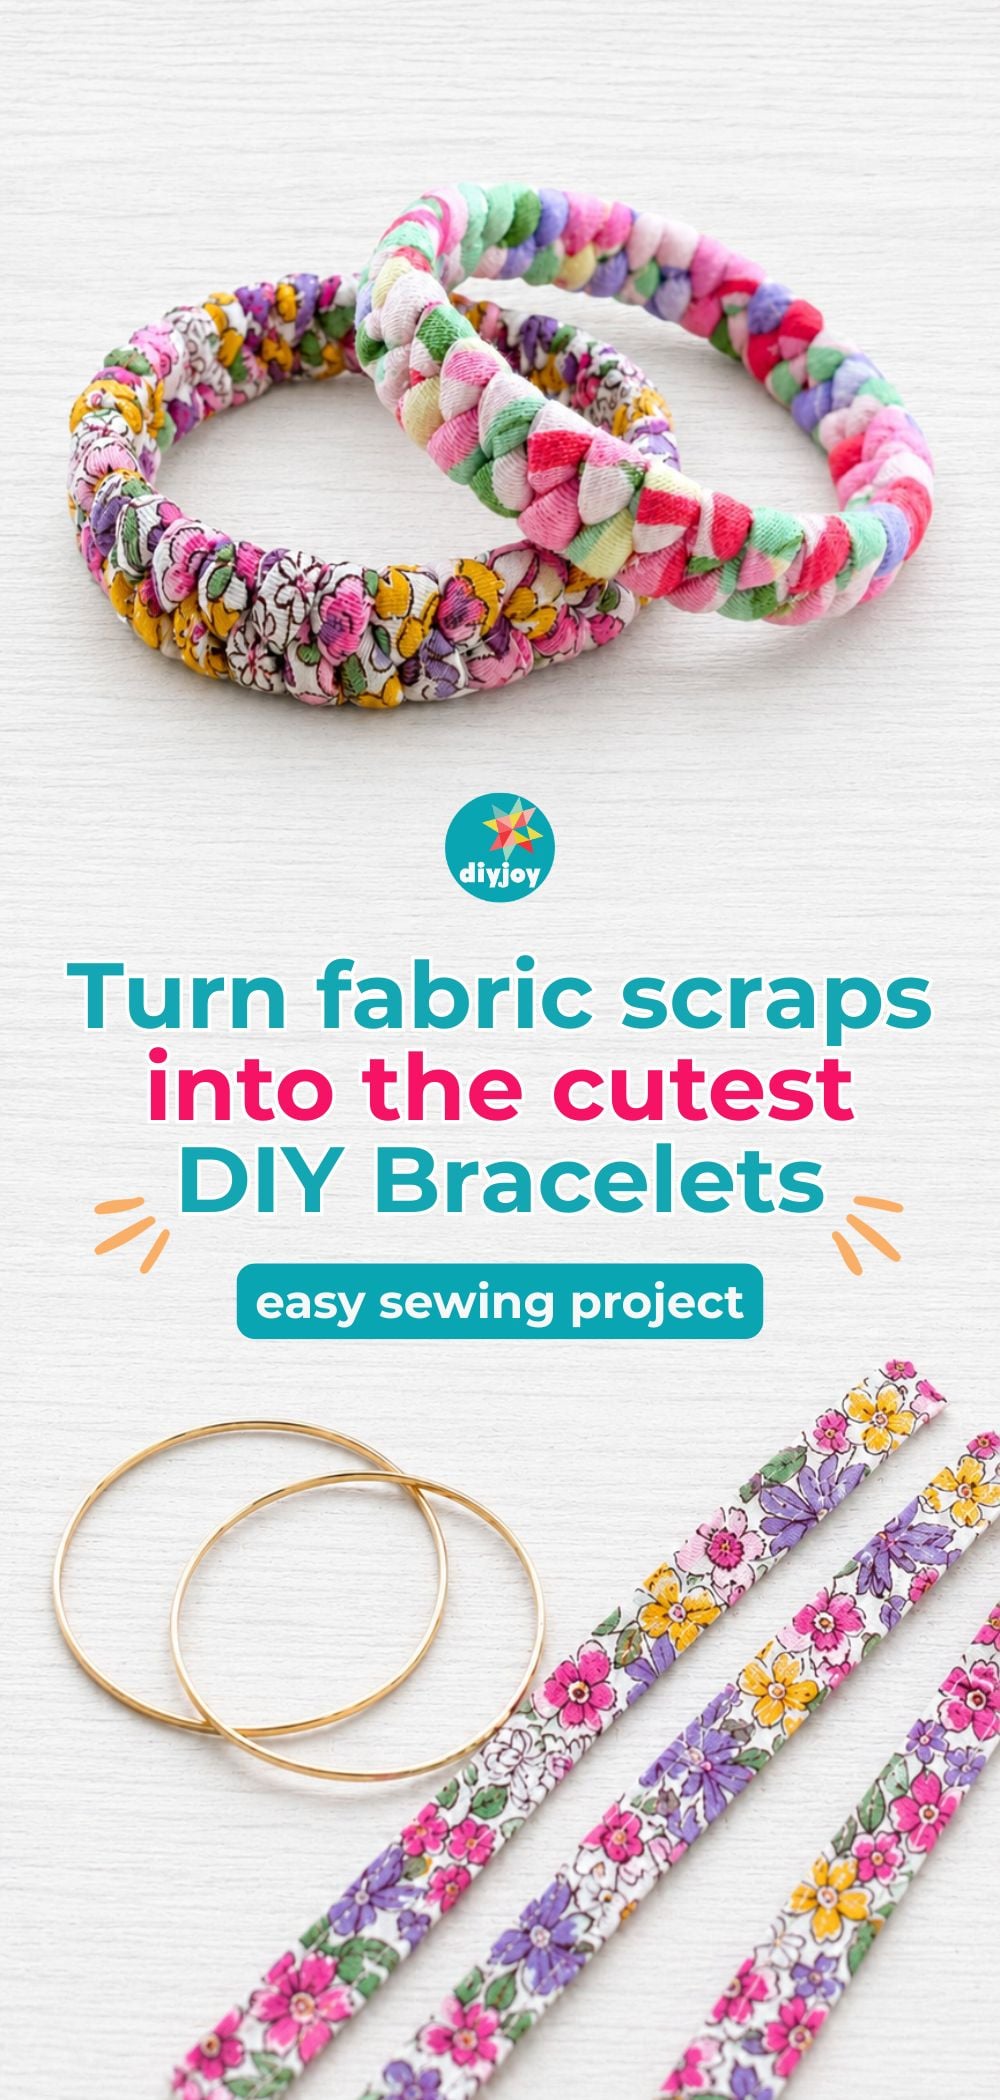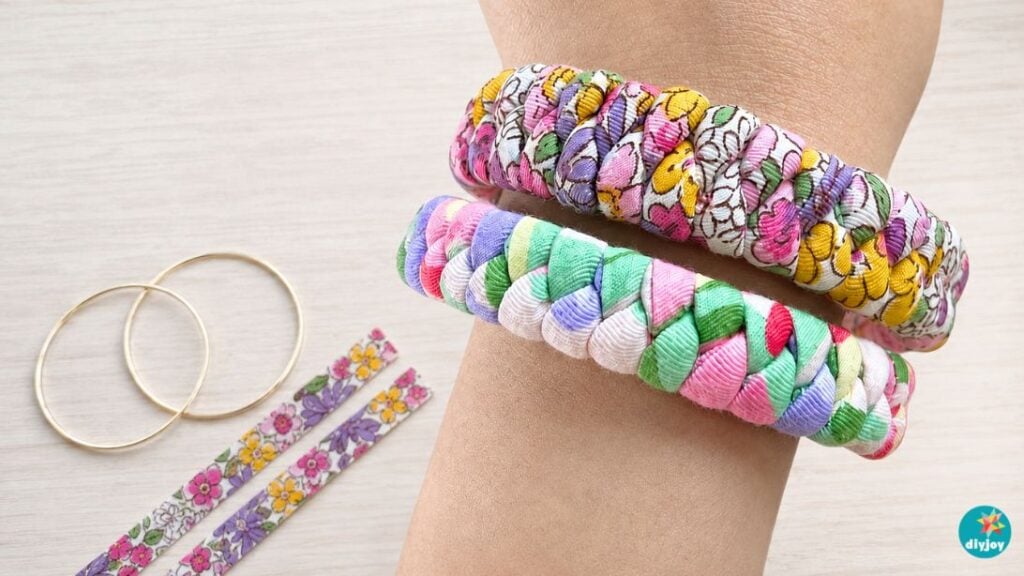
What do I do with fabric scraps from my past projects? I turn them into this beautiful braided fabric bracelet! Grab your old bangles you no longer use and start making this cute DIY bracelet at home.
Fabric scraps can pile up so fast after just a few projects, but I can never bring myself to throw them away! I always save them because you never know when a fun craft idea will come along. This time, I turned my leftover fabric into these cute DIY bracelets. Follow the easy step-by-step tutorial and watch the video below for the full instructions.
DIY Braided Fabric Bracelet Video Tutorial
These colorful fabric bracelets are such a fun way to dress up a plain outfit. I love mixing bright colors and printed fabrics, but you can use any design you have at home. They are quick, easy, and perfect for beginners. No sewing machine? No problem! You can hand-sew the fabric instead. Just keep your stitches tight and secure. You’ll also learn how to make a fabric tube and turn it right side out using a loop turner.
Here’s another easy craft idea
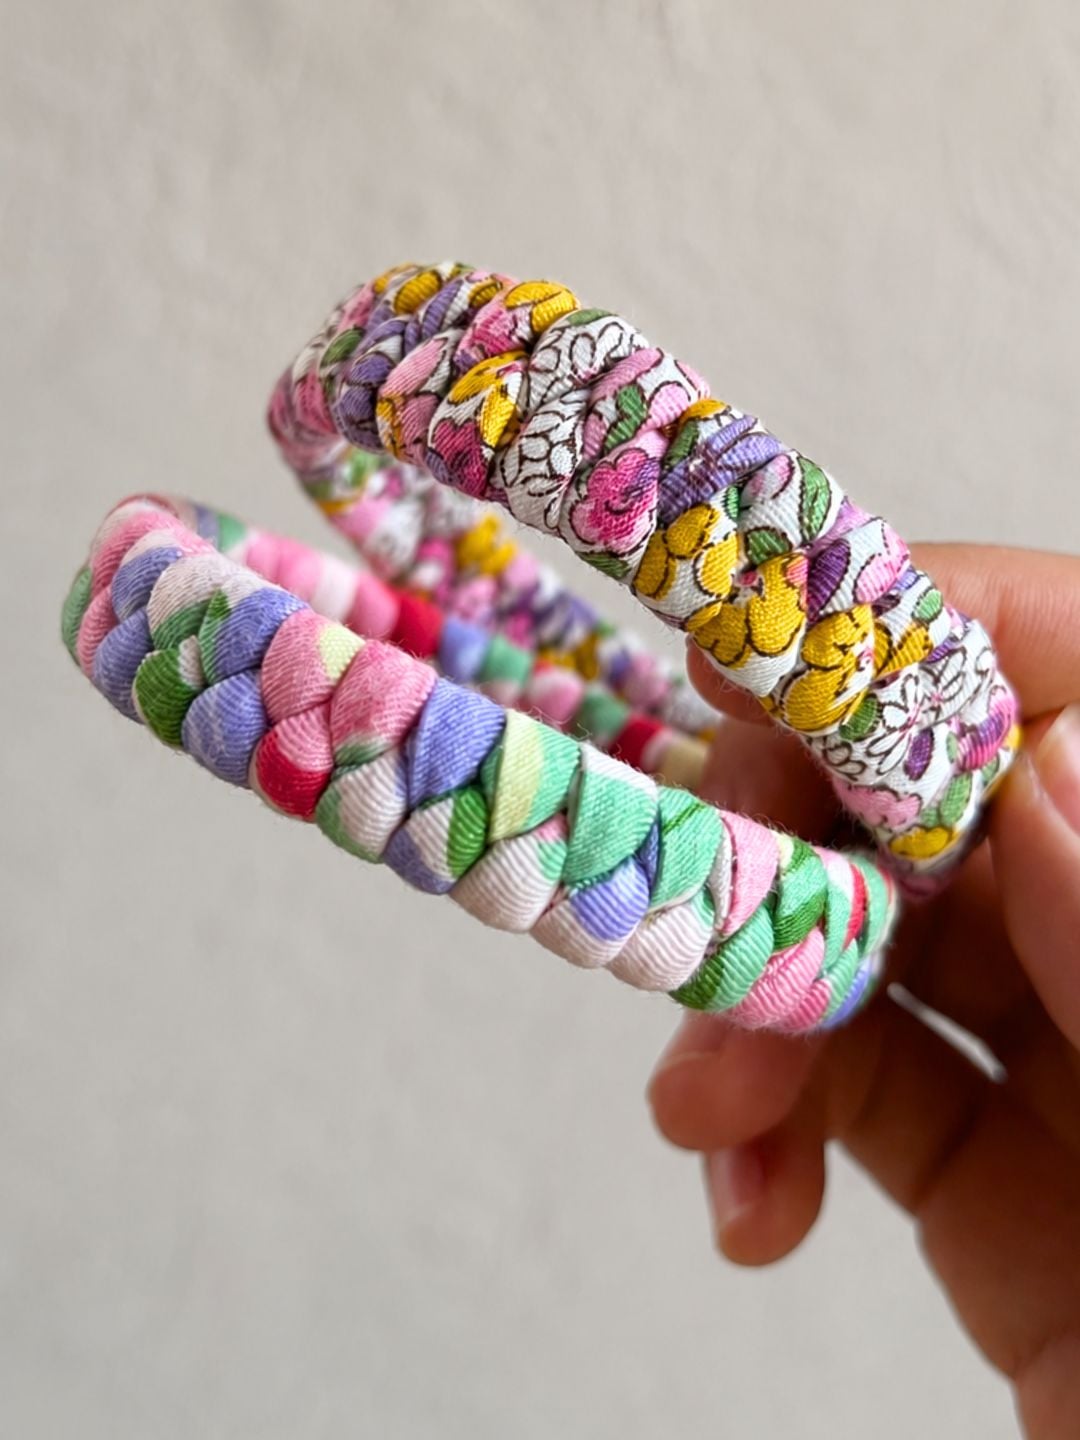
Make a few for yourself, give them to friends and family, or sell them as a cute handmade Etsy craft. You can mix different prints, match your favorite outfits, or add small charms for extra detail. Have fun digging through your fabric scraps and making your own colorful bracelets! Make sure you save this easy sewing idea for later.
Materials
- 1-inch by 55-inches strip (use colored and printed fabric)
- scissors
- thread and needle
- yarn
- two bangles
- loop turner
These products are all listed on our DIY JOY Amazon store, so you can order and know exactly what you will get, and when. We do earn a small commission on these links and very much appreciate your support ❤️
How to Make Braided Fabric Bracelets
Step 1:
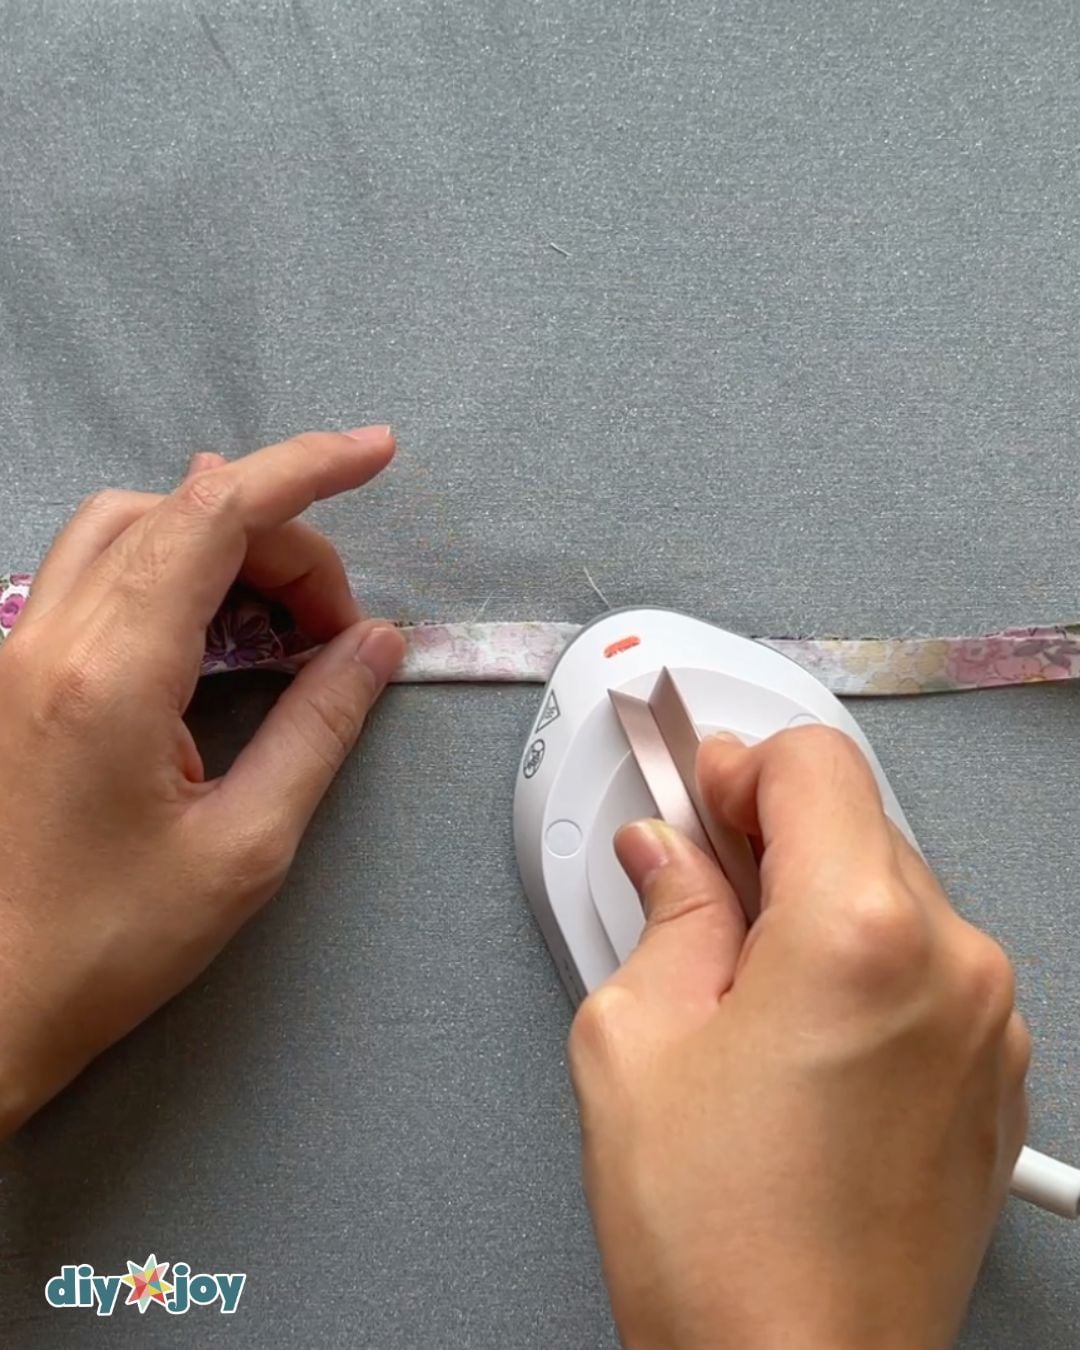
Get the colored strip and fold it in half lengthwise. Press it flat using an iron.
Step 2:
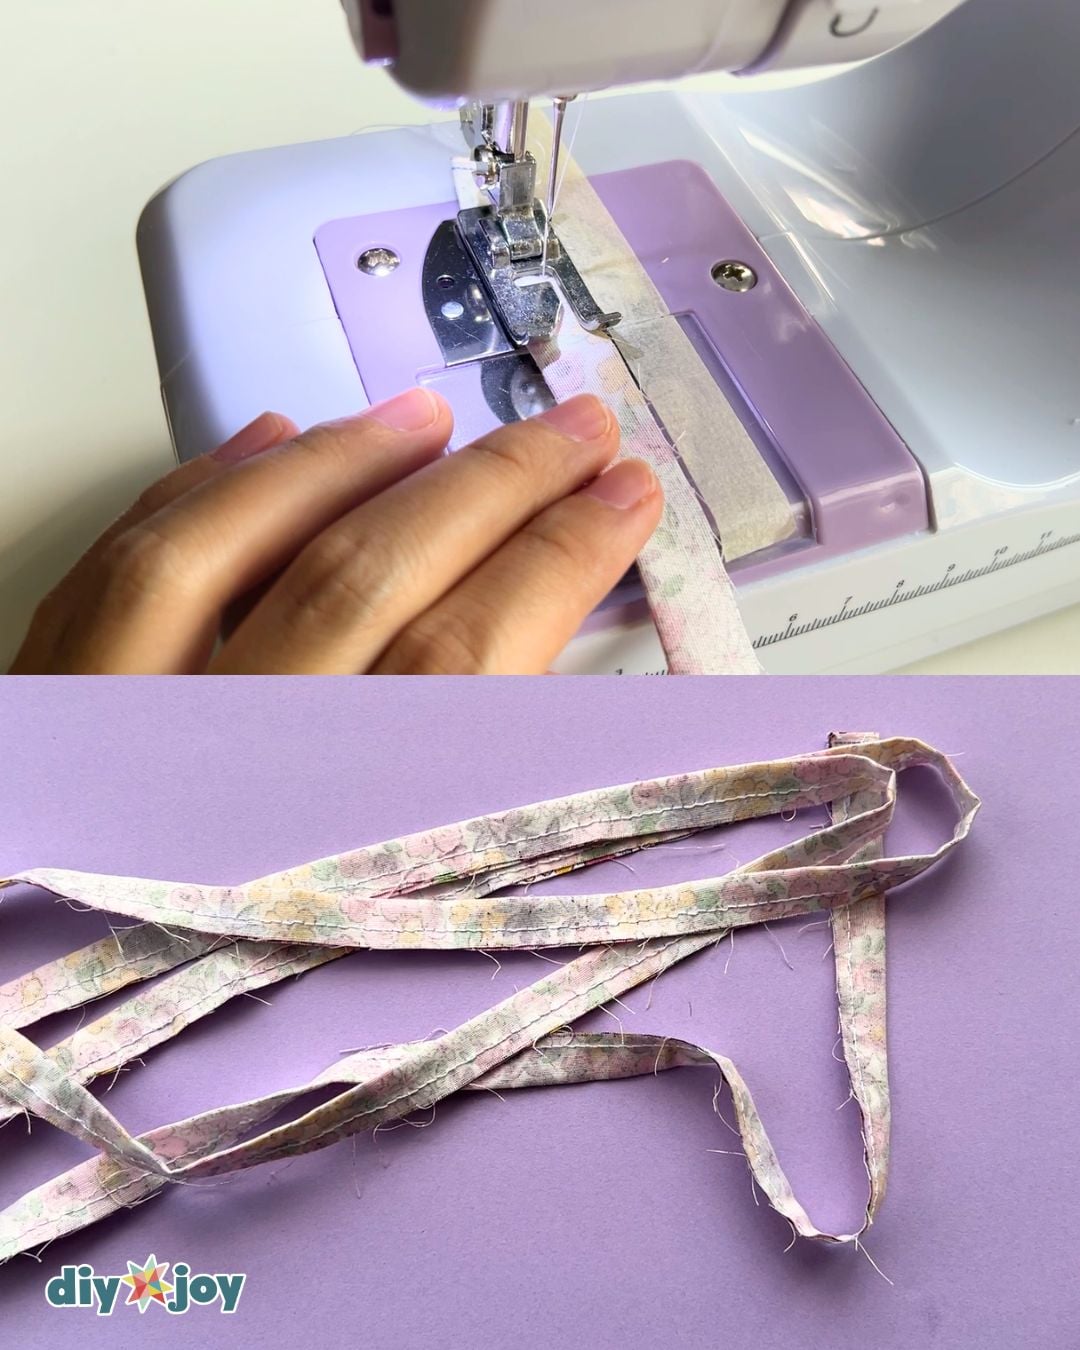
Sew it on the edge with a 0.2-inch seam allowance.
Step 3:
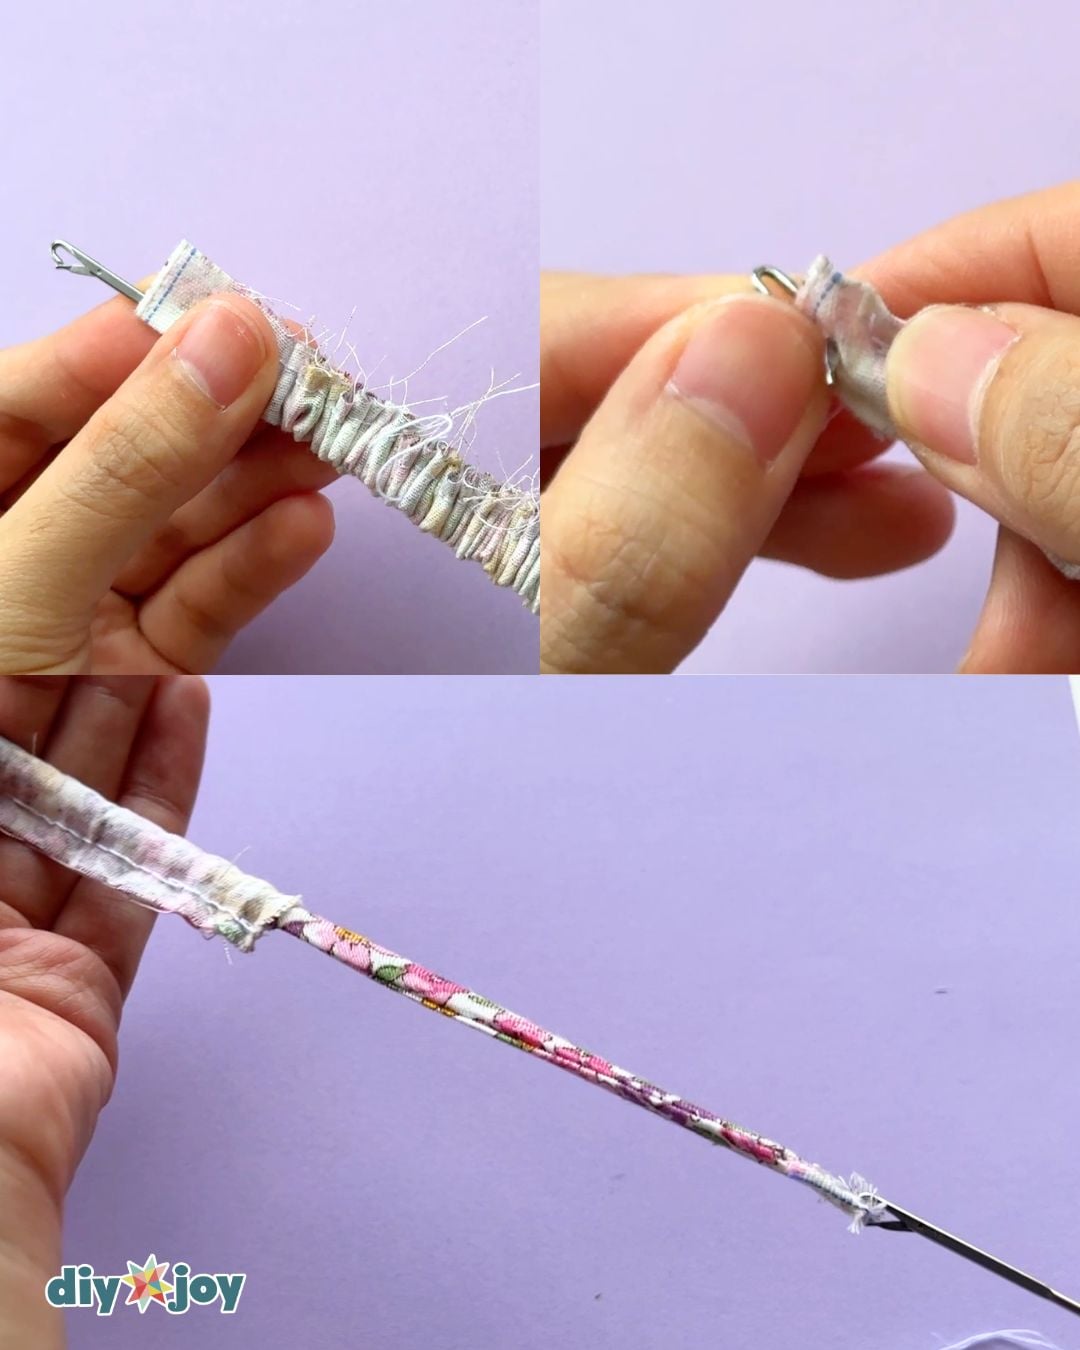
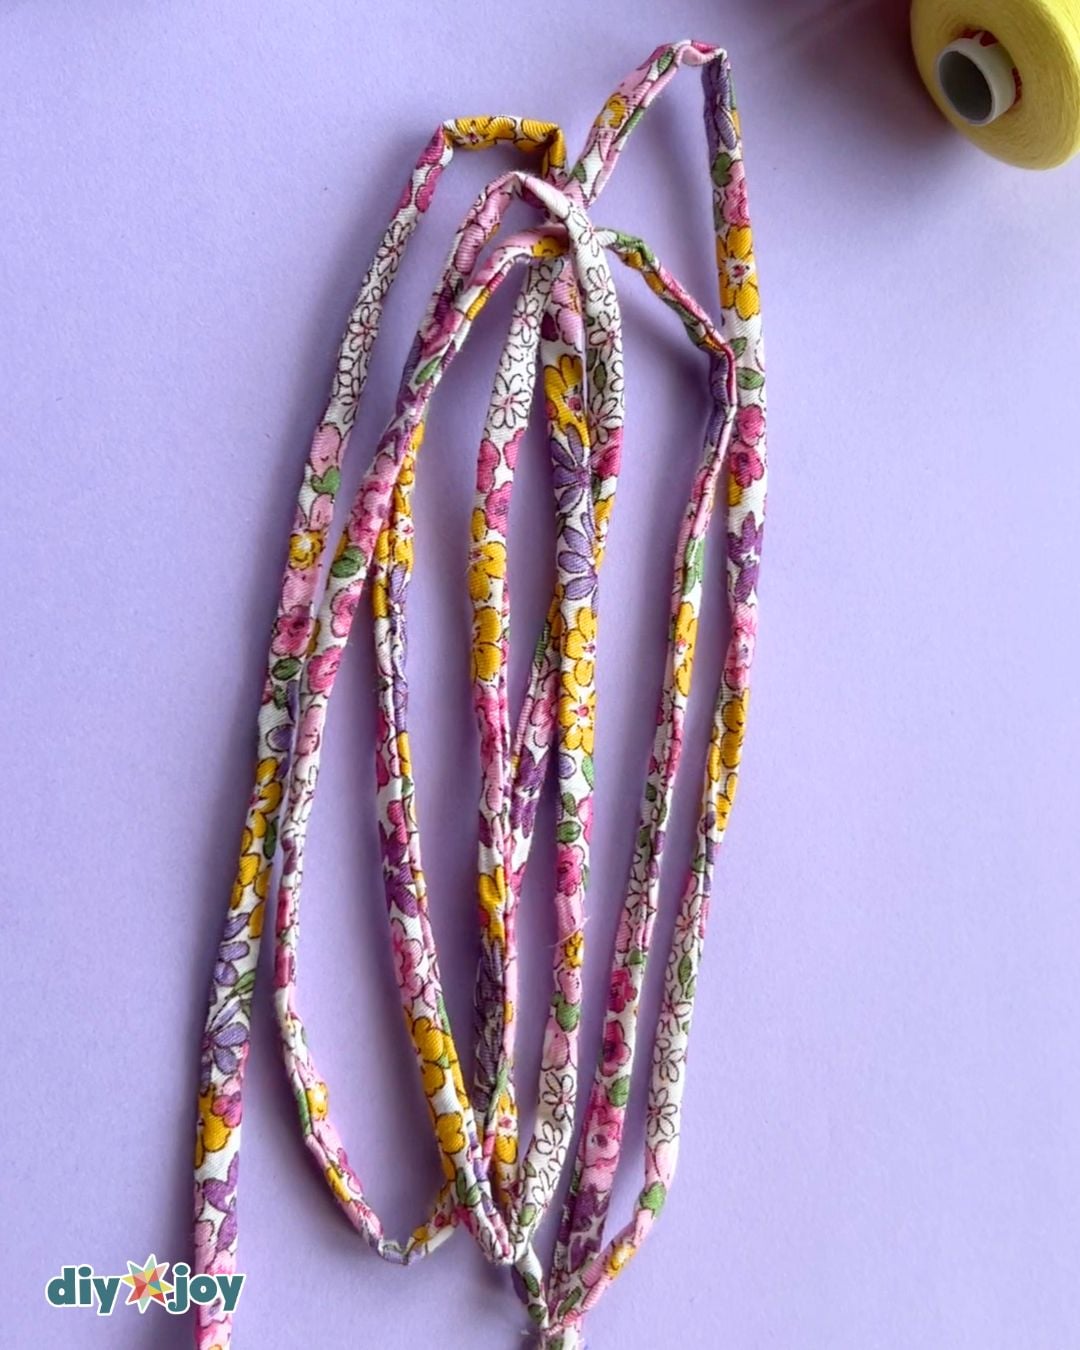
Insert the loop turner through the fabric tube. Once it reaches the other end, hook the small metal latch onto the fabric. Gently pull the loop turner back through the tube until the fabric is completely turned right side out.
Step 4:
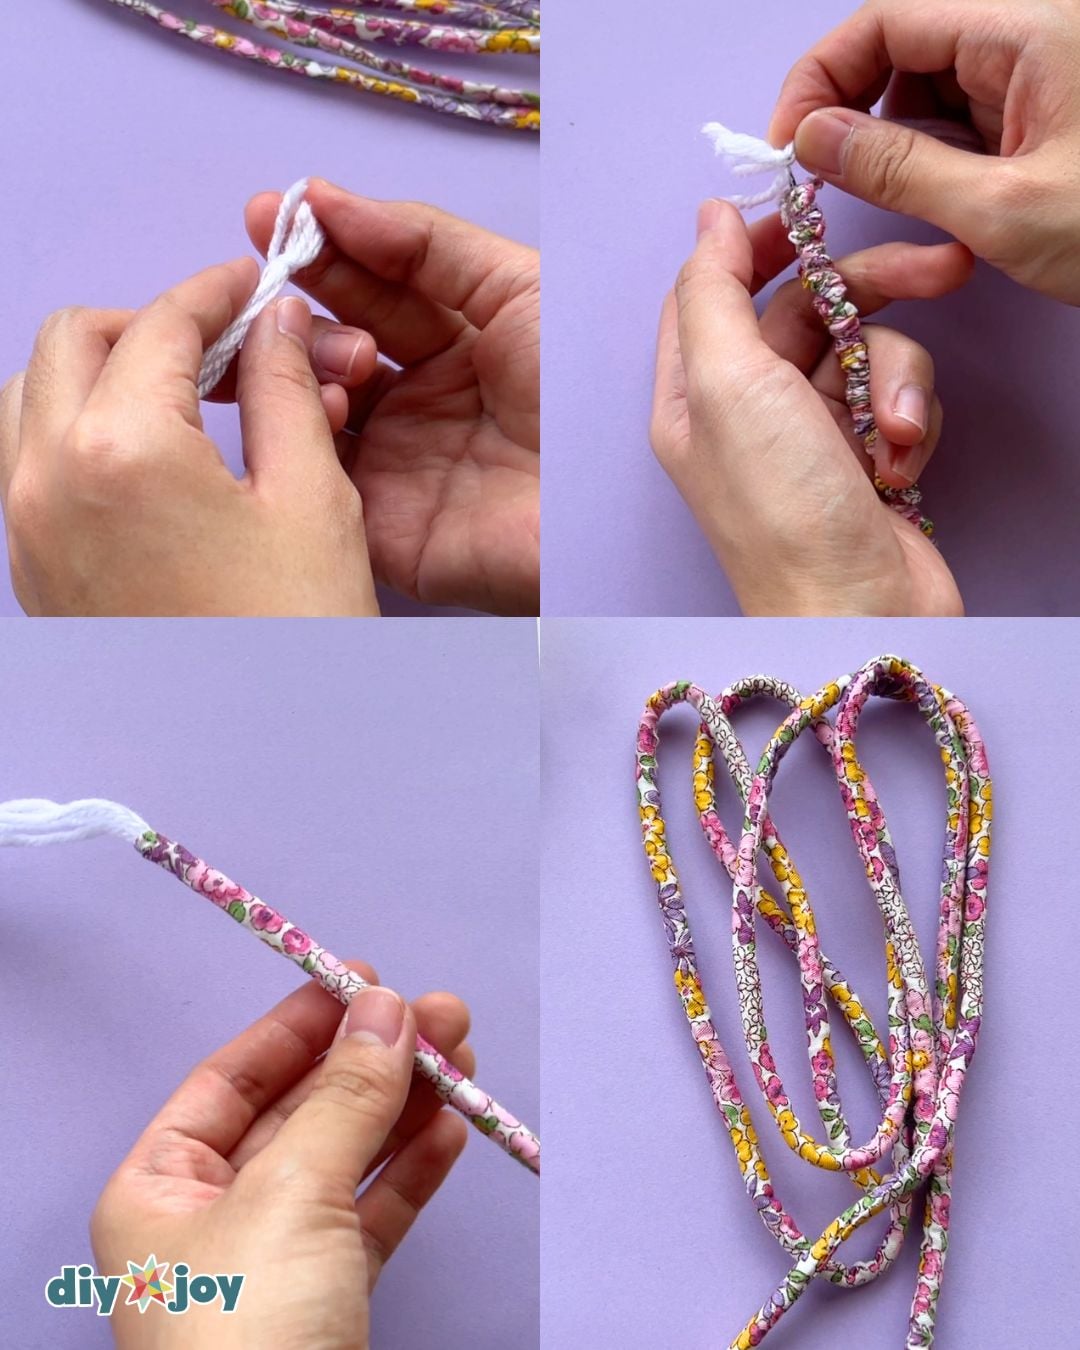
Cut five strands of yarn slightly longer than the fabric tube. Tie the ends together with a short piece of yarn. Insert the loop turner into the tube again, attach the tied end of the yarn to the hook, and pull it through the tube until it comes out the other end.
Step 5:
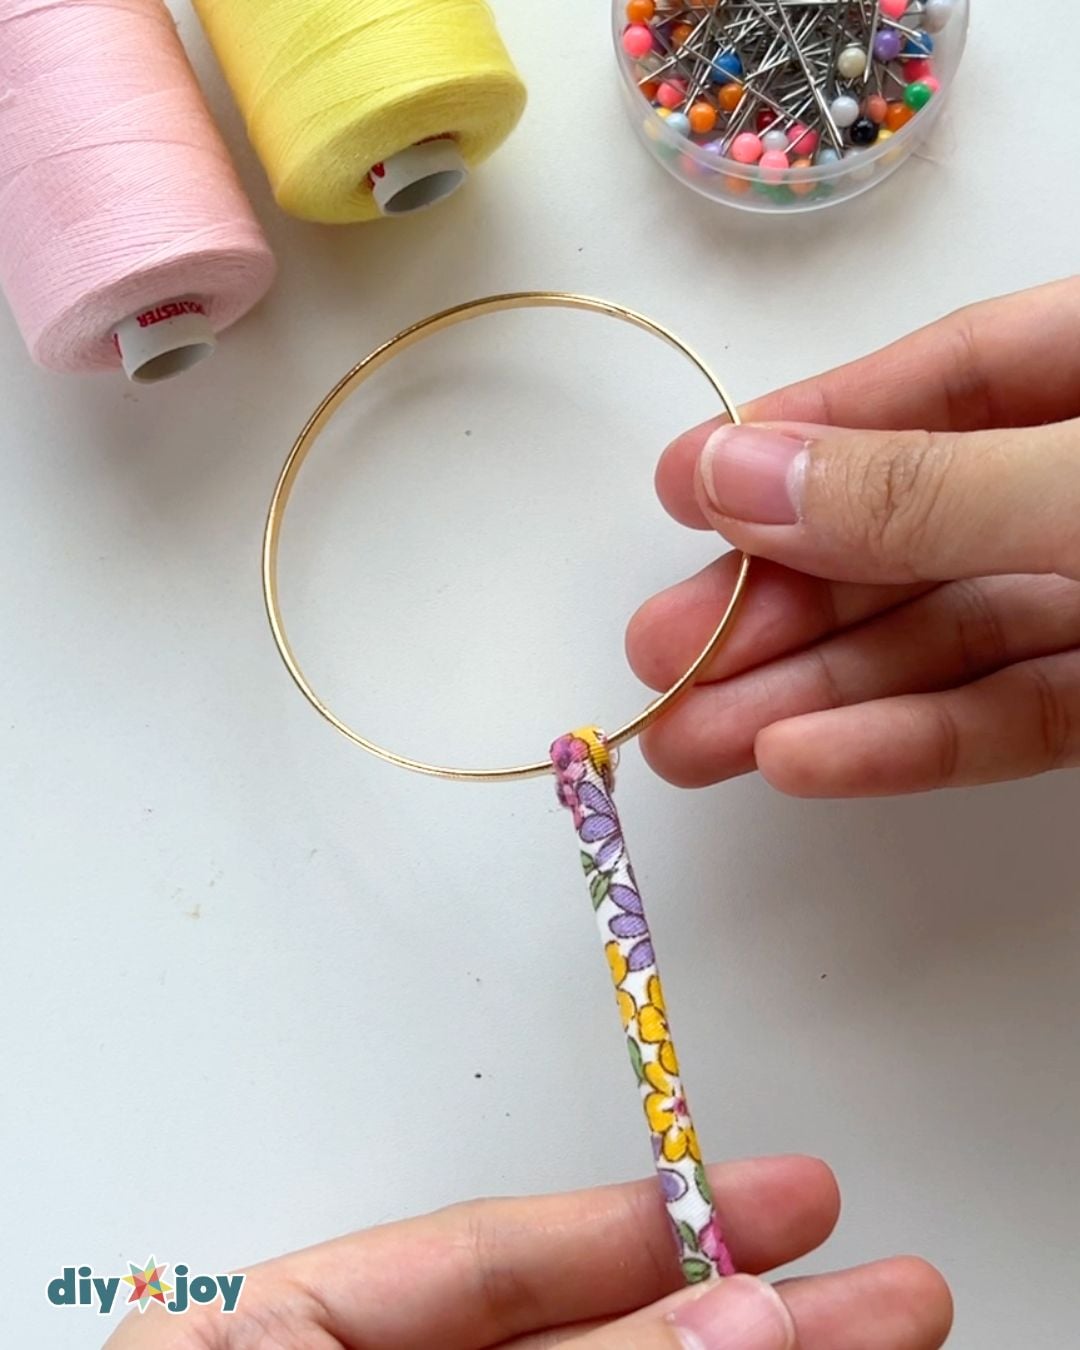
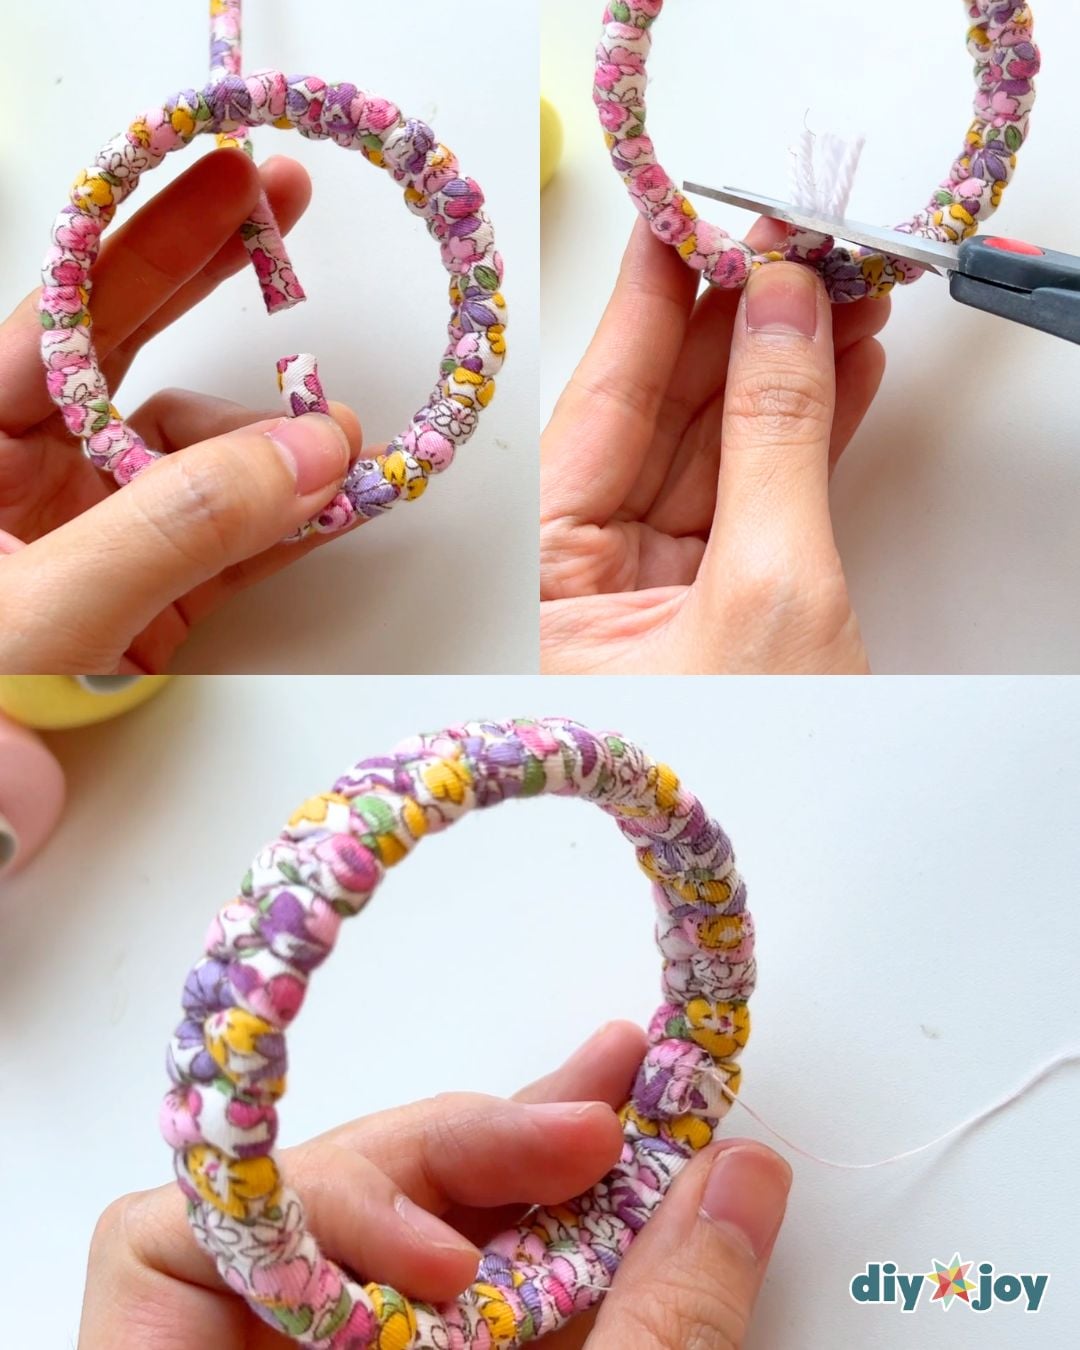
Slightly pull the yarn from one end, leaving ¼ inch of the tube hollow at the other end. Hand-sew the hollow end around one of the bangles.
Step 6:
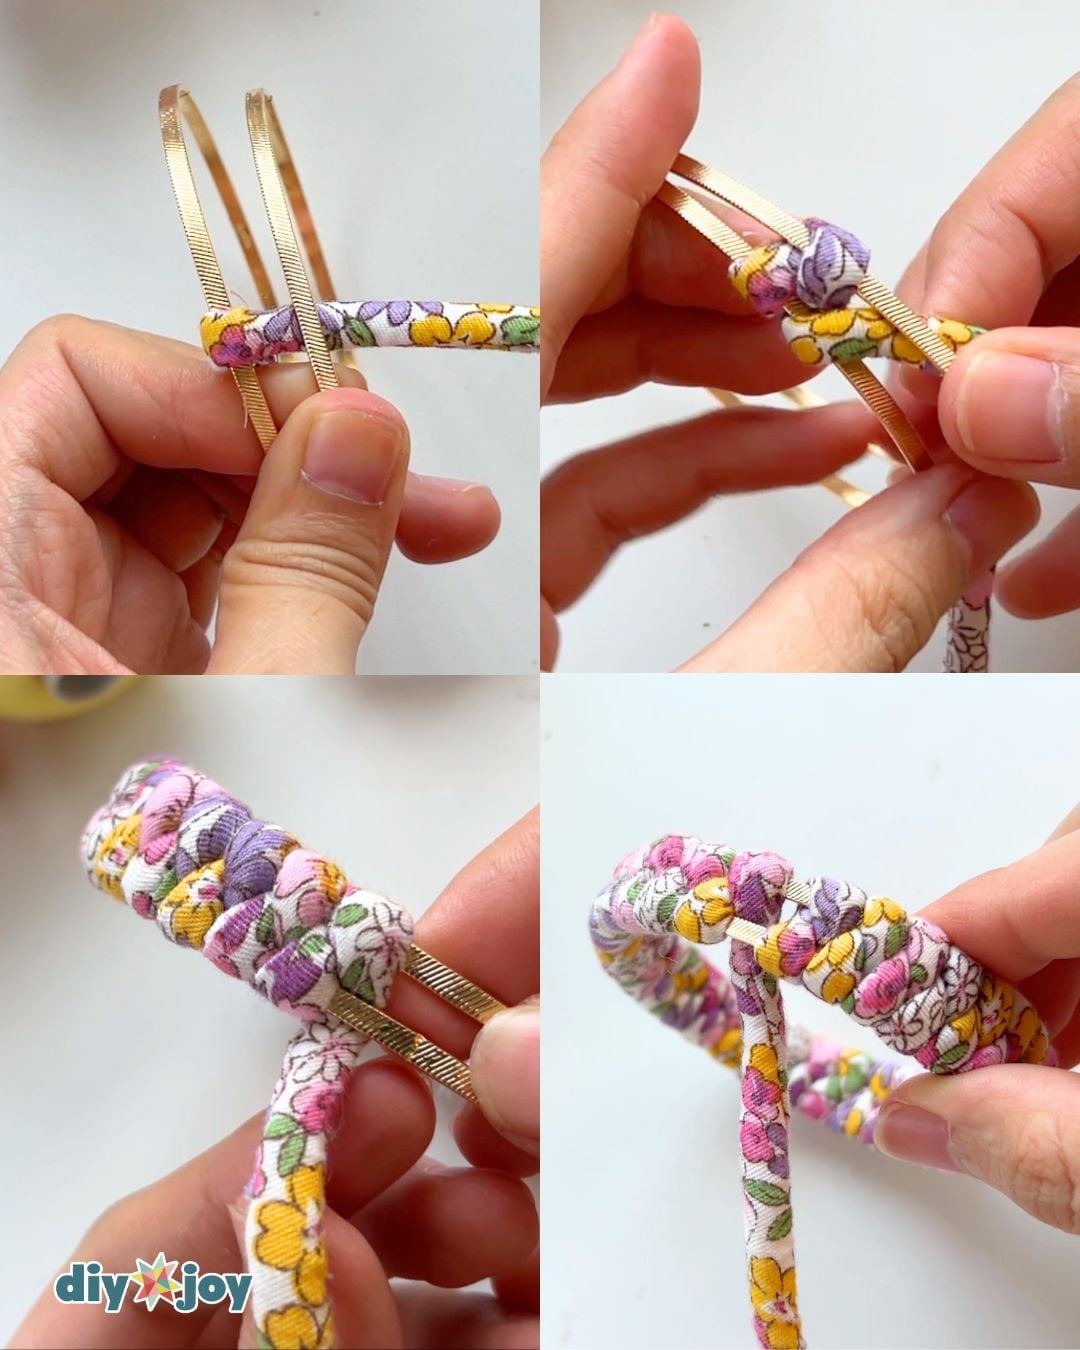
Insert the tube through the second bangle, fold it over, and pass it through the first bangle. Pull the tube all the way through, fold it again, and insert it through the second bangle. Repeat this process until both bangles are completely covered.
Once the bangles are fully covered, insert the tube between them.
Step 7:
Once you reach the end, cut off the excess fabric, leaving about ½ inch. Pull out the yarn and trim it. Fold the fabric end inward, then hand-sew it securely in place.
Step 8:
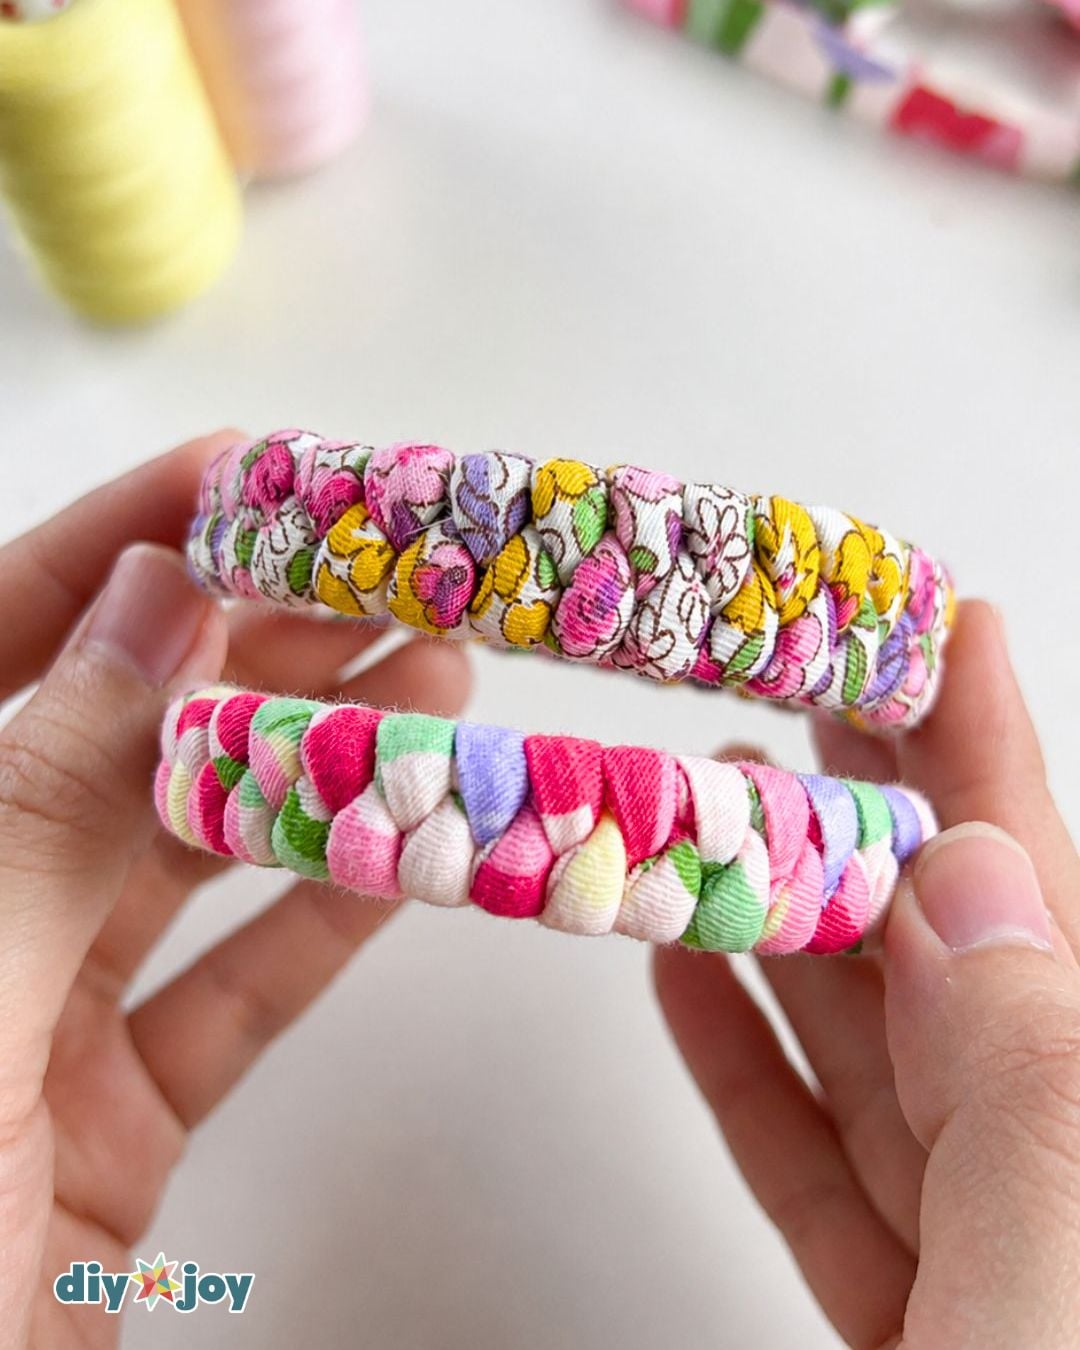
Adjust the braid as needed, and your bracelet is finished!

Crafting Tip
Keep the braid neat and even by pulling each section with the same amount of tension.
More Fabric Scrap Ideas
Yarn Crafts
Jewelry Ideas
Yarn Crafts