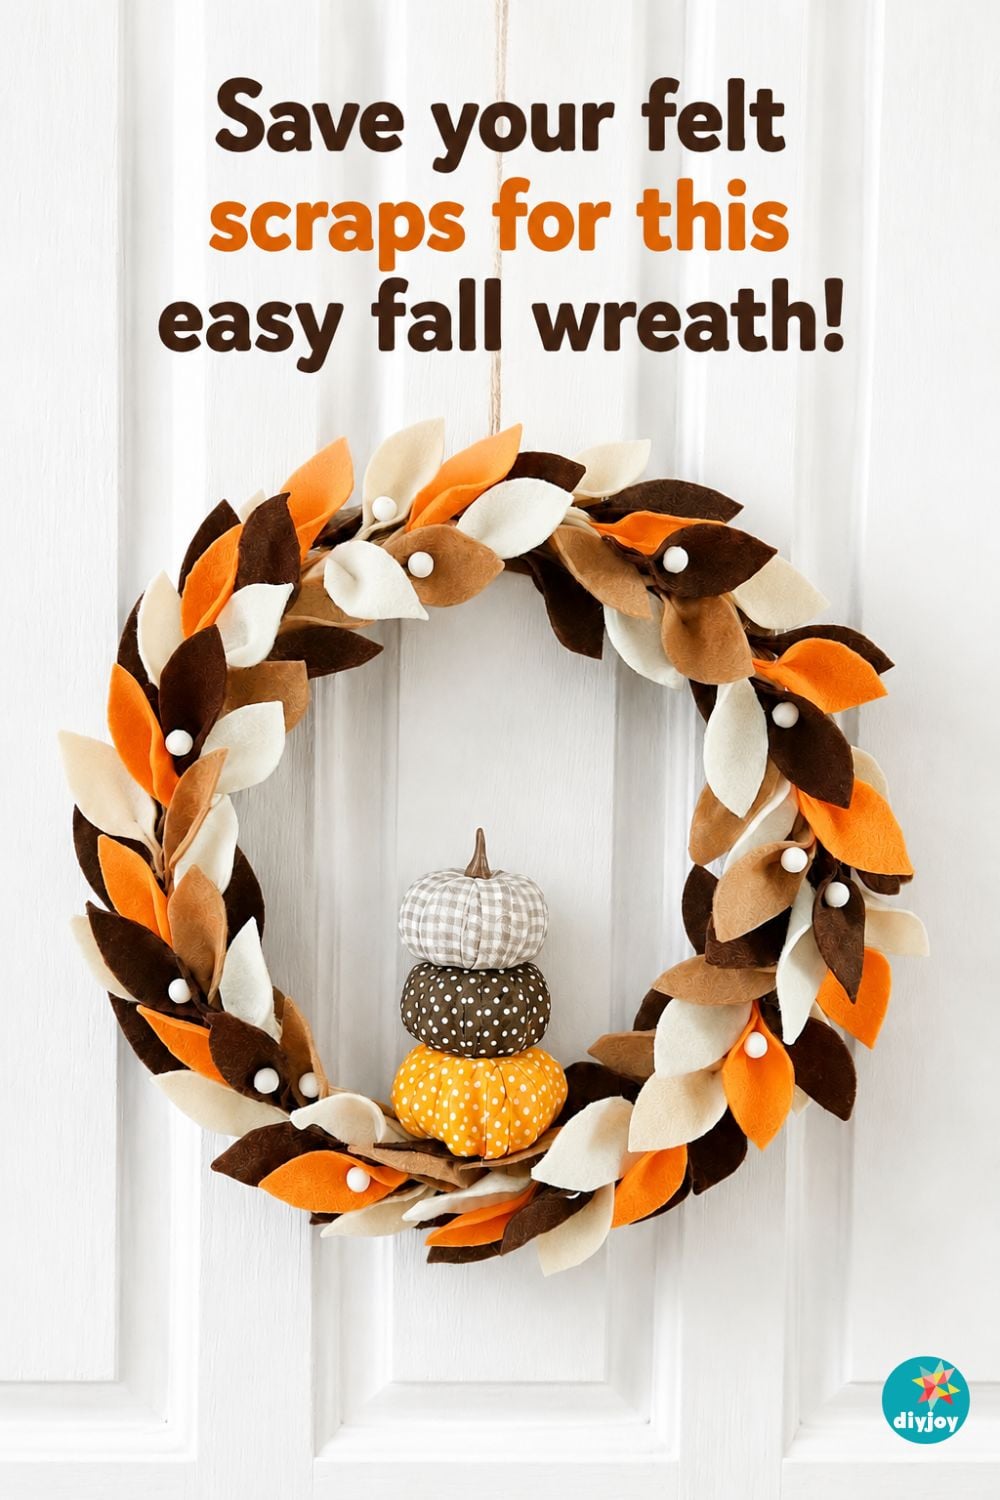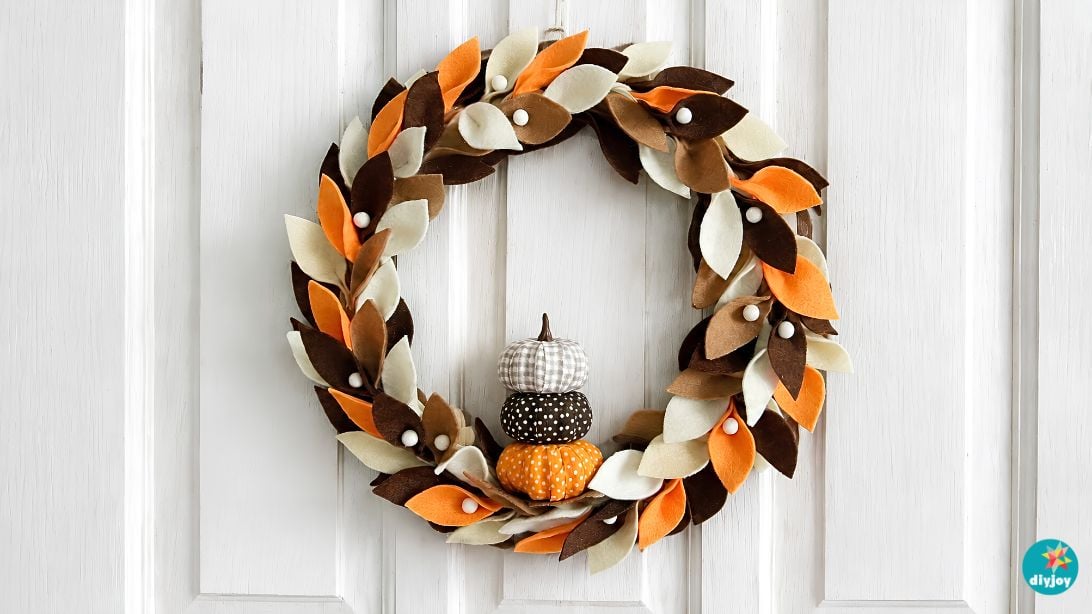
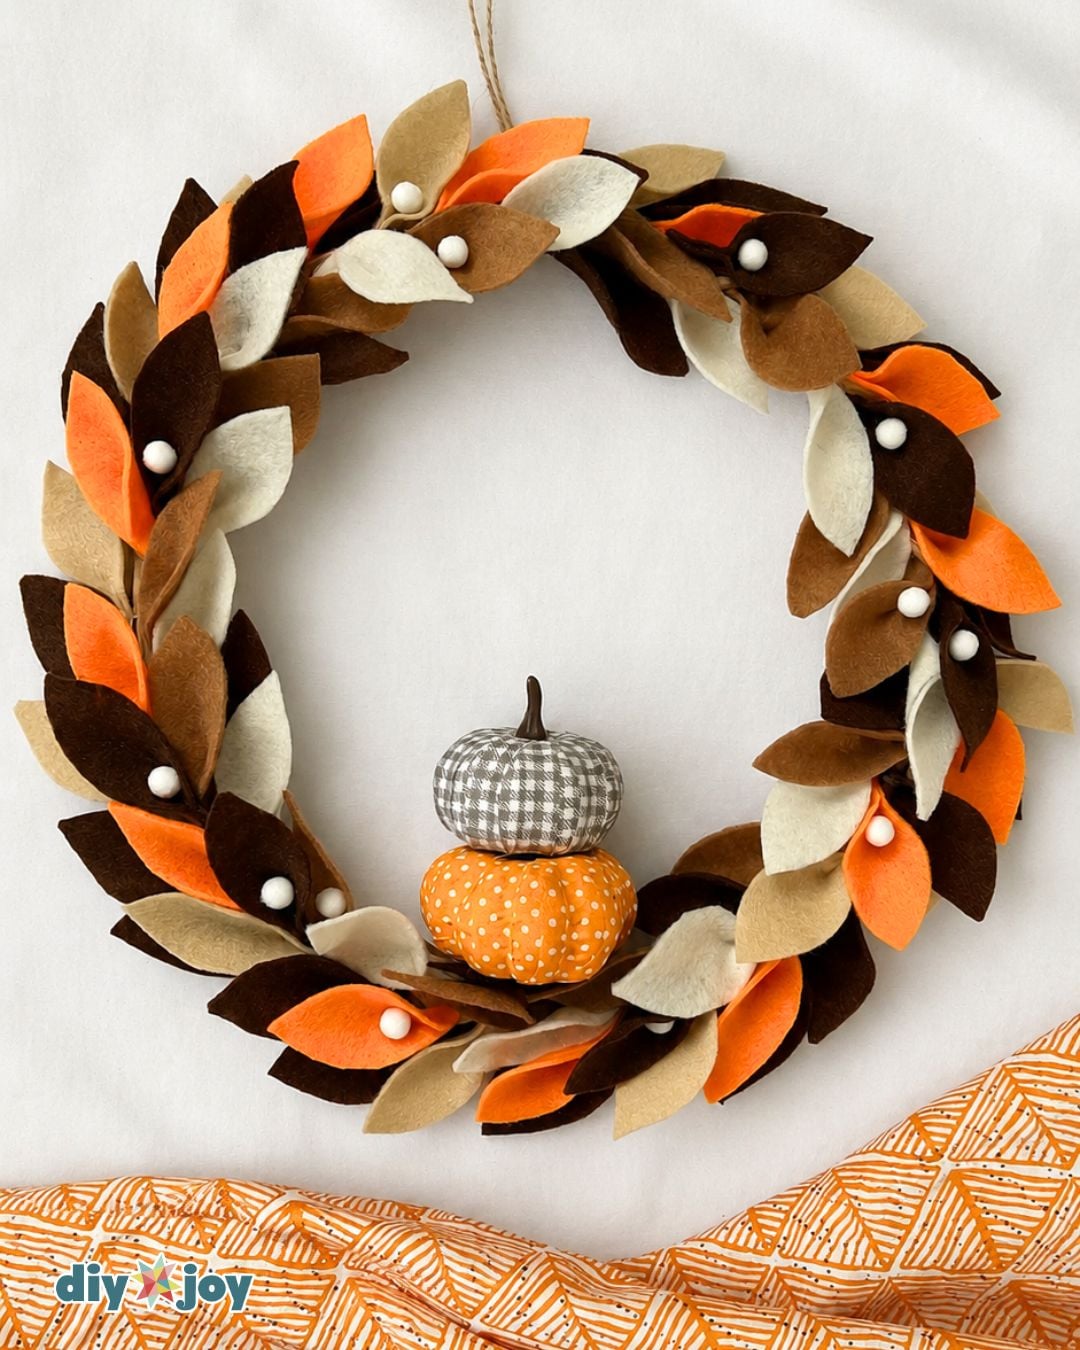
If you’re looking for easy fall crafts that add instant charm to your home, this DIY fall wreath is exactly what you need! It only takes a few simple materials you can easily find at a craft store. The colorful felt leaves, small pom-poms, and patterned fabric pumpkins come together to create a warm, cozy decoration for the whole autumn season. Plus, it should last for years and years. Unlike bulky wreaths or one with branches and stalks that break or shed, this wreath packs easily for next year. I love making this in September and keeping it up for Thanksgiving decorations!
Table of Contents
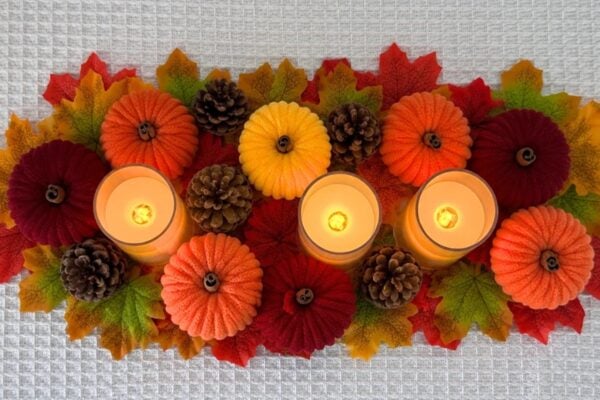
Here’s another cute fall craft idea to try:
No-Sew Sweater Pumpkin Tutorial
This fall wreath is also easy to customize. Choose felt in your favorite fall colors, change the arrangement of the leaves, or use different fabric patterns for the pumpkins. You can keep the design simple or add more details to match your existing fall decor ideas. Once finished, hang your handmade wreath on your front door, wall, staircase, or above the fireplace. It is a fun, budget friendly, and beginner-friendly project that you can display throughout fall and even use as part of your Thanksgiving decorations.
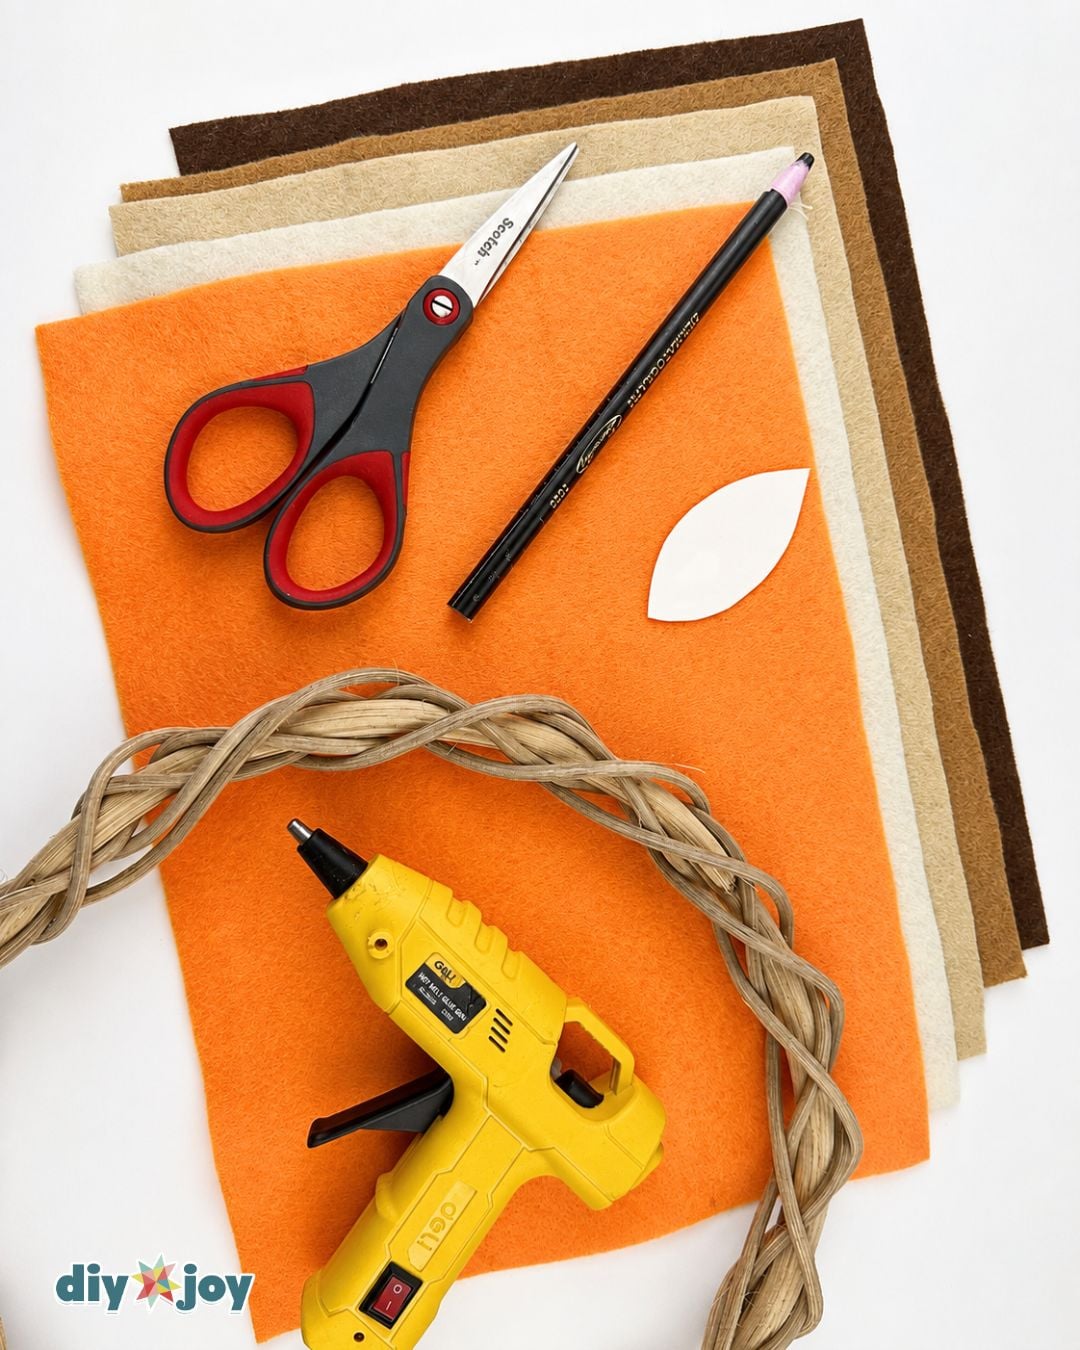
Craft Supplies Needed:
- 11 inches wreath
- felt fabric in different fall colors
- glue gun
- glue stick
- scissors
- leaf pattern (2 1/2 inches long and 1 1/4 inches wide)
- white pom pom balls
- fabric pumpkins
These products are all listed on our DIY JOY Amazon store, so you can order and know exactly what you will get, and when. We do earn a small commission on these links and very much appreciate your support ❤️
DIY Fall Wreath Tutorial
Learn how to make a fall wreath using felt fabric. The step-by-step tutorial below walks you through cutting the felt into leaf shapes and gluing them onto the wreath in a pattern.
Step 1:
Stack A4 felt sheets in different colors. Trace the leaf pattern, then cut through all layers.
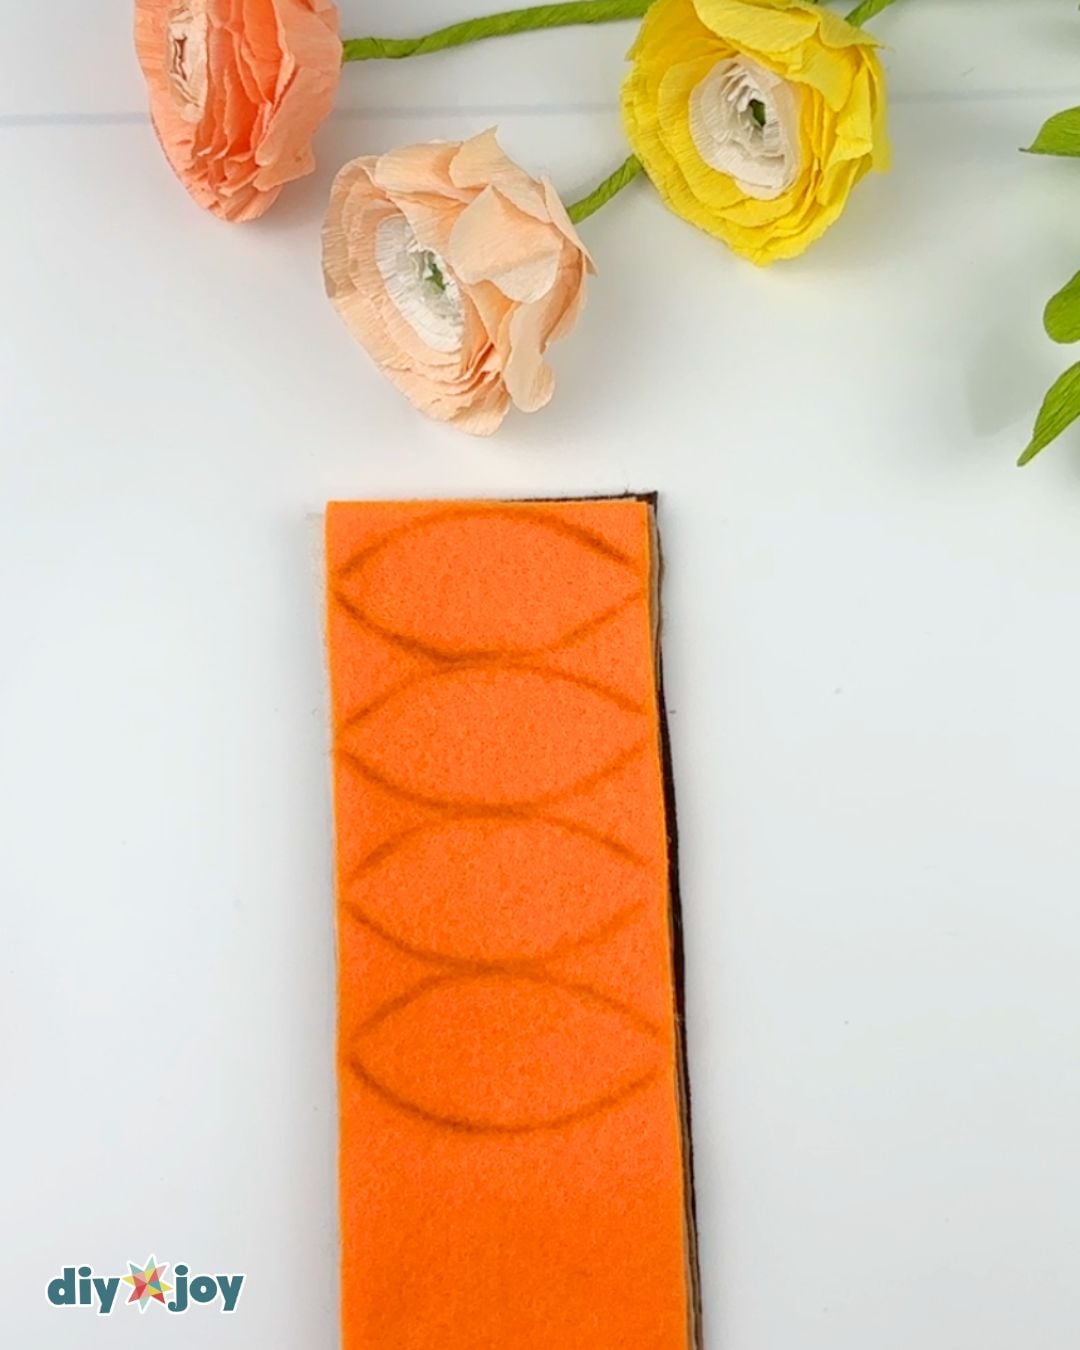
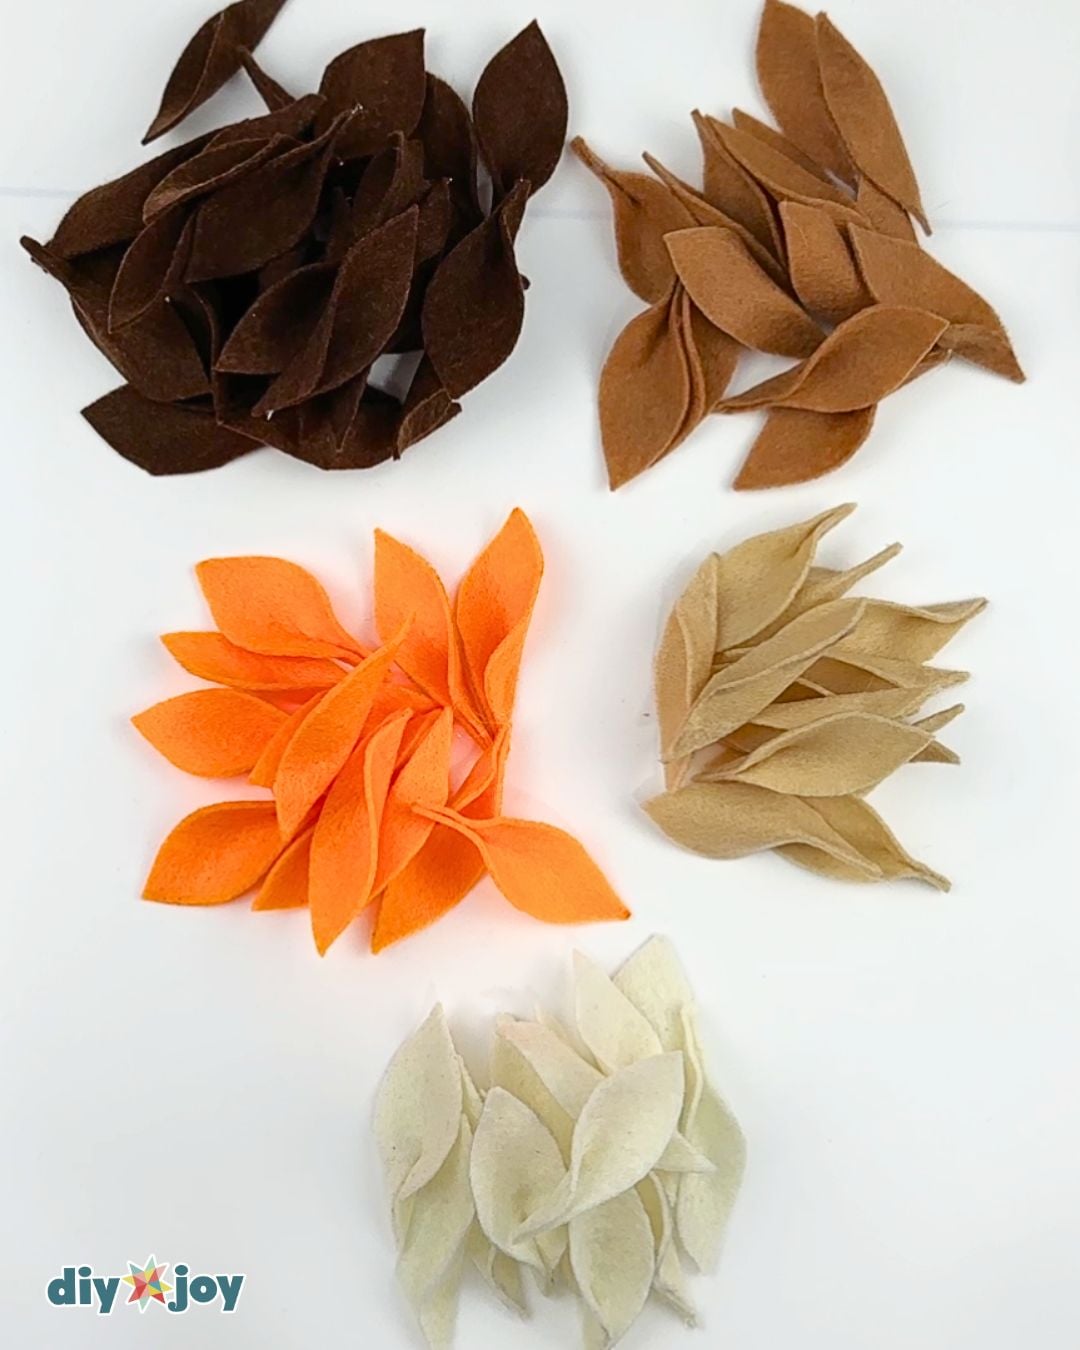
You will need 32 dark brown leaves and 14 leaves each in medium brown, light brown, white, and orange.
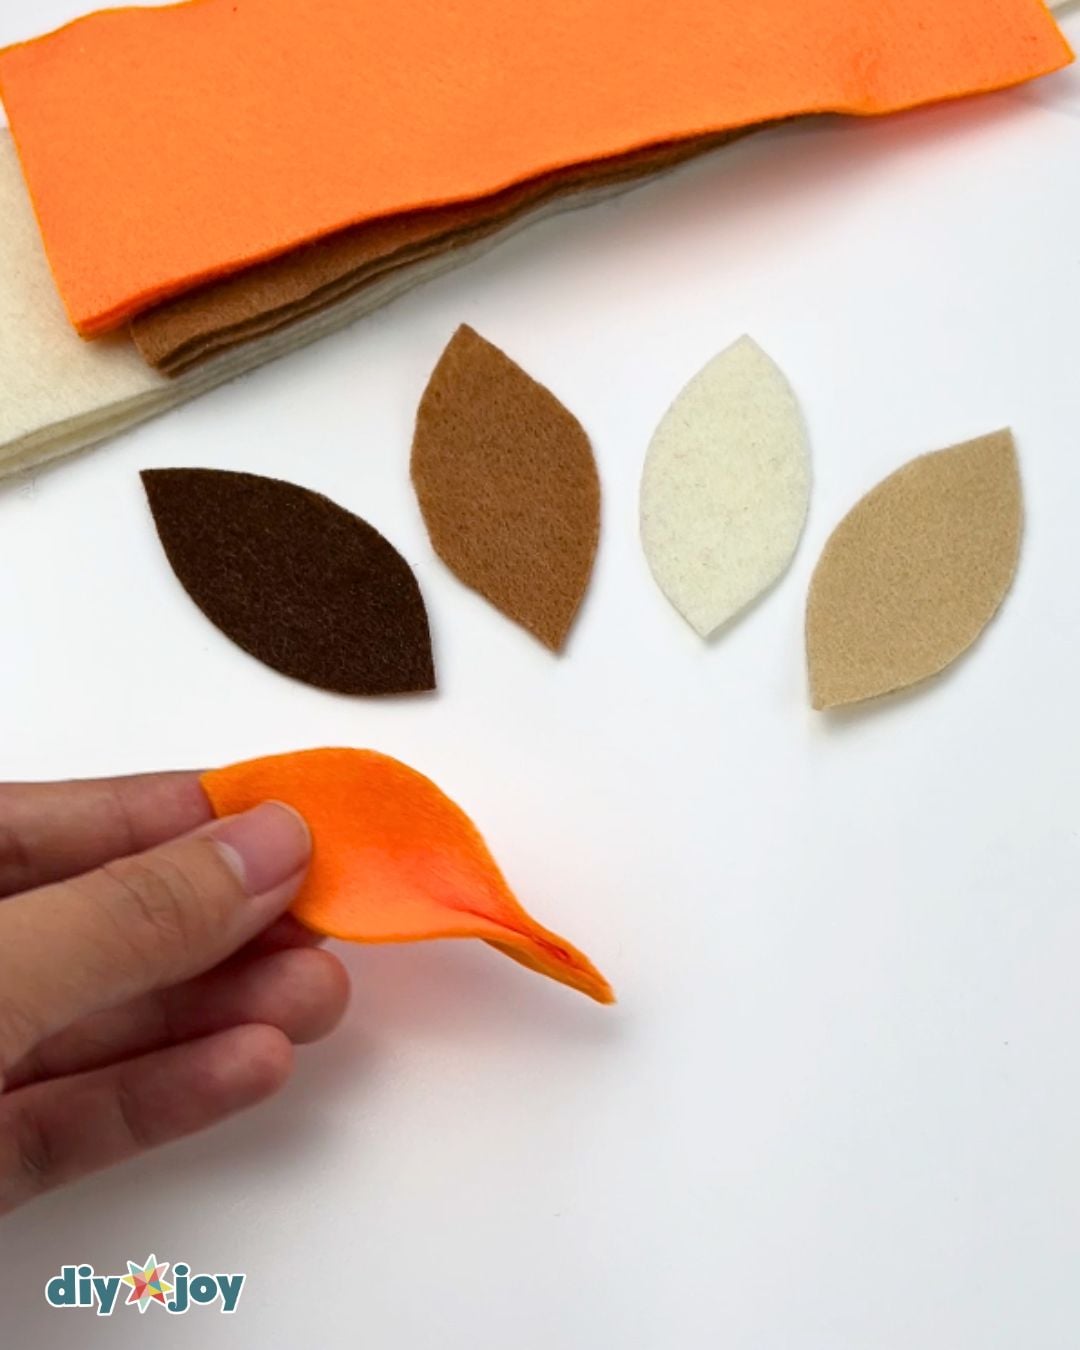
Repeat the process for all leaves.
Step 2:
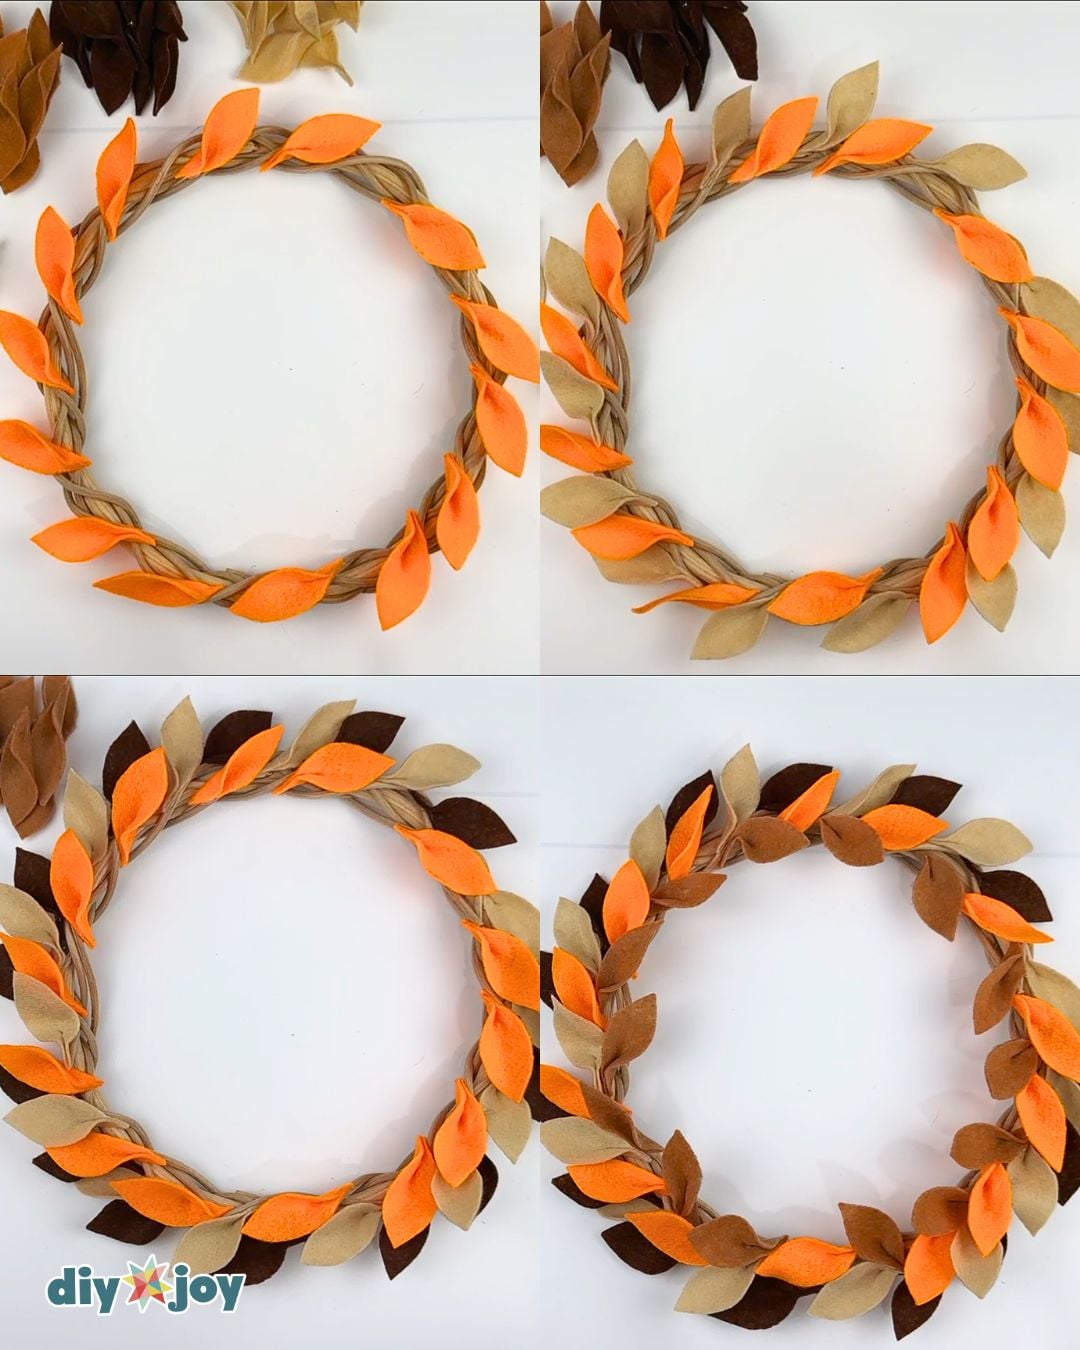
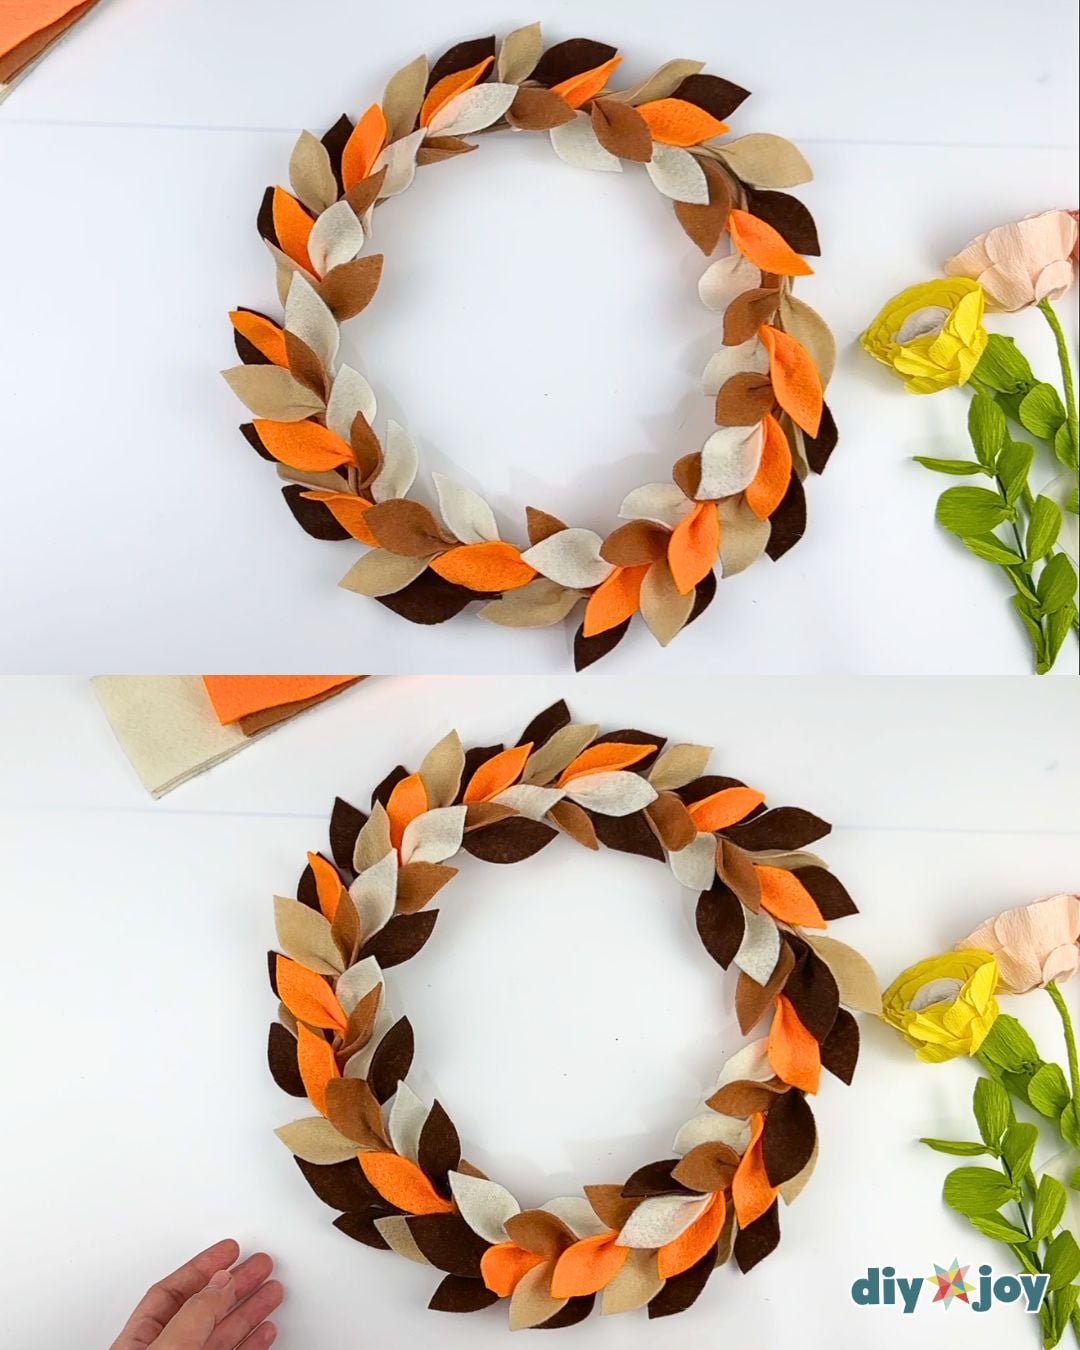
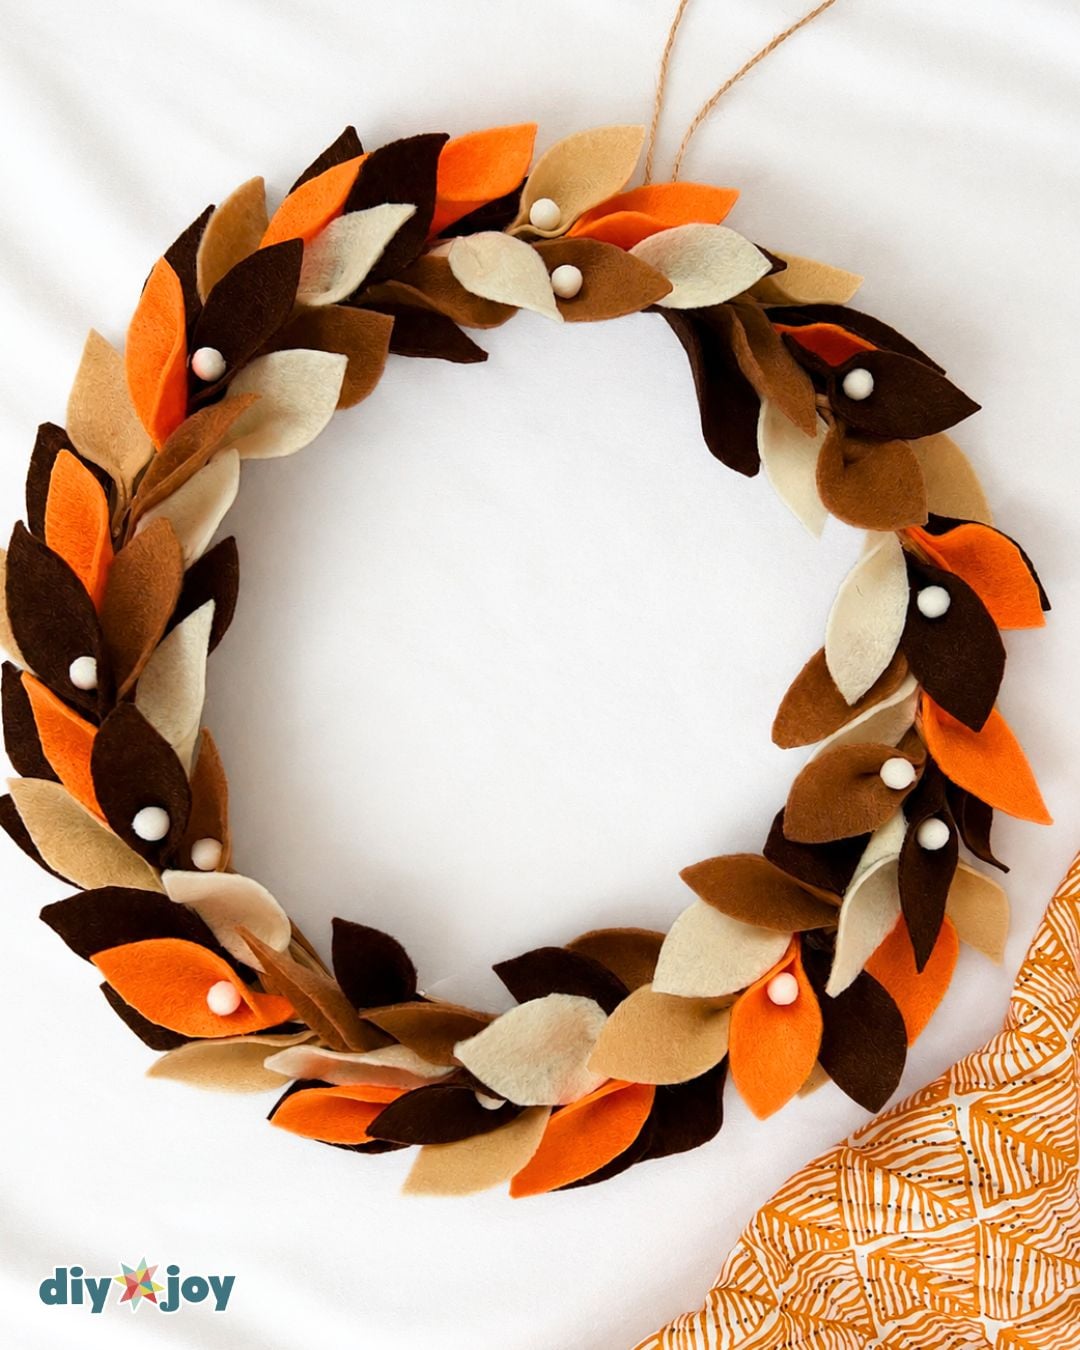
Glue all the leaves so they point in the same direction. Start by spacing 14 orange leaves evenly around the wreath. Glue 14 light brown leaves between the orange leaves. Next, glue 14 white leaves behind the orange leaves. Finally, glue 14 medium brown leaves beside the light brown leaves.
Step 3:
Glue 14 white leaves beside the orange leaves. Then, add the remaining 18 dark brown leaves to fill any gaps and make the wreath look fuller.
Step 4:
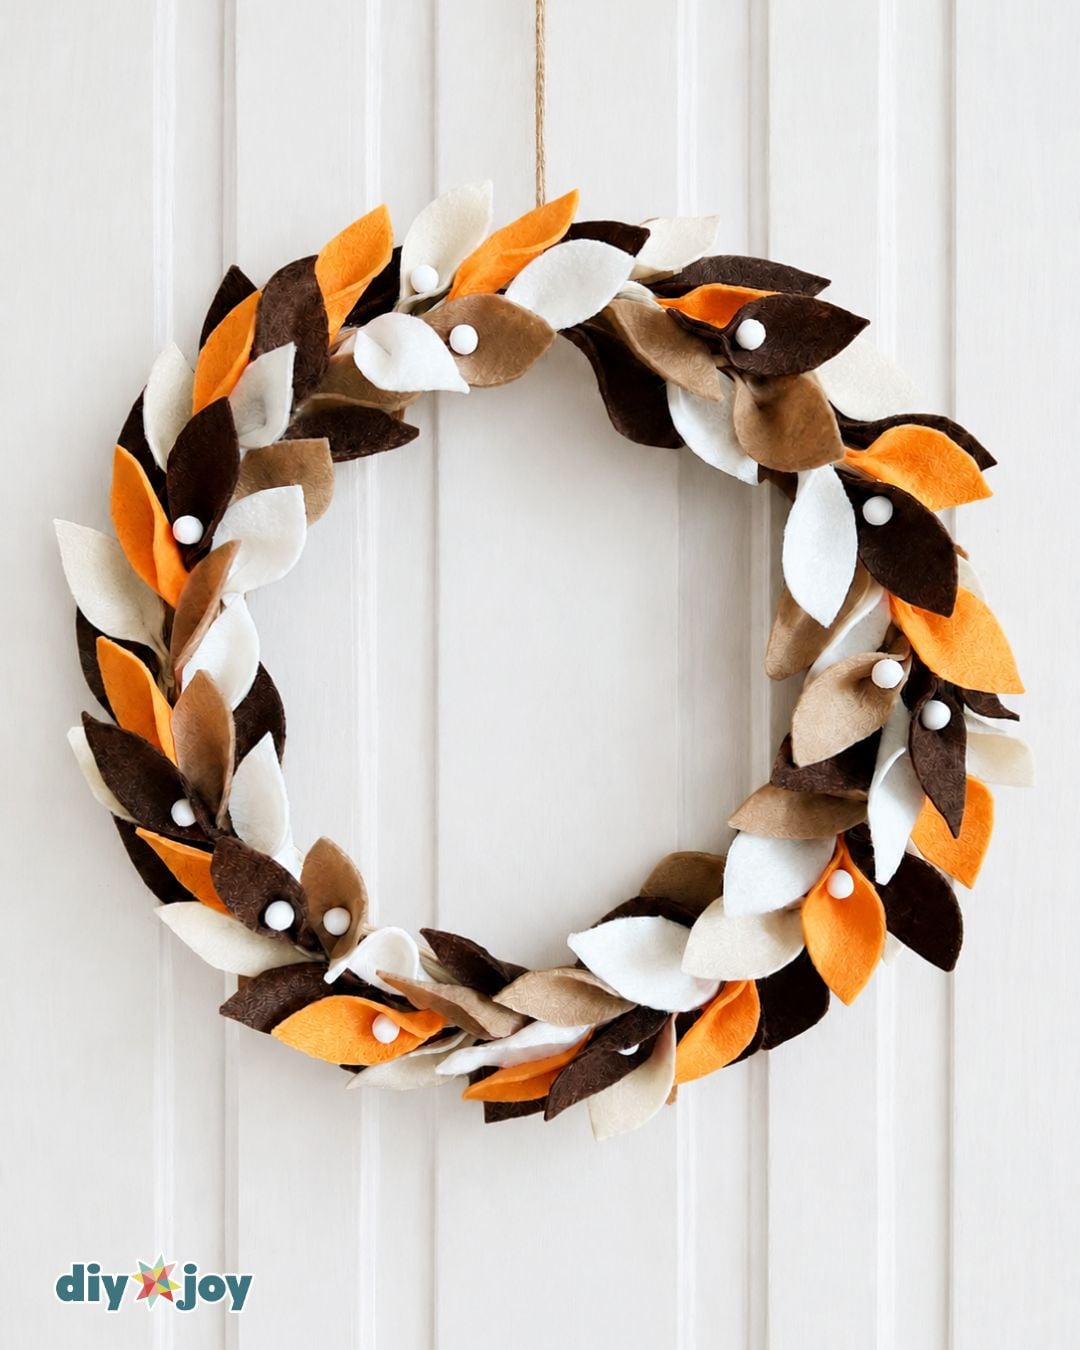
Glue small white pom-poms onto the leaves.
Optional Steps
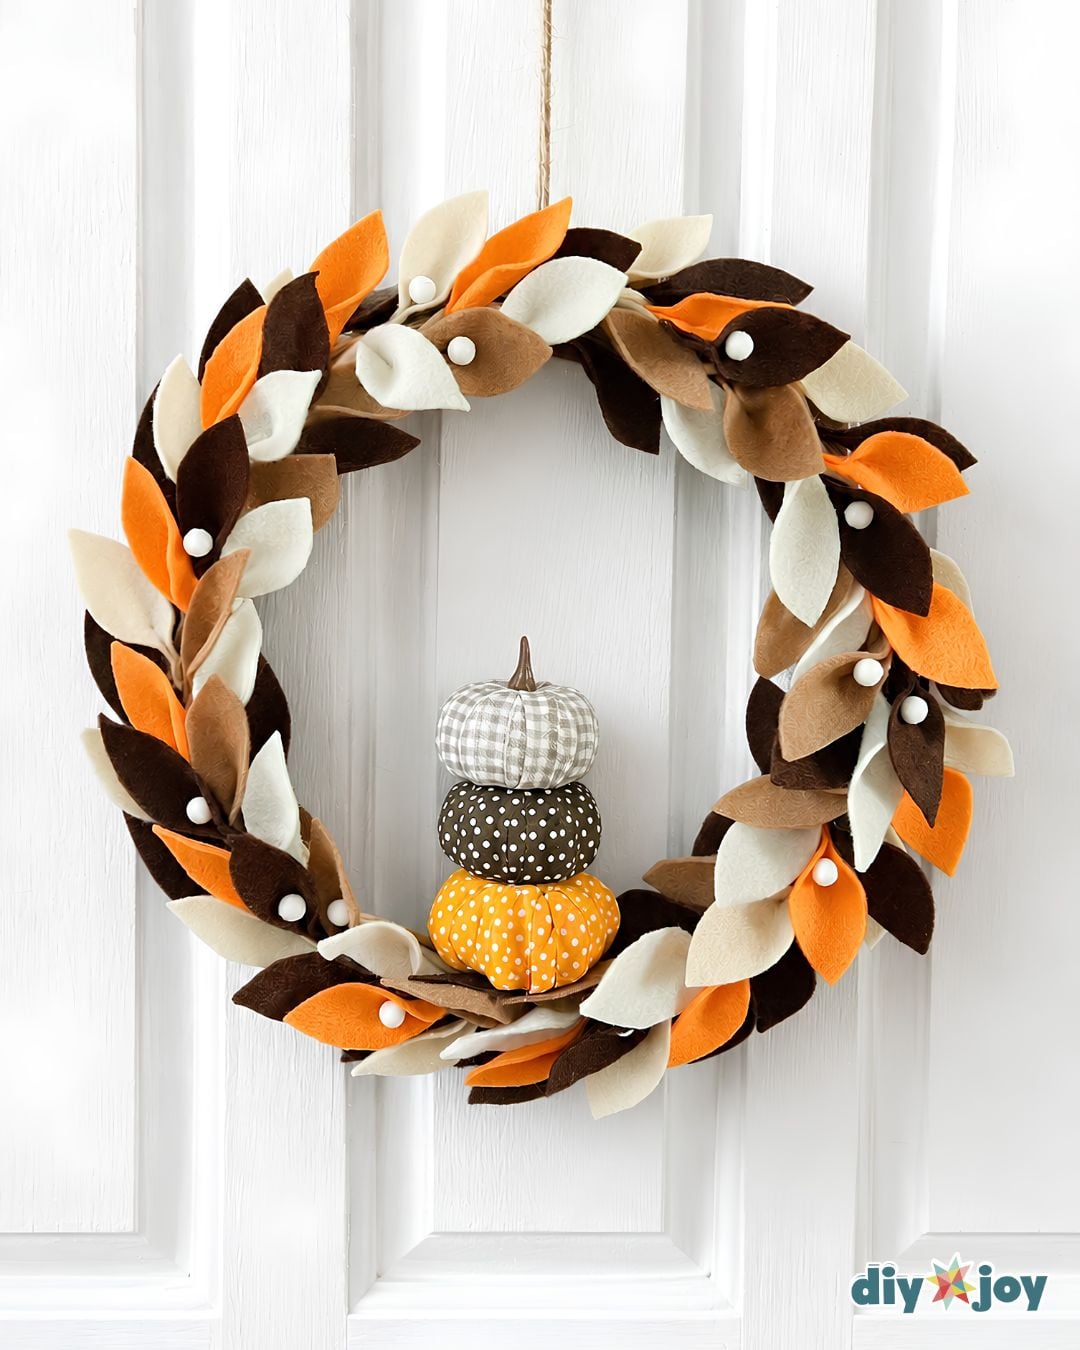
Make your DIY wreath even more beautiful by adding fabric-covered faux pumpkins or placing battery-operated candles in the center. These decorative pumpkins are easy to make. Create fabric tape by applying double-sided tape to the back of your fabric scraps, then cut the fabric into strips. Remove the stem from a faux pumpkin, peel off the tape backing, and cover the pumpkin with the fabric strips. Once finished, reattach the stem.

Pro Tip
Make sure the leaves are going in one direction!
More Fall Wreath Ideas and Ways to Use It
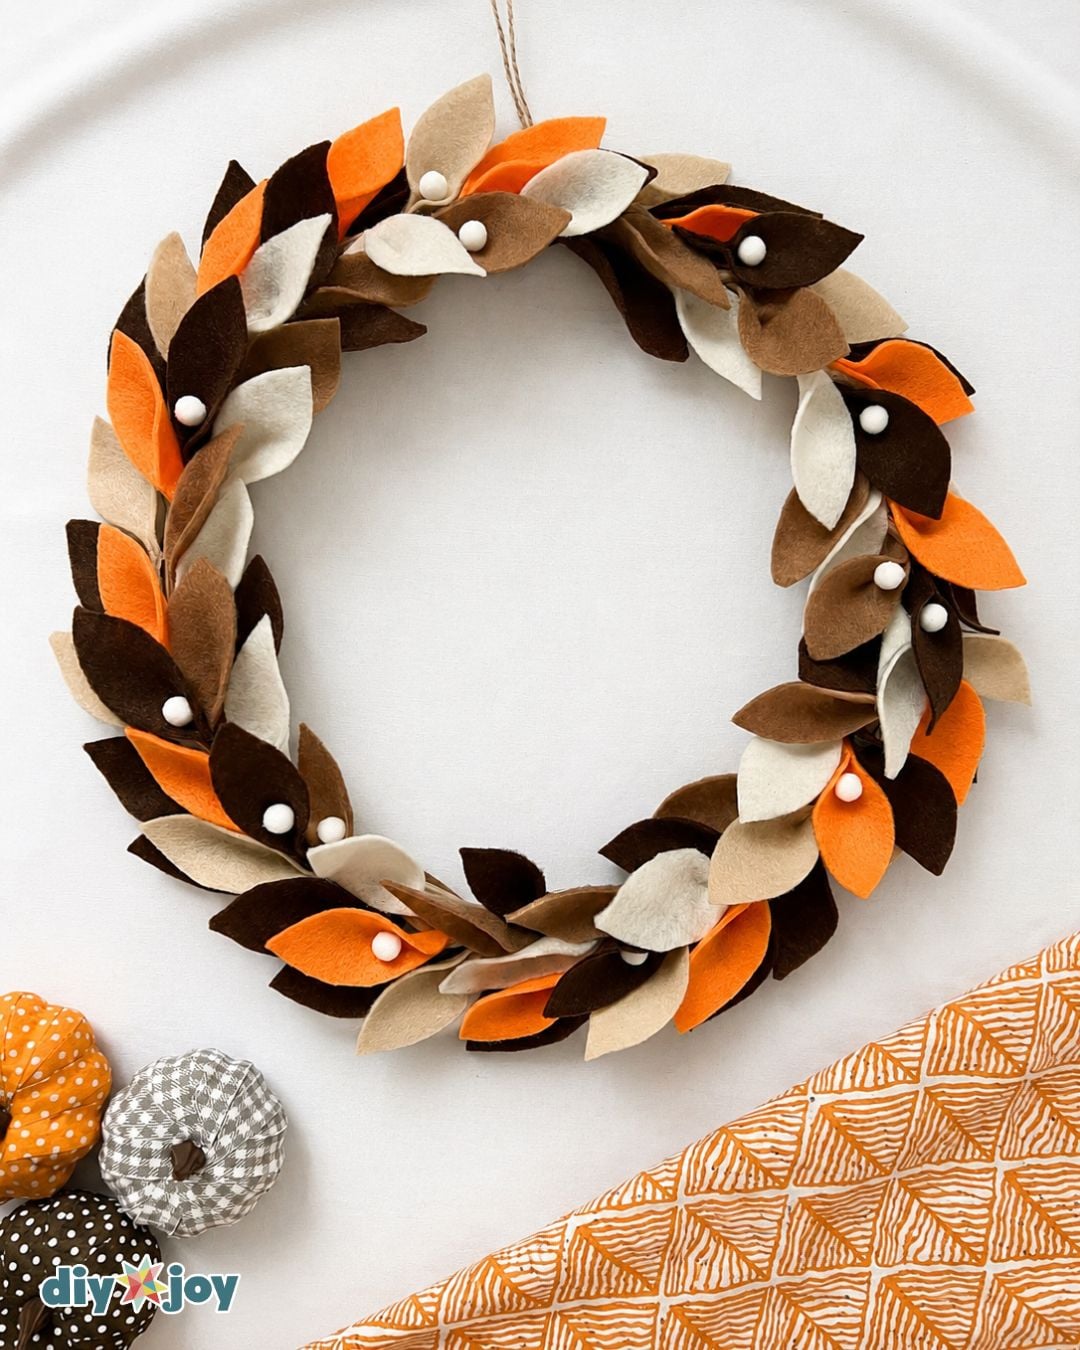
This fall craft idea proves that you do not need a lot of materials to make beautiful fall decorations! All you need is felt fabric and a wreath form to create this amazing fall leaf wreath. Can’t find these felt colors at your local craft store? Try using colored paper or fabric scraps instead. They are great alternatives for this easy fall craft.
Looking for more fall wreath ideas? Try a smaller version for a mini wreath on a cabinet door, or make a few in different sizes for a layered gallery wall display. This inexpensive, quick craft also makes a cute diy gift idea for a hostess or a fun project for your next girls night out. It is kid friendly enough for older kids to help with the cutting and gluing, and it is trending as one of the best crafts for adults who love budget friendly fall decor ideas.
FAQs
Your felt may be too thick or stiff. Choose soft, flexible felt that is easy to pinch and fold, then apply a small amount of hot glue to the base of each leaf and hold the fold until the glue sets. This part of the tutorial goes fast once you get the technique down.
Yes. A sharp rotary cutter and a self-healing cutting mat work well for straight cuts, while sharp fabric scissors give you more control for the small curves in each leaf. Either method keeps this budget friendly diy project quick and easy.
If you can’t find a grapevine wreath, a wire wreath form, foam wreath, embroidery hoop, wooden wreath ring, or a sturdy cardboard ring all work as easy substitutes. Just wrap wire or foam forms with ribbon, felt, or fabric before you start gluing on leaves.
Hot glue works best because it dries quickly and holds the folded leaves in place. Use a low temperature glue gun if you can, since it lowers the risk of burns and keeps this kid friendly craft safe for older kids to help with.