Are you looking for your next fall project? How about making these gorgeous pumpkins from Moving With The Military on Youtube? You will only need some old sweaters and elastics for this project – quick, easy, and inexpensive. These pumpkins are the best additions to your fall decorations this year! Watch the video tutorial below to learn the step-by-step instructions.
Materials:
- old sweater
- scissors
- clear elastic tie
- cotton fiber (for filling)
- twine
- piece of stem
- hot glue
- needle
Directions:
Step 1
Cut the sleeve of your old sweater then cut it in half. Next, take your sleeve and turn it inside out, take the bottom, and tie your elastic tie around it twice. Turn it back around. After this, fill it with some cotton fiber. To close the pumpkin, grab another elastic tie and tie it twice. Now, grab a needle and put a clear piece of tape on the edge of the twine, and put it through the needle.

[social_warfare]
Step 2
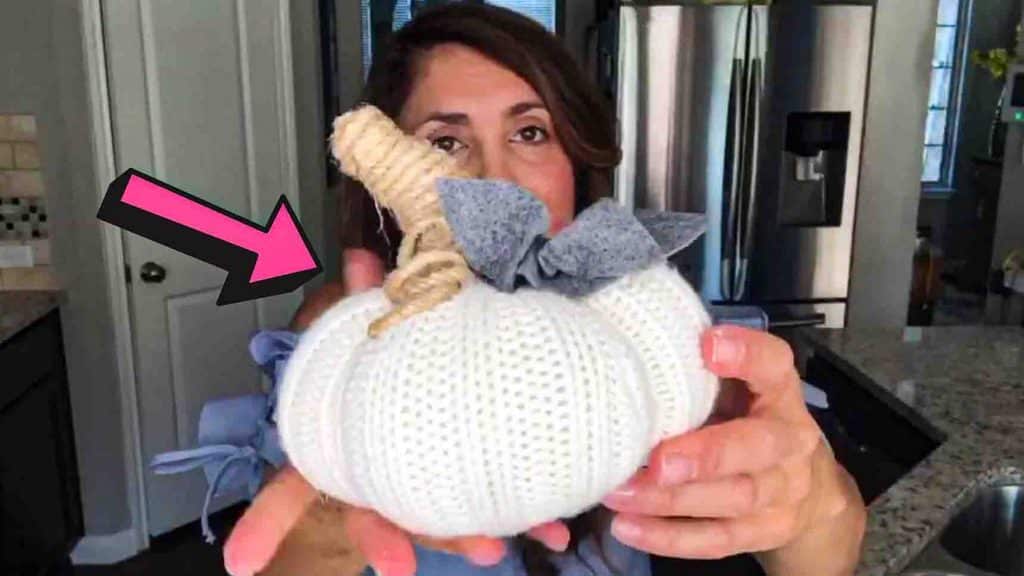
Next, make a knot on the end, take your needle to the bottom of the pumpkin and come out and pull through the side, then put it right back through and come around on the other side. This will give shape to the pumpkin. After making several of these, tie them on the bottom. After this, for the stem, take a piece of felt and roll it up. Take some hot glue and put some on the center, then stick the stem. Grab some twine and wrap it around the stem tightly to cover it. Your sweater pumpkin is now finished.

No-Sew Sweater Pumpkin Tutorial


