
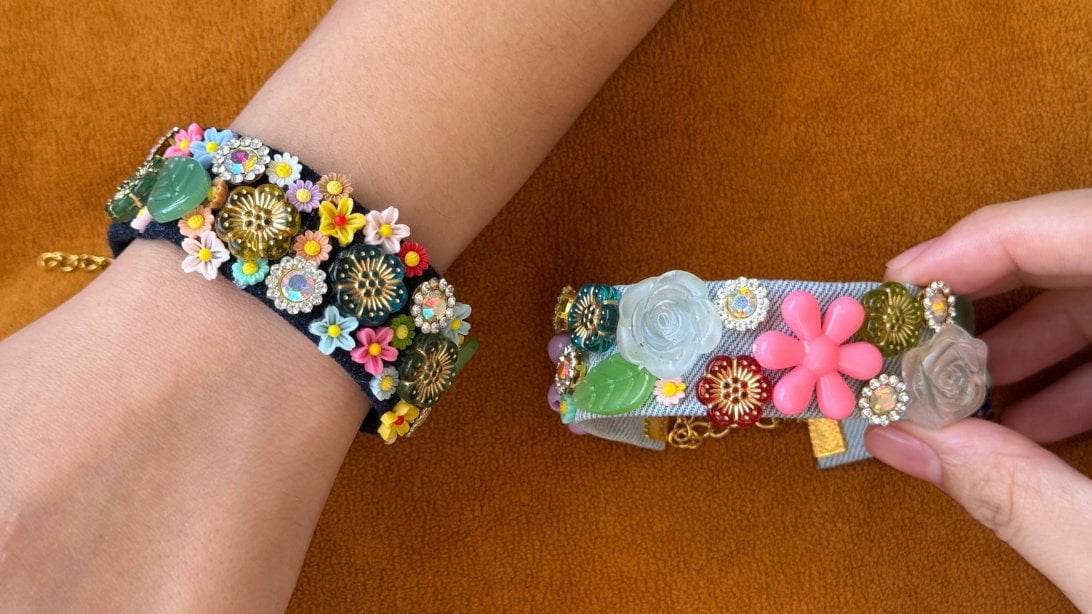
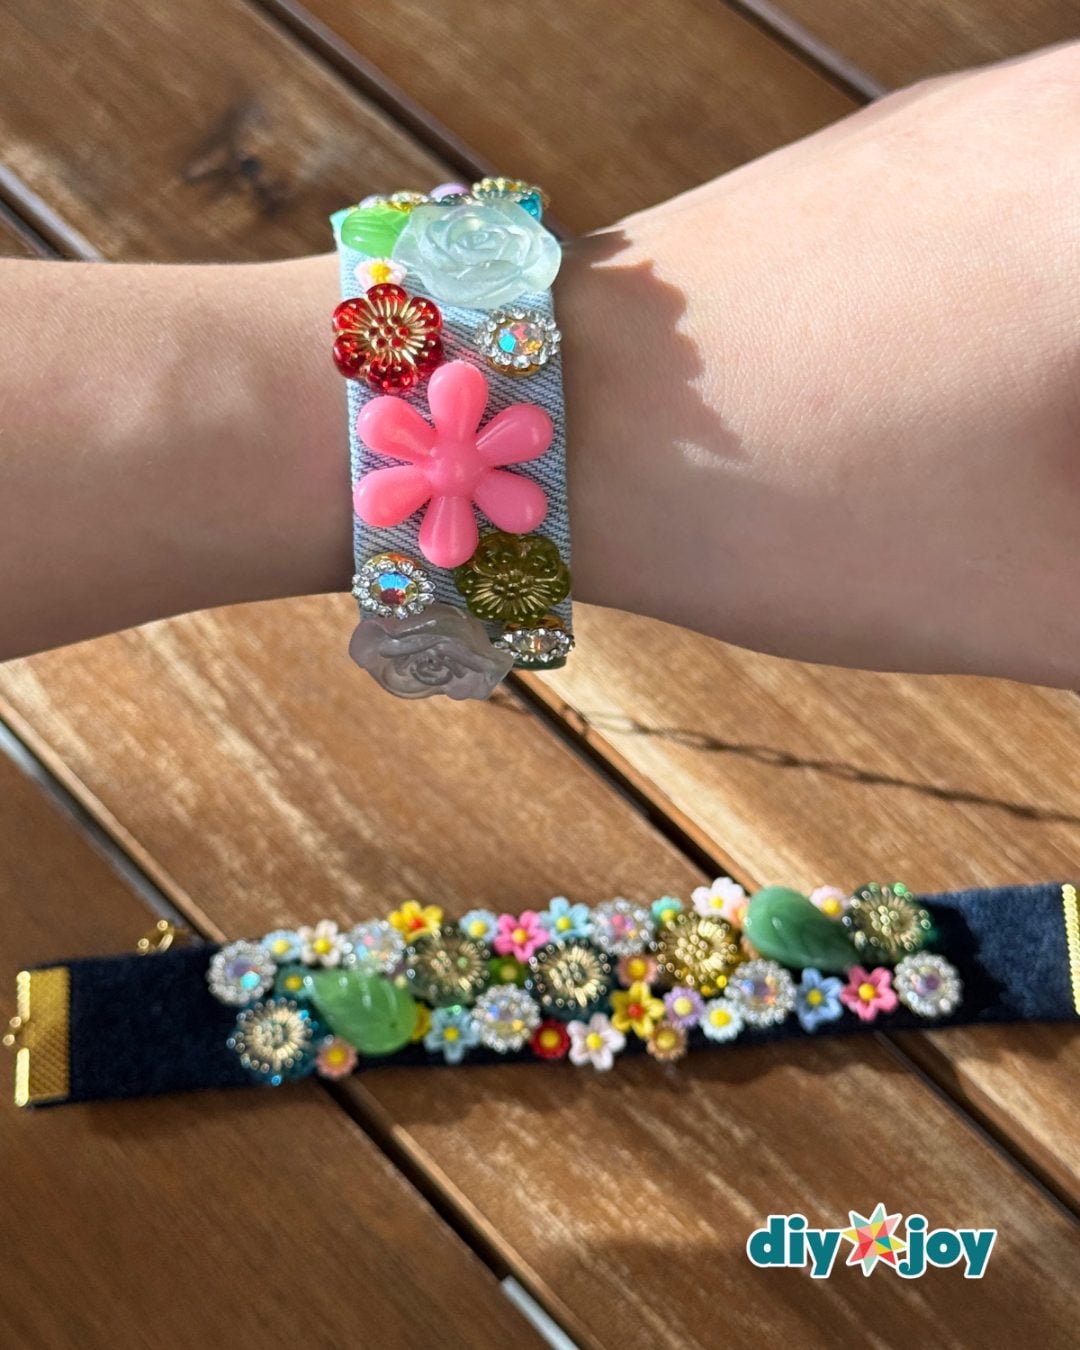
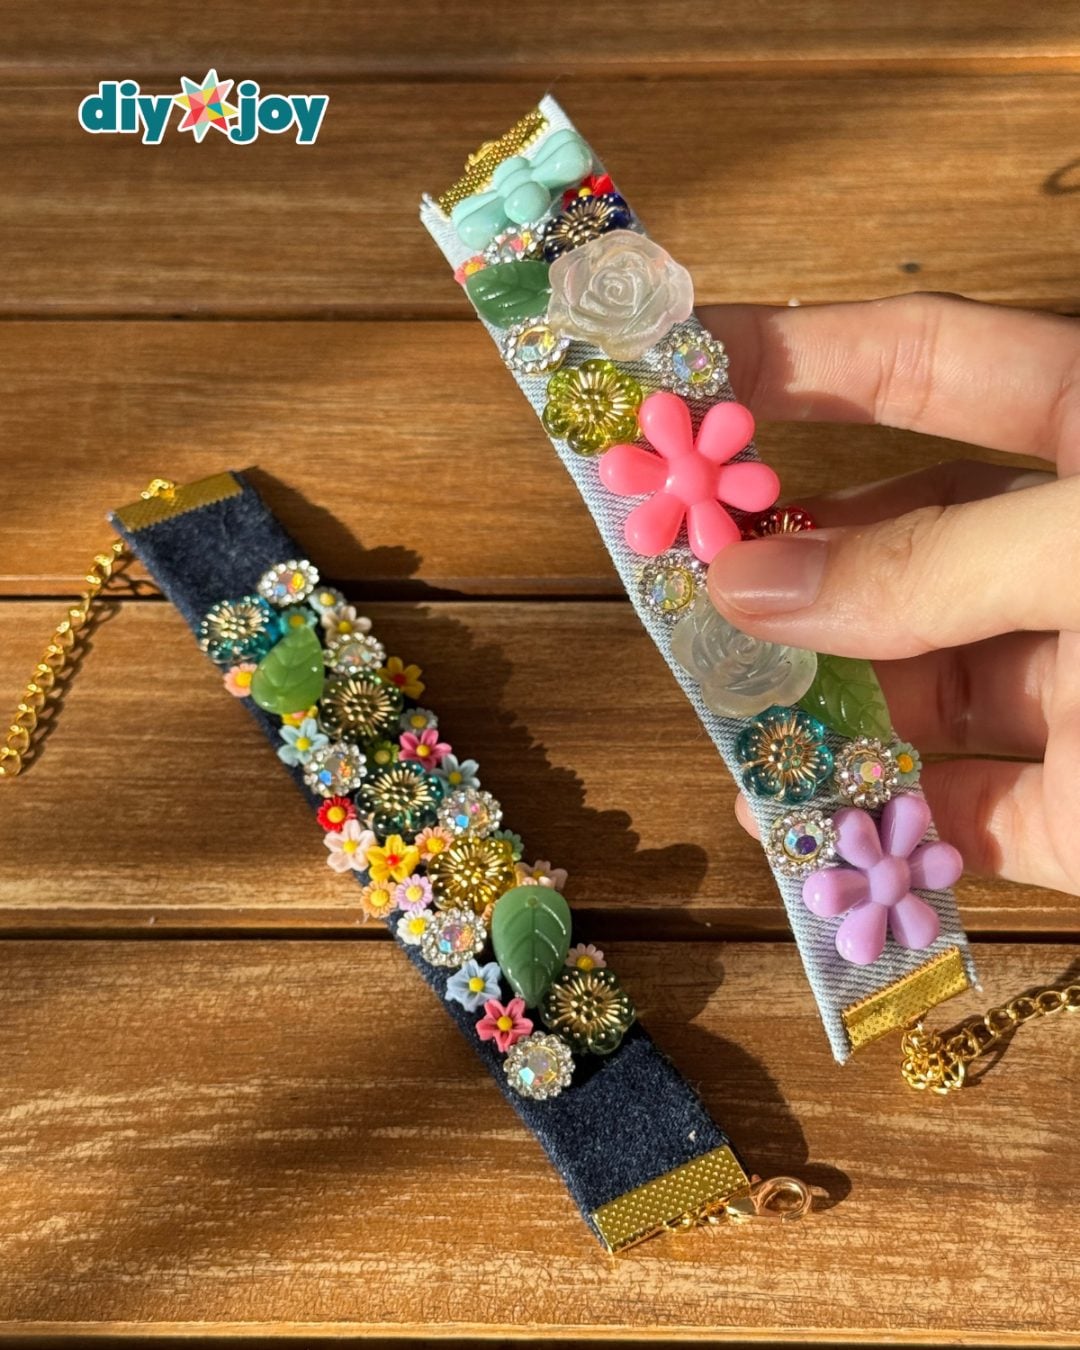
If you have an old pair of jeans and a container of buttons and beads you keep saving for no particular reason, this DIY denim flower bracelet is the project for you. Cut a strip of denim, sew on your favorite leftover pieces, and add a clasp to make a colorful bracelet that costs almost nothing.
Denim DIY Bracelet YouTube Video Tutorial
Key moments in the video: 0:06 cutting the denim strip | 0:16 folding and taping the edges | 0:48 arranging the flowers and buttons | 1:14 sewing each piece on | 1:56 adding the crimps, chain, and clasp | 2:16 the finished bracelet
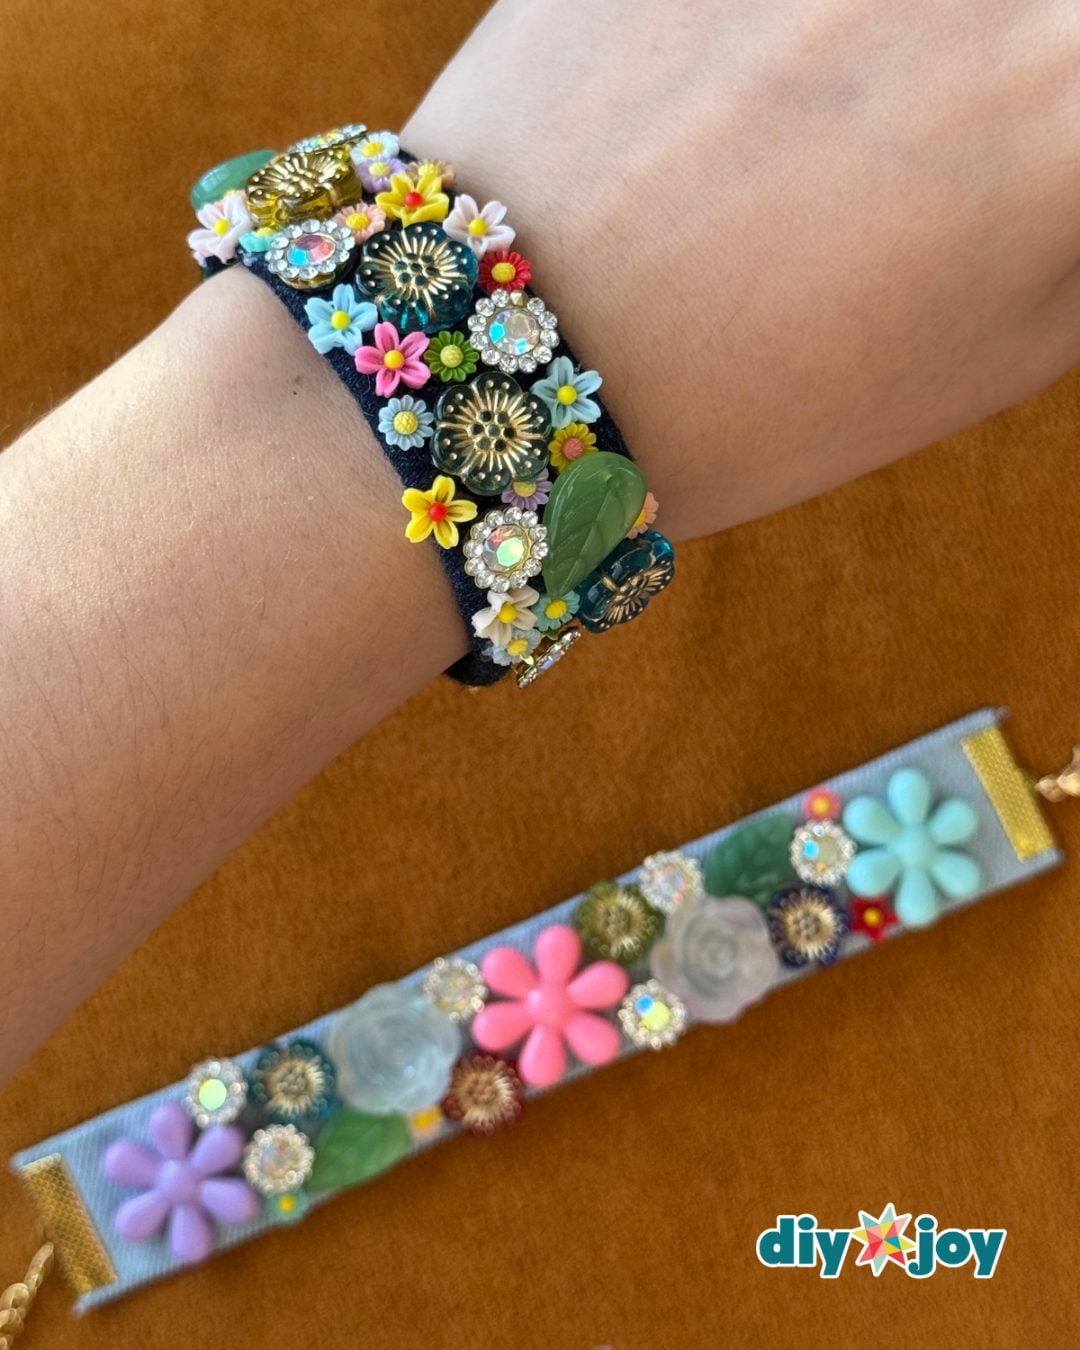
This is a fun upcycled denim craft for kids, teens, and adults who need something creative to do for an afternoon. Nothing has to match, and you can use whatever is already hiding in your craft stash. It may not use every leftover button you own, but at least the collection is finally earning its keep.
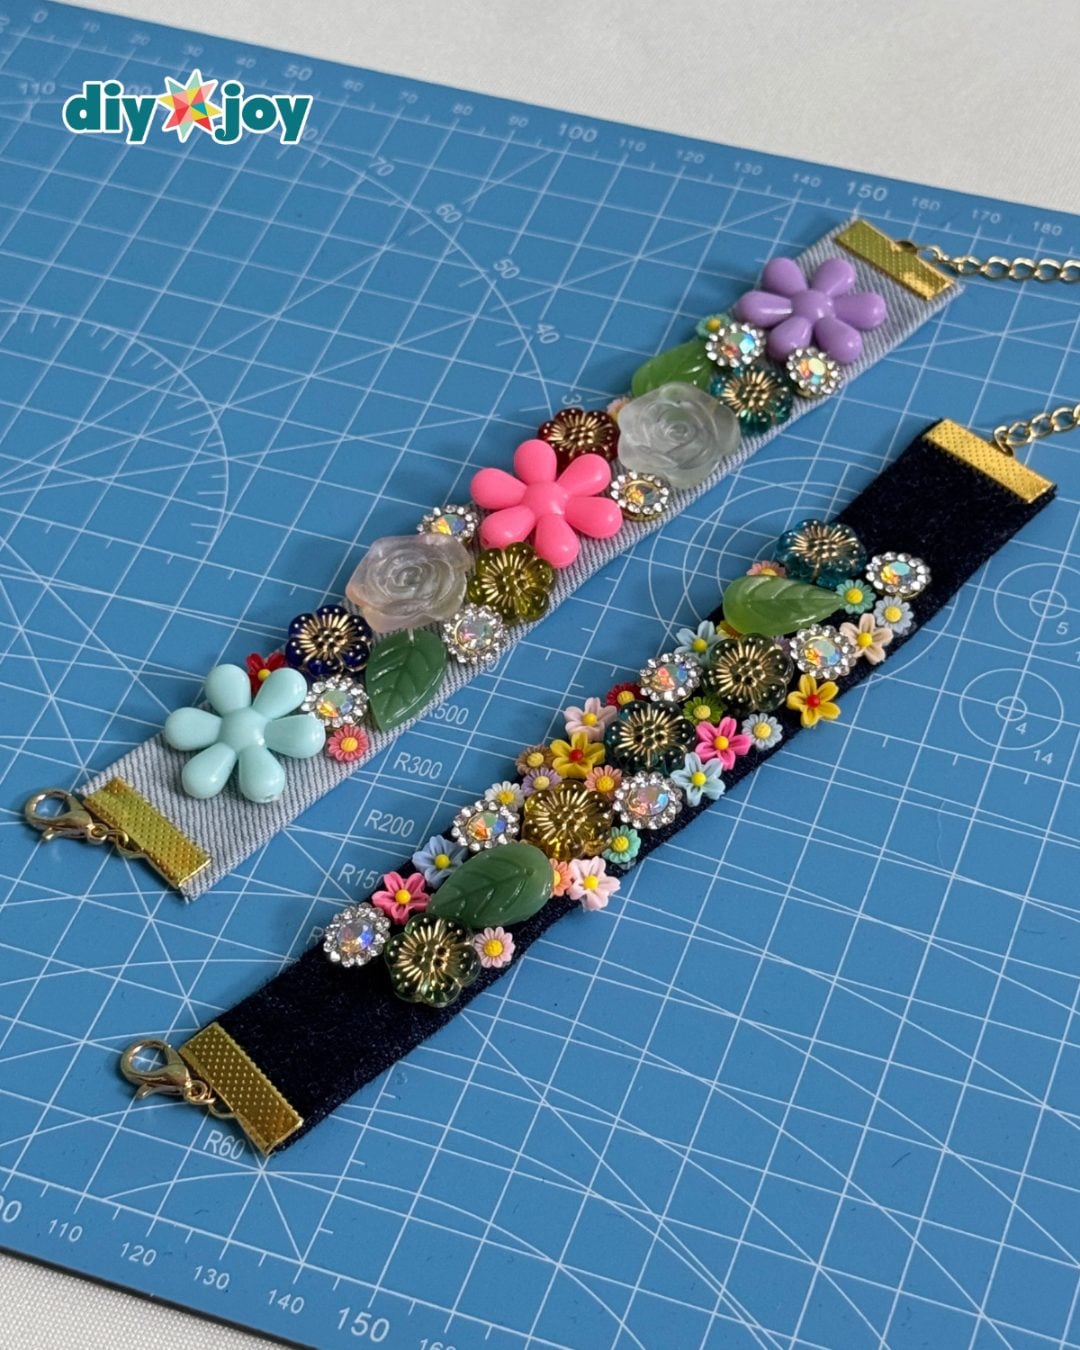
There is no pattern to follow and no right way to arrange everything. If you are making this with kids or teens, let them choose the buttons and decide where each piece goes. Gather an old pair of jeans and those supplies you swore you would use someday, and I’ll show you exactly how to make the bracelet step by step.
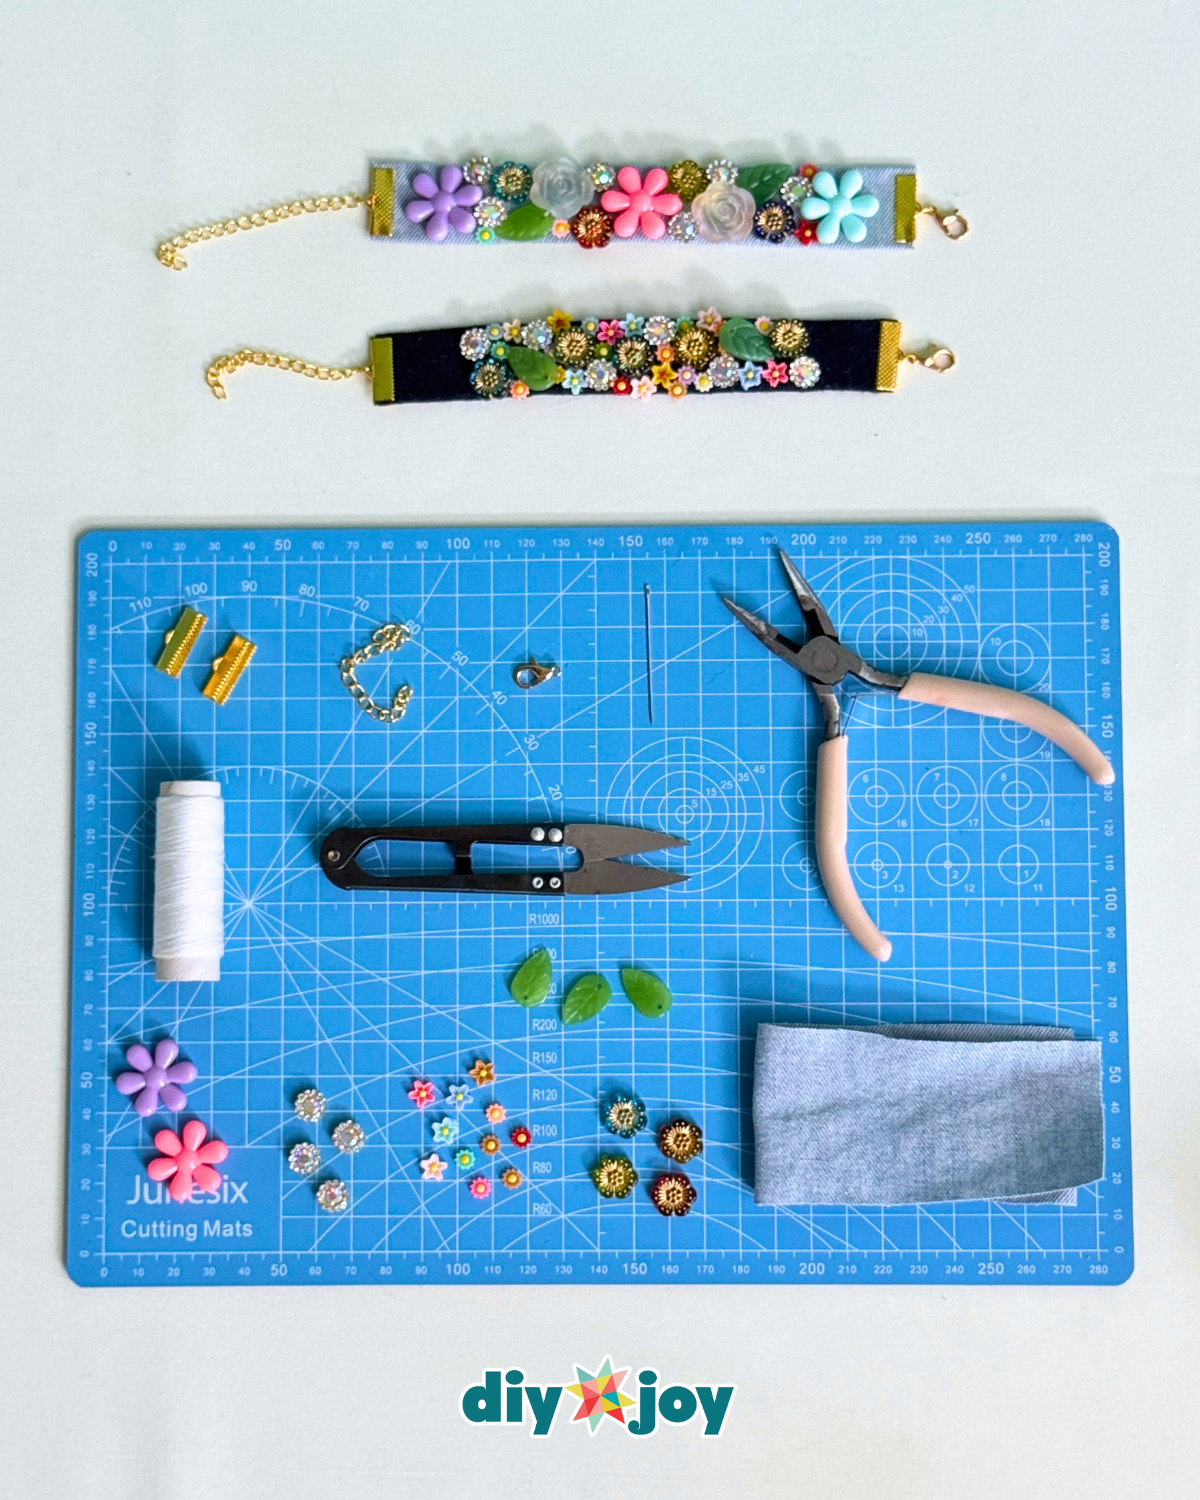
Craft Supplies Needed:
- Denim
- Fabric Scissors
- Sewing Nippers
- Beads and Buttons, assorted
- Needle and Thread
- Cutting Mat
- Jewelry Pliers
- Bracelet Crimps
- Lobster Claw Clasp
- Bracelet Chain
- Double-Sided Tape
Here’s another cute craft idea to try:
How to Make a Denim Bracelet
Step 1: Cut and Fold the Denim Strip
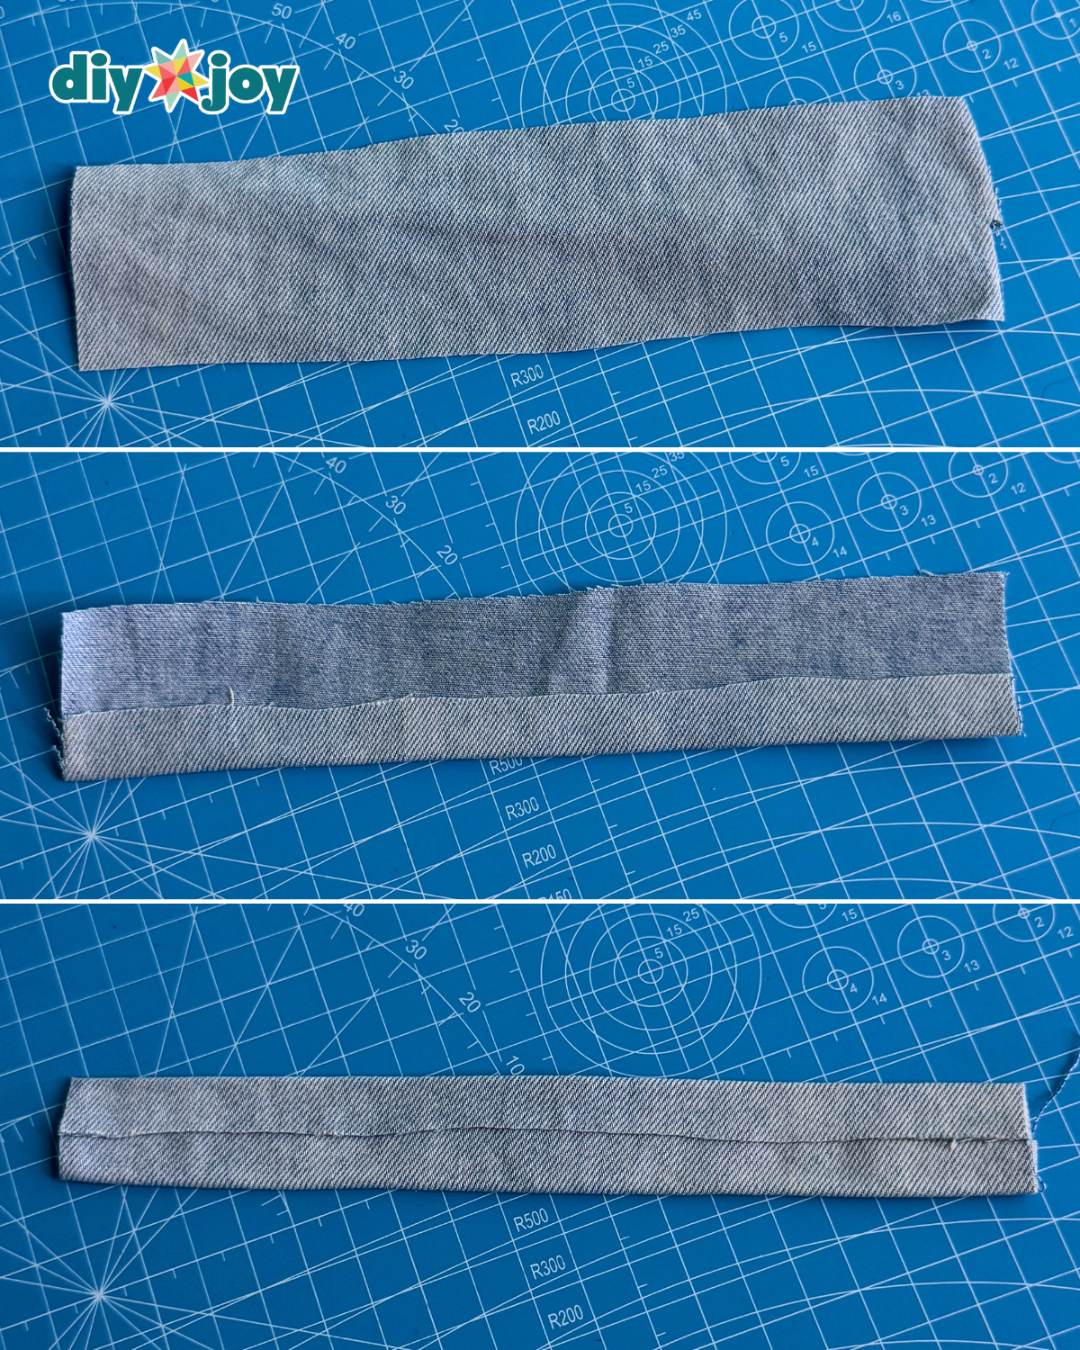
Lay the denim flat on your cutting mat and smooth out any wrinkles. Using sharp fabric scissors, cut a strip to your desired length and width. The thickness of the finished bracelet is up to you, but remember that both long edges will be folded inward toward the center, so leave enough allowance when cutting.
Once cut, fold the top long edge inward toward the center of the strip, then repeat with the bottom long edge. Apply double-sided tape underneath the folded edges to hold them in place, then press firmly along the entire strip to make sure they adhere securely.
Step 2: Arrange and Attach the Embellishments
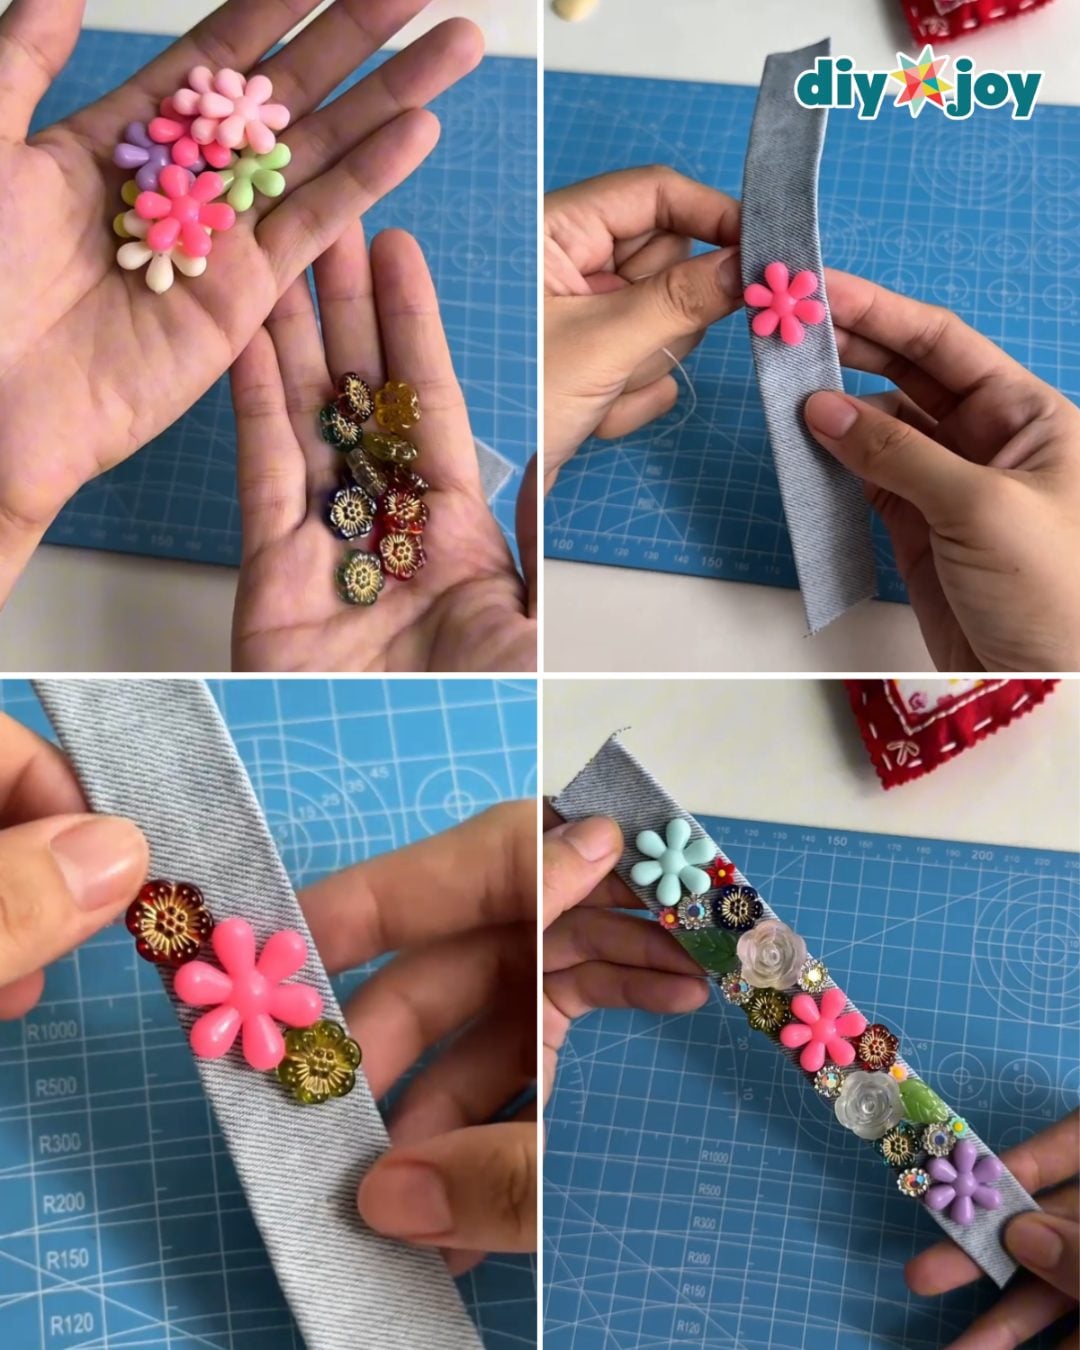
Choose the beads, buttons, rhinestones, or other embellishments you want to use, then arrange them on the denim before attaching anything. Starting at the center can help keep the design balanced, but you can also freestyle and place each piece wherever you think it looks best.
Avoid overcrowding the bracelet, and leave some space at both ends for attaching the clasps later. Once you are happy with the arrangement, sew the beads and buttons onto the denim one at a time. For tiny embellishments, rhinestones, or pieces without holes, use a small amount of hot glue to secure them to the fabric.
Step 3: Attach the Crimps and Clasp
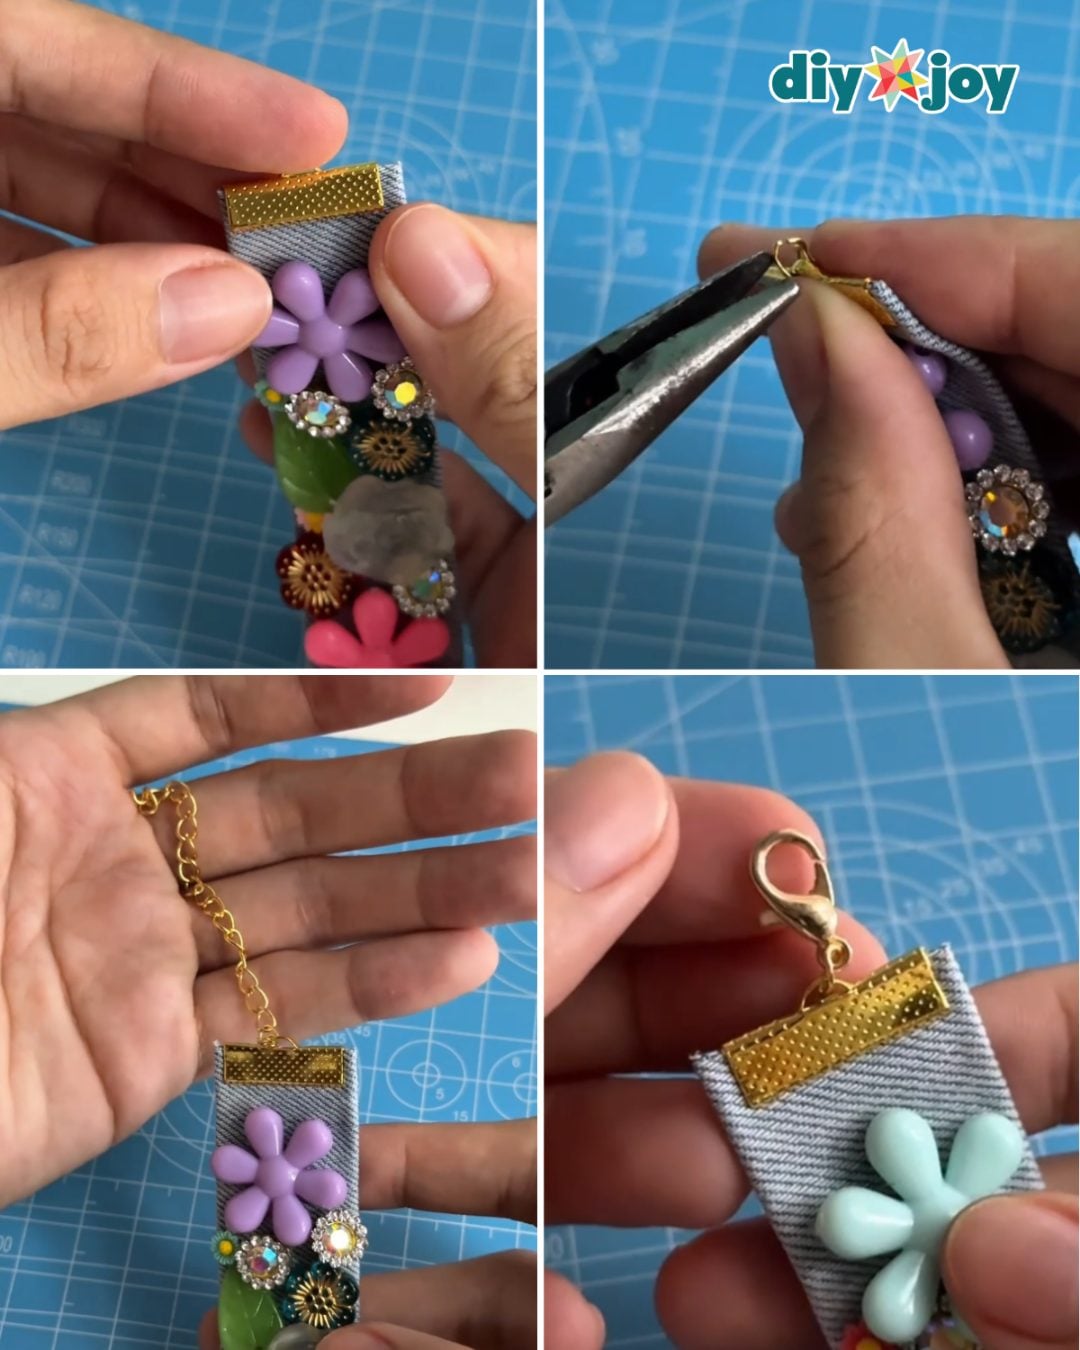
Place a bracelet crimp over each end of the denim strip, then pinch them firmly with pliers to secure them in place. Open the end ring of the bracelet chain with your pliers, insert it through the hole in one crimp, and close the ring securely.
On the opposite end, attach a lobster claw clasp to the other crimp and close the connecting ring tightly with your pliers. Once everything is secure, your denim bracelet is ready to wear!

Pro Tips 💡
- Test the bracelet around your wrist before attaching the crimps. Remember that the chain and clasp will add a little extra length.
- Arrange all the buttons and beads before sewing. Take a quick photo of the layout so you can follow it while attaching each piece.
- Use strong thread and secure each button or bead with several stitches. Knot the thread well after attaching each piece.
- After attaching the hardware, gently tug each crimp, jump ring, and clasp to make sure everything is completely secure before wearing the bracelet.
Old jeans are perfect for this easy craft project, and lighter weight denim folds much easier around the edges. Save the heavy, rigid denim for other upcycled crafts.
This tutorial stitches each button and bead on with a needle and thread so everything stays put. If you would rather skip the sewing, a little hot glue is a quick fix for flat-backed pieces.
Run a thin line of clear glue or fray check along the cut edges before you decorate. It dries clear and keeps the strip neat while you work step-by-step.
Yes, this is a fun, kid friendly craft for kids and teens with a little supervision at the glue gun. It is budget friendly too, so let them pick the buttons and arrange the design themselves.
Have you seen our TikTok & Instagram yet?
Our viral videos are super popular and fun to watch. Here’s the denim flower bracelet TikTok, but the YouTube video is also included in this post so you can watch the full tutorial. Links below for all our socials. Follow and be the first to see our latest crafts. ⬇️
Watch the denim bracelet TikTok craft video ->
Must-Try Crafts:
Crafts
Jewelry Ideas
Jewelry Ideas
Jewelry Ideas
*If you love this craft, then visit our official website, follow our Facebook page, and subscribe to our YouTube channel for more!




