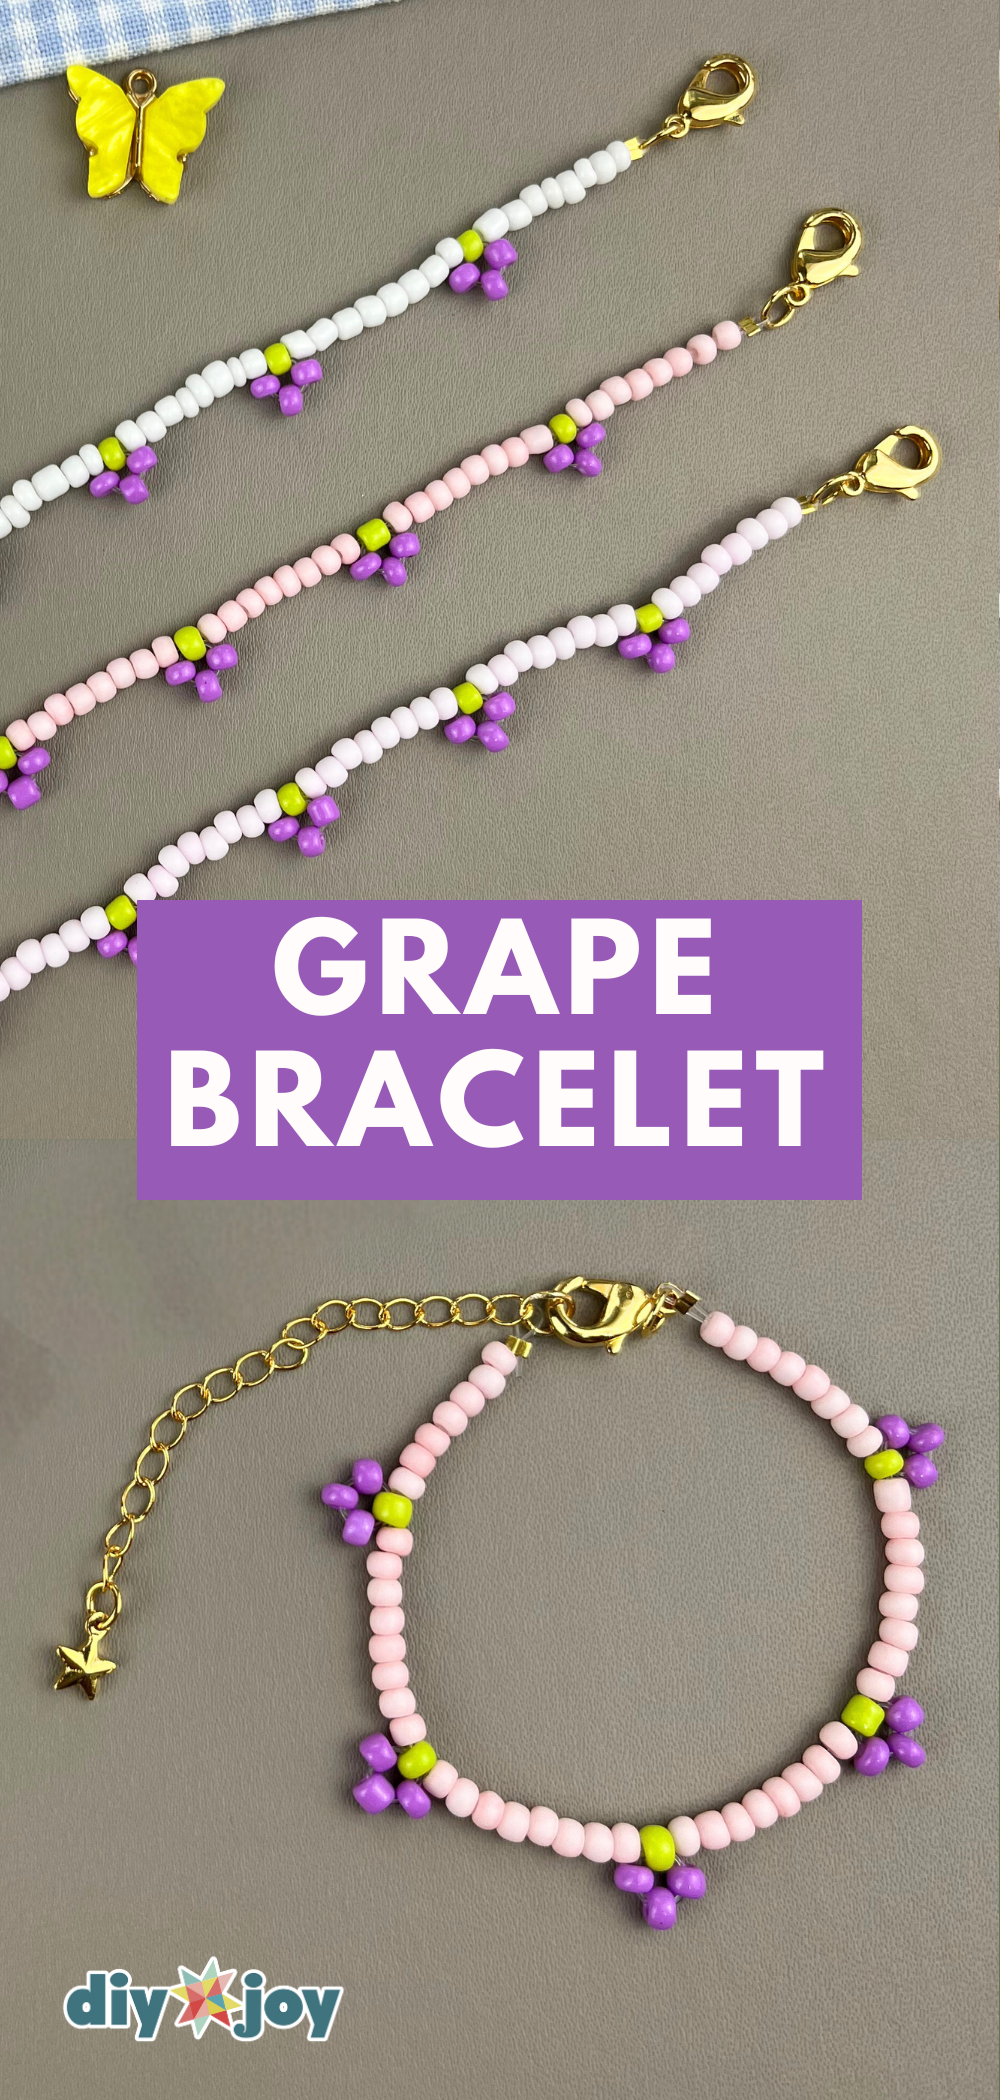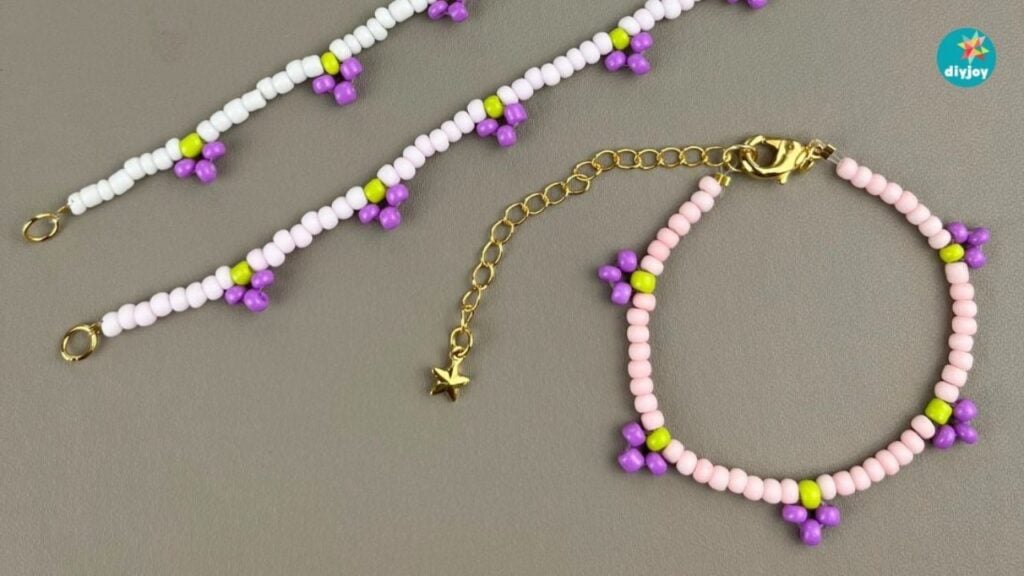
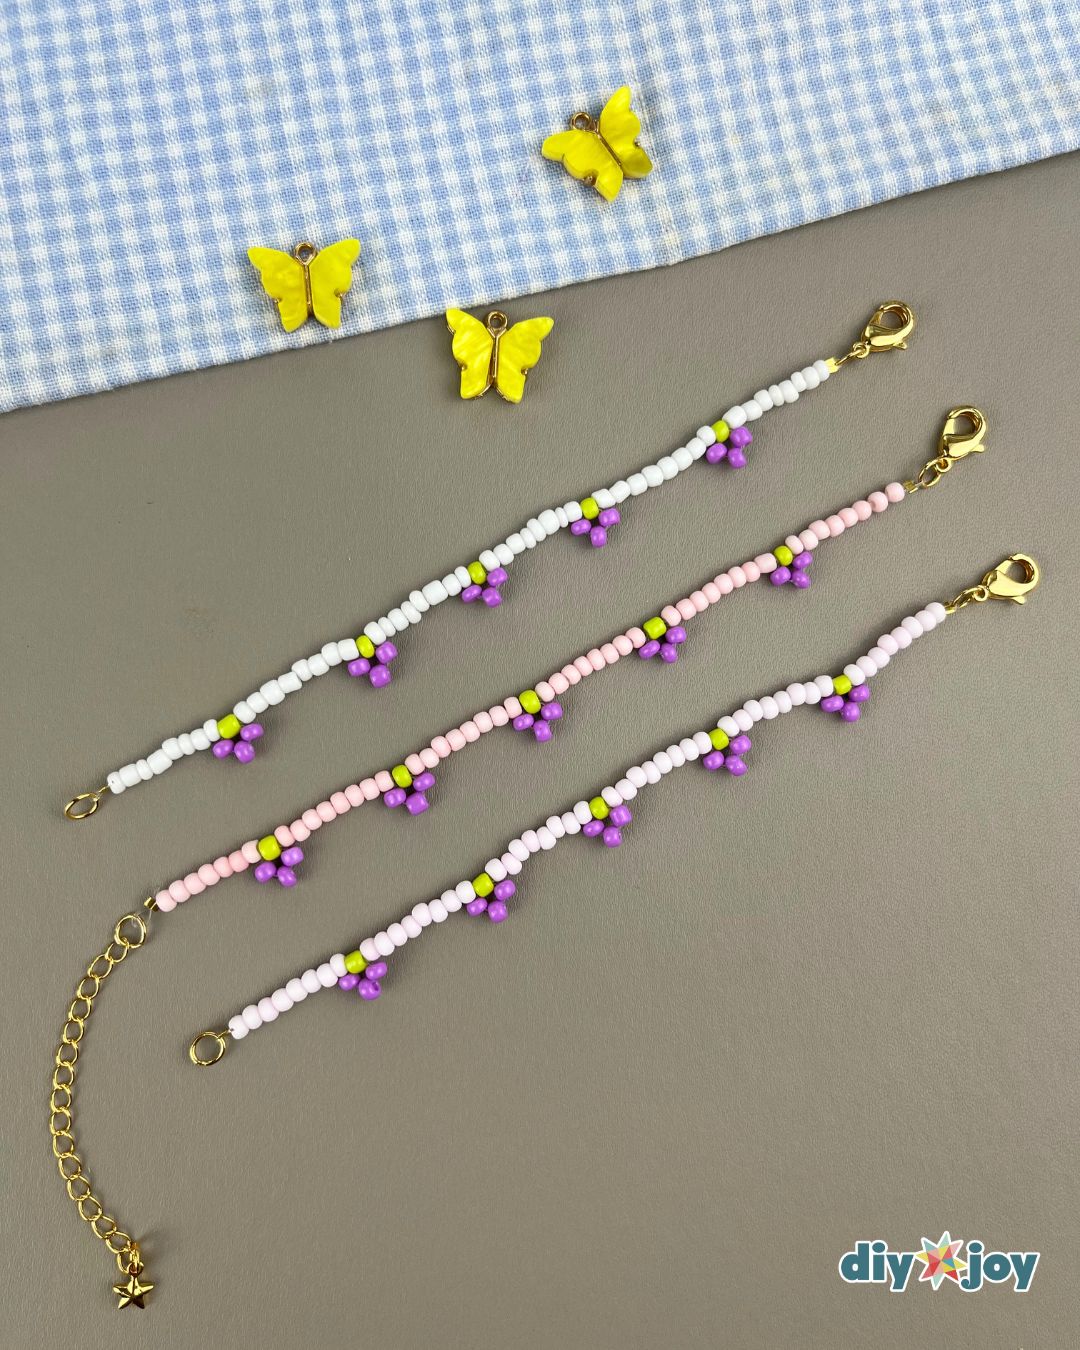
Looking for an easy friendship bracelet tutorial? Try this grape bracelet! The steps are very easy to follow and beginner-friendly. If you are just starting to learn bracelet-making, this one is for you.
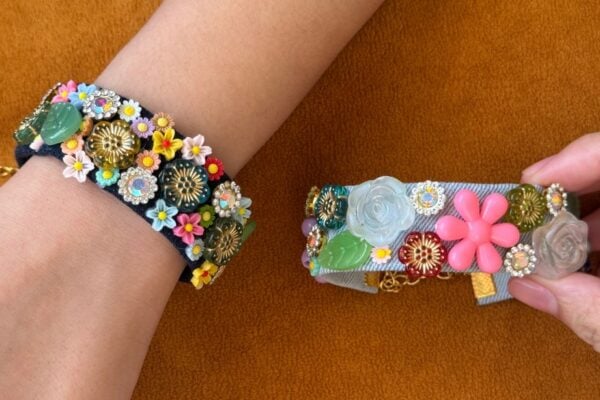
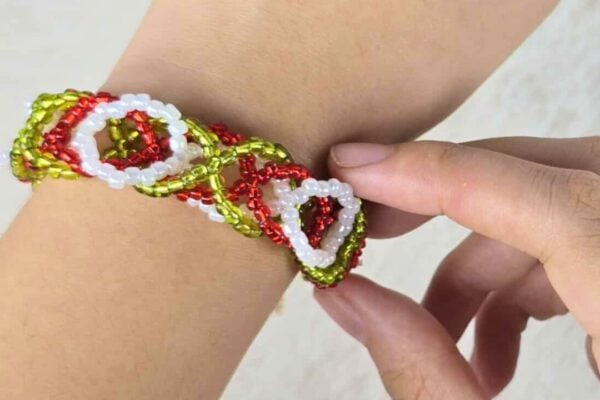
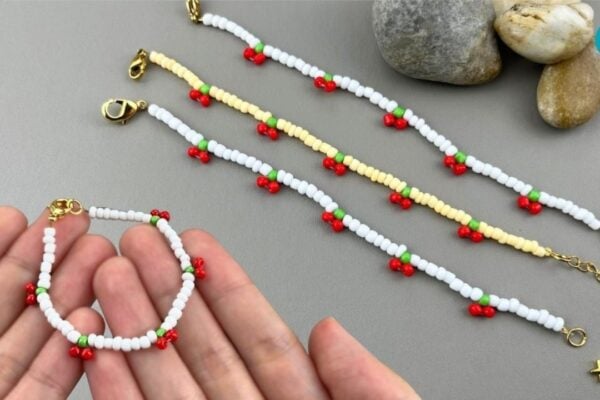
Here’s another bracelet design idea to try:
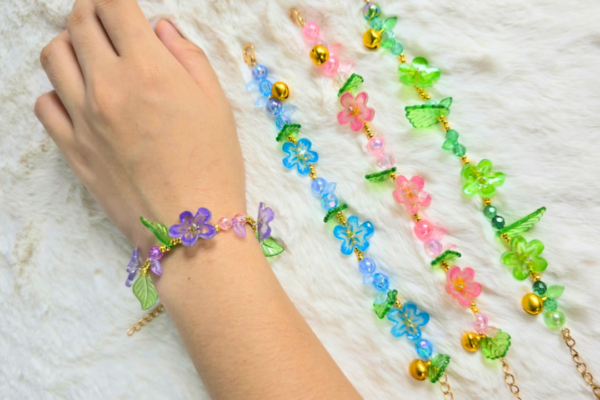
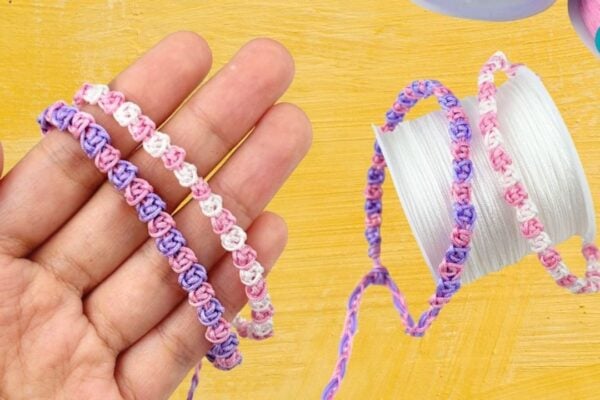
Easy Macramé Bracelet | Rose Bracelet

Have you seen our TikTok & Instagram yet?
Our viral videos are super popular and fun to watch. Here’s the fruit bracelet Tiktok, but the YouTube video is also at the bottom of this post so you can watch the full tutorial. Links below for all our socials. Follow and be the first to see our latest crafts. ⬇️
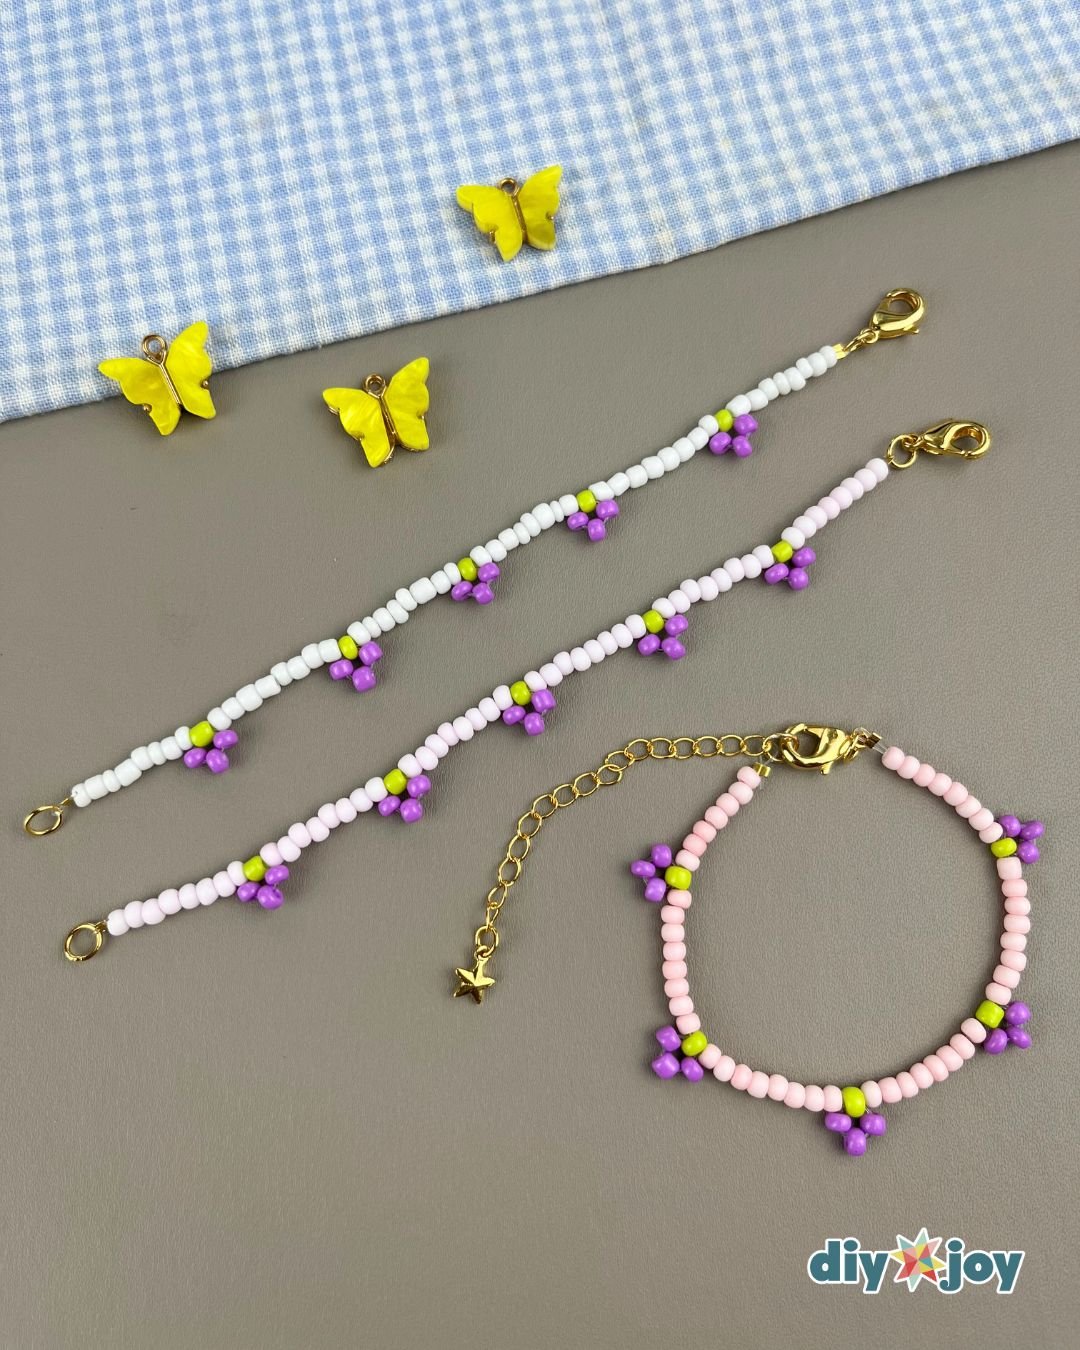
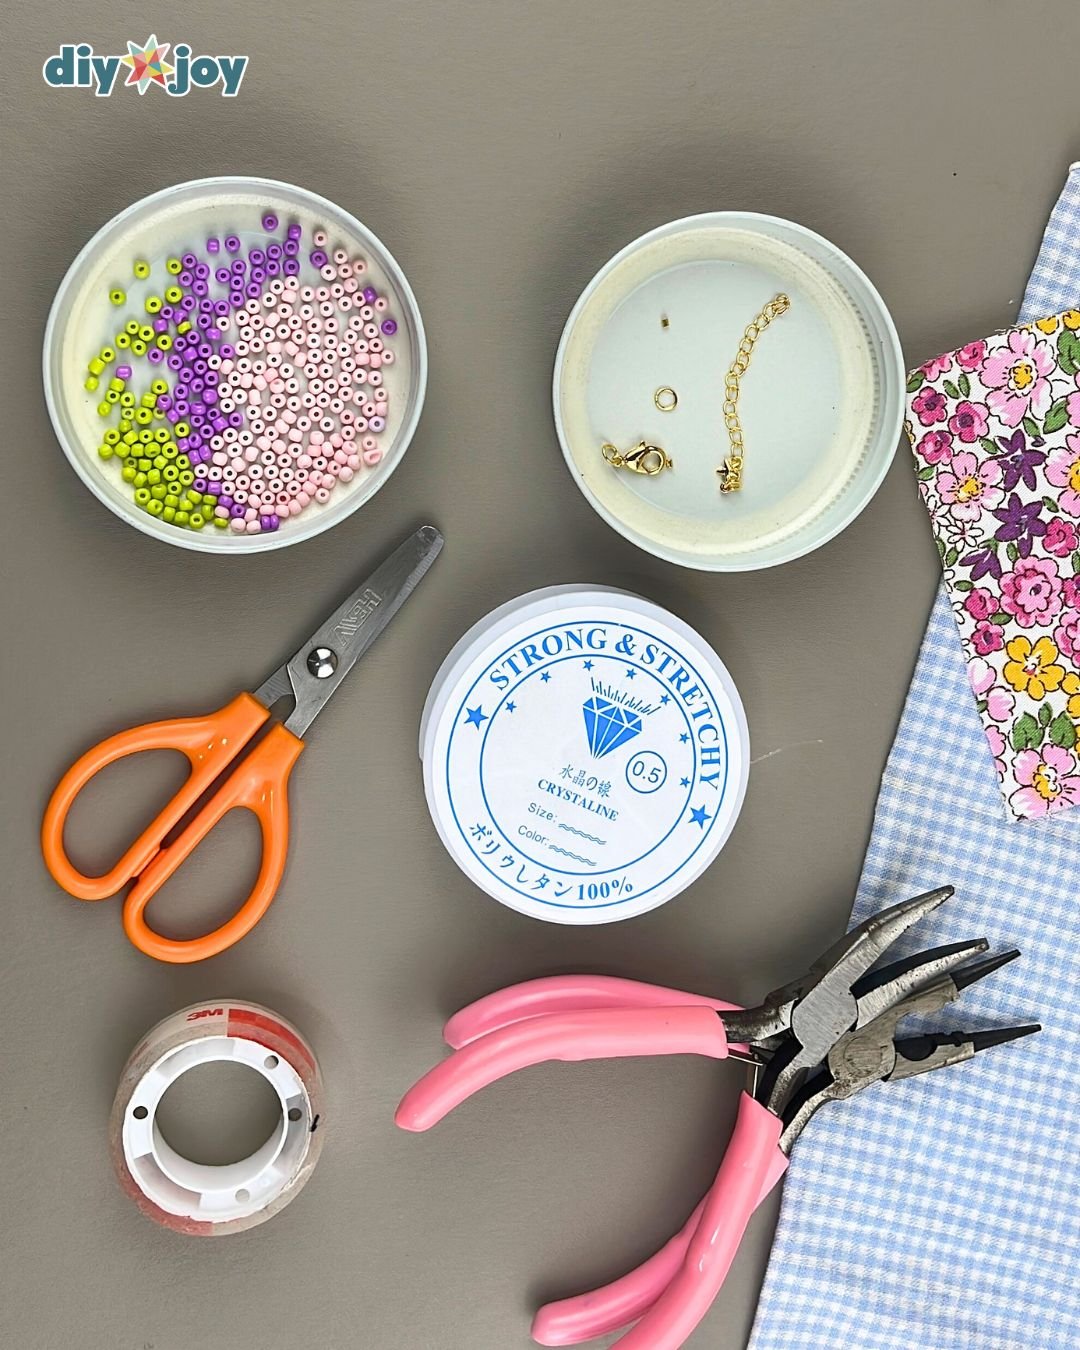
I am really starting to fall in love with these minimal bracelets. They’re just so cute, chic, and add a pop of color to my monocromatic outfits. I was initially planning to buy them online, but then I thought to myself, “Wait, I can make these”, so that’s what I did. This is one of my attempts to try different things this year. For this week, I decided to make another bracelet, this time it’s the grape bracelet. It’s still as easy as the cherry bracelet and the steps are very similar. If you already tried that one, this grape bracelet will be a breeze. You only need regular seed beads, nylon strings, jump rings, crimps, and lobster clasps. The bracelet is already stretchable so it can easily go over your hand, but if you want it to be adjustable, you will need an extension chain. If you only have nylon and beads, there’s no problem at all. You can still make this bracelet. I will show you the step-by-step tutorial below.
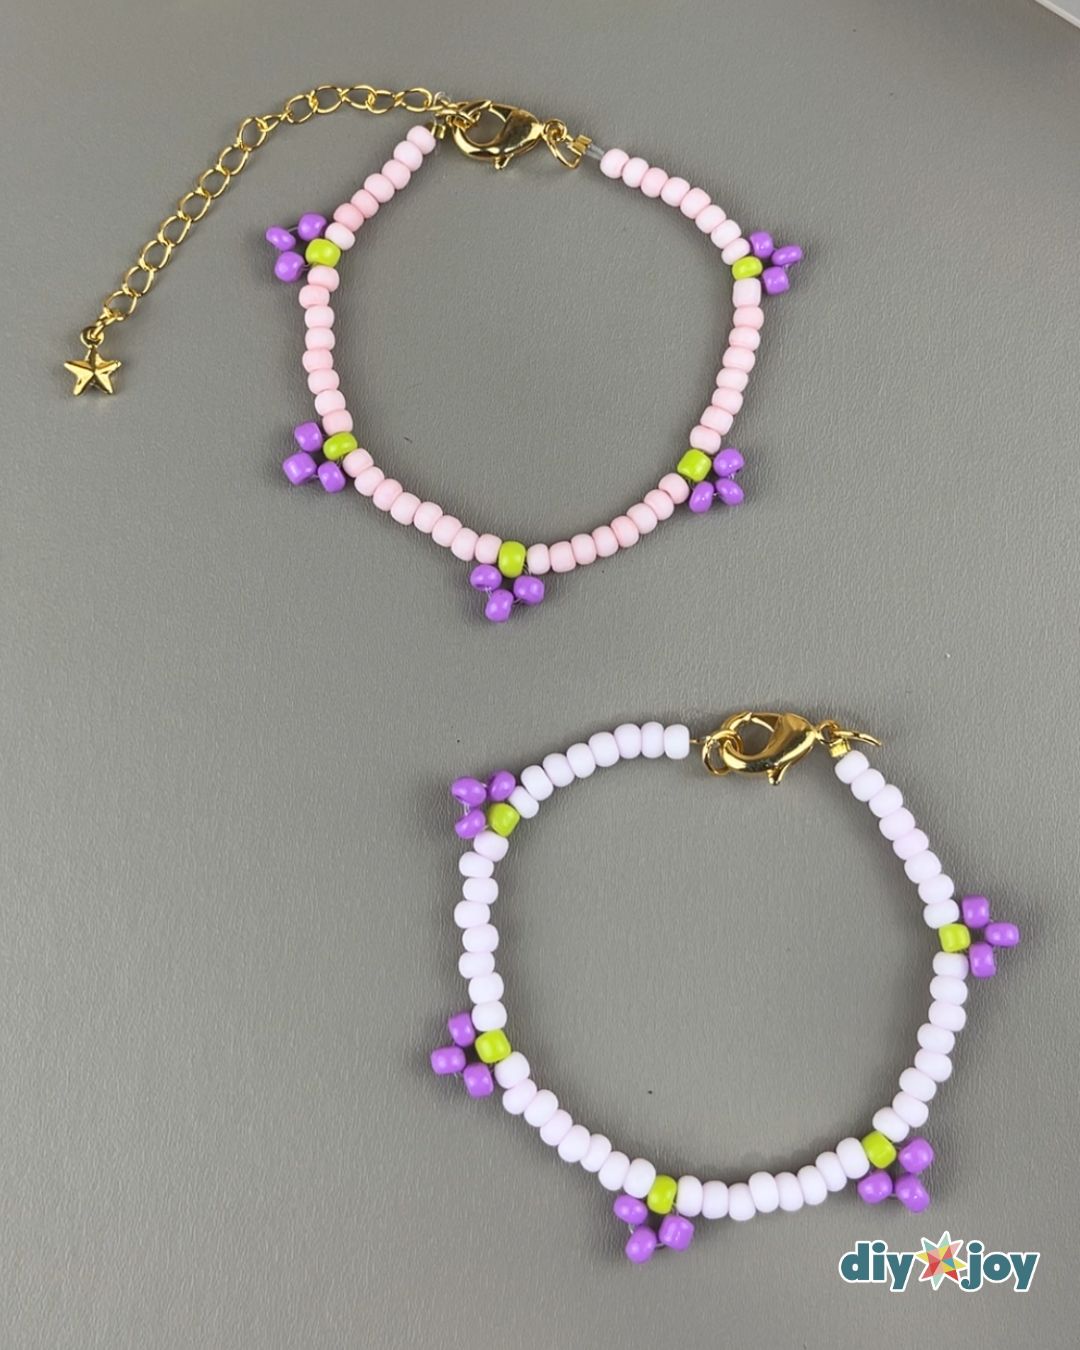
This handmade beaded bracelet is a cute DIY gift to your friends or loved ones, a great make and sell bracelet idea, and a lovely DIY accessory you can wear everyday. Have fun making this easy friendship bracelet at home!
Craft Supplies Needed:
- 3mm seed beads
- bead thread
- pliers
- jump ring
- crimp
- crimp cover
- lobster clasp
Shop the Supplies
Here are the main supplies we used for this easy grape bracelet, so you can grab the same ones and get straight to crafting.
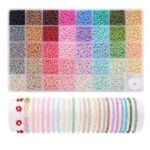
Seed beads
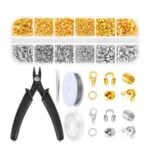
Bracelet Making Tools
Strong Bead Thread

Star Chain Extender
*Some of the supply links above are affiliate links. If you buy through them I earn a small commission at no extra cost to you.
Easy Grape Beaded Bracelet Tutorial
Learn how to make a grape bracelet with this easy step-by-step tutorial.
Measuring
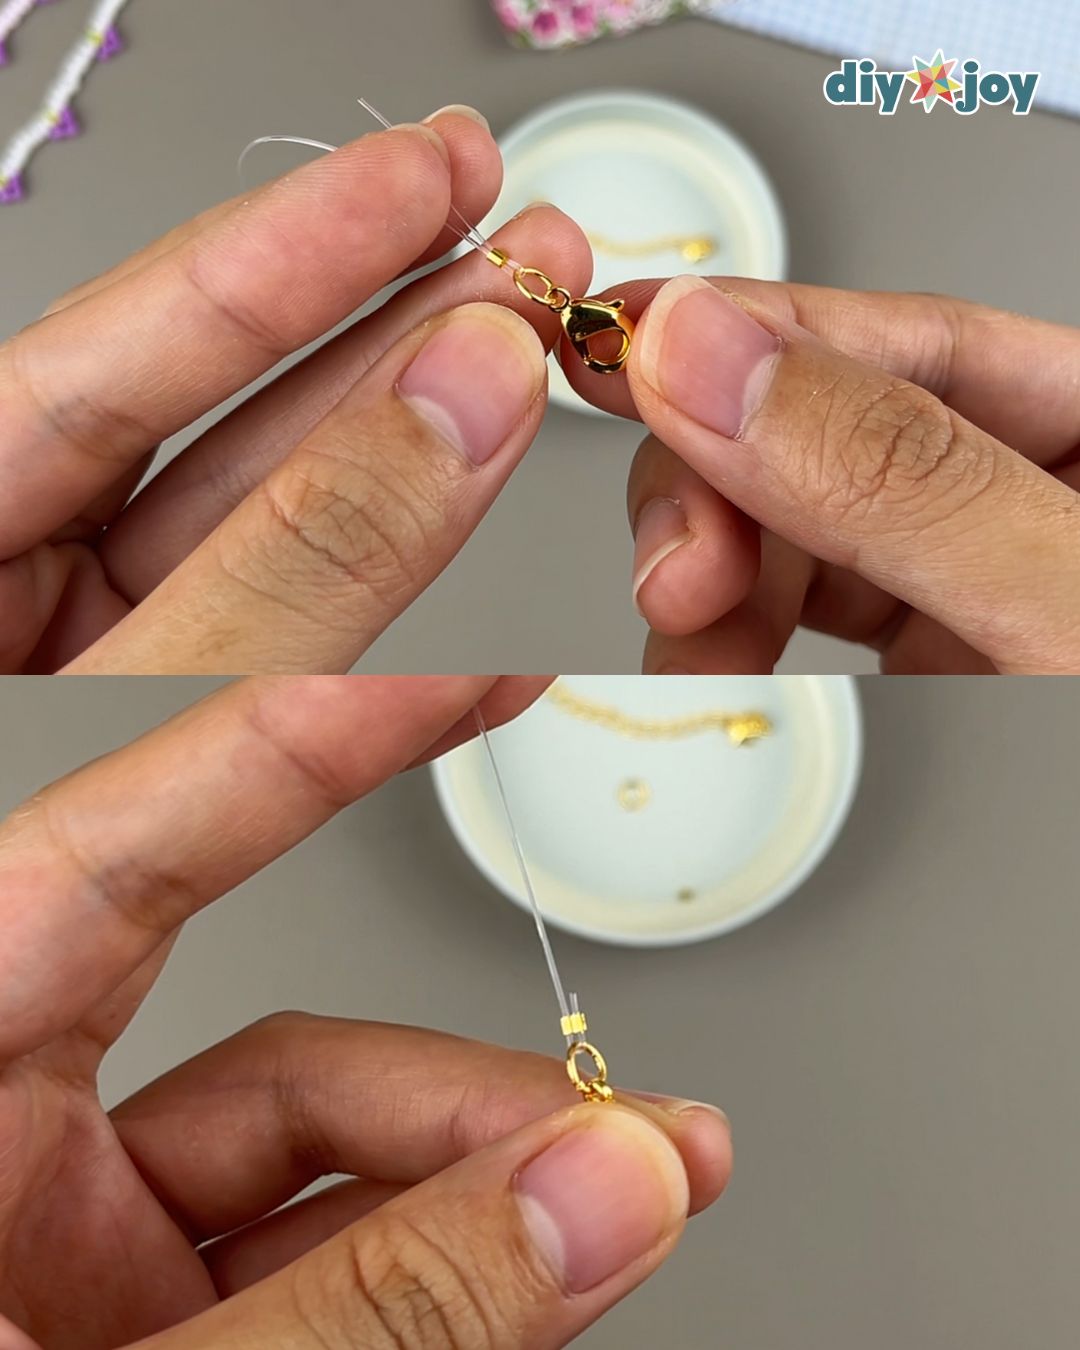
Measure your wrist and add a few inches of allowance. Cut the nylon to that length. Insert the crimp, followed by the lobster clasp. Insert the end of the nylon through the crimp again. Make sure the two strands of nylon are parallel. Squeeze the crimp and cut the excess nylon. You can also add a crimp cover. If you don’t want to add a clasp, skip this step.
Adding beads
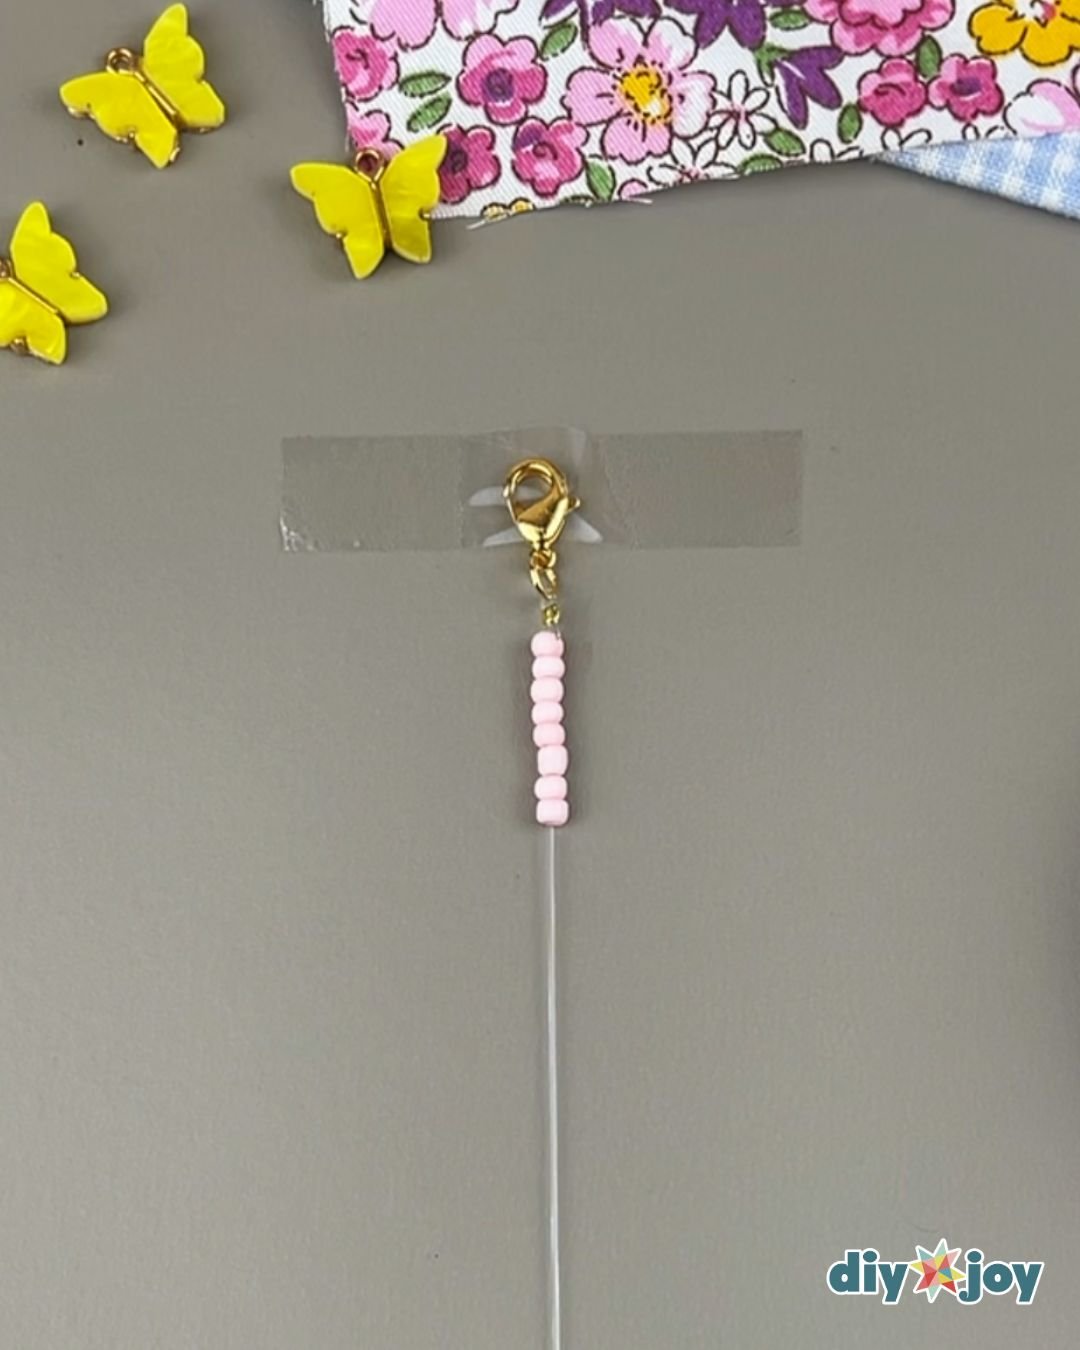
Tape the lobster clasp onto a flat surface to keep it from moving. Add 8 light colored beads.
Making the grape
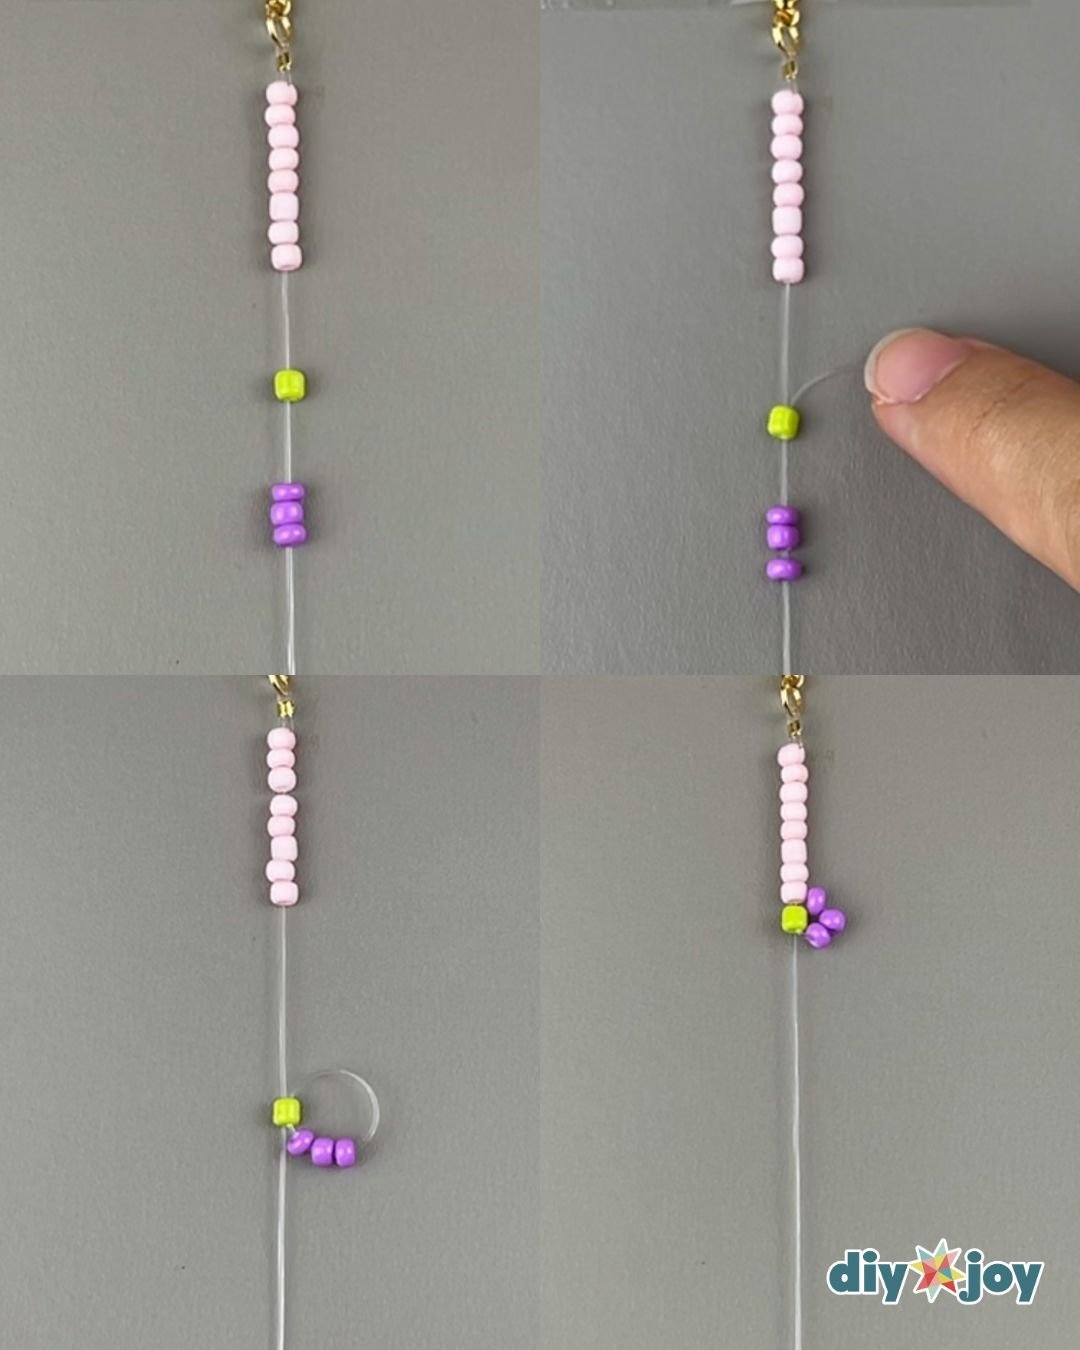
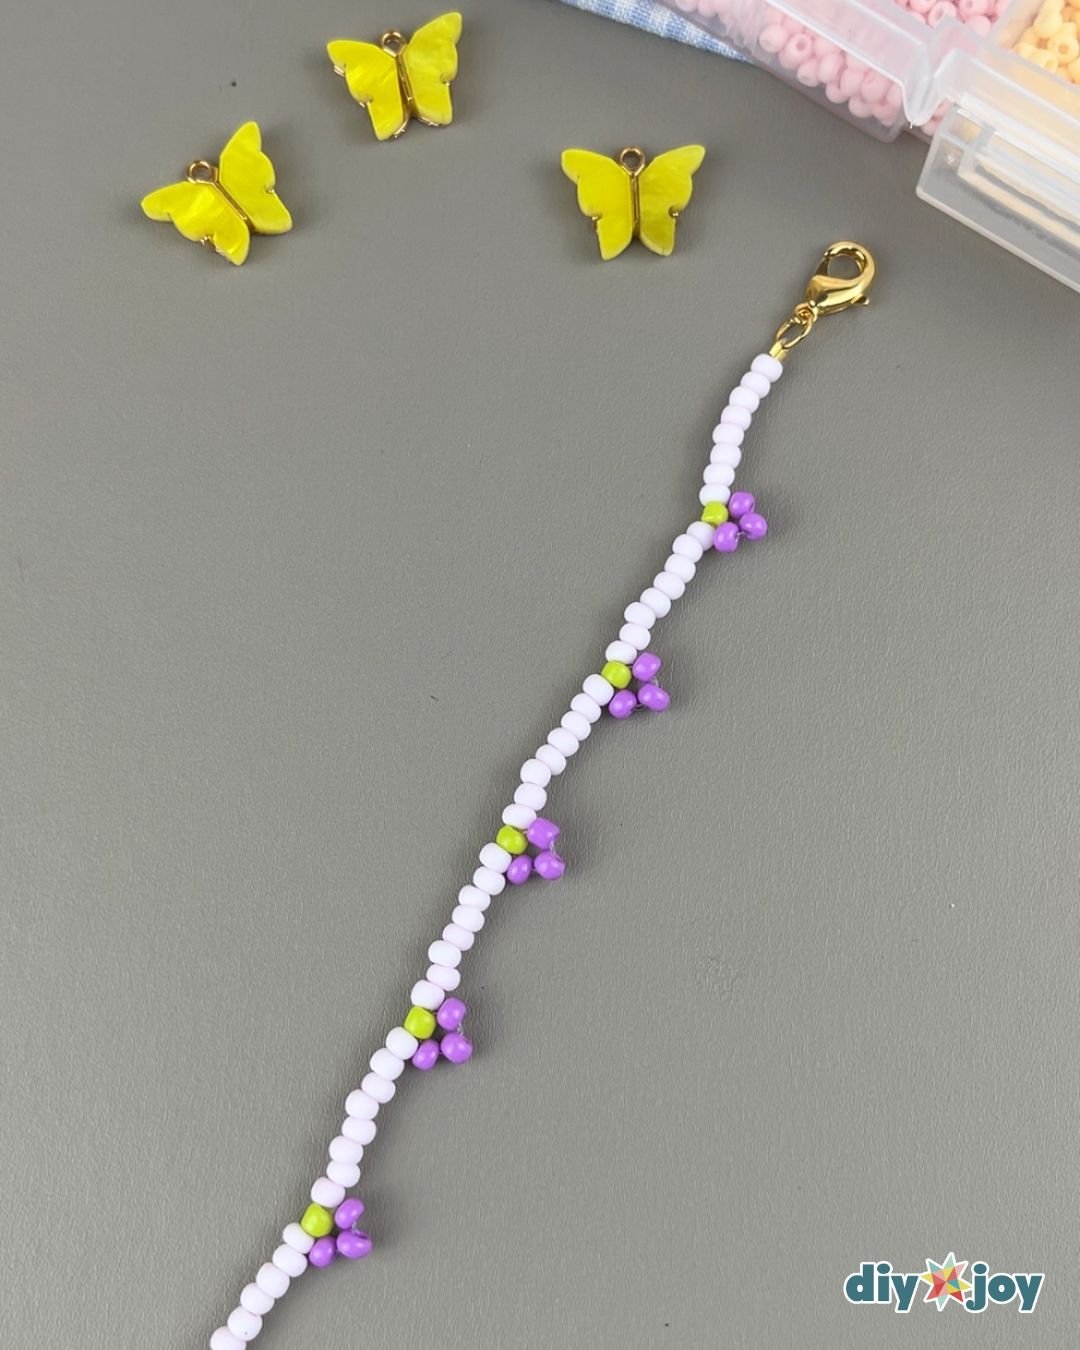
Add 1 green and 3 violet seed beads. Insert the end of the nylon into the green bead and pull it until it’s tight. Slide the beads up the nylon.
Filling the thread
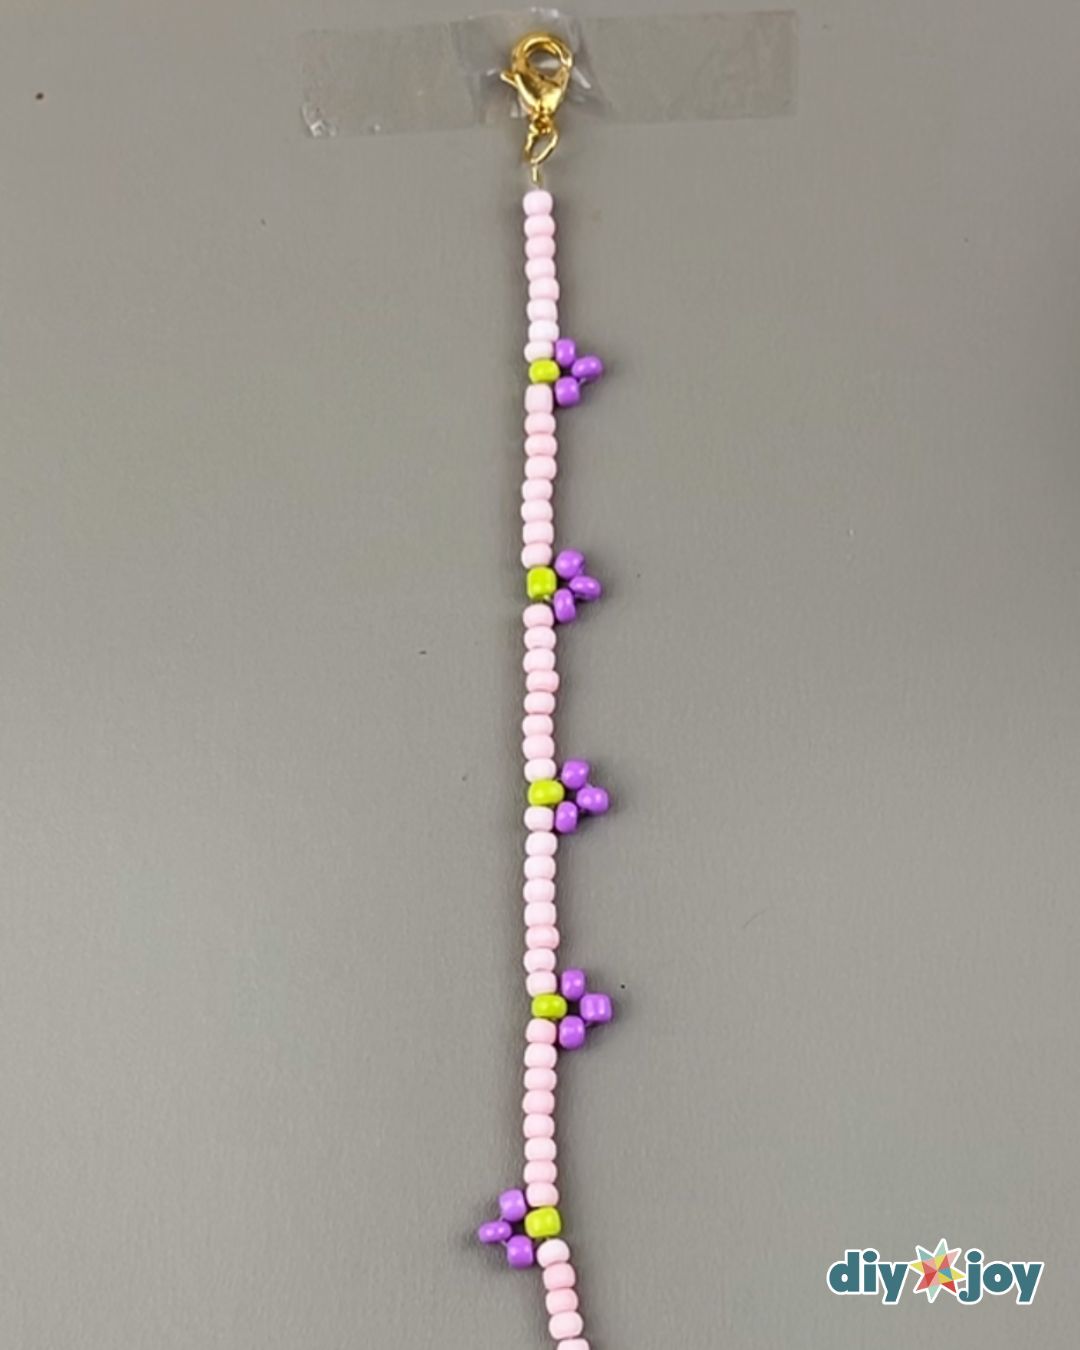
Repeat steps 2 and 3 until you almost fill the whole bracelet.
Closing the end
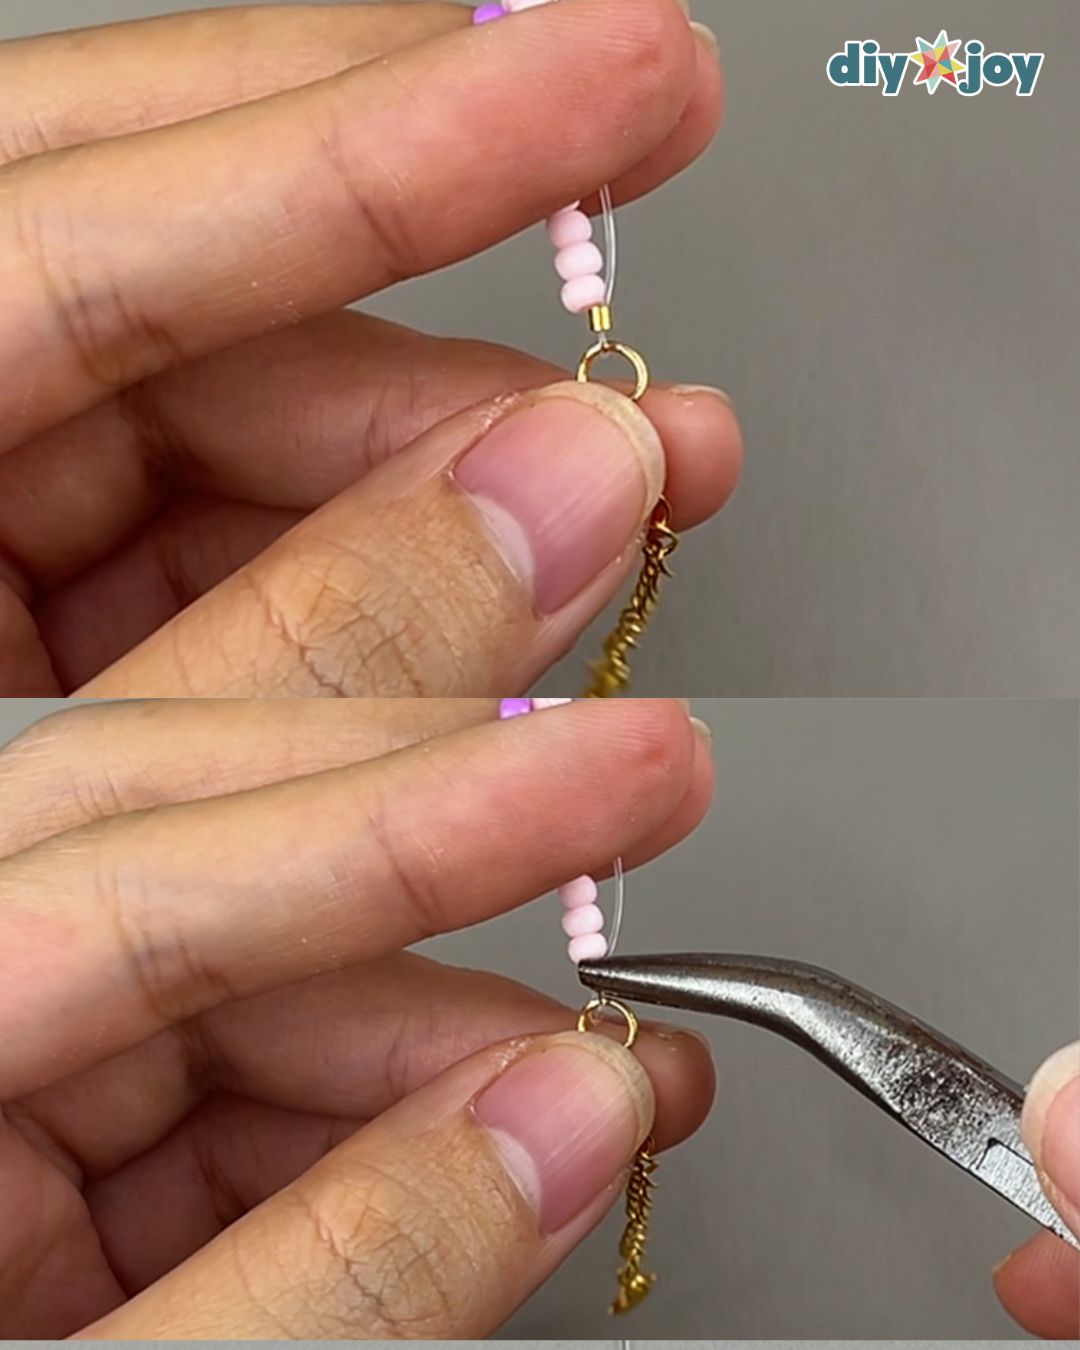
If you are going to use an extension chain, connect the jump ring to the end of the chain. Insert a crimp onto your bracelet, followed by the jump ring. Insert the end of the nylon into the crimp again and squeeze the crimp using pliers. Cut off any excess. For those who didn’t use a clasp and jump rings, simply make a double knot, then seal the knot with E6000 or clear nail polish gel.
Done!
Crafting Tip
Don’t be afraid to experiment!
Creative Ideas and Variations
- Incorporate other bead designs in between the grapes.
- Change the number of light-colored beads.
- Use different types of beads.
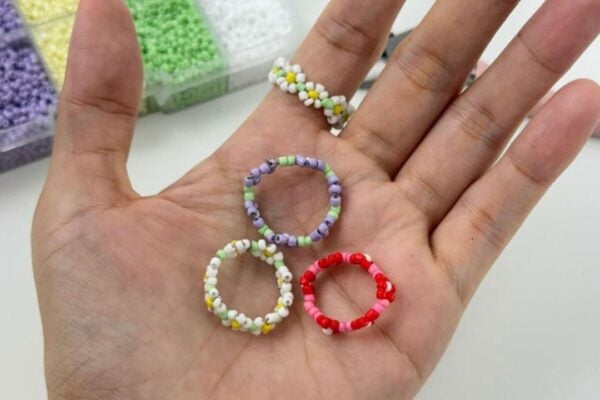
- Make a grape ring, necklace, or earring.
FAQs
Yes. Once the bracelet fits comfortably around your wrist, tie the ends together with a secure double knot. Add a small amount of E6000 glue or clear nail polish gel to the knot, then let it dry completely before wearing the bracelet.
A thin nylon beading thread works well for this bracelet because it is strong, flexible, and easy to pull through small beads. Choose a size that can pass through the green bead twice without getting stuck. Clear elastic cord is another option if you want a bracelet that can stretch over your hand.
Small seed beads are ideal for creating the grape design. The exact size is flexible, but all the beads should have holes large enough for your thread to pass through easily. Test the green bead first because the thread needs to go through it more than once.
The total number depends on your wrist size and the size of your beads. Continue repeating the pattern of eight light-colored beads followed by one green bead and three violet beads until the bracelet is nearly long enough to fit.
Secure one end of the thread with tape, a bead stopper, or a temporary knot. If you are using a lobster clasp, tape the clasp to your work surface so the bracelet stays in place while you add the beads.
The thread may not be pulled tightly enough after forming each grape. Once you pass the thread back through the green bead, gently pull it until the three violet beads sit closely together. Avoid pulling so hard that the bracelet becomes stiff or curls.
An extension chain is optional. It allows the bracelet size to be adjusted, which is helpful if you are making it as a gift or planning to sell it. You can leave it out if the bracelet is made specifically for your wrist.
Yes. The bracelet uses a simple repeating pattern, making it a good project for someone learning how to work with seed beads. Beginners may find it helpful to arrange the beads in small groups before threading them.
More Bracelet Design Ideas
Jewelry Ideas
Jewelry Ideas
Jewelry Ideas