Beadwork has always been one of my favorite creative outlets, especially when it comes to making jewelry. Bracelets, in particular, are such a fun project because you can use the same set of beads but still create completely different designs just by experimenting with new techniques.
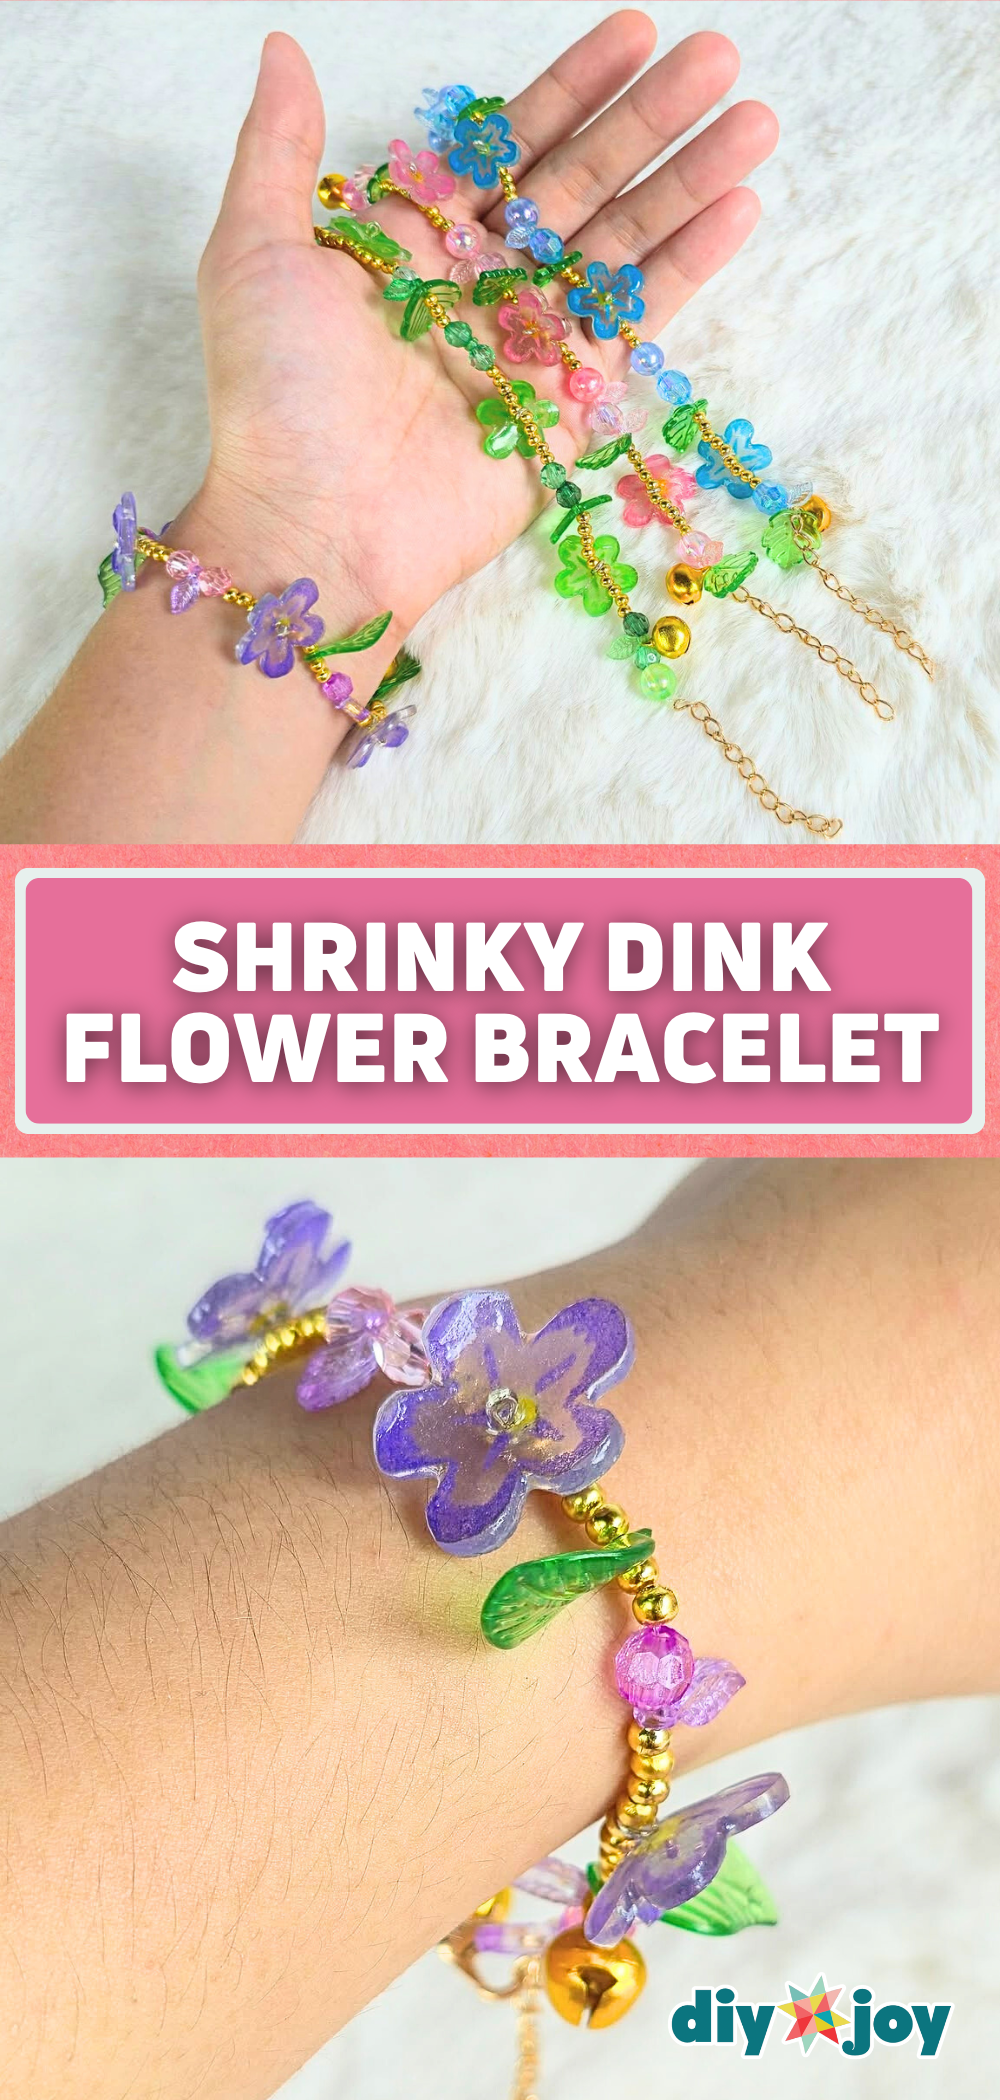
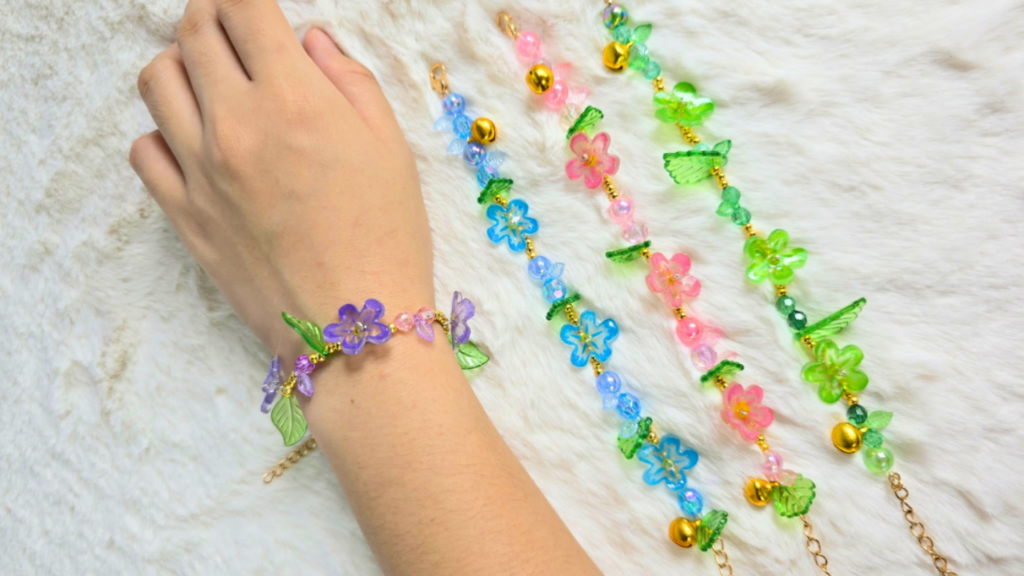
Recently, I discovered a new material that completely changed the way I make bracelets: shrinky dink, also known as shrink plastic. Until now, I had never even heard of it, and I can’t help but wish I had known about it sooner. Back when I was making props and costumes for school, this material would have saved me so much time and effort. shrinky dink is easy to work with, incredibly versatile, and once it’s shrunk, it becomes sturdy and durable — perfect for jewelry-making.
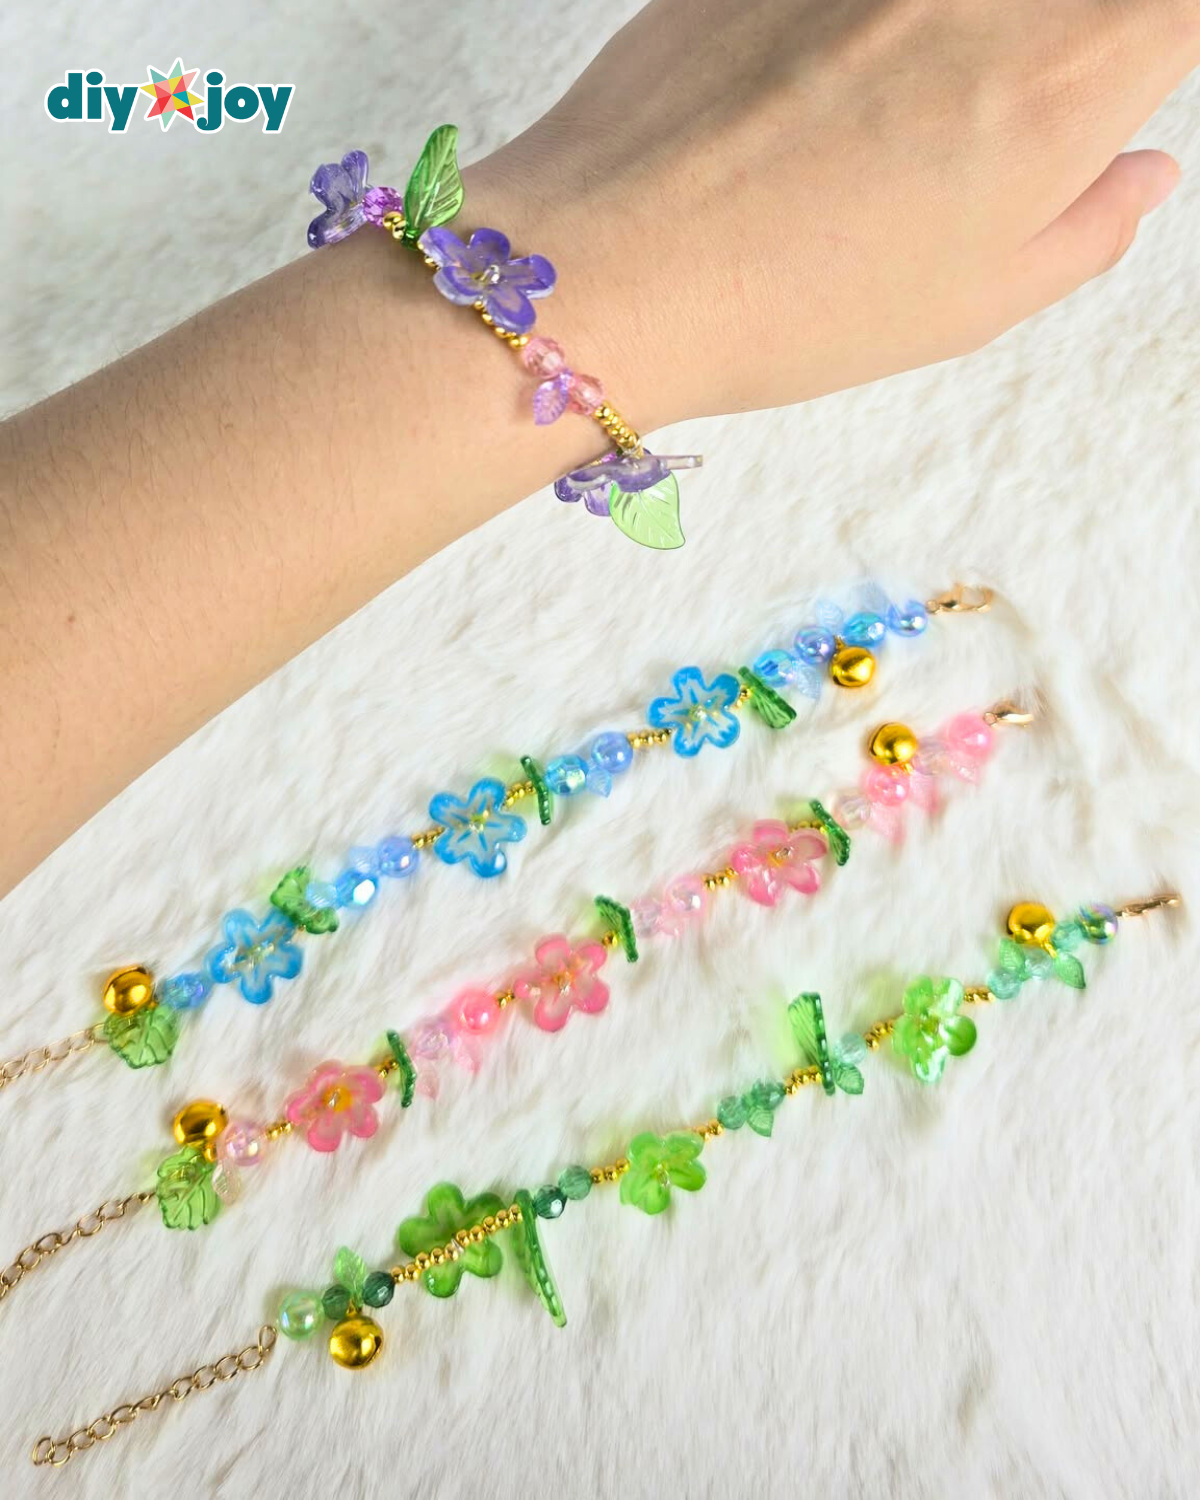
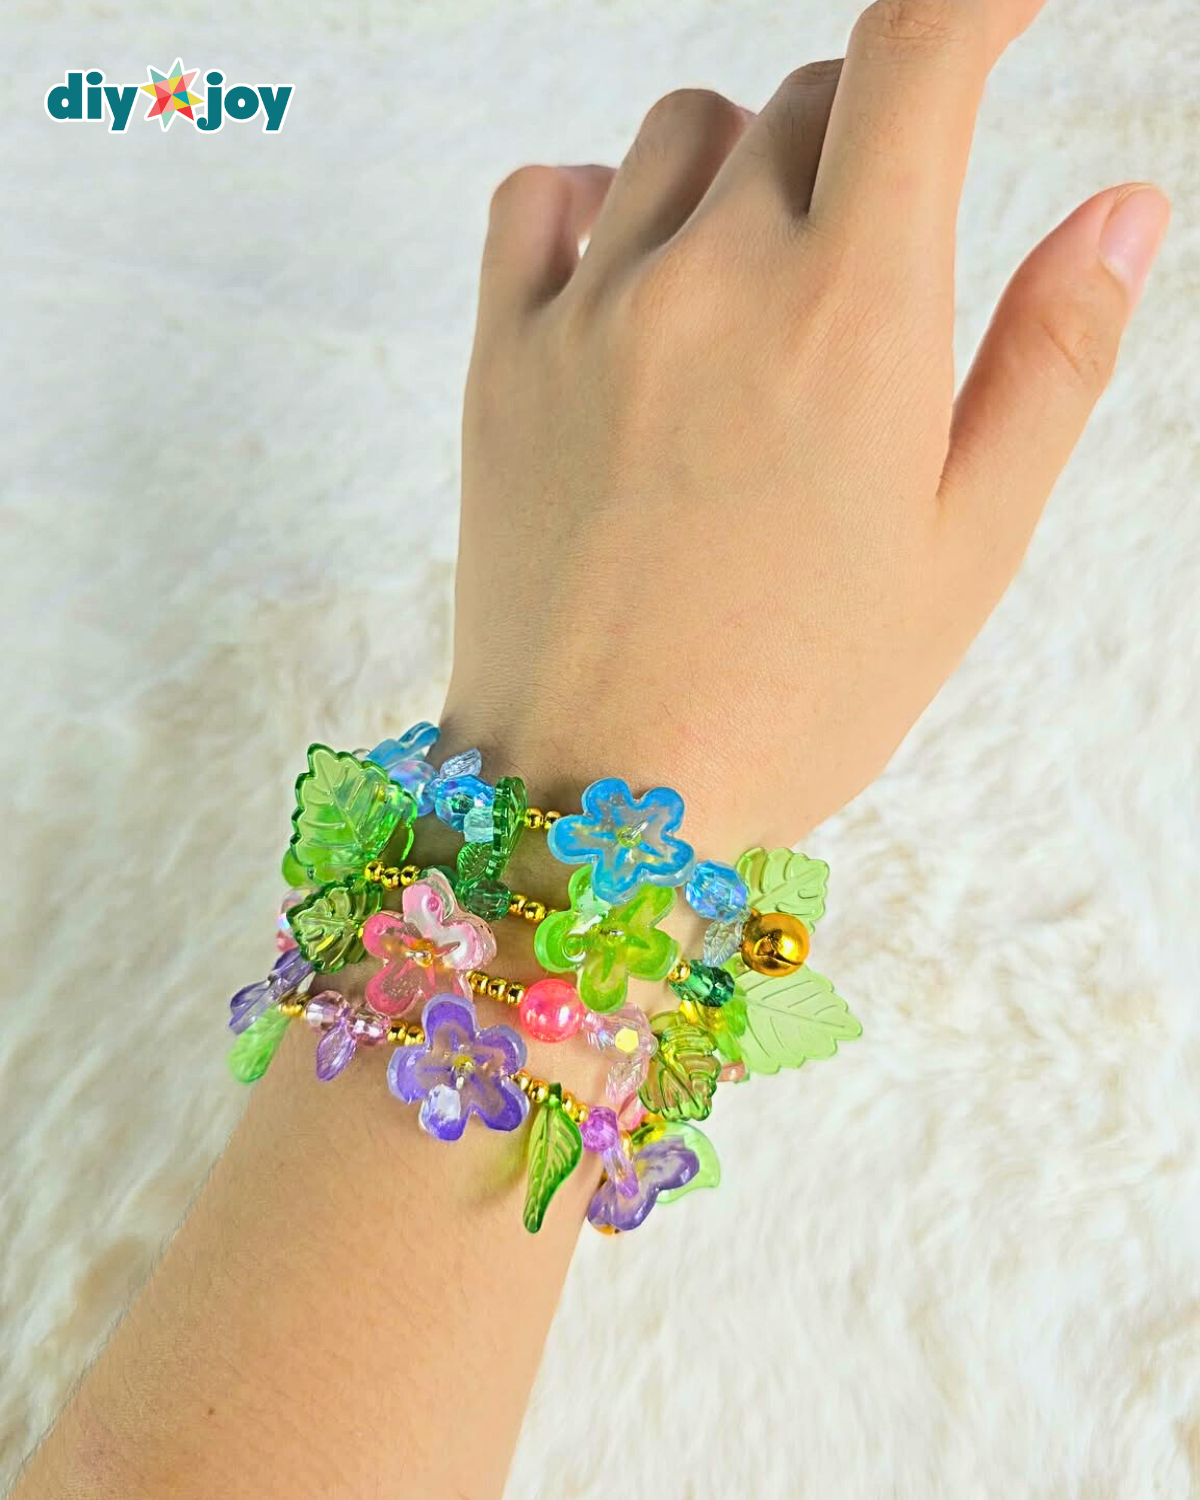
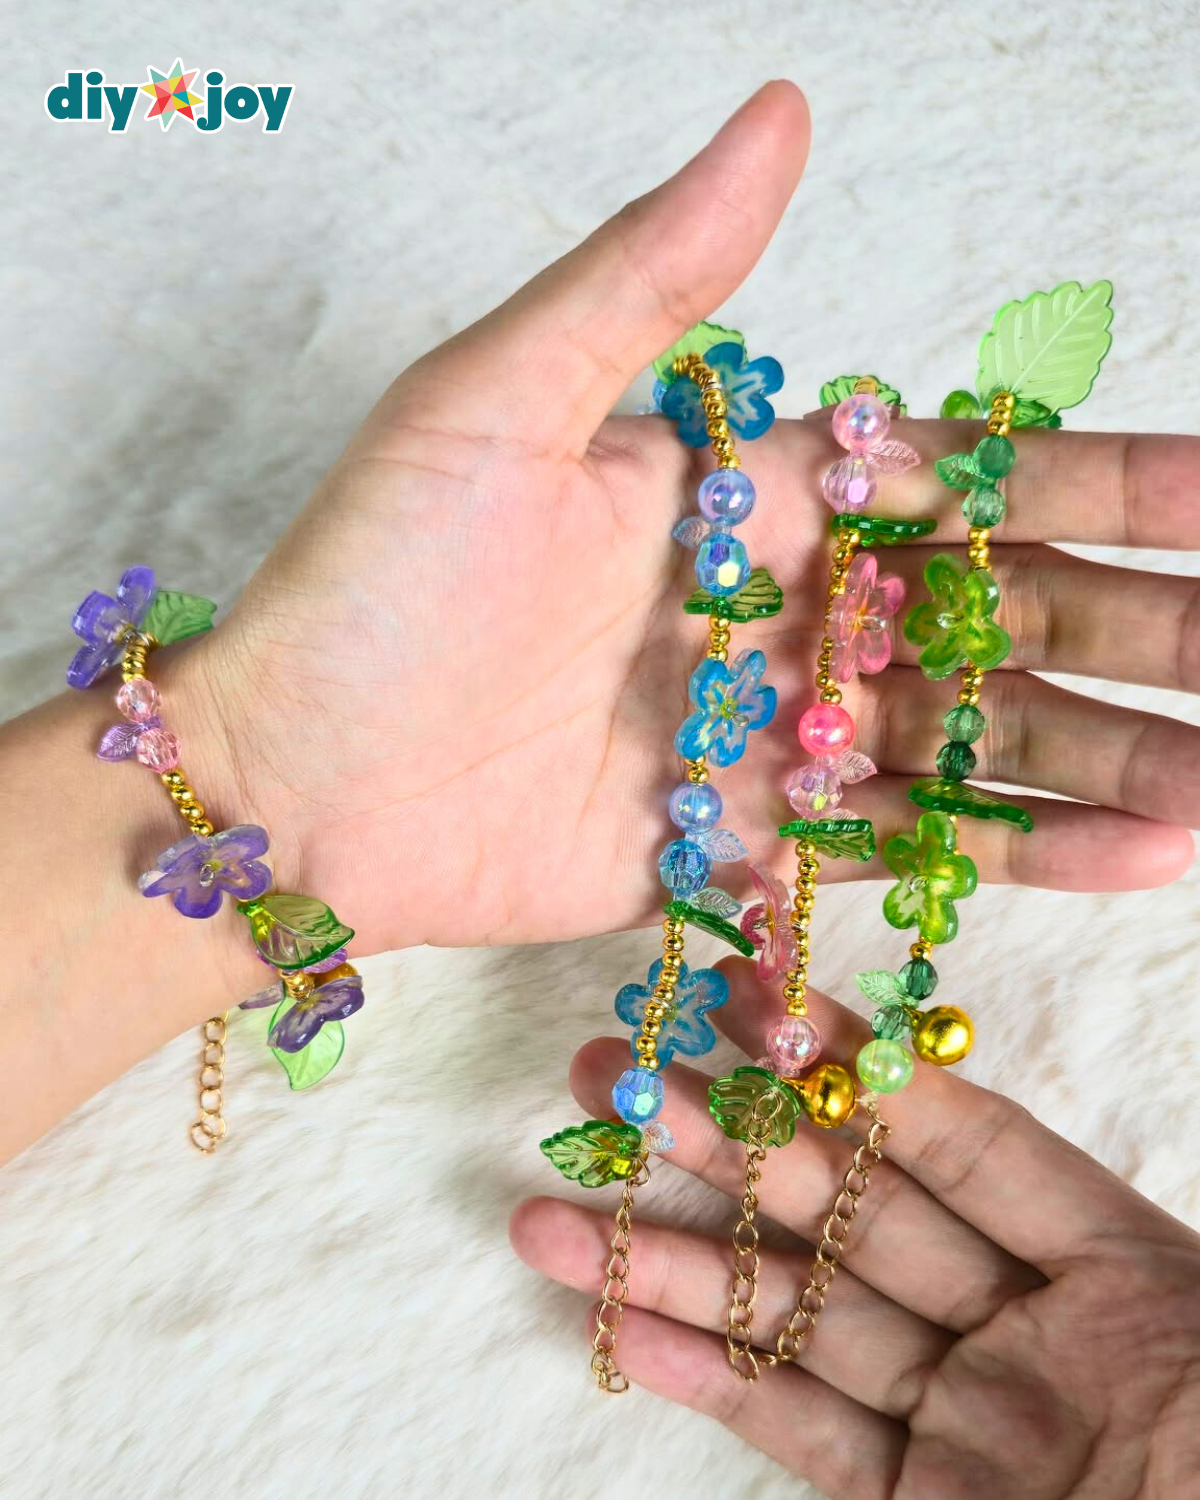
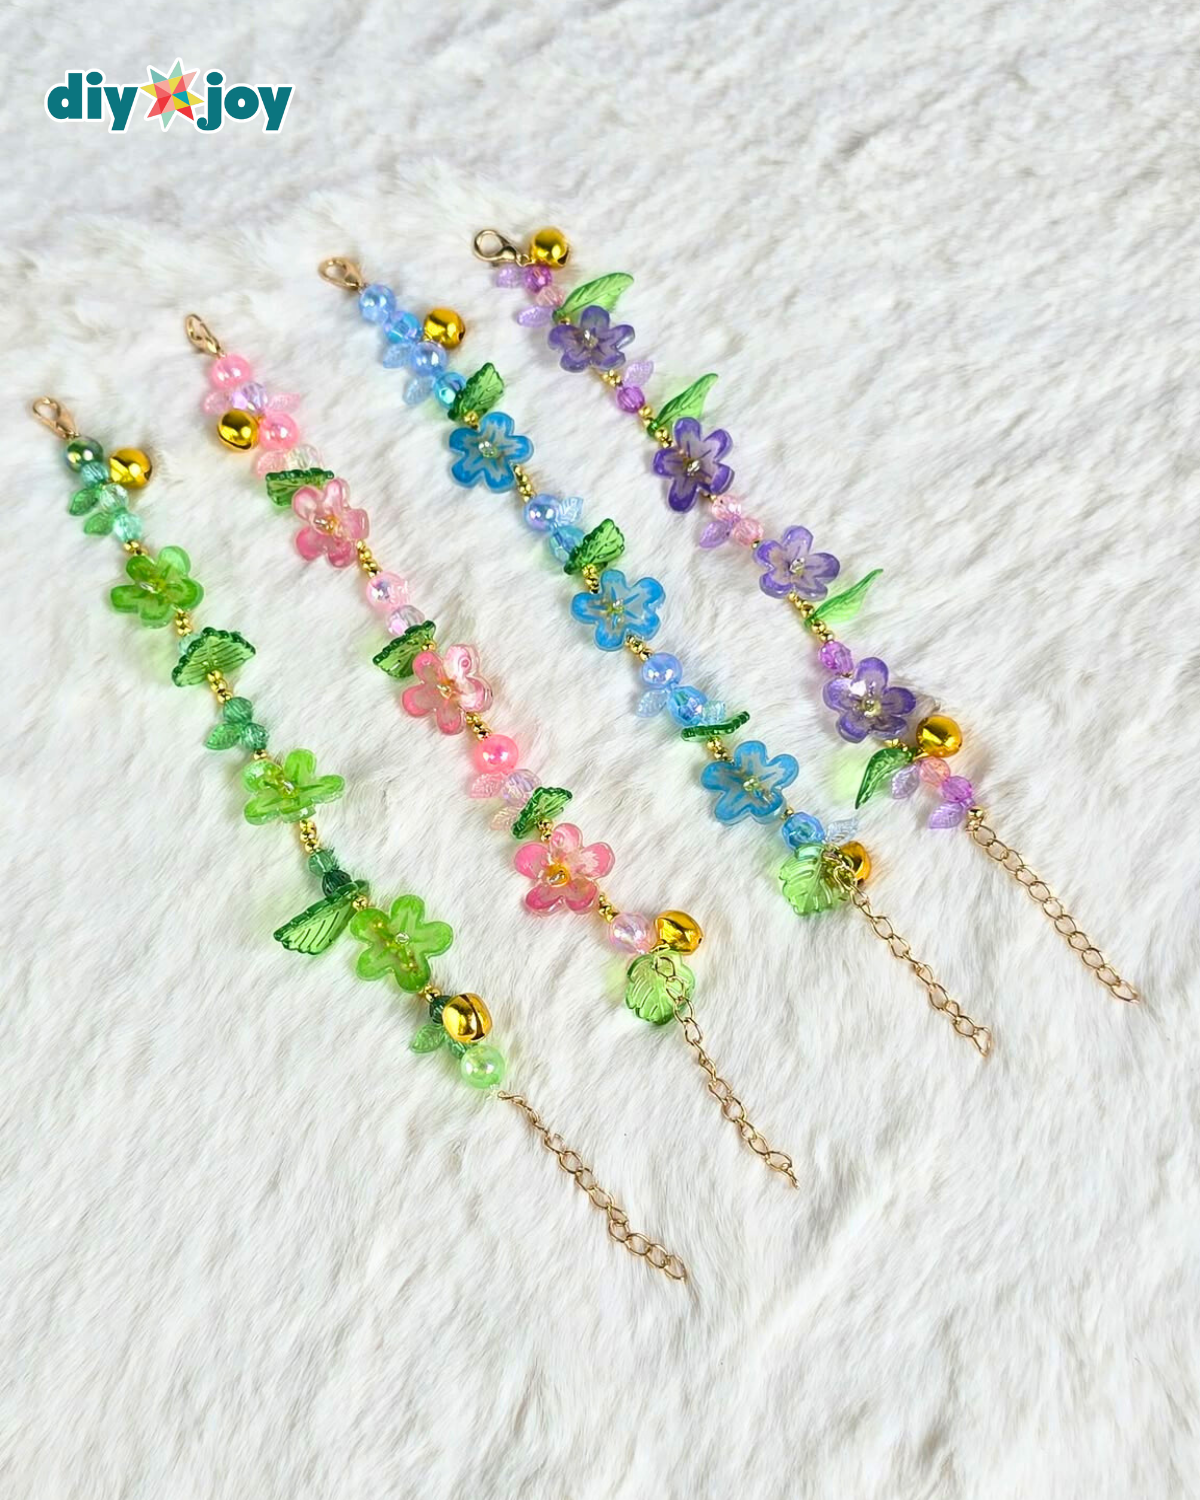
Using shrink plastic to create flowers for a DIY shrinky dink bracelet has been one of my best craft projects yet. The finished piece looks so pretty and magical that most people can’t believe it’s handmade. And when they do realize it’s DIY, they’re instantly curious about how the flowers were made.
Of course, like many beginners, I ran into a few mishaps while learning how to work with shrinky dink. But every mistake was worth it, and through trial and error, I’ve learned what works best. That’s exactly why I’m sharing this tutorial with you — so you can avoid the common pitfalls and create your own beautiful shrink plastic bracelet on the very first try.
Here’s another cute craft idea to try:
How to Make a Beaded Flower Bracelet

Have you seen our TikTok & Instagram yet?
Our viral videos are super popular and fun to watch. Here’s the shrinky dink flower bracelet TikTok, but the YouTube video is also at the bottom of this post so you can watch the full tutorial. Links below for all our socials. Follow and be the first to see our latest crafts. ⬇️
Scroll down for the step-by-step instructions and learn how to make a DIY Shrinky Dink bracelet with beads that you’ll be proud to wear and share!
How to Make a Shrinky Dink Flower Bracelet
Step 1: Draw and Outline the Flower
On the rough side of the shrink paper, draw a flower design. Gently scrape along the lines with a craft knife to make the outline more defined. For consistent sizes, you can also use a cardboard template as a guide when tracing your flowers.
Step 2: Adding a Hint of Color with Chalk
Lightly scrape a piece of chalk over the shrinky dink, covering the entire flower shape. Then, use a napkin to gently rub the chalk, spreading it evenly across the surface. This will soften the color and give the flowers a subtle, natural-looking tint.
Step 3: Add the Details
Apply oil pastel to the center of the flower to give it a bold pop of color. Next, use a colored pencil to draw fine lines starting from the center halfway toward the tips of the petals. Finally, shade the outer edges of each petal to add depth and dimension. Tip: Choose a slightly darker shade than your base color for a more realistic, layered look.
Step 4: Making a Hole at the Center
To create a hole in the center of the flower, you can use a hole puncher for an easy option. If you don’t have one, carefully heat a needle and quickly push it through the center, then pull it out before it cools. Scrape away any burnt bits with a craft knife. Next, place the flower onto a skewer or ice pick and hold it firmly against a flat surface. Use a heat gun on the highest setting to shrink the plastic flower until it hardens.
Step 5: Attach the Eye Pins to the Flowers
Insert an eye pin through the hole of the flower. If the tail of the pin is too long, trim it with a wire cutter. Then, use long-nose pliers to bend and curve the excess wire, locking it in place so the eye pin stays secure and doesn’t slip out.
Step 6: Coat with Resin
Fill a small, deep container with UV resin. Using tweezers, dip each flower one at a time, holding it by the eye pin to make sure it’s fully submerged for even coverage. Lift it out and let the excess resin drip off. Place the flower in a separate spot to continue dripping, then transfer it to another container and cure it under a UV lamp until completely set and no longer sticky. Once your shrinky dink flowers are fully cured, you can begin using them to create your own DIY bracelets!
⭐ Pro Tip
Make designs larger than you think – Shrinky Dink shrinks down to about 1/3 of its original size, so always start bigger than your intended design.
Other Crafts You’ll Love




*If you love this craft, then visit our official website, follow our Facebook page, and subscribe to our YouTube channel for more!
DIY Shrinky Dink Flower Bracelet