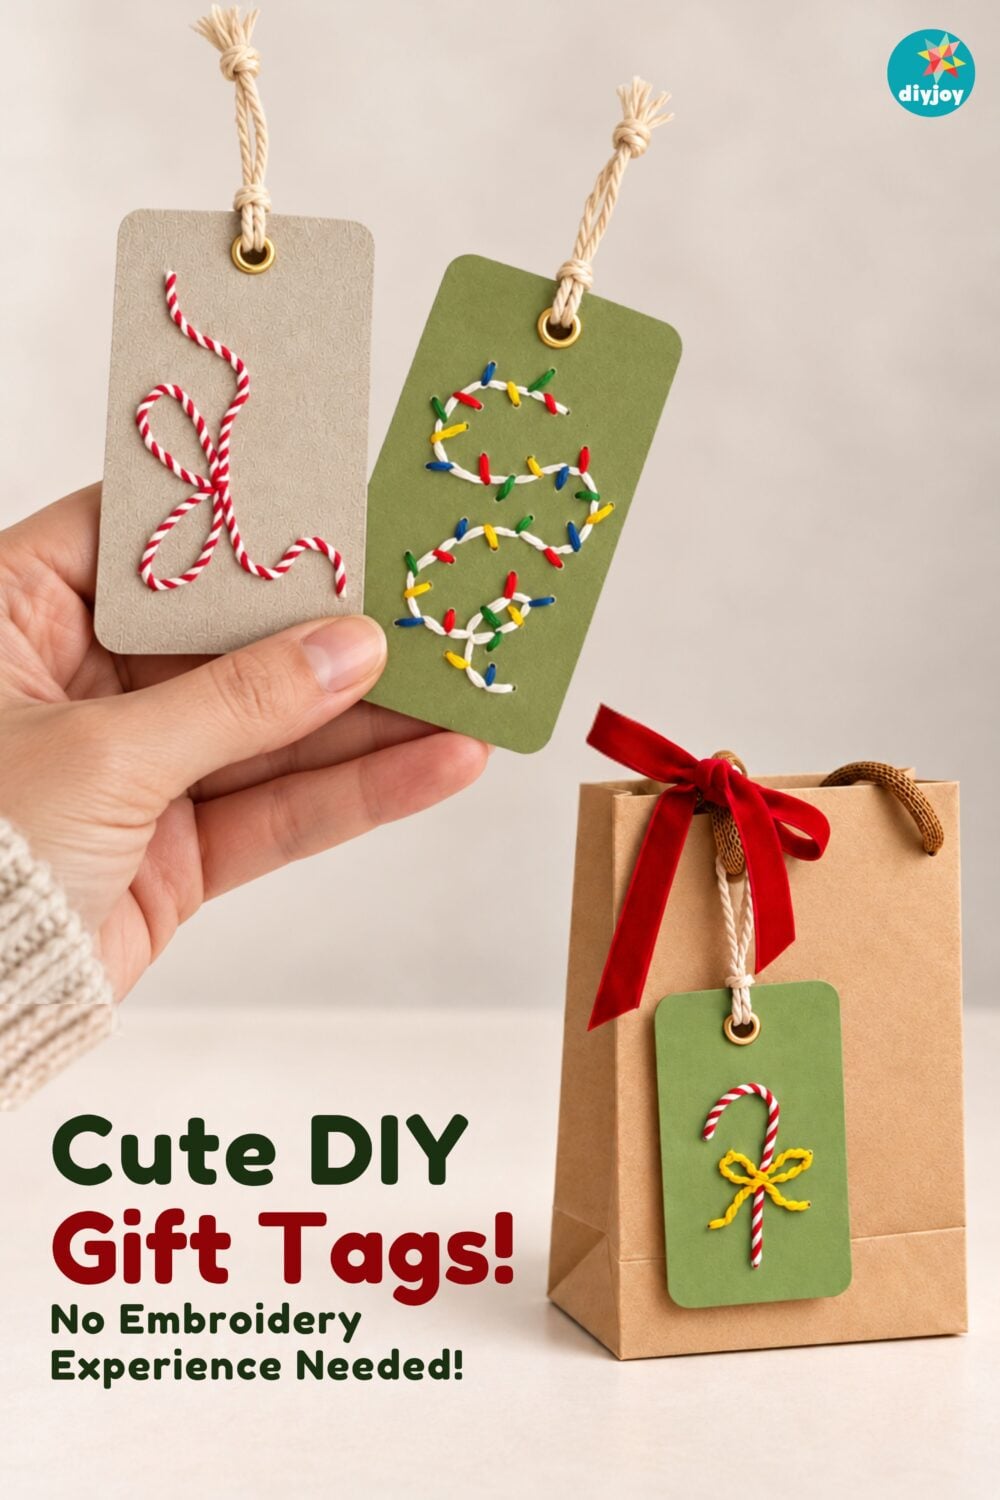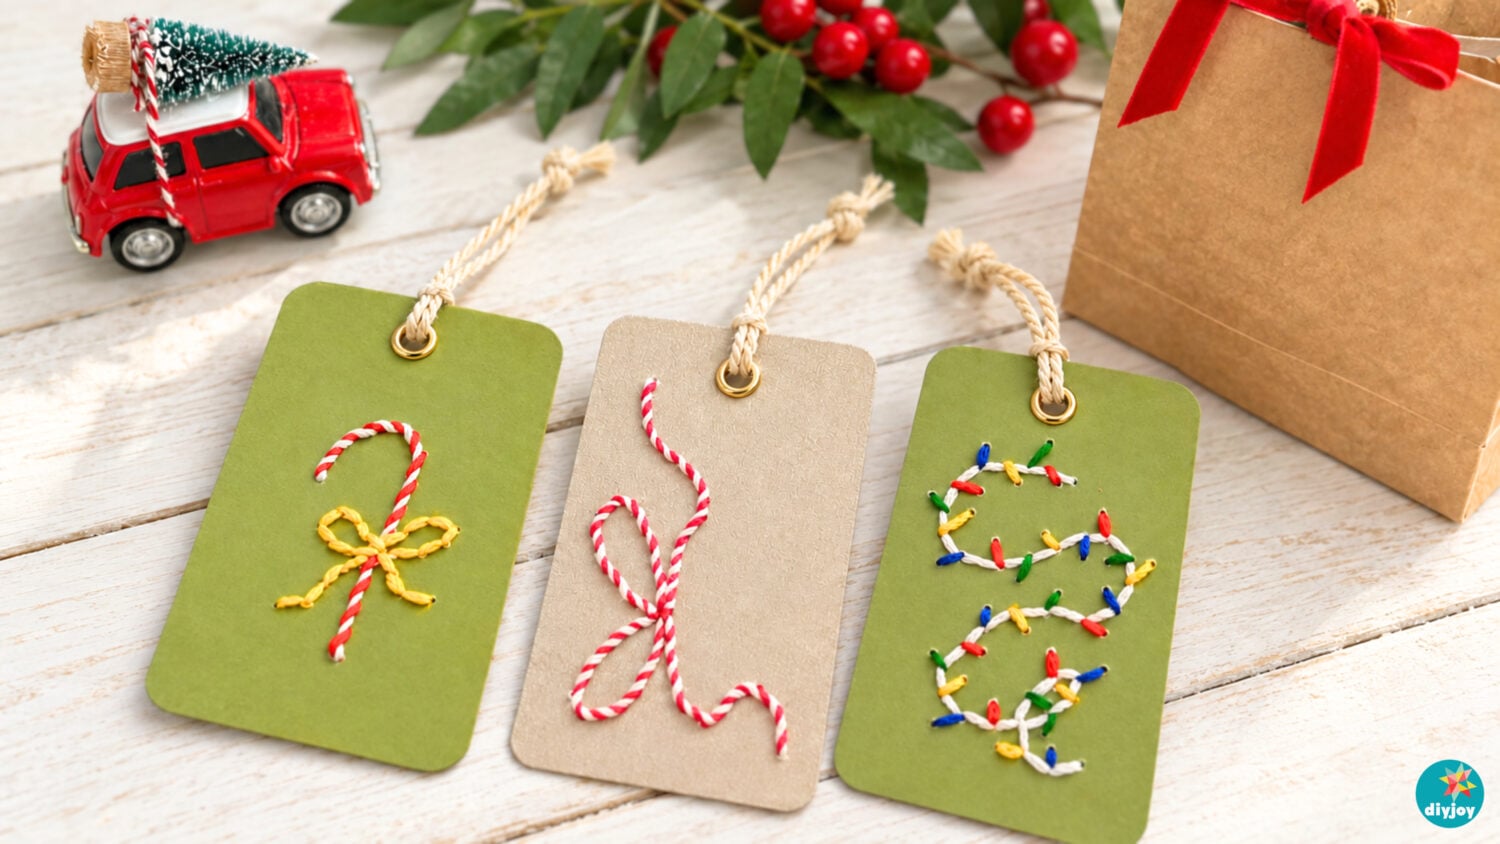
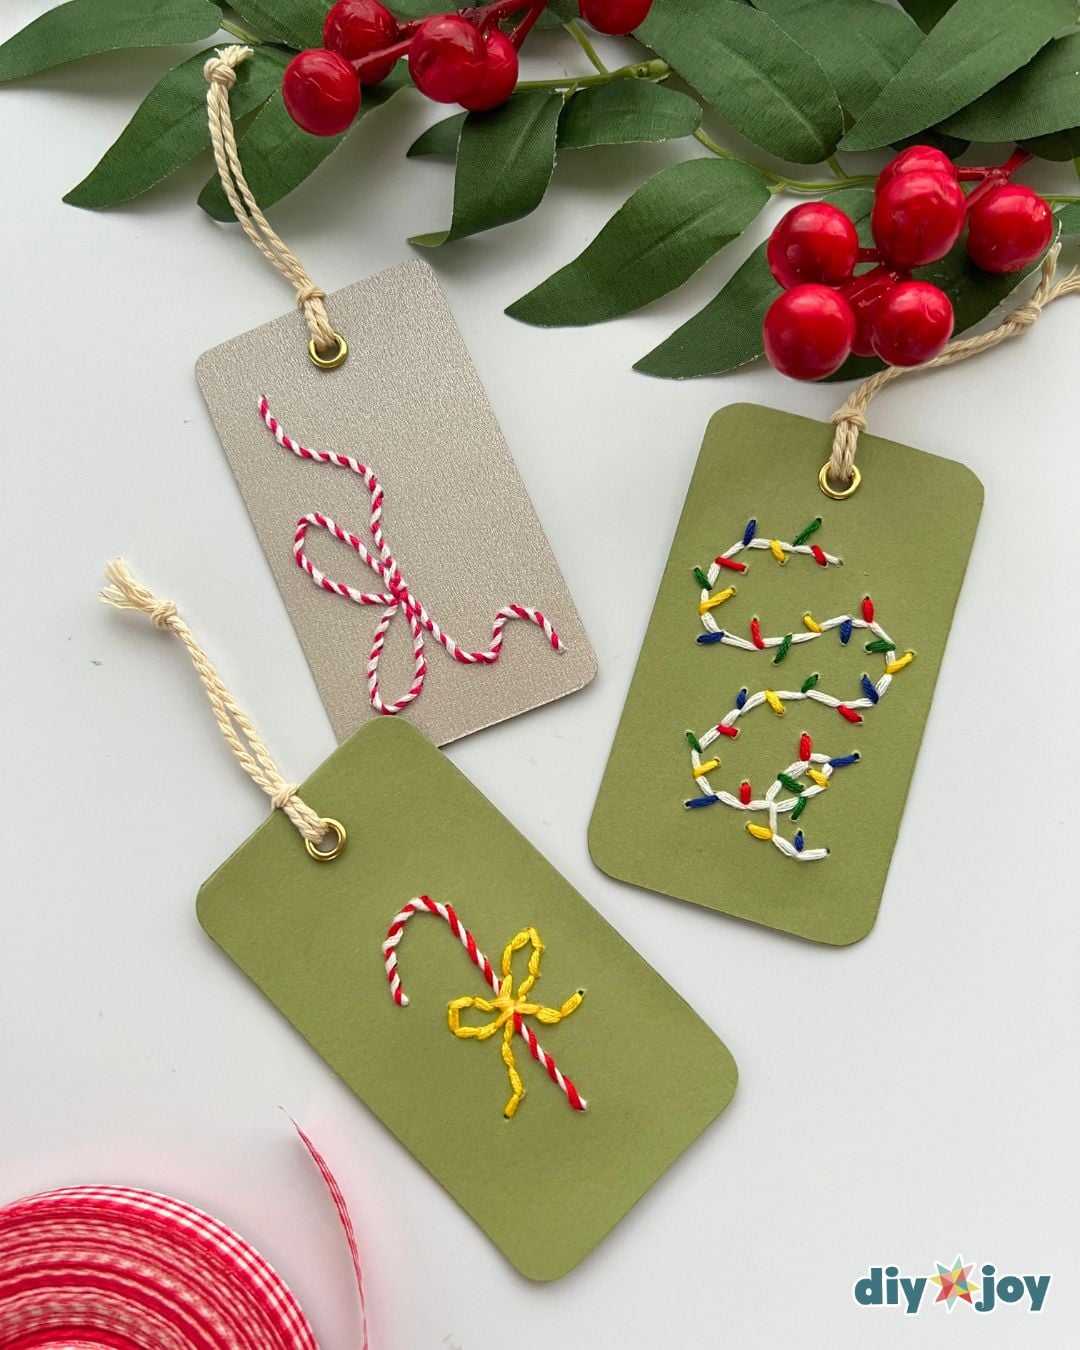
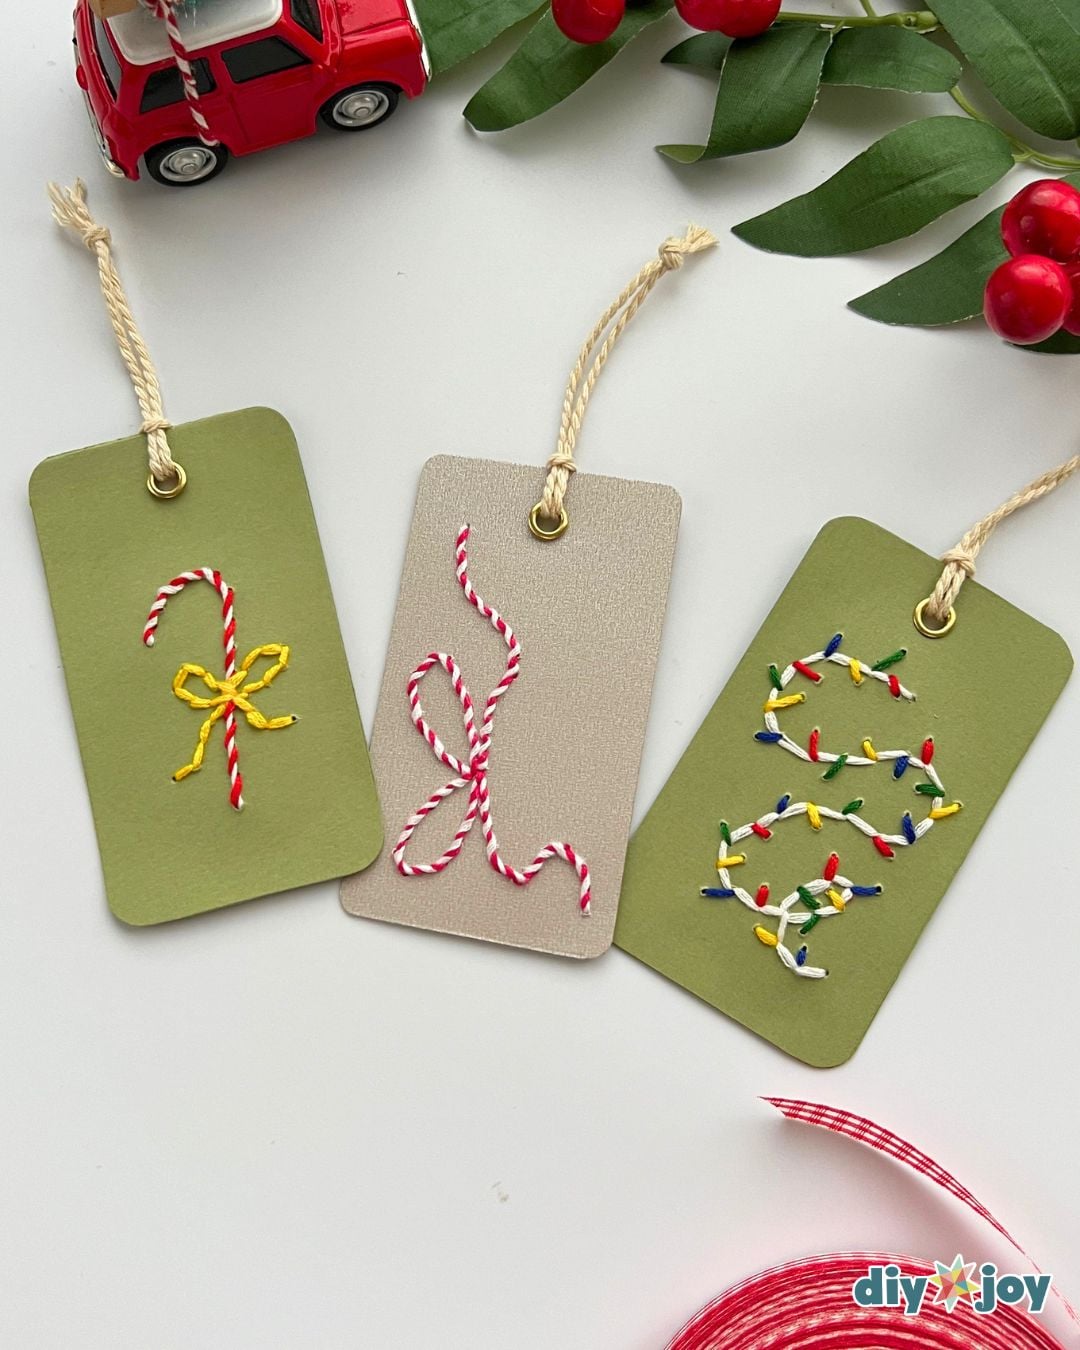
Make these DIY Christmas gift tags with embroidery for your wrapping this year! They’re simple, beginner-friendly, and easy to customize, making each present feel more thoughtful and personal. If you’re looking for easy embroidery projects, these little tags are a fun place to start.
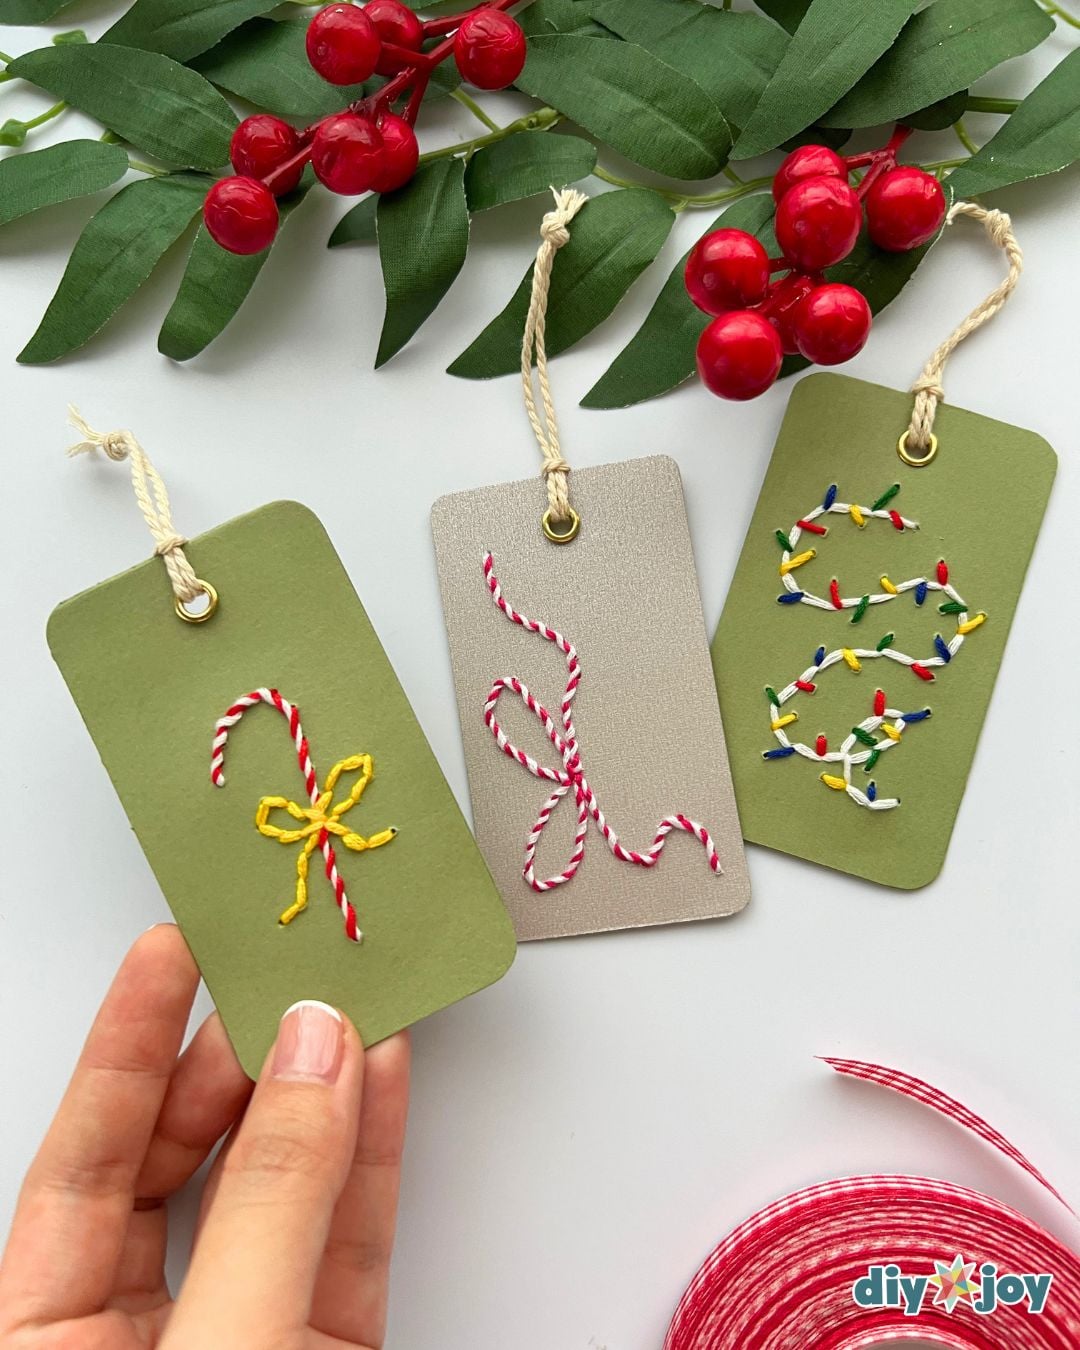
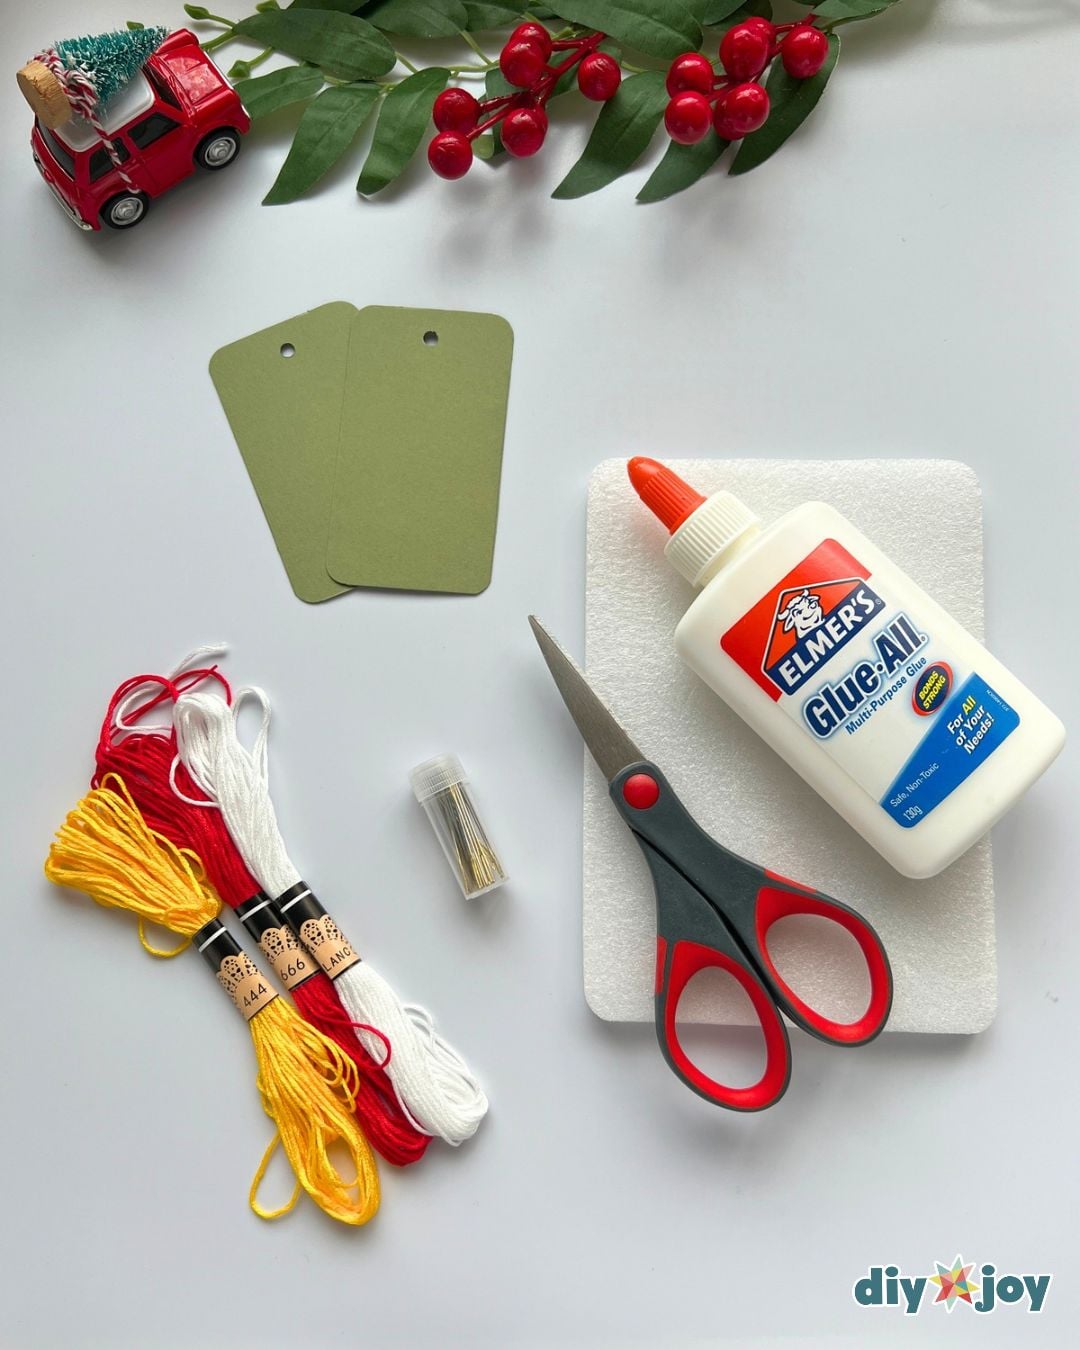
These DIY gift tags require just a few materials: cardstock, embroidery thread, a needle, a pencil, paper, glue, and scissors. No embroidery experience? No problem! Follow the step-by-step tutorial to stitch your designs, even if you’ve never tried embroidery before. This project combines stitching with easy paper crafts to create something you can use for your holiday gifts.
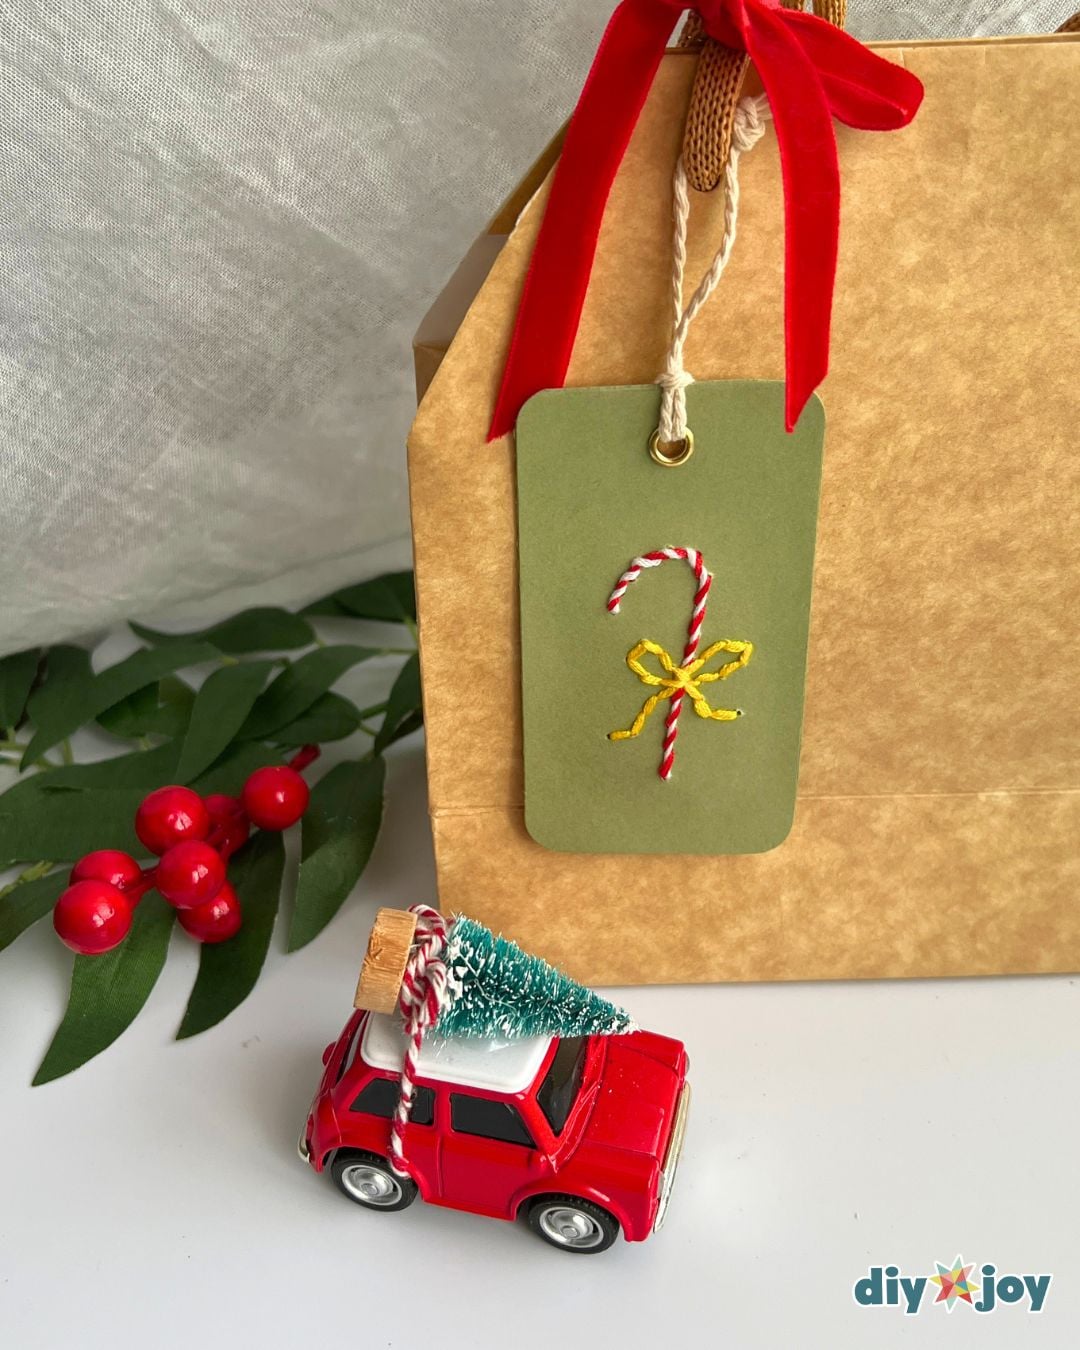
DIY Gift Tags Supplies
- cardstock
- paper cutter
- round corner puncher
- embroidery thread
- embroidery needle
- pencil
- paper
- plastic foam or cardboard
- string
- awl (optional but highly recommended)
- eyelet (optional)
Shop the Supplies
Here are the main supplies we used for this gift tag, so you can grab the same ones and get straight to crafting.
Corner Puncher
Embroidery Thread and Needle

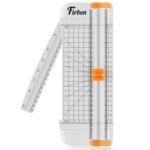
Paper Cutter
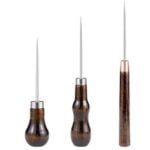
Awl
*Some of the supply links above are affiliate links. If you buy through them I earn a small commission at no extra cost to you.
How to Make Embroidery Gift Tags
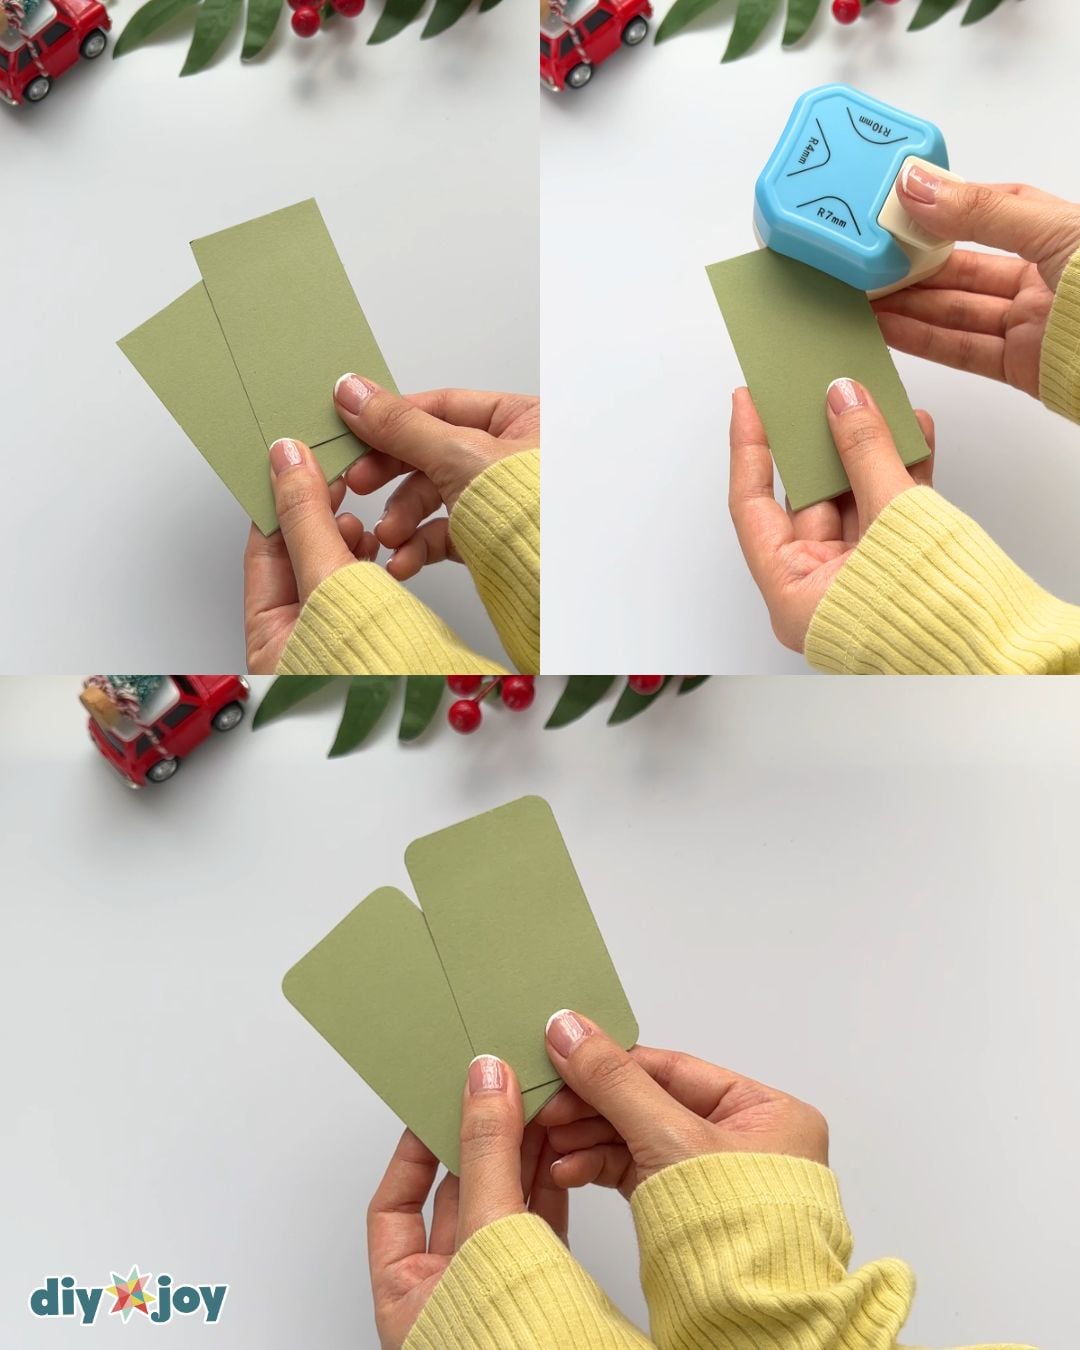
Step 1:
Cut 3.5 in x 2 in rectangles, then round the corners with the corner puncher.
Step 2:
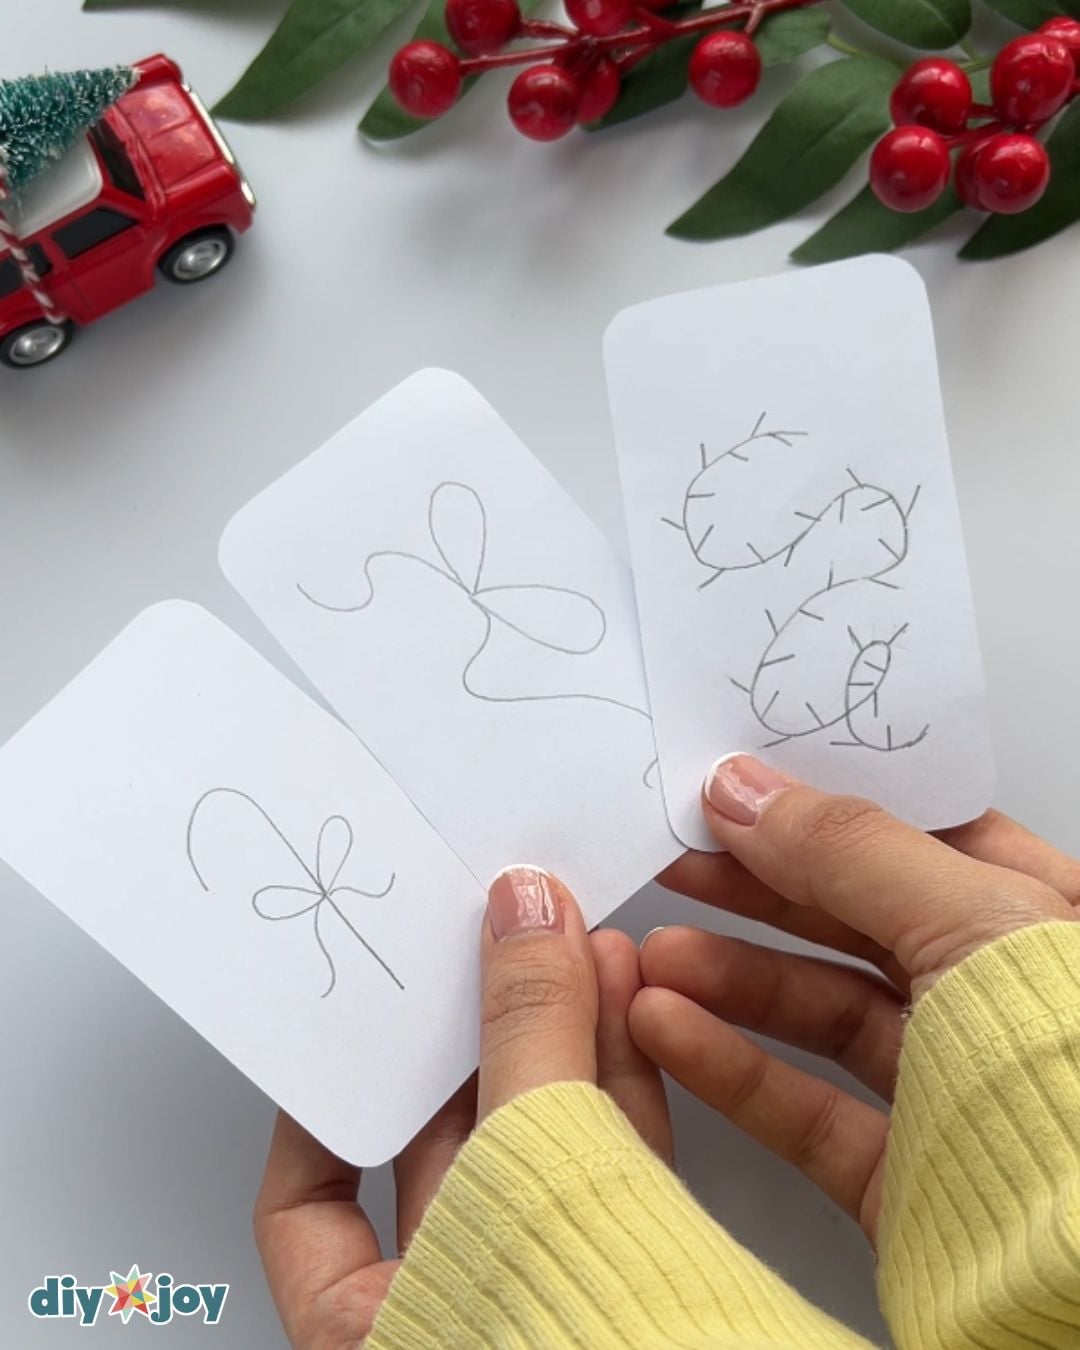
Draw your patterns. Make sure to leave spaces on all sides.
Step 3:
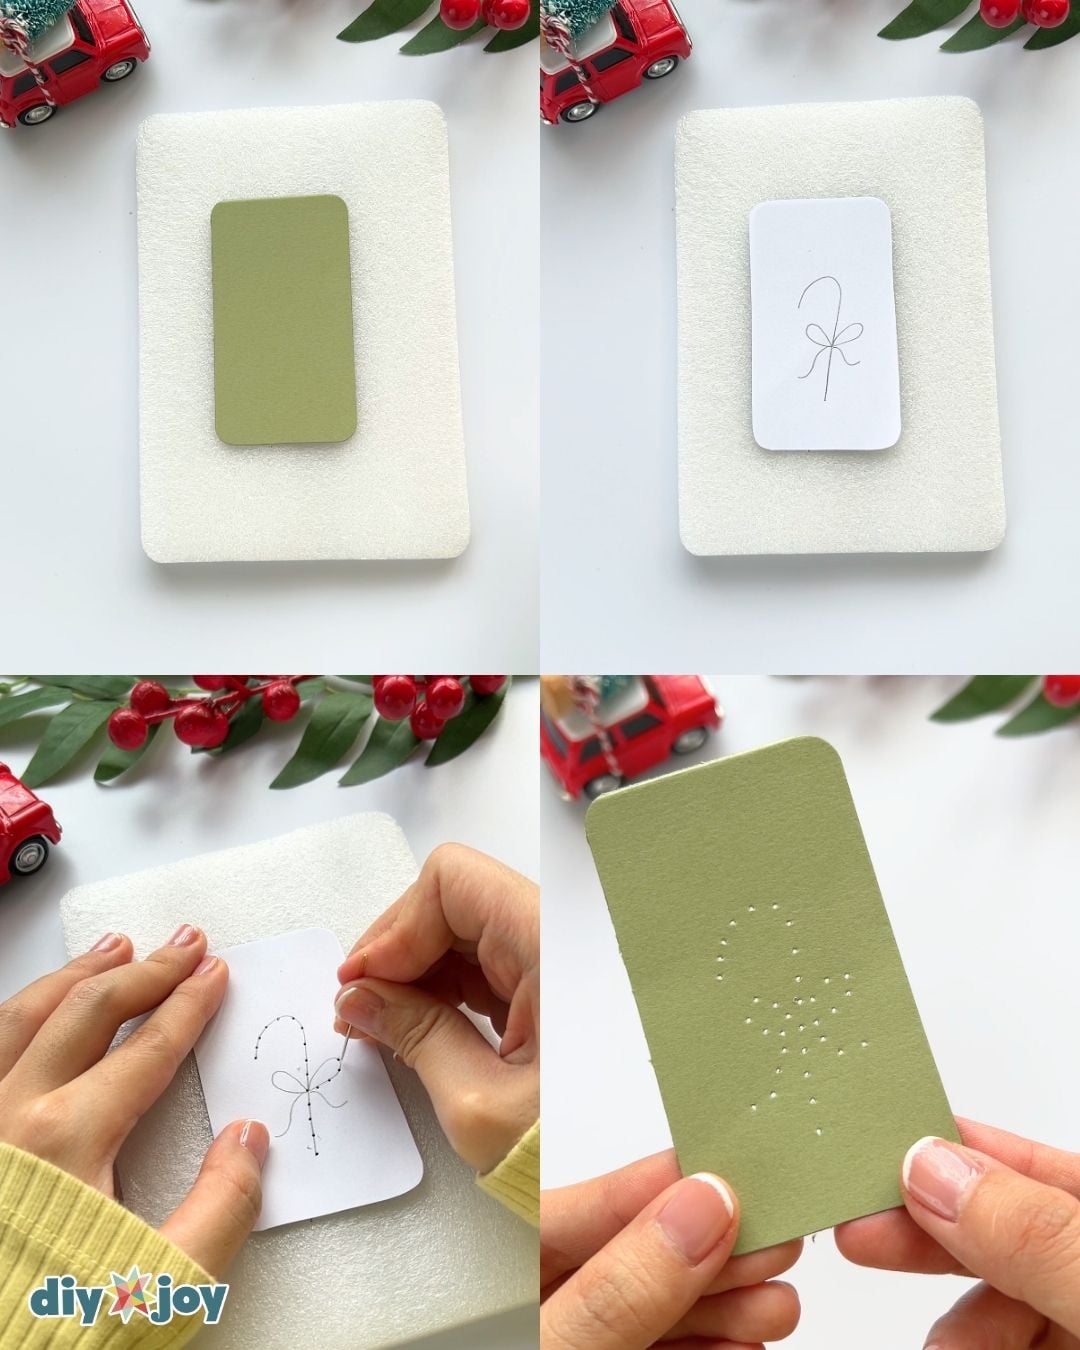
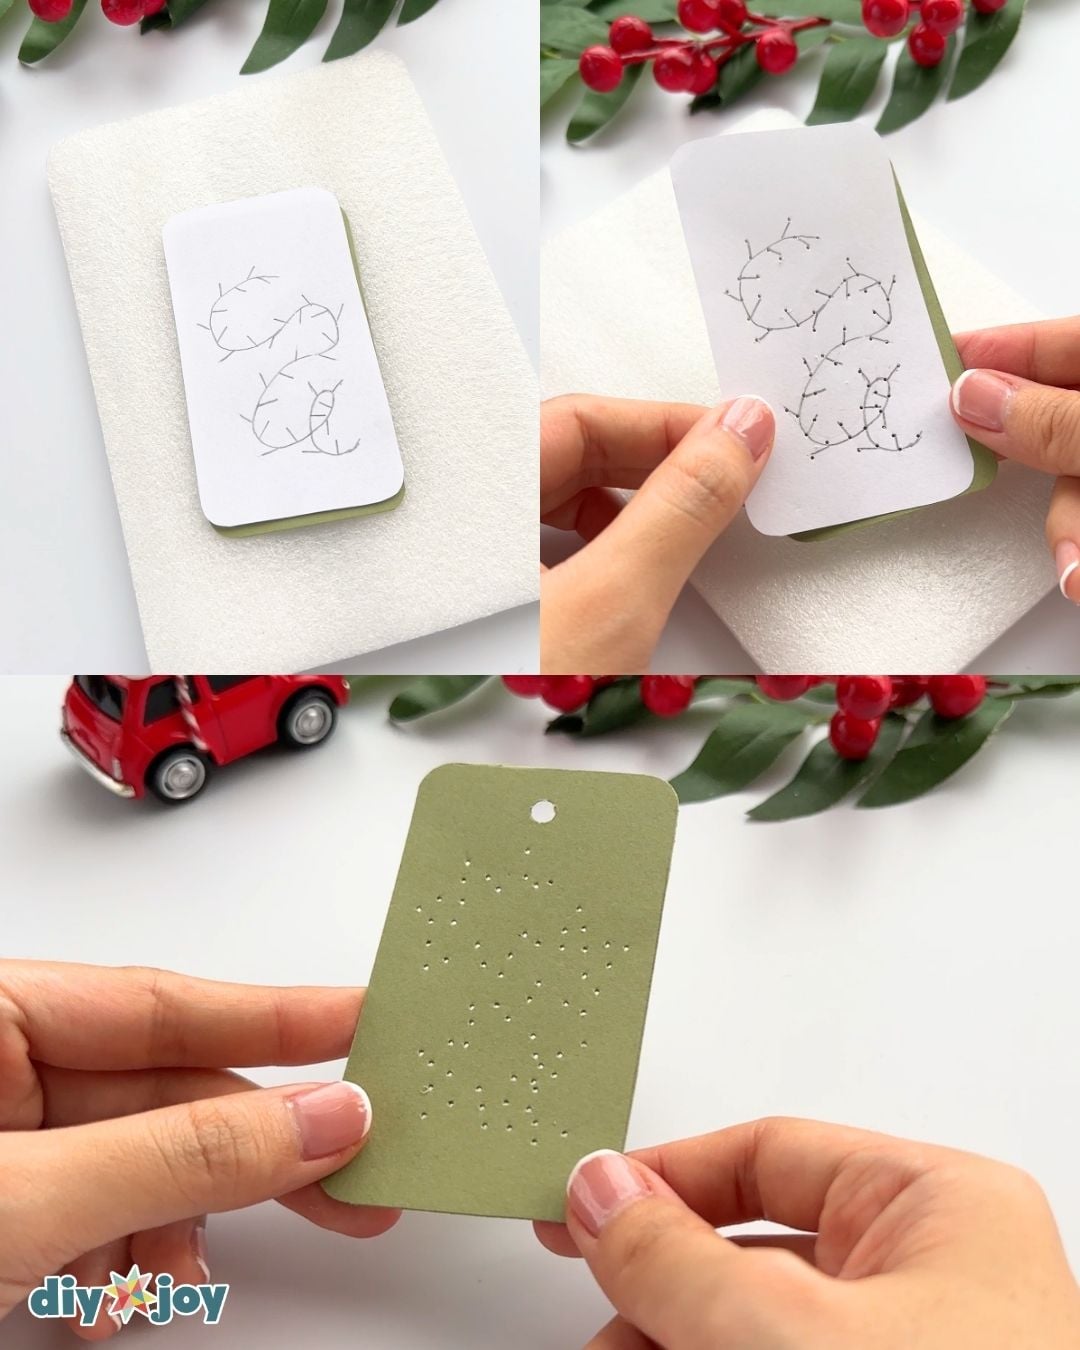
Place the cardstock and pattern on a piece of foam or cardboard. Make equally spaced holes along the drawn lines. An awl is highly recommended for this step.
Candy cane design
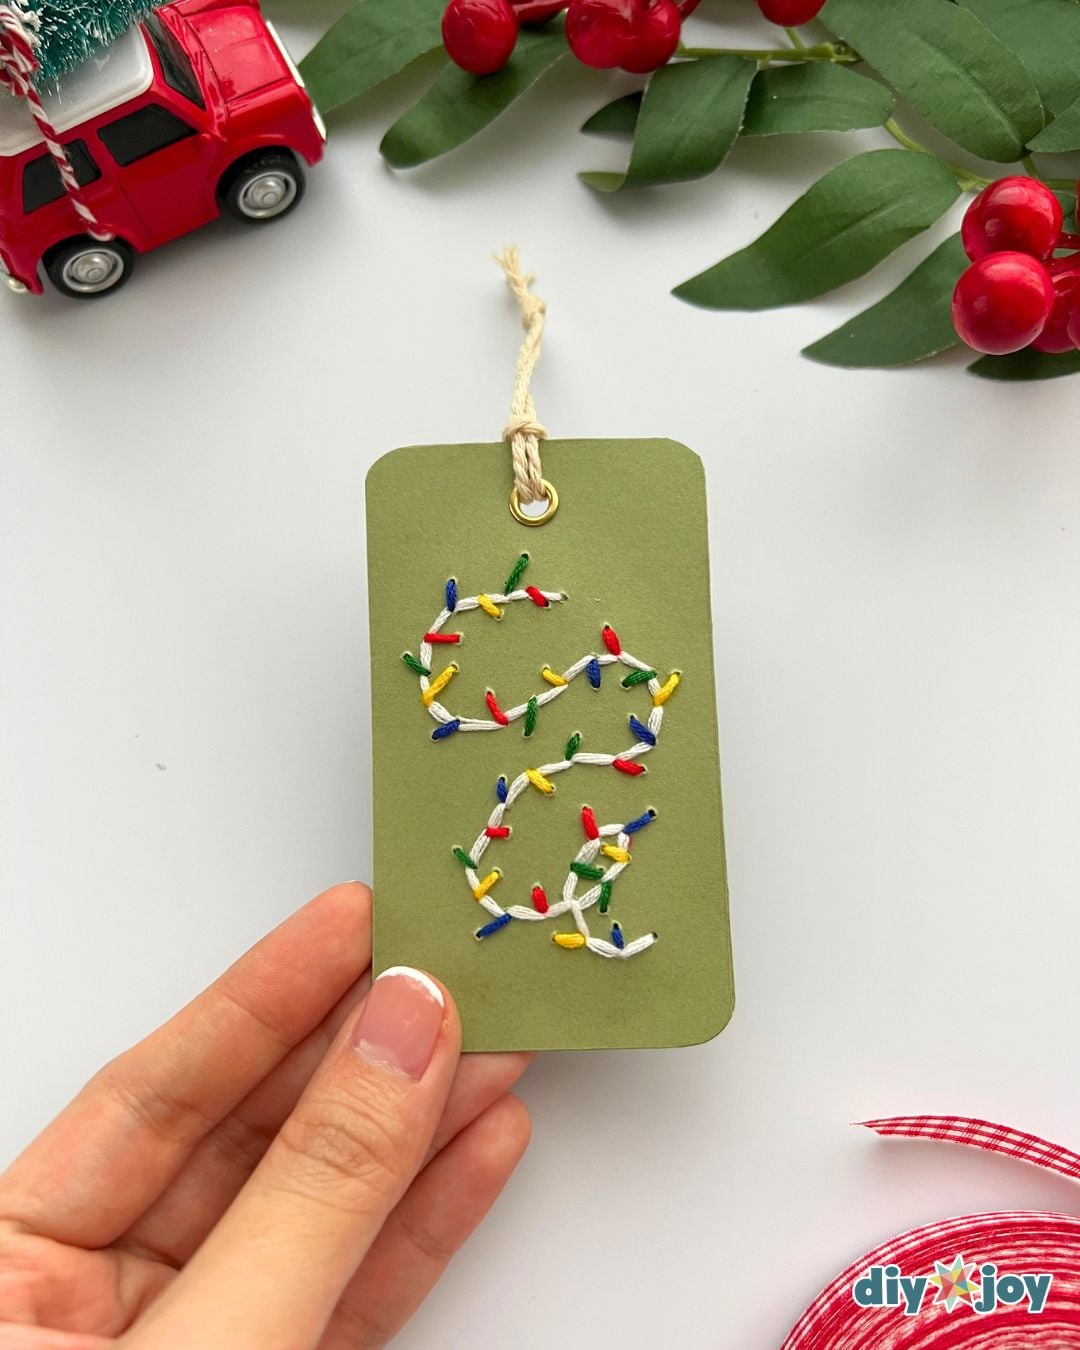
Christmas lights design
Step 4:
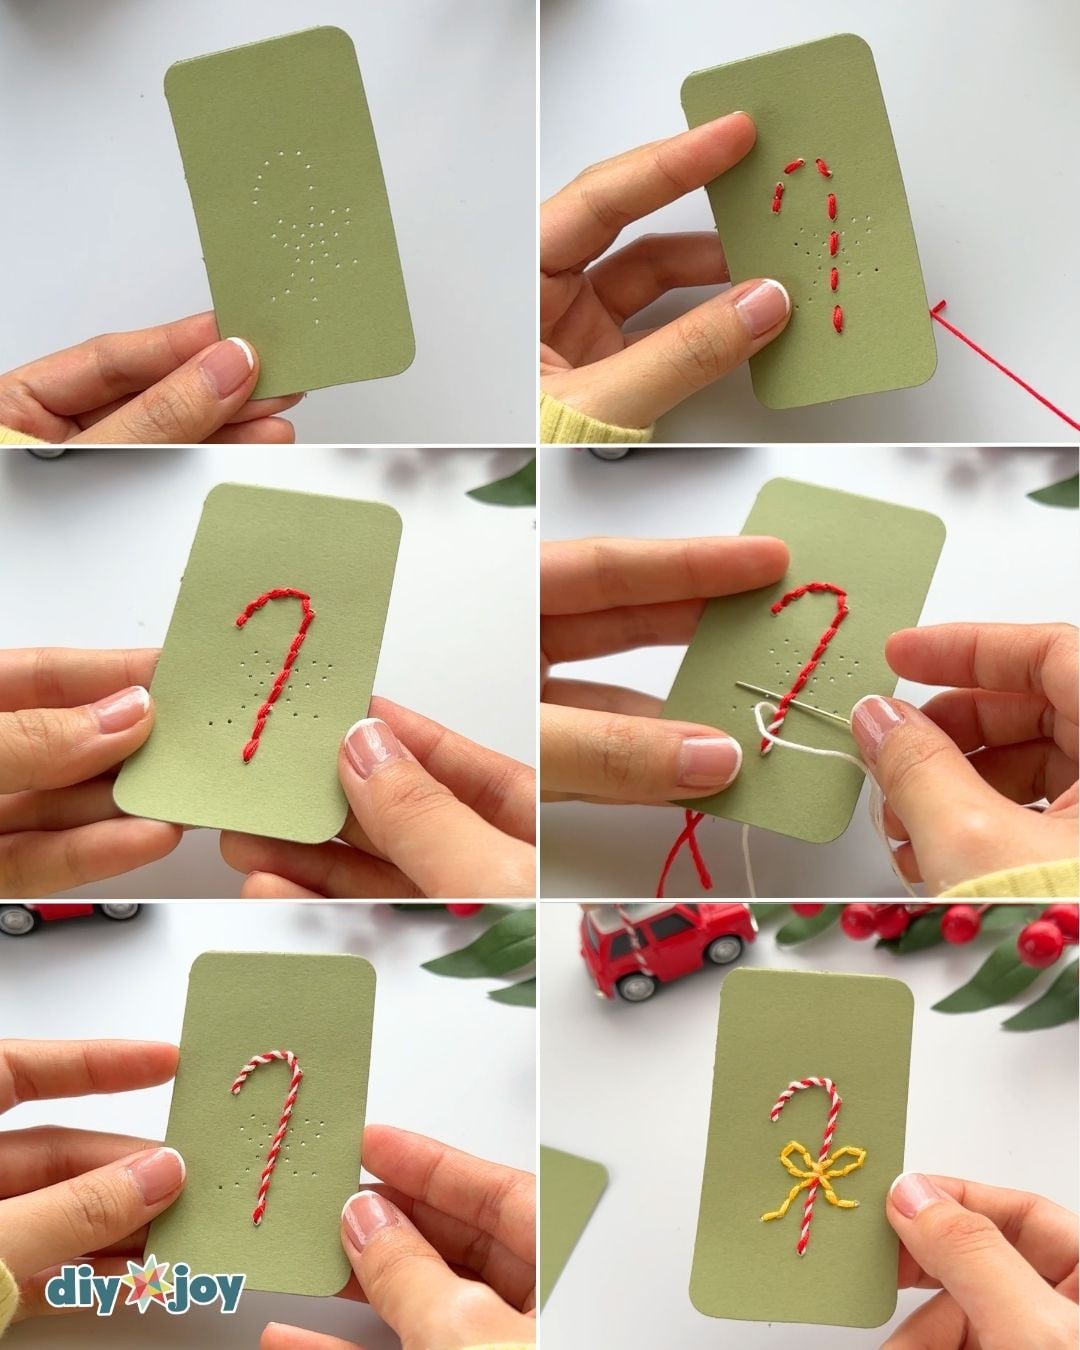
Stitch along the drawn lines, making sure to tie off the ends of your thread.
Candy Cane Design
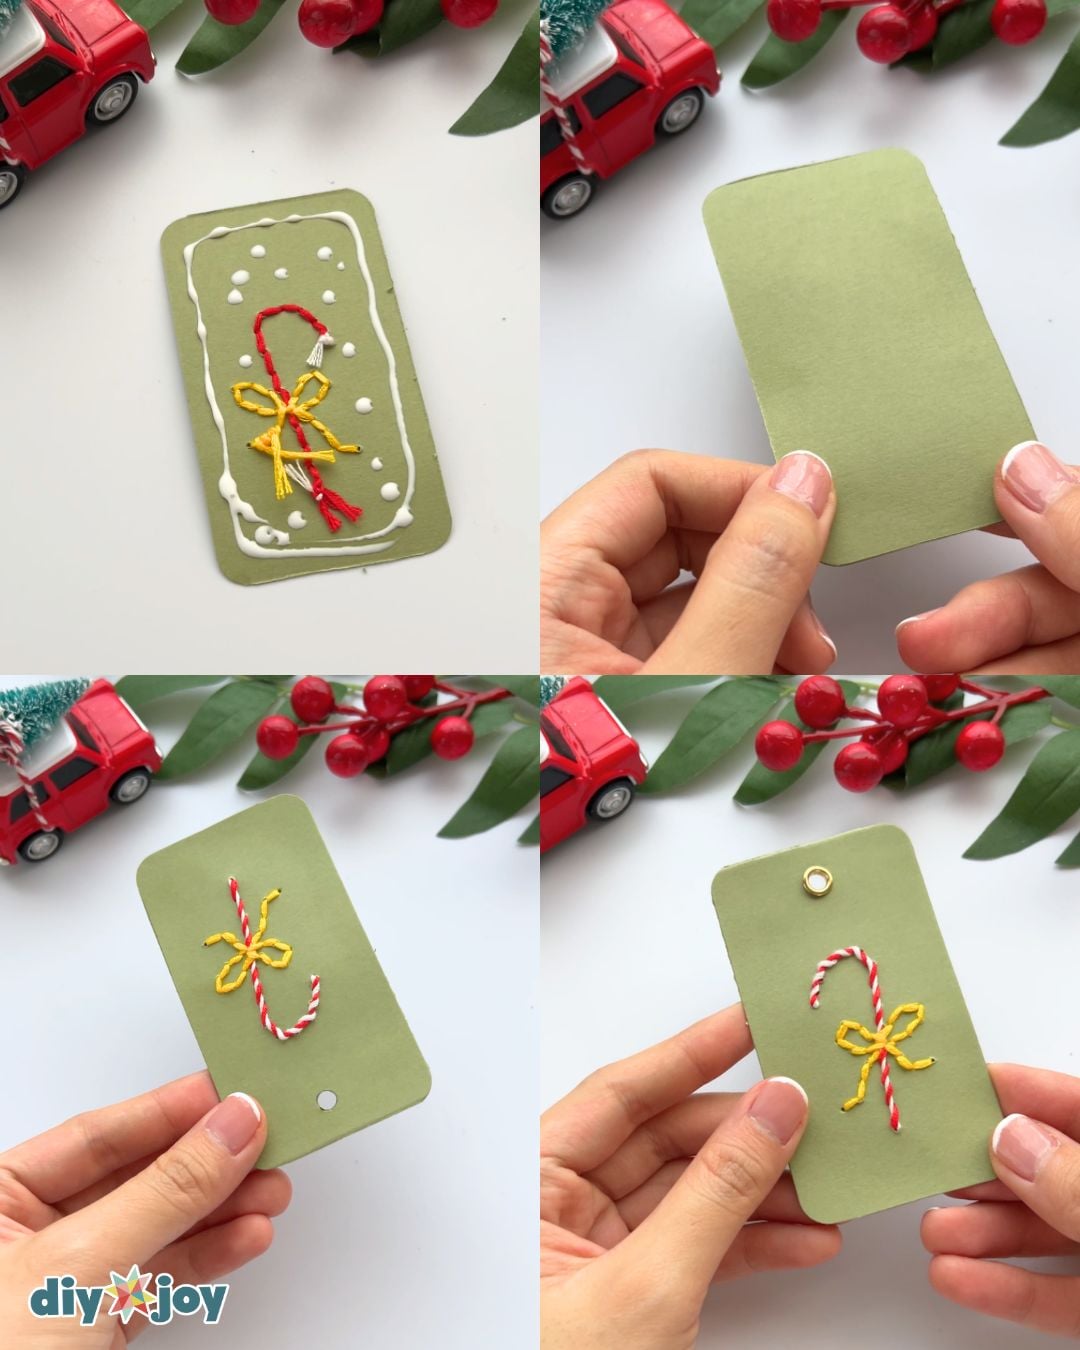
Start with the candy cane. Stitch along the drawn lines, then stitch back over it to fill the gaps. Tie the ends together at the back and trim the excess thread.
Wrap white thread around the red stitches. Make sure to tie a knot at both ends to secure it.
Stitch the bow using yellow thread.
Christmas lights design
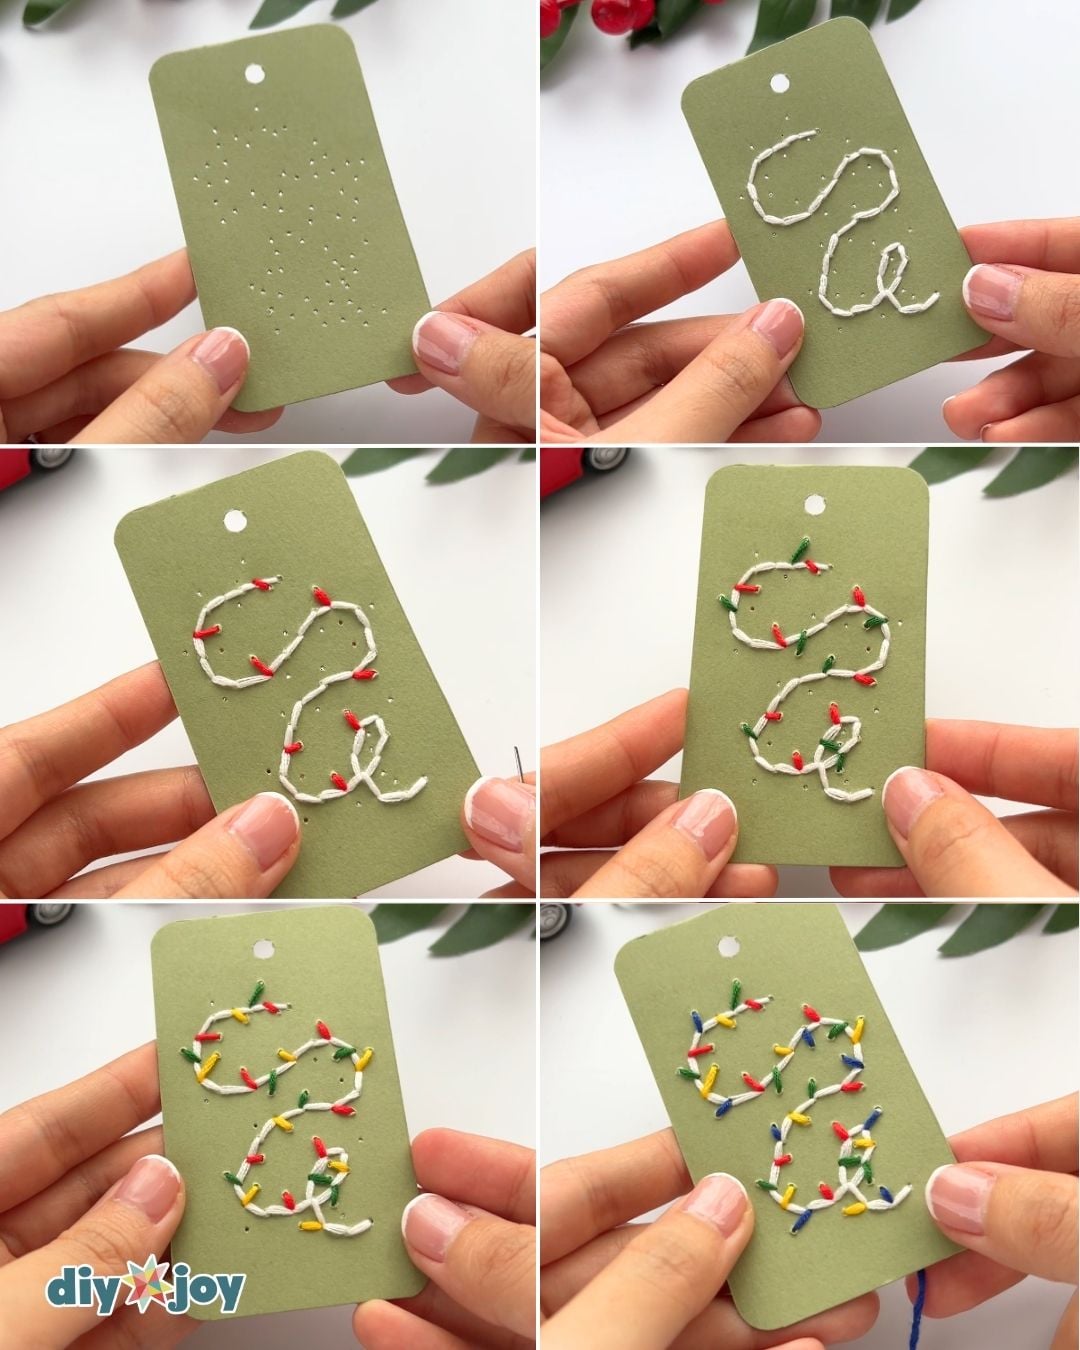
Start with the curved line. Stitch along the curve, then stitch back over it to fill the gaps. Tie the ends together at the back and trim the excess thread.
Stitch through the remaining holes using different, alternating thread colors. Make sure to tie a knot at the back to keep the threads in place.
Step 5:
Glue another piece of cardstock to the back of the gift cards. Let the glue dry. Once dry, punch a hole near the top, then attach the eyelet.
Step 6:
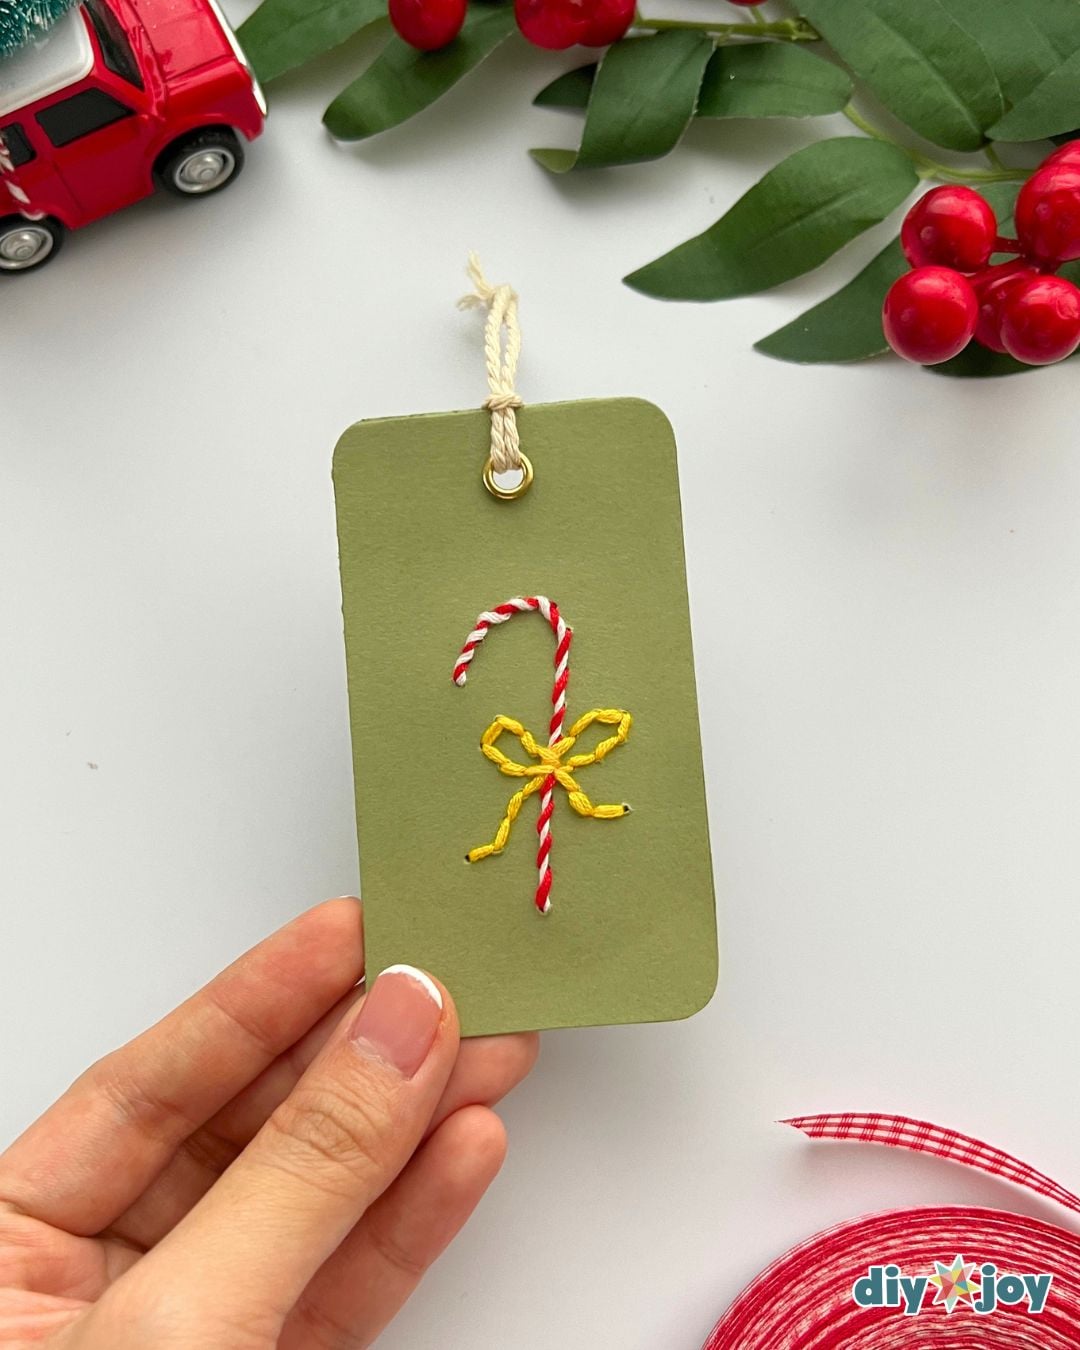
Attach the strings.

Pro Tips
- When creating your gift tag design, leave enough space around the edges to glue on the backing and add a hole for the string.
- Keep the holes evenly spaced and avoid placing them too close together or near the edges, as this can cause the cardstock to tear.
More Gift Tags Ideas and Ways to Use Them
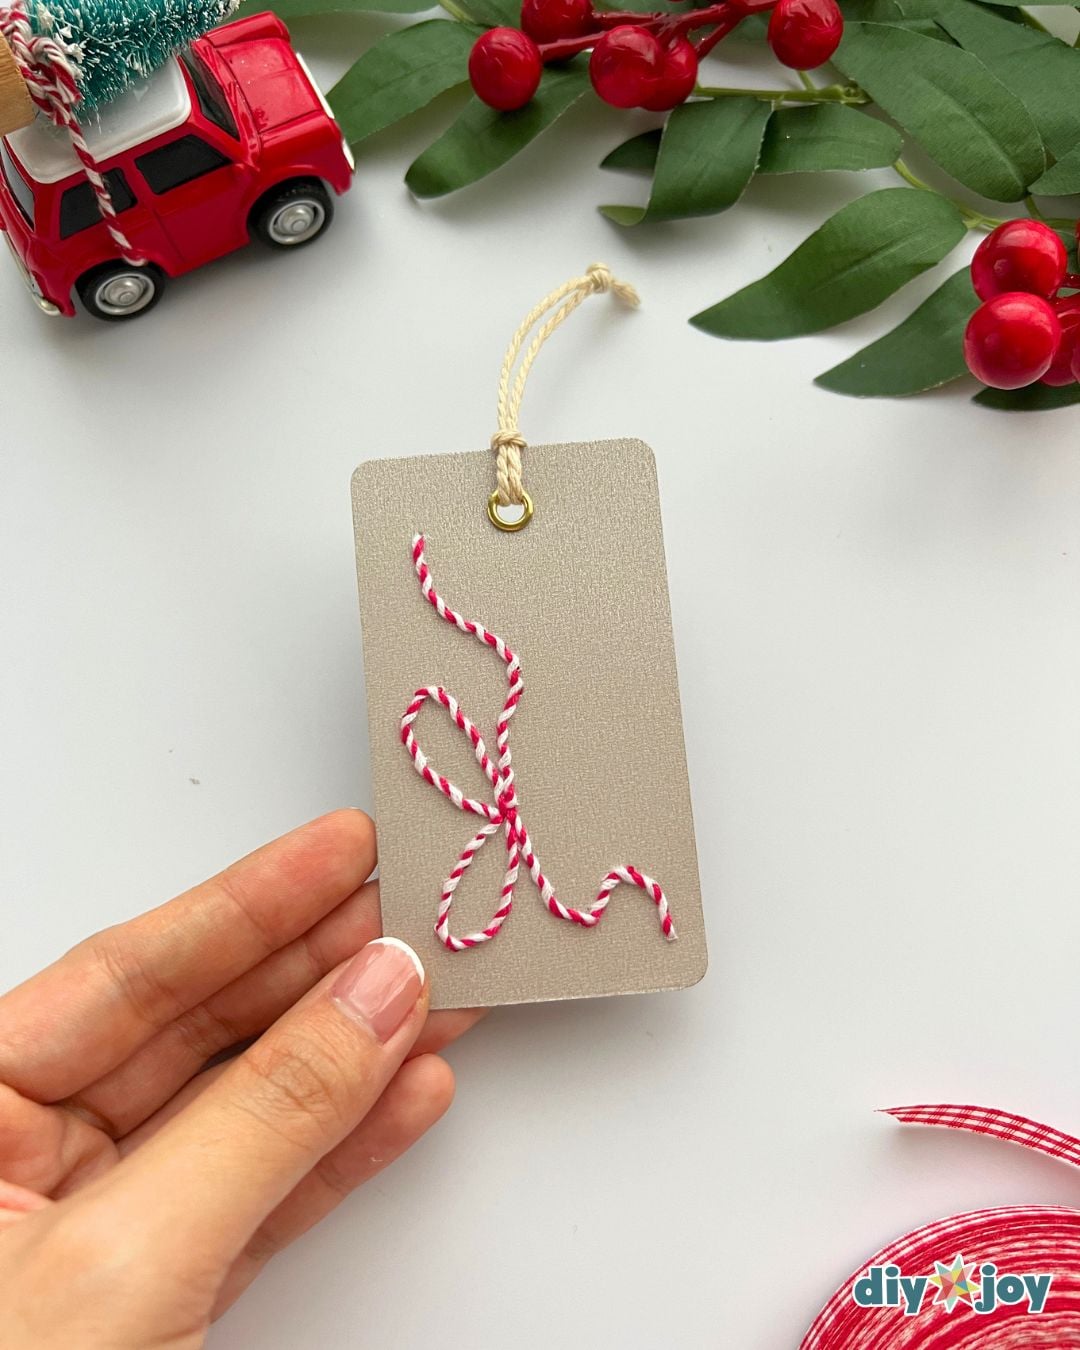
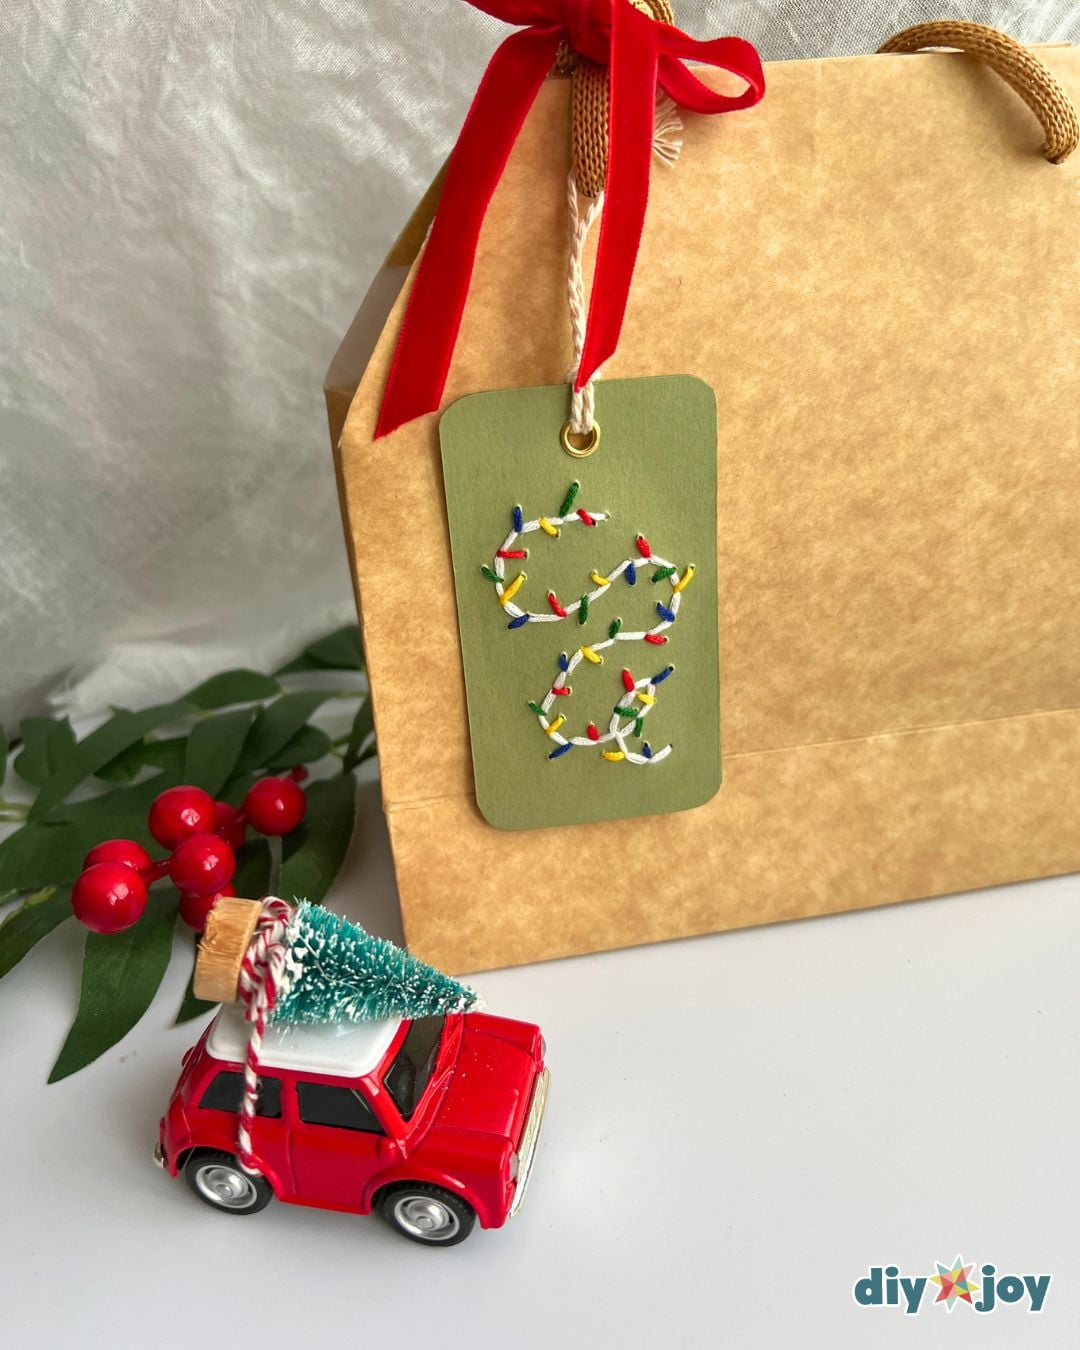
Try a Christmas tree, snowman, or Christmas ornament design, then choose thread colors to match your wrapping paper. You can also use the same technique to make handmade cards or create gift tags for birthdays and other celebrations.
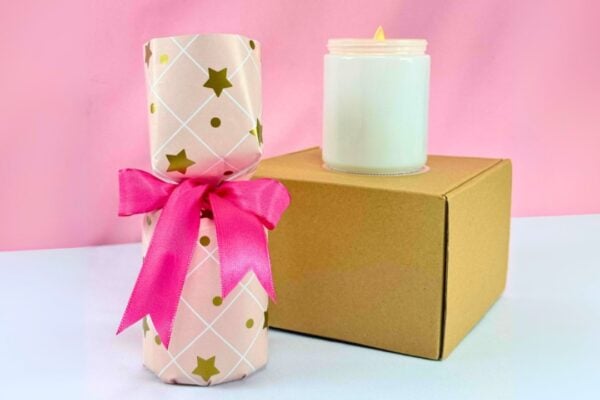
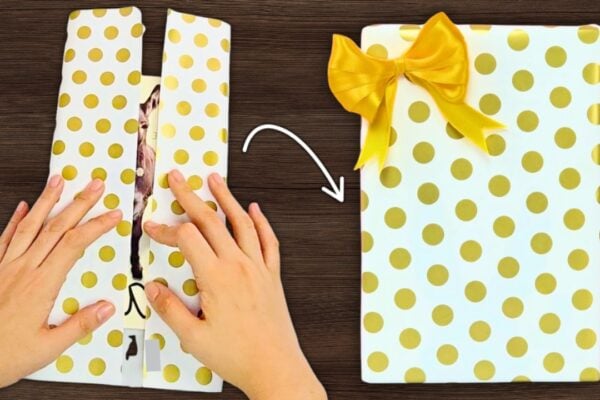
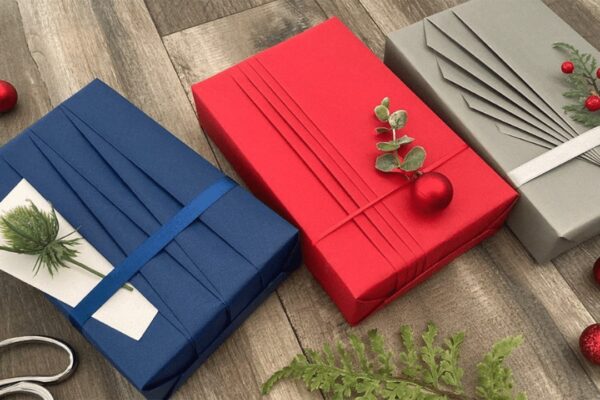
Whether you’re searching for fresh gift wrapping ideas or easy Christmas crafts, these embroidered tags are a simple way to make your presents extra special.
Embroidery Gift Tags FAQs
Cardstock is a good choice because it holds its shape better than thin paper. Avoid placing your holes too close together, which can cause the paper to tear.
Glue a second piece of cardstock to the back of your finished tag. This covers the stitches and gives you a neat surface for writing your message.
Pull the thread gently and avoid tightening your stitches too much. Leave enough space between the holes and around the edges of the tag.
Yes! Stitch a design onto a piece of cardstock, then attach it to a folded card. Cover the back of the stitching for a clean finish.
Mark your design on the cardstock, then use a needle to poke the holes along the pattern. For an easier option, use an awl to make the holes before stitching. Place a protective mat underneath and leave enough space between holes to keep the cardstock from tearing.
More Easy Christmas Crafts


Save this Craft on Pinterest
Roll over the image to get the button.