
This pipe cleaner Christmas tree might be the cutest Christmas decor I’ve made so far this year. It looks absolutely beautiful with its green color, even more so with the colorful, vibrant pom-poms. I received a lot of compliments from my family when I made this holiday project at home and they were so impressed when they learned that it’s made out of pipe cleaner! That’s how you know it’s really worth making. They are now convincing me to sell them at a Chistmas market, which I don’t have time for, so I’m just going to teach you how to make them at home.

RELATED: Easy Paper Christmas Ornament
Looking at this DIY project, a wonderful idea came up. You probably know about the little Christmas villages, right? It is one of the most popular displays in houses and stores that people really love and enjoy looking at. This DIY tree is the perfect addition to your mini Christmas village. It really does stand out and gives off that Christmas spirit, especially when lit up with fairy lights. This also makes a great centerpiece or table decoration for the holidays!

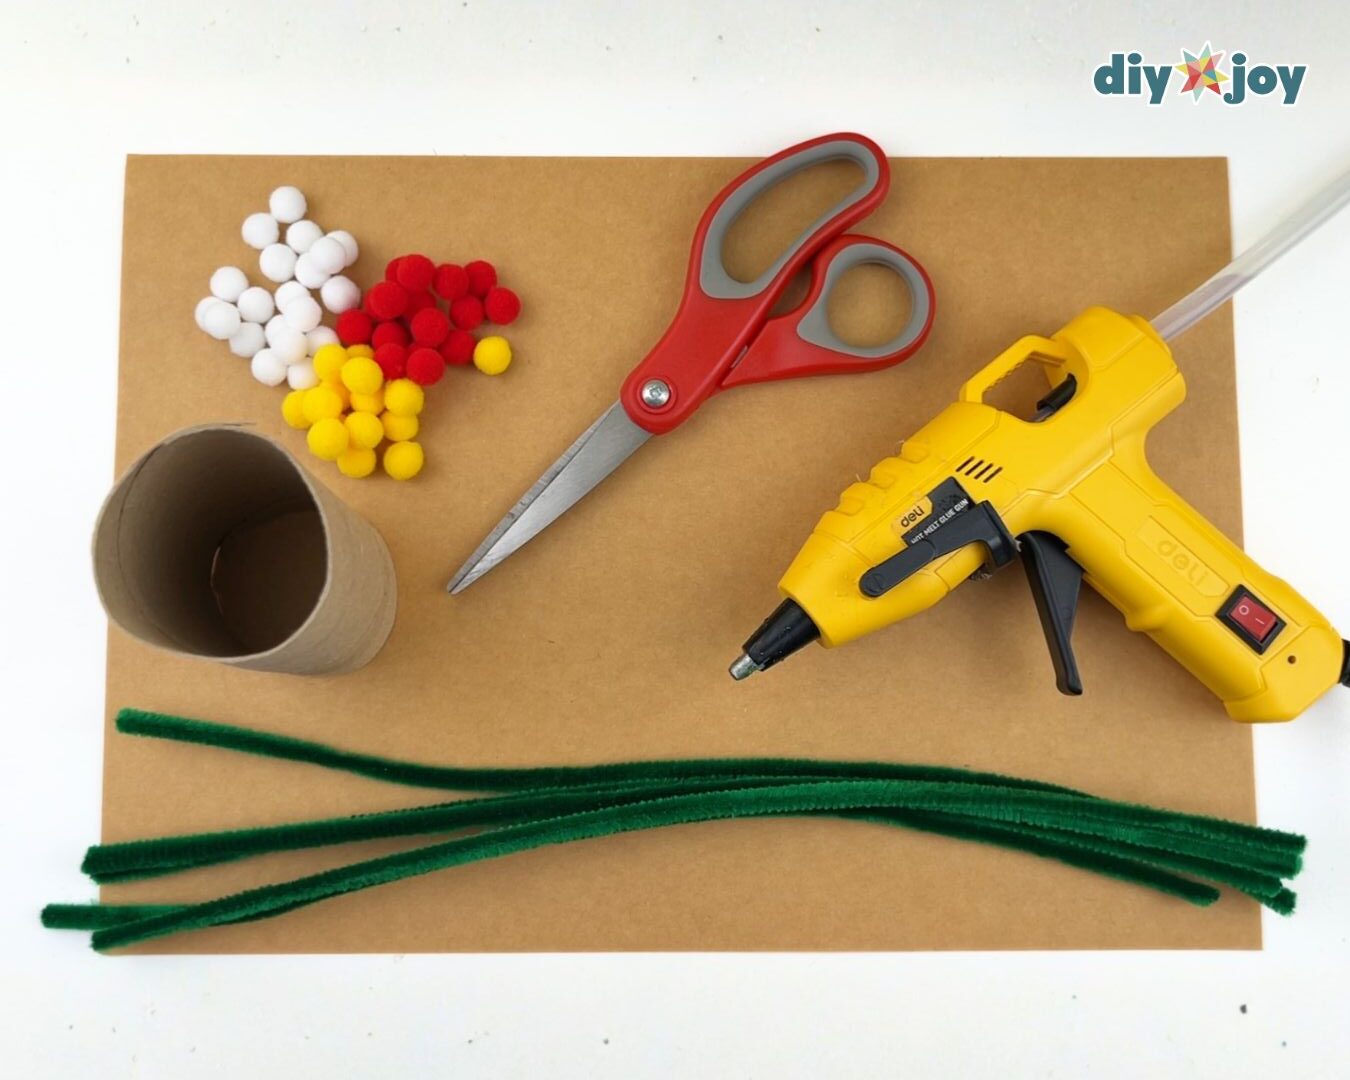
Aside from being absolutely beautiful, this DIY mini Christmas tree only requires a few materials. You’ll only need cardstock or cardboard, green pipe cleaners, scissors, and hot glue. It’s super easy to make and is perfect for beginners. If you’re looking for a Christmas craft, this is definitely it. I’m sure you’ll have fun making this project.
People seriously fell in love with this Christmas DIY over on TikTok and Instagram. Take a peek at the craft video and get in on the fun!
▶ Watch this tutorial on TikTok
How to Make a Mini Christmas Tree With Pipe Cleaners
Learn how to turn pipe cleaners into a beautiful Christmas decoration with this easy tutorial.
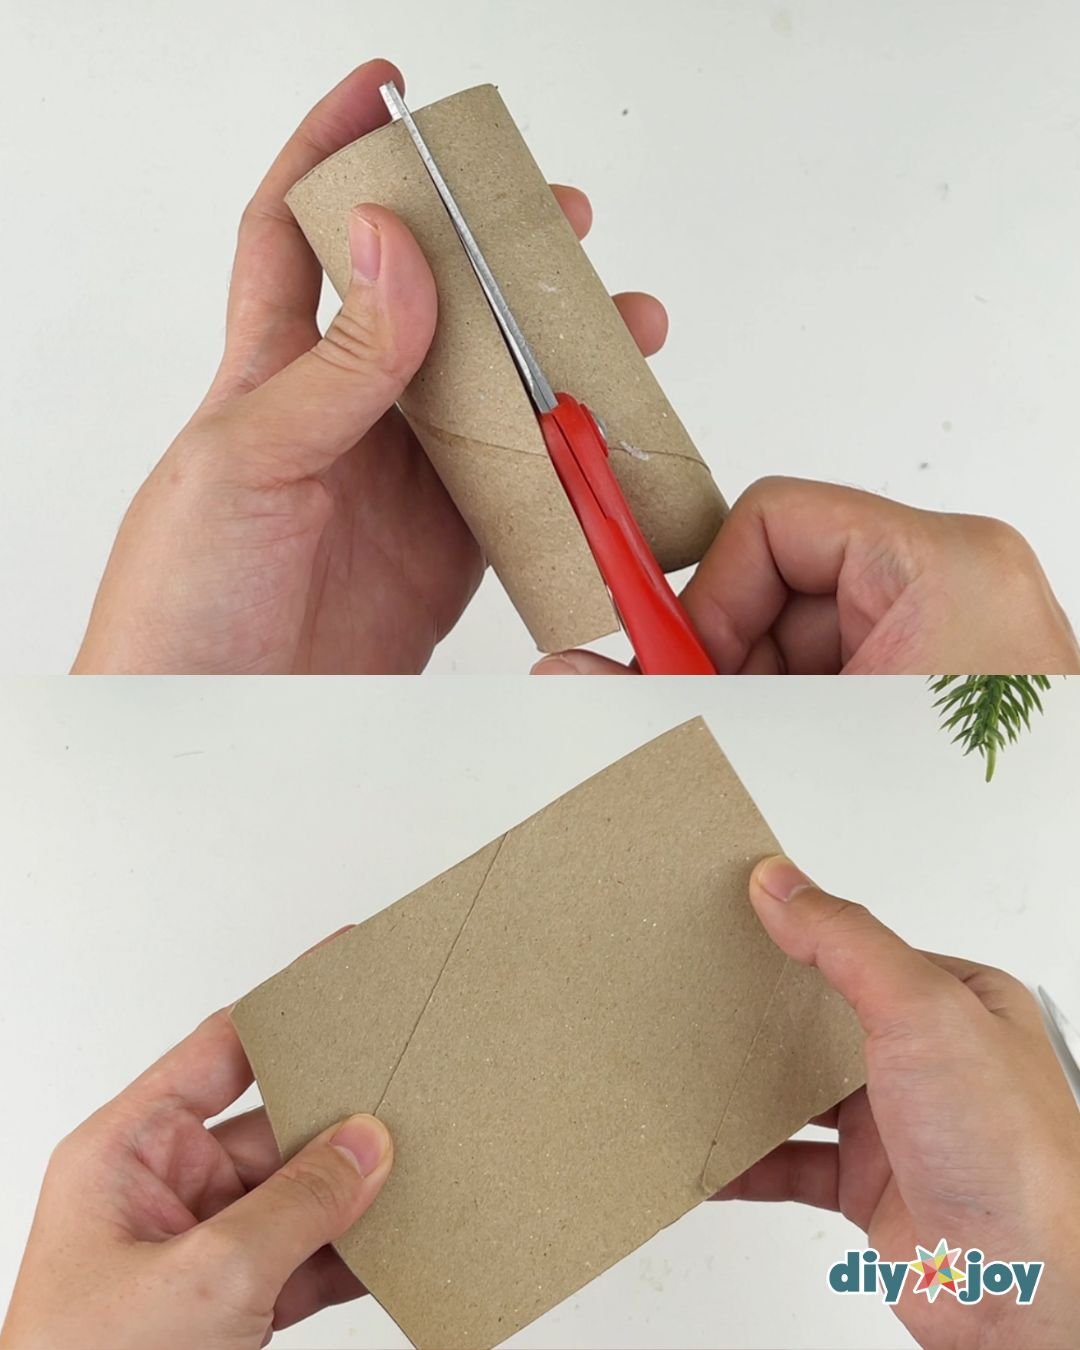
Cutting the cardboard
Cut the roll lengthwise and flatten it. You can also use cardstock.
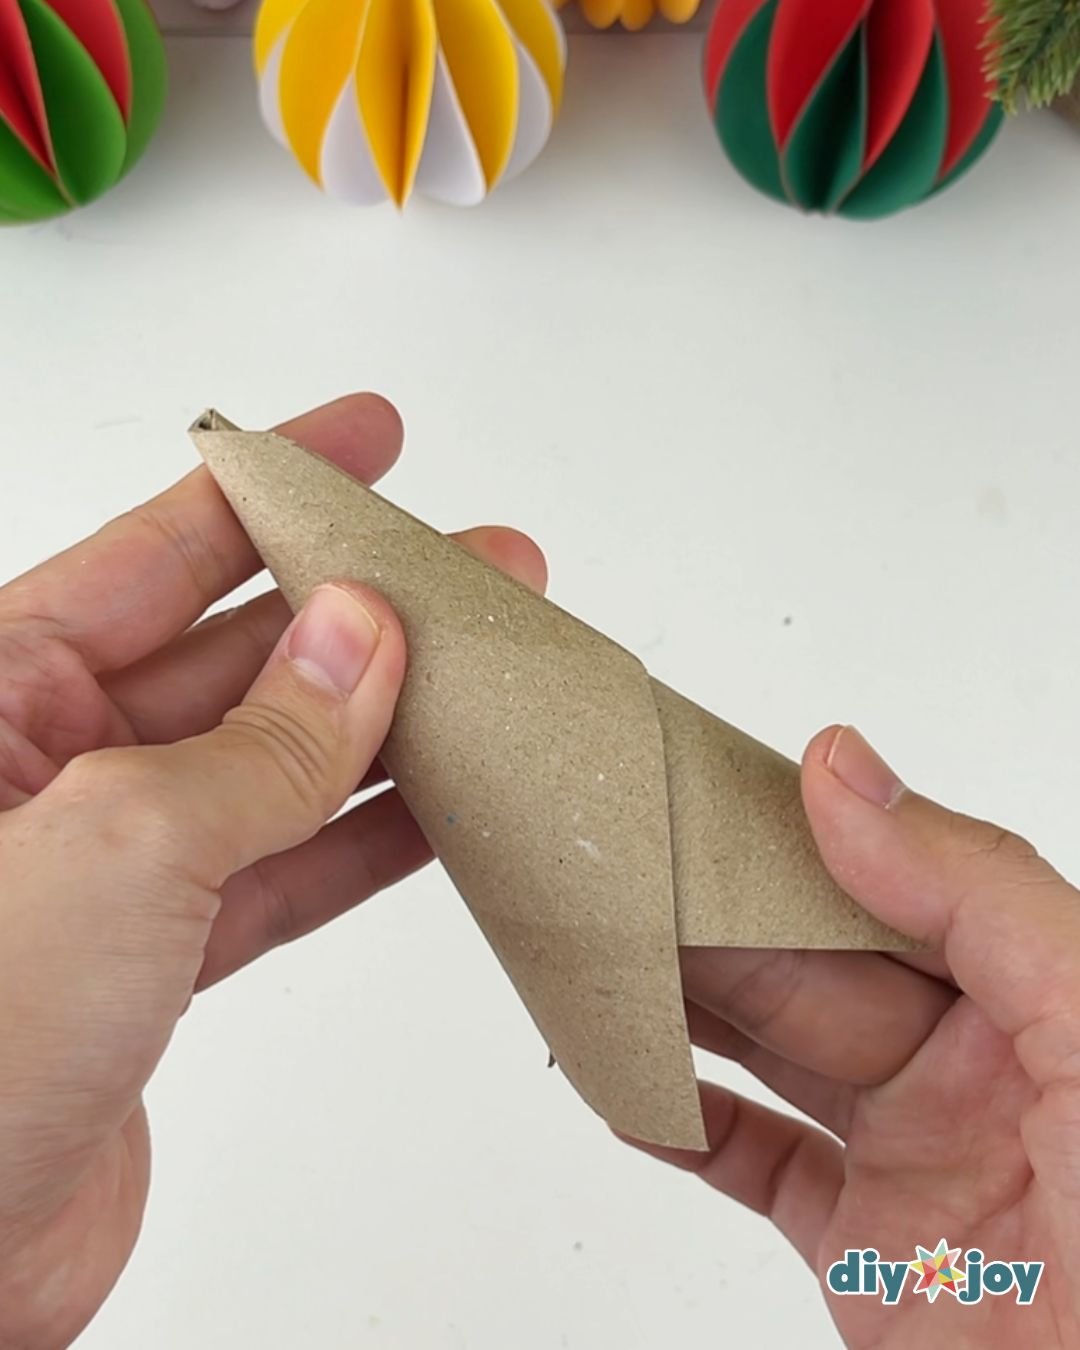
Forming the cone
Form the cardboard into a cone.
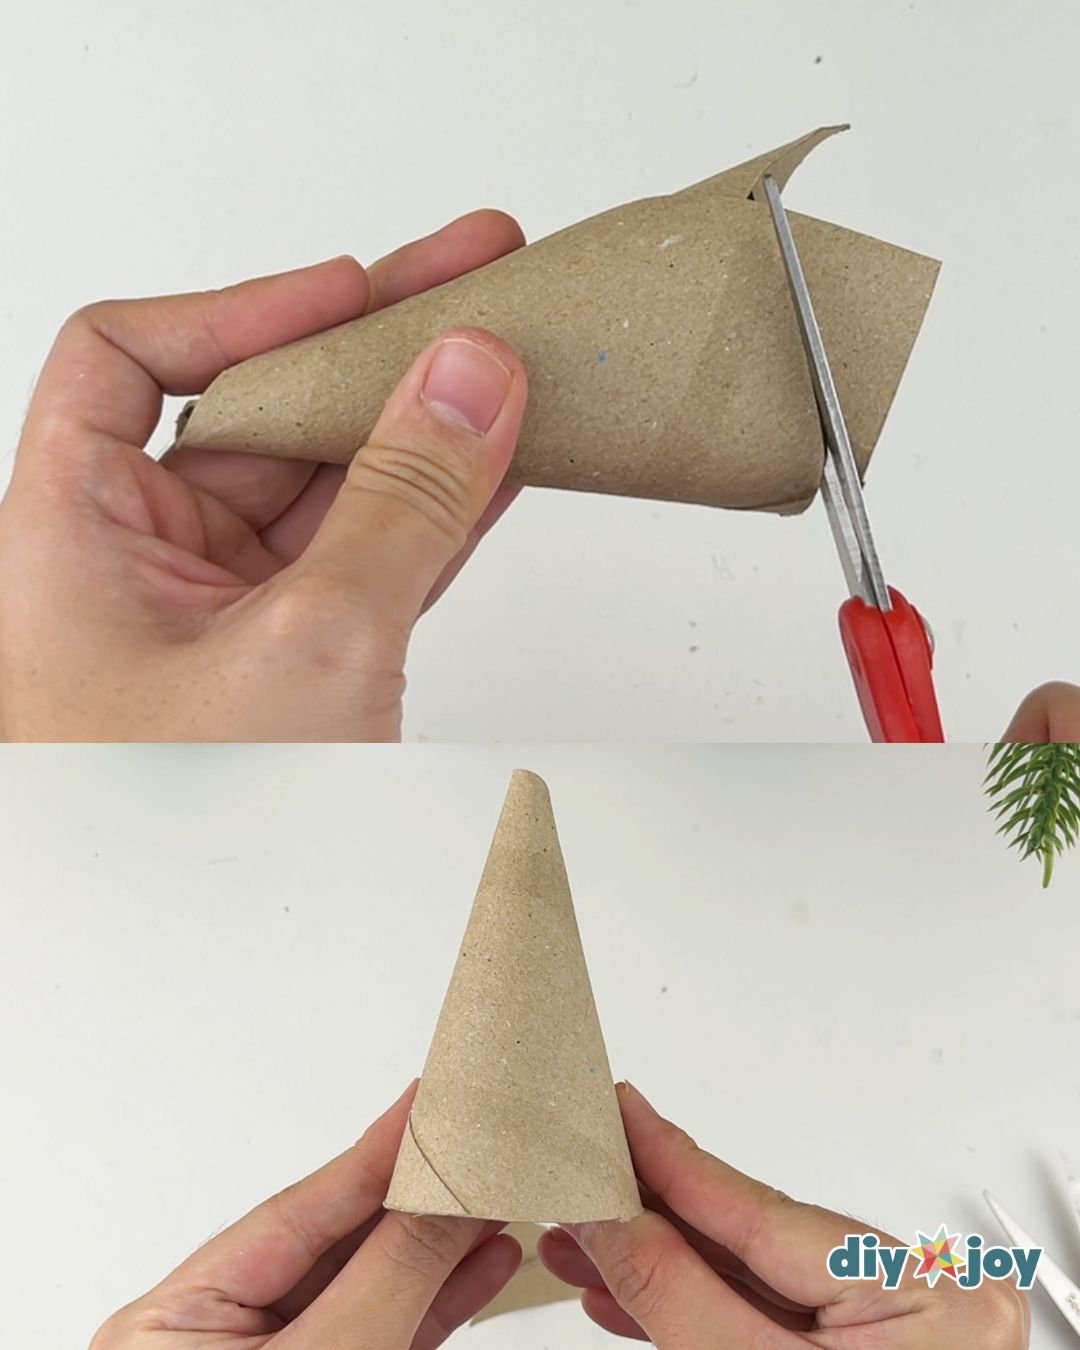
Cutting excess
Cut the excess at the bottom.
Folding the pipe cleaner
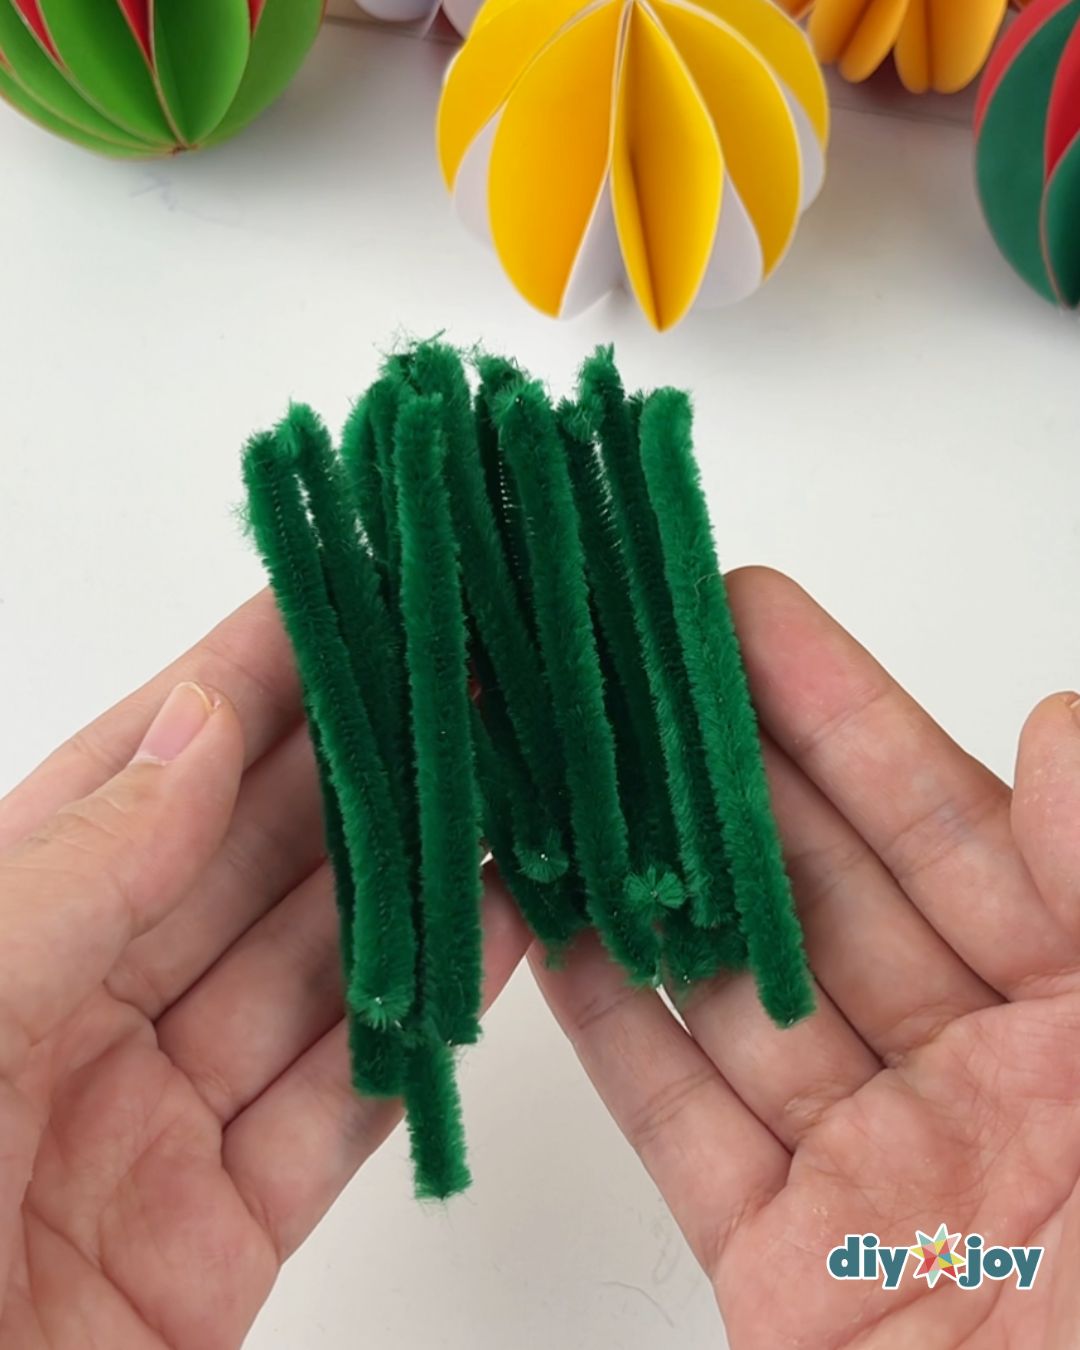
You will need about 11 pipe cleaners for the small tree and 43 pipe cleaners for the big tree. The small tree’s diameter is 2 inches and its slanted height is about 4 to 4.5 inches. The big tree’s diameter is 4 inches and its slanted height is 8 to 8.5 inches. You may need more or less depending on the height and the diameter of the cone. Fold the pipe cleaners in half twice.
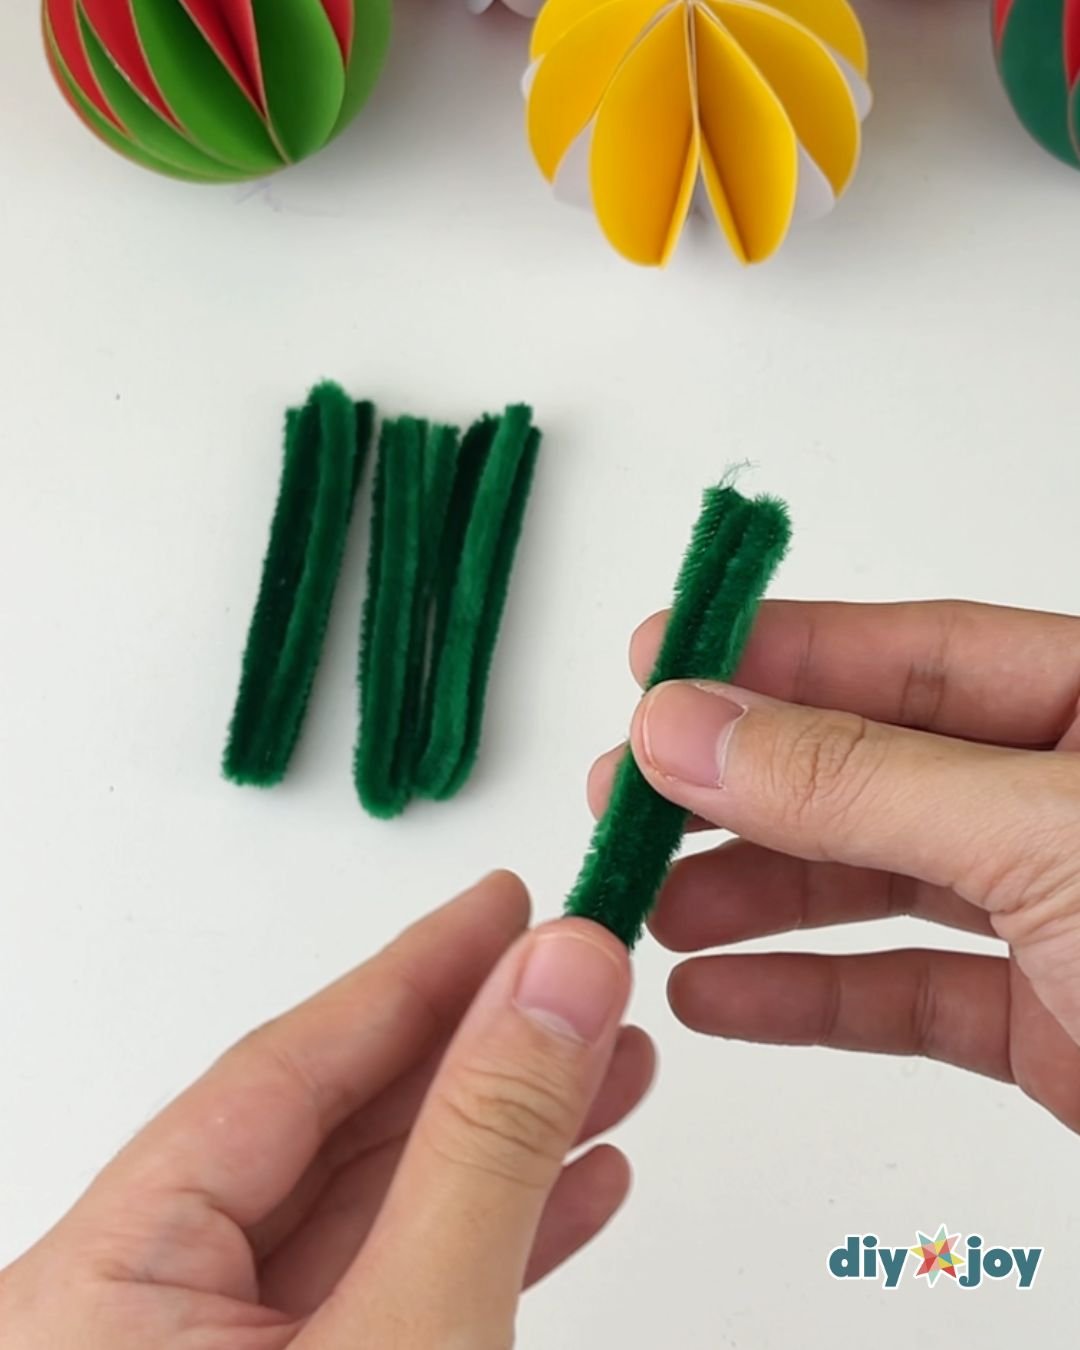
Cutting the pipe cleaner
Cut each pipe cleaner into four equal pieces.
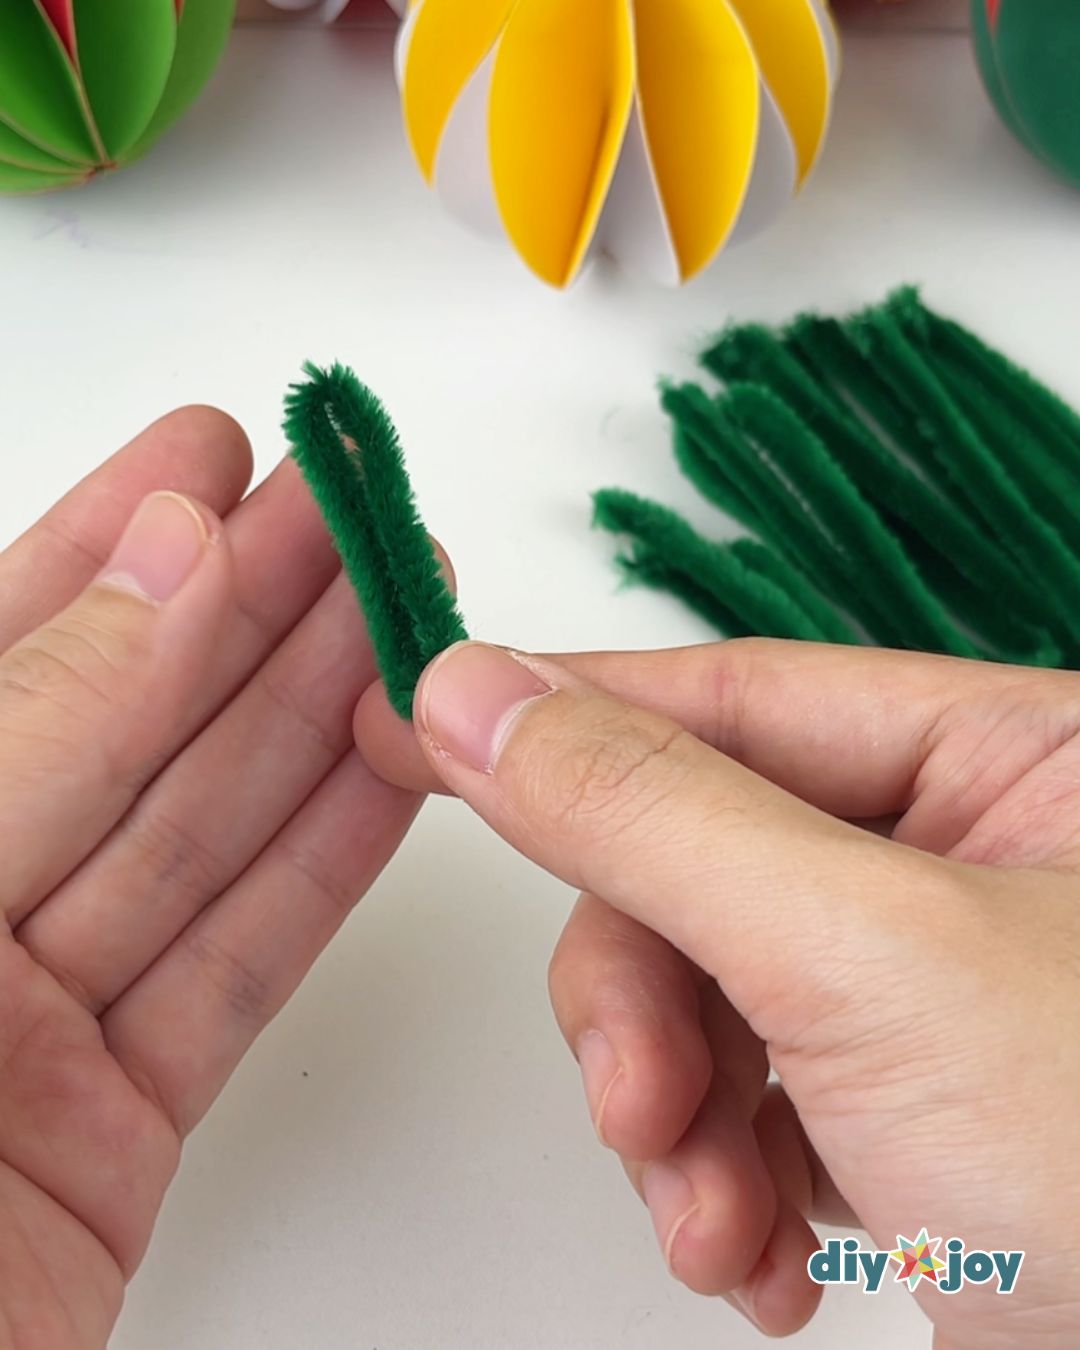
Folding in half
Fold each small piece in half.
Making marks
Measure the height of the cone, divide it into four equal lengths, and mark them.
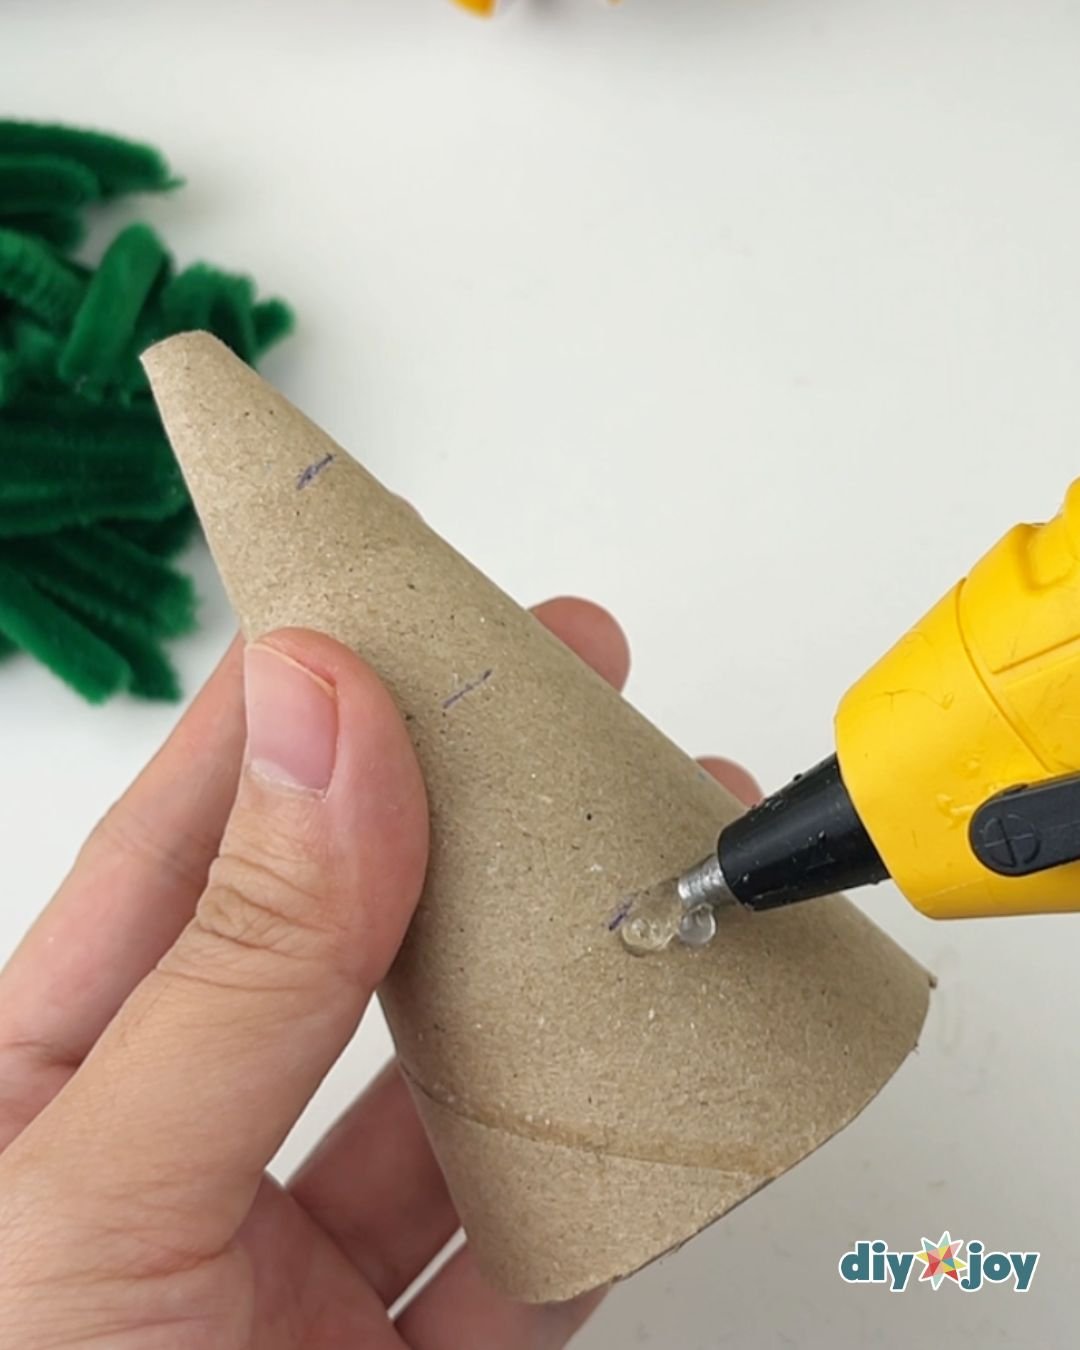
Gluing the first layer
Glue the pieces one by one on the cone, making sure that the folded part is at the bottom.
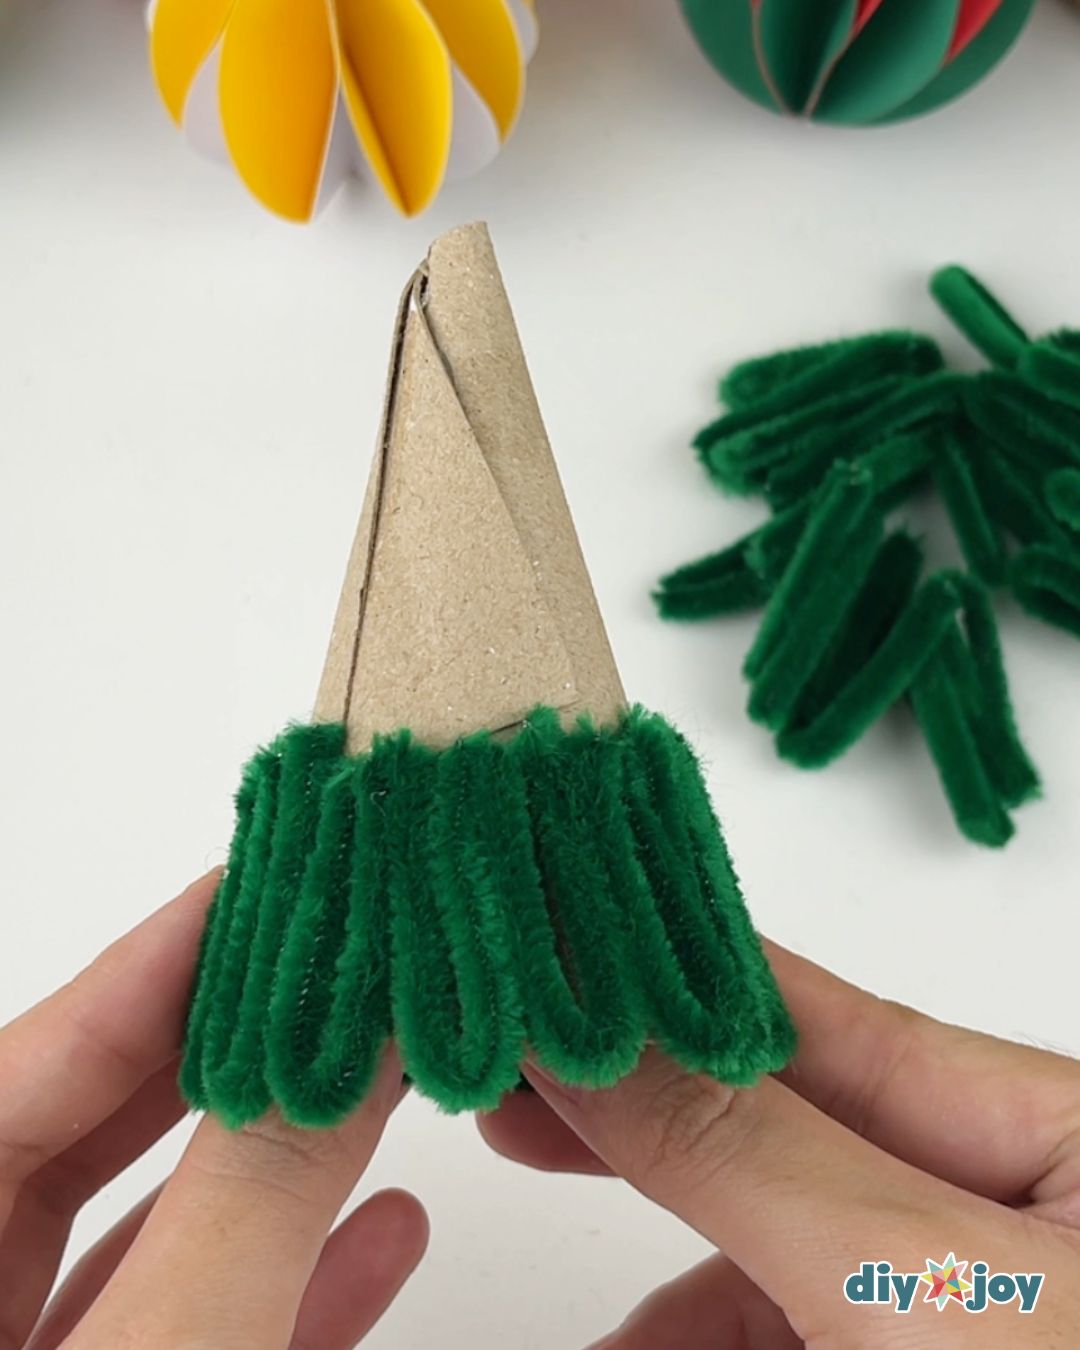
Gluing the remaning layers
Repeat until the cone is fully covered.
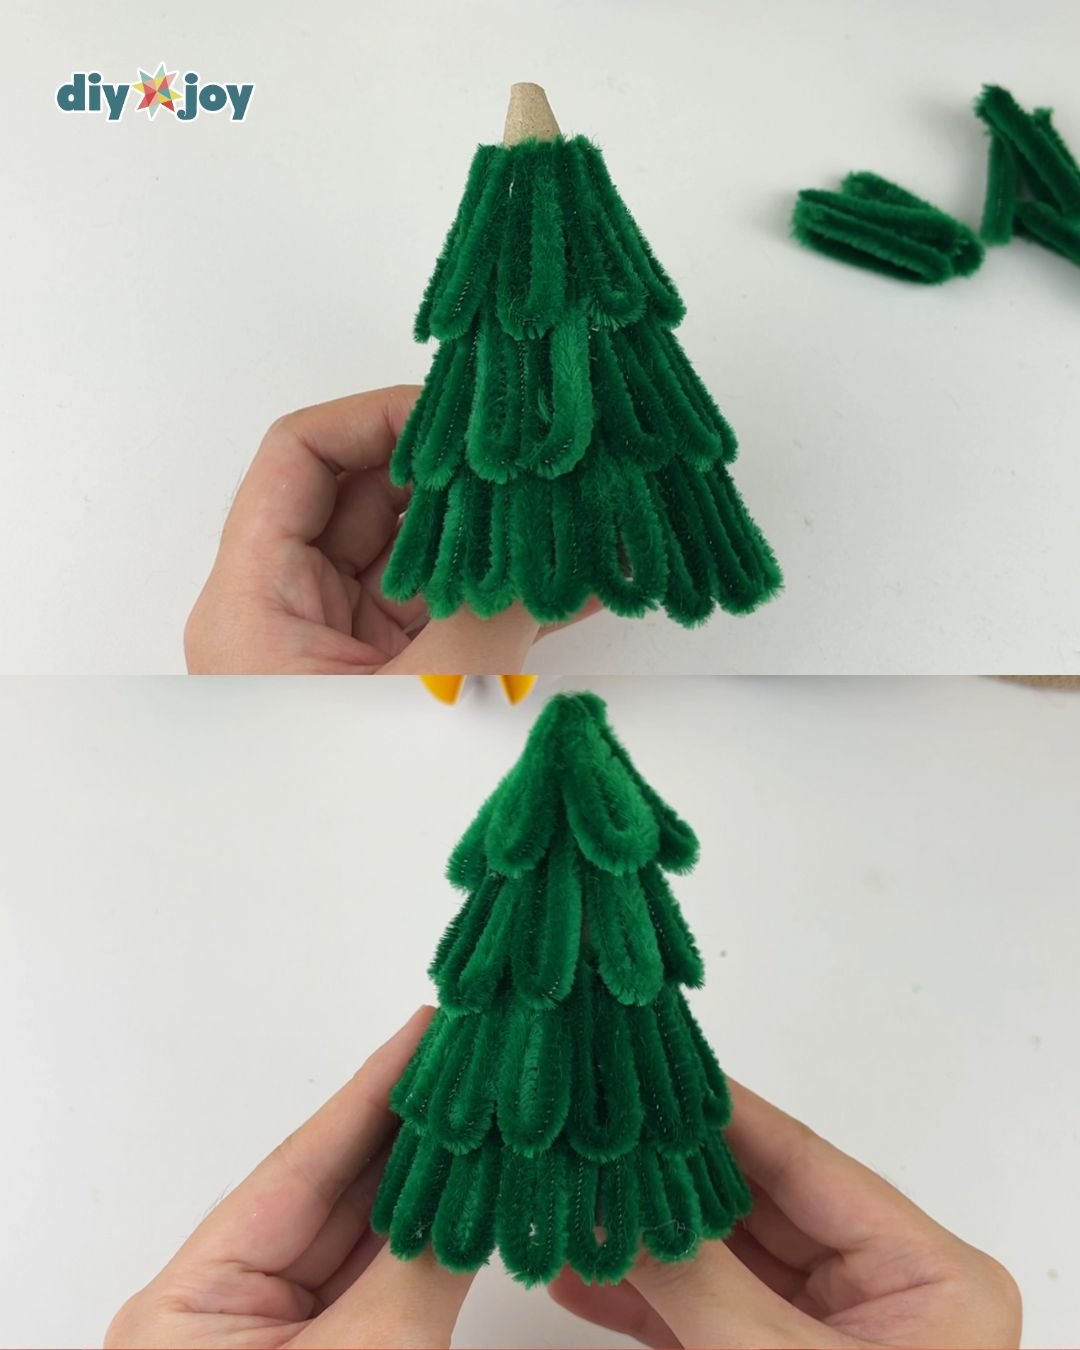
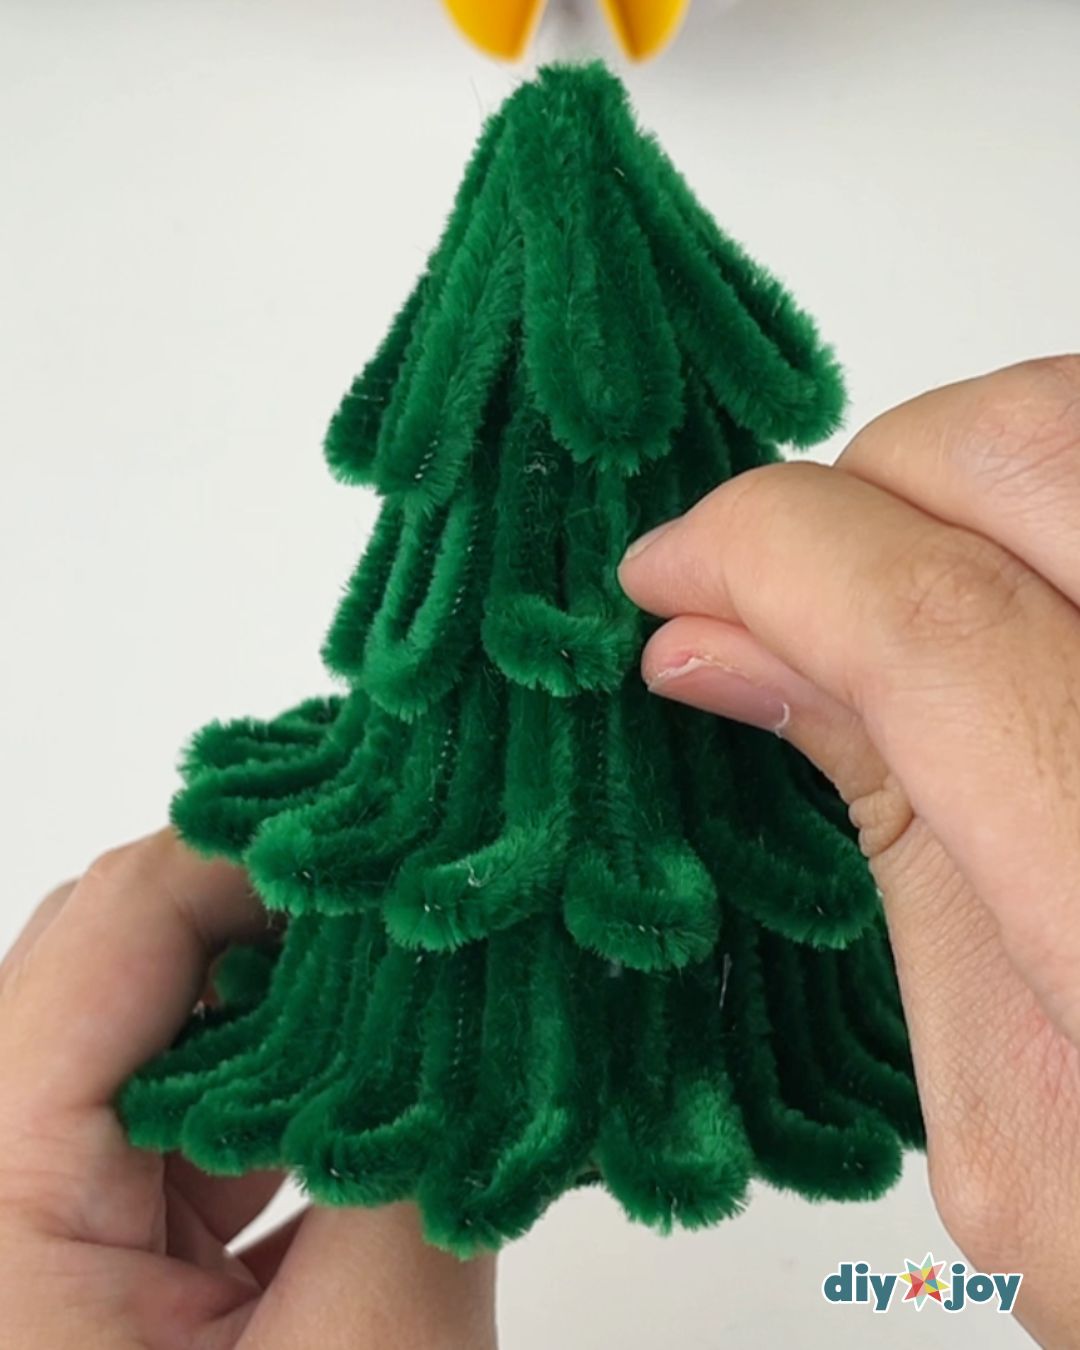
Bending the ends
Bend the bottom part of each cone upwards.
Adding decorations
Glue the mini pom poms.

![]()
Crafting Tip
Glue the pieces as close to each other as possible.
Creative Ideas and Variation
- Color. If you want to make your Christmas tree more interesting, use different shades of green. Feel free to use different colors of pipe cleaners to make colorful Christmas trees. Think of white, brown, blue, red, pink, or whatever color you prefer.
- Sizes. Make this mini DIY tree in any size you prefer. If you are planning to use them as a Christmas centerpiece, make them in different sizes for a more dramatic effect.
- Decoration. Decorate your Christmas tree however you like! You can use beads, glitter, ribbons, mini metallic balls, stars, mini garland, mini gifts, or mini ornaments. You can even make a star using a gold or yellow pipe cleaner.
- Light. Add fairy lights so it lights up at night.
- Trunk. Don’t want your tree resting flat on the table? Add a tree trunk using cardboard.

More Easy Christmas Crafts


DIY Pipe Cleaner Christmas Tree | Video Tutorial