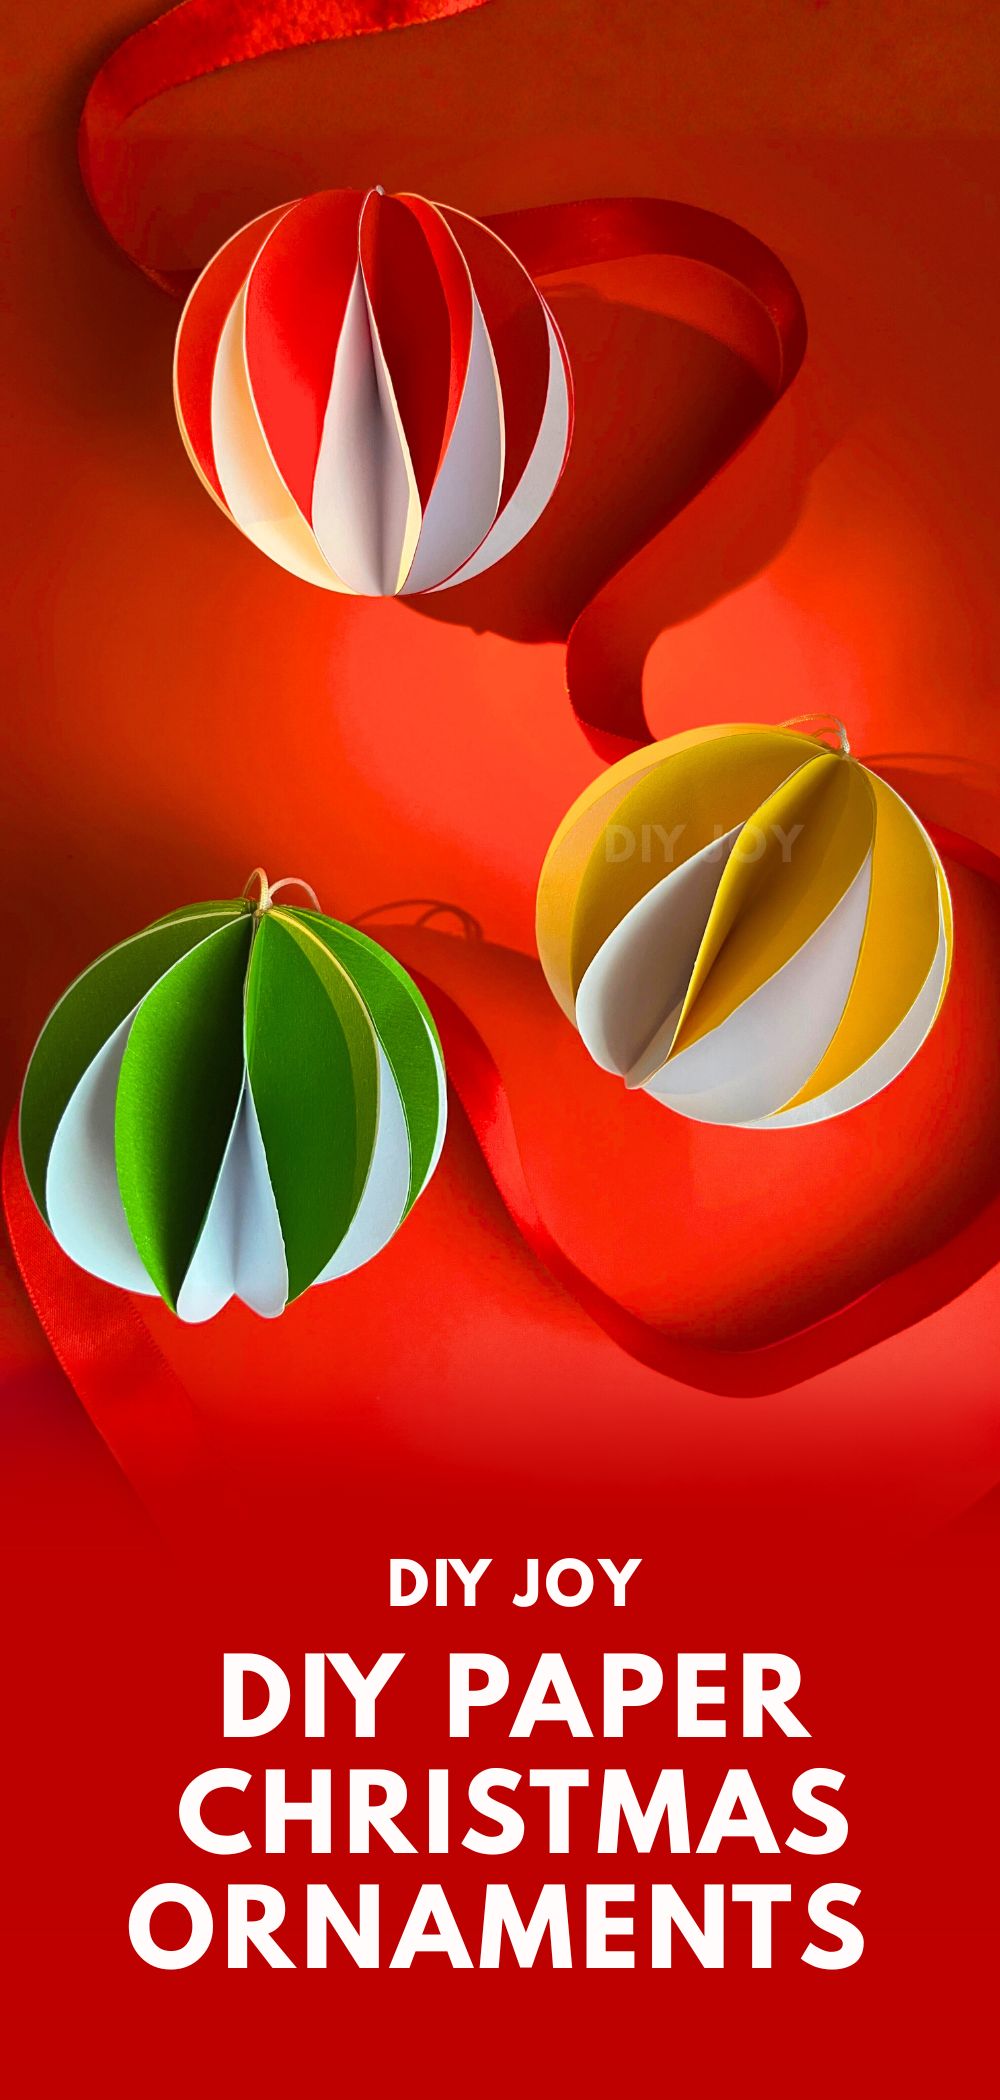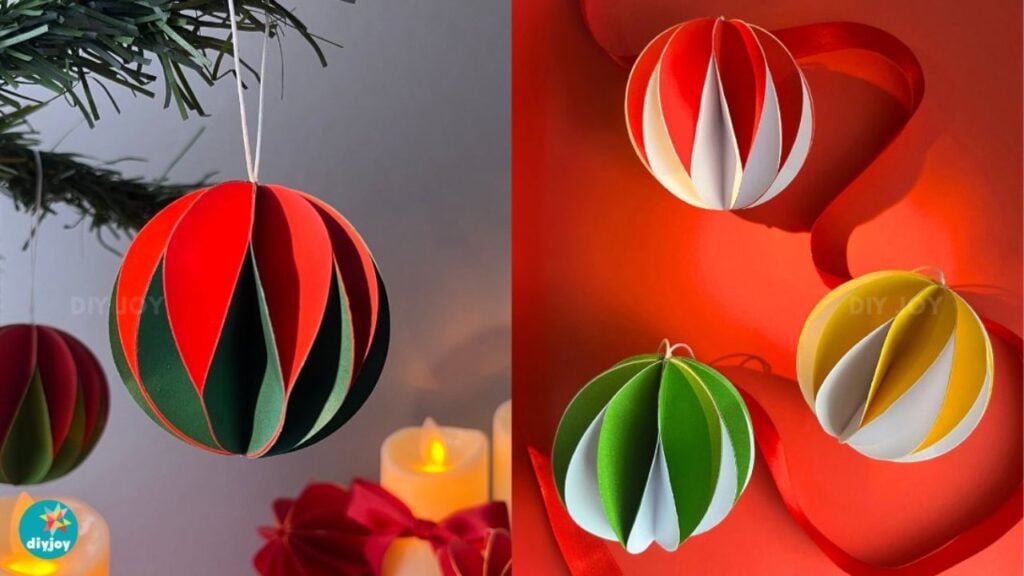
If you’re on the lookout for easy, budget-friendly Christmas ornaments, I’ve got you! These beautiful holiday ornaments are made with just simple colored paper. They’re super simple to make and perfect for decorating for the upcoming holidays!
Paper Ornament YouTube Video Tutorial
I made my first batch of these on a Sunday afternoon with a stack of cardstock and half a bottle of glue. Two hours later I had a bowl full of paper balls and a very sticky table.
That is the thing about this one. Once you get the rhythm of fold, glue, press, you stop thinking about it and just keep going. It is the kind of easy Christmas craft you can do with a movie on in the background.
Each ornament is nothing but paper circles, folded in half and glued back to back until the stack opens out into a ball. No sewing, no special machine, nothing you have to order and wait on.
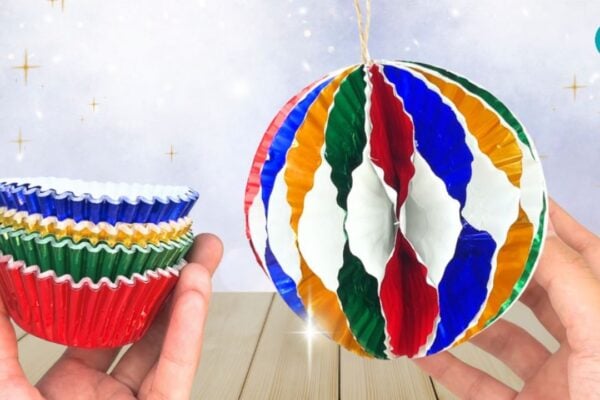
RELATED: DIY Cupcake Liner Christmas Ornament
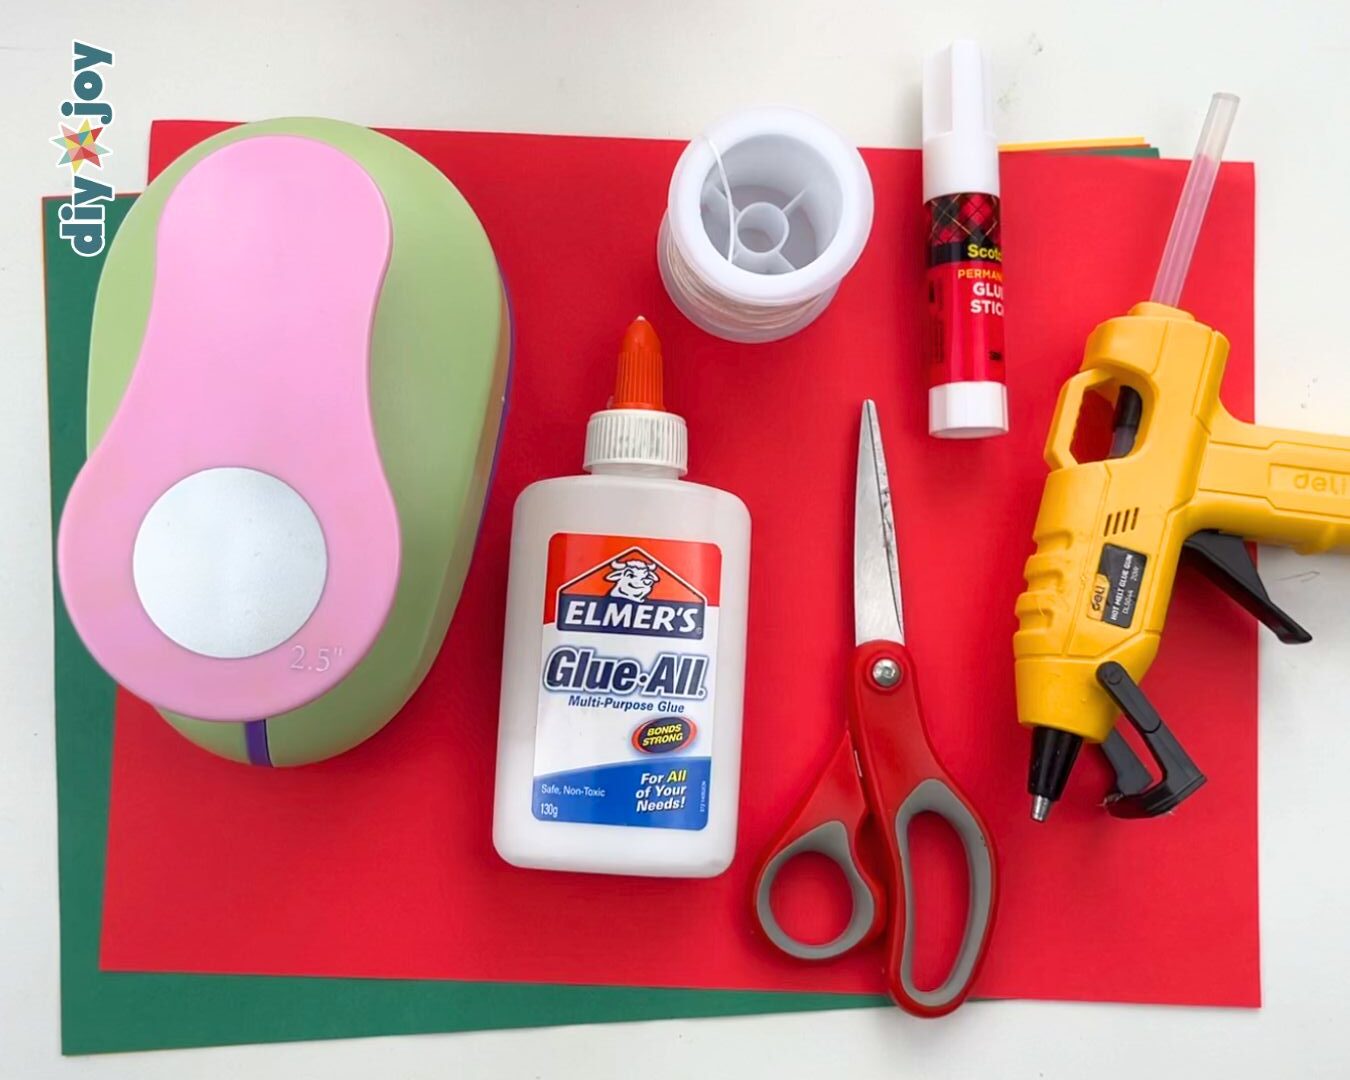
What I love most about this paper ornament is that it’s incredibly easy to make. There are absolutely no complicated steps and fancy materials involved, making it a great kids’ craft for school or parties. You will only need colored paper, a round puncher or scissors, a glue stick, PVA glue, string, and hot glue. If you happen to be a teacher, this is also a nice DIY Christmas decoration for classrooms.
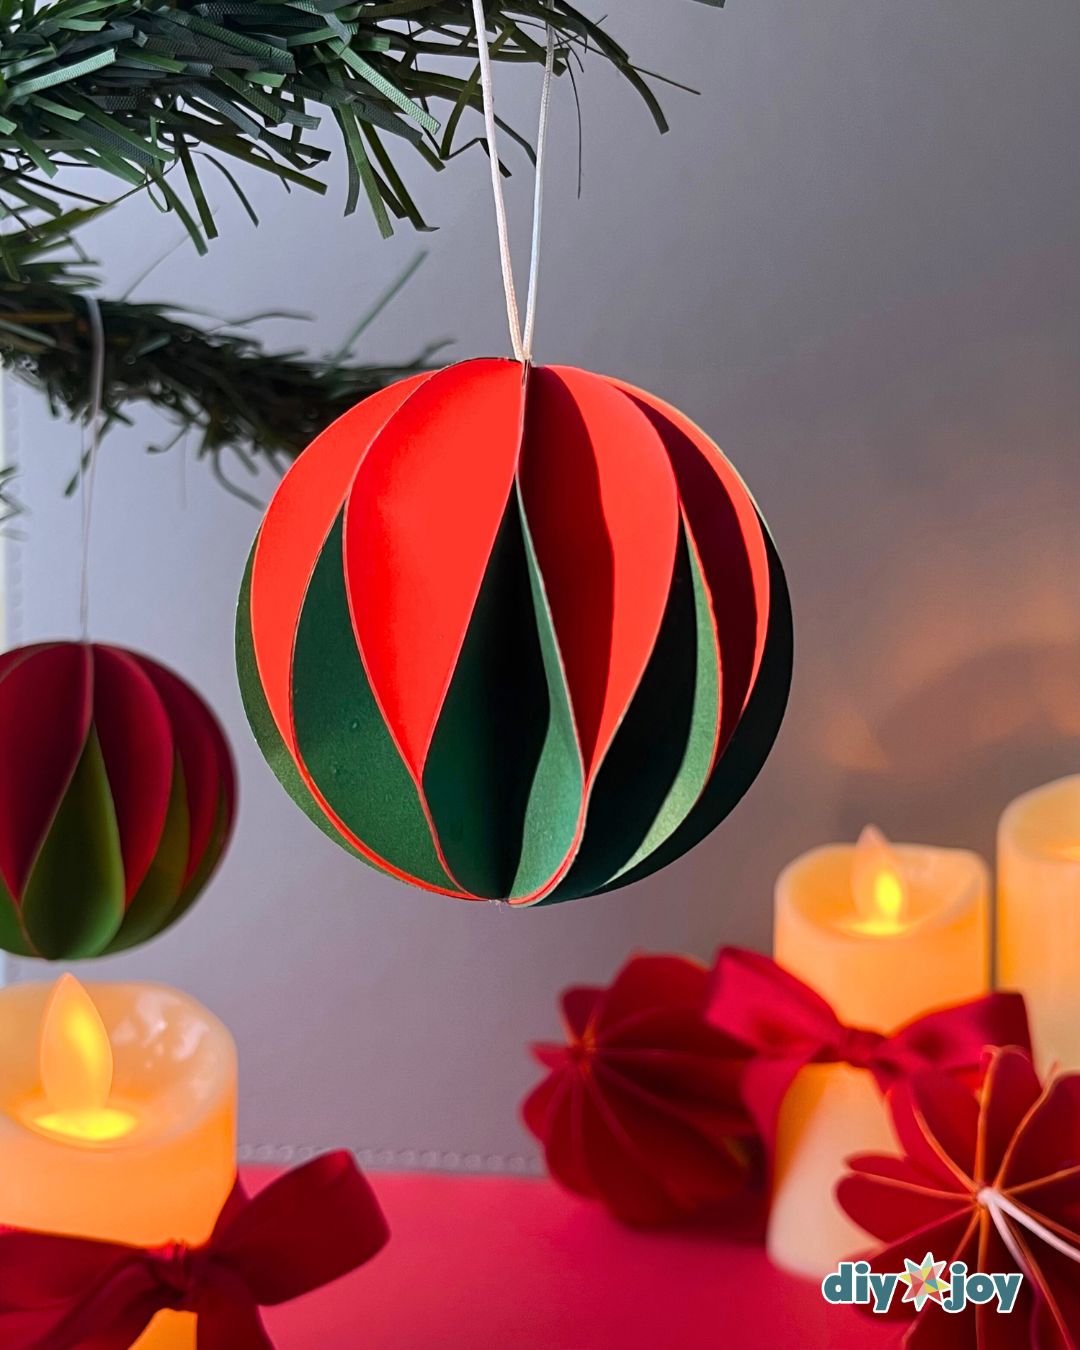
I’ve always loved making DIY Christmas crafts that I can use to decorate our home for the christmas season. That started because we always wanted to change the theme every year. Buying new decorations yearly is very expensive, so as a creative person who loves doing DIY projects, I decided to make some decorations instead of buying them from the stores. This way, we can save money and I can also practice my creative skills. With that being said, this paper craft is the perfect project if you have the same problem as I do. Have fun crafting this holiday season!
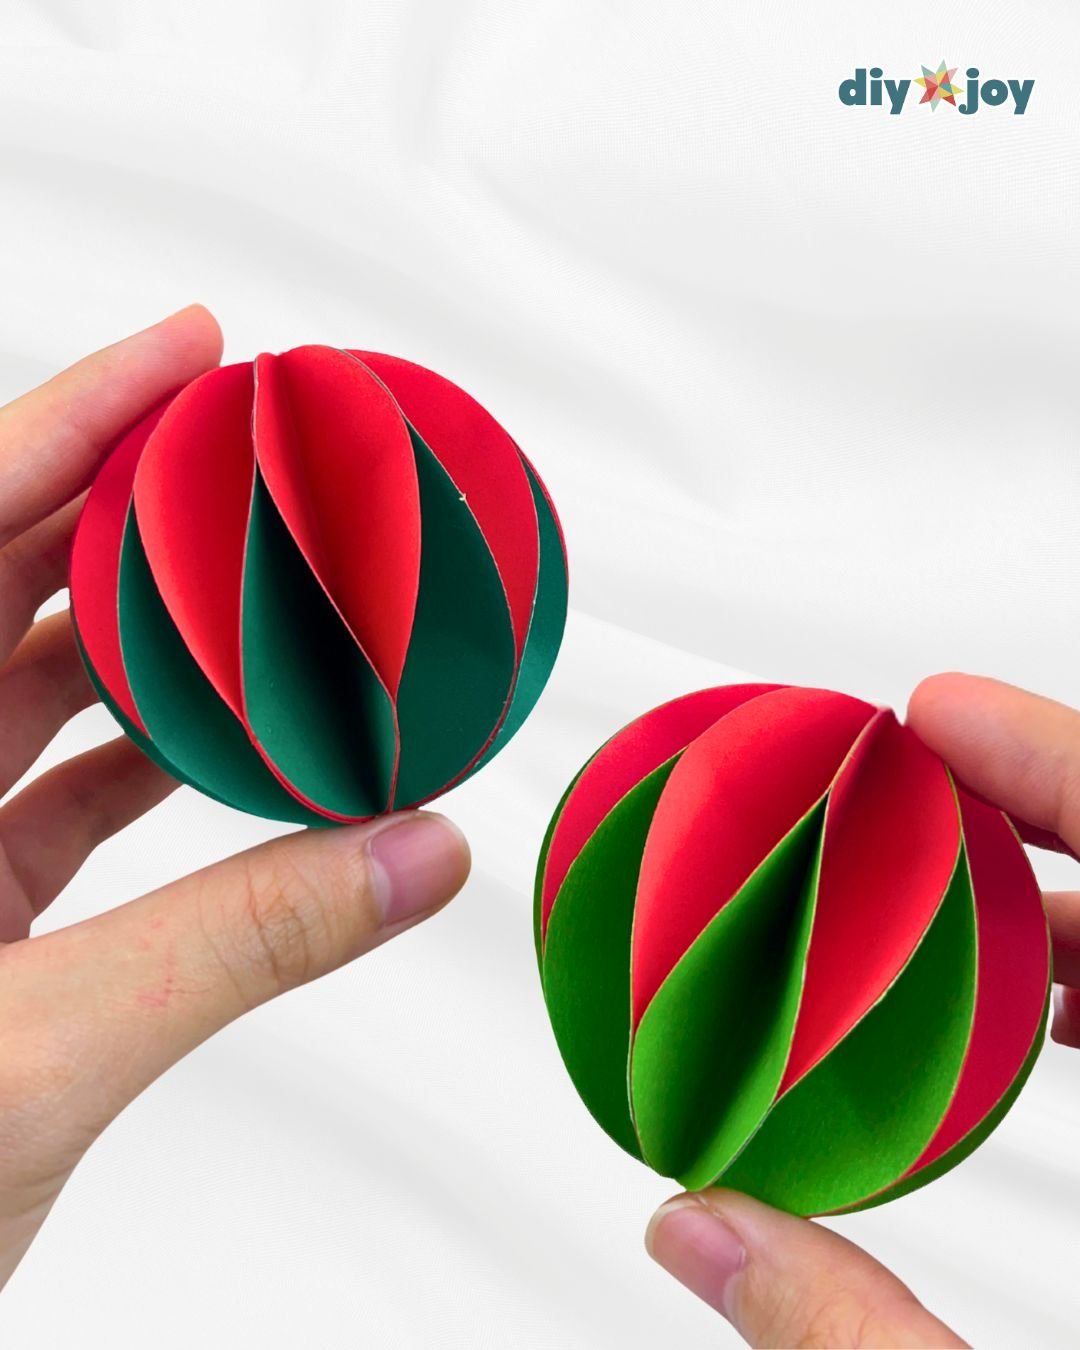
This DIY Christmas project was a huge hit on TikTok and Instagram! Just watch the craft video and you’ll immediately see why people loved it so much!
▶ Watch this tutorial on TikTok
Craft Supplies Needed
Here is everything I had out on the table for this one. Most of it is probably already in your craft drawer.
- Colored cardstock (I used red, green, and yellow)
- A round paper punch
- Scissors
- White craft glue, the Elmer’s Glue-All kind
- A glue stick
- White string or thread
- A hot glue gun
Shop the Supplies
Here are the main supplies we used on this paper ornament, so you can grab the same ones and get straight to the folding.
Circle Puncher
The fastest and easiest way to cut perfect circles!

Cardstock
String
Glue
*Some of the supply links above are affiliate links. If you buy through them I earn a small commission at no extra cost to you.
Picking Your Paper and Colors
Cardstock is what makes this work. It holds a crease, and it keeps its shape once the ball is closed, which is the whole point of the finished ornament.
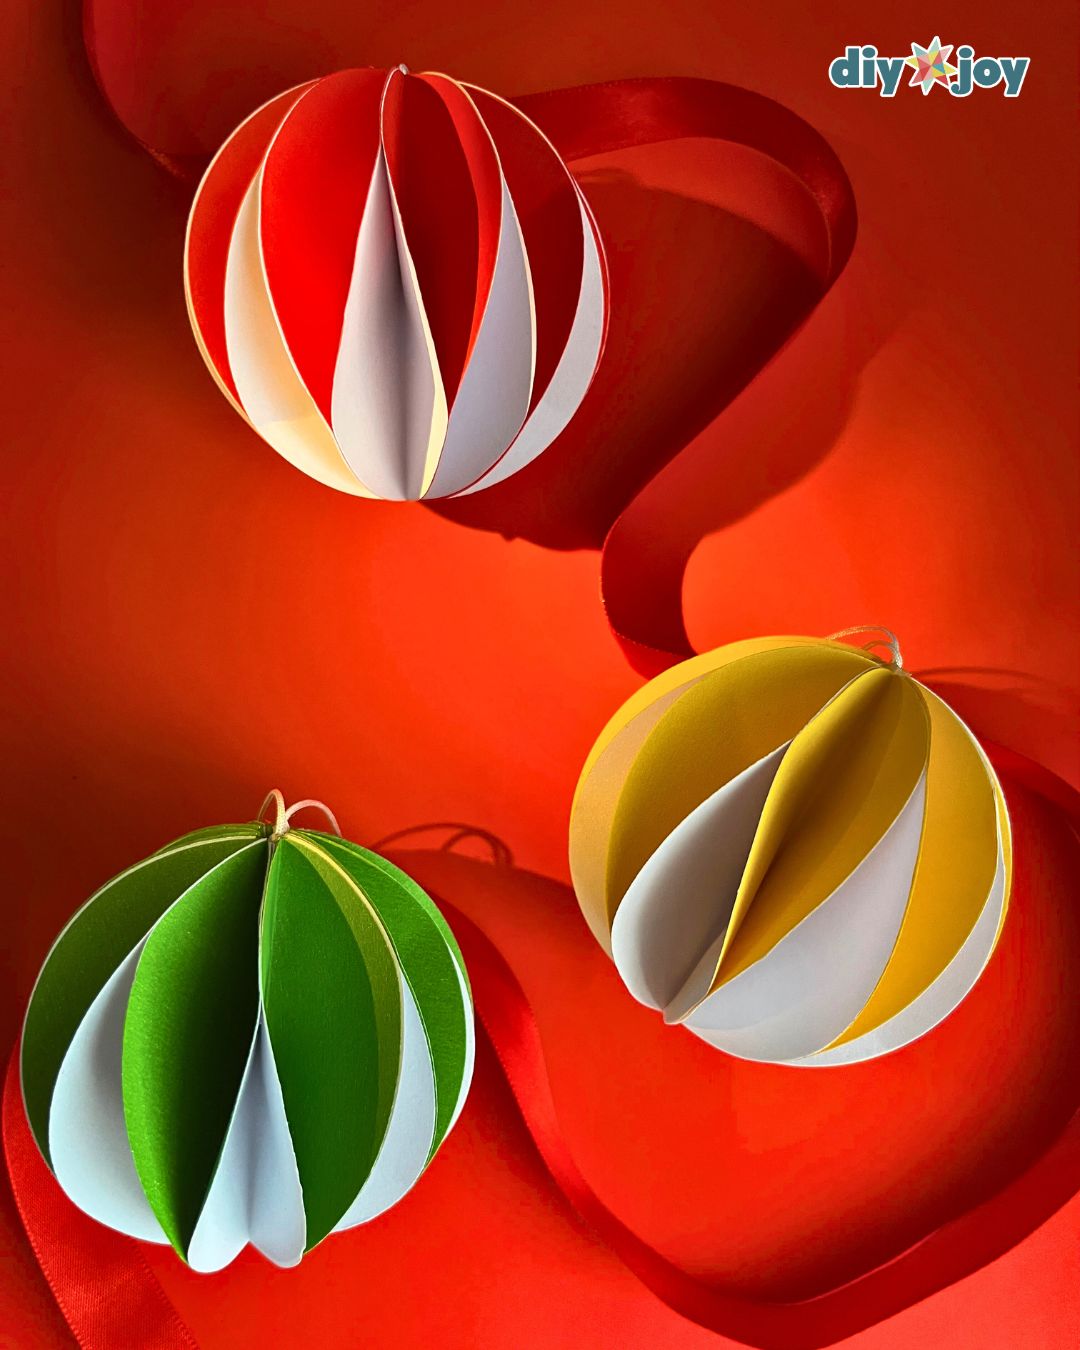
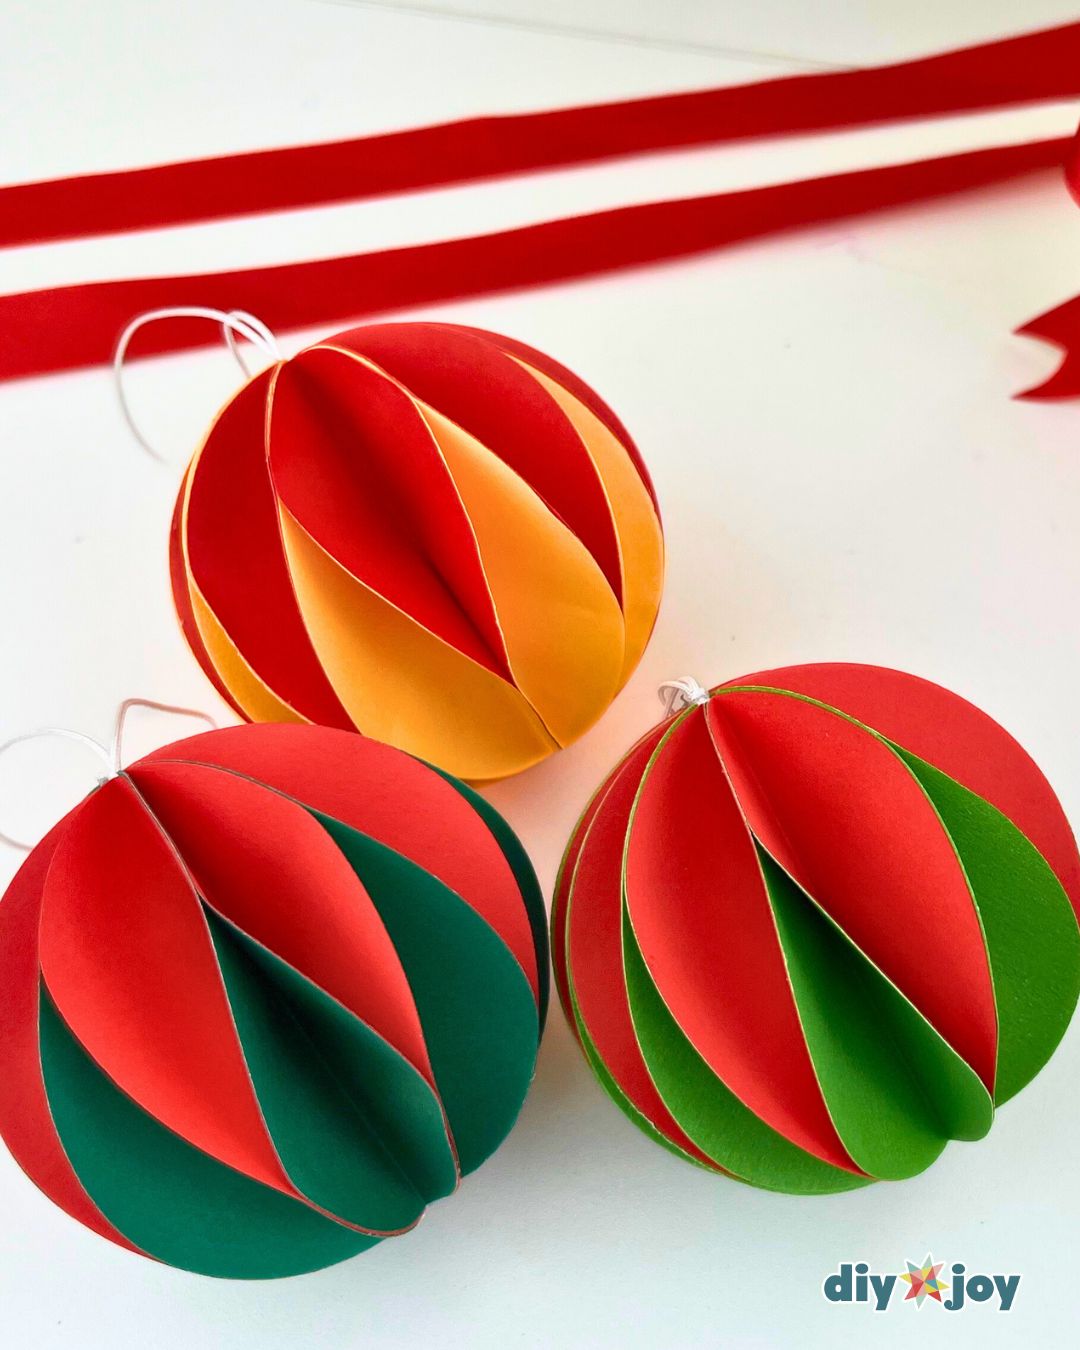
Two colors is the classic look. Red and dark green reads the most like Christmas to me, but red with white gives you a candy stripe and yellow with white feels a little more like winter sun than holiday.
Whatever you choose, keep every circle the exact same size. That is the one thing that decides whether your ball comes out round or lopsided, and it is much easier to get right with a punch than with scissors.
How to Make Christmas Ornaments Using Paper
Learn how to make christmas ornaments using colored paper with this easy tutorial.
Folding paper
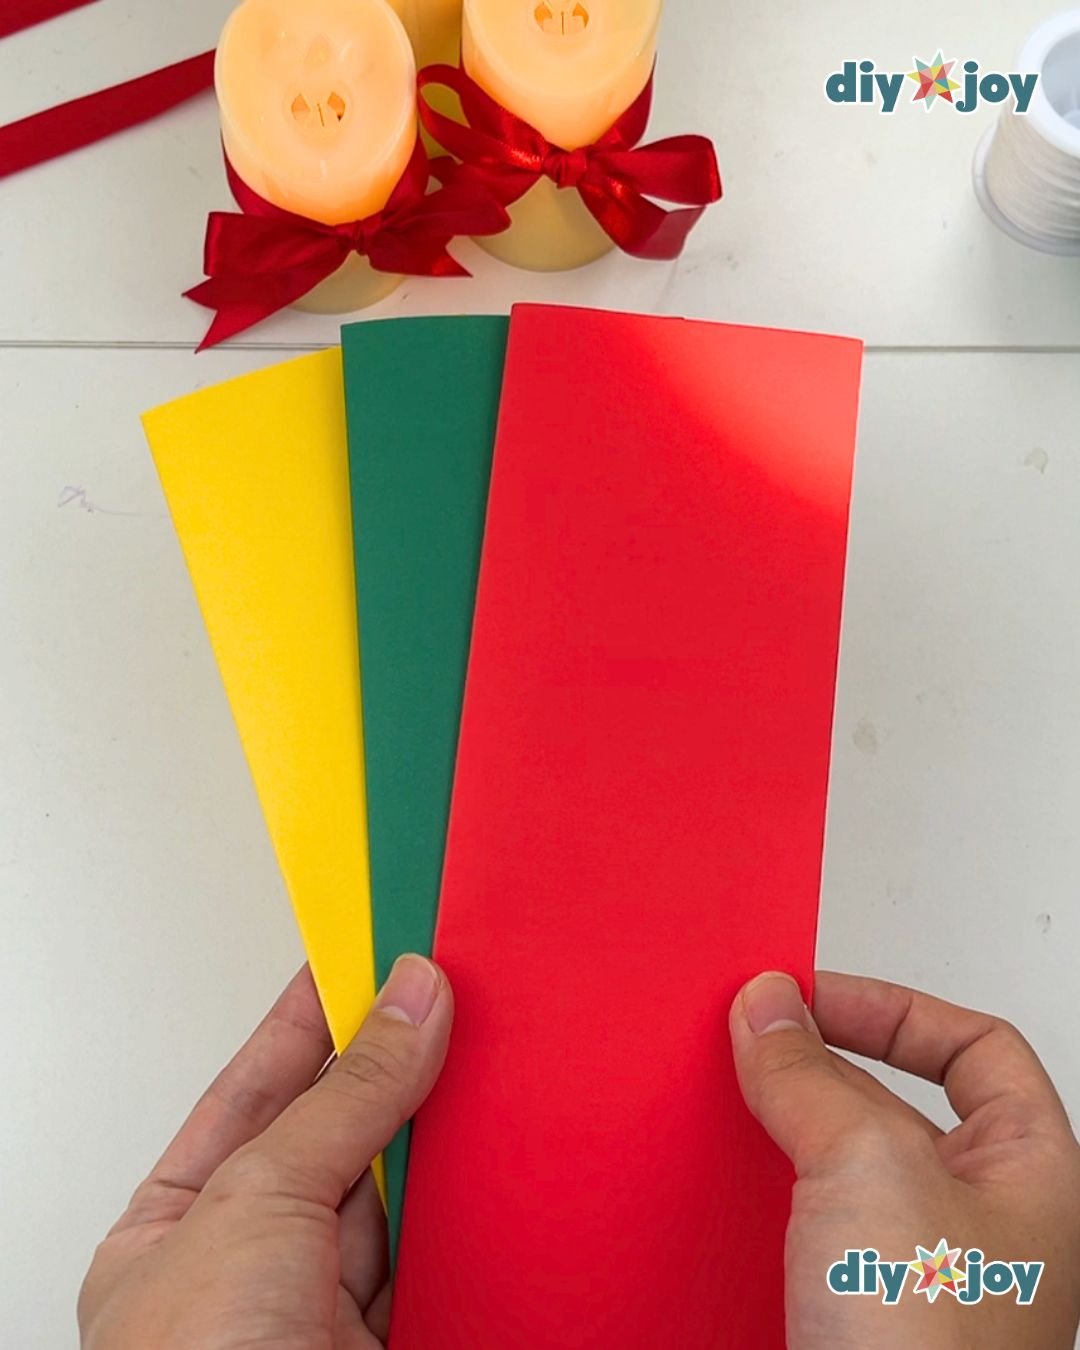
Fold all colored paper in half twice crosswise.
Cutting circles
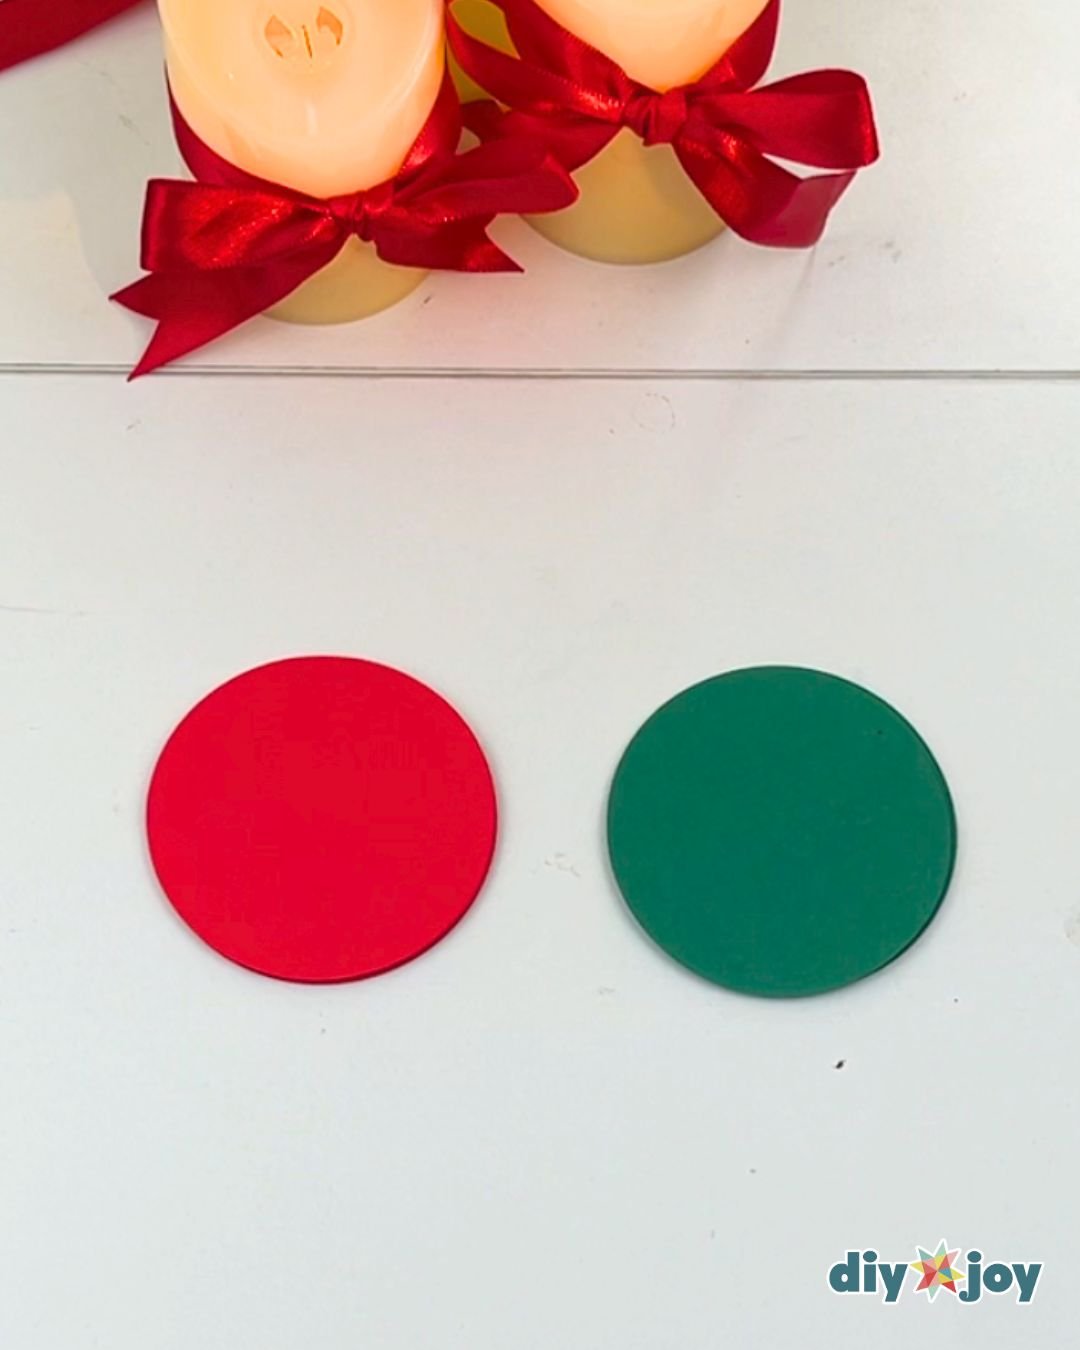
Cut the circles. You’ll need 20 pieces for one ornament (10 pieces for each color). You can cut them using a pair of scissors, but to ensure smooth edges, use a round puncher. It will make the process so much easier.
Folding circles
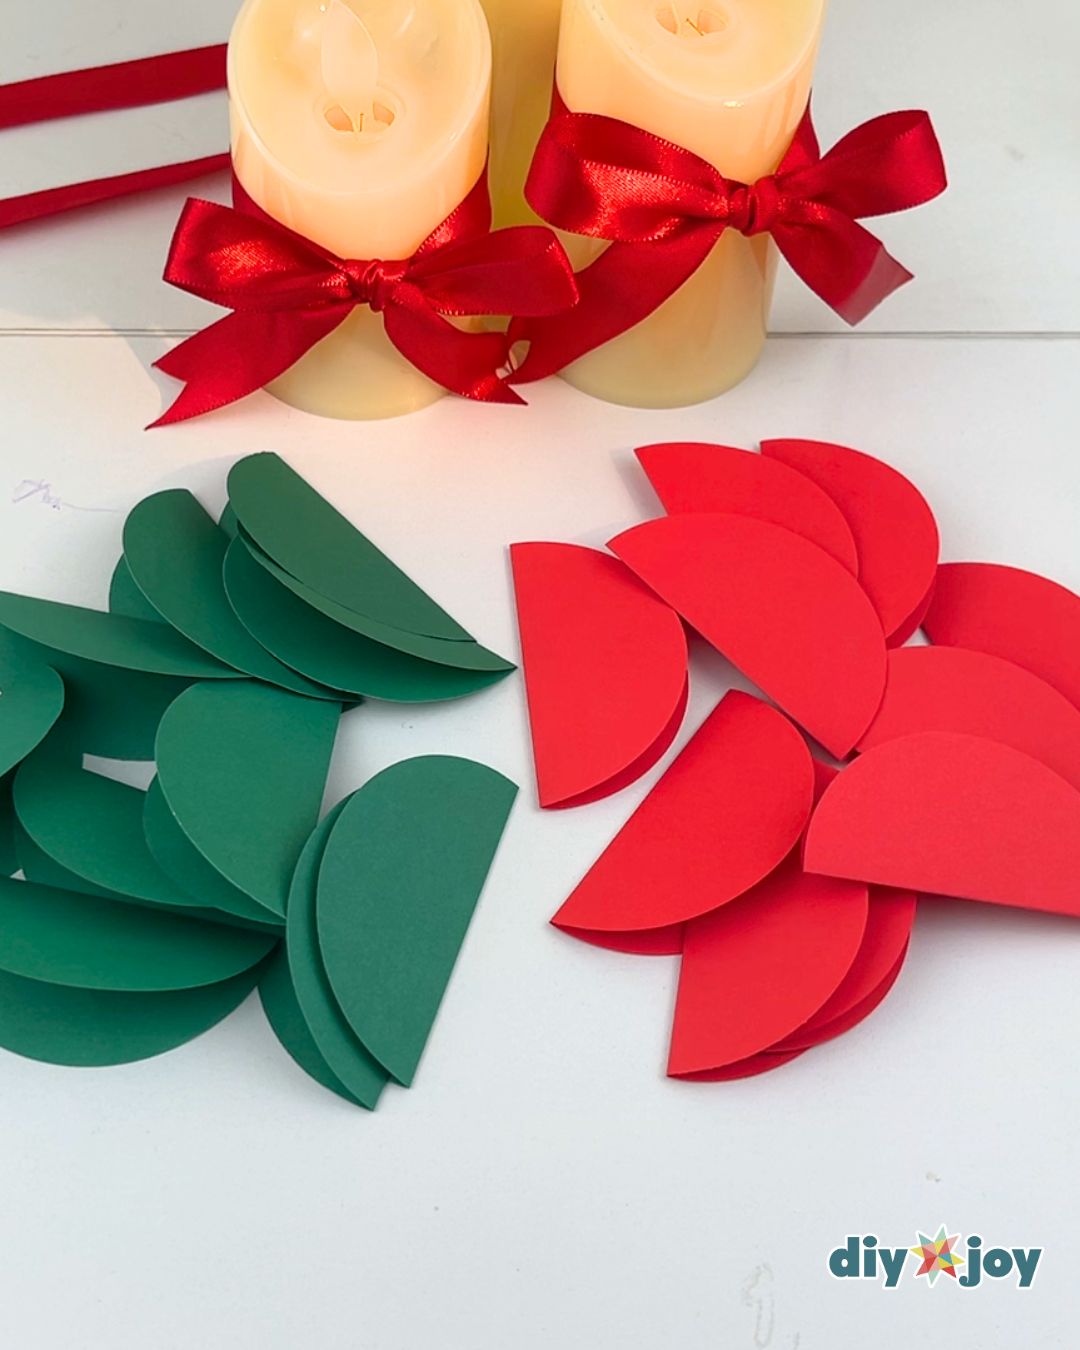
Fold the circles in half.
Gluing half circles
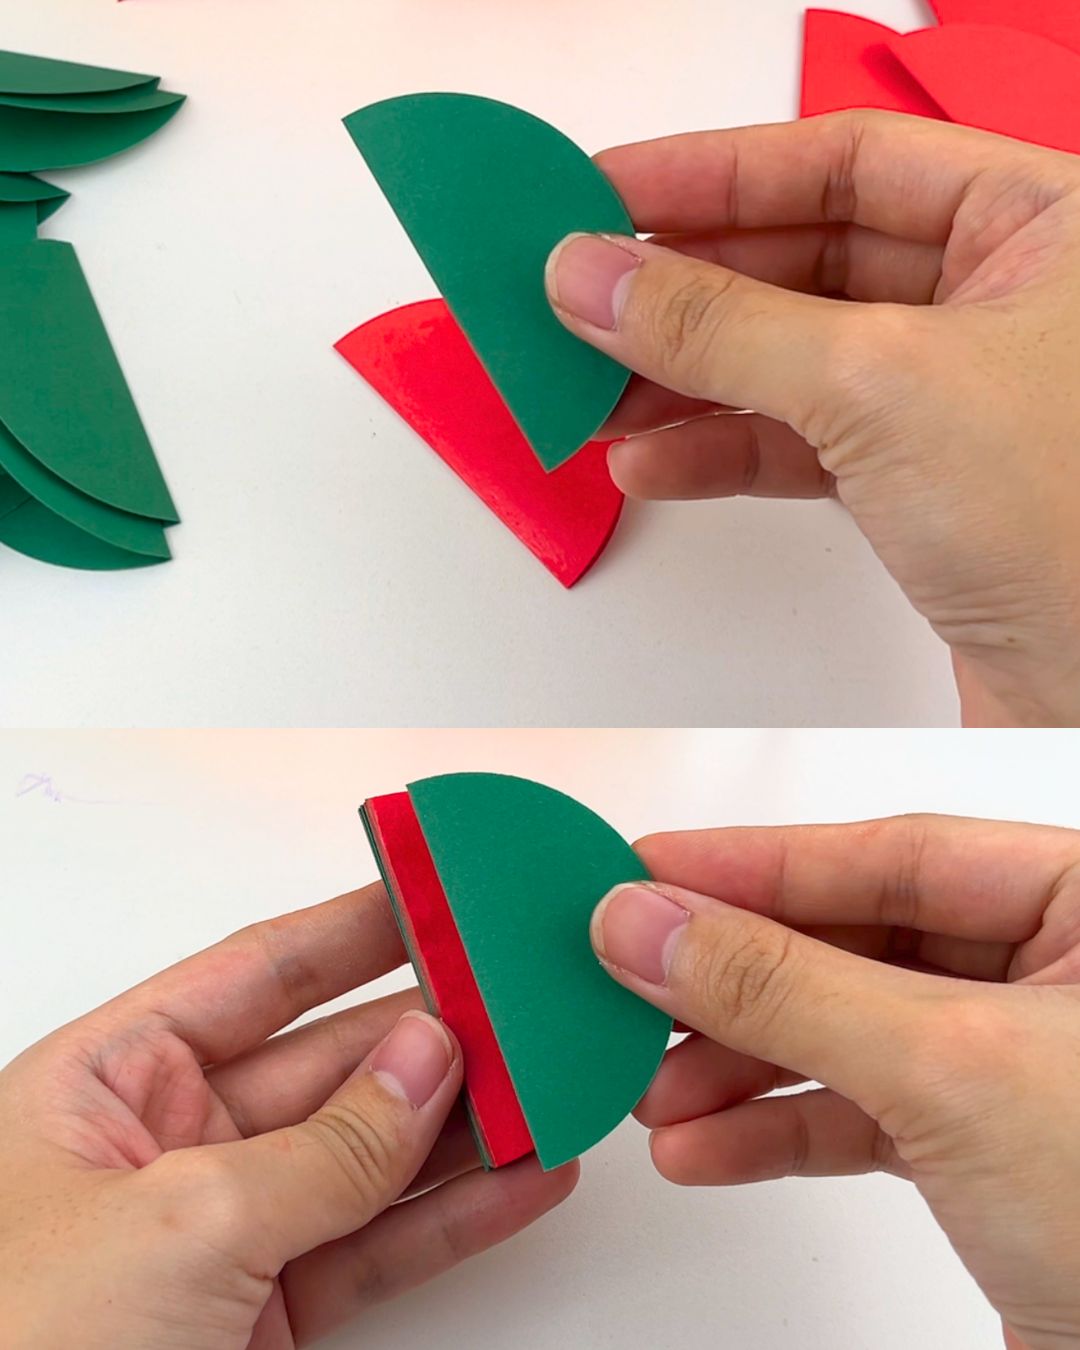
Glue the pieces together, alternating the colors, using a glue stick.
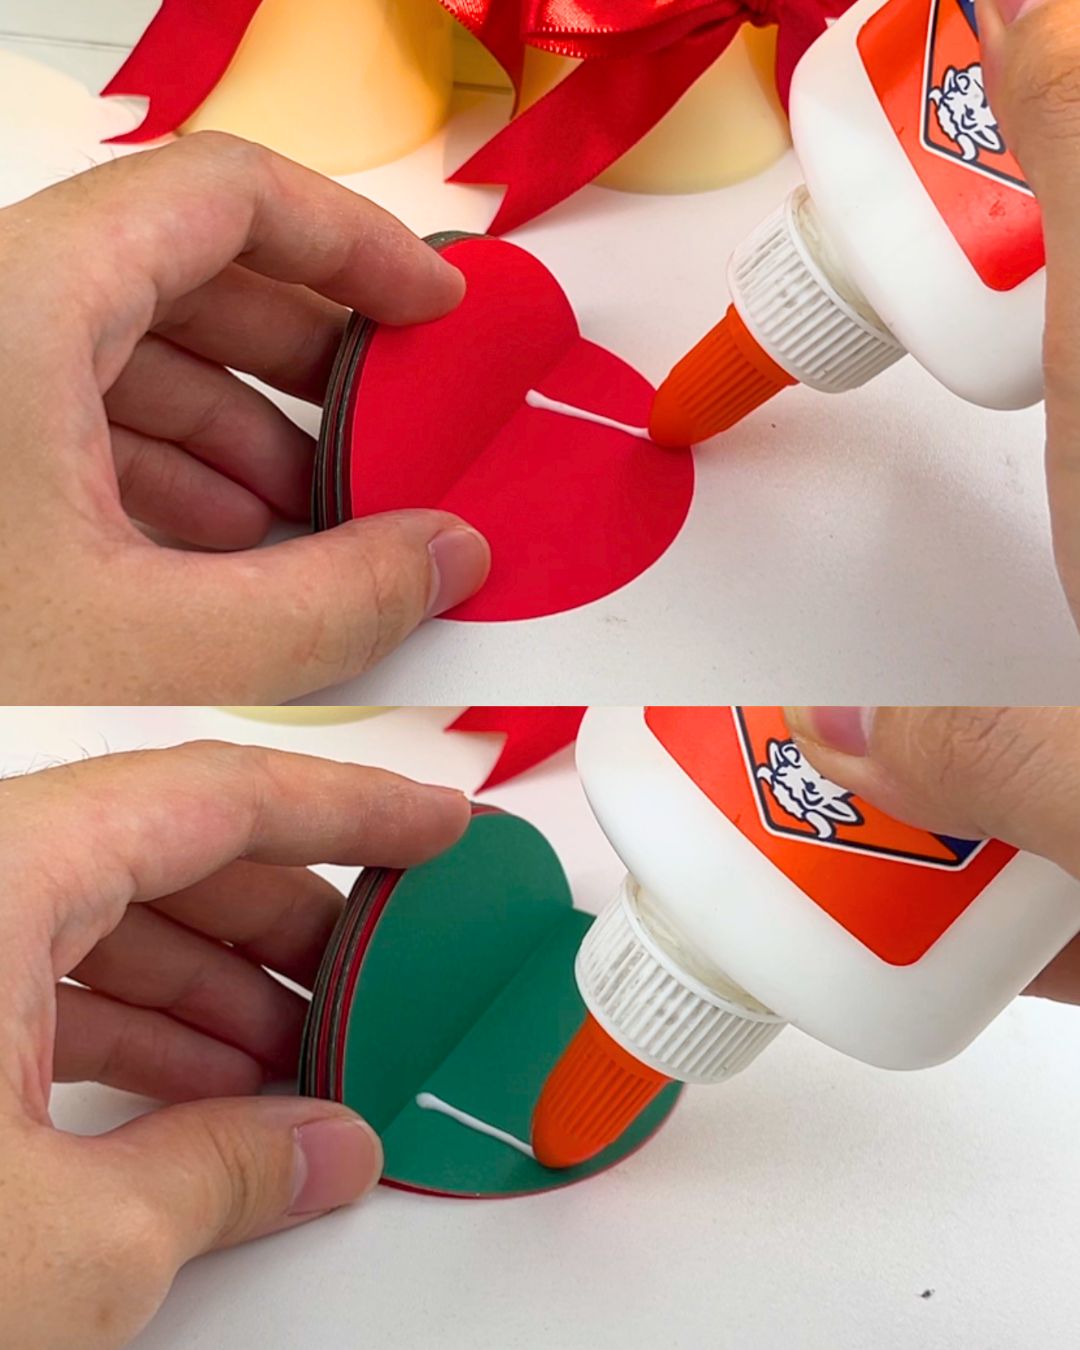
Applying glue
Apply a small horizontal strip of glue to each folded piece, alternating the placement between the top and bottom.
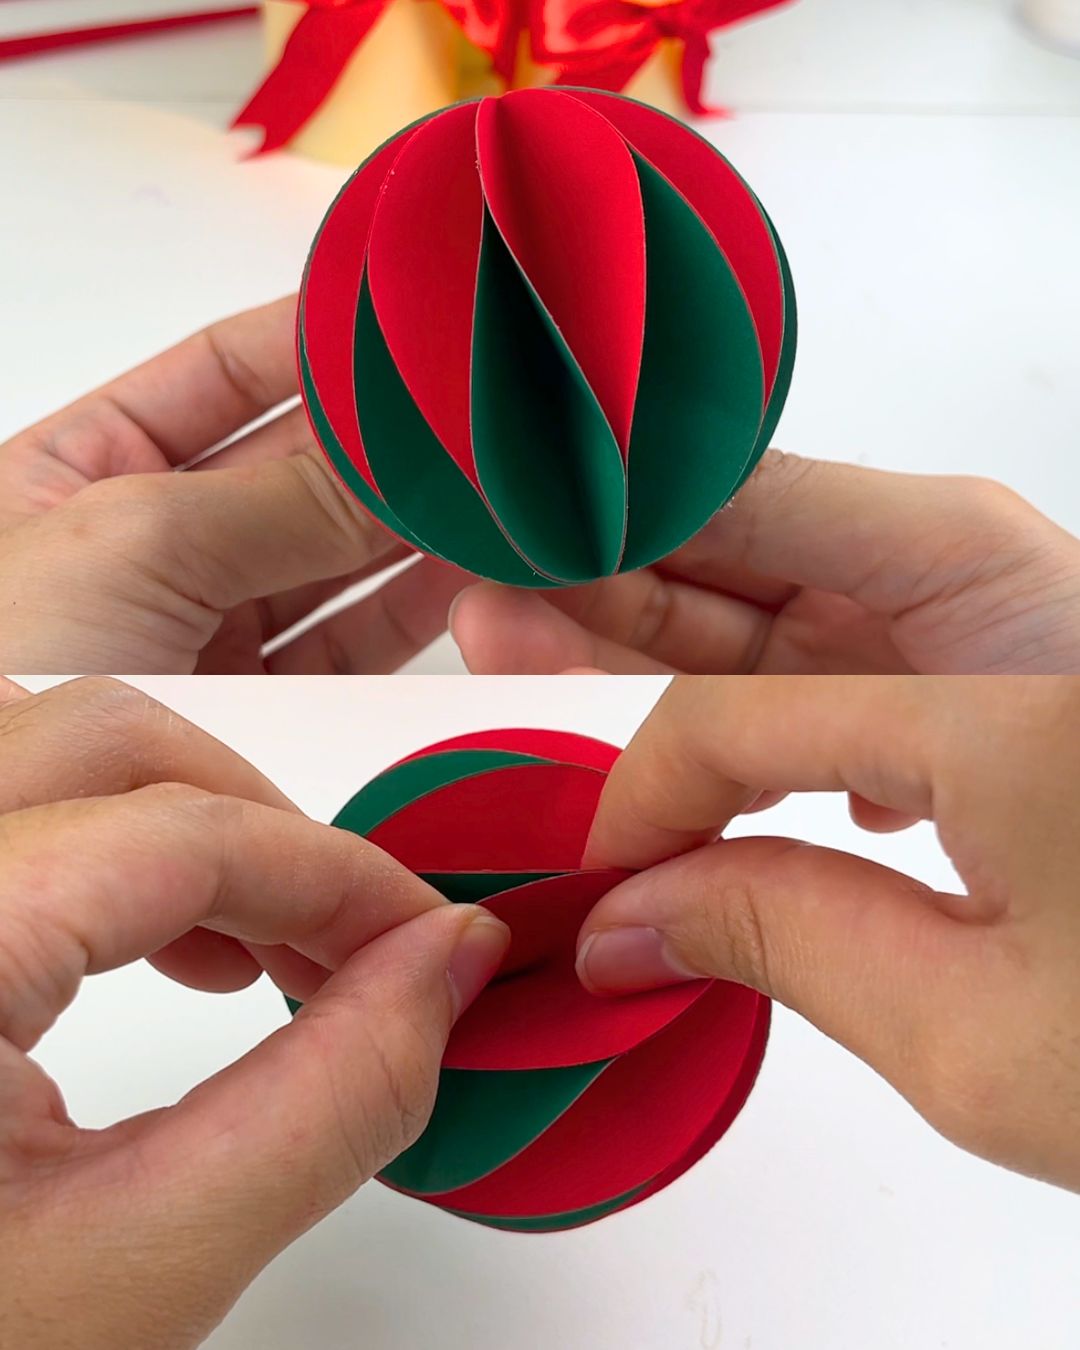
Gluing the ends
Glue the ends together to make the ornament. Make sure they are aligned.
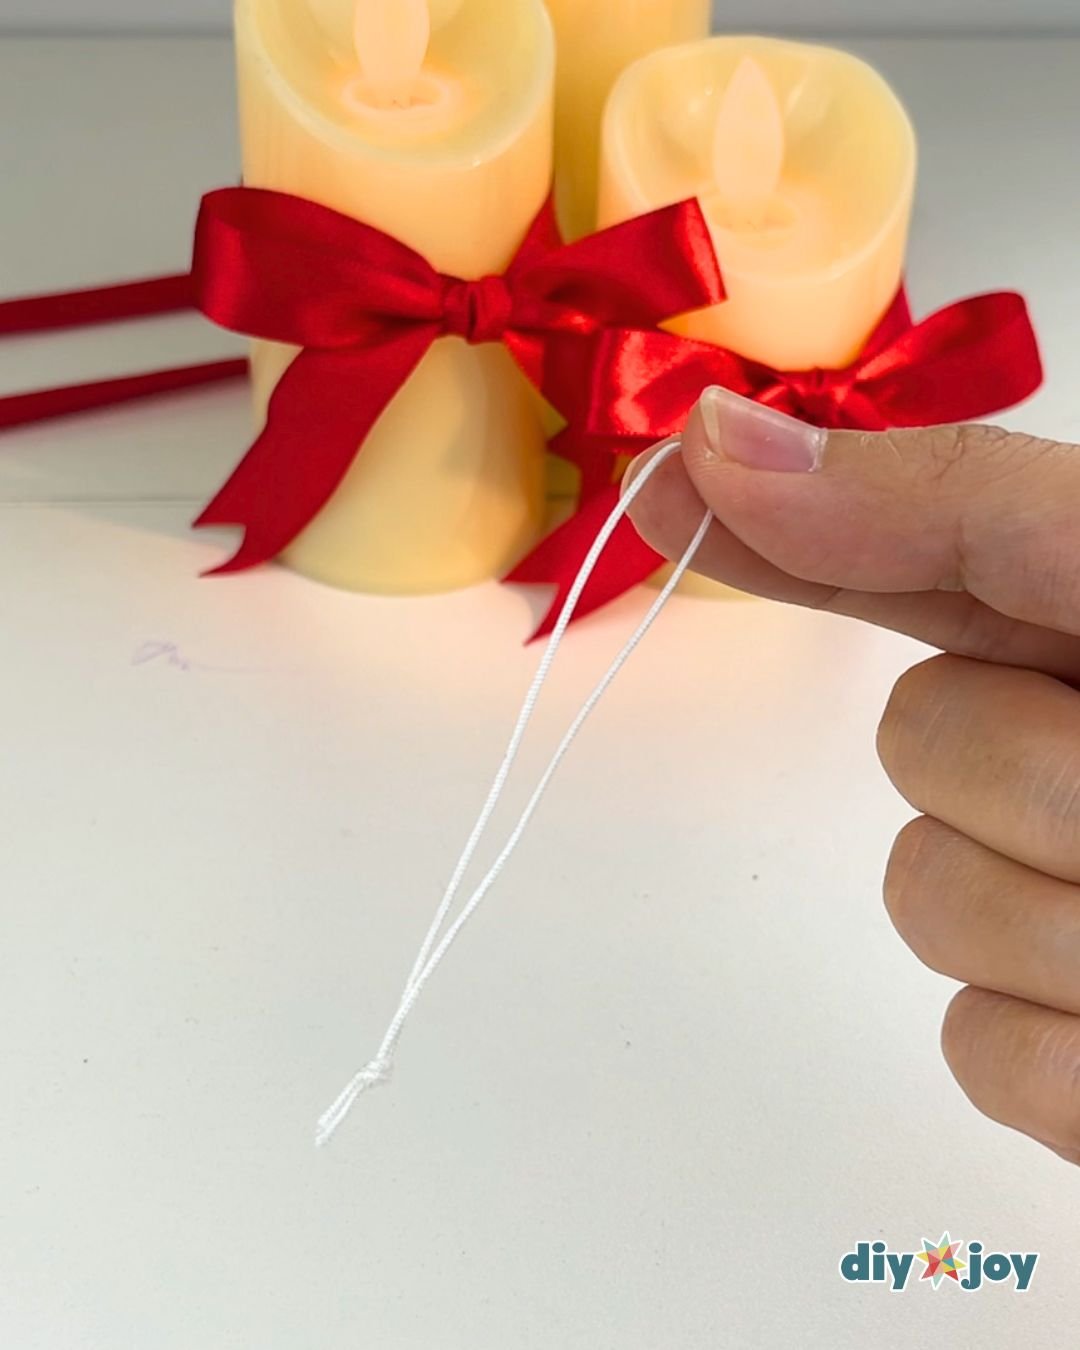
Making the string
Cut a small piece of string and fold. Tie the ends into a knot.
Gluing the string
Glue the string on the top of the ornament using hot glue.
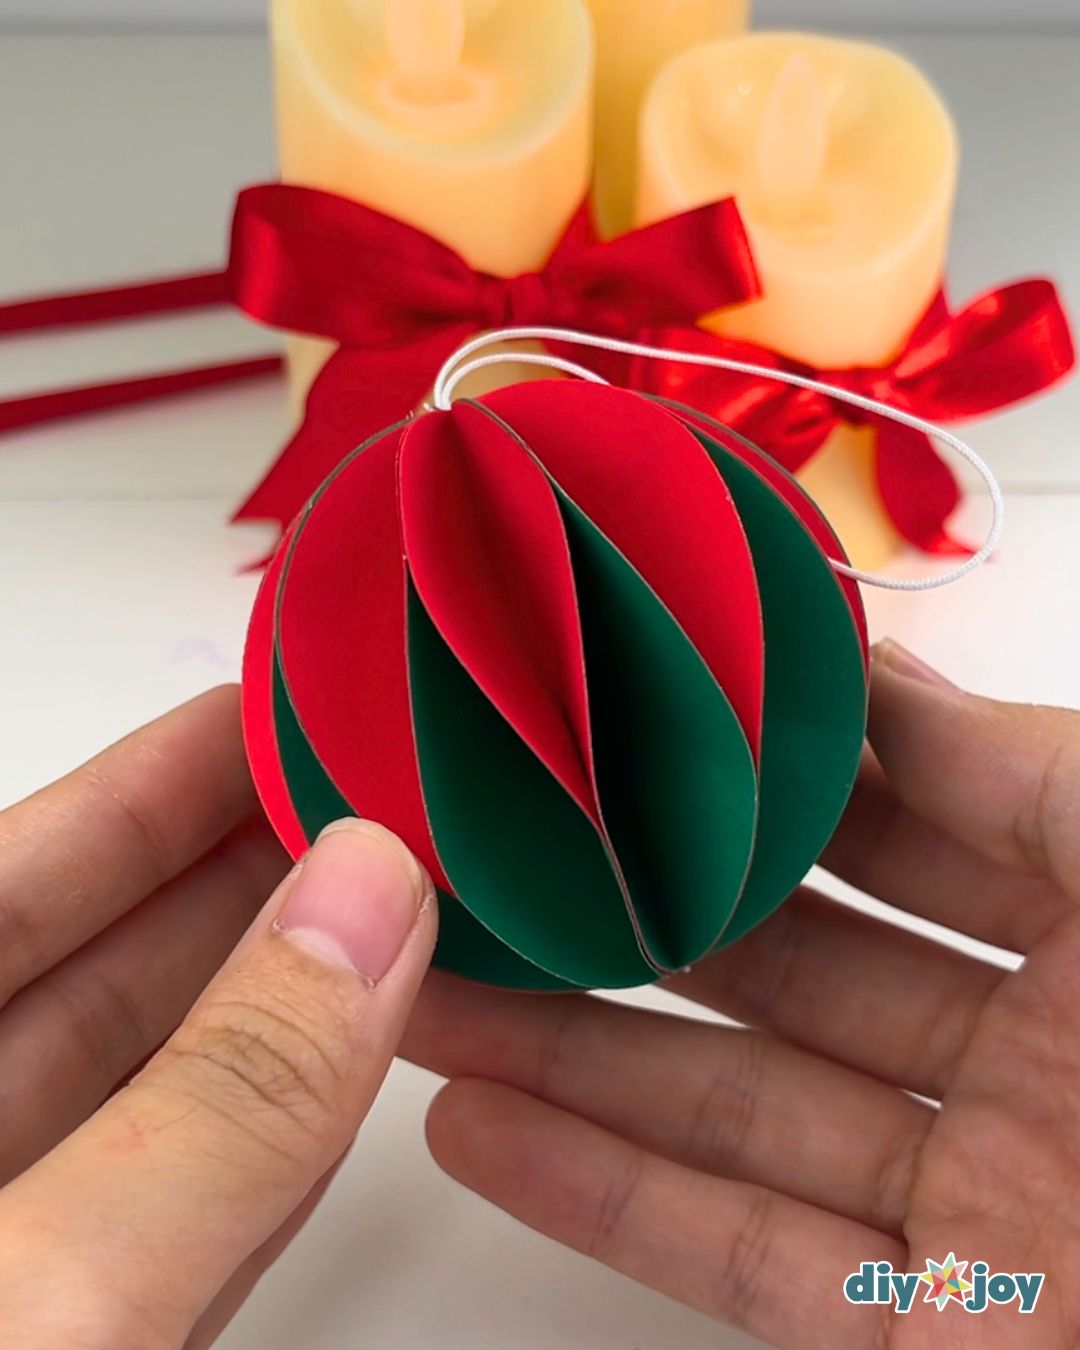

Crafting Tip
Make sure to align the circles when gluing.
A Few Things That Make This Easier
- Fold everything first. Punch all your circles, fold them all in half, then sort them into color piles before you open the glue. Batching the steps is faster than working one ornament at a time.
- Go light on the glue. A thin line down the folded edge is plenty. Too much and the paper buckles and dries wavy.
- Line the folds up as you press. Match the folded edges to each other every single time. If they drift, the stripes on the finished ball drift with them.
- Let it set before you keep stacking. Give each pair a few seconds under your fingers. It is a small pause and it saves you from the whole stack sliding apart.
- Make more than you think you need. These go fast as little gifts, and once people see one they will ask for one.
Frequently Asked Questions
What kind of paper works best for these ornaments?
Cardstock. It takes a sharp crease and holds the round shape once the ball is closed, which is exactly what you need here. Regular printer paper folds fine but goes soft under the glue and the finished ball tends to sag.
Do I need a paper punch, or can I just cut the circles?
A round punch is faster and every circle comes out identical, which is what keeps the ball from going lopsided. Scissors absolutely work if you trace around something round first, just be fussy about cutting them all the same size.
Is this a good craft for kids?
Yes, the folding and the white glue are easy for little hands, and it is a nice classroom project because everything is cheap and reusable. Keep the hot glue gun as the grown up job and let the kids handle the circles, the folding, and the color picking.
How do I hang the finished ornament?
Cut a short length of white string, knot one end, and attach it at the top so you have a loop. That loop is all you need to hang it on a branch, tie it to a gift, or string a few together for a garland.
Make a few of these and you will end up making a lot of them. They cost almost nothing, they take about as long as an episode of something, and they look far more expensive than a sheet of cardstock has any right to.
If you liked this one, my DIY Cupcake Liner Christmas Ornament uses the same idea with something else you already have in the kitchen.
Creative Ideas and Variations
- Color. Use more than 2 colors. Try using 4 colors!
- Sizes. Make paper christmas ornaments in different sizes for variation.
- Material. Try using different types of paper.
- Embellishments. Decorate the paper ornaments with beads and glitters.
- String. Use a ribbon instead of a string to add more color!
- Garland. Make a christmas ball garland by threading each paper ornament into a string.
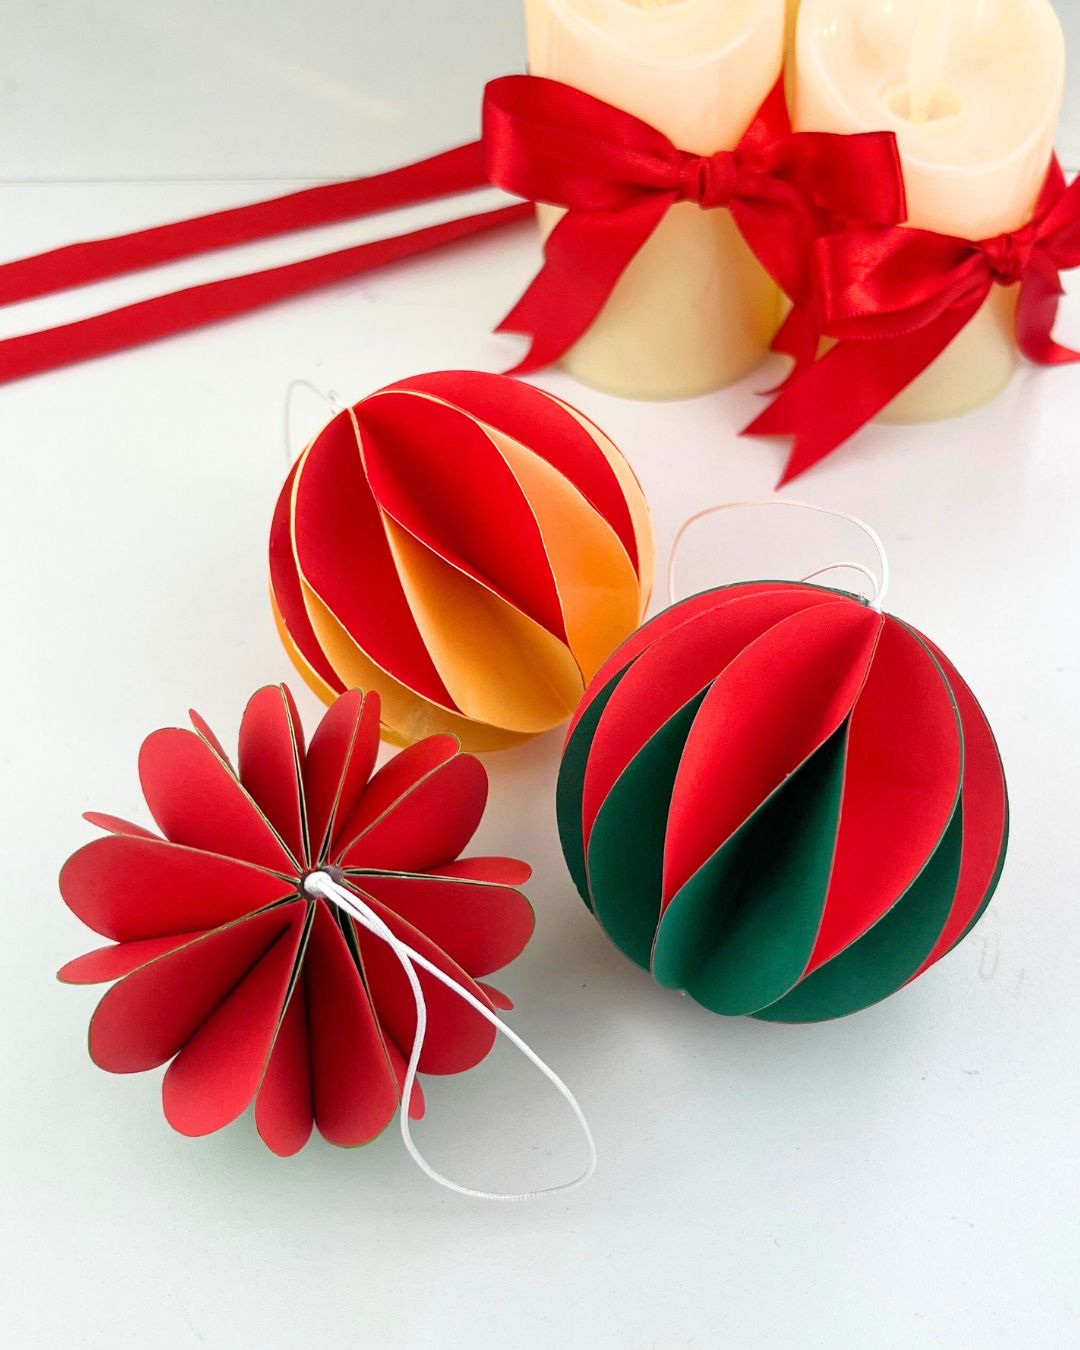
You do not have to close the ball. Leave the last two ends unglued and the whole thing lies open like a flat rosette, tied through the middle with string. It is the same craft with a completely different look, and it is lovely on a package or a wreath.
Mixing color pairs across one batch is worth doing too. A tree with red and green, red and white, and yellow and white ornaments on it looks collected rather than matched, and it takes no extra work.
More Easy Christmas Crafts To Try
Seasonal
Crafts

Tips and Hacks
DIY Christmas Ornament With Colored Paper