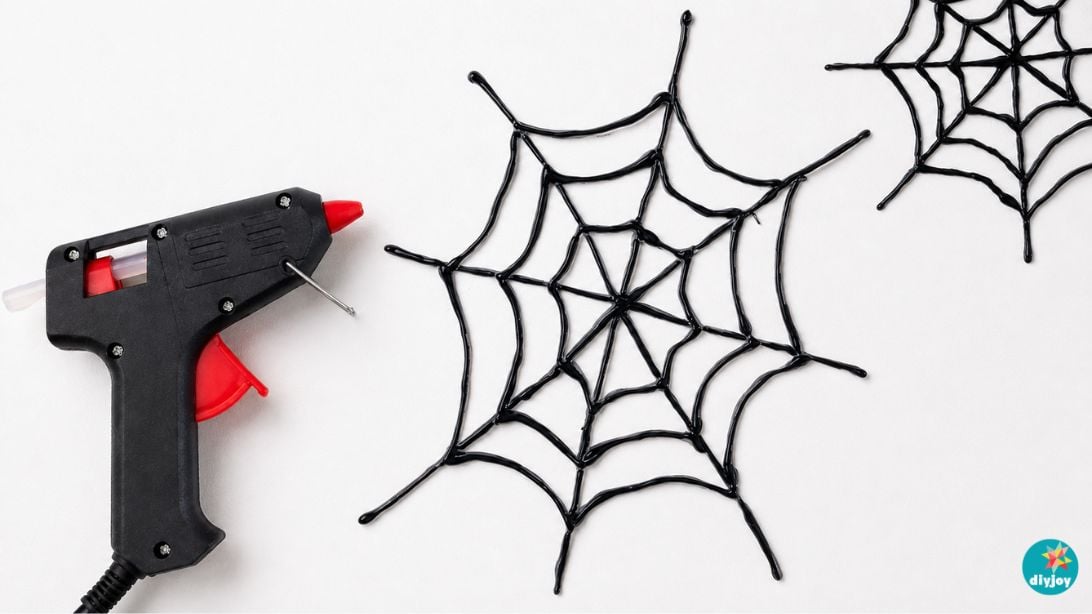
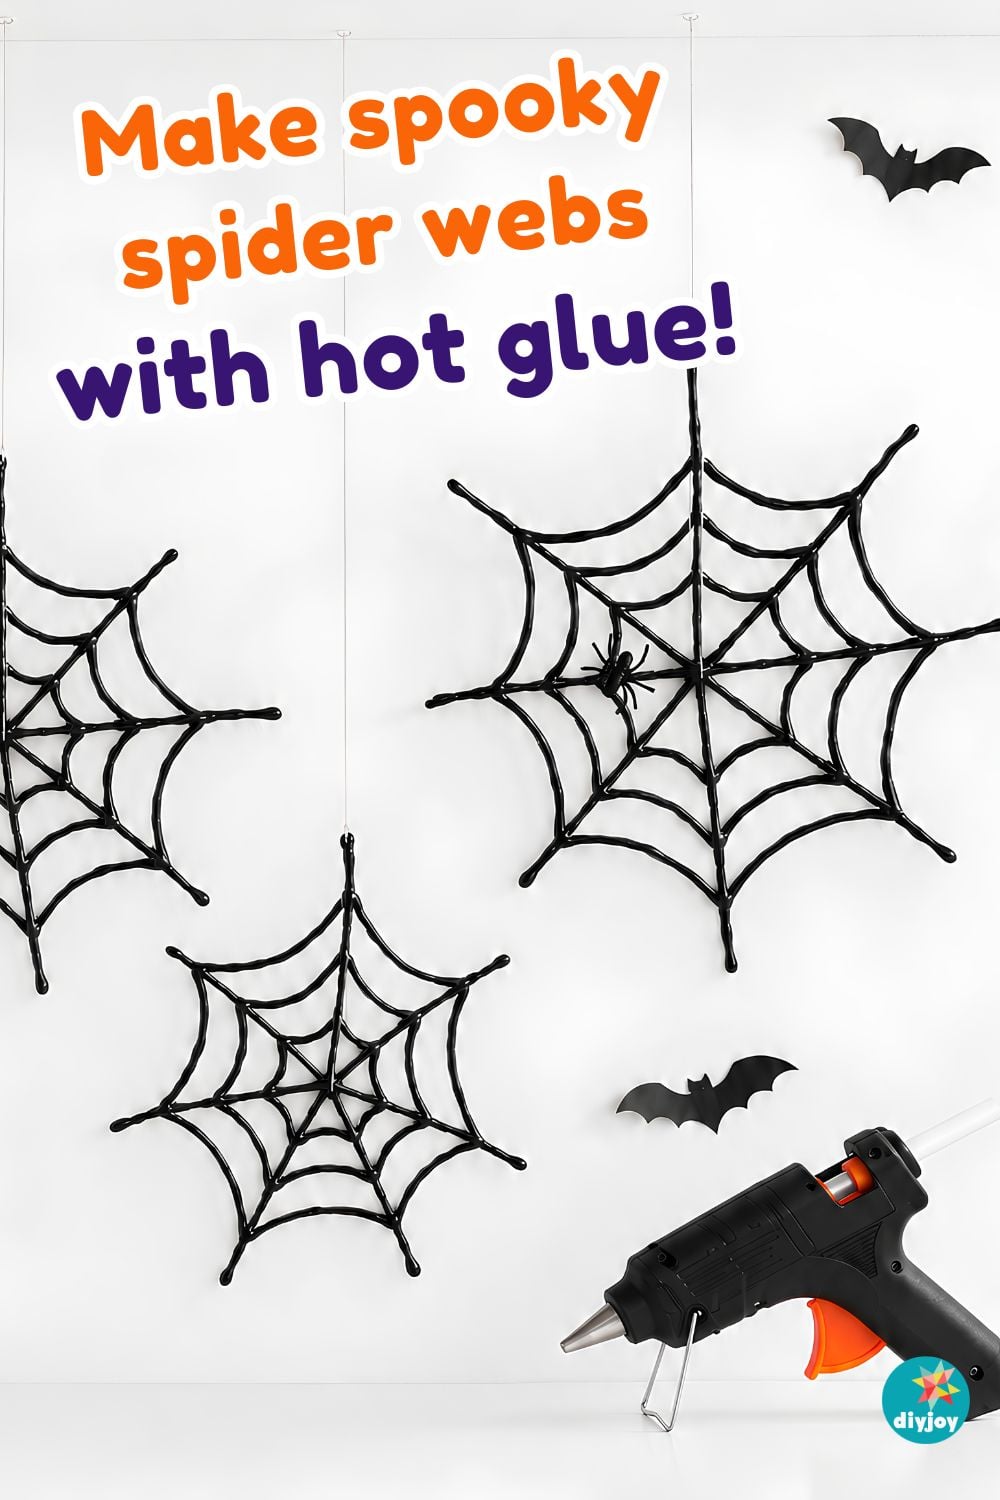
Looking for easy Halloween crafts that you can use as party decorations? These DIY hot glue spider webs are simple, affordable, and fun to make. Hang them on a wall, from the ceiling, around a Halloween banner, or above a party table to create spooky DIY Halloween decorations.
You only need a few materials to make these hot glue spider webs: a hot glue gun, glue sticks, acrylic markers or paint, parchment paper, and clear nylon string for hanging. Make the webs in different sizes, then add paper bats or small spiders to complete your Halloween display. This easy hot glue craft is perfect for Halloween parties, haunted house decor, and other spooky season projects.
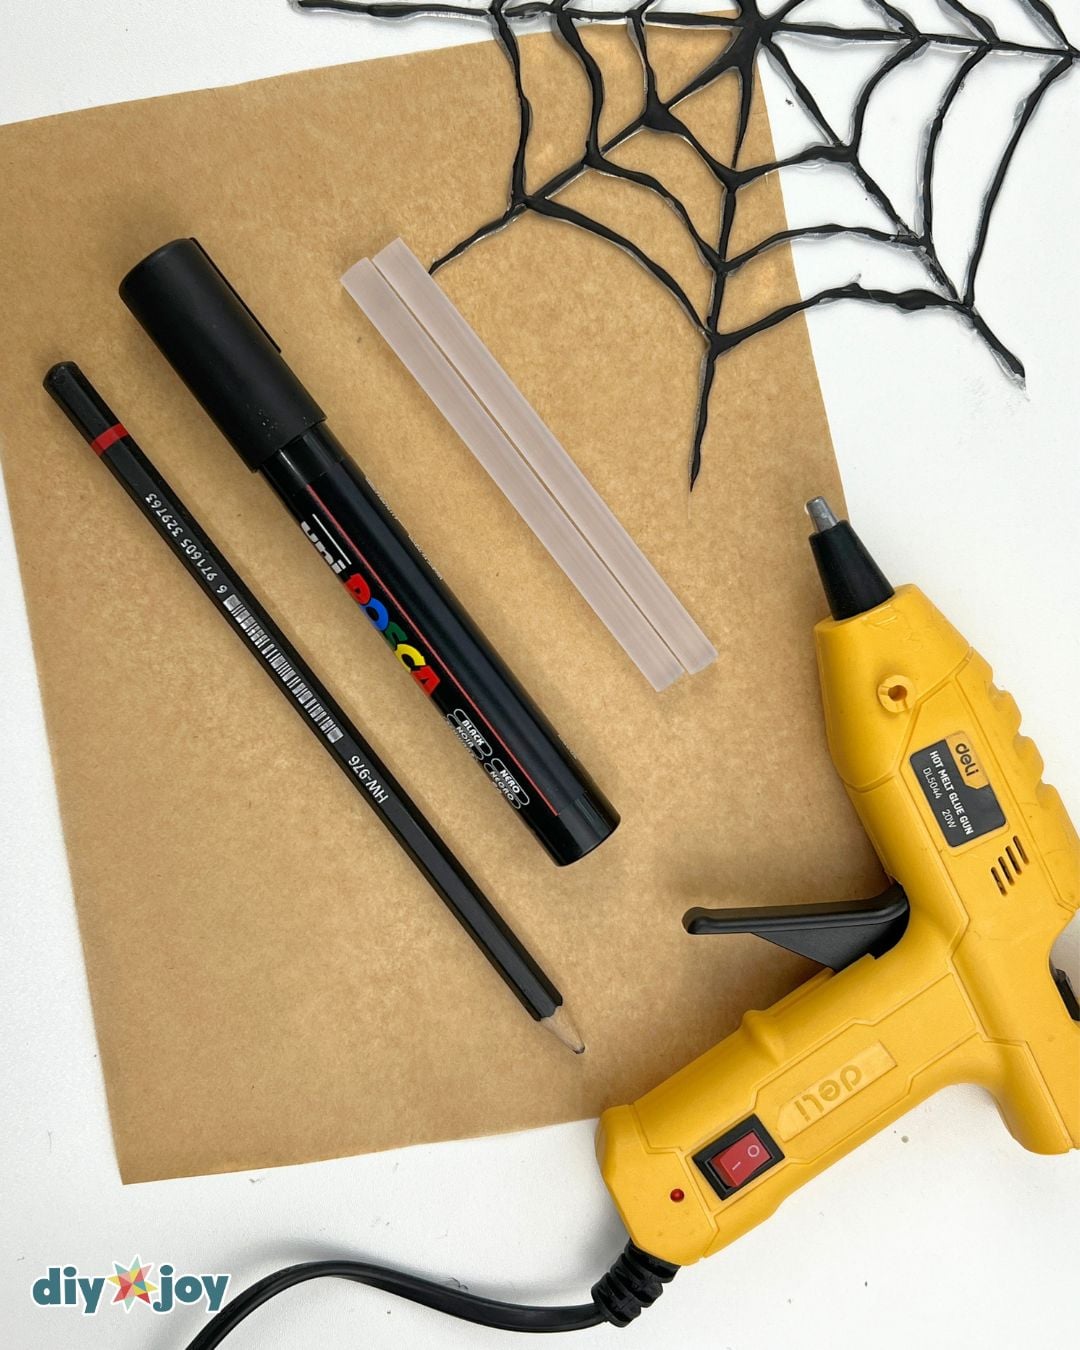
Craft Supplies Needed:
- acrylic markers (if using clear glue sticks)
- parchment paper
- FREE Printable Spider Web Template download here
- glue gun
- glue sticks (colored or clear)
- nylon strings
These products are all listed on our DIY JOY Amazon store, so you can order and know exactly what you will get, and when. We do earn a small commission on these links and very much appreciate your support
DIY Spider Web Tutorial
Learn how to make a spider web using hot glue with this step-by-step tutorial.
Step 1:
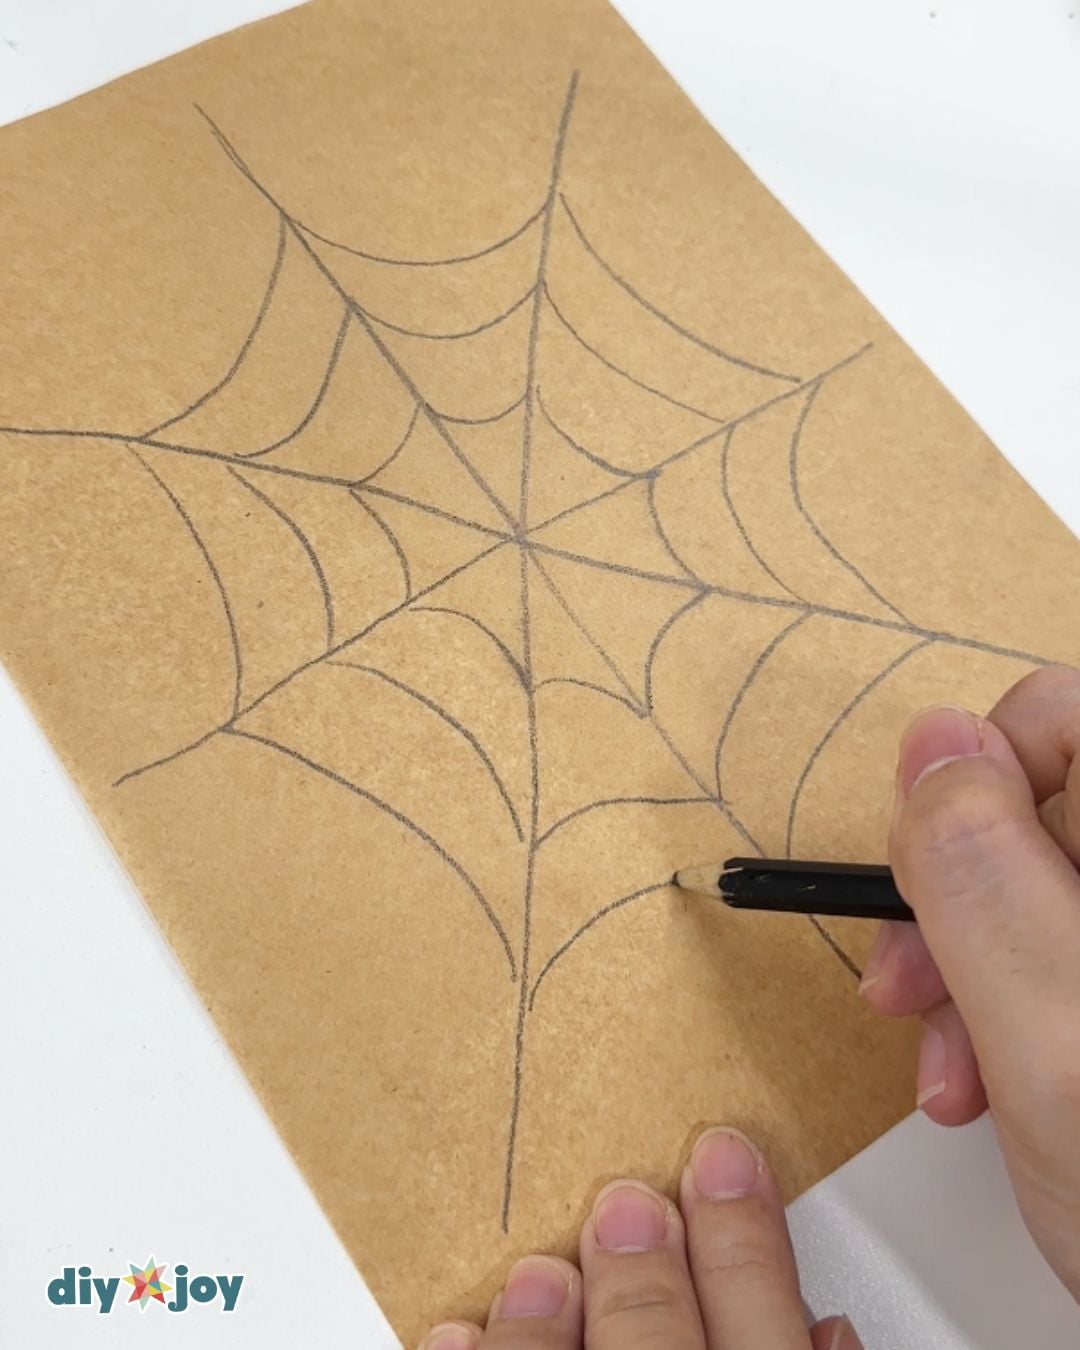
Place your parchment paper on a flat surface and tape the corners down to keep it from moving. Draw your spider web pattern directly onto the paper using a pencil, or place a printed pattern underneath.
Step 2:
Once your glue gun is heated and ready, start tracing the pattern lines.
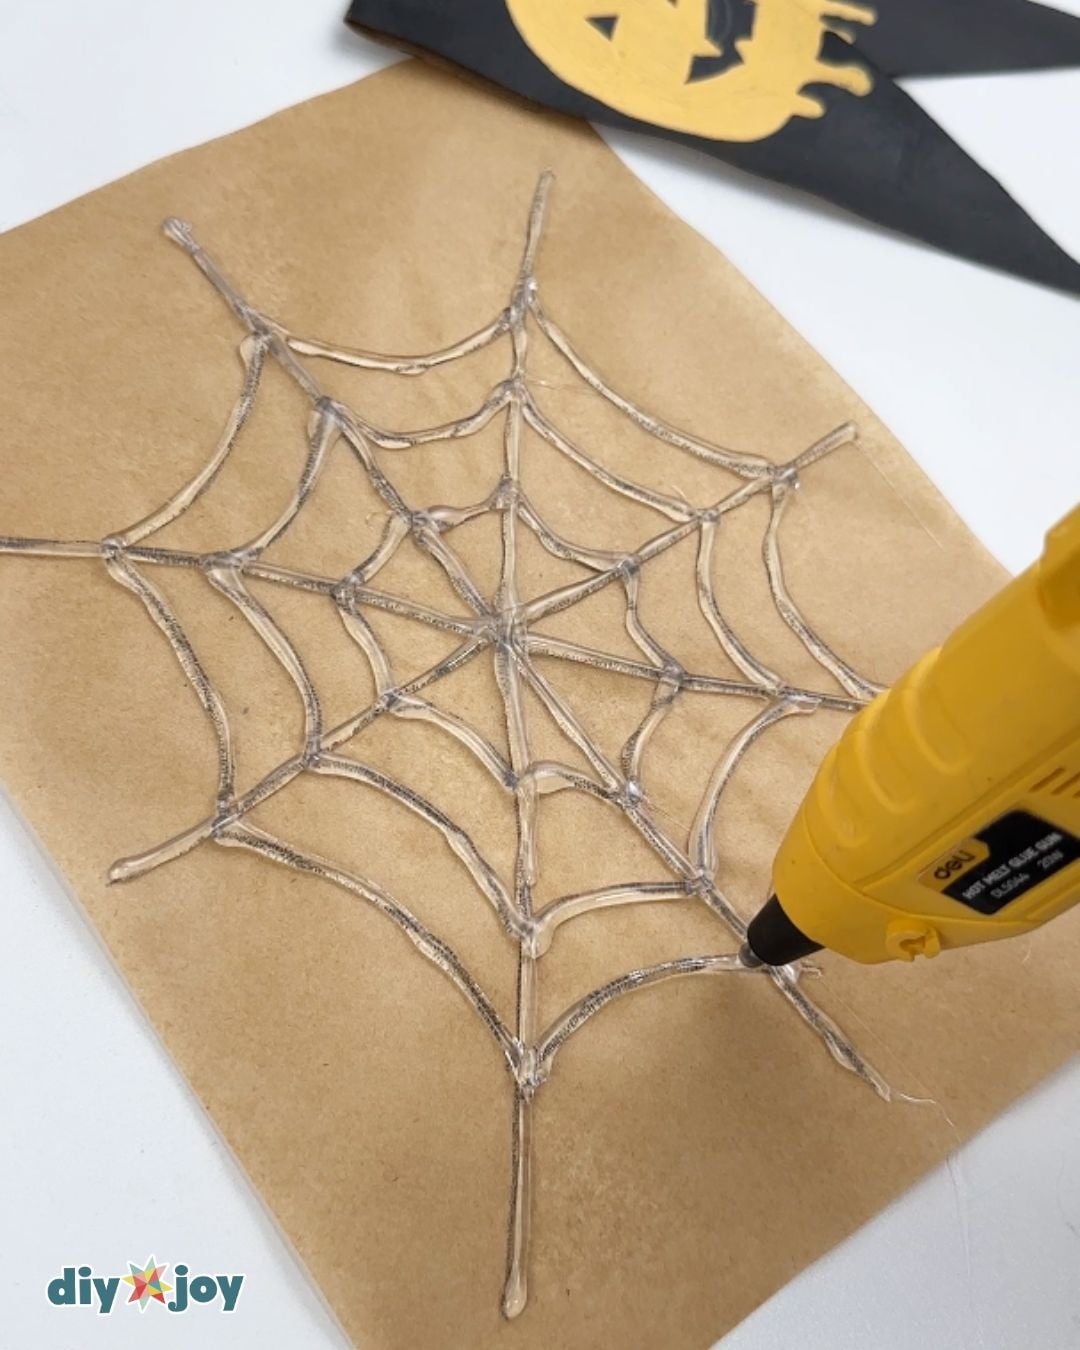
Step 3:
Once the hot glue sets, color it with acrylic markers, or save time by using colored glue sticks instead.
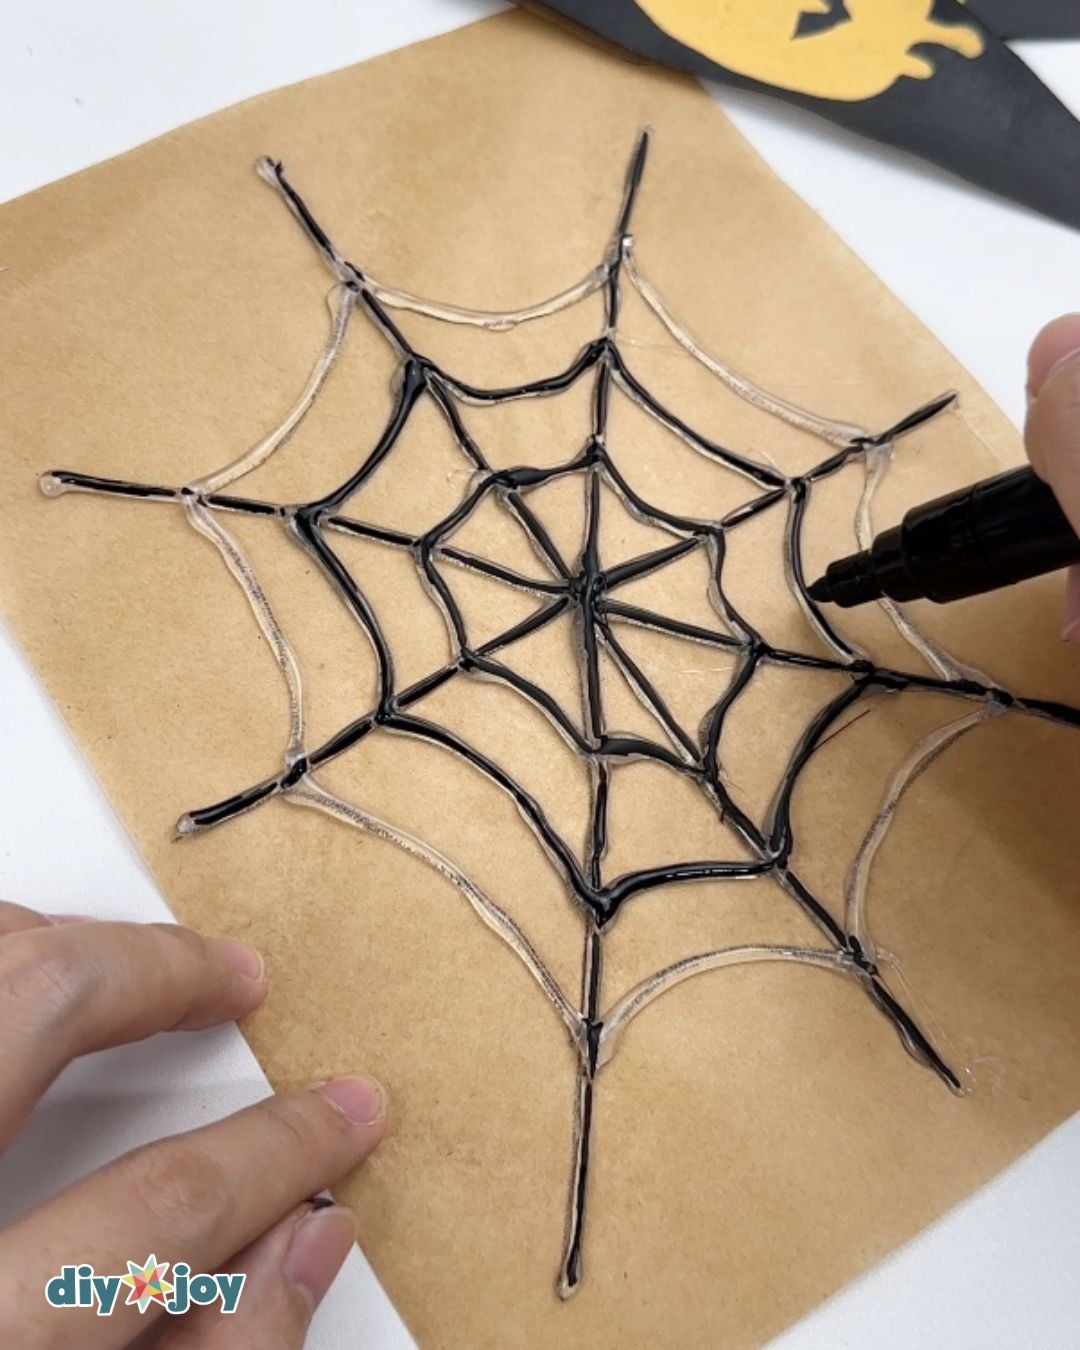
Step 4:
Carefully remove the spider webs from the parchment paper.
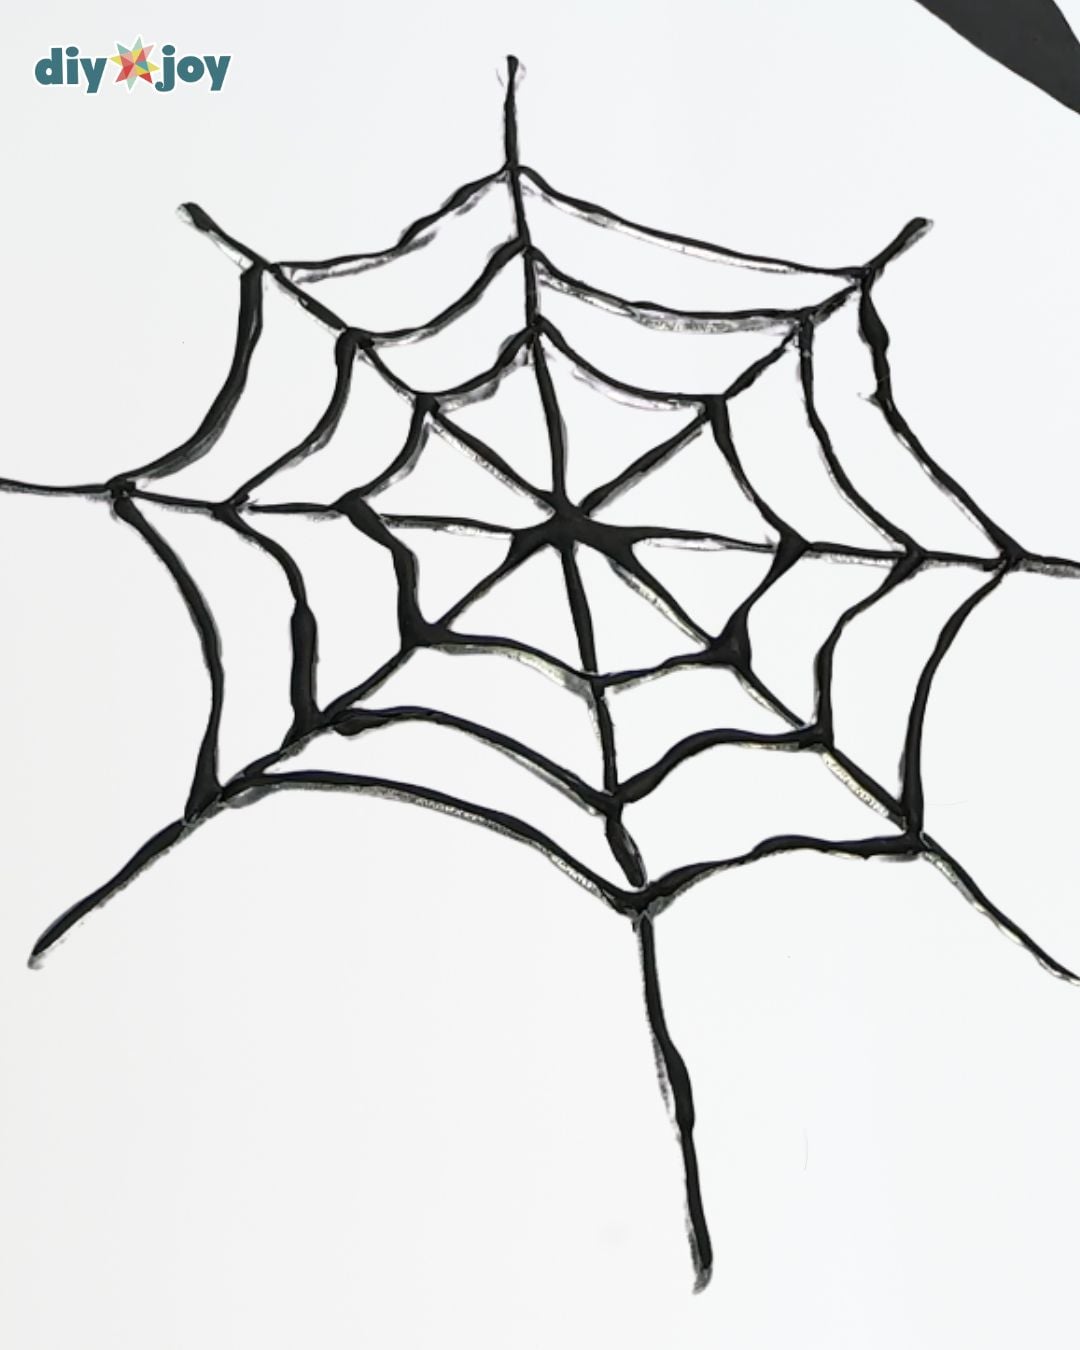
Step 5:
Tie a string to the spider webs and hang them from your ceiling.

Crafting Tip
Use quality glue sticks and low-temperature glue guns (250°F/120°C) to avoid glue strings
Why Hot Glue Makes A Better Web Than You’d Expect
Hot glue cools into a flexible plastic film, and that is the whole trick here. Parchment paper is slick enough that the cooled glue never truly bonds to it, so the web lifts off in one piece instead of tearing. Try the same thing on printer paper and you will peel up half the page with it.
The drawn pattern matters more than it looks like it should. Spider webs read as webs because the spokes meet at one center point and the connecting lines curve inward between them. Draw the spokes first, all the way to the middle, then work outward adding the curves ring by ring. If you freehand it straight in glue, the center turns into a blob and the whole thing goes lopsided. If you want your pattern to look convincing, it helps to know how orb weavers actually build a web: the spokes go up first, and the spiral is added afterward, working inward.
What Goes Wrong, And How To Fix It
Thin spots are the main problem. If a strand is barely a thread, it snaps the second you start peeling. Go back over any line that looks skinny before the glue sets, and make the outer ring slightly heavier than the inner ones, because that ring carries the weight of everything else.
The other issue is peeling too early. Glue that feels cool on top can still be soft underneath, especially at the intersections where two lines overlap and the glue pooled. Give it a few extra minutes. I have stretched a perfectly good web out of shape by being impatient, and it does not spring back.
Strings are cosmetic, not structural. The tip in this tutorial (good glue sticks, a low temperature gun around 250°F / 120°C) is the real fix, but any wisps left behind can be waved away with a hair dryer on low once the web is off the paper.
Hanging And Storing Your Spider Webs
These weigh almost nothing, so a loop of thread and a pushpin will hold one. For a ceiling, tie the string to an outer intersection rather than a single strand, which keeps the web from sagging into an oval. On glass, a small rolled loop of tape on the back works and comes off clean.
Do not hang them in a hot car window or right above a lamp. Hot glue softens well below its melting point, and a web that spends an afternoon warm will slowly droop.
Storage is the best part. Lay the webs flat between two sheets of parchment, slide them into a large envelope or a flat box, and they come out next October exactly as you left them. Stacked without paper between them they will stick to each other, so keep the parchment.
Easy Ways To Change The Look
Colored glue sticks skip the marker step entirely, and white glue on a dark wall reads much better than black does. Glitter glue sticks work too, though they run a little thinner, so plan on thicker lines.
Size is worth playing with. A cluster of three small webs at different heights looks more deliberate than one big web on its own, and small ones dry faster. If you want a giant corner web, draw a quarter circle instead of a full one and hang it where two walls meet.
And this is a genuinely good kid project as long as an adult runs the glue gun. Let them draw the patterns. Slightly wobbly webs look more real than perfect ones anyway.
More Halloween Decor Ideas
This DIY spider web is just one of the many easy Halloween crafts you can make with simple materials. Pair it with this DIY Halloween banner made from empty toilet paper rolls. Simply flatten the rolls, paint them black, add the letters with acrylic markers, and hang them on a ribbon.
Complete your DIY Halloween decorations by cutting paper bats from black or colored paper. Place them around the banner and spider webs to create fun, budget-friendly Halloween wall decor.
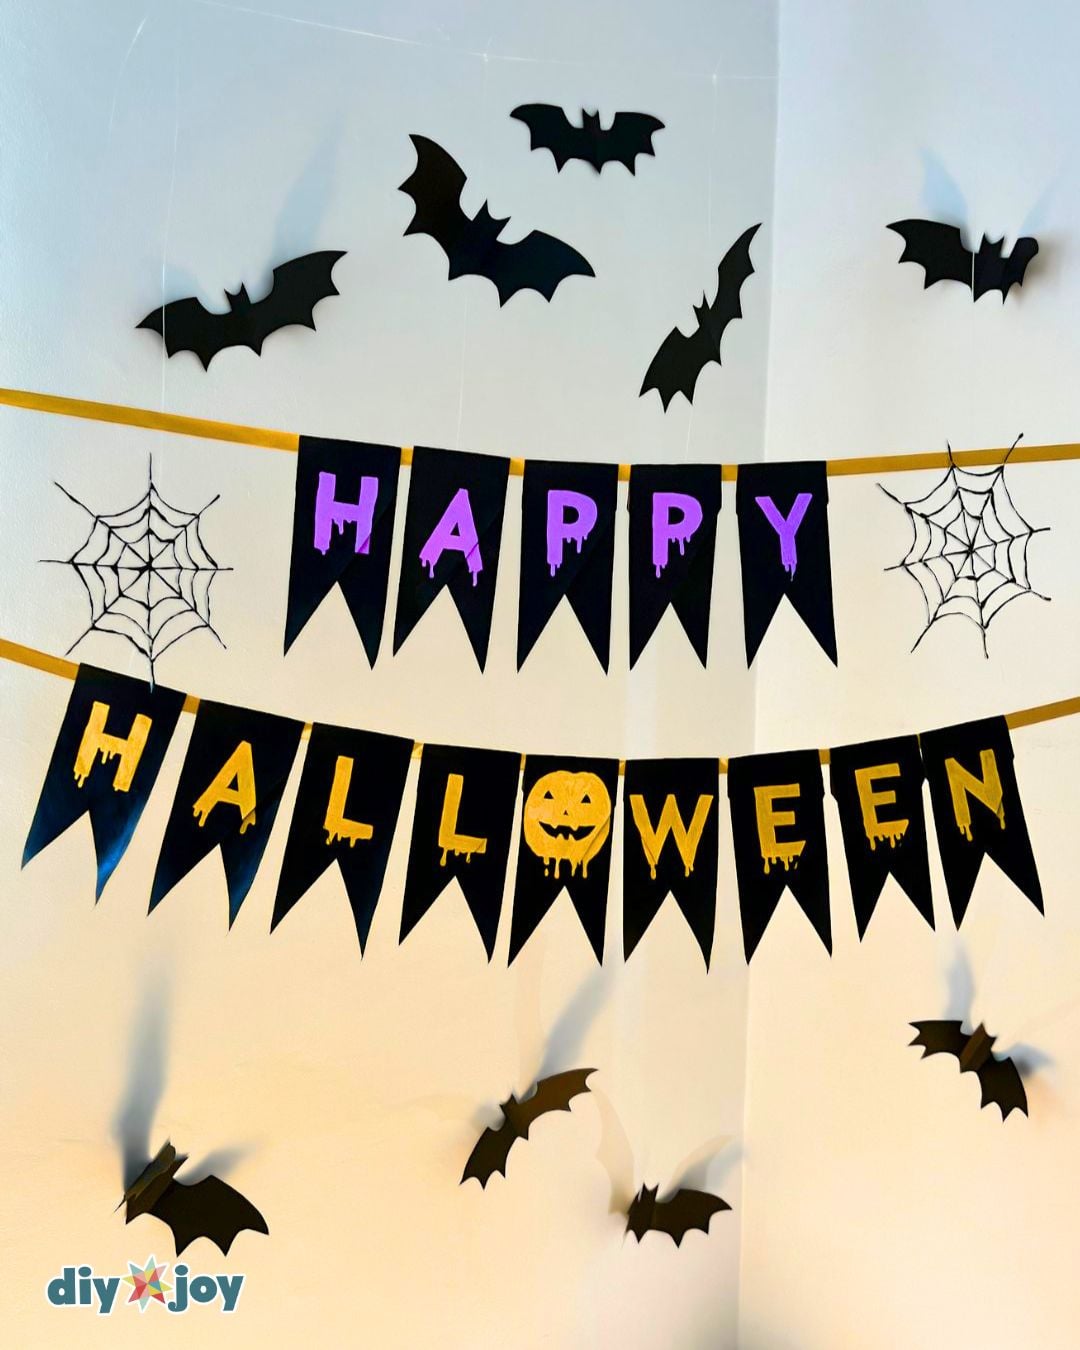
Looking for more spooky season projects? Browse all our Halloween crafts for more easy, budget-friendly ideas.
FAQs
What Paper is Best to Use with Hot Glue?
For stress-free crafting, parchment paper is the best choice because hot glue peels off easily. Its light silicone coating prevents the glue from sticking.
Avoid regular paper, as hot glue bonds to it and causes it to tear. Do not use wax paper either. The heat from the glue gun can melt the wax and ruin your project.
For a reusable option, try a silicone craft mat. Otherwise, kitchen parchment paper is an easy and affordable way to keep your workspace clean and mess-free.
How to Prevent Hot Glue Strings
Keep the glue gun nozzle close to the parchment paper and apply slow, steady pressure. At the end of each line, release the trigger, pause briefly, then lift the nozzle with a quick twisting motion. Remove any fine strands after the glue has cooled.
Do I Have To Color The Spider Web?
No. Coloring with an acrylic marker is one option, but you can load the gun with colored glue sticks instead and skip that step completely. Clear webs also look great as they are, especially on a window where the light catches them.
How Do I Hang A Hot Glue Spider Web?
Tie a piece of string to the web and hang it from the ceiling, which is how this tutorial finishes. The webs are light enough that a pushpin or a small loop of tape will also hold one on a wall or window. Attach the string where two glue lines cross rather than to a single strand so the web keeps its round shape.