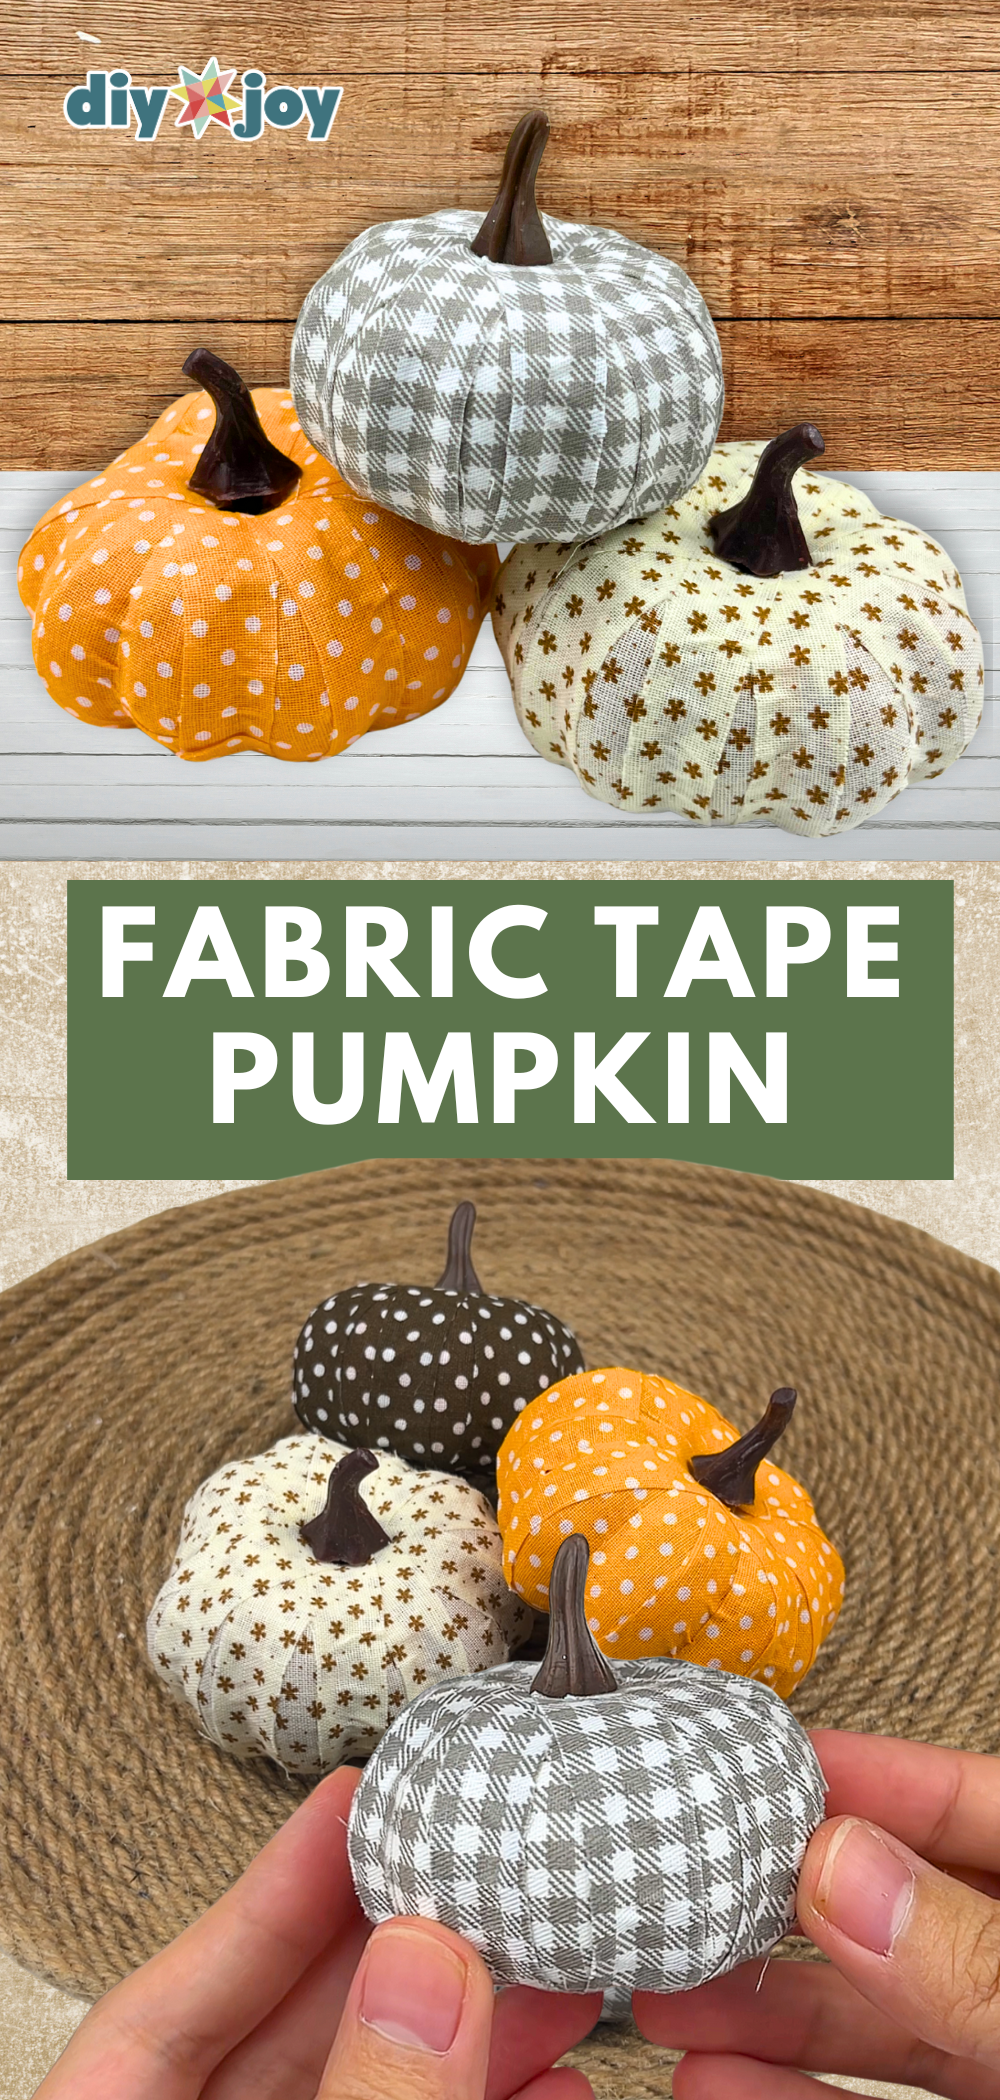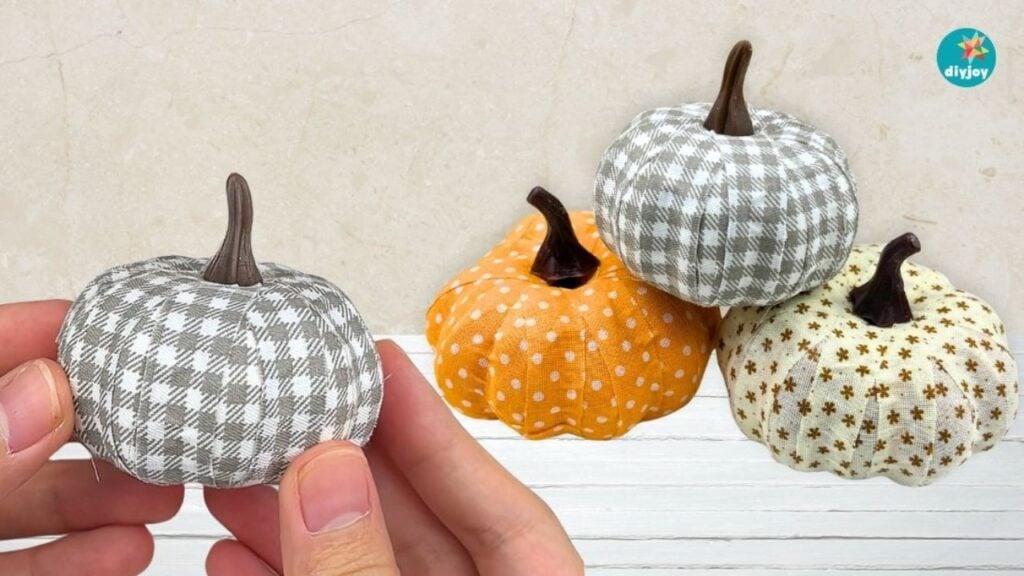
It’s already fall, and if you are thinking of decorating your home, workspace, or store, I have this fun DIY fabric tape pumpkin idea for you. If you have old faux pumpkins with colors already fading, don’t throw them away just yet. In this tutorial, I’ll show you how to give them new life in just a few simple steps.
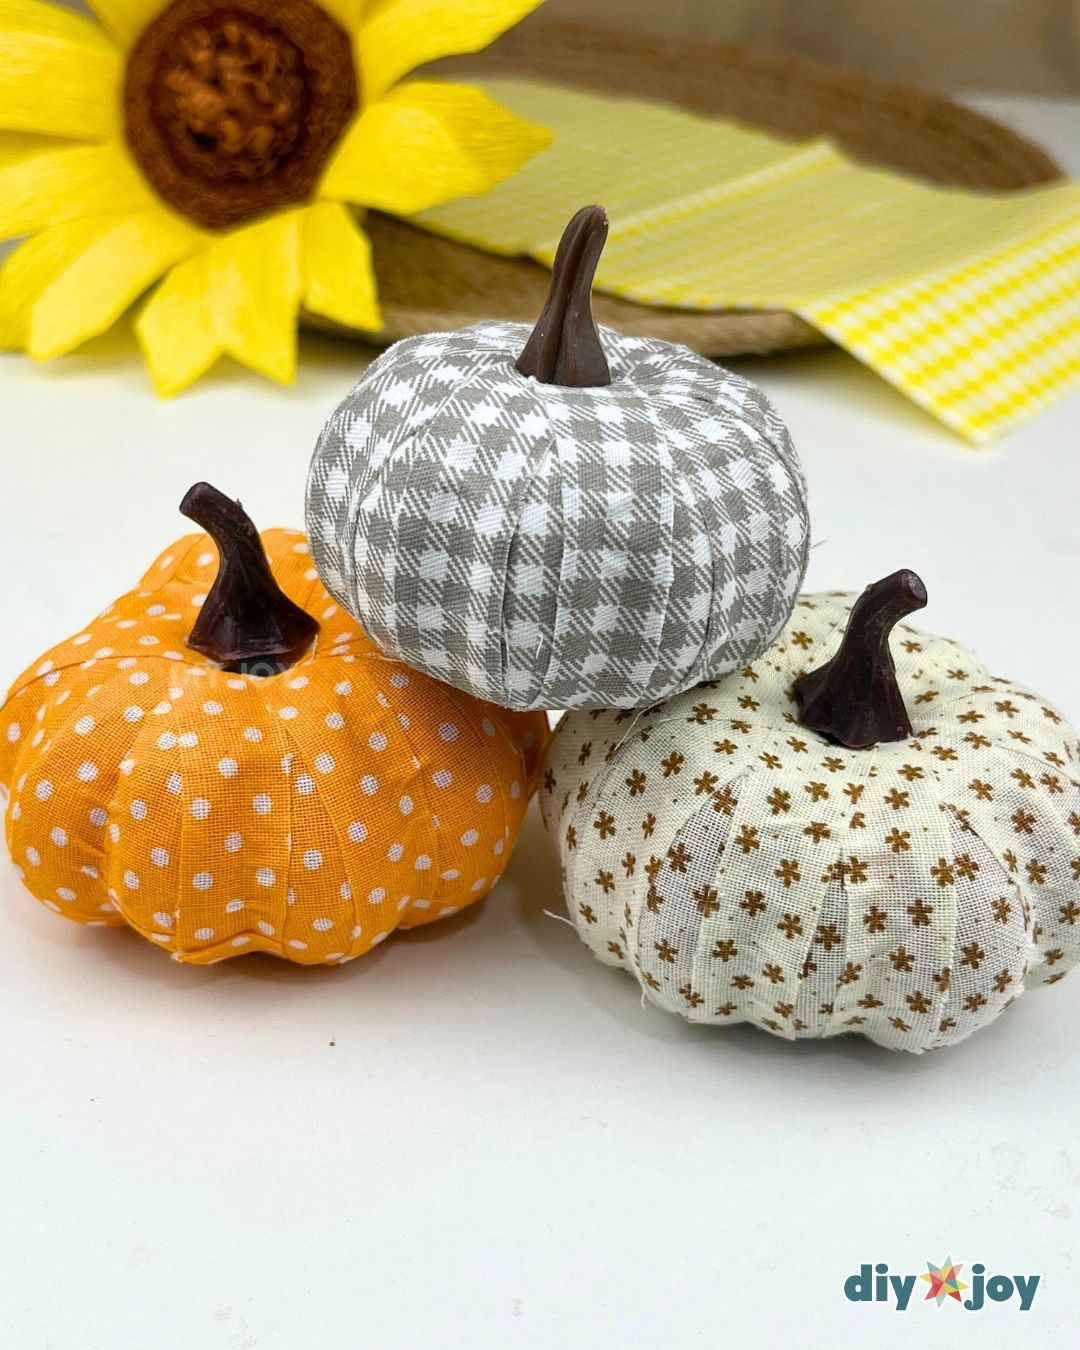
RELATED: DIY Sunflower Crepe Paper for Beginners
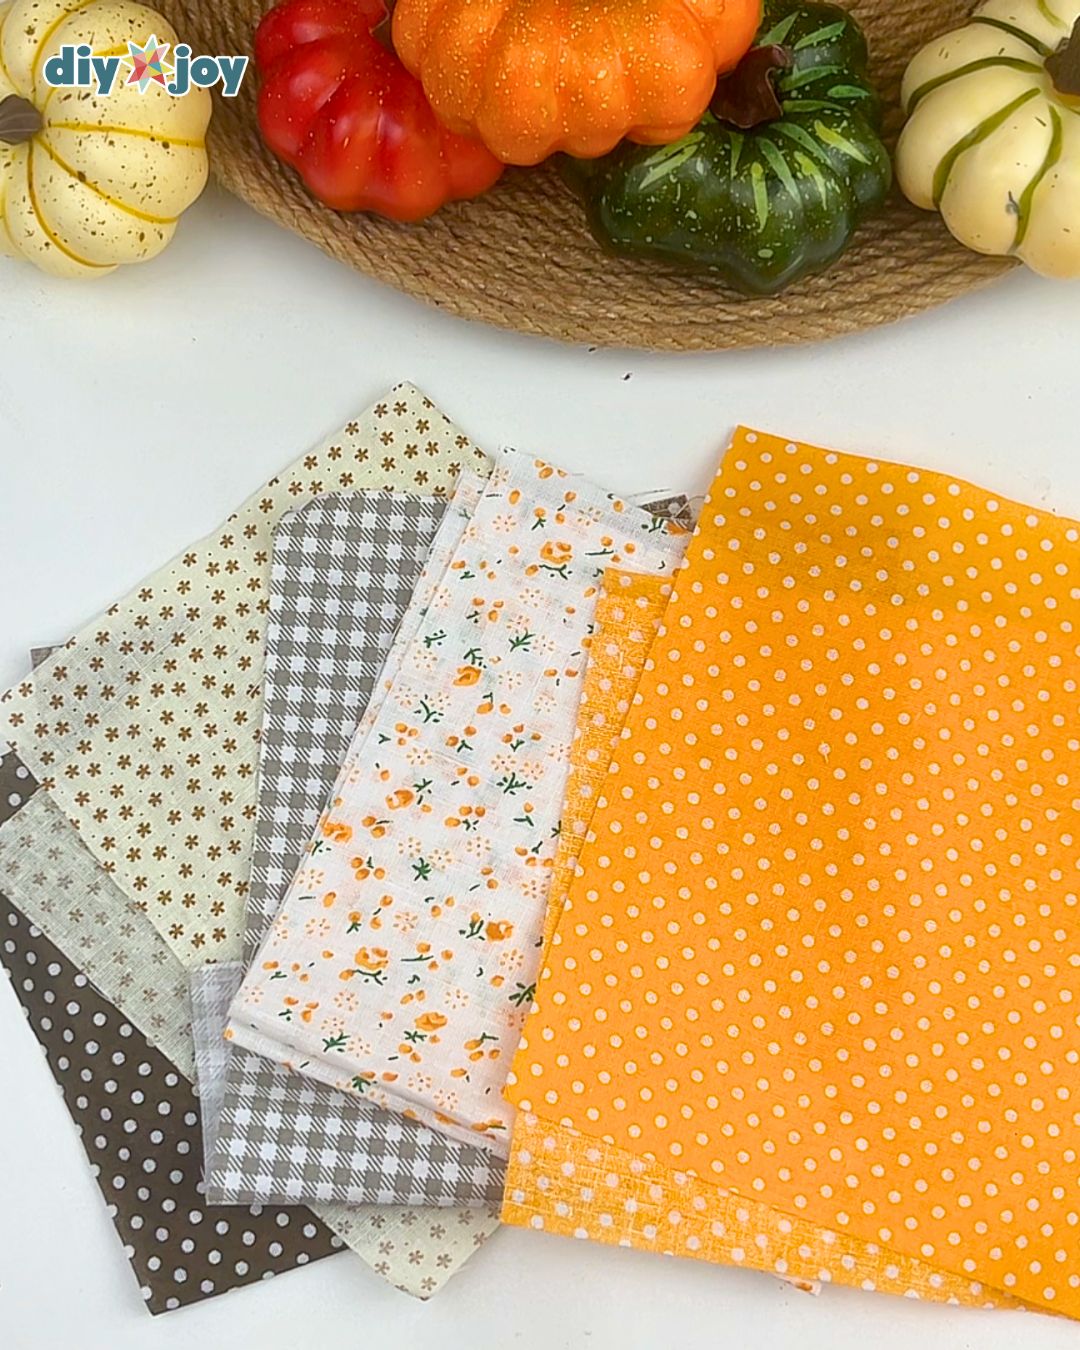
For this DIY pumpkins, you will need fall-themed fabrics. They don’t necessarily need to have fall patterns. I got mine from my fabric scrap stash! This is actually one of my favorite ways to use up fabric scraps. I separated all the warm tones and plain fabrics that remind me of fall, such as oranges, browns, and yellows, from the summery and vibrant ones. Set the colorful stack aside for later, and I’ll show you what you can do with them. The patterns I picked for my pumpkins are gingham and polka dots, but you are absolutely free to use any design you prefer.
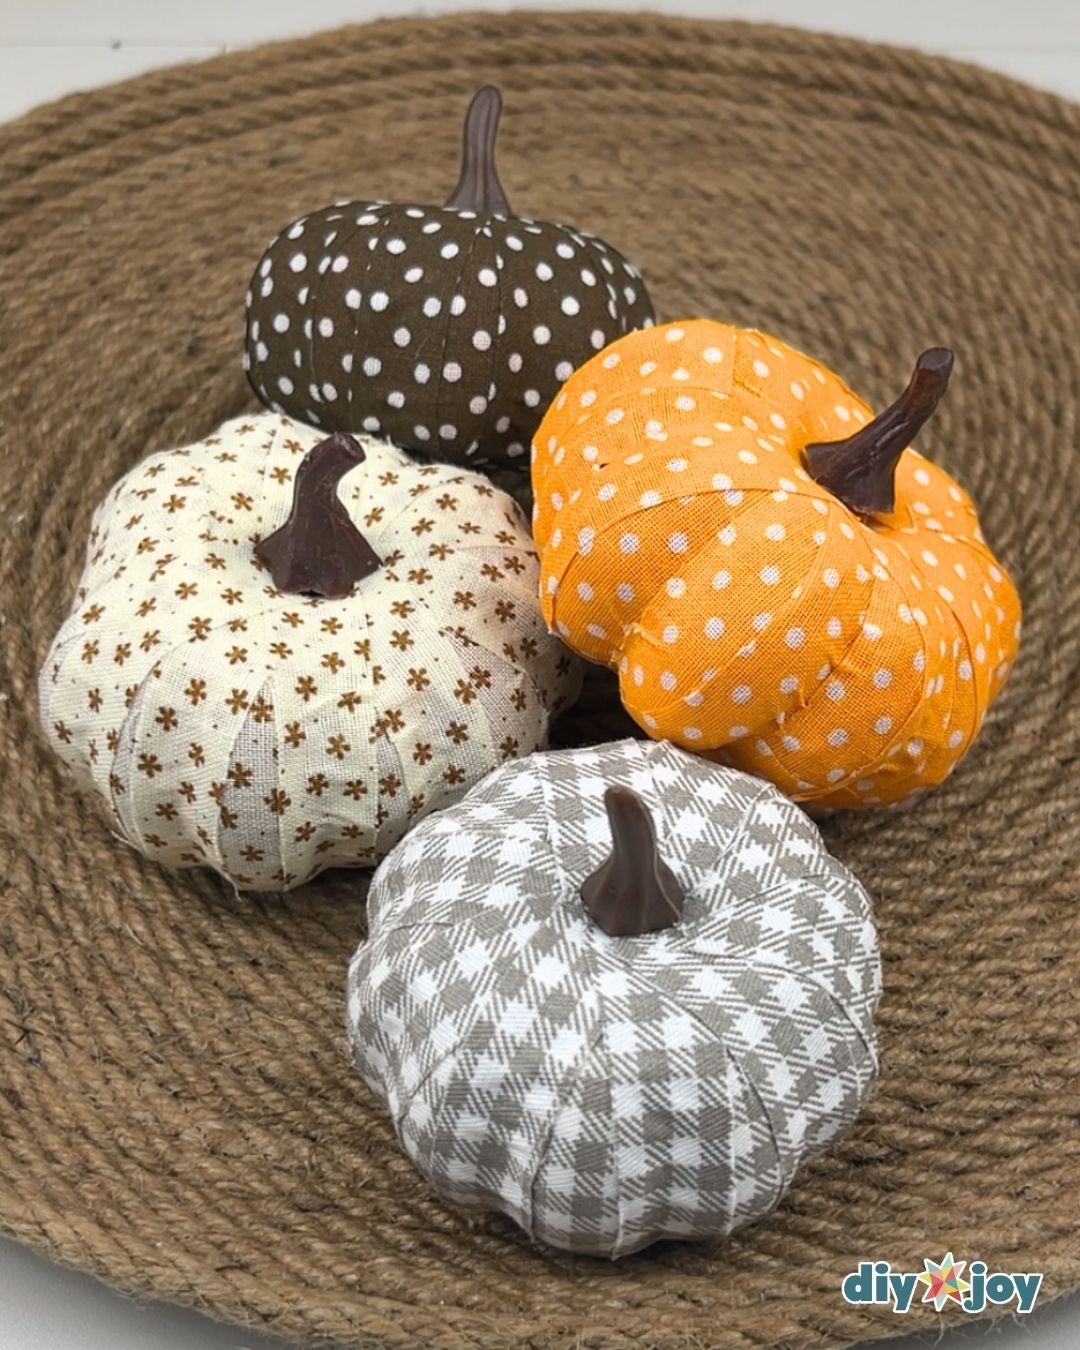
Making this fabric scrap project is easy, quick, and fun. There’s really no right or wrong way to do it, even the kids can help. It’s the perfect DIY fall decoration for your table. You can place them on a basket, hang them, or glue them to a candle holder for a beautiful fall décor.
Craft Supplies Needed:
- double-sided tape
- fall fabric
- faux pumpkins
Shop the Supplies
Here are the main supplies we used for this fabric pumpkin, so you can grab the same ones and get straight to crafting.
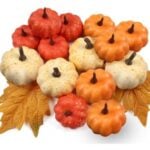
Faux Pumpkins
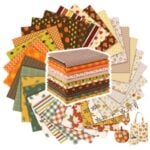
Fall Fabric
These fabric patterns are perfect for fall!
Double-sided Tape
If you are planning to make these flowers, get this rotating stapler.
*Some of the supply links above are affiliate links. If you buy through them I earn a small commission at no extra cost to you.
How to Make Fabric Pumpkin
Learn how to turn fabric scraps into fabric tape and with this easy tutorial and create cozy pumpkin decorations for fall.
Before you tape anything, a word about which pumpkins to buy. If you have ever wondered why the ribs run top to bottom on every pumpkin, real or faux, it comes down to what pumpkins actually are, a squash whose fruit grows in ridged segments as it swells. The ribbed foam or plastic craft-store pumpkins work best here, because the ribs give you a natural seam line to hide your strip edges in. A perfectly smooth pumpkin can be covered too, but every join shows, and you will spend the whole project fussing over placement. Small ones are also easier than large ones. A big pumpkin needs longer strips, and long strips of double-sided tape have a habit of folding back on themselves the second you stop paying attention.
Fabric choice matters more than you would think. Quilting cotton is the sweet spot: thin enough to bend around a curve, stiff enough to hold a cut edge. Knits stretch and go wavy. Flannel sheds. Anything with a heavy weave will not lie flat over the ribs and you will see the lift from across the room. If your only scraps are thick, cut narrower strips and use more of them.
Small prints read better at this scale. A large floral looks like one random petal once it is cut into a two inch strip. Gingham, tiny dots and ditsy florals keep their pattern no matter where you cut them, which is why the set in these photos works.
Step 1:
Separate the fall-themed fabrics from your stack, and set aside the others for later.
Step 2:
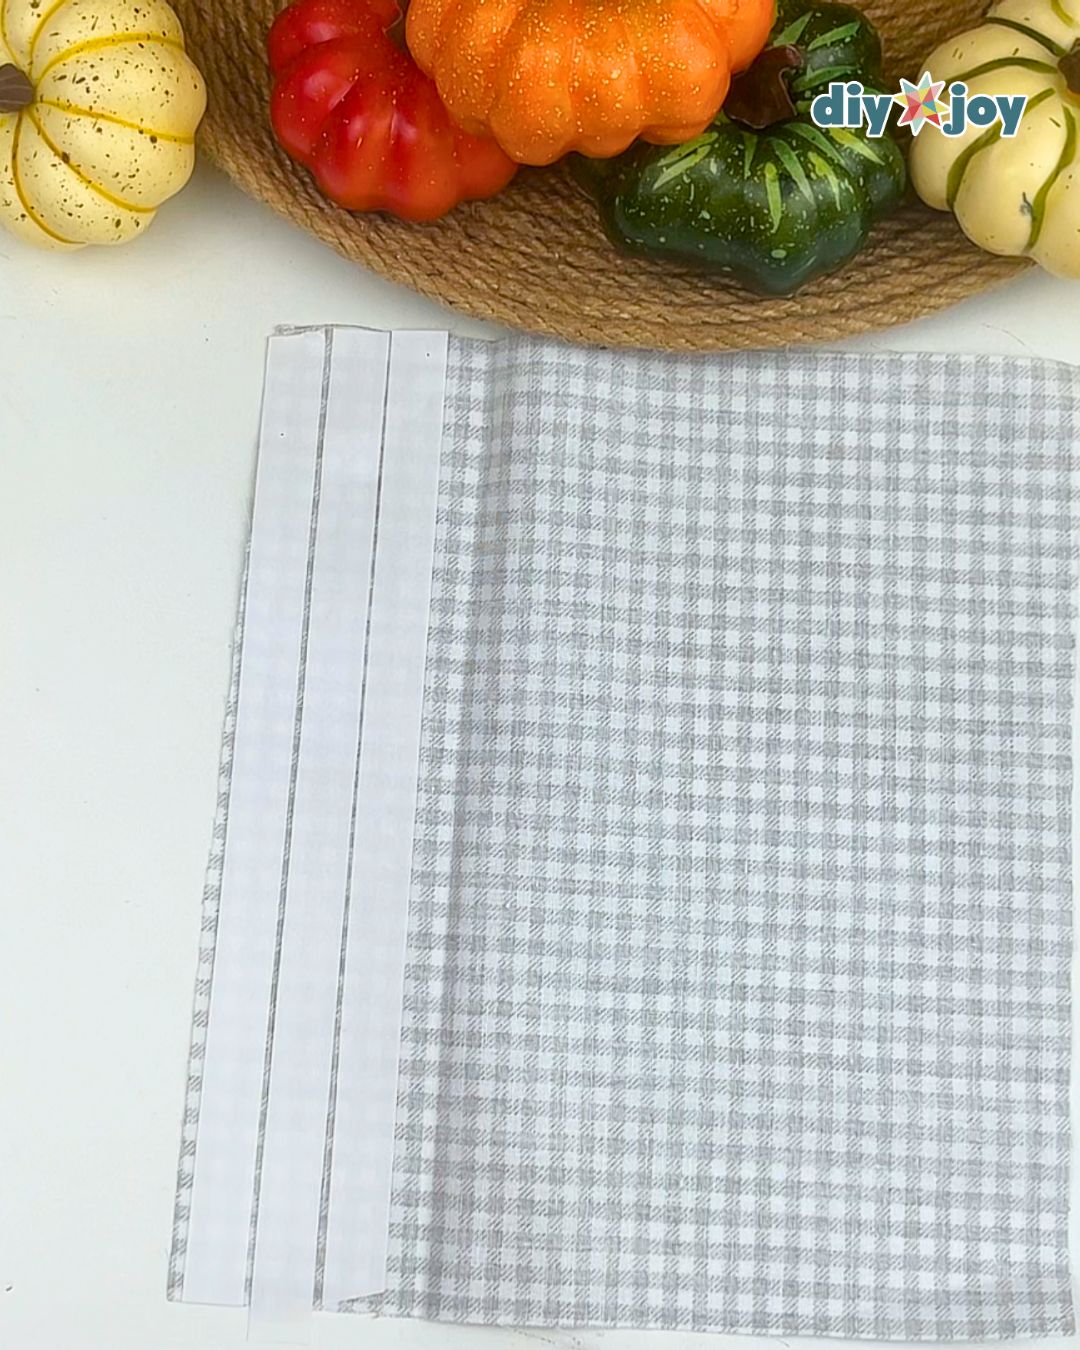
Place your fabric right side down, then stick on the double-sided tape.
Step 3:
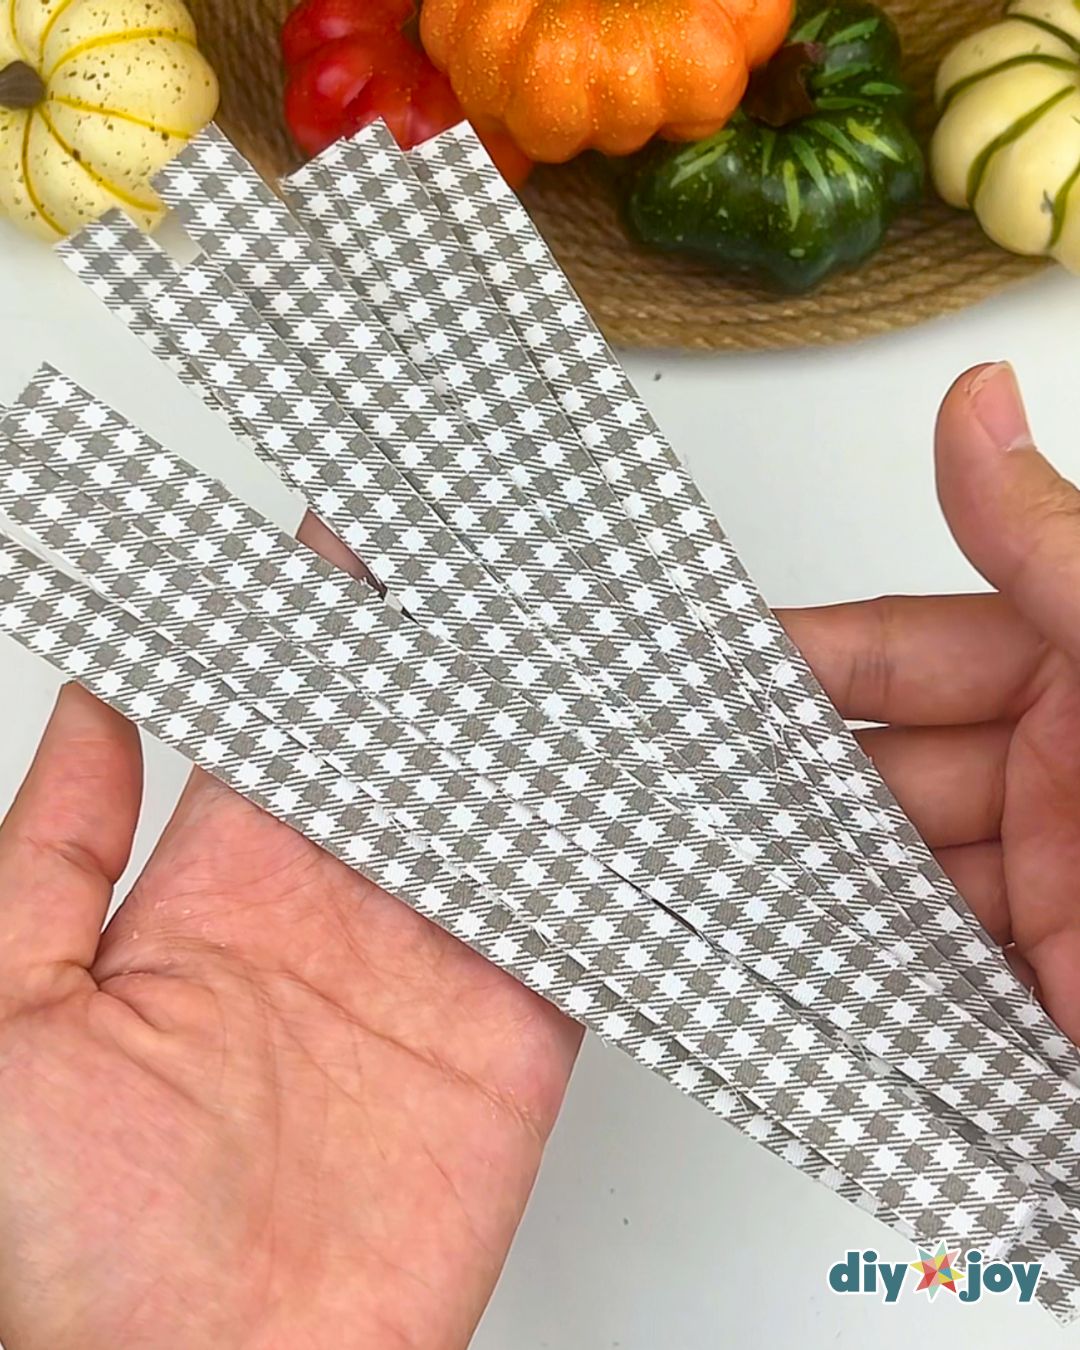
Cut the fabric into strips. Trim all sides to help prevent fraying.
Here is the part nobody warns you about: a rotary cutter and ruler will save this project. Scissors wander, and a wandering cut on fabric tape means a fuzzy edge that catches every time you press it down. If scissors are all you have, cut slowly with long blade strokes rather than short snips, and run your thumbnail along the cut edge afterward to flatten any loose threads.
Cut a few extra strips while you are set up. You will misjudge at least one length, and re-taping a fresh piece of fabric mid-project is much more annoying than having spares in a pile.
Step 4:
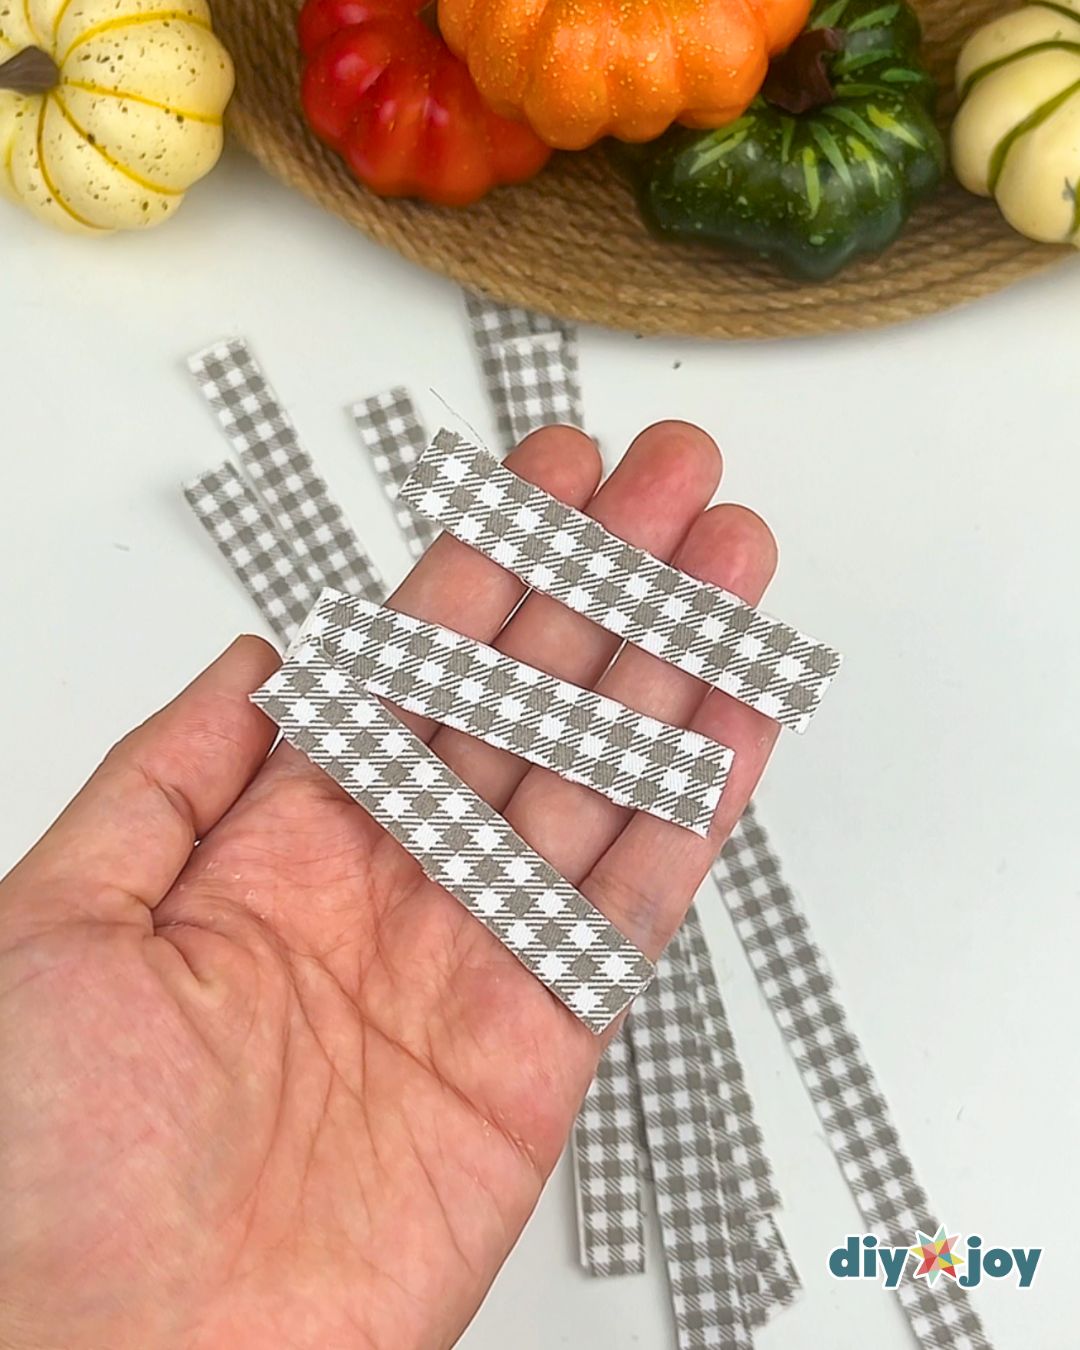
Measure the curved height of pumpkin and cut the fabric strips to that size.
Step 5:
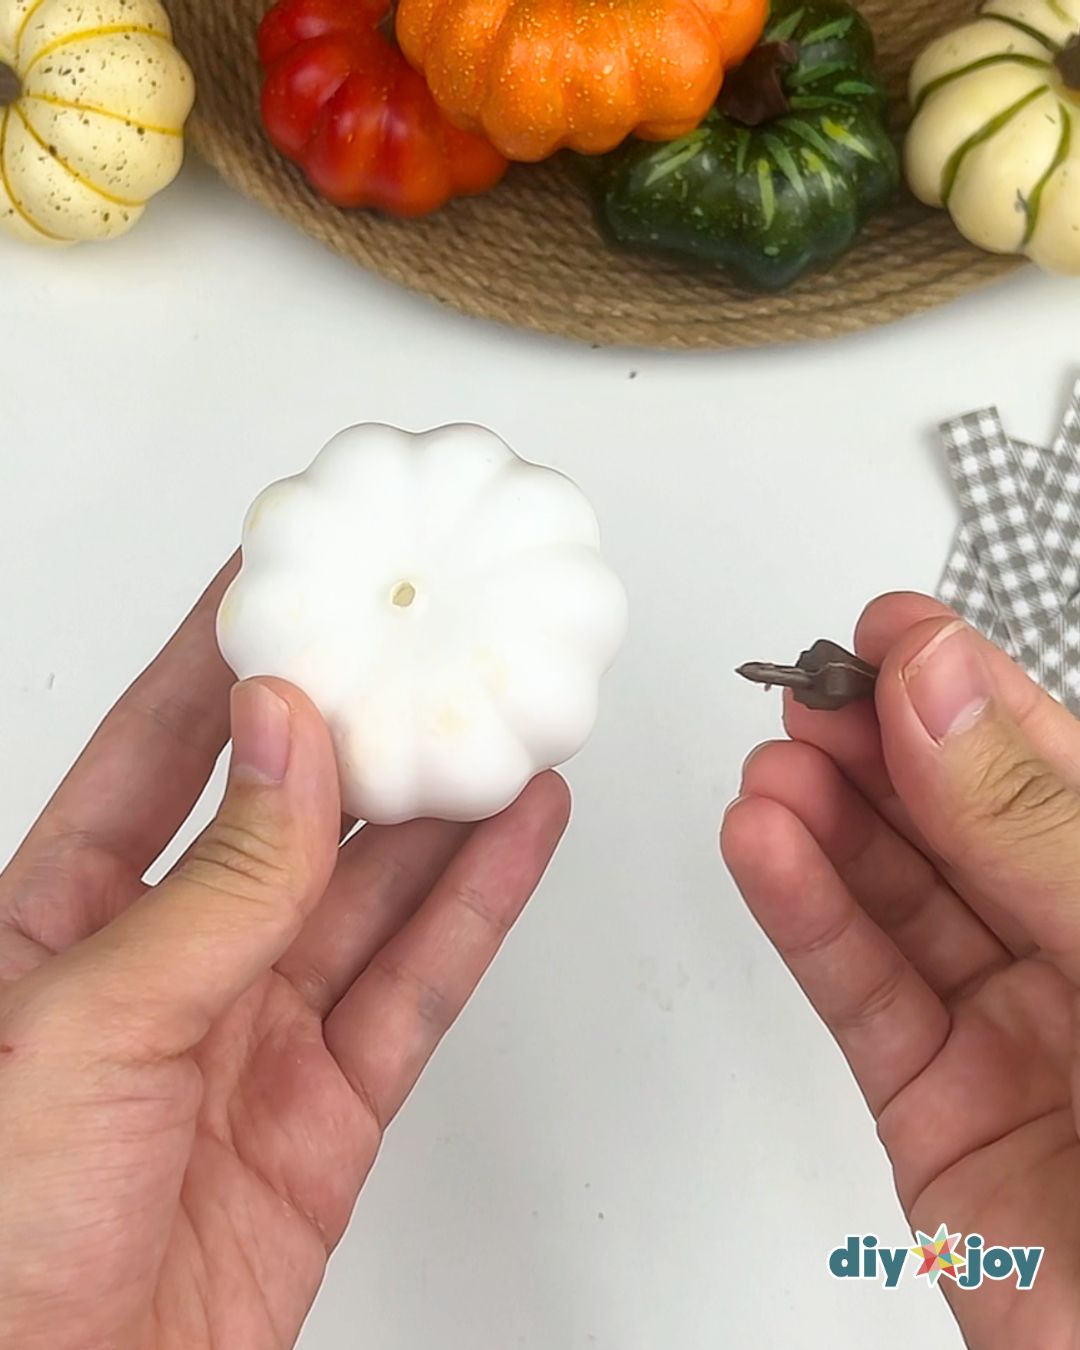
Carefully remove the stem from the faux pumpkin.
Step 6:
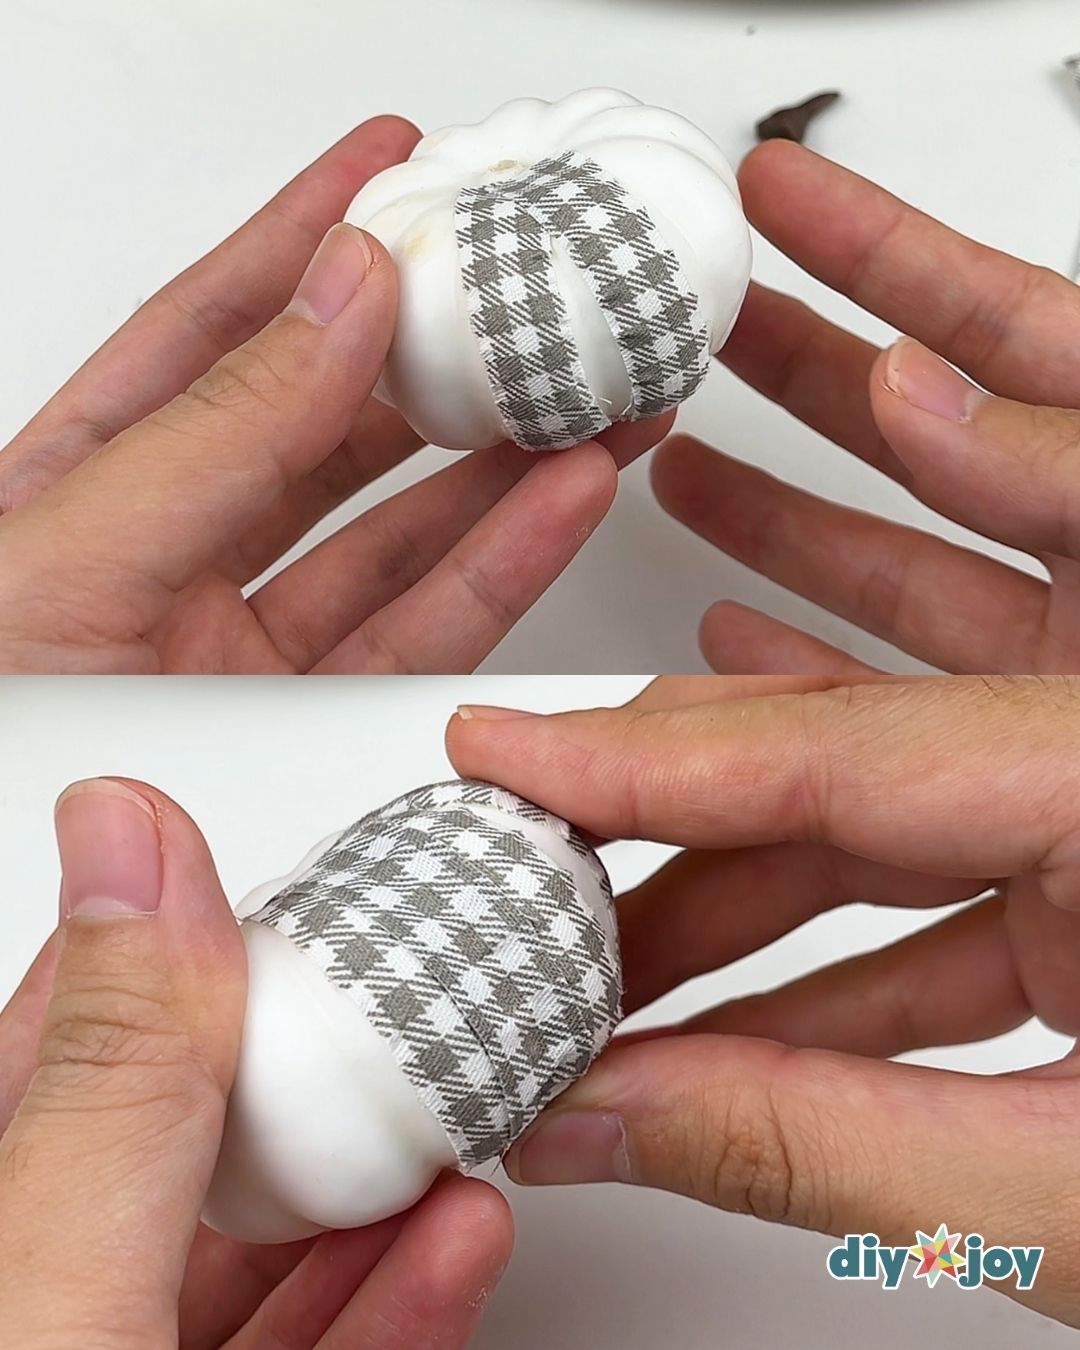
Take one fabric tape, remove the backing, and carefully stick it to the skin, not the ribs. Add another one to the right side as shown below. Next, take another fabric tape and stick it between the first two tapes, placing it on the rib. This will cover the folded edges of the fabric tape and make it look seamless.
Step 7:
Repeat step 6 until the whole pumpkin is covered.
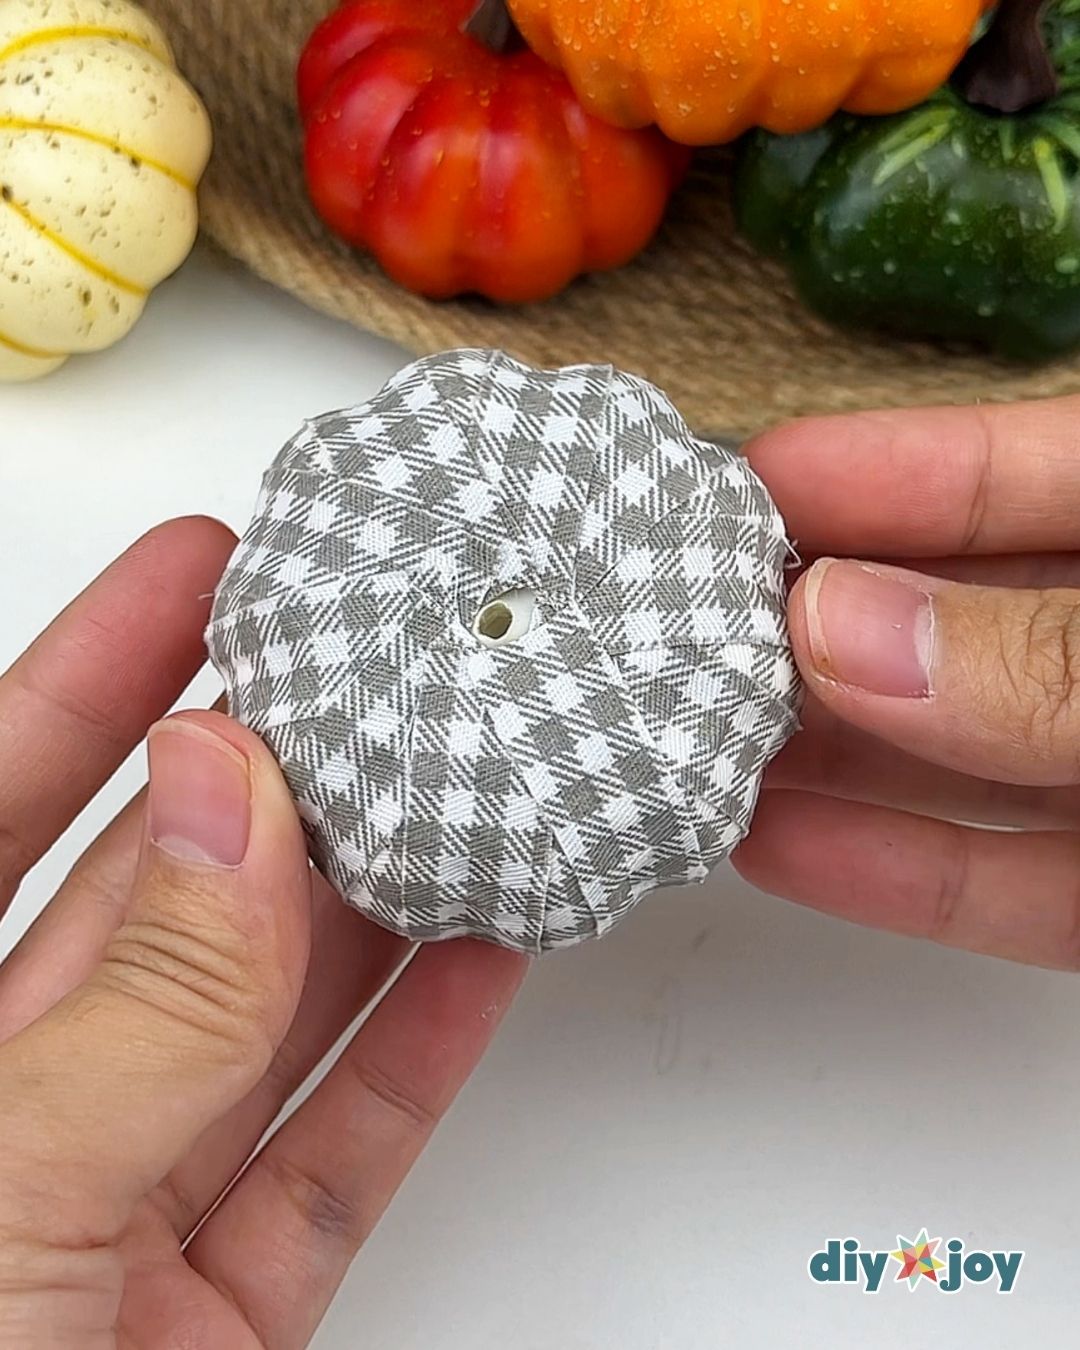
Two things go wrong at this stage. The first is bubbling. If a strip lifts in the middle of a rib, peel it back gently and re-press from the center outward instead of from one end. Double-sided tape forgives one reposition, sometimes two, and then it is done cooperating.
The second is drift. Work your way around the pumpkin in one direction rather than jumping from side to side, because the strips slowly narrow the space left and you want that squeeze spread evenly, not saved up for one panicked gap at the end. If you do end up with a sliver of white showing, cut a thin strip on purpose and lay it right over the rib. That is a design choice now.
Step 8:
Replace the stem and you are done.
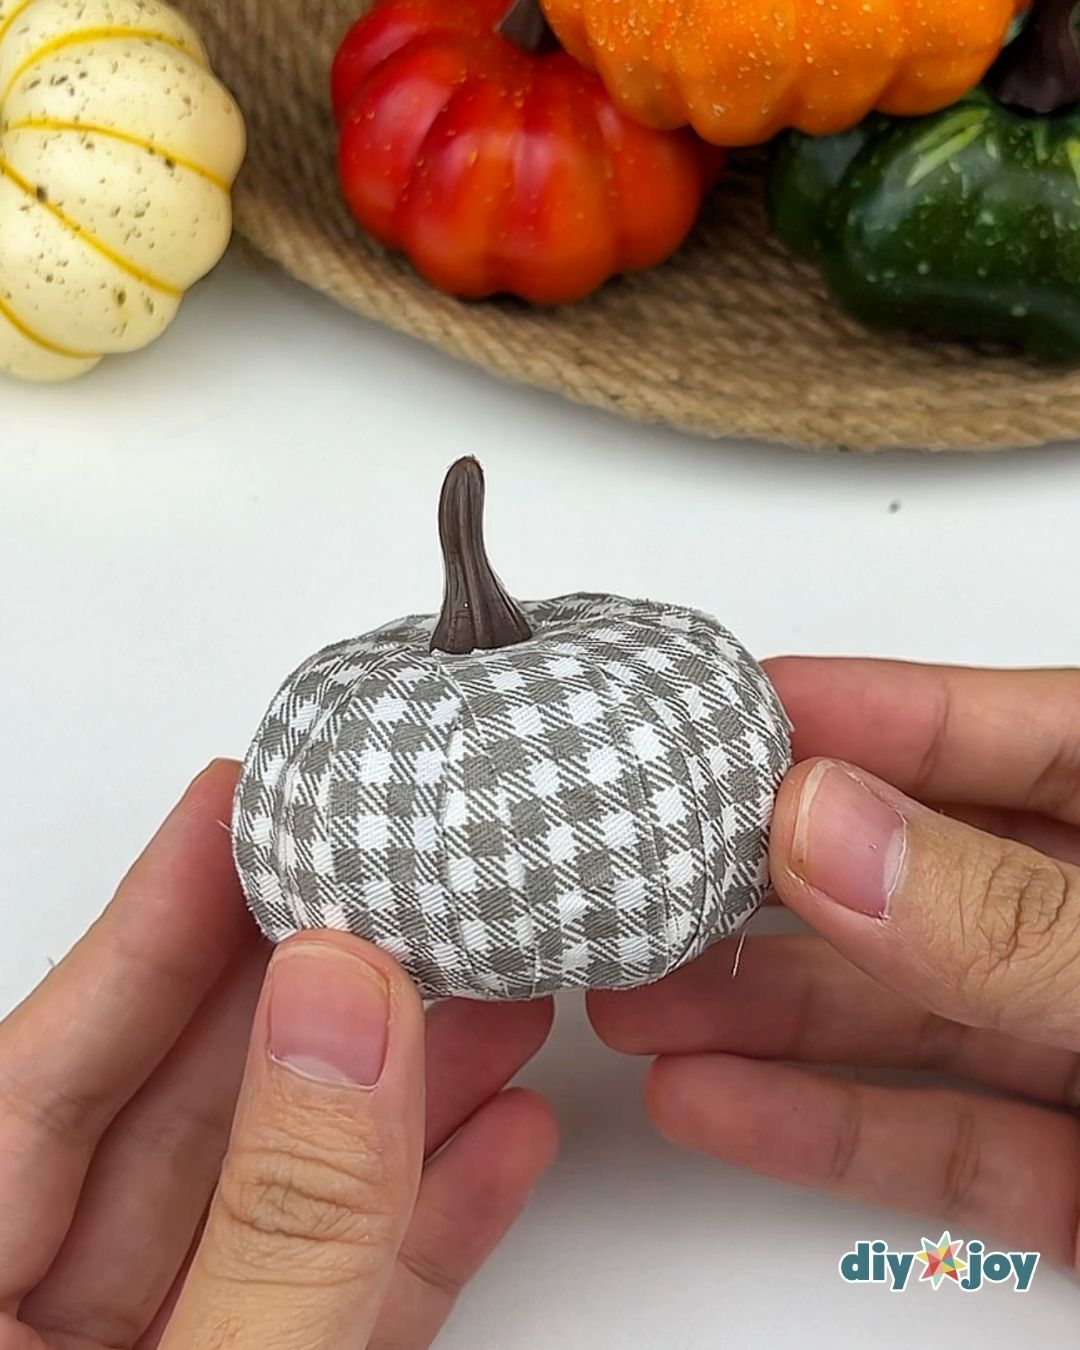
Cover the remaining faux pumpkins with the other fabric scraps.
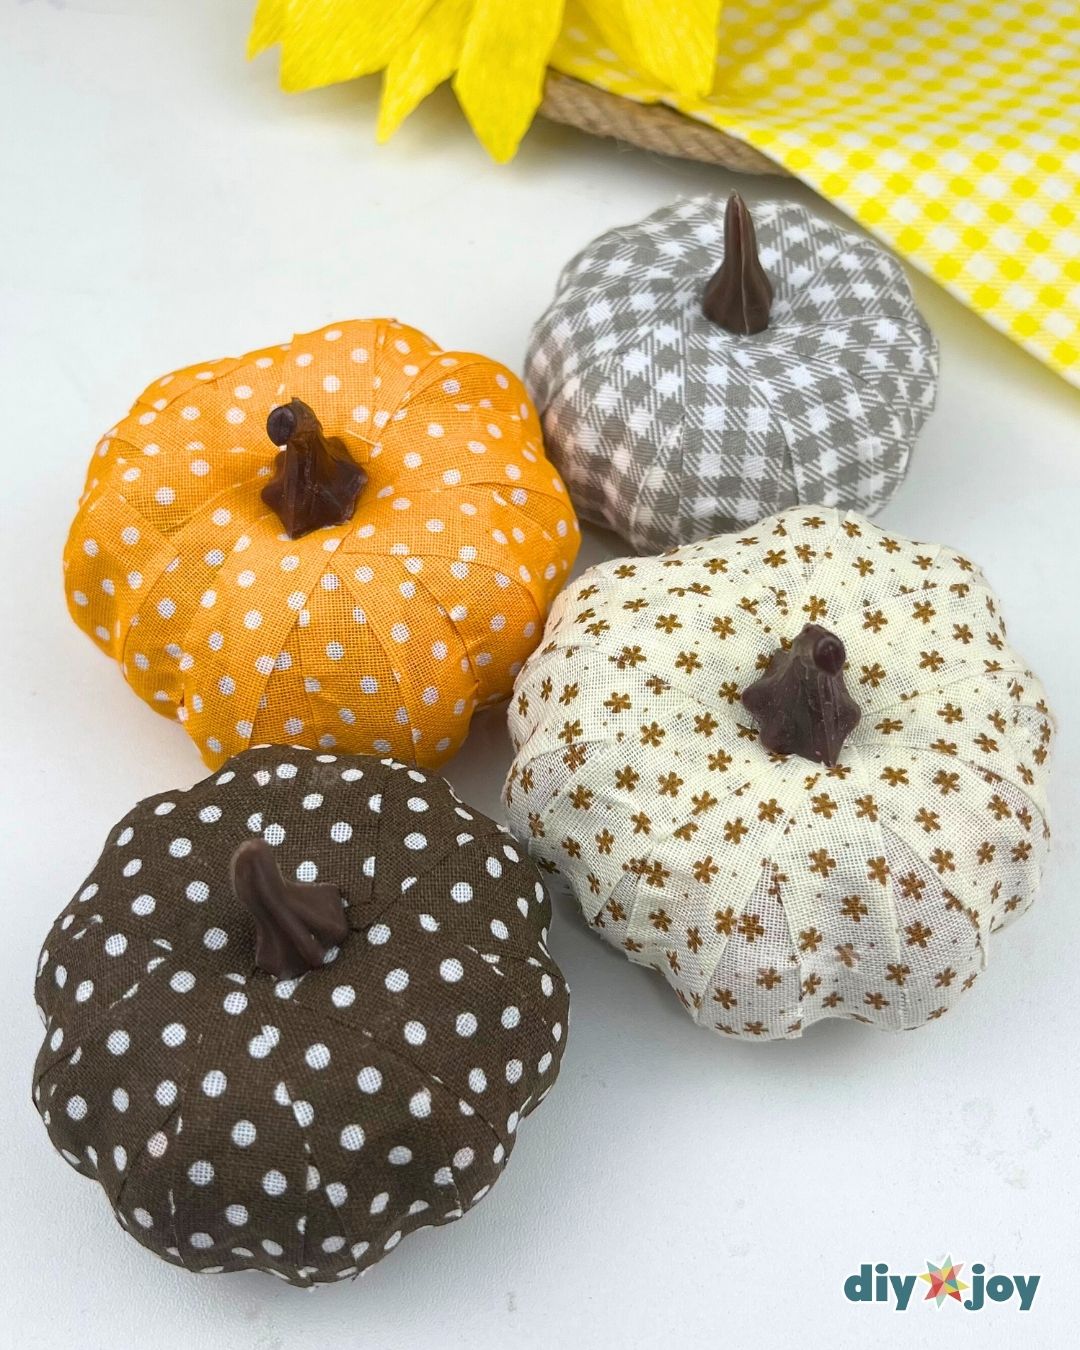
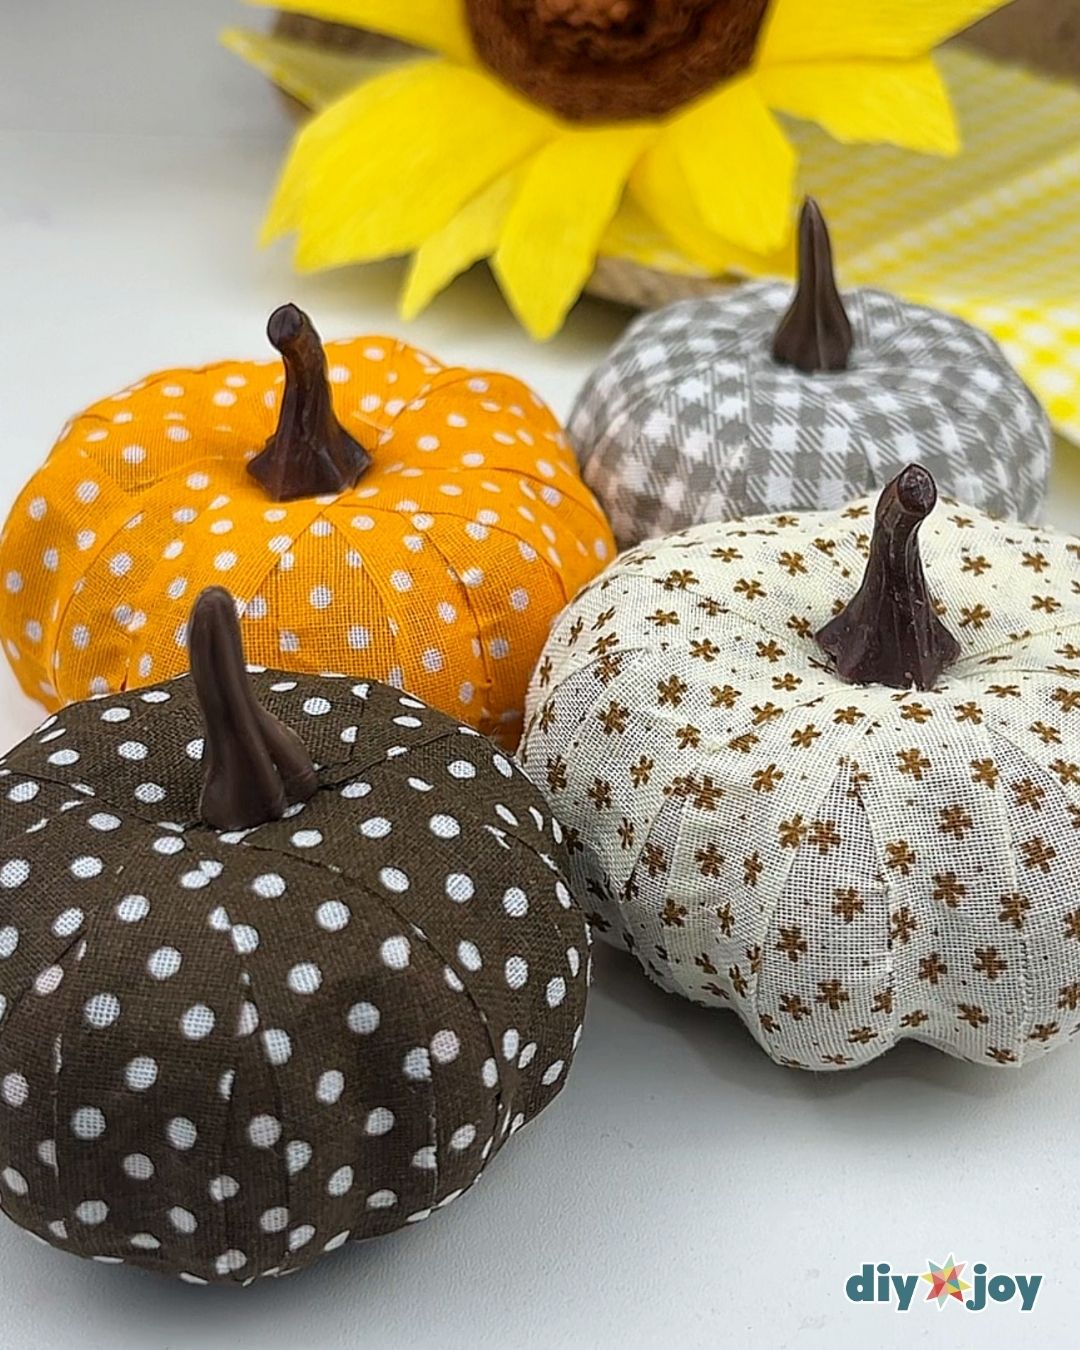
My rule for a group: different prints, same color family. Three pumpkins in three unrelated palettes look like three separate projects sitting near each other. Three in mixed scales of the same warm range look collected. Vary the scale of the print rather than the color, so a gingham, a tiny dot and a small floral in the same tones.
They display well on a mantel, in a shallow bowl, on a tray by the door, or scattered along a table runner. Odd numbers look better than even ones, and one taller pumpkin among shorter ones does more for the arrangement than anything you can do with fabric.
Storing them is where fabric pumpkins beat real ones, obviously, but there is a catch. Do not stack them in a bin. The tape edges press into the fabric below and can lift a strip. Put them in a single layer in a shallow box, or drop each one into its own paper grocery bag. Keep them somewhere dry, because damp attics soften adhesive, and a soft adhesive means you are re-taping strips next September.
To adapt them past October, swap the fabric. The same method in deep reds and plaids carries them through Thanksgiving, and in creams and neutral linens they honestly look fine into winter. I have also made a set in pastels for a spring table, which felt wrong for about a day and then looked great.
What to do With Fabric Scraps
Now that you are done with the fabric tape pumpkins, grab the colorful fabric scraps you set aside earlier. Repeat the same process you did before to make fabric tape with double-sided tape.
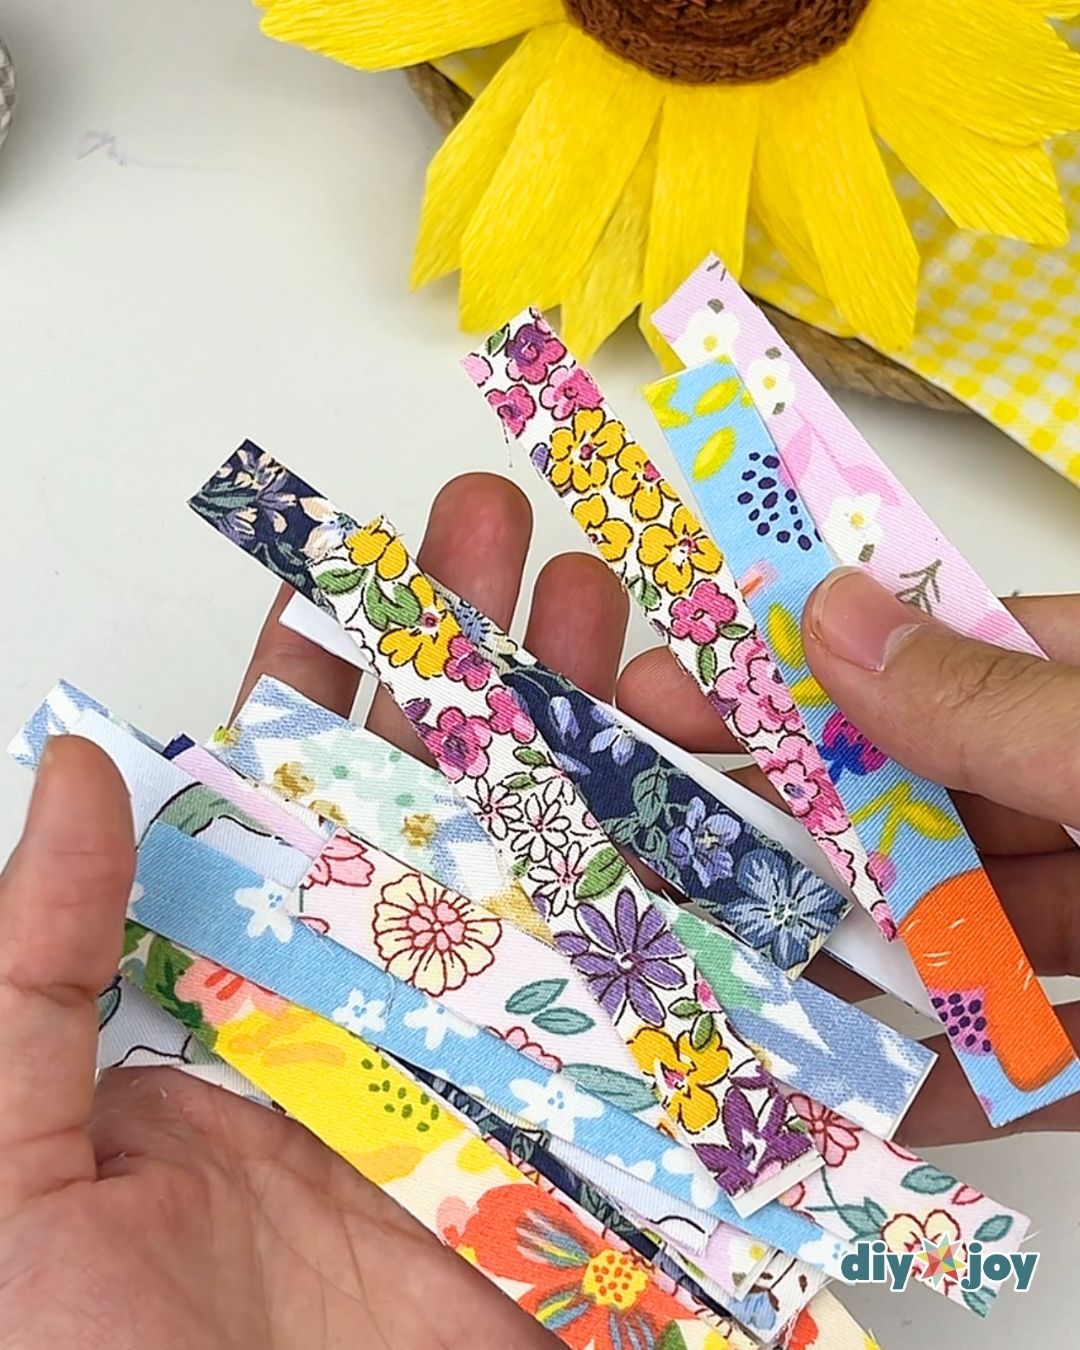
Here are all the tapes I made with my fabric scraps.
These strips behave like washi tape with a nicer texture, and they cost nothing. Store them stuck lightly to a sheet of parchment or wax paper, then peel one off when you want it. Do not roll them into a coil unless you enjoy fighting fabric.
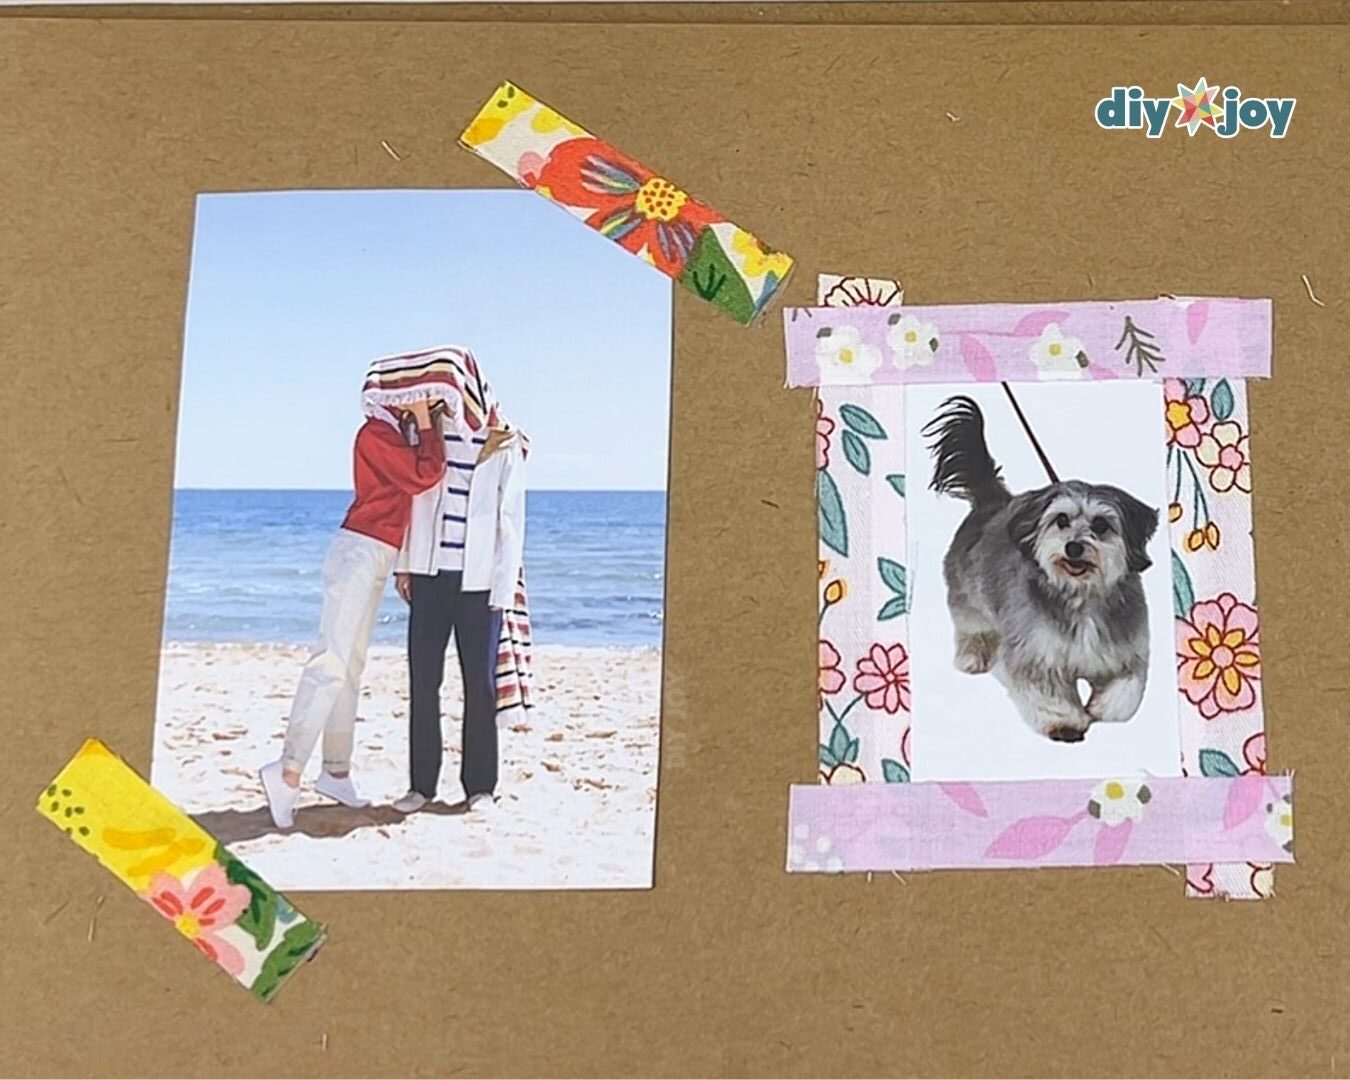
Fair warning on photos: double-sided tape is not archival. On a scrapbook page it is fine for prints you can reprint, but keep it away from anything irreplaceable. For those, tape the corners of a photo sleeve instead of the photo itself and you get the same look with none of the regret.
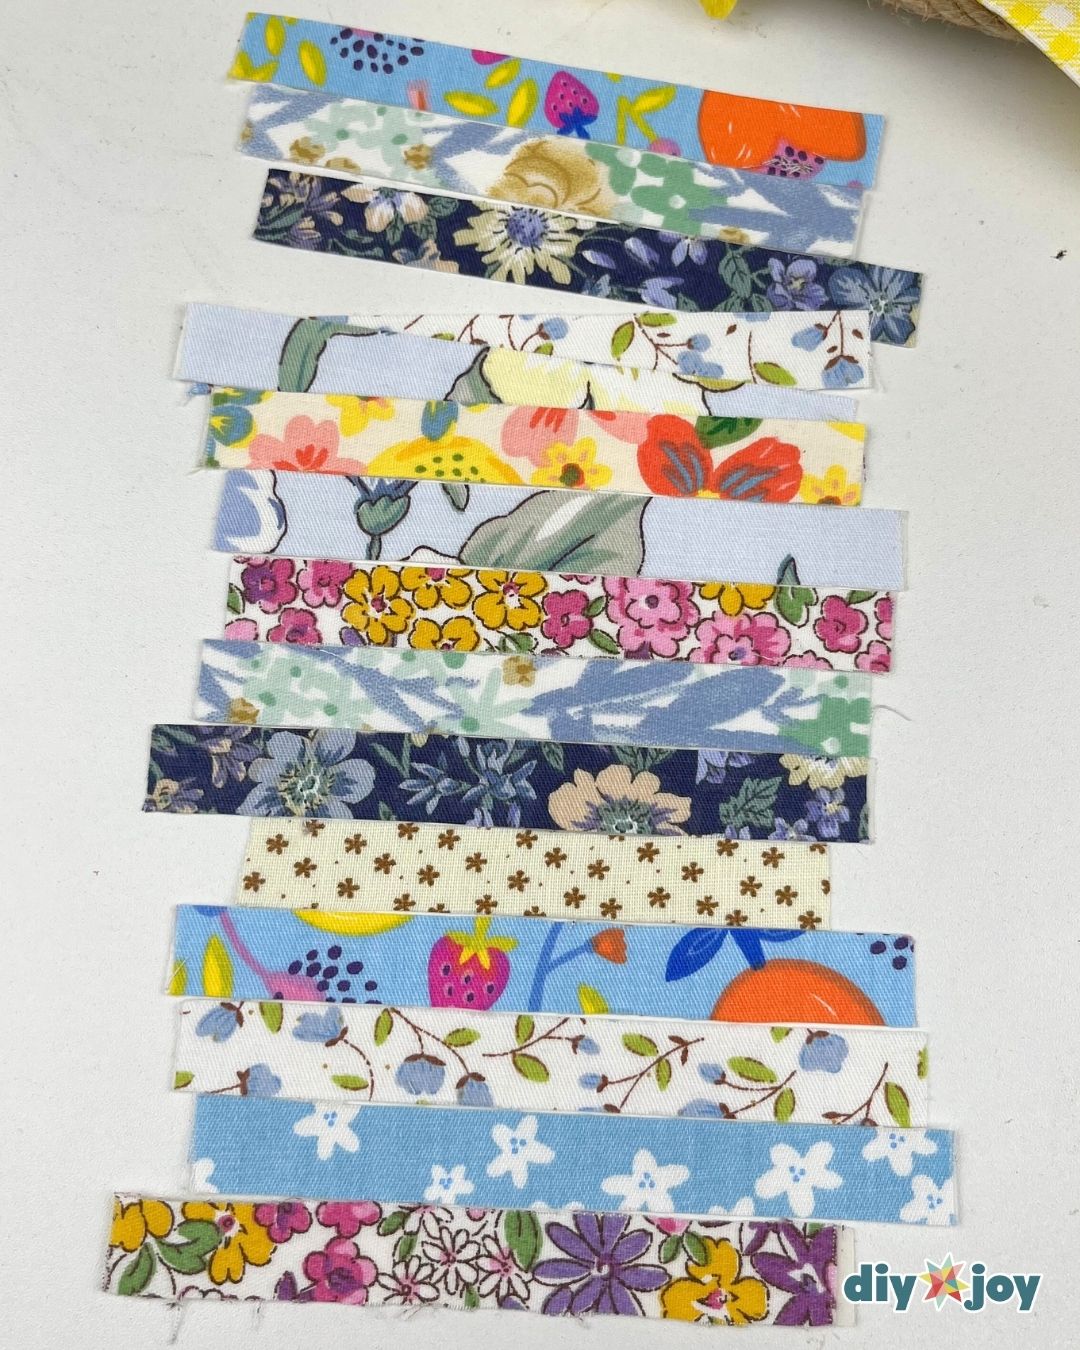
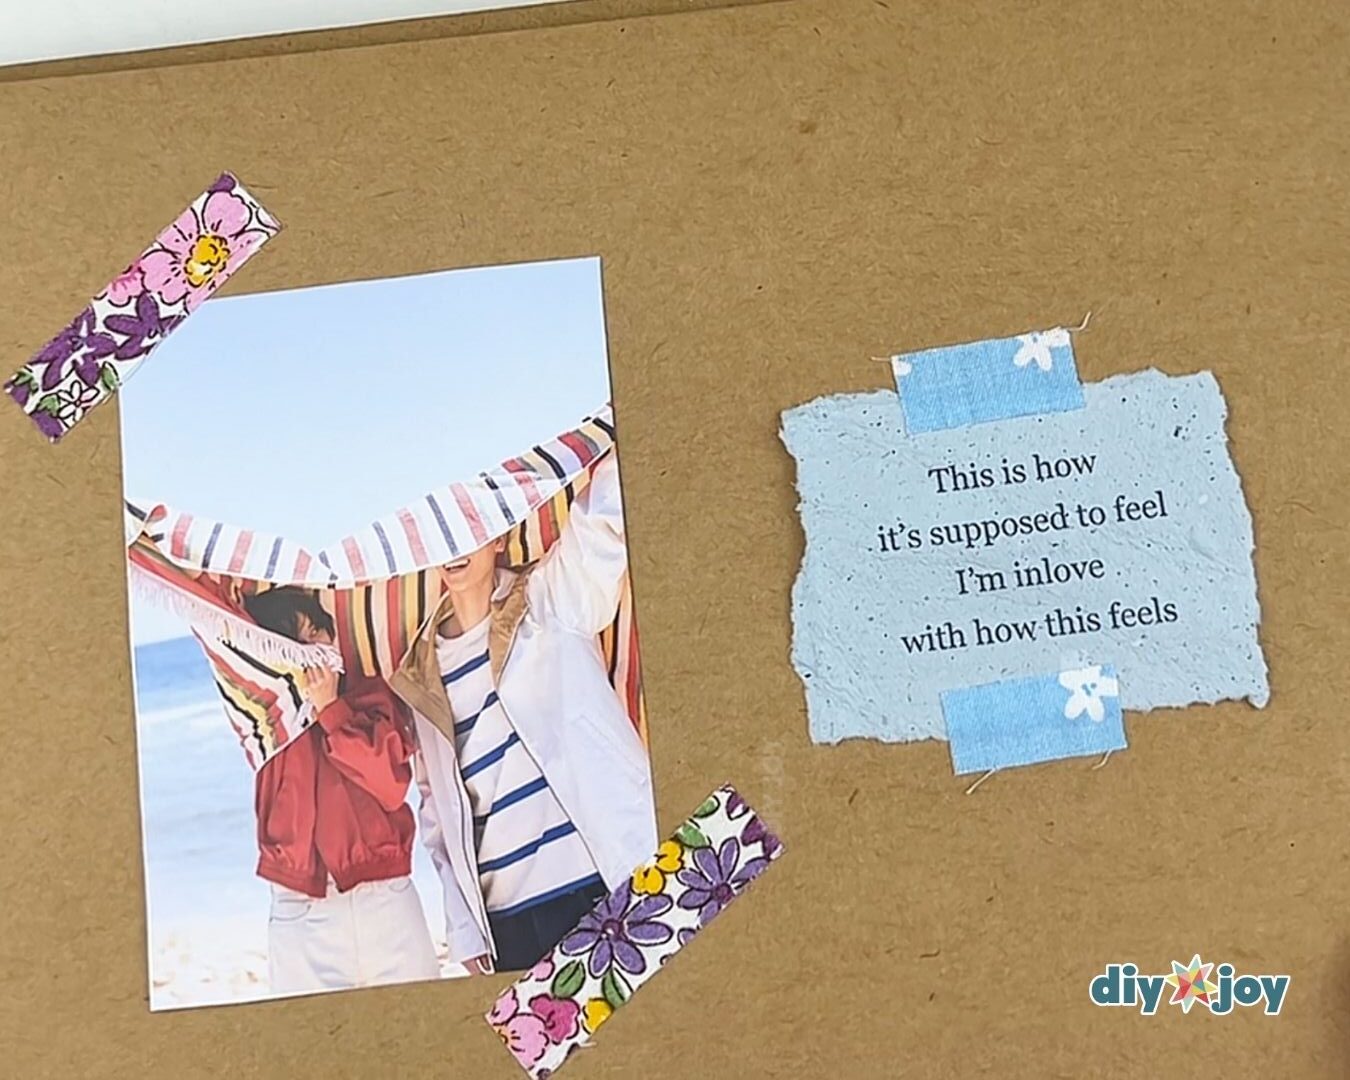
Now, you have a beautiful set of fabric tapes you can use to design your journals, diaries, scrap books, or photo books.
Fabric Pumpkin FAQs
Do I need to sew anything?
No. The fabric is held on with double-sided tape applied to the back of each scrap, which turns it into a strip of fabric tape. There is no sewing, no glue gun and no needle anywhere in this project.
How long should I cut the fabric strips?
Measure the curved height of your faux pumpkin, meaning over the bulge from the top to the bottom rather than straight down the side, and cut your strips to match. A strip cut to the flat height will end up short once it follows the curve. Widths can vary, and mixing a few widths actually helps the strips fit around the ribs.
Why does the stem have to come off?
The stem pulls straight out of these faux pumpkins and leaves a clean opening at the top. That lets you run the strips right up to the hole, and when you push the stem back in at the end it covers all the cut ends at once. Put it back only after every strip is on.
What do I do with the fabric scraps that are too bright for fall?
Set them aside during the sorting step and make them into fabric tape the same way, with double-sided tape on the back and a clean cut into strips. Those brighter strips are lovely on journals, diaries, scrapbooks and photo albums. In the last photos here they are holding down photos and a quote card on a kraft paper page.