I’ve always been a sentimental person, and I love preserving things with memories attached to them so I can always come back and relive the moment. There are many ways to preserve or store stuff that you’ve received from someone special, oftentimes we put them in a box or shelf where they will be safe. But, for things that can go bad over time, such as flowers or plants, the best way to preserve them is to turn them into pressed or dried flowers, which you can also use in a variety of DIY project ideas.
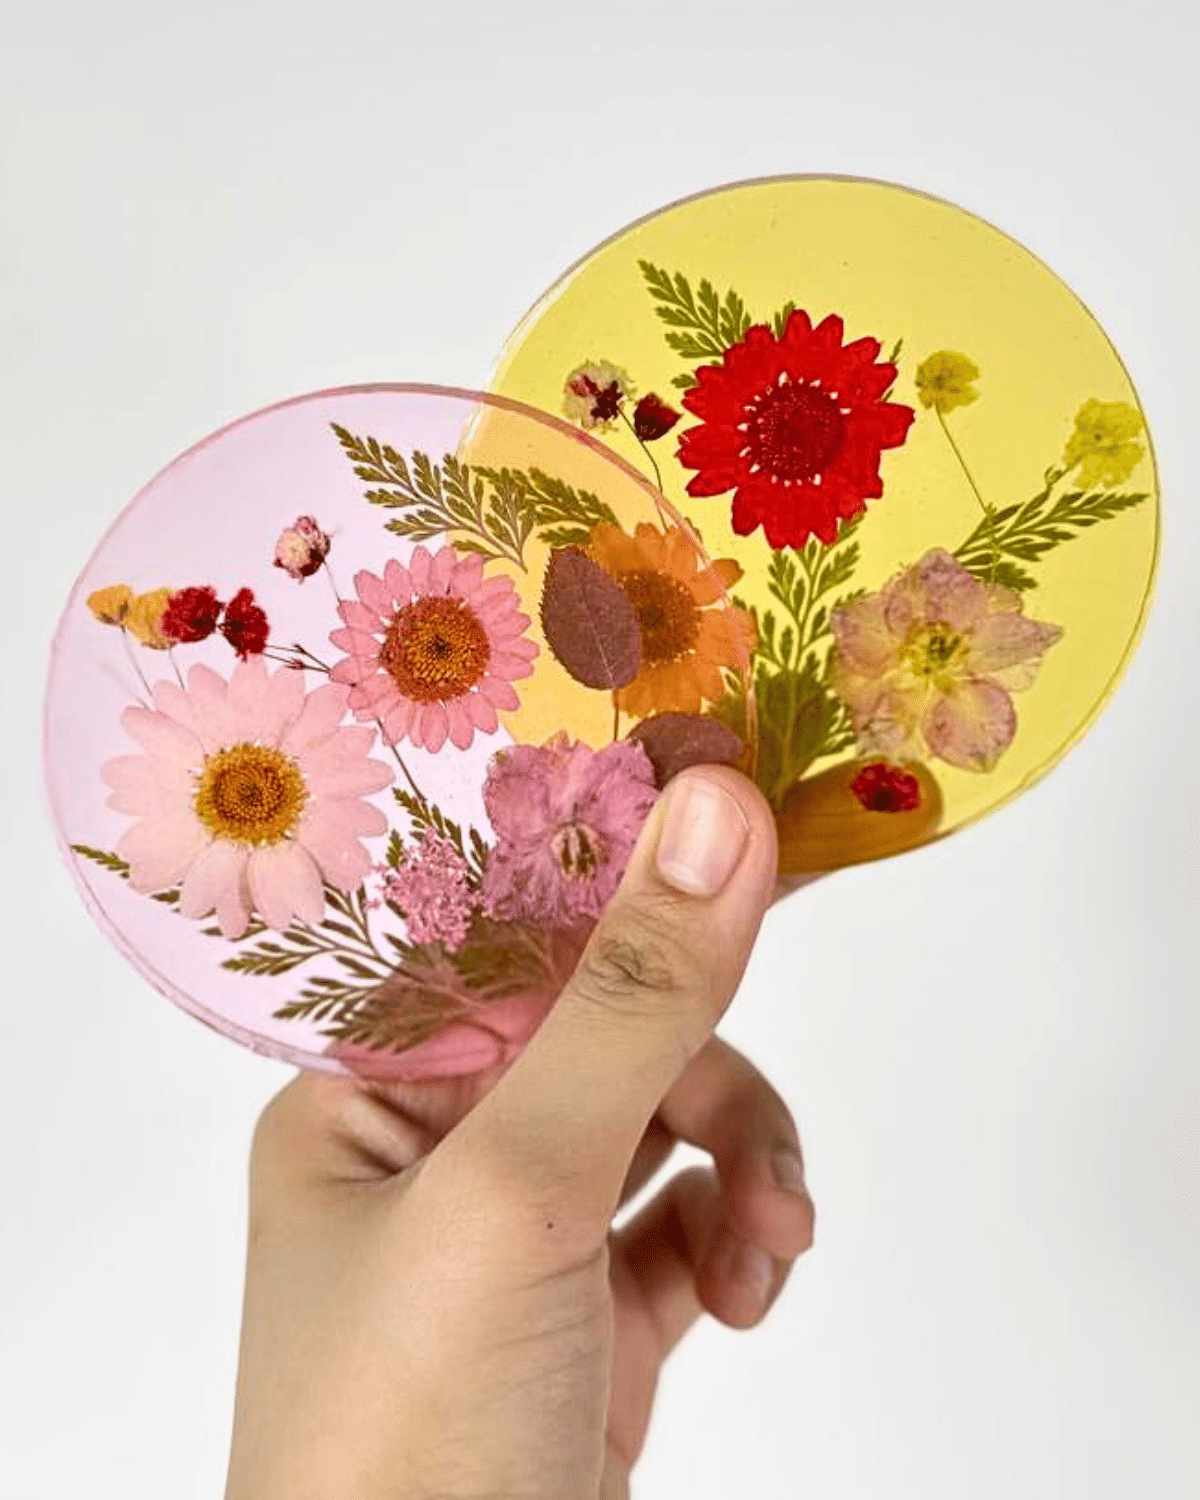
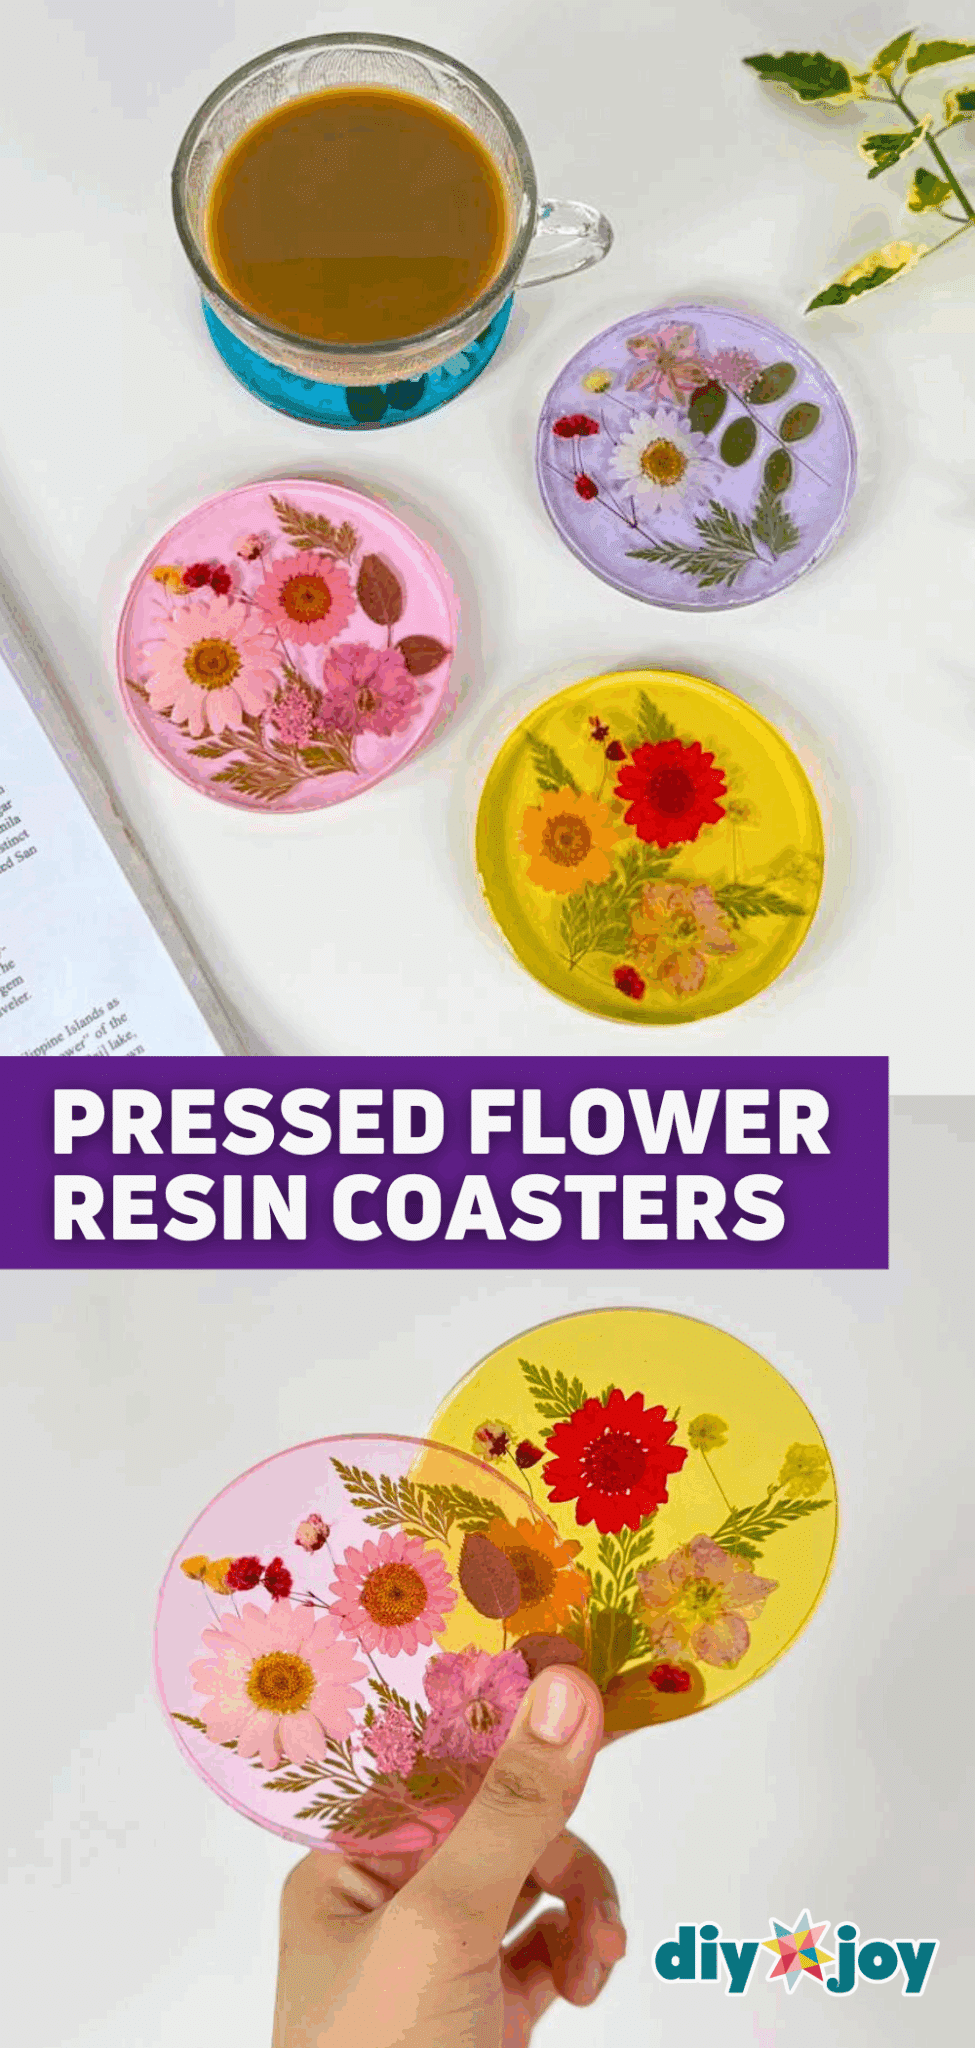
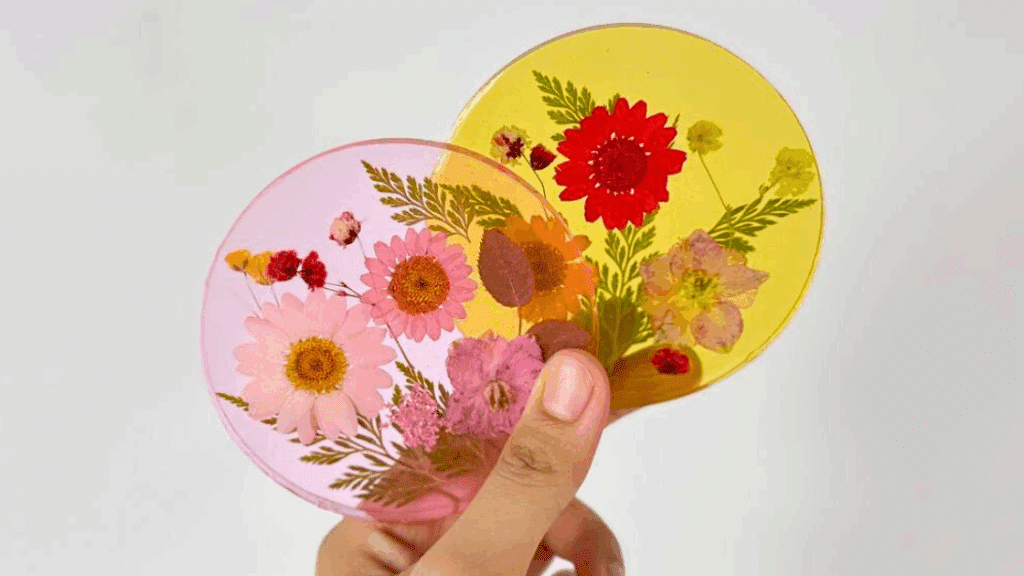
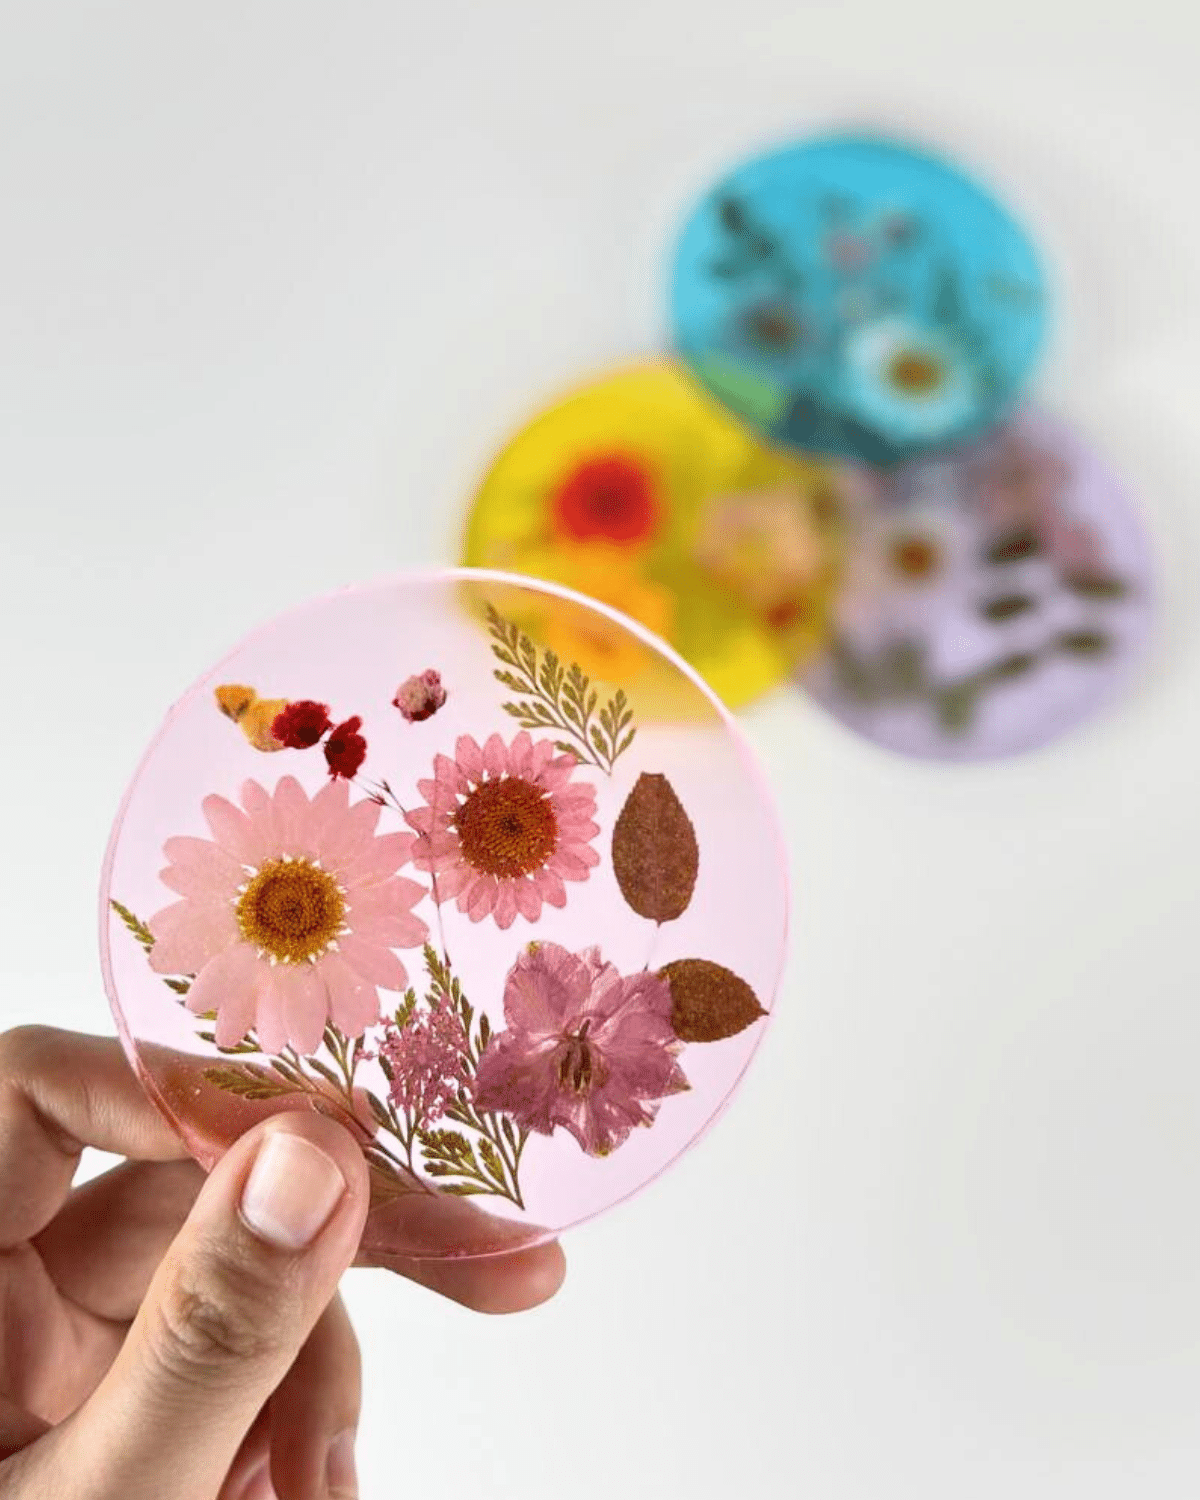
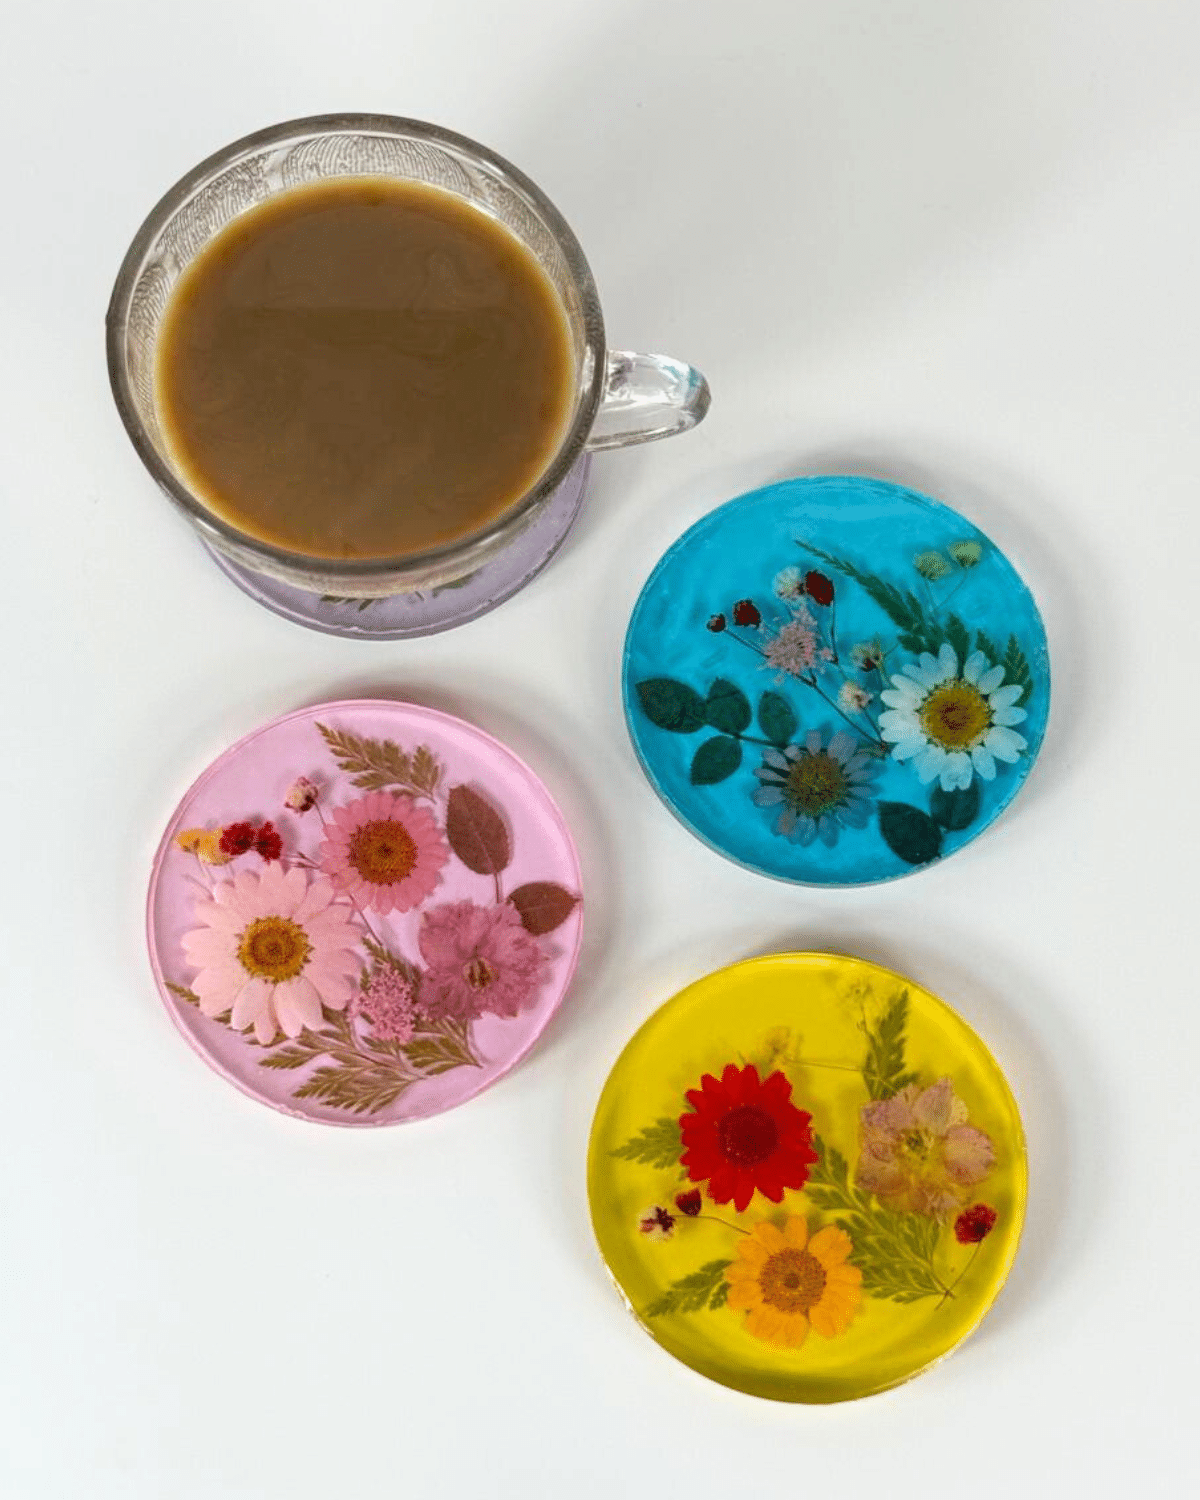
There’s something timeless and beautiful about preserving real flowers in crystal-clear resin. With a little creativity and the right materials, you can craft your own dried flower resin coasters—turning simple blooms into lasting, functional art. Whether you prefer an aesthetic resin coaster for your coffee table or a custom resin coaster as a thoughtful handmade gift, this project is perfect for you, and what’s even better is that both beginners and seasoned crafters alike can give this a try.
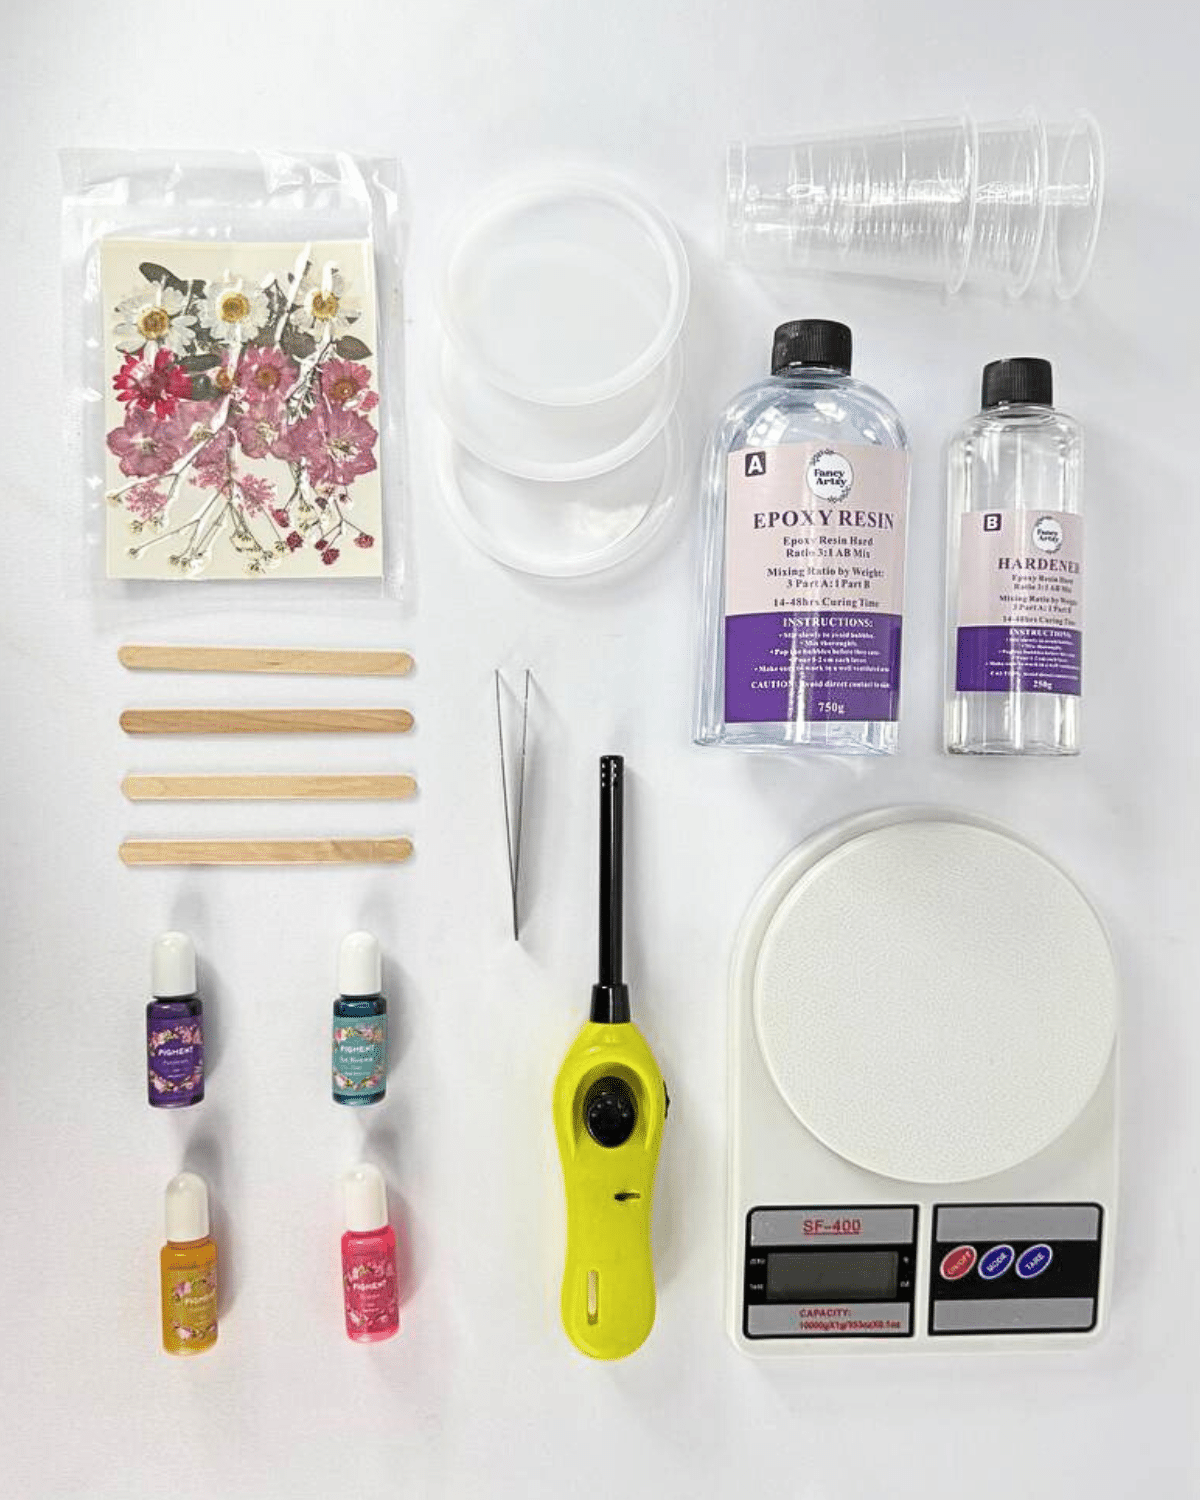
What You’ll Need for Dried Flower Resin Coaster
- Weighing scale
- Resin pigment
- Dried Flowers
- Popsicle stick
- Resin Mold
- Plastic cup
- Epoxy Resin
- Hardener
- Tweezer
- Lighter, optional
How to Make Pressed Flower Resin Coaster
Step-by-step guide to making pressed flower resin coasters with photos
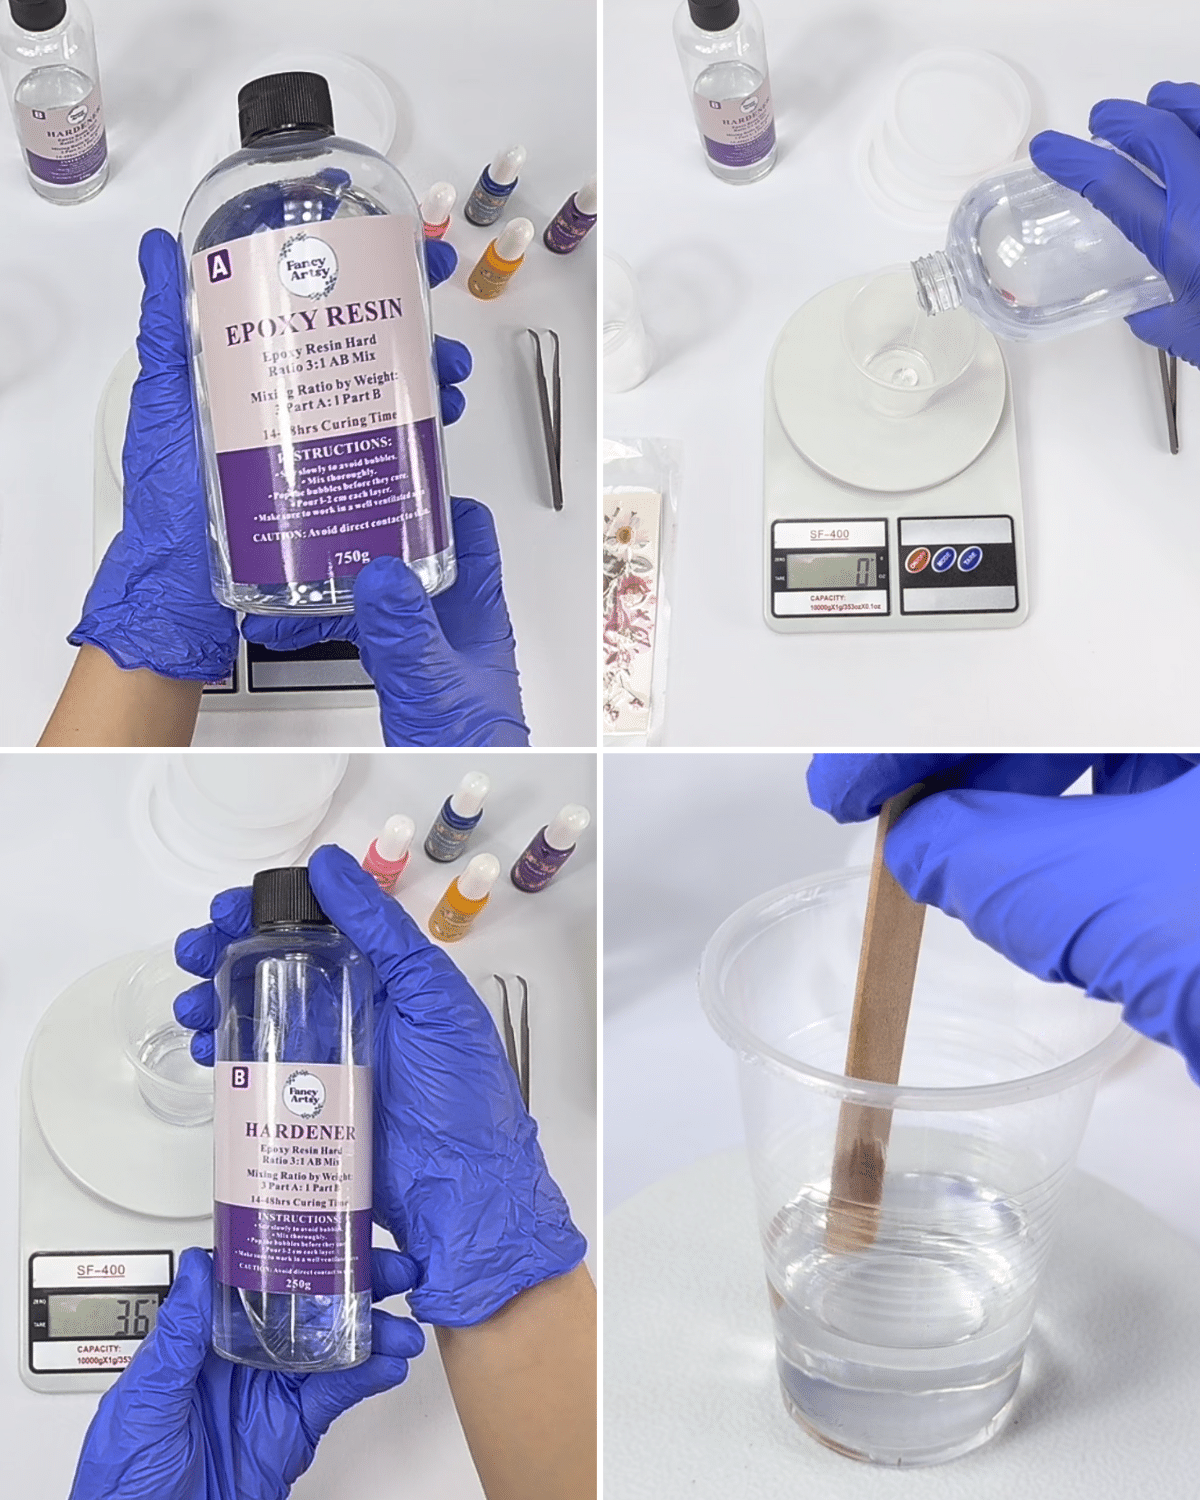
Step 1: Prepare the resin mixture

Pour epoxy resin into a mixing cup about 36 grams, then mix in about 12 grams of the hardener. The goal is to achieve a 3:1 ratio, but make sure to read the instructions written on the bottle, as it may still depend on the type of resin you’re using. Stir them slowly for about 5-10 minutes until the mixture becomes clear.
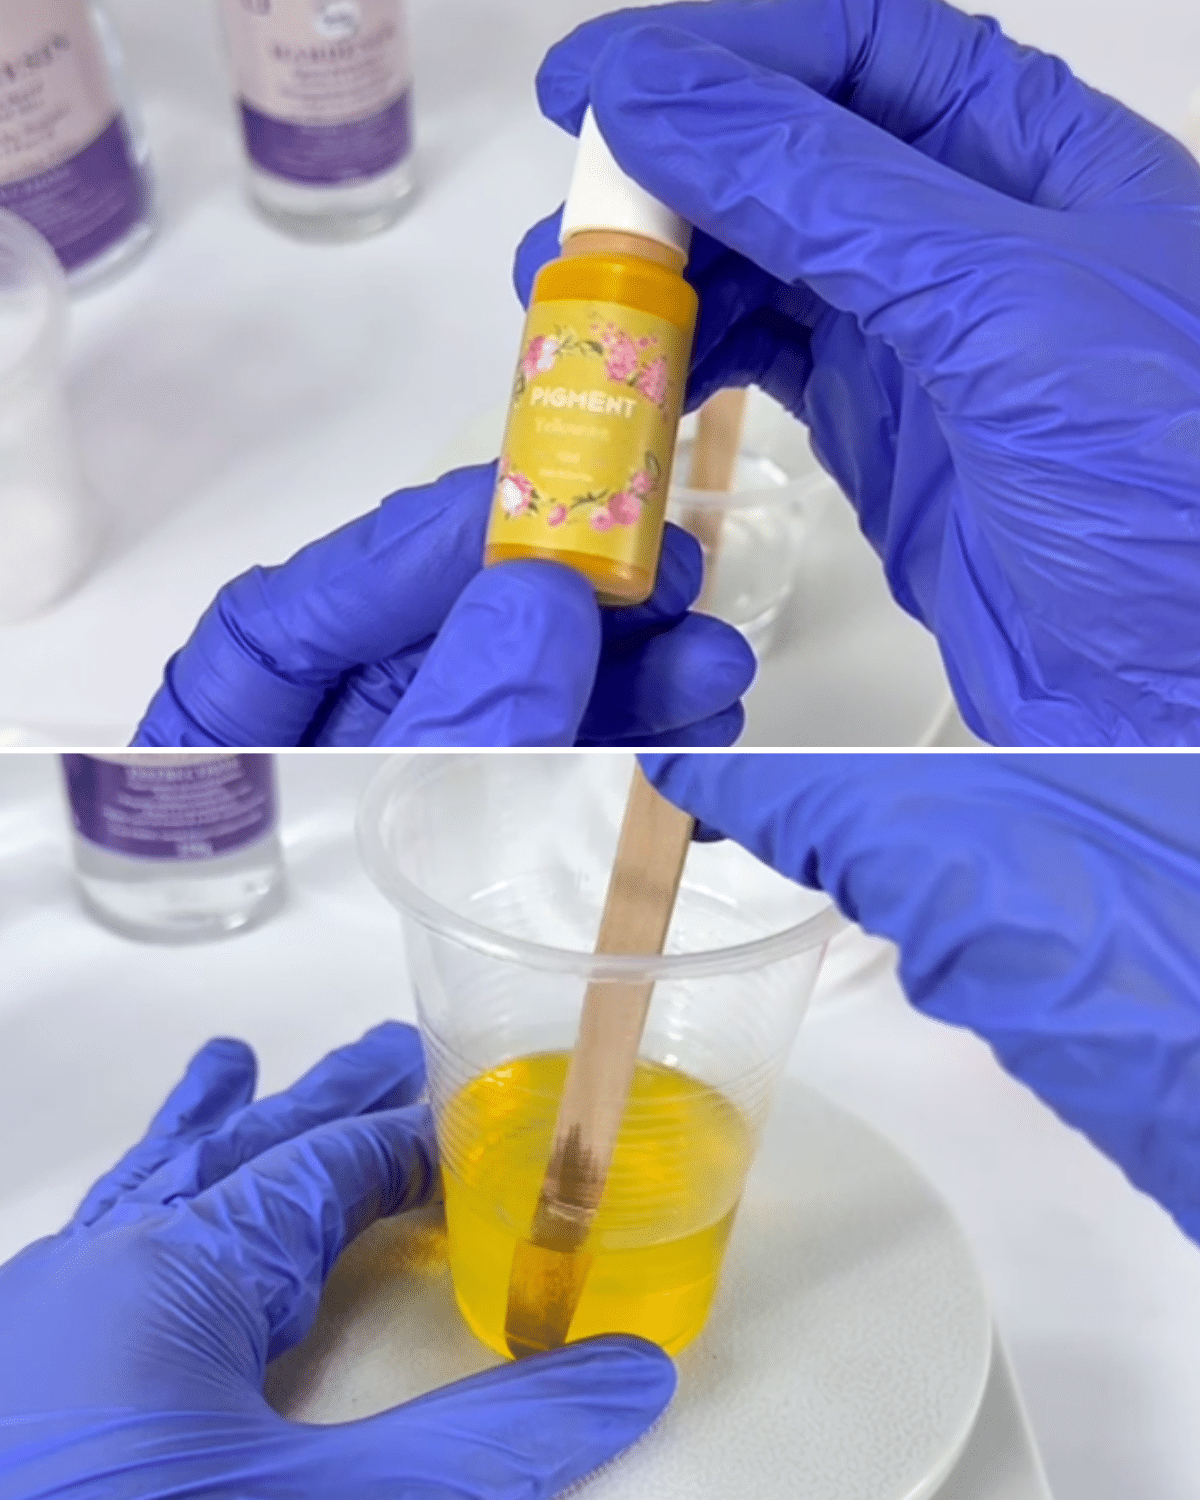
Tip: Make sure to wear nitrile gloves when working with epoxy resin.Step 2: Add color to the resin
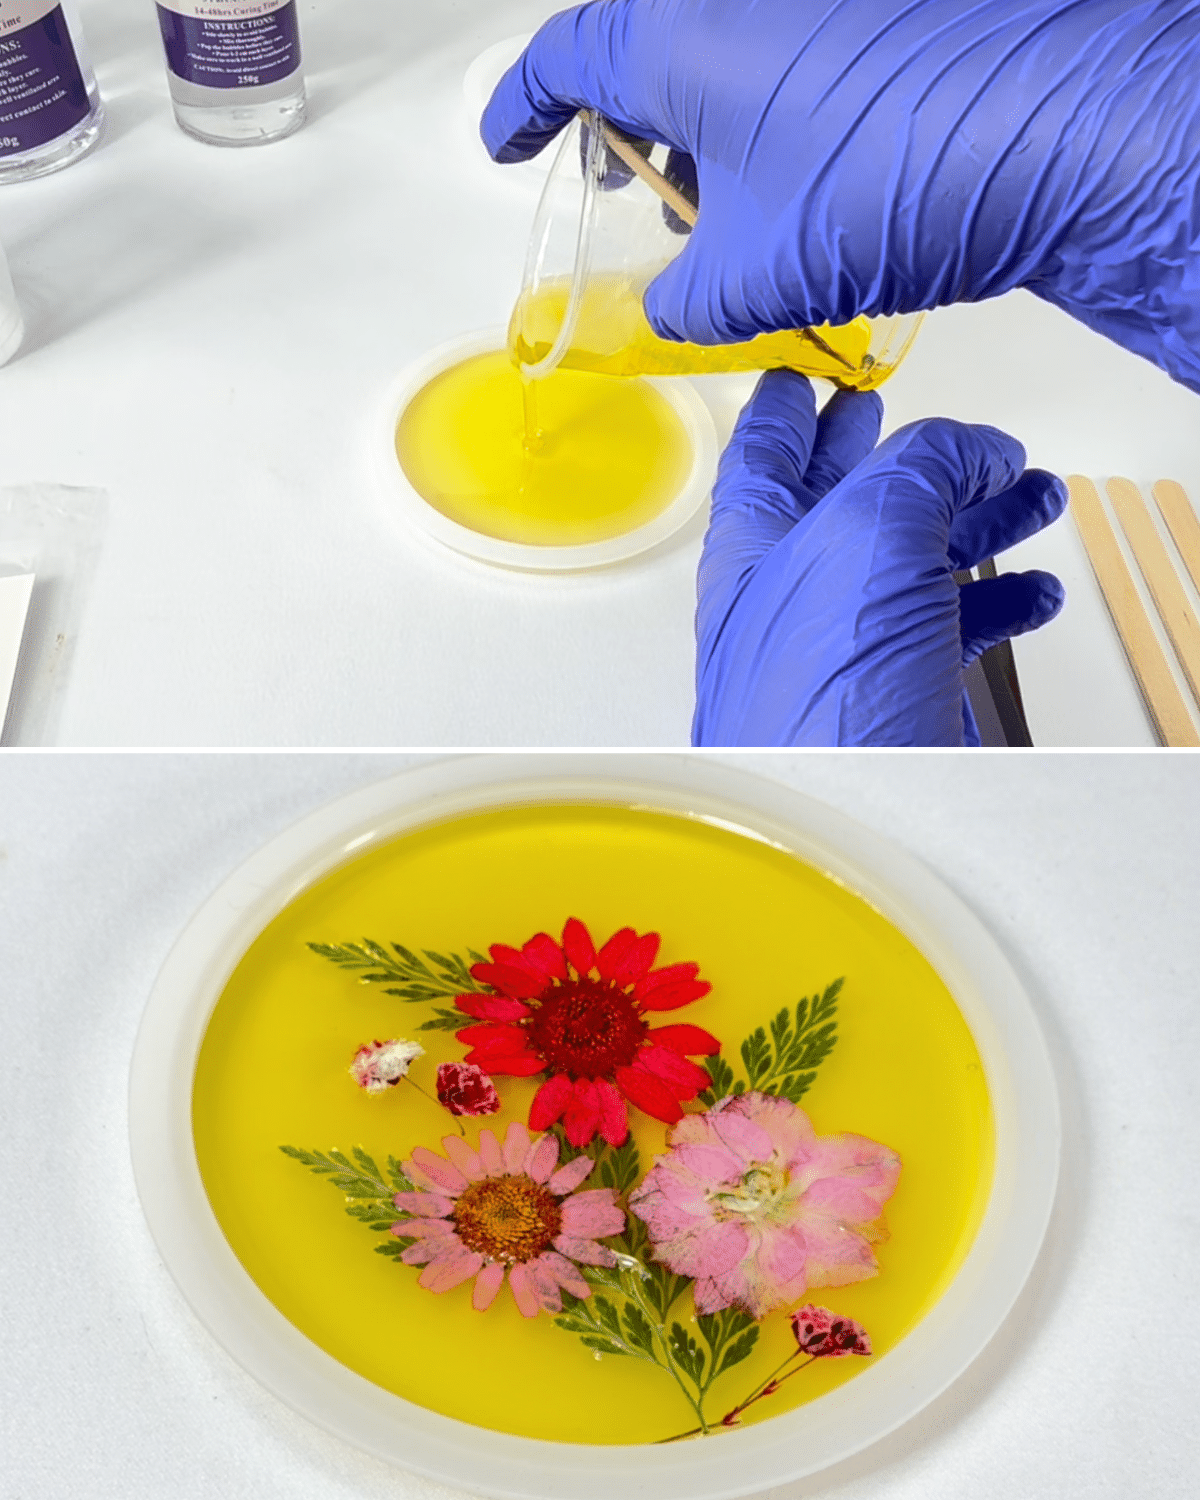
Add 2-3 drops of your chosen pigment color, then mix it well, and then set the mixture aside, letting it sit for a few minutes before working on your coaster.Step 3: Arrange the dried flowers
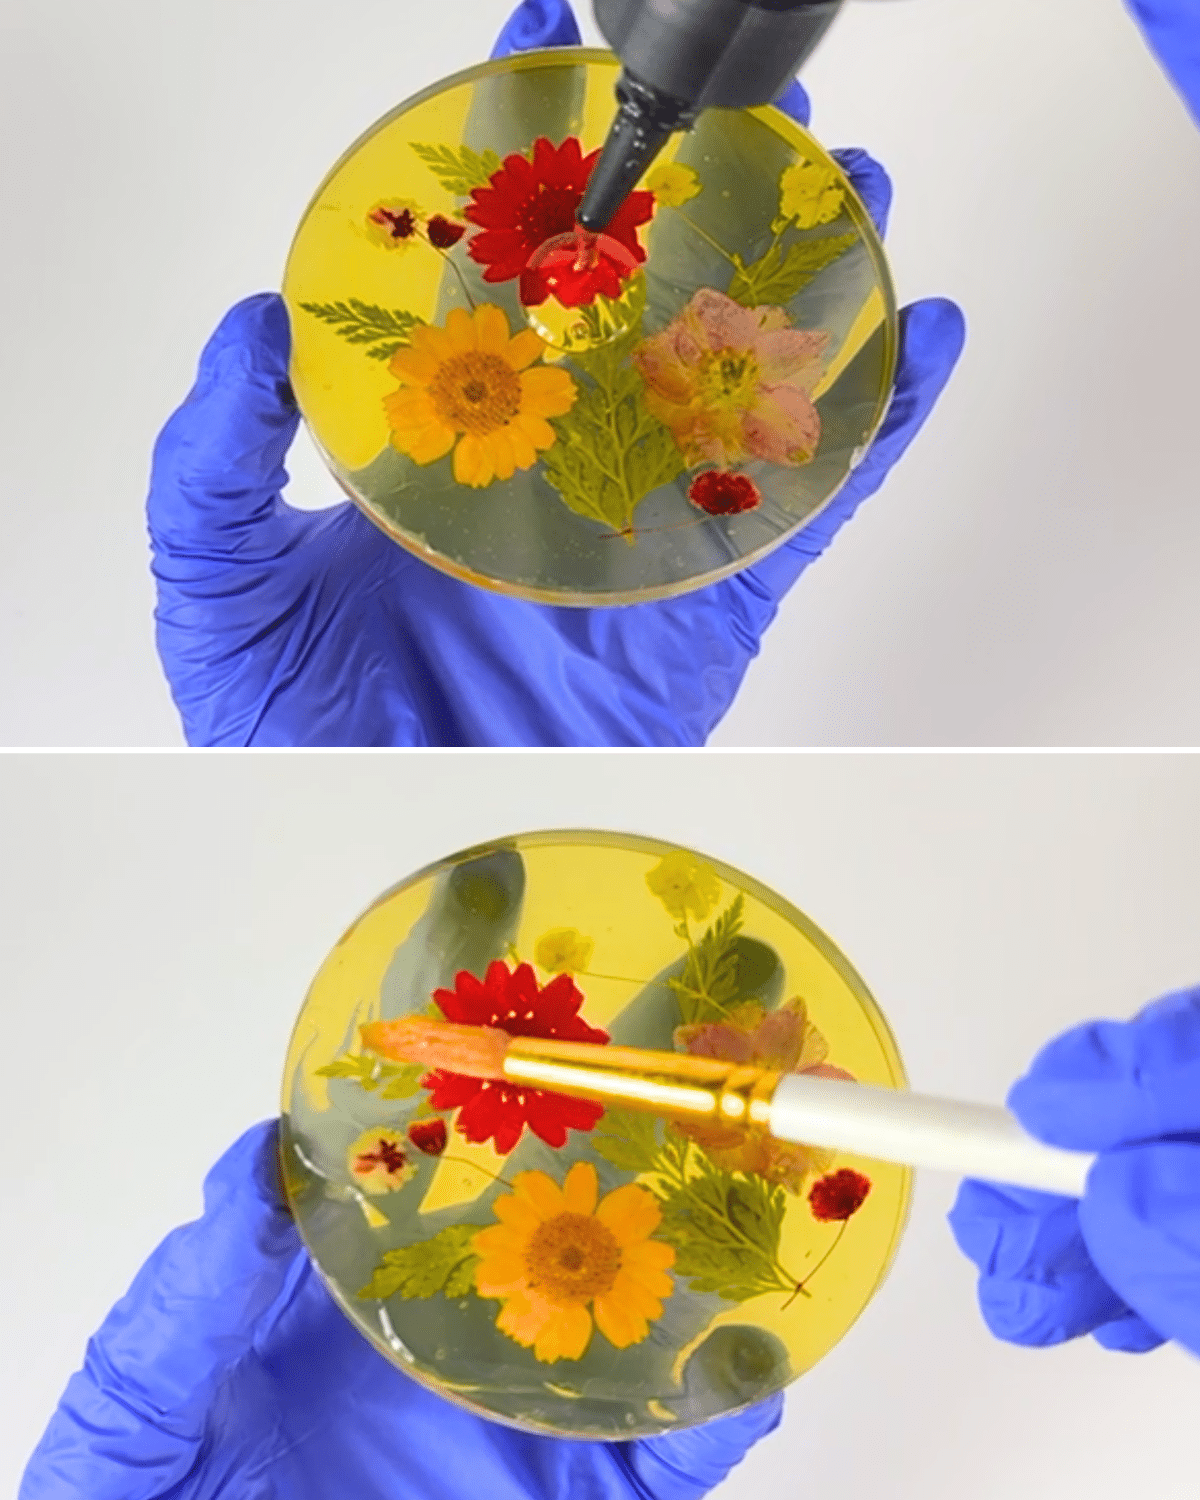
Before anything else, make sure your resin mold is clean and free of any dust or dirt. Next, slowly pour some of the colored resin into the mold, then arrange the pressed flowers however you want, and let it sit for a couple of minutes before pouring the remaining half of your resin mixture on top of the flowers.
Tip: Use a lighter to pop any air bubbles formed.Step 4: Allow the resin coaster to set
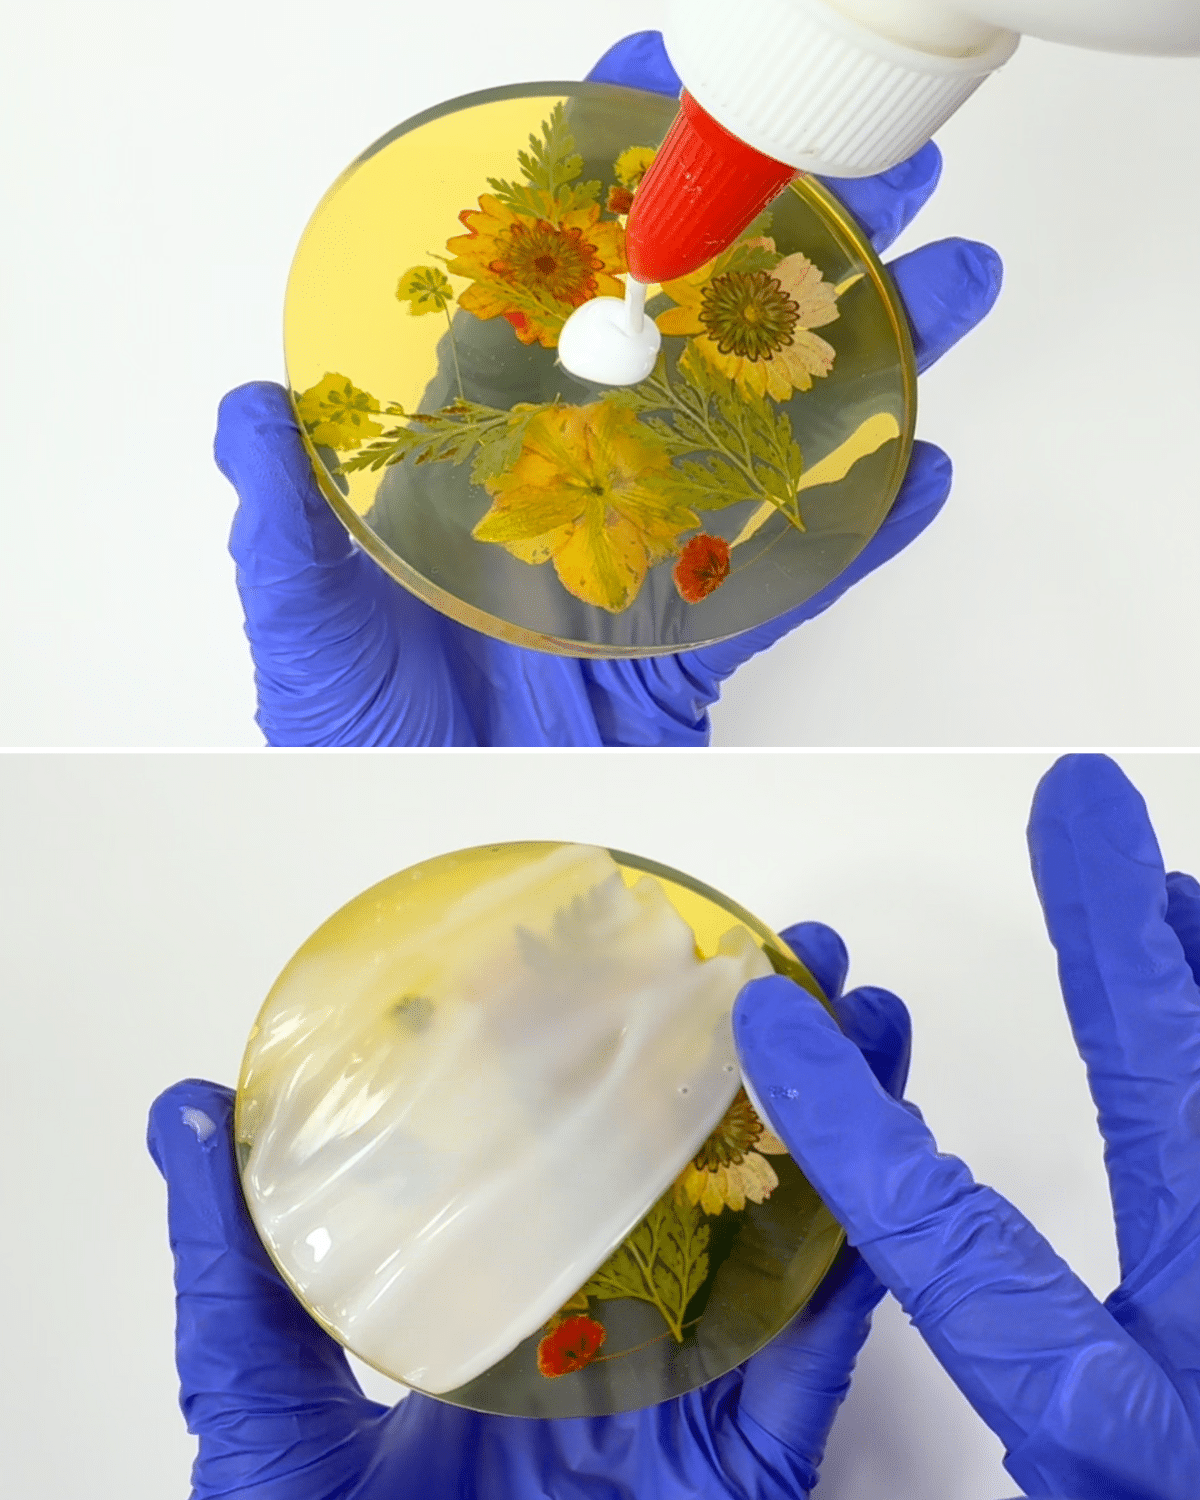
Set the coaster aside and allow the resin to dry and set overnight. Once the coaster has dried, apply a layer of glue at the back to avoid the UV resin from seeping from the front, and set it aside again to let the glue dry.Step 5: Apply the UV resin to the front
Once the glue has dried, apply a thin amount of UV resin to the front of your coaster, then make sure to spread it out evenly.
Tip: Make sure to wear nitrile gloves when working with UV resin.Step 6: Peel the dried glue from the back
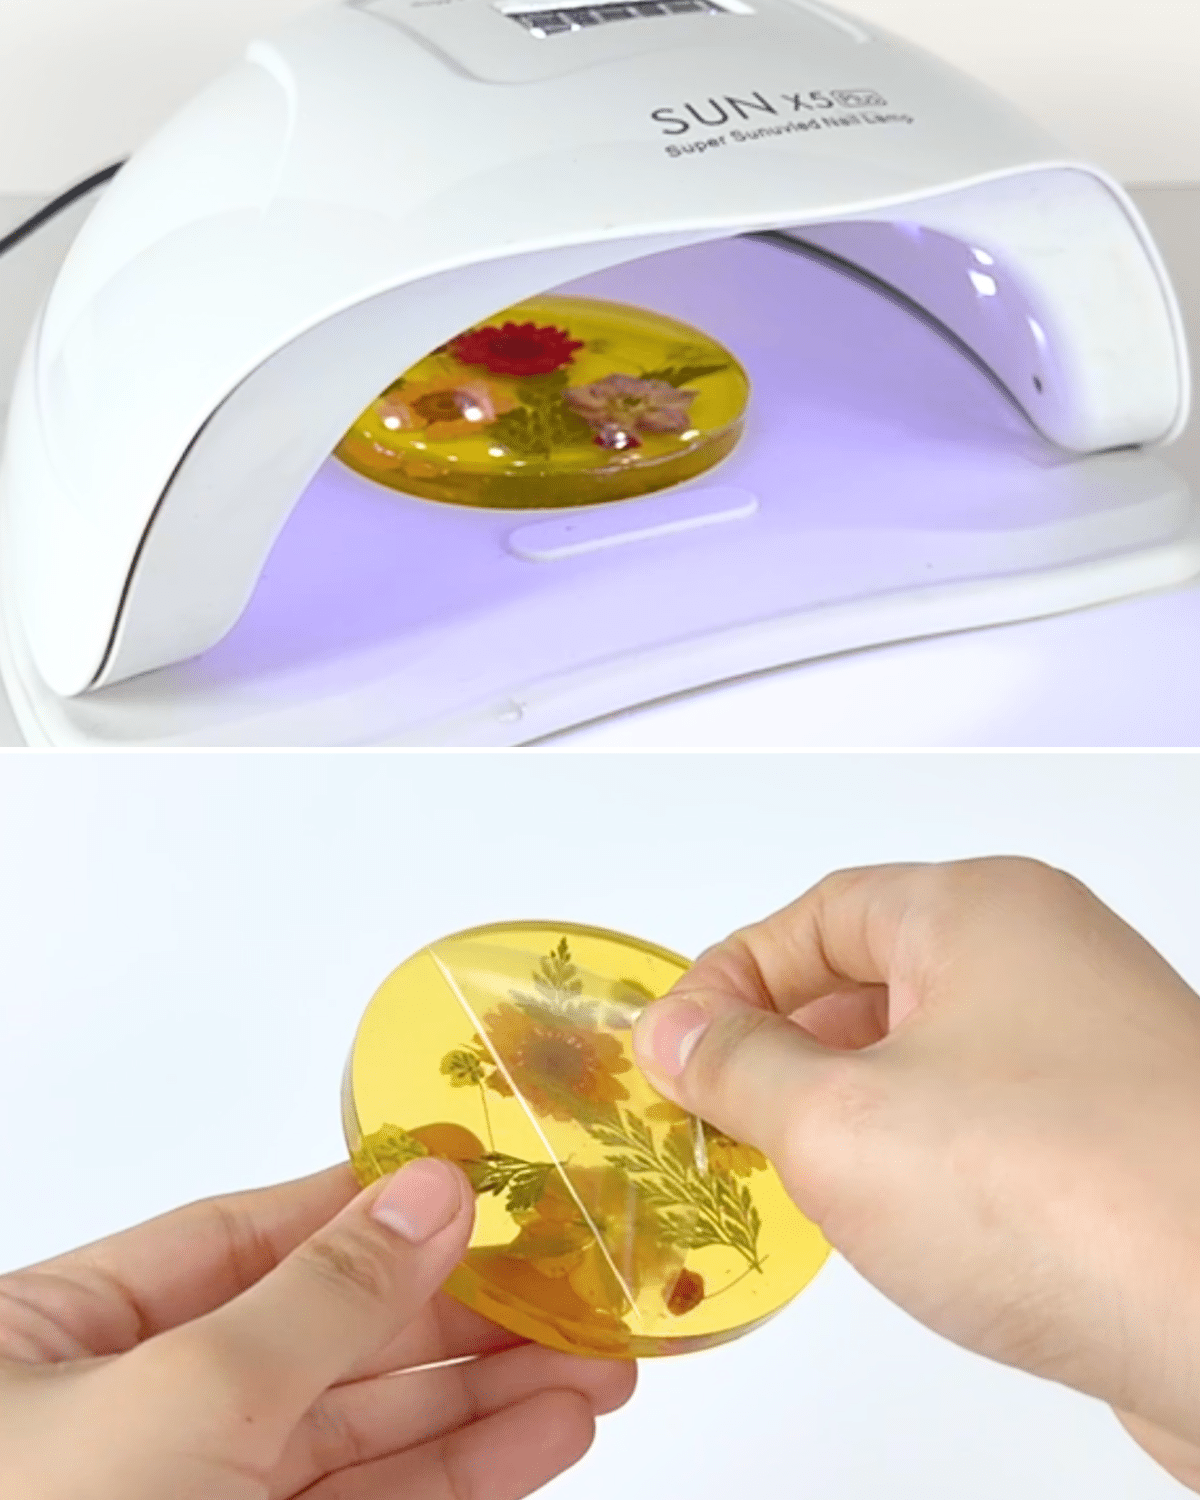
Place the coaster on the UV lamp, then let the UV resin cure until it’s not sticky anymore, and then peel off the glue at the back. This step is crucial as it will make your resin coaster appear clearer and shinier.
Materials
- Weighing scale
- Resin pigment
- Dried Flowers
- Popsicle stick
- Resin Mold
- Plastic cup
- Epoxy Resin
- Hardener
- Tweezer
- Lighter, optional
![]()
Why You’ll Love This
- Customizeable
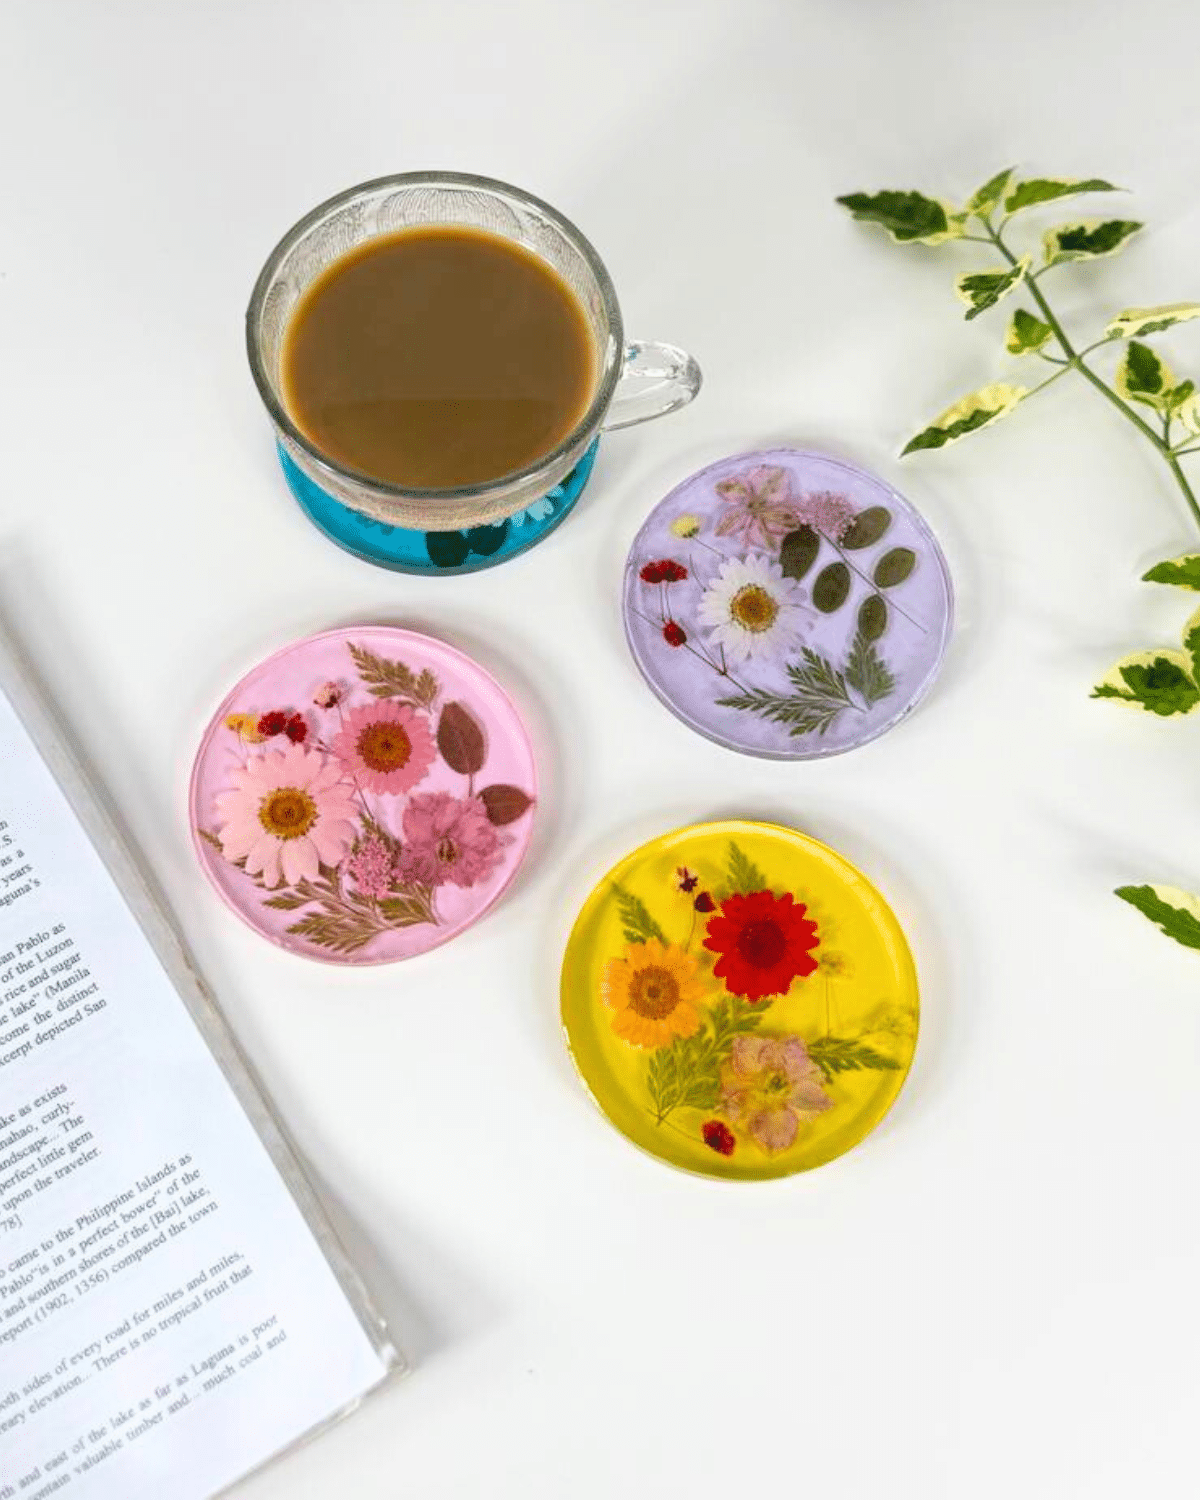
Each coaster is one of a kind, and you can arrange the flowers however you want, which ensures a unique set each time. Whether you love soft pastels, bold florals, or minimal designs, you can choose flowers, colors, and shapes to match your personal aesthetic or home decor.
- Beginner-Friendly
You don’t need advanced skills to create these; even first-time resin crafters can achieve professional-looking results with the help of our simple step-by-step process.
- Handmade Gift Idea
These coasters make thoughtful, personalized gifts for birthdays, weddings, housewarmings, or holidays—something truly meaningful and beautiful.
- A Fun Way to Preserve Nature
It’s a creative way to capture and keep the beauty of real flowers, turning seasonal blooms or special bouquet memories into lasting, functional pieces.
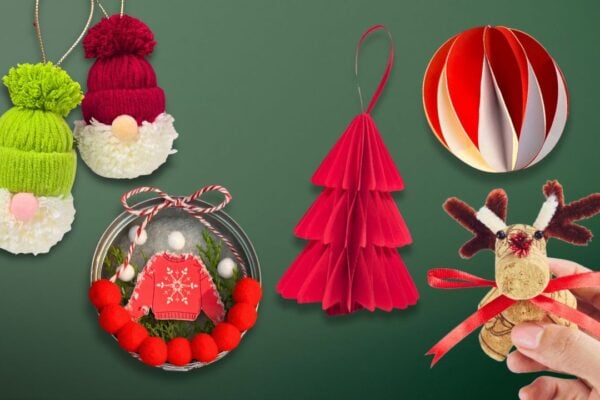
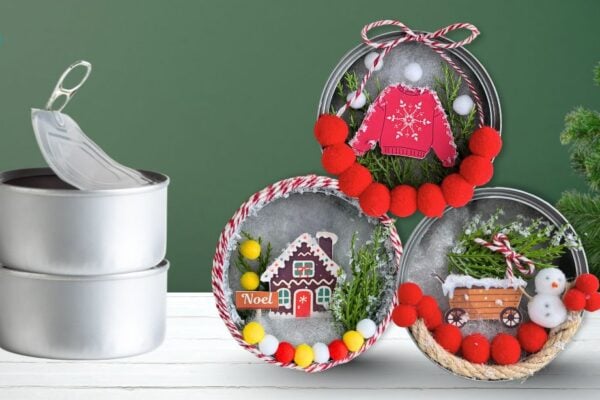
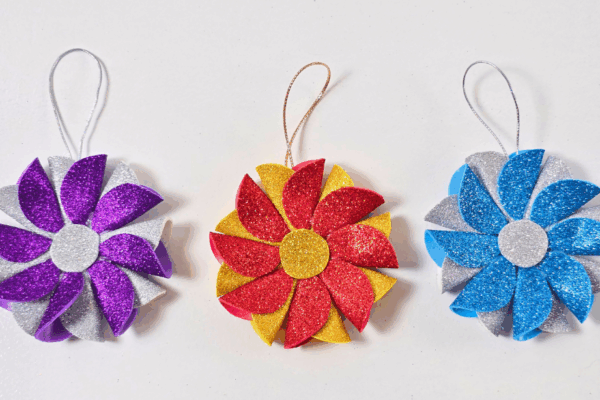
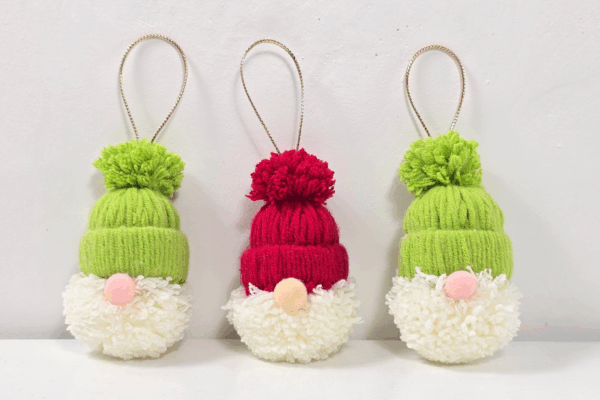
Other Projects You’ll Love
*If you love this craft, then visit our official website, follow our Facebook page, and subscribe to our YouTube channel for more!
Resin Coaster with Dried Flowers