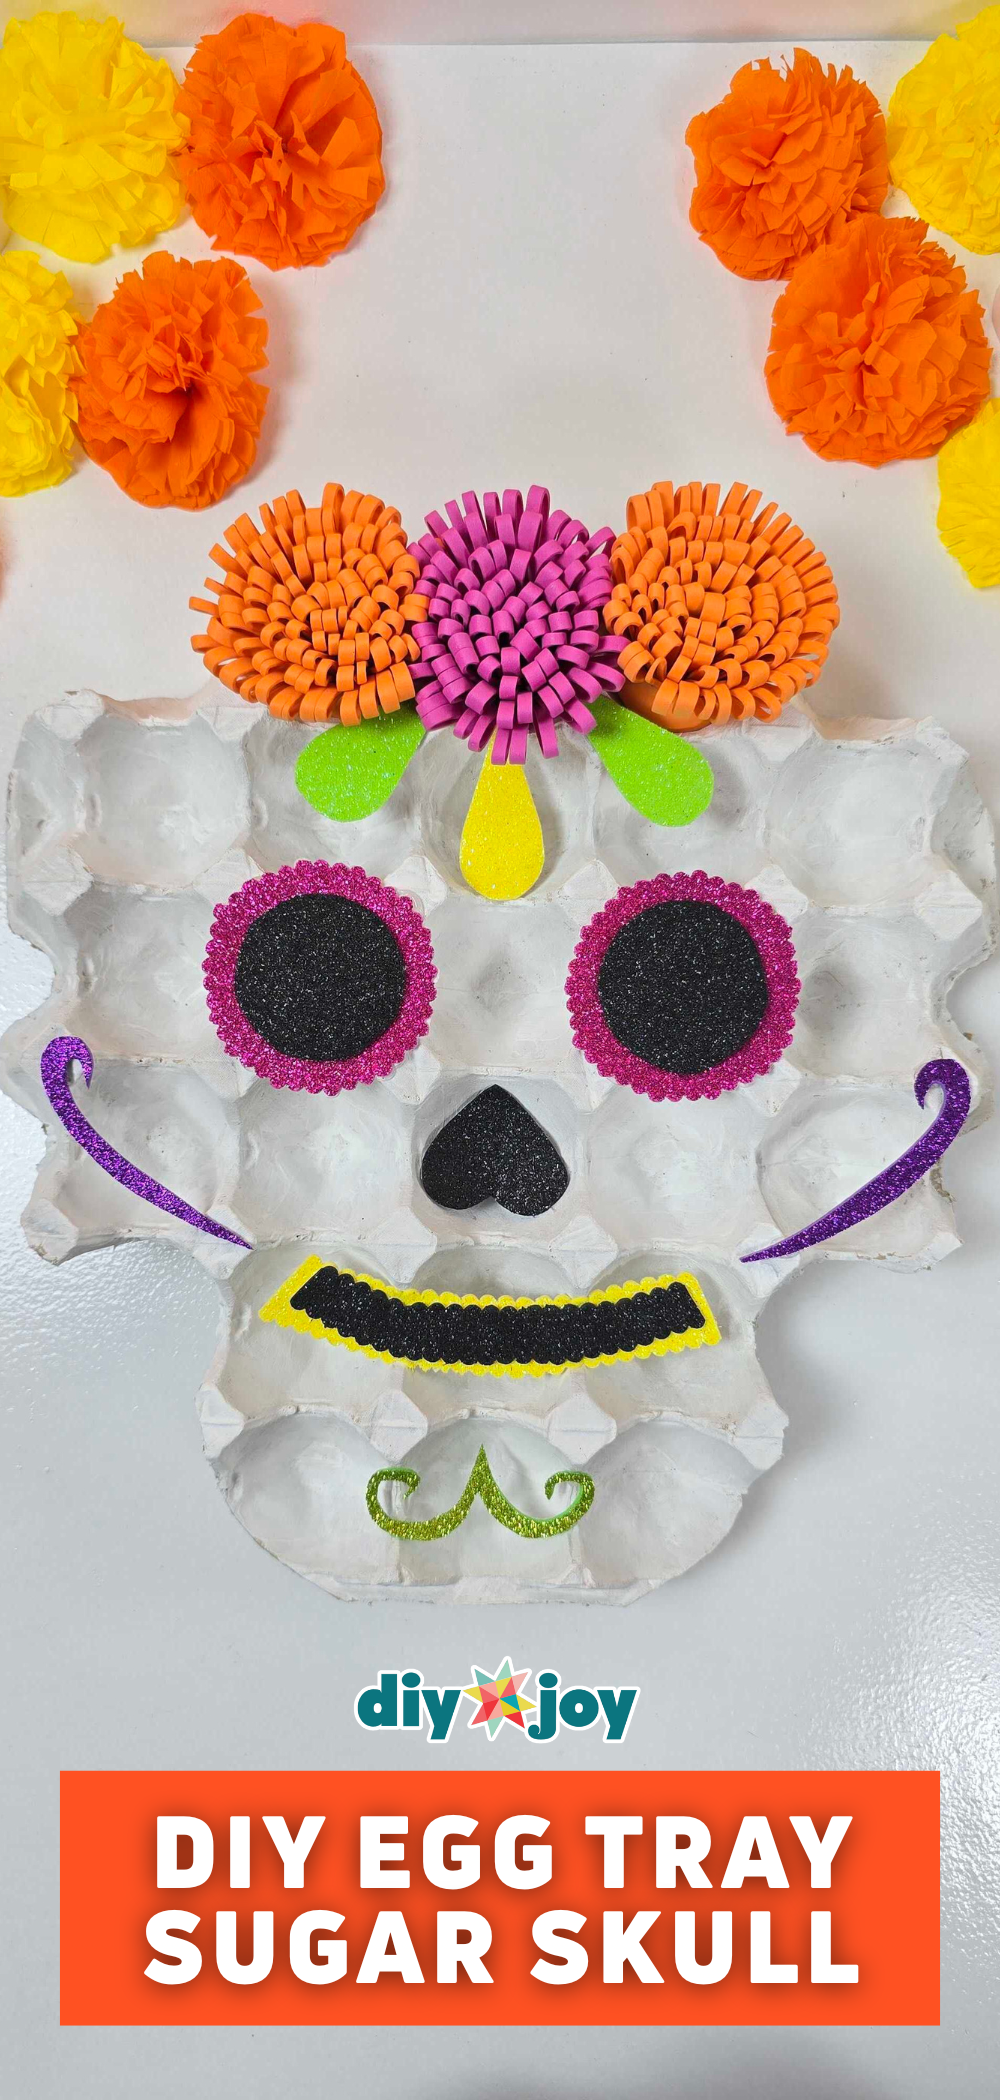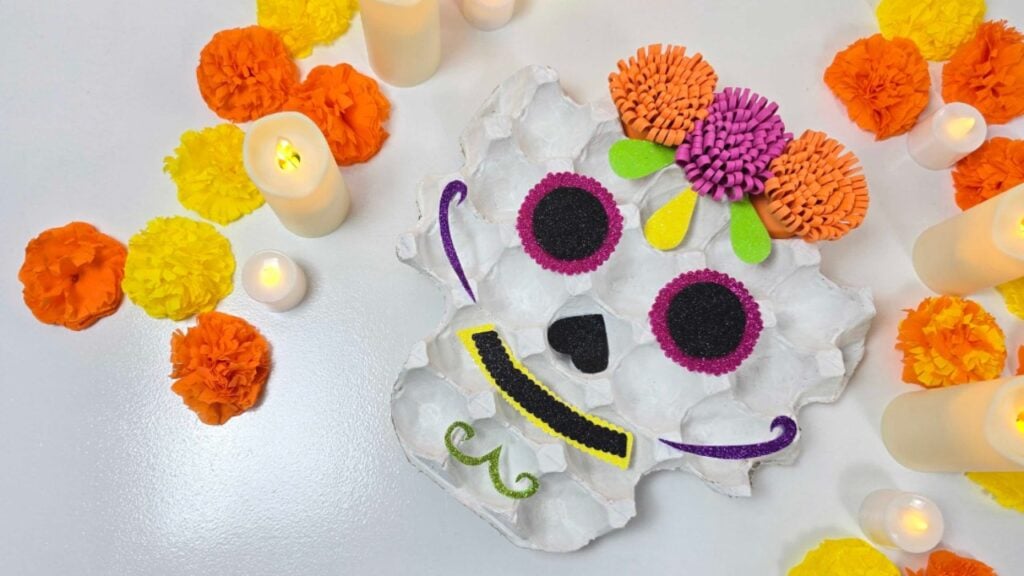
Dia de Los Muertos is a vibrant and much-celebrated holiday honoring dearly departed loved ones, filled with colors, music, and beautiful decorations. One of the best ways to celebrate is by making DIY Dia de Los Muertos crafts that are both fun and meaningful. If you’re looking for a project that will truly stand out without needing a ton of supplies, you’re in the right place.
Sugar skulls, or calaveras, are a real tradition with real history behind them, and the Library of Congress keeps public collections on Day of the Dead observances worth a look before you start decorating.
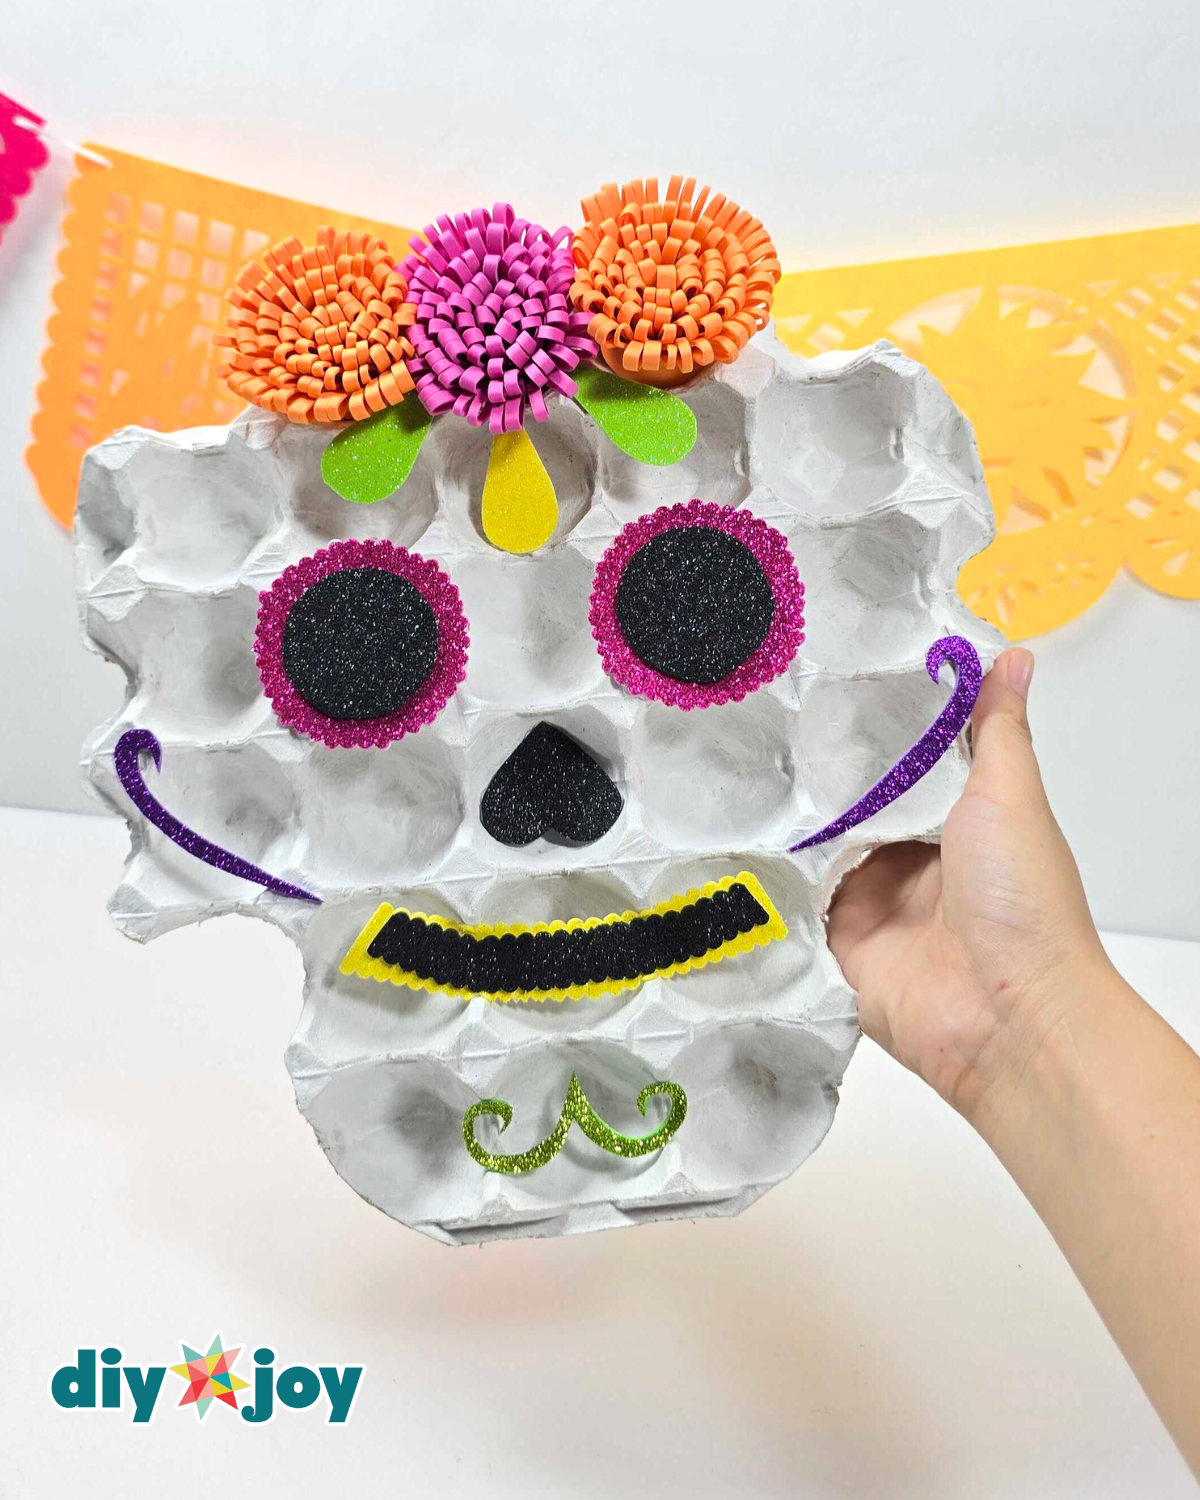
For today’s project, I’ll show you how to make a stunning sugar skull from an egg tray using just glitter foam and EVA foam. This easy sugar skull DIY is not only fun to make but also fully customizable—you can choose any colors you like and add extra details to make it as festive as you want.
RELATED: DIY La Catrina Using a Coca-Cola Bottle
This craft is a perfect addition to your ofrenda and will impress everyone who sees it. With just a few simple materials, you can create a beautiful Dia de Los Muertos decoration that looks professional and festive.
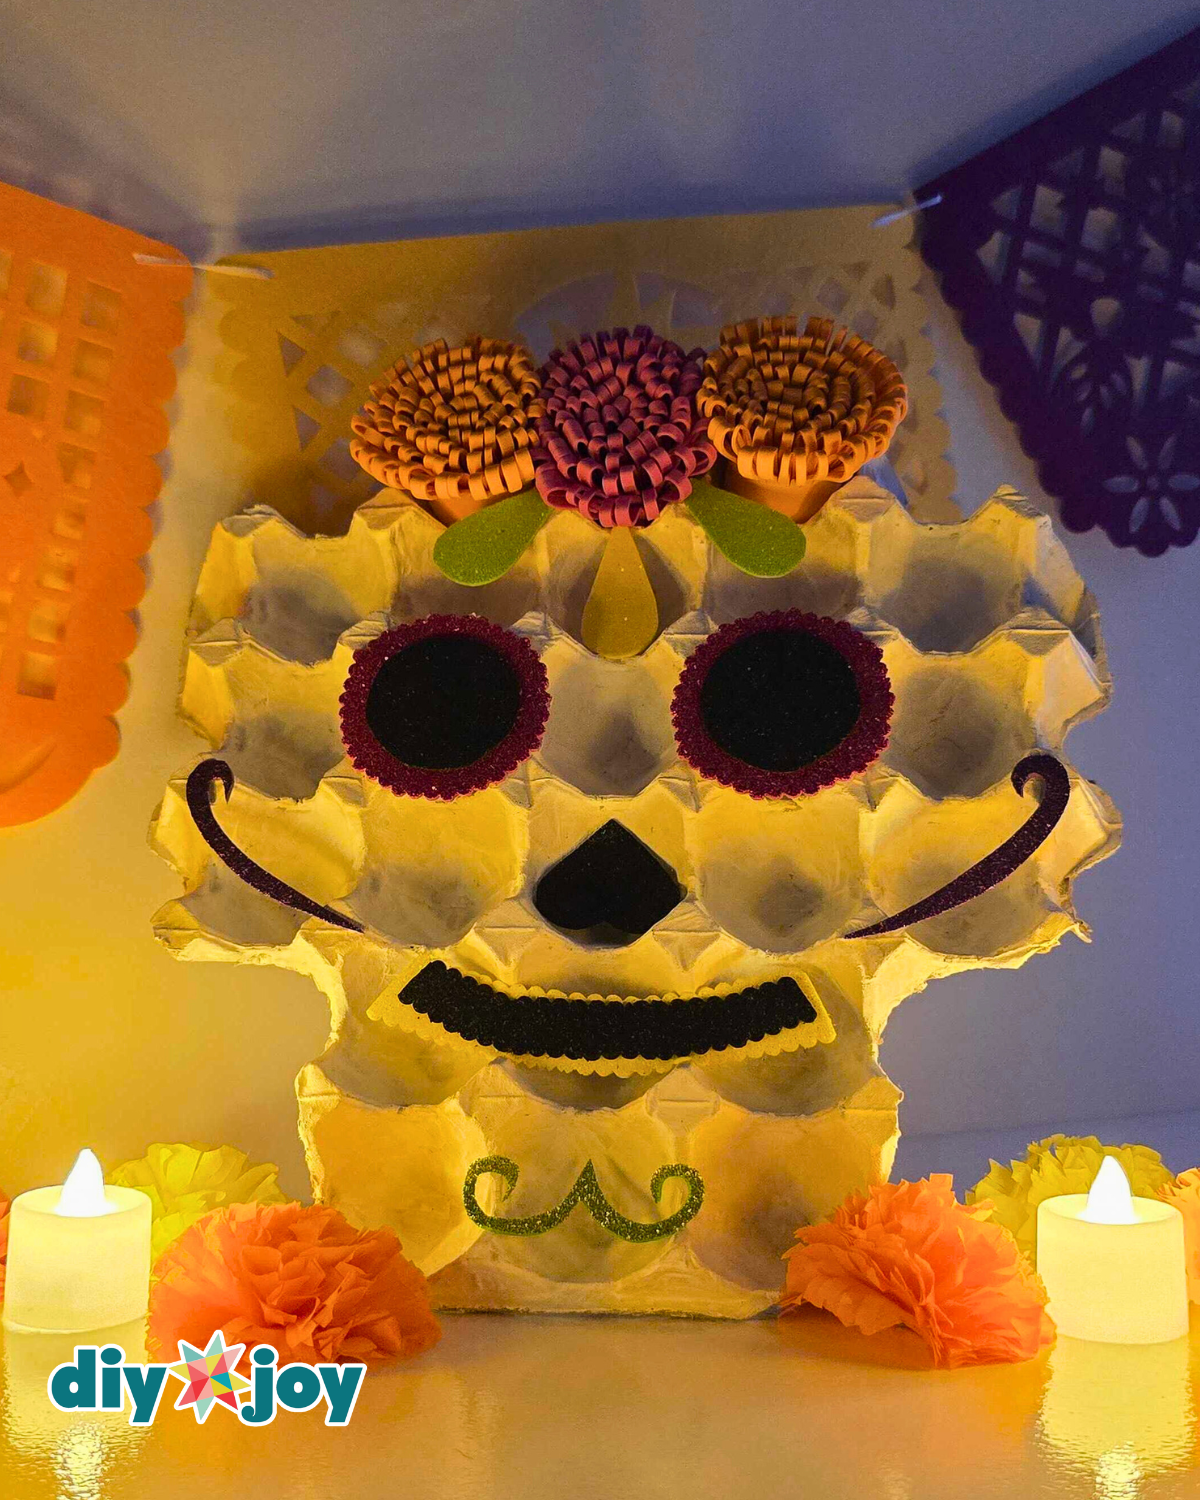
Follow along with the step-by-step video tutorial below and learn how to transform a simple egg tray into a colorful, eye-catching sugar skull. Whether you’re looking for easy Halloween crafts or creative Dia de Los Muertos projects, this one is sure to amaze both kids and adults alike.
▶ Watch this tutorial on TikTok
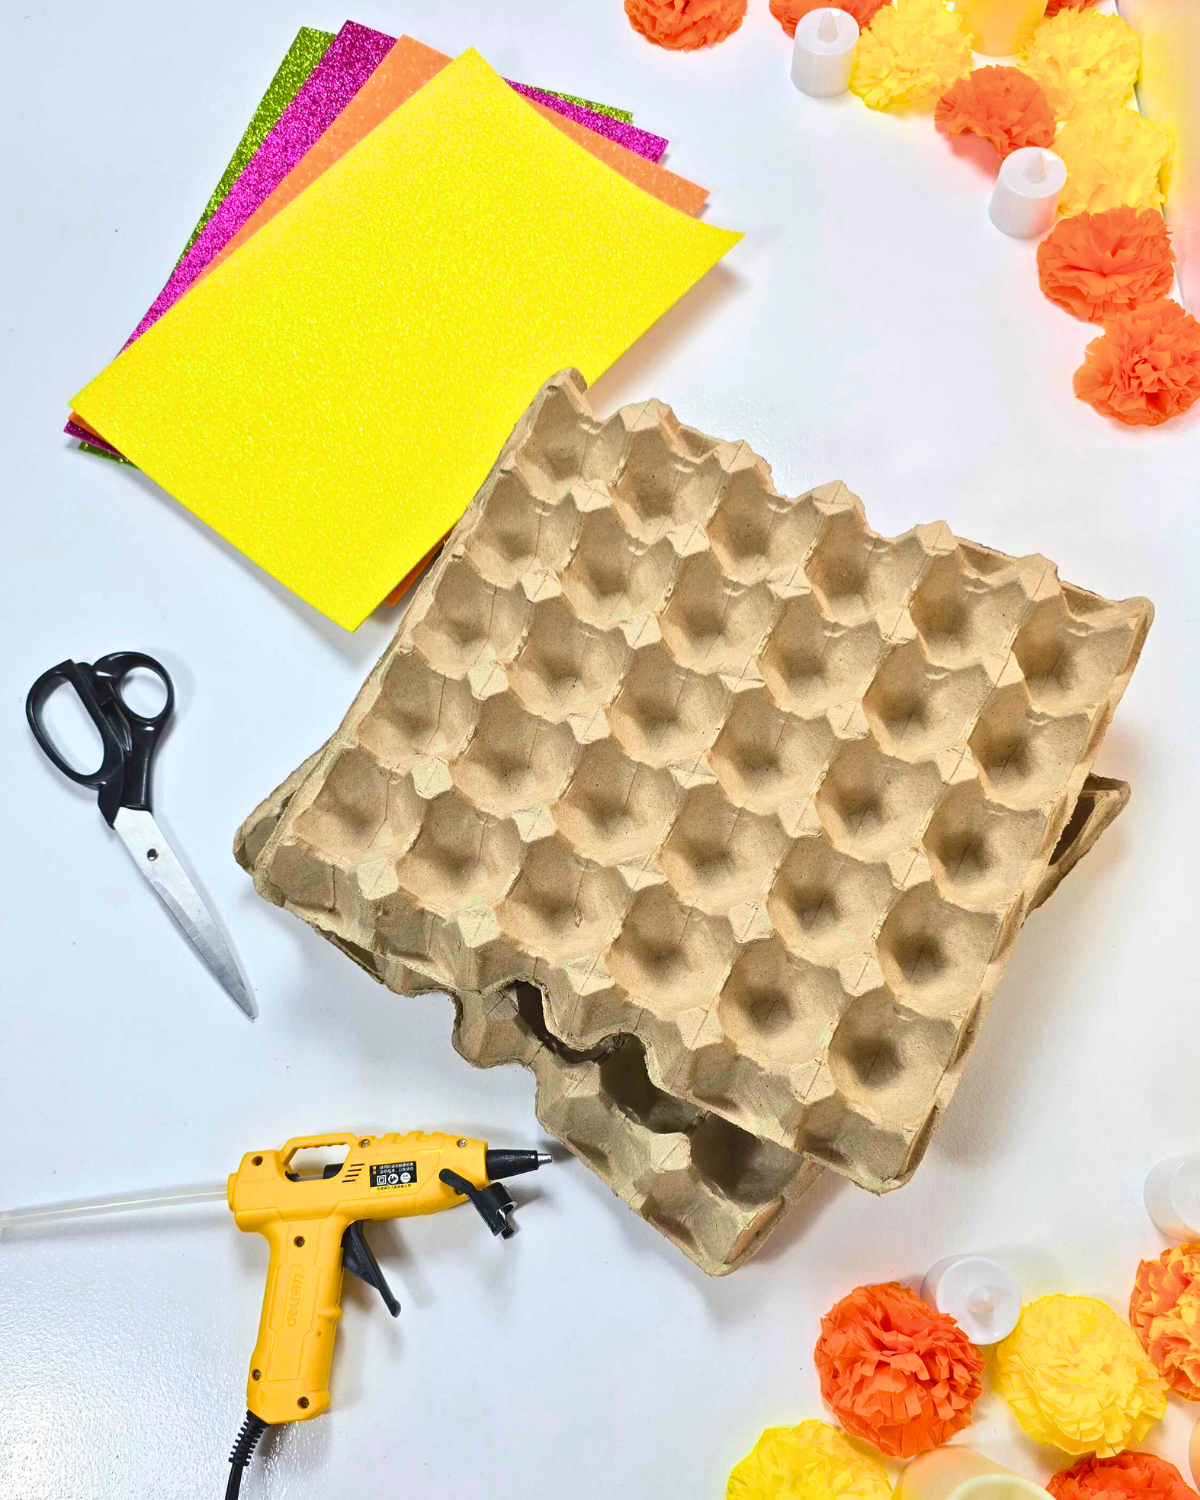
What You’ll Need for Egg Tray Sugar Skull
A word on the egg tray itself, because it decides how the whole thing turns out. The molded pulp cartons (the gray or beige fibrous ones) are what you want. They cut cleanly with regular scissors, they hold a curve, and hot glue grabs them instantly. The clear plastic and the slick foam cartons do neither. Glue peels off both, and plastic cracks instead of cutting.
Save the lid too. It is flat, it is the same color, and it is the easiest place to test a cut or a glue line before you commit to the skull.
Glitter craft foam is the other thing worth being picky about. Buy the adhesive-free sheets, not the peel-and-stick ones. The sticky-back kind sheds glitter as you cut and the adhesive fights the hot glue. Plain glitter foam cuts to a crisp edge and stays where you put it.
How to Make an Egg Tray Sugar Skull
Step 1: Shape and Paint the Egg Tray Skull
Cut the outline before you think about decoration. Removing one cup from each top corner is what gives the skull its rounded crown, and trimming two cups off each lower side is what narrows it into a jaw. Rounding the bottom edge last gives you the chin.
Cut a little shy of where you think the line should be. You can always take more off. You cannot put cardboard back, and a jaw cut too narrow leaves you no room for the teeth strip later.
Cut out one shell from each of the top corners, then trim two shells downward from each bottom side to shape the jaw. Round the bottom edge to form the chin, refining the overall outline to resemble a skull.
Step 2: Make the Skull Details
For the Eyes Trace a round object onto pink glitter foam and cut out two circles using pinking shears to create the base of the eyes. Then, cut two smaller black circles from black glitter foam with plain scissors for the inner eyes. For the Forehead Decoration Draw three teardrop shapes on yellow and green glitter foam. Cut out all three pieces carefully. For the Mustache Cut the shapes as shown in the photo, using purple and green glitter foam to create the decorative swirls.
Step 3: Create and Assemble the Skull Teeth
The teeth are two curved strips glued in layers, yellow on the bottom and black on top, with the black cut slightly smaller. That size difference is the whole trick. The thin yellow border showing around the black is what reads as teeth from across the room. Cut them the same size and the mouth turns into one dark smudge.
Glue the two strips together on the table first, then attach the finished piece to the skull as one unit. Trying to layer them in place on the curved cardboard is how you end up with a crooked smile.
Cut two curved strips of foam with scalloped or wavy edges in two sizes: one larger piece from the yellow foam for the base, and one slightly smaller piece from the contrasting black glitter foam for the top layer. Once cut, carefully center the smaller black strip onto the larger yellow one and use hot glue to secure them.
Step 4: Assemble the Skull on the Egg Tray
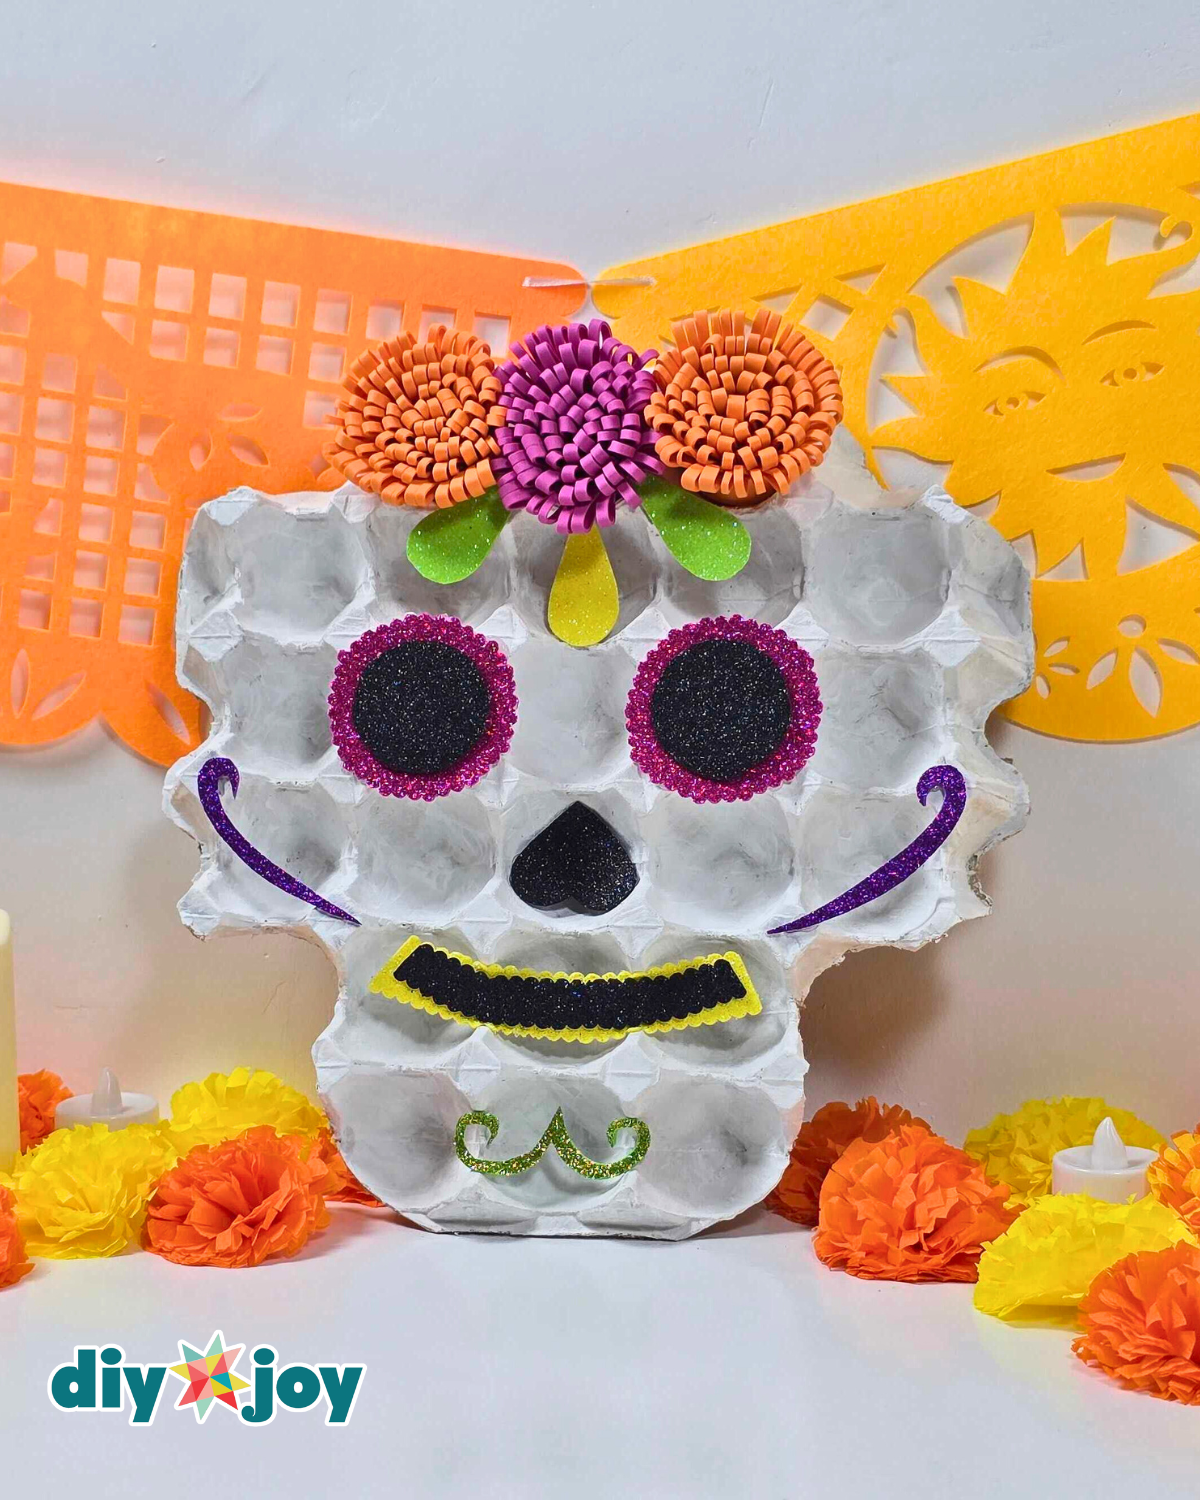
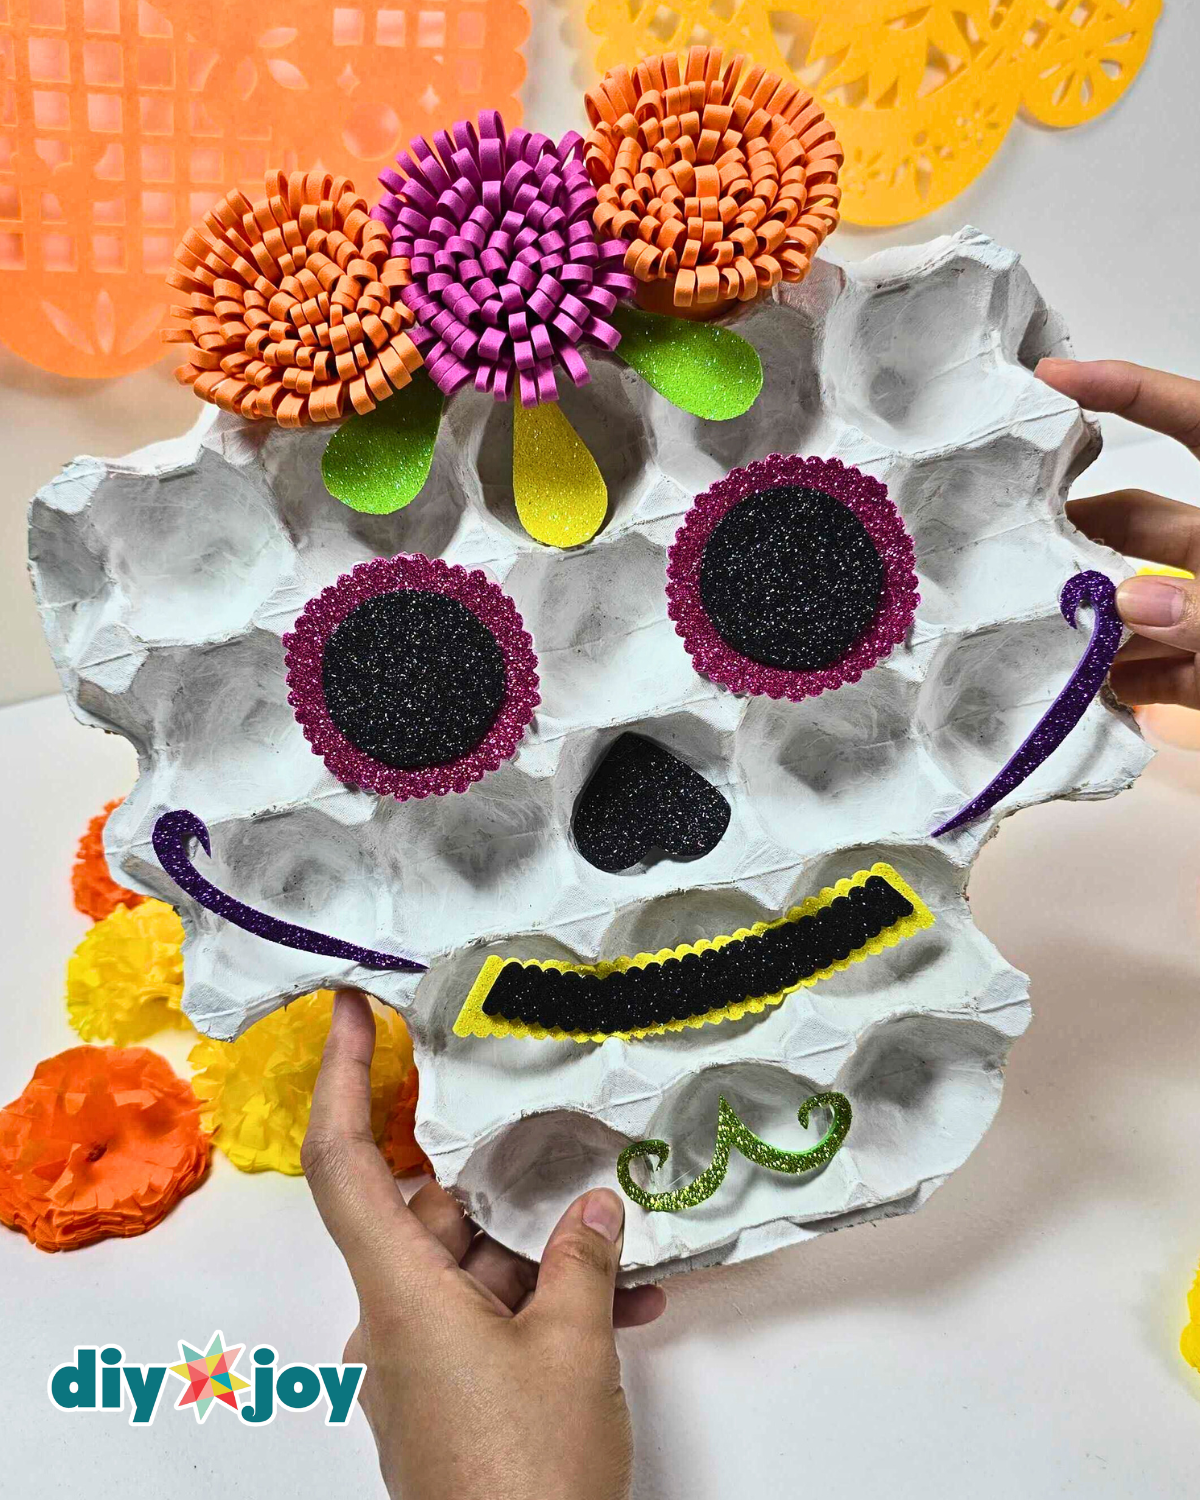
Now, attach all the skull parts onto the egg tray to complete the skull face as shown in the photo.
Step 5: Prepare the EVA Foam Strips
The fringe cuts do all the work in the flower, so keep them thin and keep them even. Stop each cut before it reaches the glued fold. If you slice through, that petal falls off the second you start rolling, and you will not notice until the flower is half done.
No EVA foam on hand? Regular craft foam fringes fine, it just rolls a little stiffer. Ribbon and cardstock work too, though cardstock creases instead of curving.
Cut the EVA foam in half, then fold one half lengthwise. Secure the top edges together with hot glue. Make thin cuts along the folded foam, continuing until the entire piece is cut.
Step 6: Roll the Foam into a Flower
Apply hot glue to the top edges where you glued earlier, then start rolling the foam. Make three of these rolls.
Step 7: Add the Foam Flowers to the Skull’s Forehead
How to Display and Store Your Sugar Skull
An egg tray is light and slightly curved, so it will not stand on its own. Lean it in a corner or against a wall the way I did, or hot-glue a folded strip of leftover cardboard to the back as a kickstand. For a wall, one loop of ribbon glued behind the crown is enough. It weighs almost nothing.
Give it company. Paper marigolds and a couple of battery tea lights turn one skull into an actual display, and papel picado behind it does more for the photo than any extra glitter would. Use LED candles only. This is cardboard and foam.
To store it, lay it flat in a shallow box with tissue over the face and nothing stacked on top. The glitter foam is durable, but the cardboard cups will crush under weight. Mine has come out three seasons running and only needed one flower re-glued.
Making a set is where this really pays off. Cut every skull from the same tray shape, then change only the foam colors and the mustache swirls. They read as a family and no two look identical, which is the point of sugar skulls to begin with.
Attach them to the forehead of the skull and you’re done!

Why You’ll Love This Craft
Eco-friendly and budget-friendly: You’re upcycling egg trays or cartons into beautiful decorations
Customizable: Paint, glitter, beads, or sequins—make it as colorful and unique as you like
Perfect for all ages: Easy enough for kids, but fun for adults to get creative too
Festive décor: Adds a handmade, personal touch to your Día de los Muertos ofrenda
*If you love this craft, then visit our official website, follow our Facebook page, and subscribe to our YouTube channel for more!
Egg Tray Sugar Skull FAQs
Do I need pinking shears for this craft?
Only for the two pink eye circles, which get their zigzag edge from pinking shears. If you do not own a pair, cut them with regular scissors and either leave the edge smooth or snip small notches around it by hand. The smaller black circles that sit on top are cut with plain scissors either way.
Can kids make this one?
Most of it, yes. Kids can cut the foam circles, teardrops and swirls and decide where everything goes, which is genuinely the fun part. Keep the hot glue gun with an adult, since every piece here is attached with hot glue.
How many foam flowers do I need to make?
Three. Each one starts as half a length of EVA foam, folded lengthwise, glued along the top fold, fringed, then rolled and glued at the end. Make all three before you attach any of them so you can arrange them across the forehead as a group.
Can I use a different glue instead of hot glue?
Tacky craft glue will hold the flat foam shapes onto the egg tray if you clamp them for a while, and it is the safer option for a classroom. It is slower everywhere else, though. The rolled foam flowers want to spring open while they dry, so those really do want hot glue or a lot of patience with clips.
Day of the Dead Craft YouTube Video Tutorial