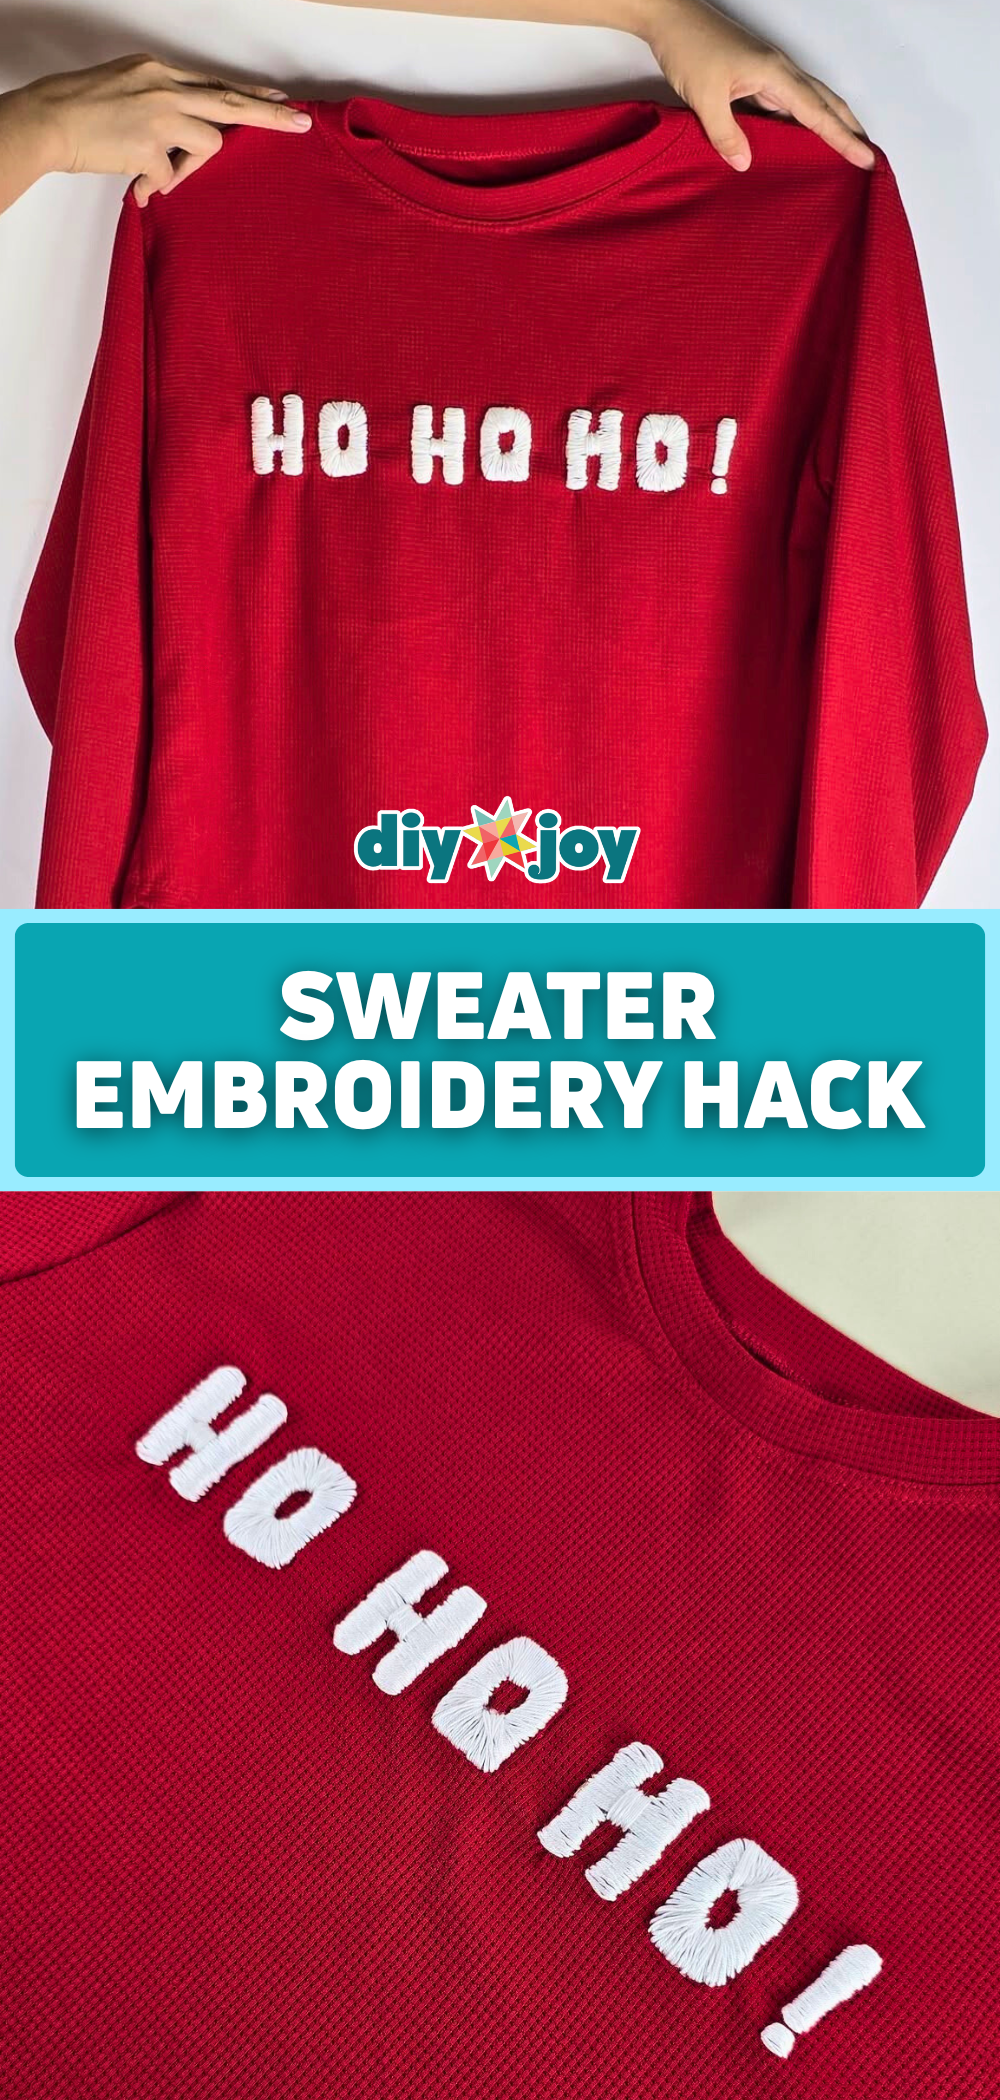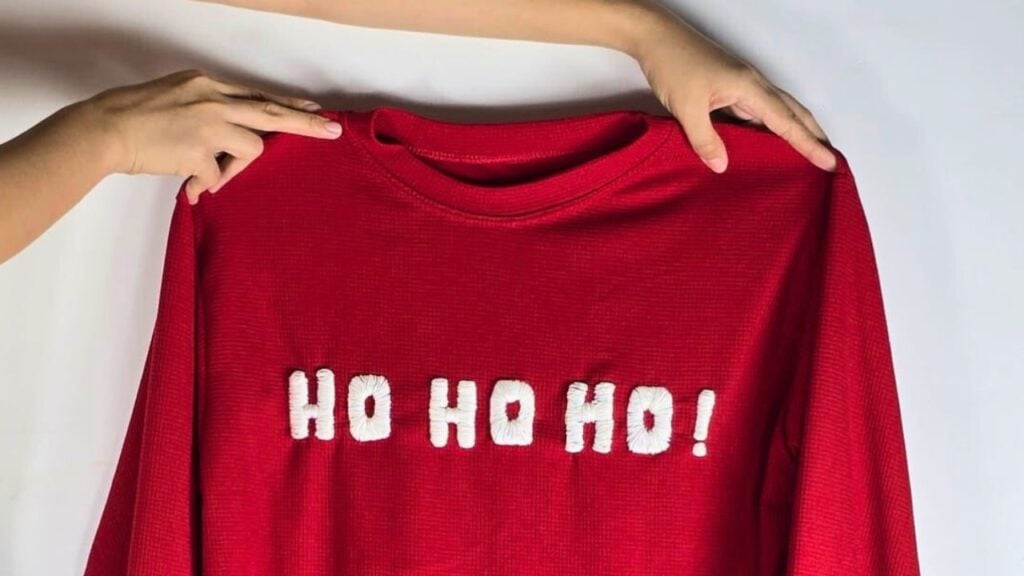
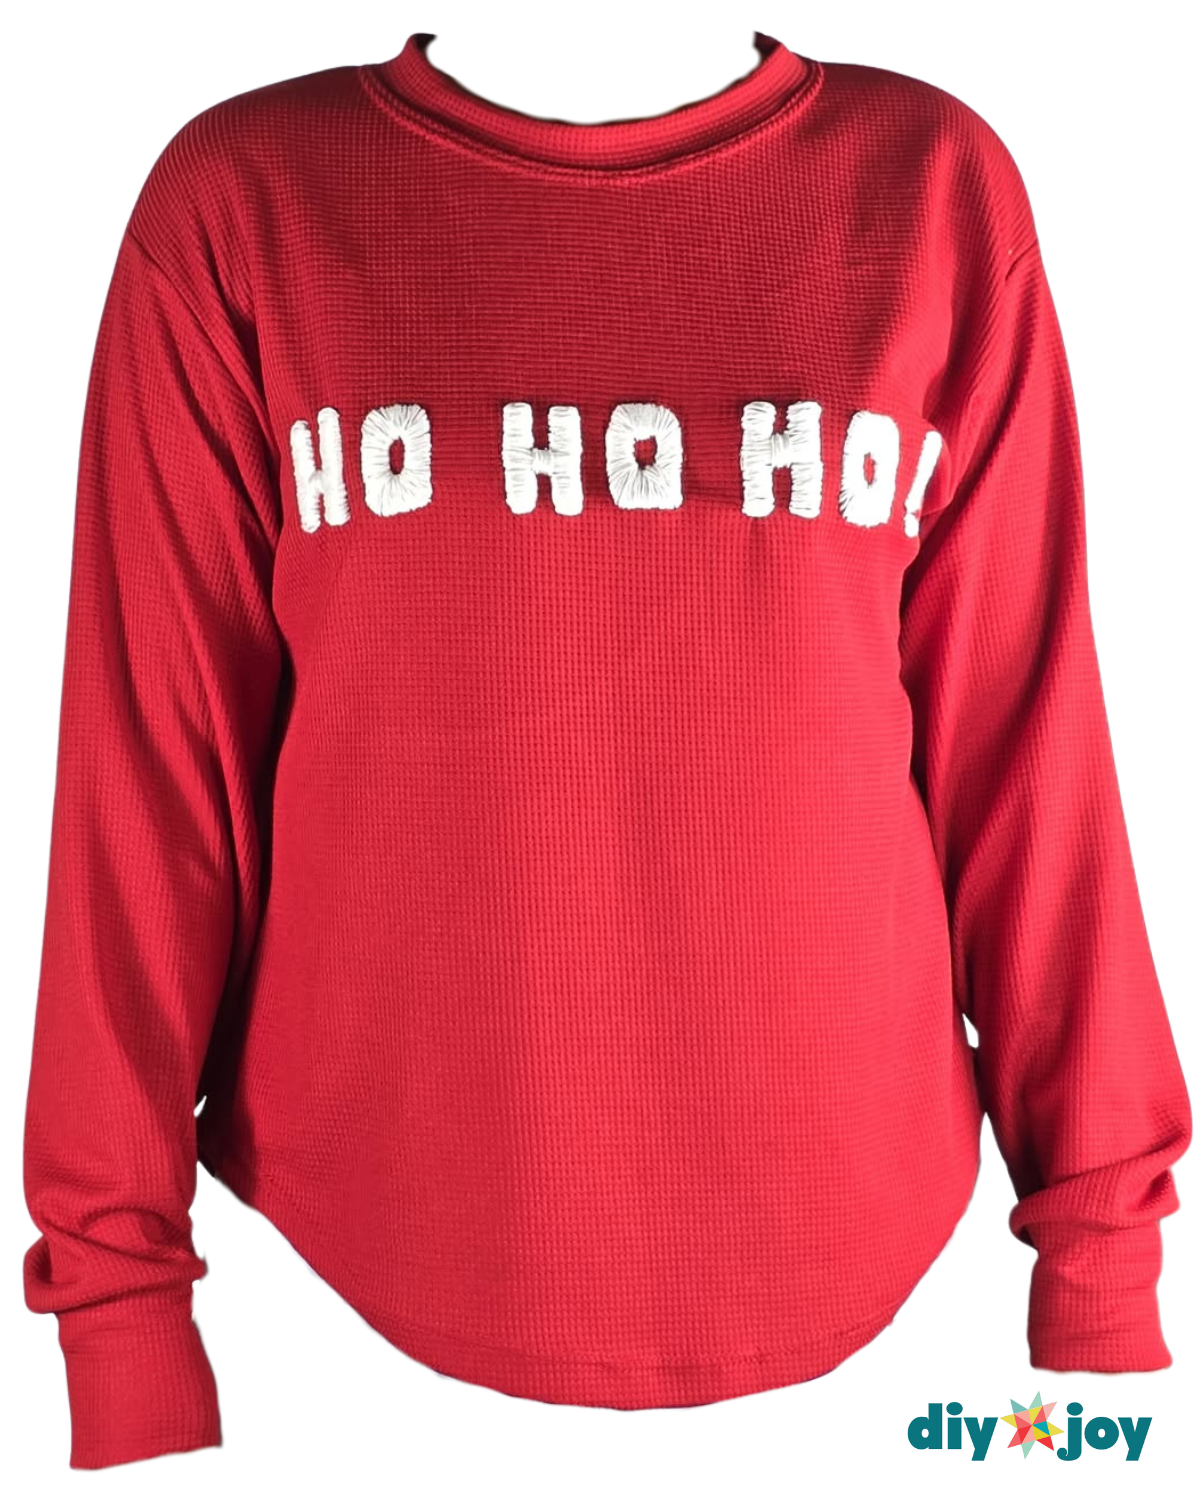
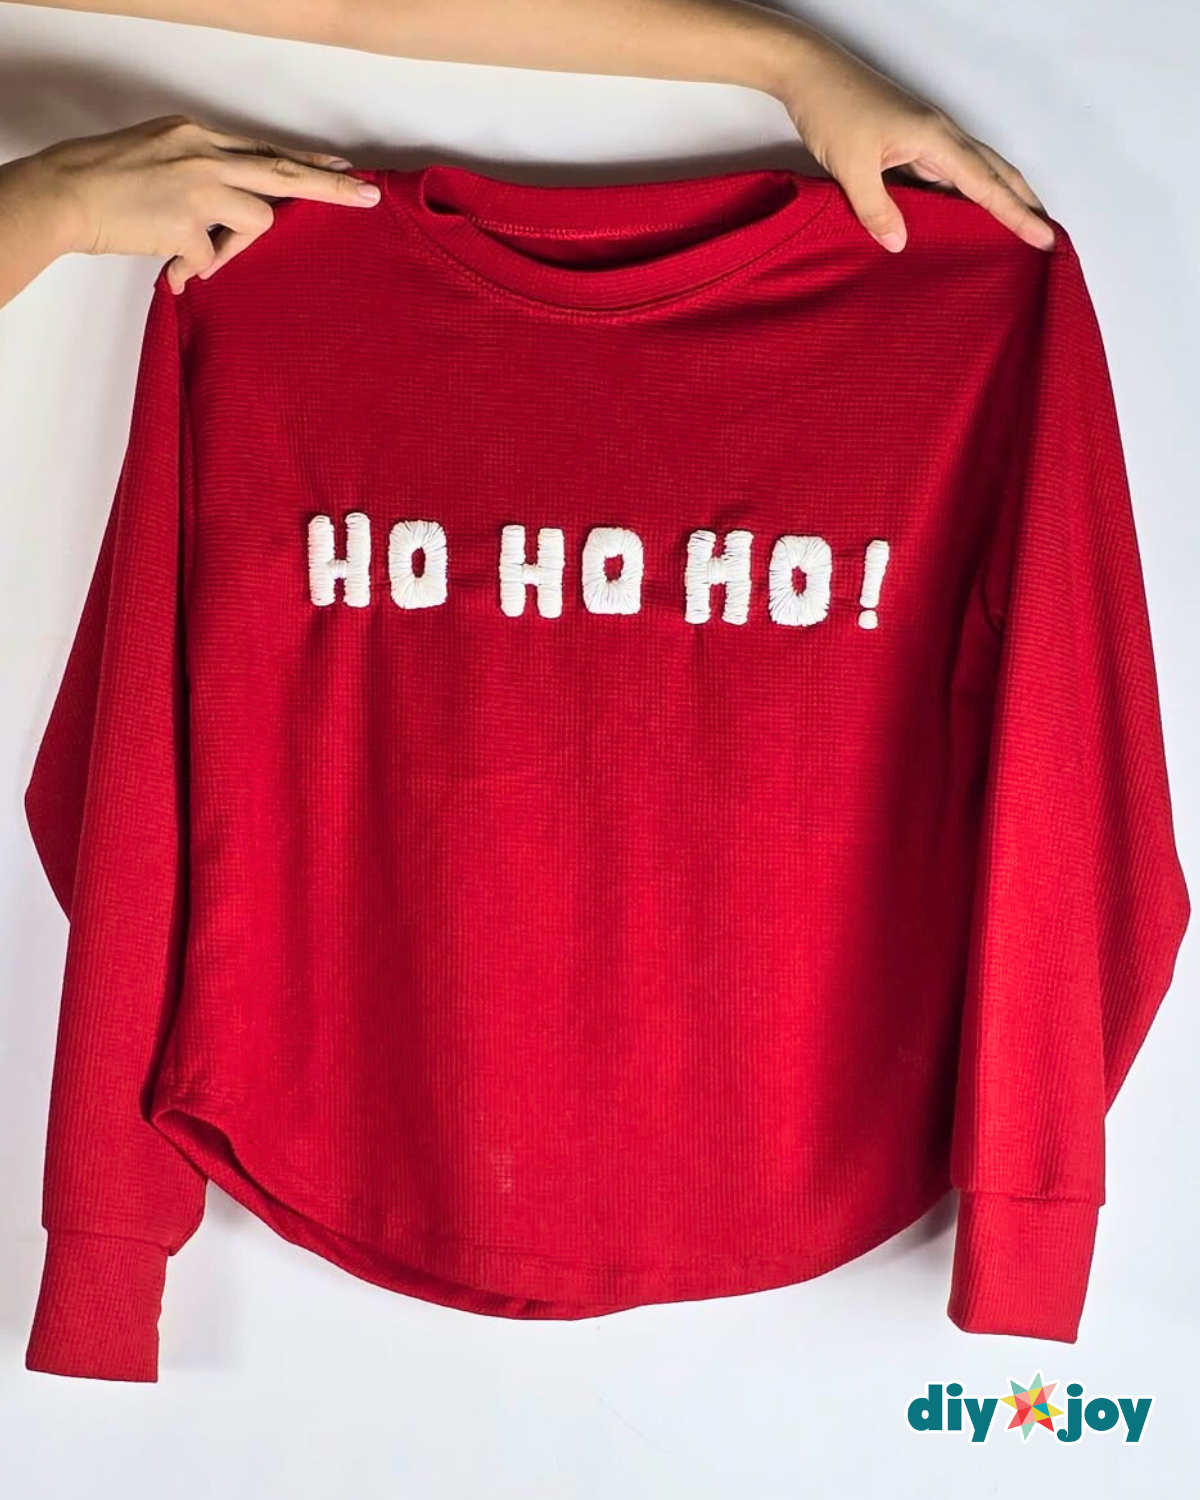
Bring the holiday spirit to your wardrobe by turning ordinary sweaters into festive masterpieces with easy embroidery. This beginner-friendly approach allows you to create personalized Christmas designs—from names and holiday greetings to fun motifs—without needing advanced skills or expensive materials. Embroidered sweaters aren’t just stylish; they carry a personal touch that store-bought options can’t match. With a little creativity and patience, even a plain knit sweaters can become a standout piece for holiday gatherings or cozy winter nights.
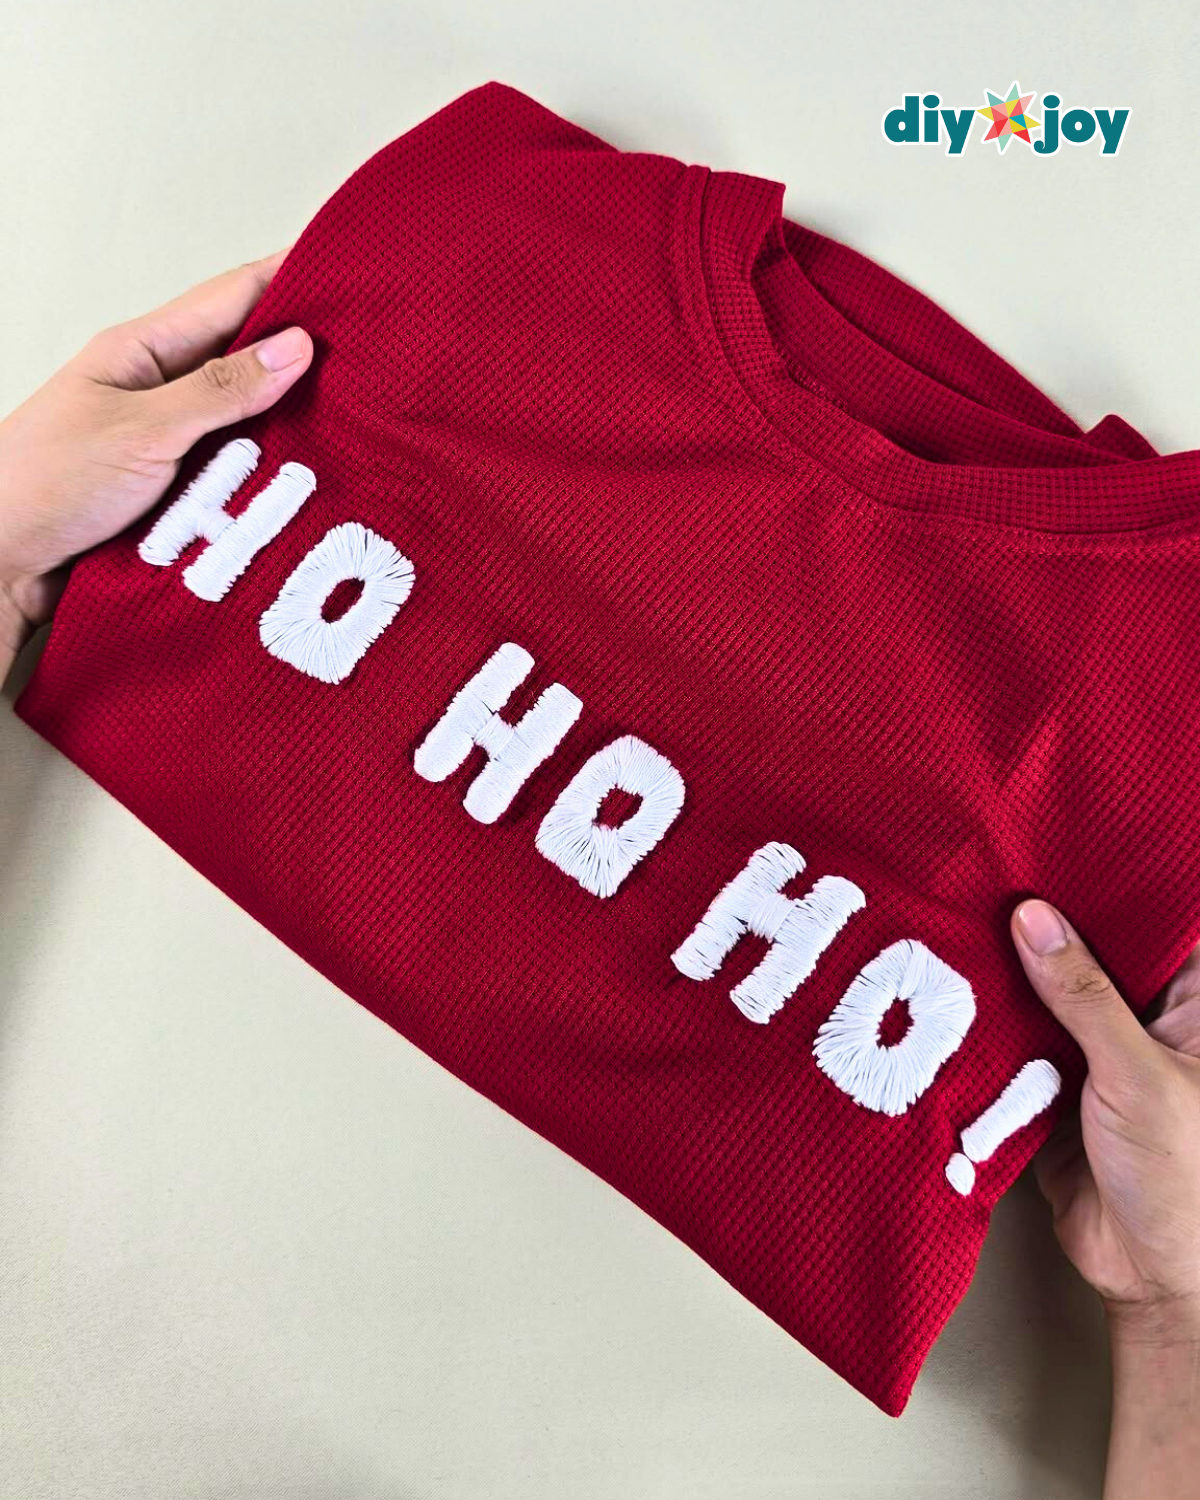
This embroidery hack is so genius and makes your embroidery look even better than it already does. The hot glue creates the illusion of embossed letters without sewing multiple layers of thread. It’s practical, brilliant, and very sturdy; the stitches stay intact even after washing, unlike other delicate embroideries. This is also an easy sewing idea that anyone can do, even beginners.
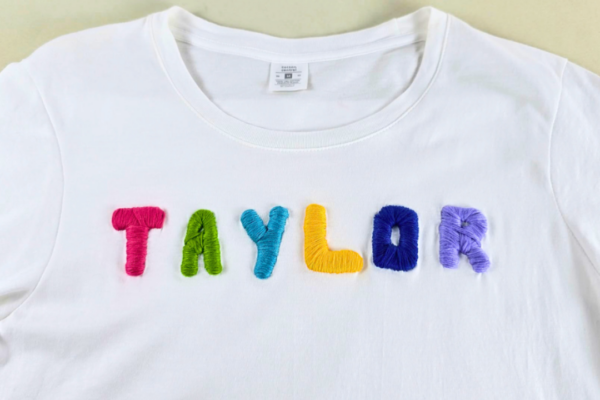
RELATED: Easy T-Shirt Name Embroidery Hack
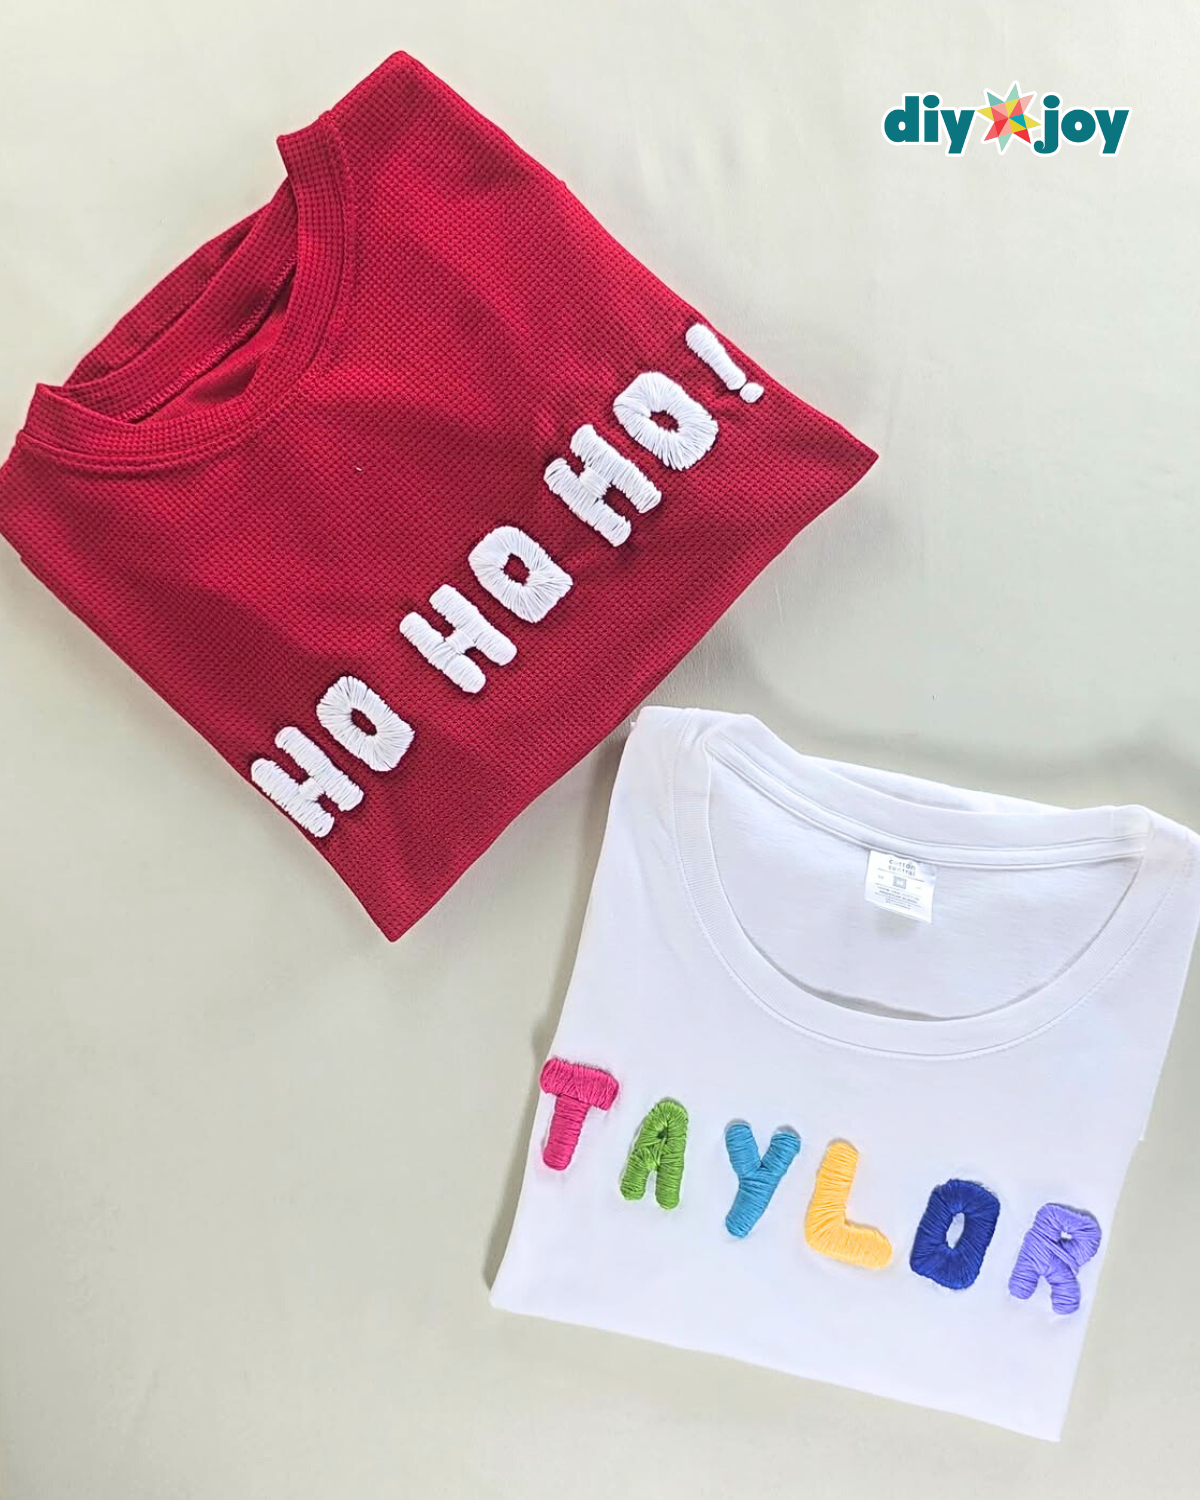
I guarantee that even if you’ve never stitched before, this Christmas sweater embroidery tutorial will be easy to follow, and you can master it on your first try. If you haven’t decided what gift to make or give this Christmas, check this out and give it a try. You can even create a set of matching embroidered holiday shirts or sweaters for the whole group. Learn how by watching the video tutorial below.
▶ Watch this tutorial on TikTok
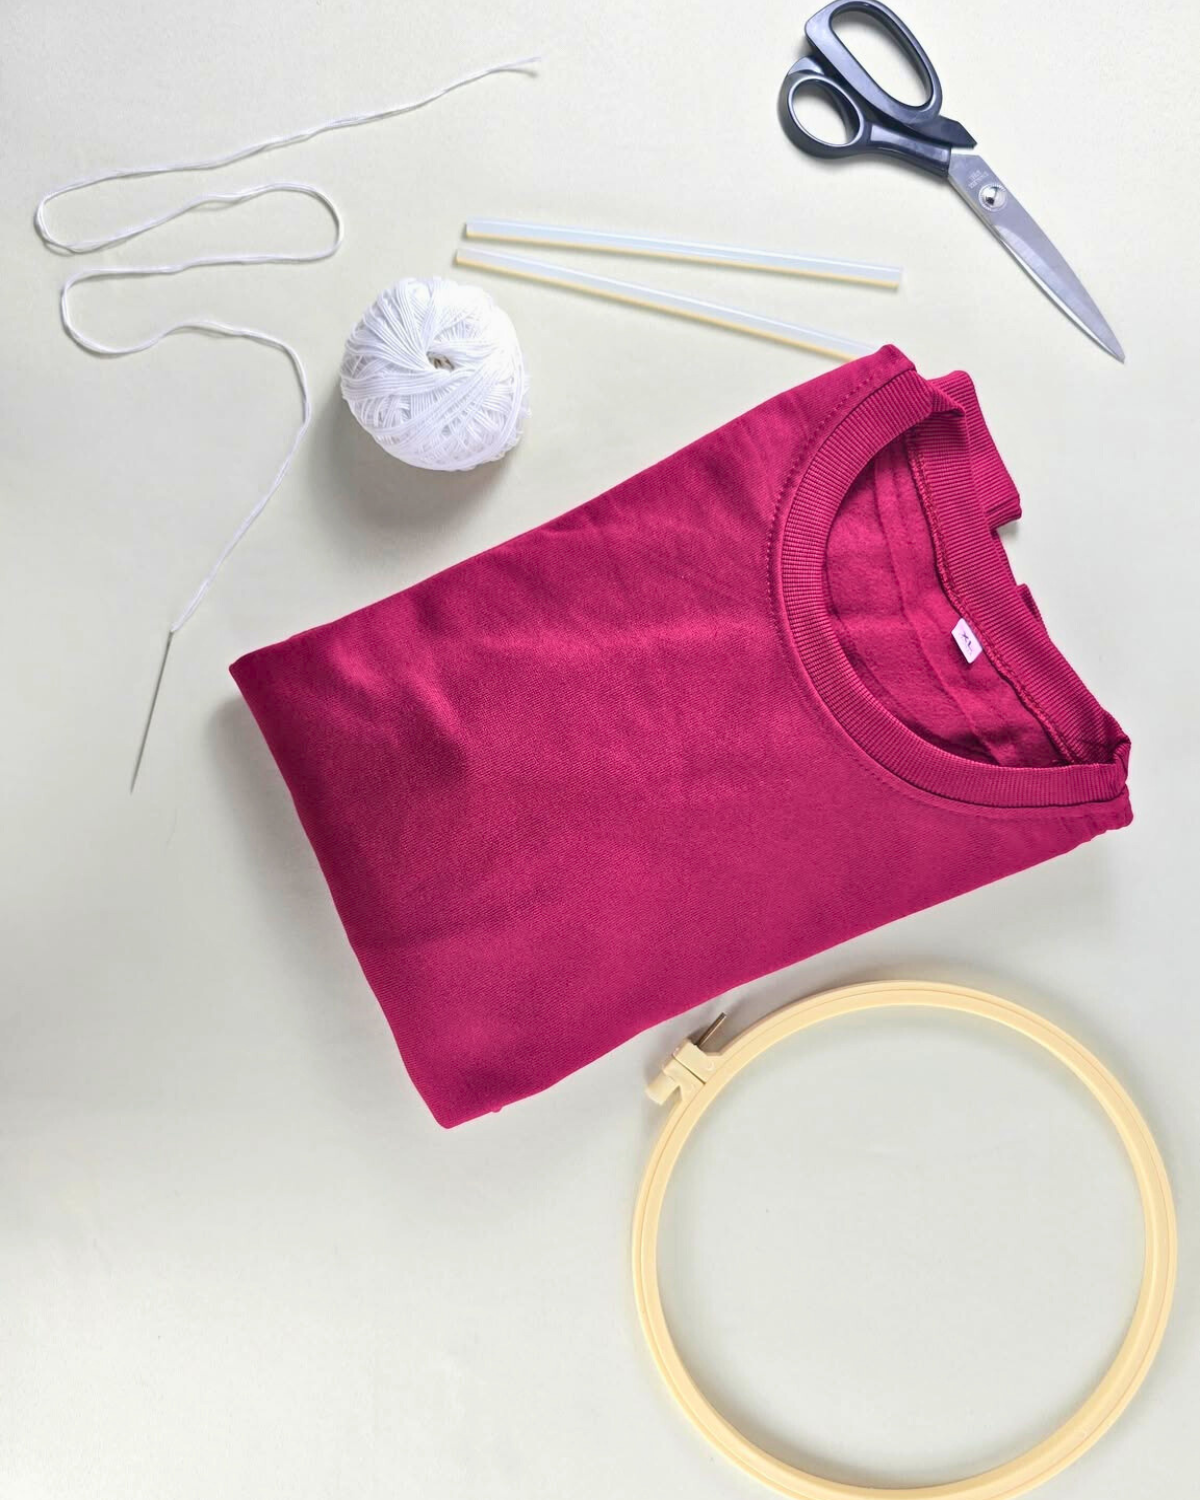
What You’ll Need for Christmas Sweater Embroidery
How to Make an Embroidered Christmas Sweater
<strong>Step 1:</strong> Write the Word on a Paper
On a piece of paper, write the word you want to embroider for your Christmas design. Make sure all the letters are the same length and height for a neat, balanced look. Choose a clear, bold font so it’s easy to trace and stitch later.
<strong>Step 2:</strong> Trace the Word onto the Sweater
Carefully trace the word onto your sweater using the template you prepared. Tip: If your sweater is red or a dark color and the tracing isn’t clearly visible, use tape to outline the letters instead.
<strong>Step 3:</strong> Outline the Letters with Hot Glue
Use a hot glue gun to fill in the inside of the outlined letters on your sweater. Allow the glue to dry and harden completely before proceeding. Once the glue is fully set, you can remove any tape used for outlining.
<strong>Step 4:</strong> Stitch the Letter from Start to Finish
Bring the needle up at your starting point, such as the upper-right tip of the letter “H.” Insert the needle down on the opposite point of the outline, then bring the needle back up near the starting point. Continue stitching along the outline, following this pattern, until the entire letter is fully covered. Make sure your stitches are even and close together for a neat, polished finish.
<strong>Step 5:</strong> Stitch the Remaining Letters
Repeat the same stitching process on the other letters, following the outline and stitching pattern you used for the first letter. Choose your thread color and maintain even, close stitches to keep the design neat and consistent.
*If you love this craft, then visit our official website, follow our Facebook page, and subscribe to our YouTube channel for more!
Easy Christmas Sweater Embroidery Hack