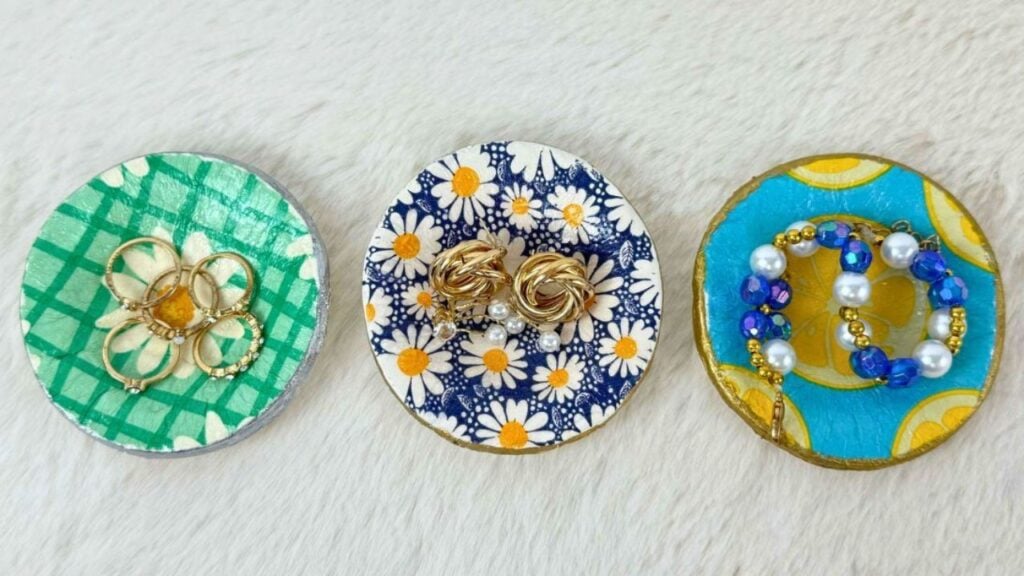
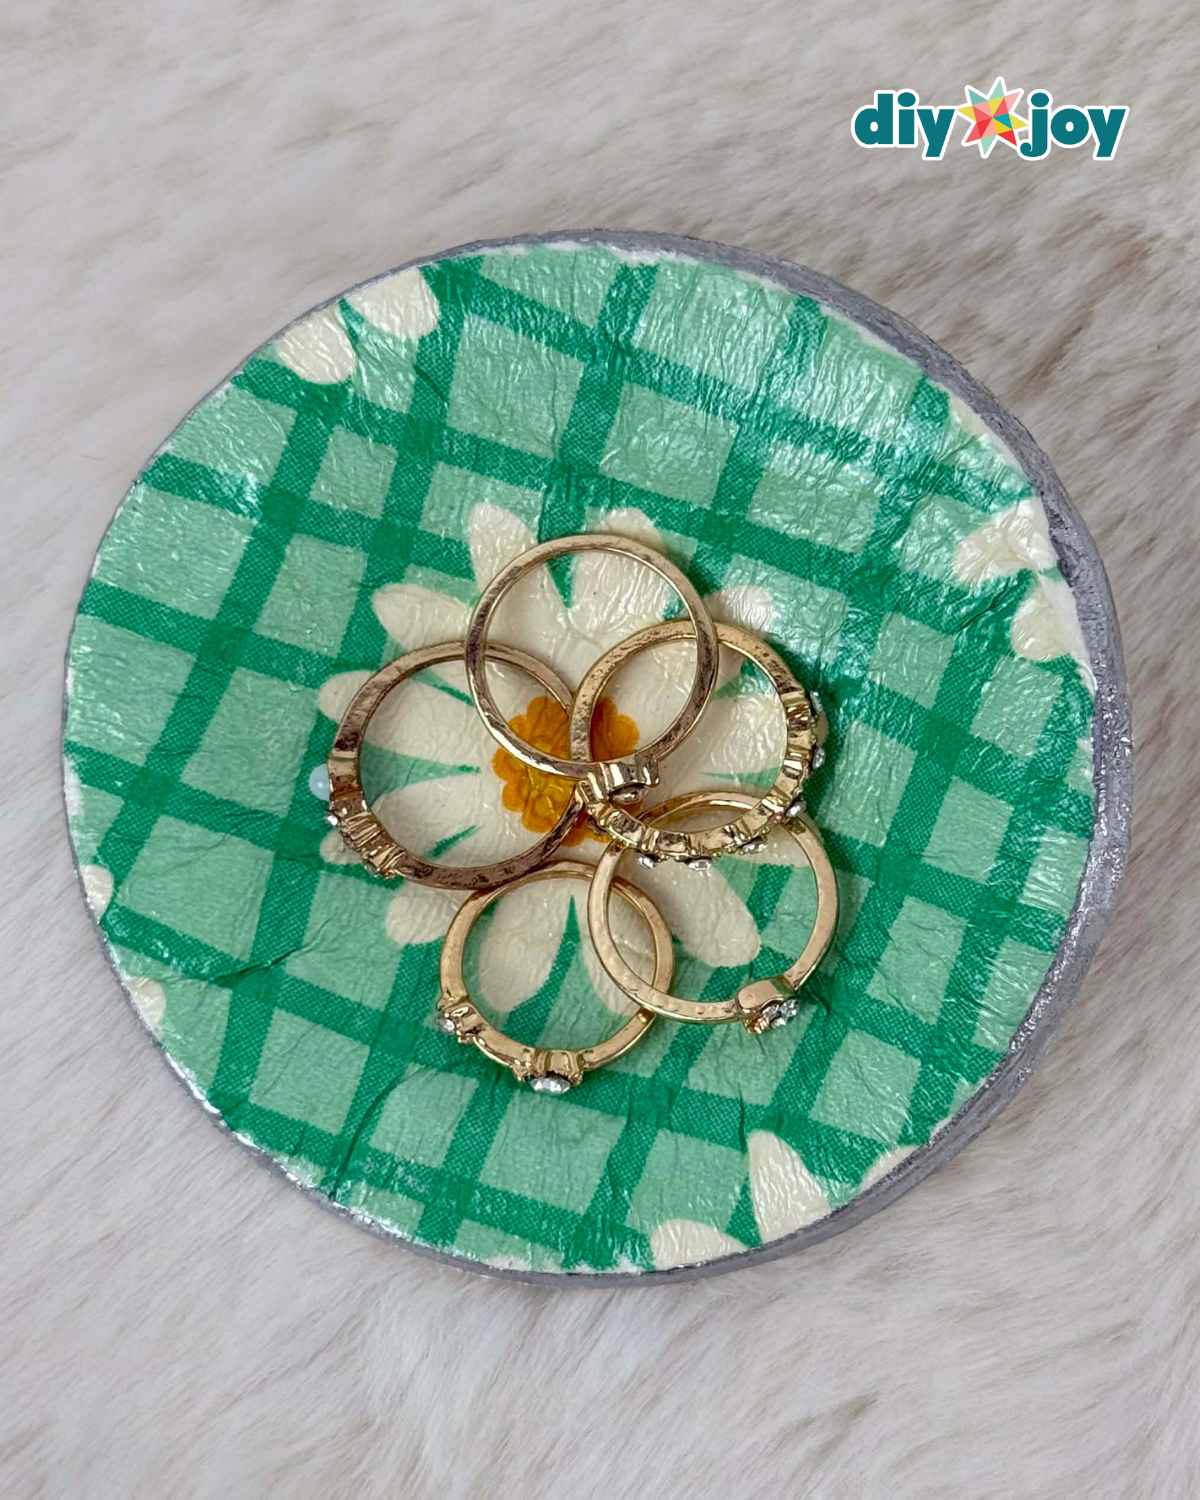
I find air-dry clay to be one of the easiest and most fun materials to work with for DIY projects. You can create almost anything you can imagine—from keychains and jewelry to mini organizers. Today, we’re making a DIY air-dry clay jewelry trinket, perfect for keeping earrings, rings, bracelets, or other small treasures organized so you never lose them again!
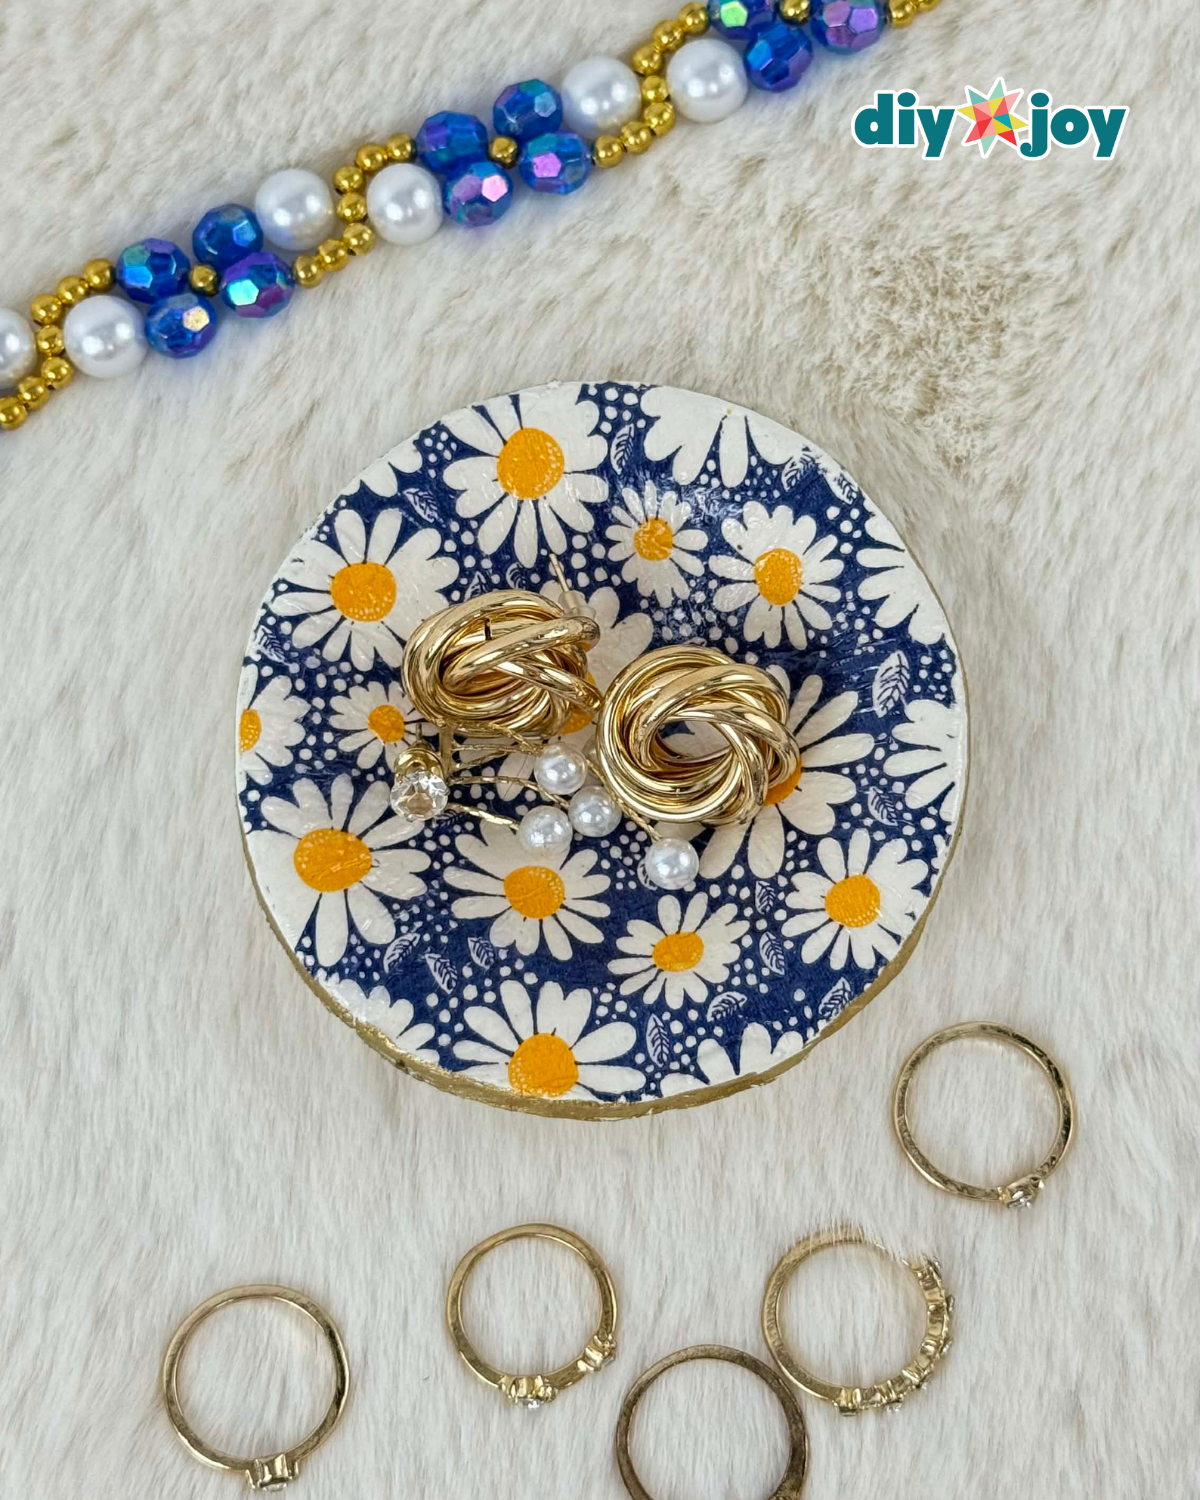
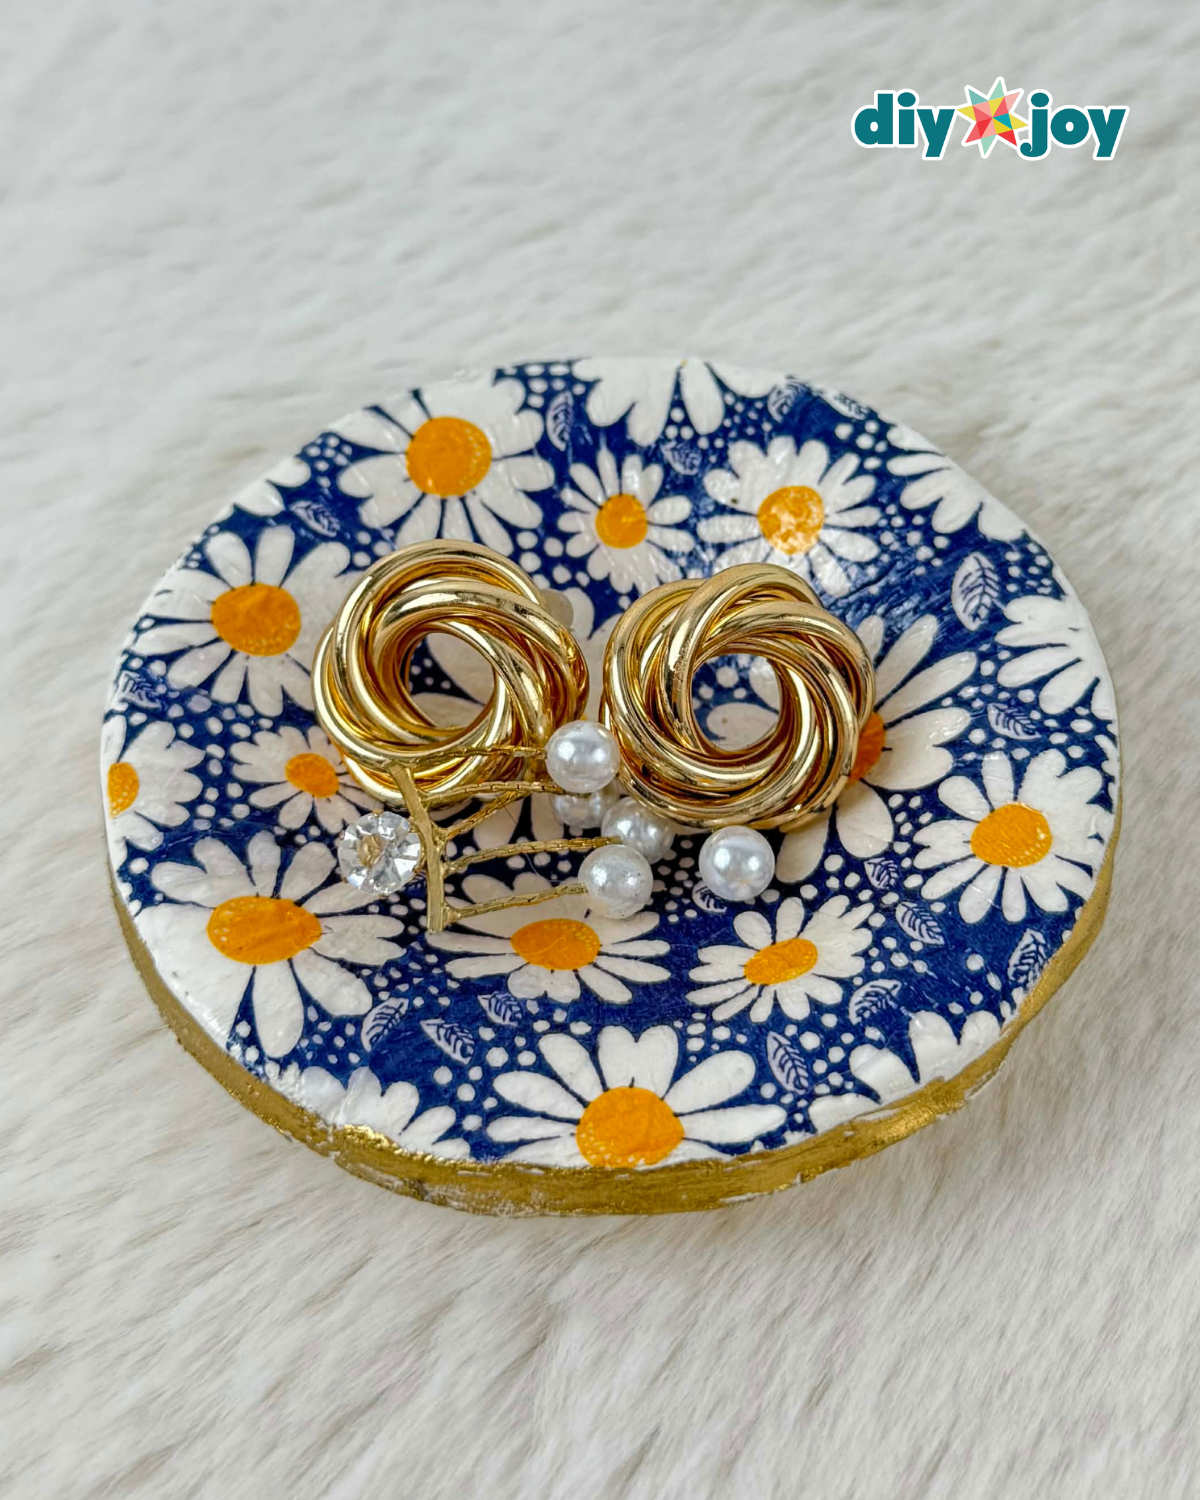
This DIY air-dry clay jewelry trinket is not only beautiful but also easy to make. Even if it’s your first time working with air-dry clay, you can create a polished piece on your first try. What I love about this project is how customizable it is—you can make a larger version to hold more jewelry, experiment with different shapes, or even mix in your favorite colors.
RELATED: Easy Air-Dry Clay Ring Holder
Here’s another cute craft idea to try :

Have you seen our TikTok & Instagram yet?
Our viral videos are super popular and fun to watch. Here’s the air-dry clay jewelry trinket TikTok, but the YouTube video is also at the bottom of this post so you can watch the full tutorial. Links below for all our socials. Follow and be the first to see our latest crafts. ⬇️
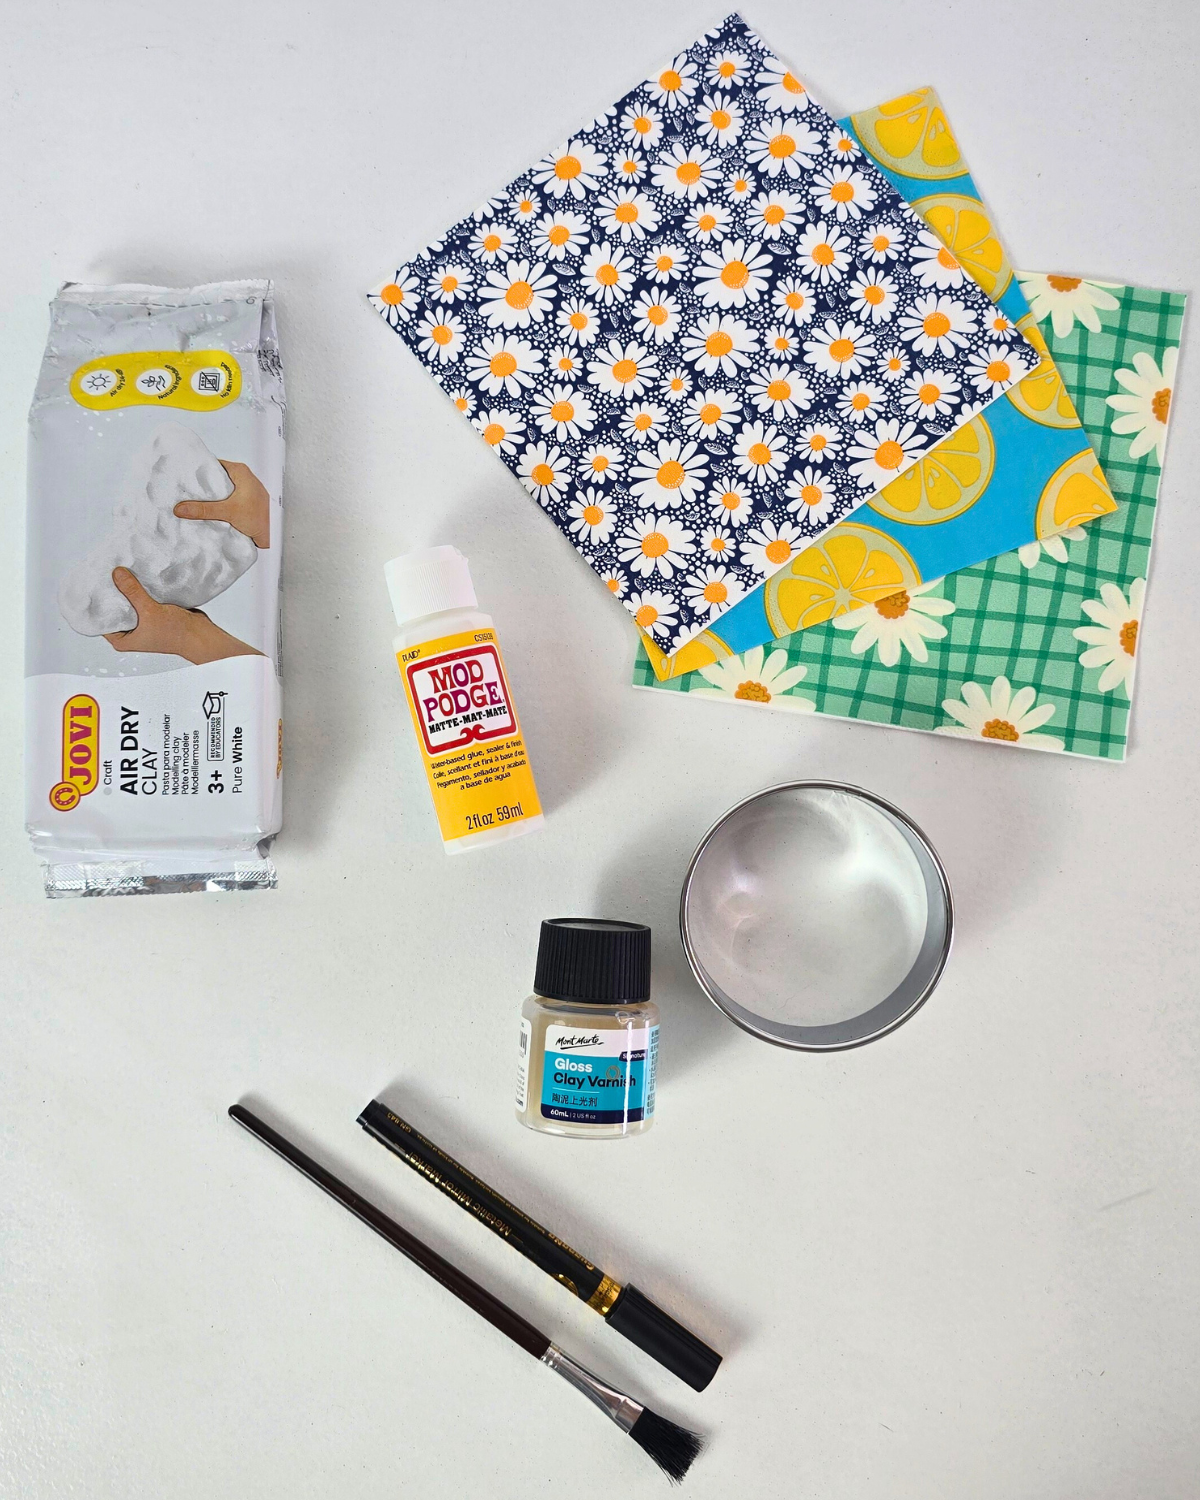
This project is also convenient and inexpensive. All you need is air-dry clay and a printed paper napkin with a design of your choice. If you have some stored away at home, this is a perfect way to put it to use and create something stunning.
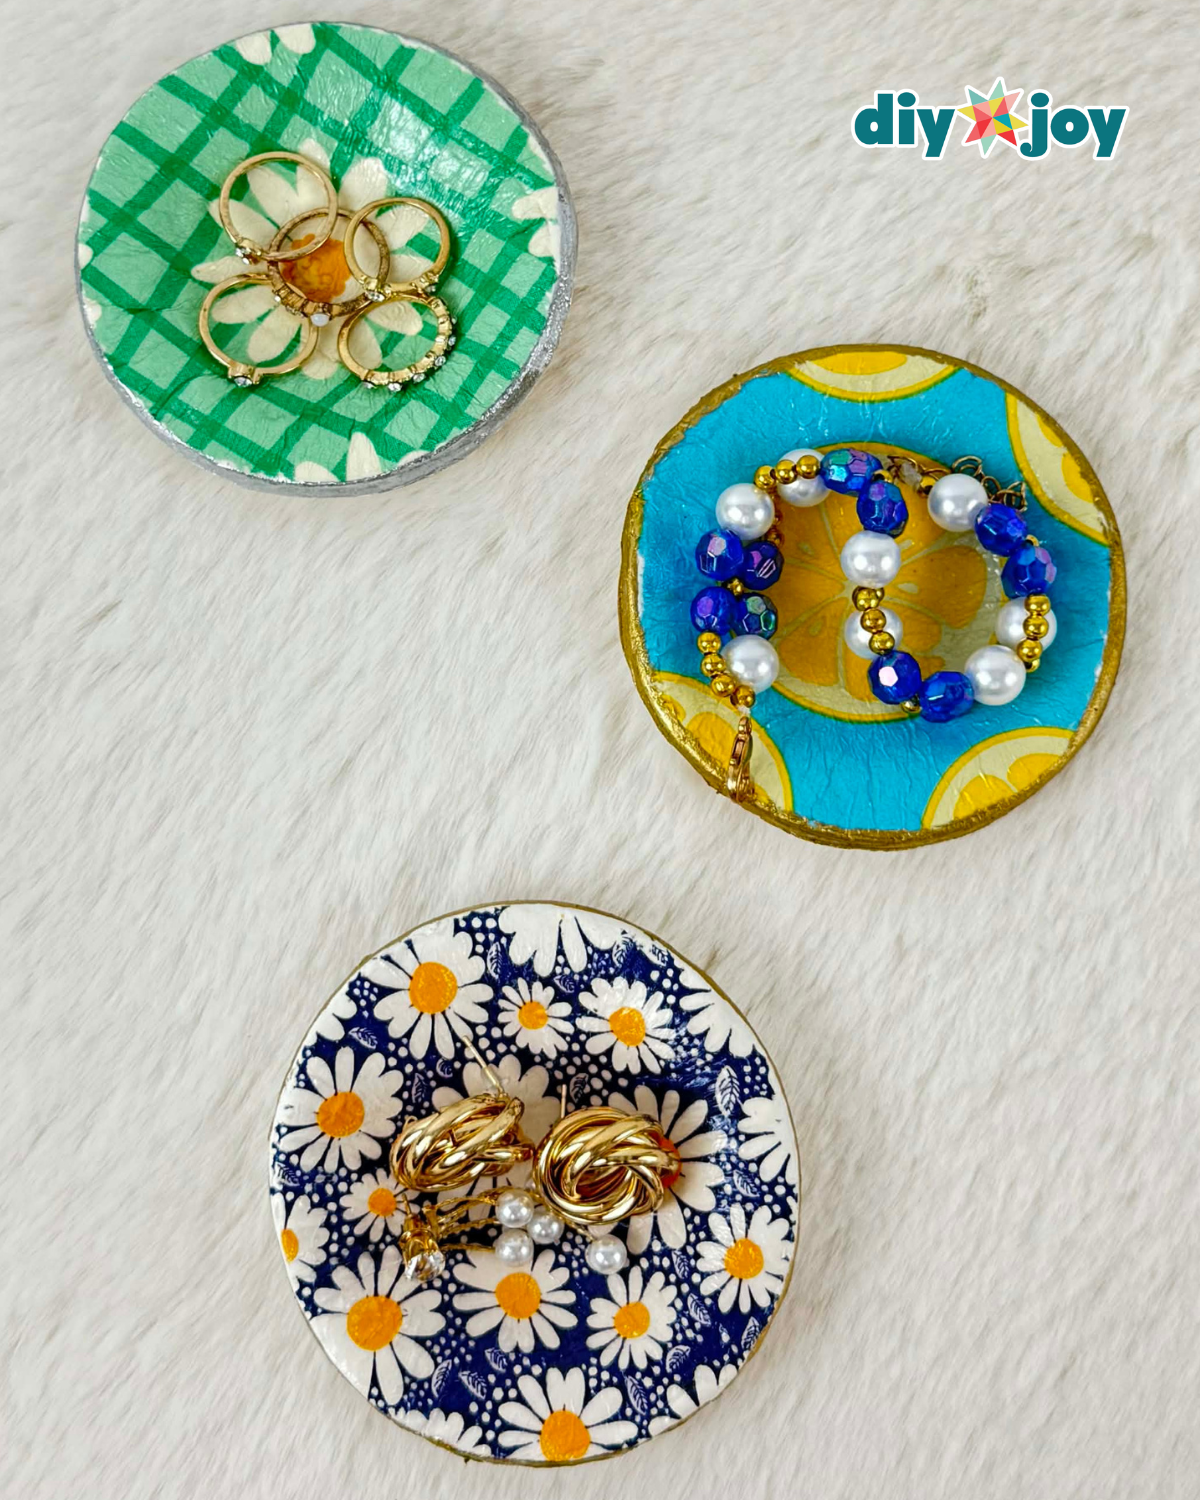
Once you’ve mastered this craft, you’ll likely want to make more! These handmade jewelry trinkets also make thoughtful gifts for the holidays, special occasions, or just because. Follow the step-by-step guide below with photos to create your own, and don’t forget to check out the video tutorial for detailed instructions and tips.
▶ Watch this tutorial on TikTok
How to Make a Jewelry Trinket
Step 1: Prepare the Clay and Napkin
Get a chunk of clay, roll it out, and flatten it. Remove the backing paper from the printed napkin and lay it on top of the clay, pressing gently to adhere.
Step 2: Cut the Shape
Use a cookie cutter or a mason jar lid to cut the clay and napkin into shape. Remove any excess clay and napkin around the edges.
Step 3: Seal and Finish
Apply Mod Podge over the surface, transfer it to a muffin pan, and press gently down the center to create a slight dip. Let it dry overnight. Once dry, add gold paint around the edges and apply gloss varnish for a shiny finish.
Why You’ll Love This
- Easy to Make: Perfect for beginners, even on your first try.
- Customizable: Adjust size, shape, and colors to match your style or storage needs.
- Budget-Friendly: Uses simple air-dry clay and paper napkins you may already have.
- Functional & Stylish: Keeps jewelry organized while looking cute on your dresser.
- Perfect Gift Idea: Thoughtful handmade gift for holidays, birthdays, or special occasions.
What’s Viral Today



*If you love this craft, then visit our official website, follow our Facebook page, and subscribe to our YouTube channel for more!