There’s always something wonderful about learning new things or hobbies, and that includes crafts. It’s always a fun journey to experience from start to finish, from scratch to the final product, and from nothing to your best ever project yet.
My most recent interest was caught by air-dry clay crafts. What I find fascinating about them is the possibility of projects that you can make, and how sturdy they become once they dry. I also love how they almost look like porcelain once they are coated with resin.
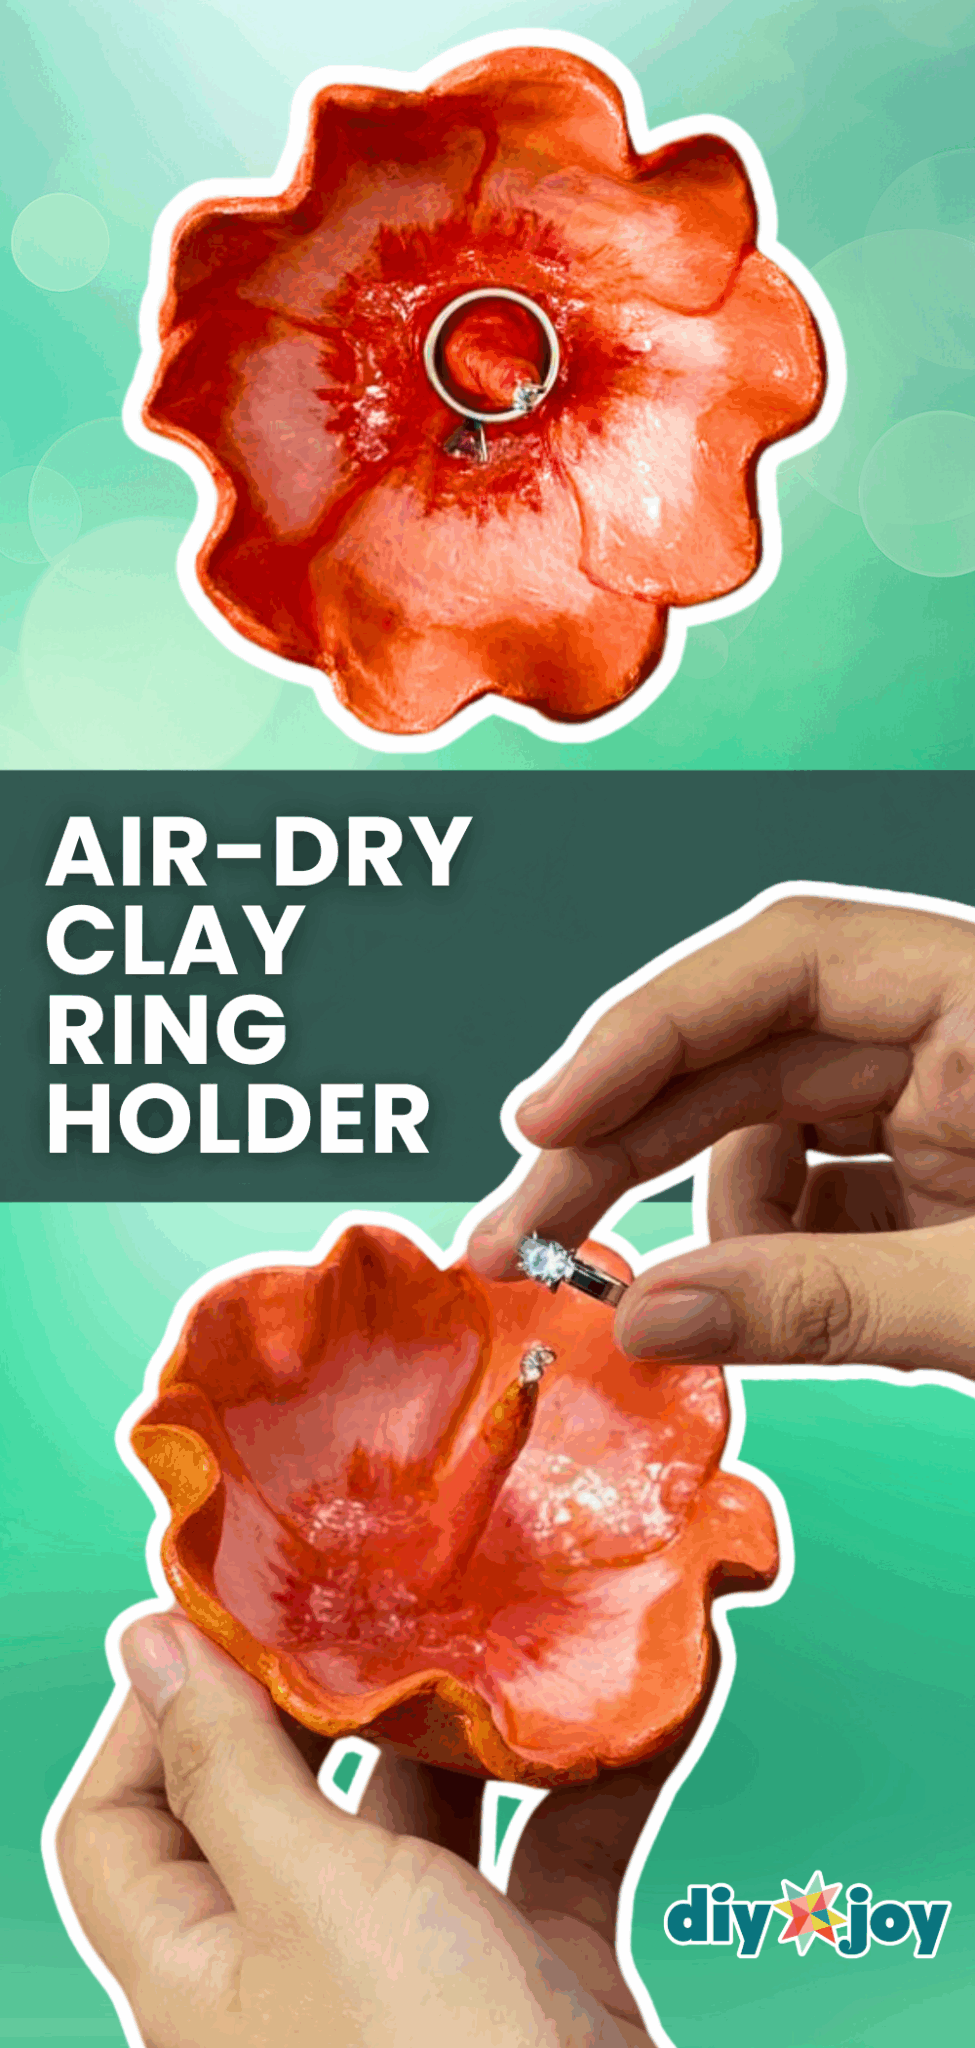
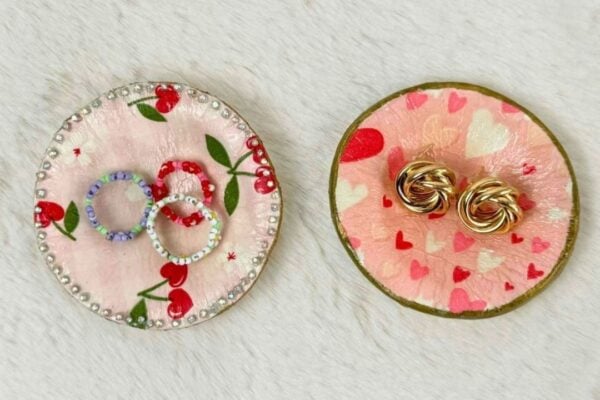
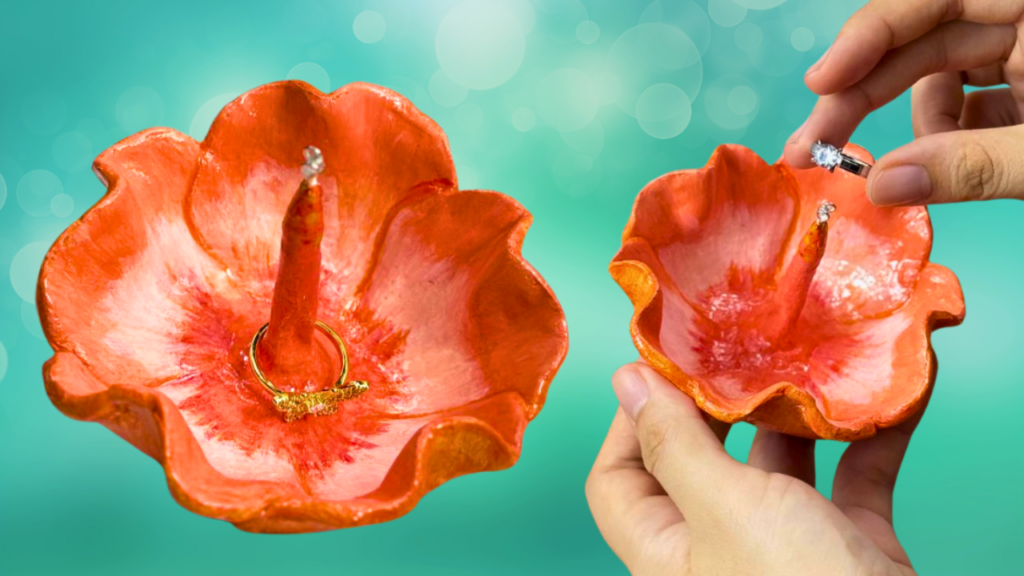
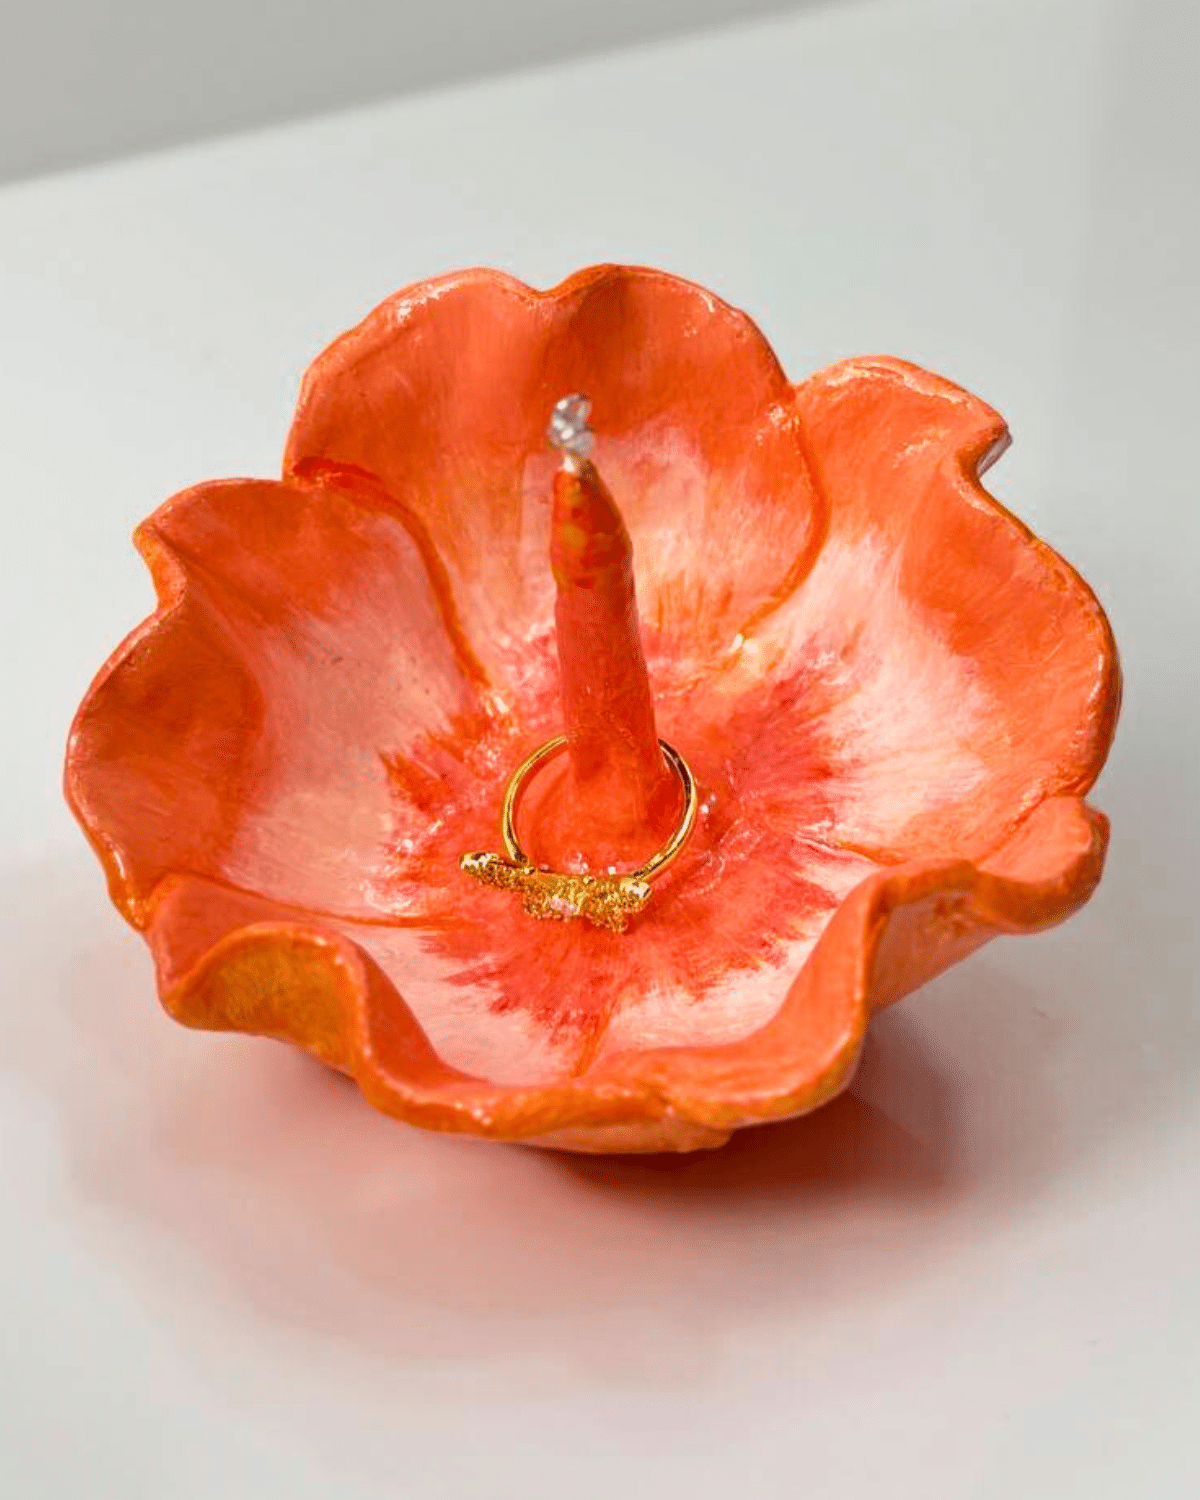
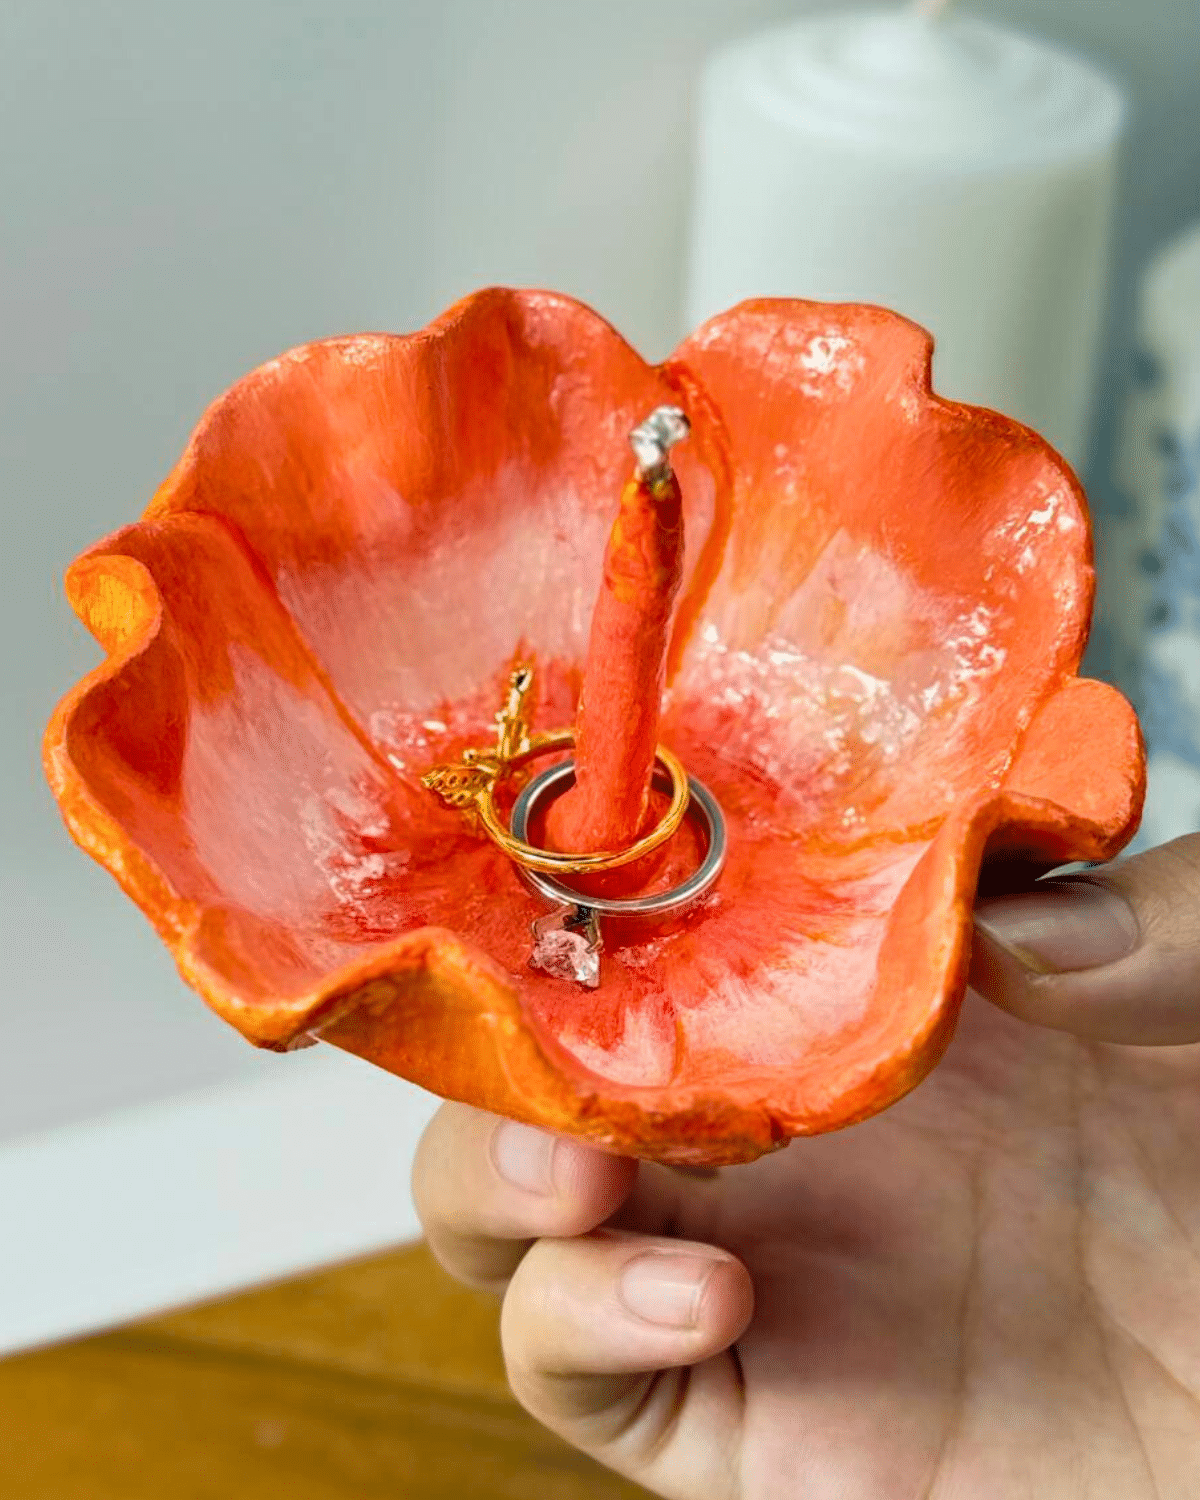
When it comes to deciding what project to make, I opted for something functional, practical, and beautiful. This DIY ring holder fits all of that description and is one of my favorite crafts that I’ve ever done in a while. What’s also great about this is that it requires no kiln or baking at all, which makes it even more convenient and doable, especially for beginners or first timers in air dry clay crafts!
Whether you’re making a clay trinket dish to organize your own jewelry or crafting a thoughtful gift, this DIY jewelry dish is one of those easy clay crafts that delivers both style and purpose. Read the tutorial to learn how to create your very own handmade ring dish and unique clay jewelry holder today!
▶ Watch this tutorial on TikTok
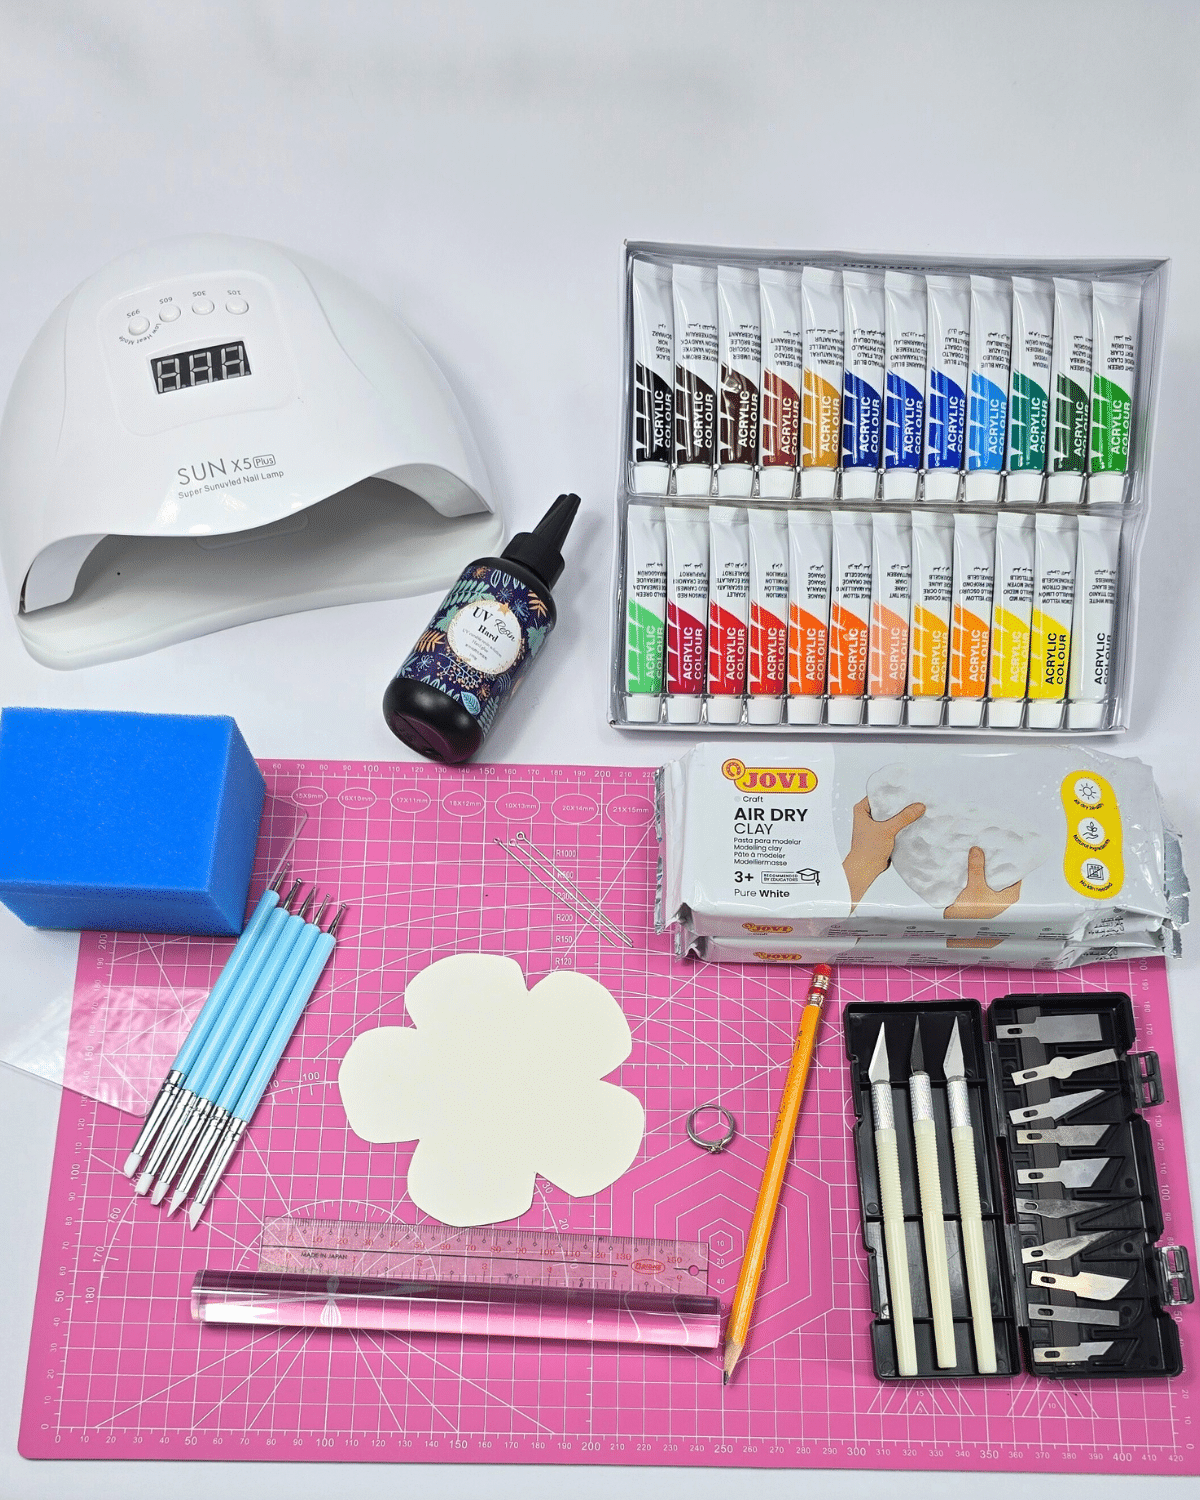
What You’ll Need for a Clay Ring Holder
- Air-Dry Clay
- Pencil
- Ruler
- Template
- UV Resin
- UV Lamp
- Sponge
- Sculpting Tools
- Cutting Tools
- Acrylic Paint
- Paintbrushes
- Primer Paint
How to Make a Clay Ring Holder
A step-by-step guide with photos
<strong>Step 1: Shaping the Clay</strong>
Get a chunk of clay, making sure it’s enough to cover the entire template, as well as hold the right thickness. Then, roll the clay until it’s round and smooth like a ball, and using your rolling pin, roll and flatten the clay until the desired thickness and diameter. Cut out the shape using your template.
<strong>Step 2: Forming the Shape of the Flower</strong>
After cutting out the shape using your template, make slits to separate the petals from each other, then carefull transfer the clay to a towel, and gently bring each petal over the other so they overlap. Bring the clay over to a bowl, making sure to hold onto the towel when you transfer, this step will help it hold its cup-like shape. Add some more details to the edges of each petal, then smoothen out the slits, and remove any sharp or hard edges.
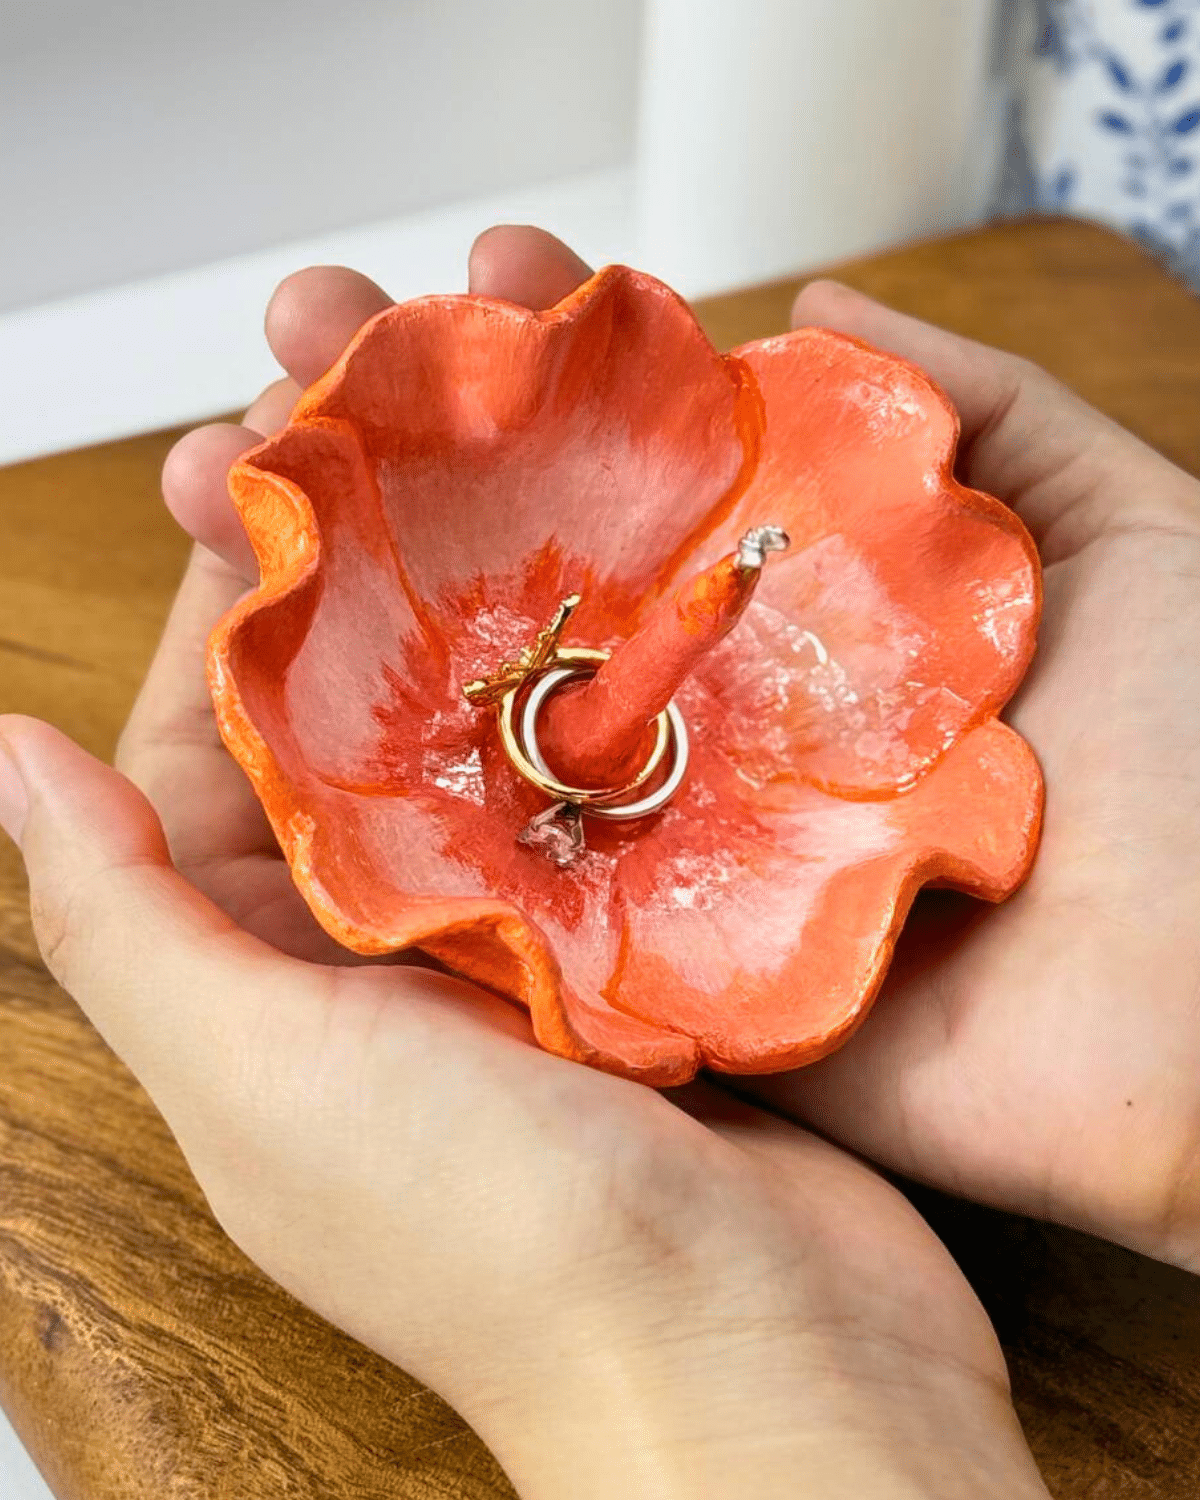
<strong>Step 3: Making the Stamen</strong>
Get a small chunk of clay, then shape it into a long and thin piece of log, and roll it into a stamen, as shown in the picture. Carefully insert the wire eyelets in the center, then stick the stamen down the center of the clay flower, and add some more clay around the base to stabilize it. Make sure to use a wet brush to adhere the stamen to the cup.
<strong>Step 4: Applying the Primer</strong>
Once the clay has set or dried a bit, you can then start applying a coat of primer. Let it dry completely, then feel free to add another coat if needed. Set that piece aside, then allow the clay and the primer to fully set.
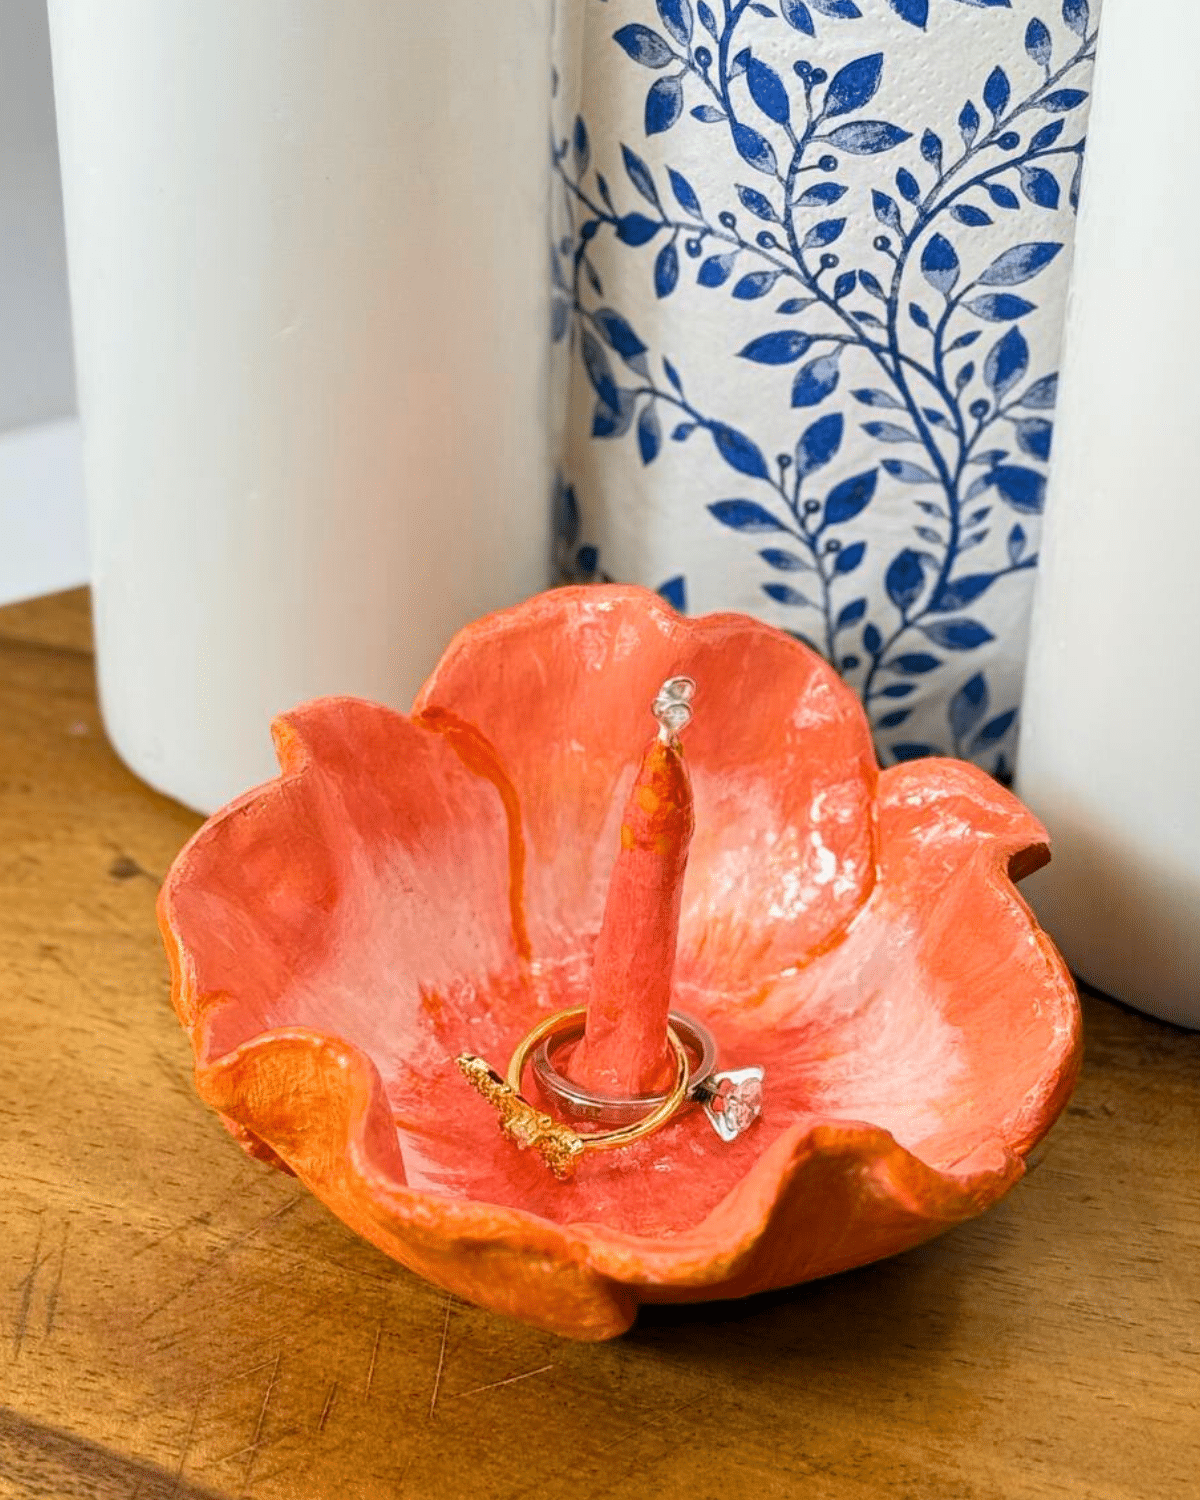
<strong>Step 5: Painting the Ring Holder</strong>
Once the primer has fully set and the clay is hard, start painting however you want. You can also use whatever color combination you prefer and be creative with the details of the flower to your heart’s content. Tip: You may start with a medium shade at the outer edges, then work your way in the middle with a lighter shade and use a darker shade at the center of the flower, including the stamen.
<strong>Step 6: </strong>Applying the UV Resin
Give the paint some time to dry to make sure it doesn’t smudge when you put the resin. Once the paint has fully dried, proceed to apply a thin coat of UV resin, making sure to spread it out evenly and that there is no over spillage. Place the clay flower on the UV lamp, then cure it for about 2-3 minutes until it’s fully set or no longer sticky; this may take a few sets or sessions, depending on the timer of your UV lamp.
![]()
Pro Tip
Every time your clay cracks or becomes too hard to shape, just keep it moisturized with some water. This trick can also help when smoothing out edges and filling in gaps.
*If you love this craft, then visit our official website, follow our Facebook page, and subscribe to our YouTube channel for more!
Easy Air-Dry Clay Ring Holder