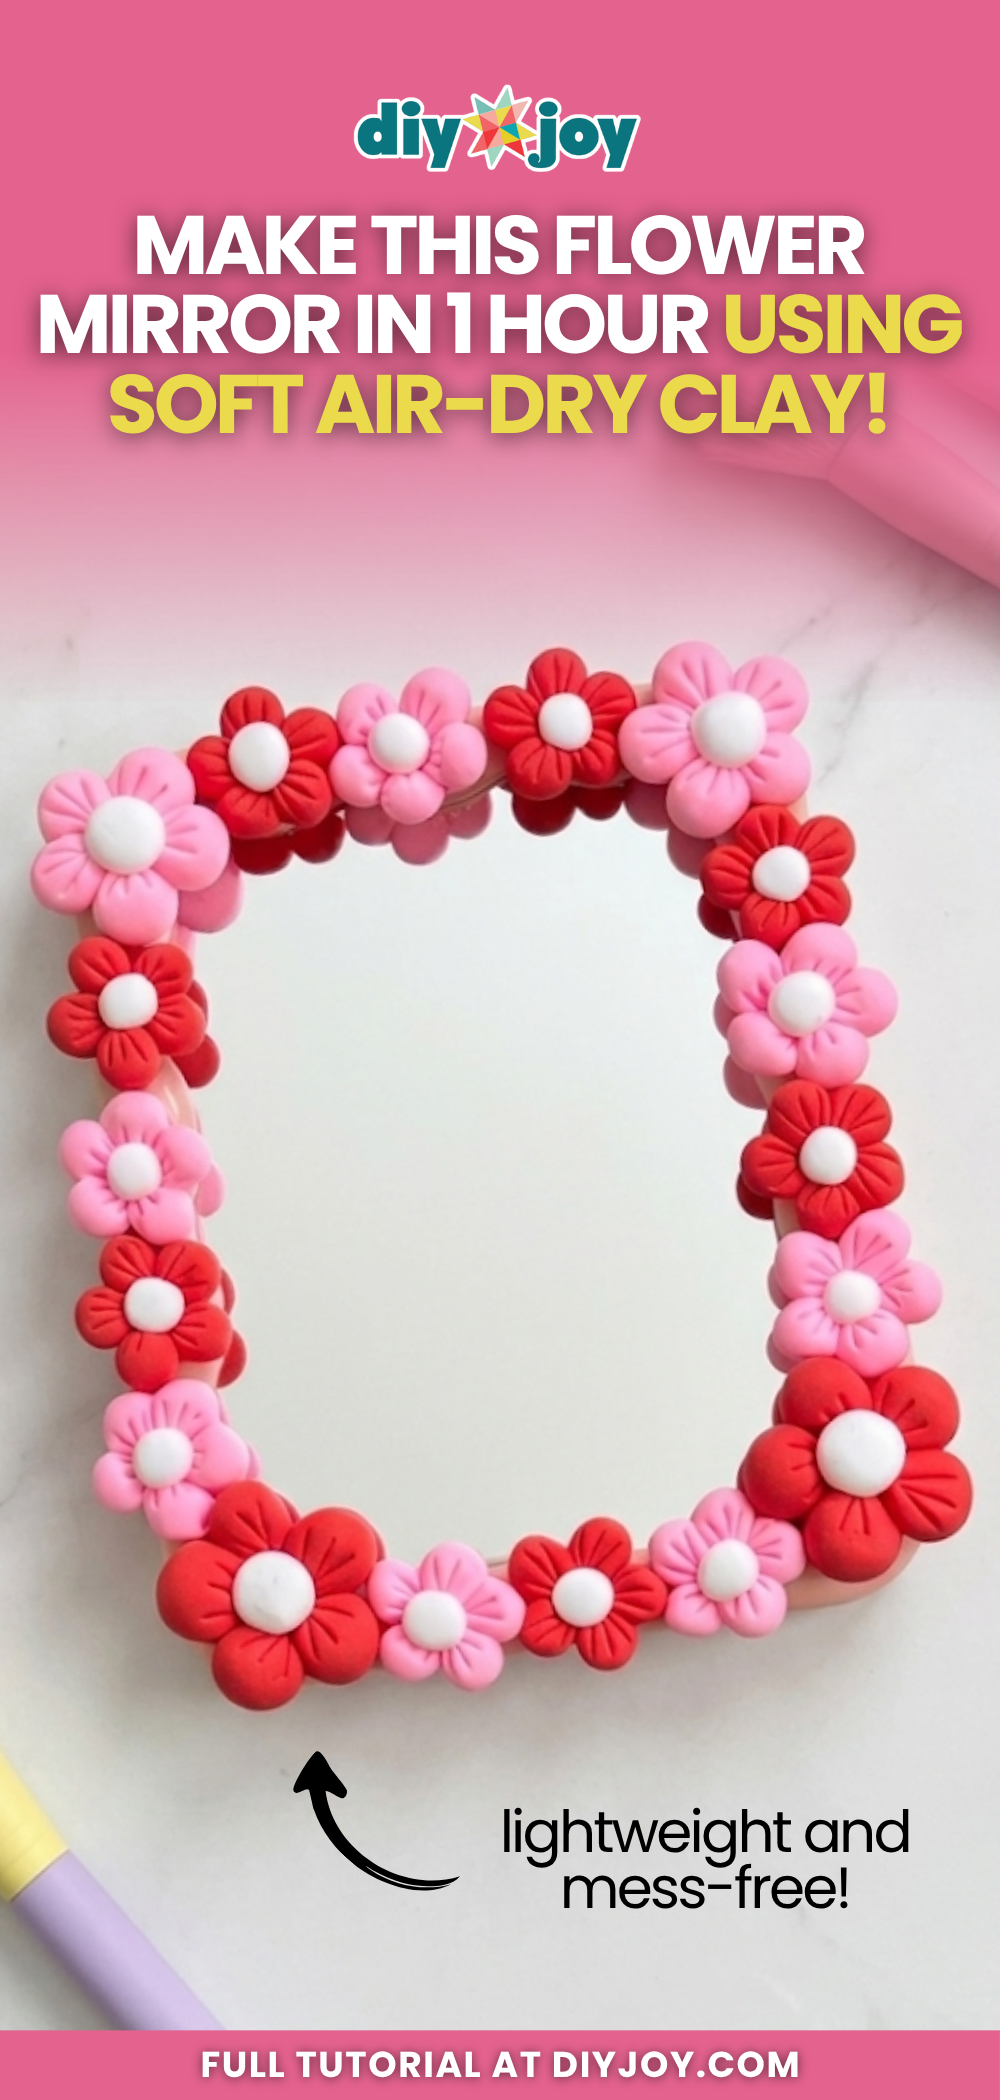
If you’ve got a plain mirror that feels a little too basic, this easy DIY soft clay flower mirror is the perfect way to give it a fun and creative upgrade. Whether it’s an old mirror you already have or a simple one from the dollar store, you can completely transform it using soft clay into something that actually stands out in your space.

What makes this project even better is how easy soft clay is to work with compared to traditional air-dry clay. It’s lightweight, mess-free, and super easy to shape, so you don’t have to deal with constant moisture or sticky hands while crafting. The pieces also stick together naturally before setting, which means you can build your flower designs without needing extra adhesive. It’s a beginner-friendly material that makes the whole process smoother and more enjoyable.
Here’s another cute craft idea to try :
Make a Cute Desk Organizer Using an Empty Tin Can
![]()
Have you seen our TikTok & Instagram yet?
Our viral videos are super popular and fun to watch. Here’s the clay flower mirror TikTok, but the YouTube video is also at the bottom of this post so you can watch the full tutorial. Links below for all our socials. Follow and be the first to see our latest crafts. ⬇️
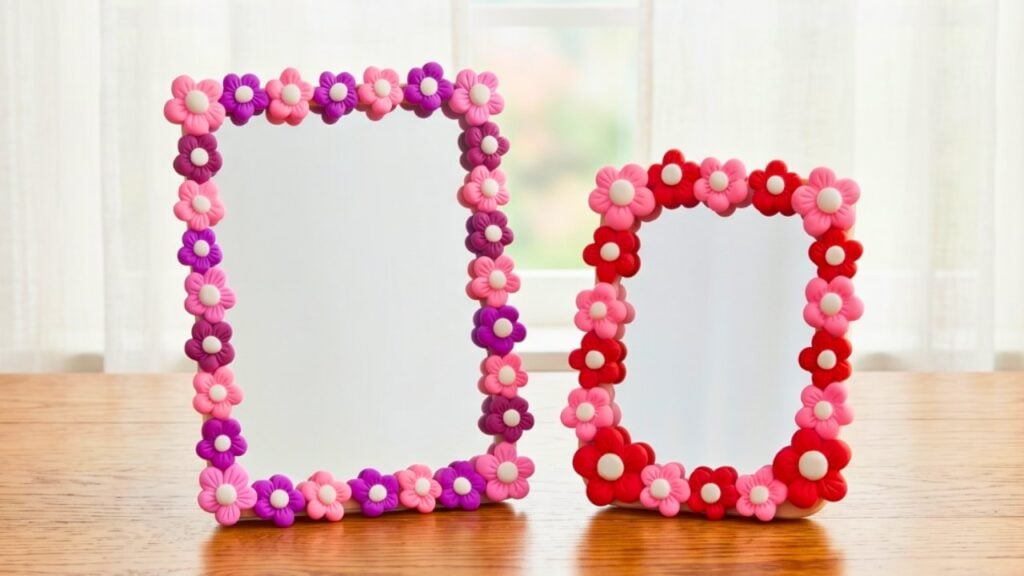
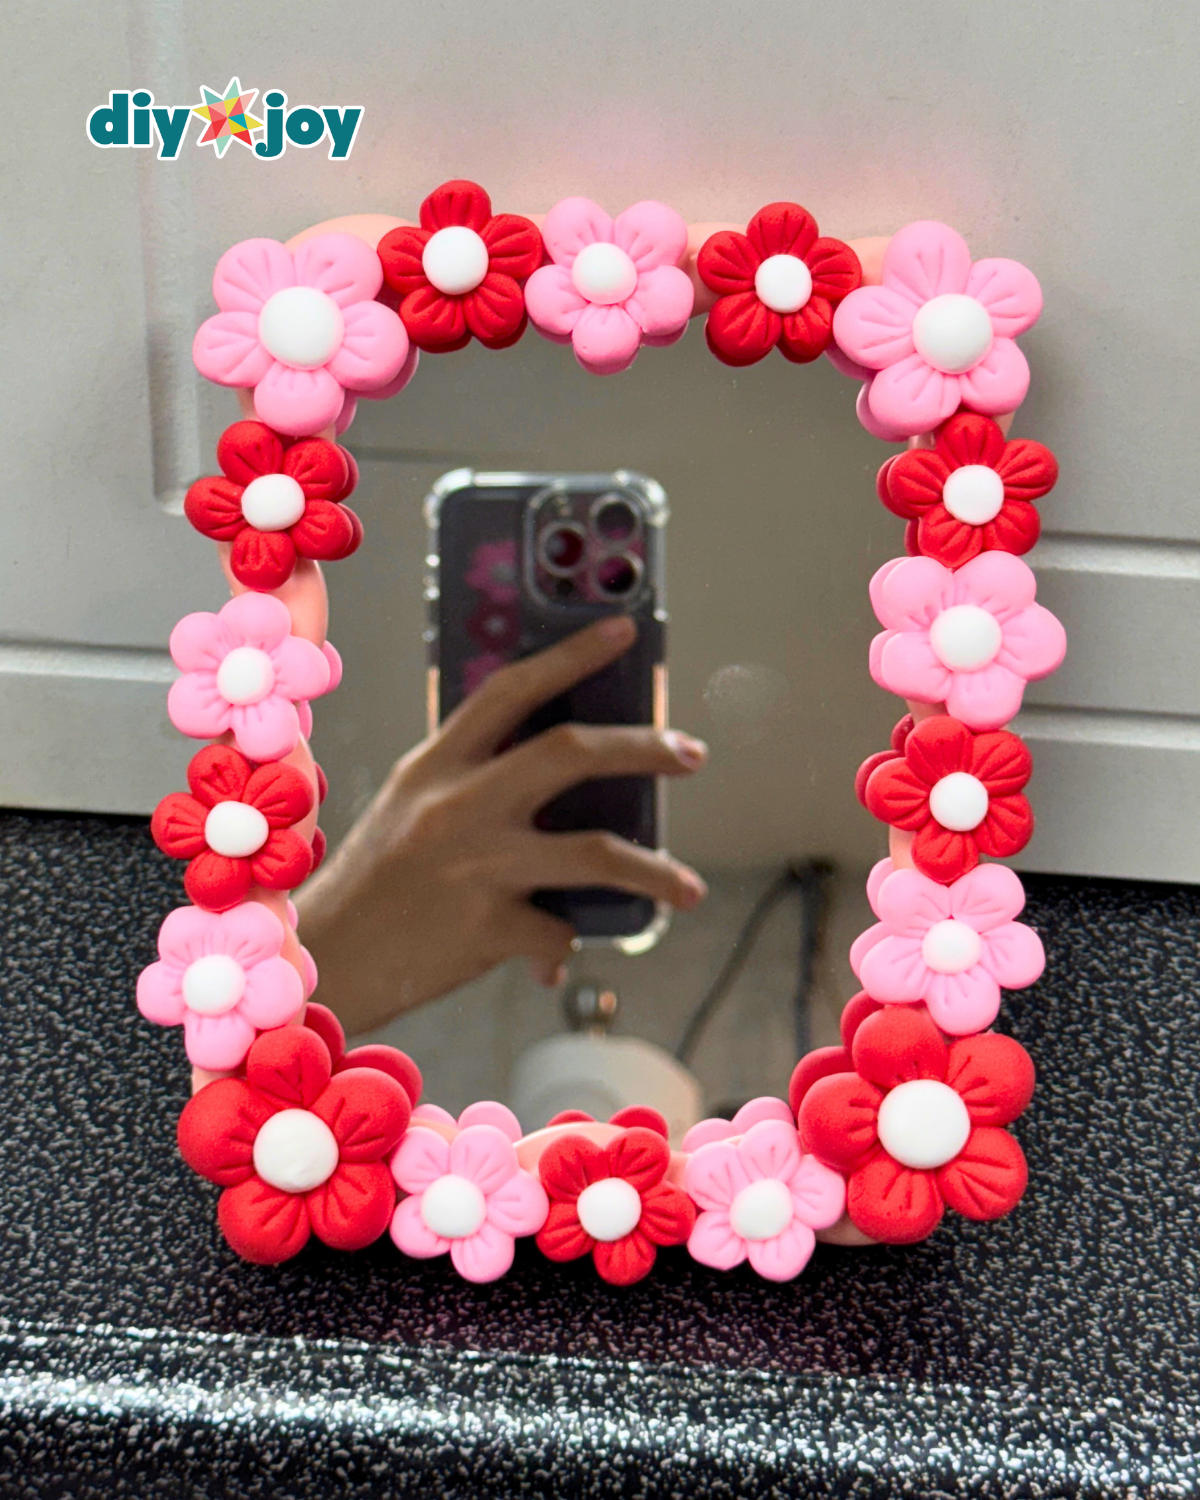
This DIY soft clay mirror is perfect for adding a personalized touch to your room, vanity, or even as a handmade gift. By creating simple flower shapes and placing them around the frame, you instantly turn a plain mirror into something cute and eye-catching. You can play around with different sizes, colors, and arrangements to match your style, making each piece completely unique.
It’s a quick, satisfying project that doesn’t feel complicated but still gives you a result that looks like you put in way more effort. Once you see how easy and fun it is, don’t be surprised if you start wanting to upgrade all your mirrors the same way.
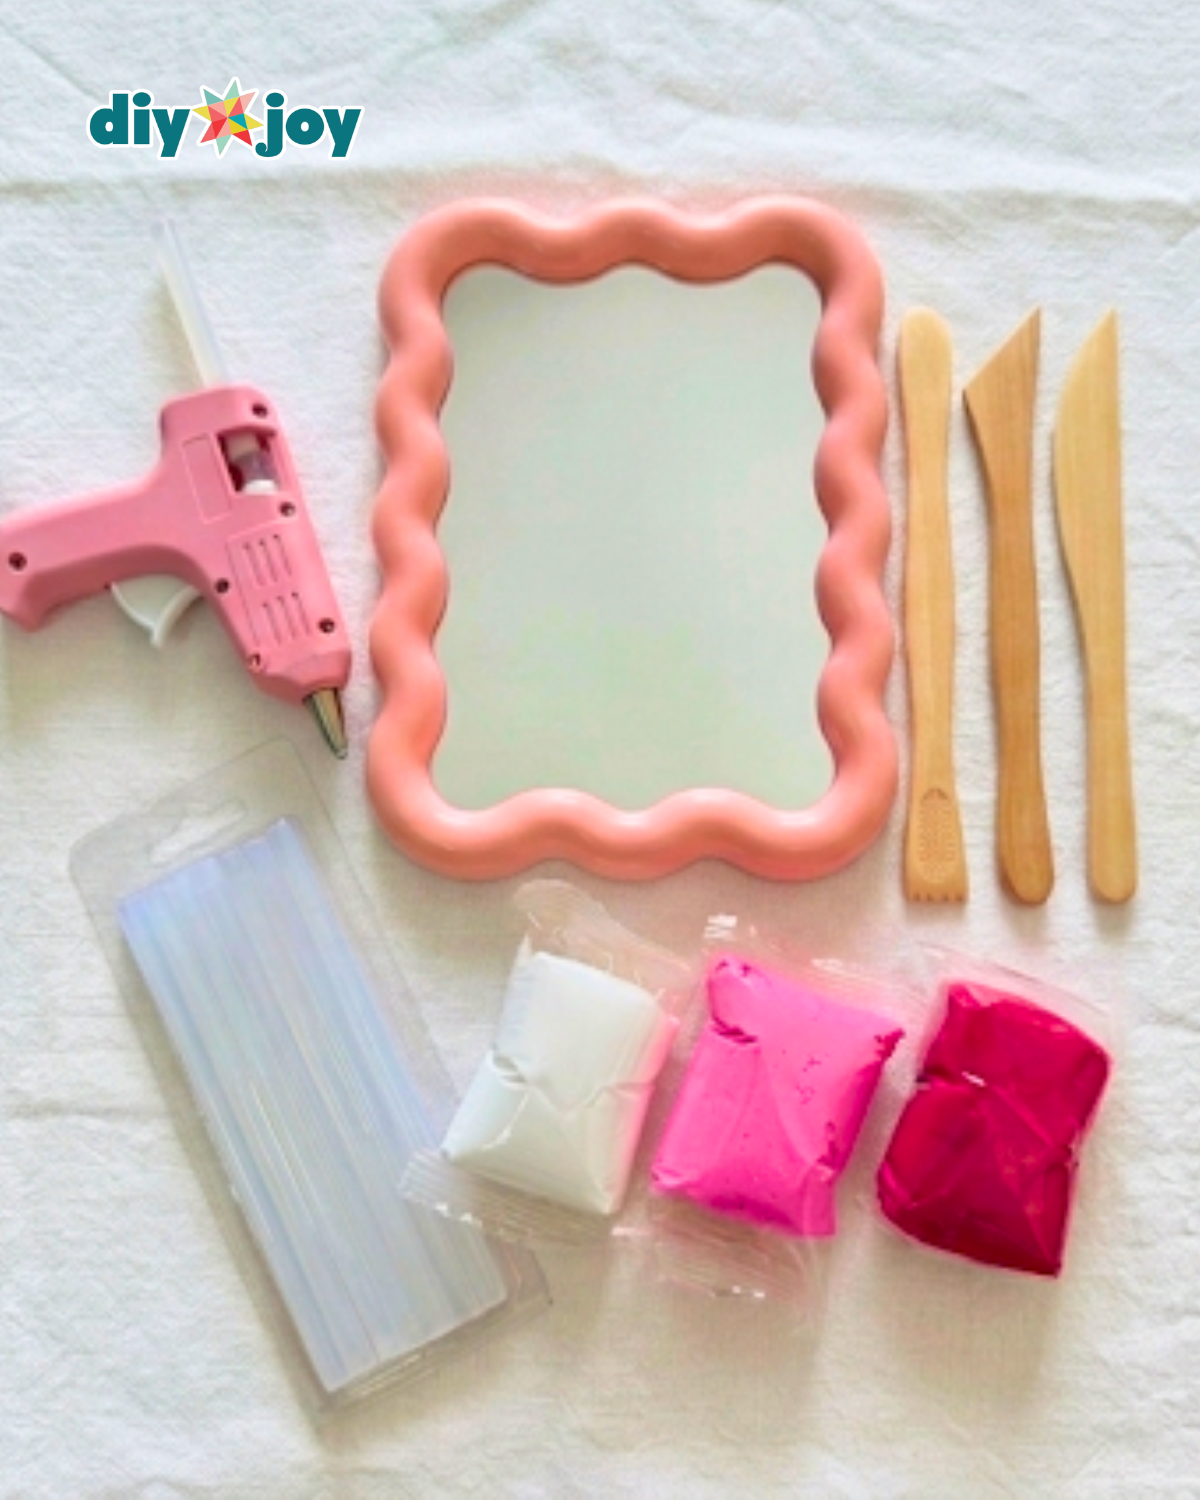
How to Make a Clay Flower Mirror
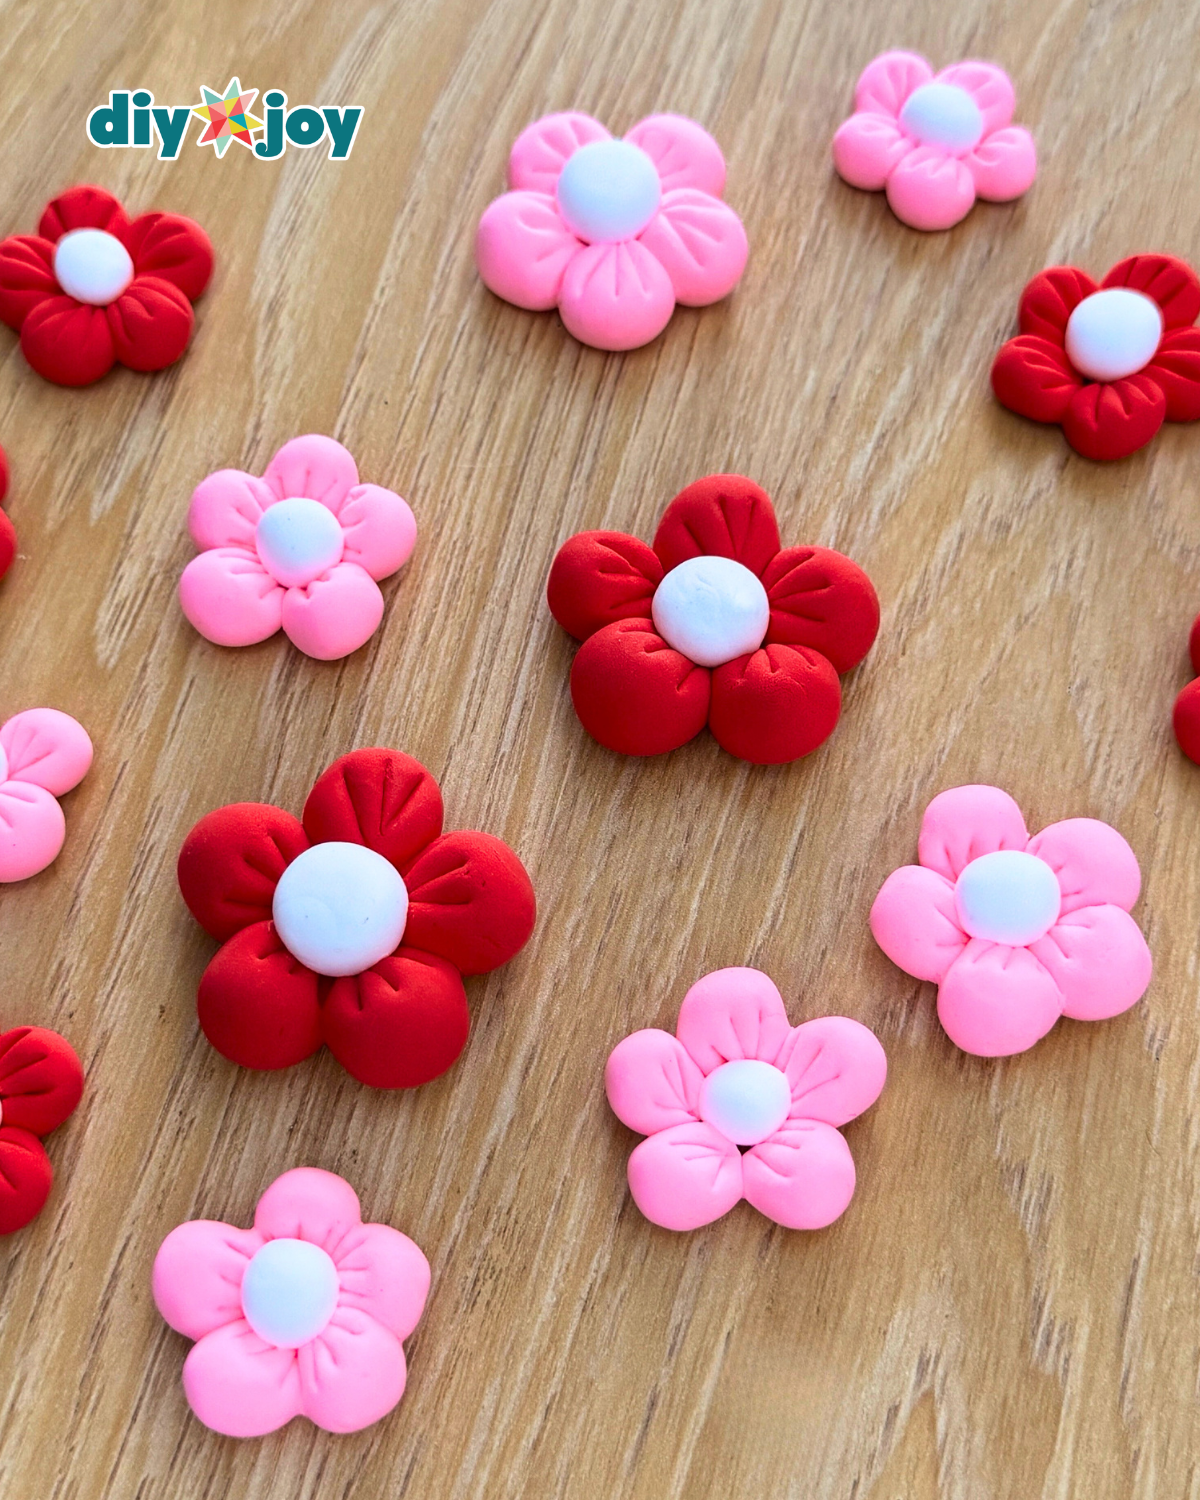
<strong><strong>Step 1: Shape the Clay Petals</strong></strong>
Take a piece of clay and roll it into a smooth ball. Using a clay sculpting tool, press three lines along the bottom so they meet at a point, similar to a crow’s feet, as shown in the video. Repeat this step to create five equal-sized pieces—these will form the petals of your flower.
<strong><strong><strong>Step 2: Assemble the Clay Flower</strong></strong></strong>
Arrange the clay pieces to form a flower shape. Roll a small piece of white clay and place it in the center to complete the flower. Create several more flowers using different colors, and vary the sizes if you like.
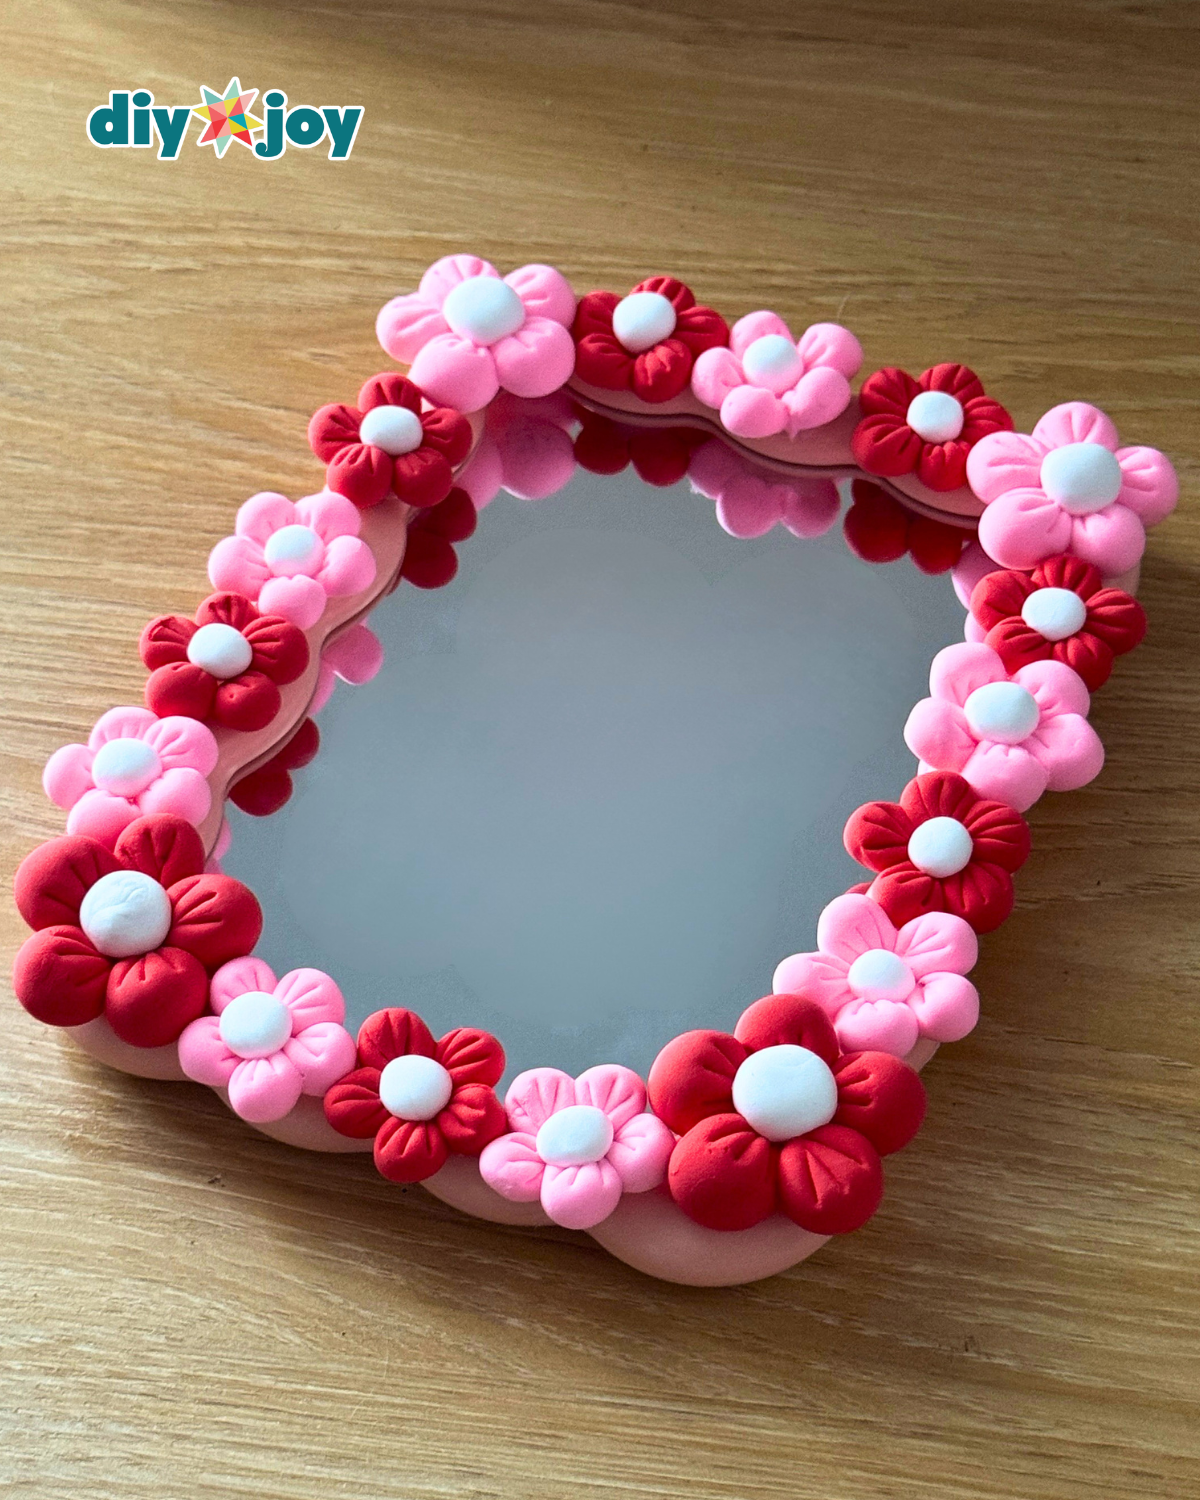
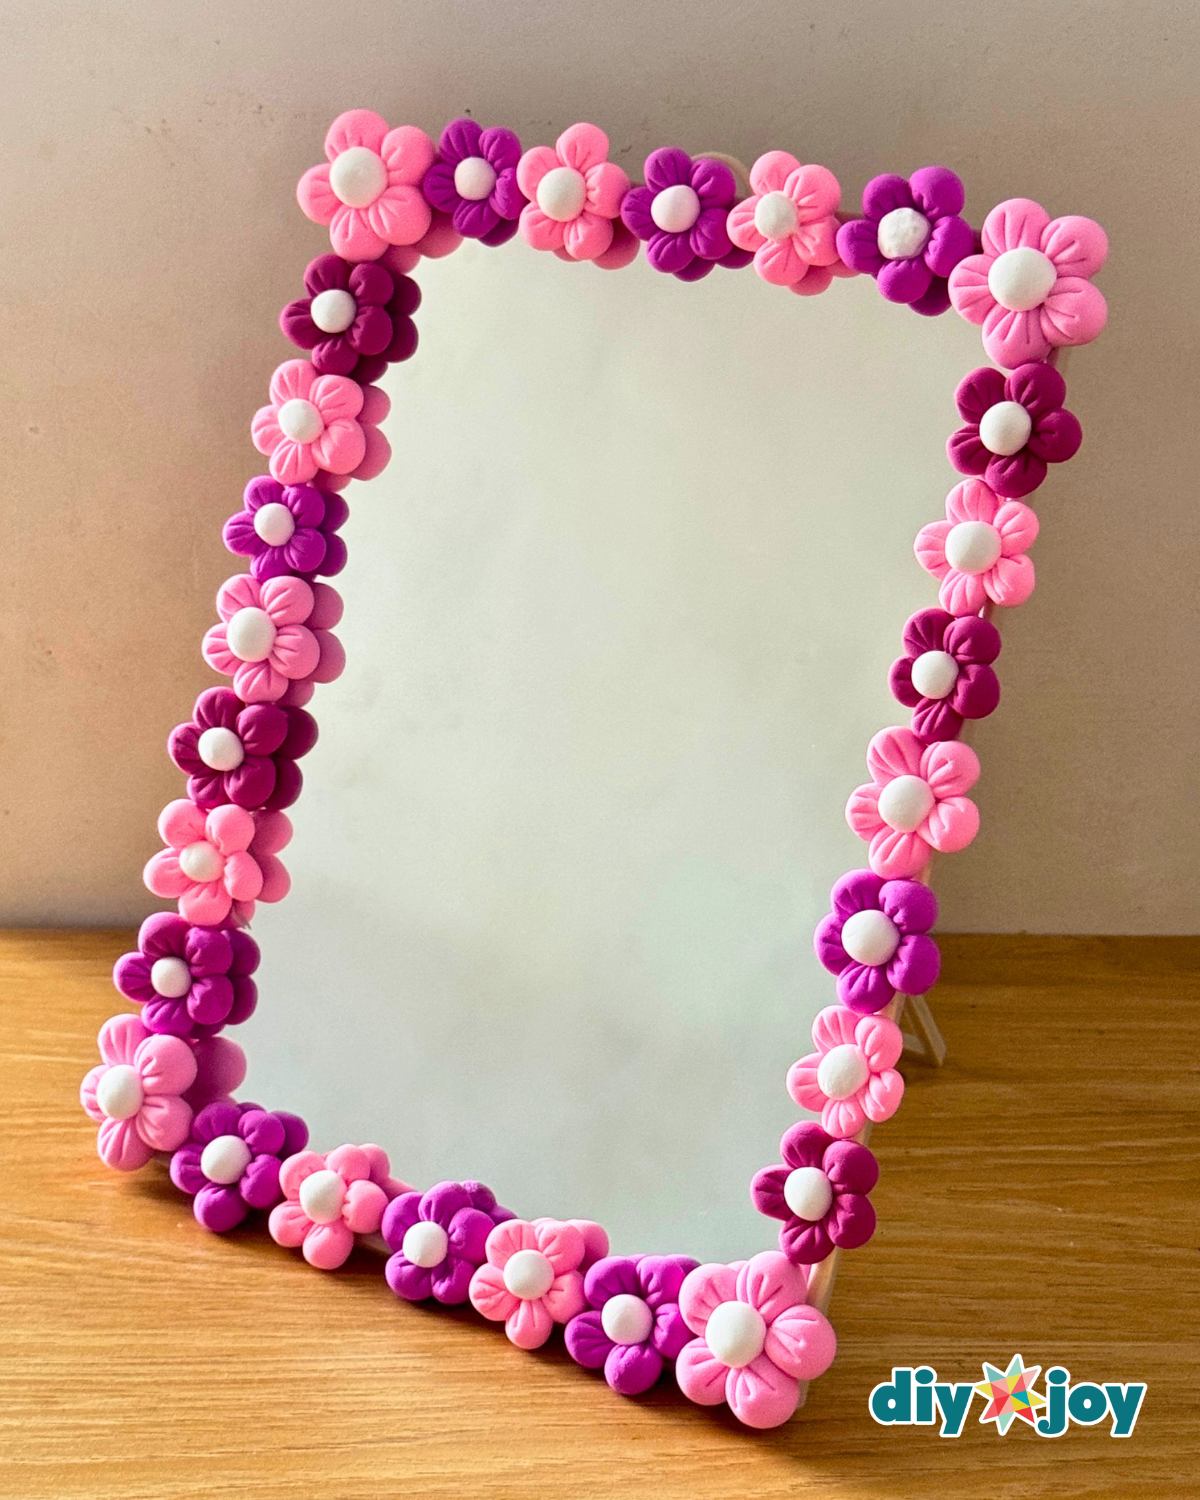
<strong>Step 3: Arrange and Attach the Clay Flowers</strong>
Let the clay flowers set until they are no longer soft or sticky to the touch. Once firm, plan your layout by arranging them around the mirror frame. When you’re happy with the placement, apply hot glue to the back of each flower and attach them securely to the frame.
![]()
PRO TIP 💡
If you want your clay flowers to last longer, coat them with a layer of gloss varnish to help prevent cracking or breaking over time while also giving them a smooth, finished look.
Crafts To Make Next:
Crafts

Appetizers

Bread & Rolls

Planters & Floral
*If you love this craft, then visit our official website, follow our Facebook page, and subscribe to our YouTube channel for more!
Easy DIY Soft Clay Flower Mirror Tutorial