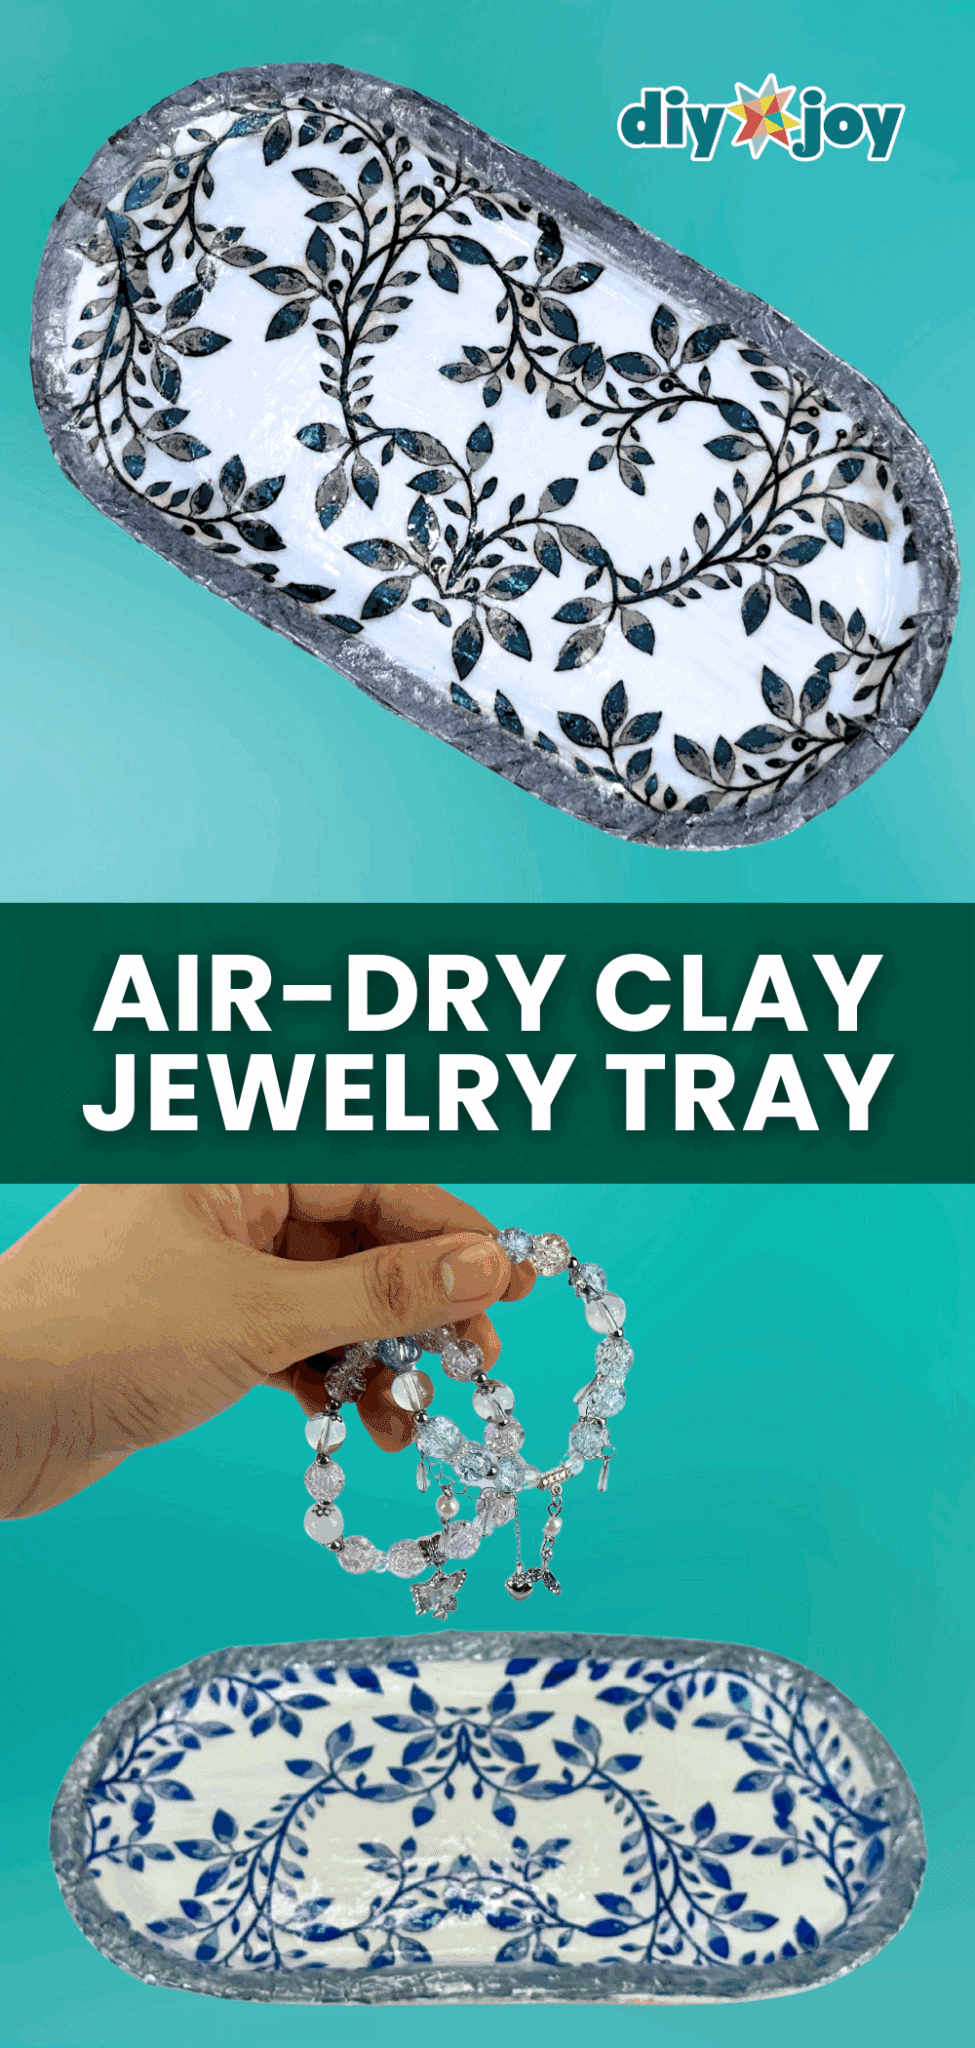
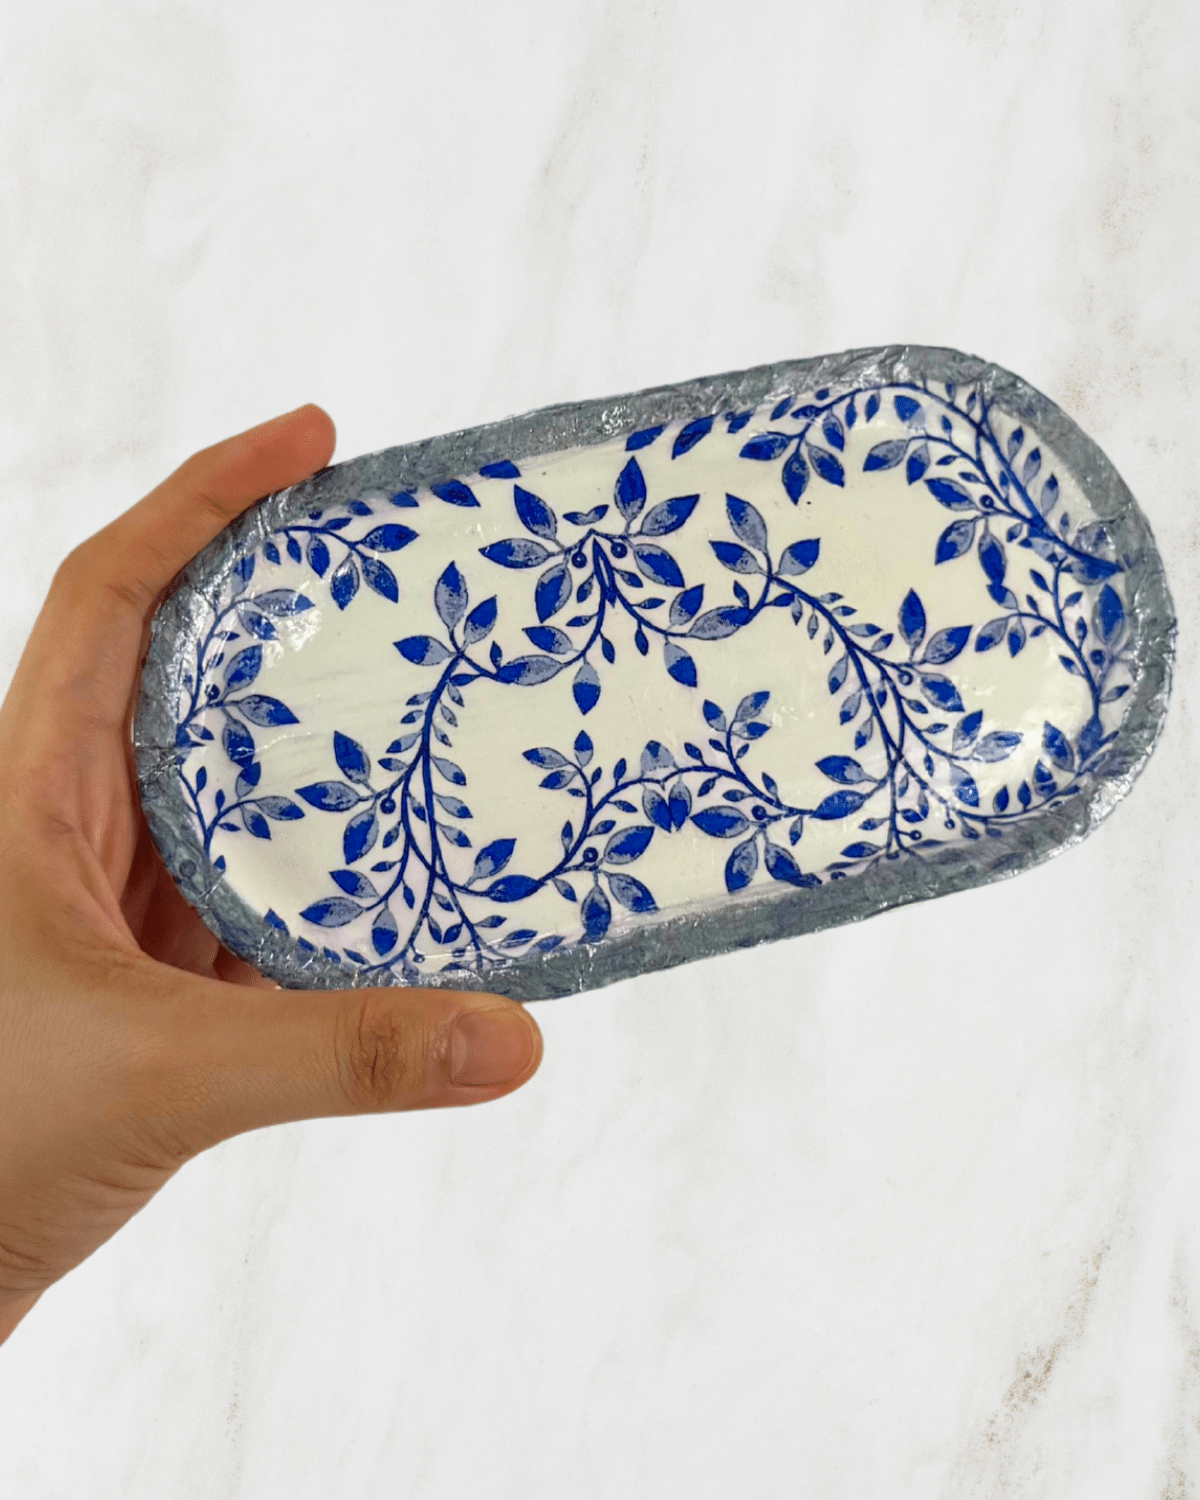
Looking for a fun and easy way to add a personal touch to your space? A DIY air-clay jewelry tray is what you need—whether you’re into polymer clay trays, air-dry clay jewelry dishes, or handmade clay trinket trays.
RELATED: Air-Dry Clay Ring Holder
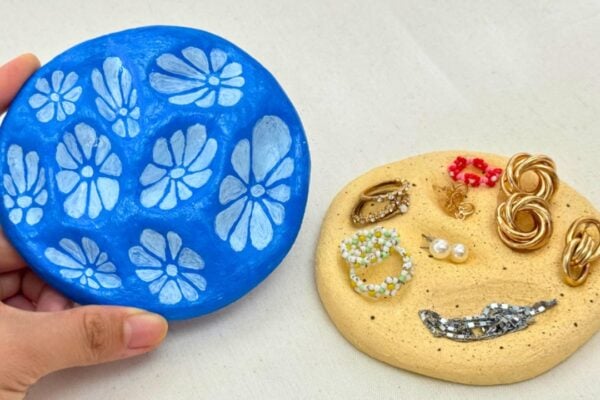
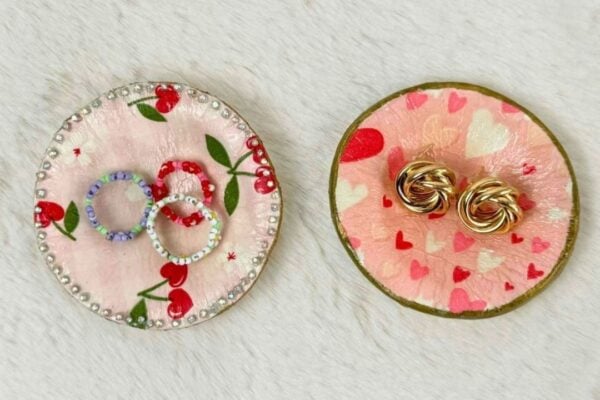
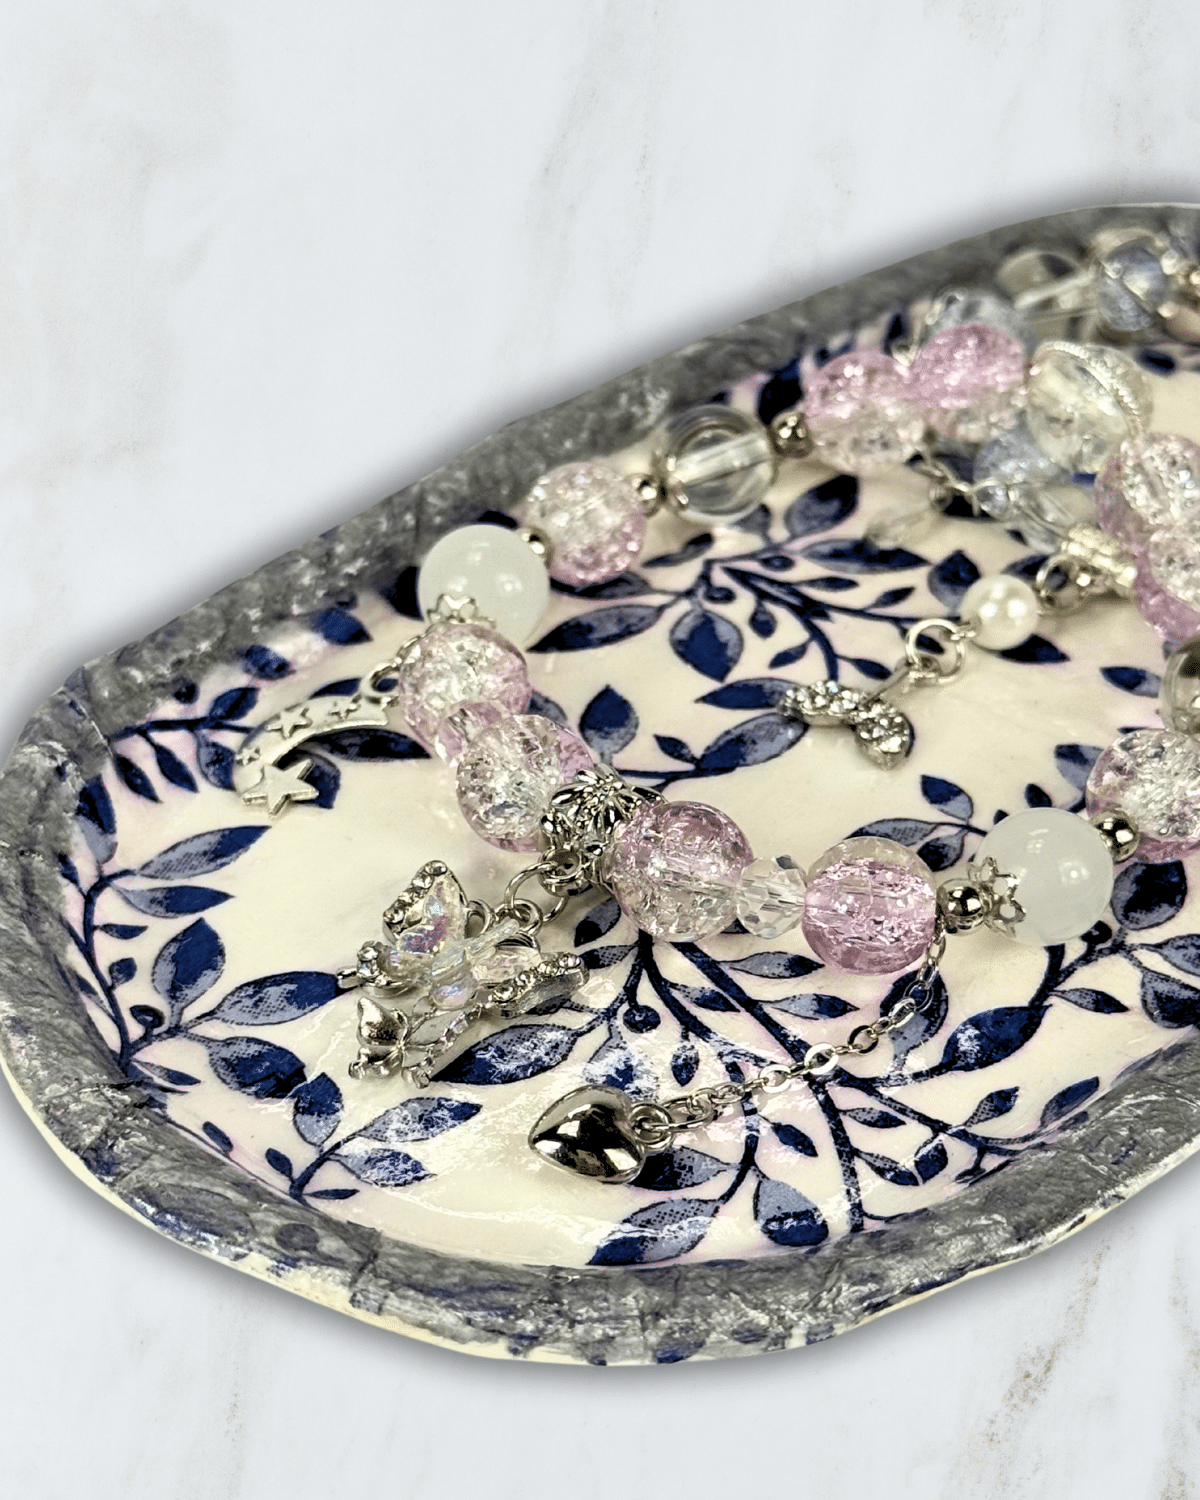
These aesthetic clay trays not only keep your favorite rings, earrings, and necklaces organized but also double as beautiful decor pieces. Plus, they make for thoughtful gifts and are one of the most enjoyable clay crafts for beginners.
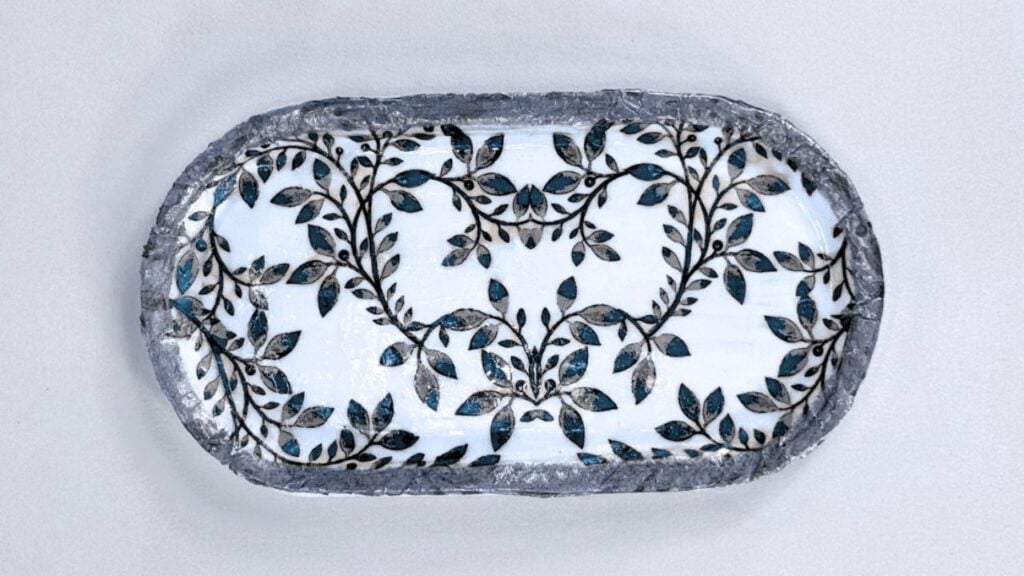
You can easily make your own DIY trinket tray using either air-dry clay for a quick, fuss-free project or polymer clay for a more lasting, oven-cured finish. With just a few simple tools, you can shape a clay jewelry tray that’s uniquely yours—smooth and minimal, textured and organic, or playful and colorful.
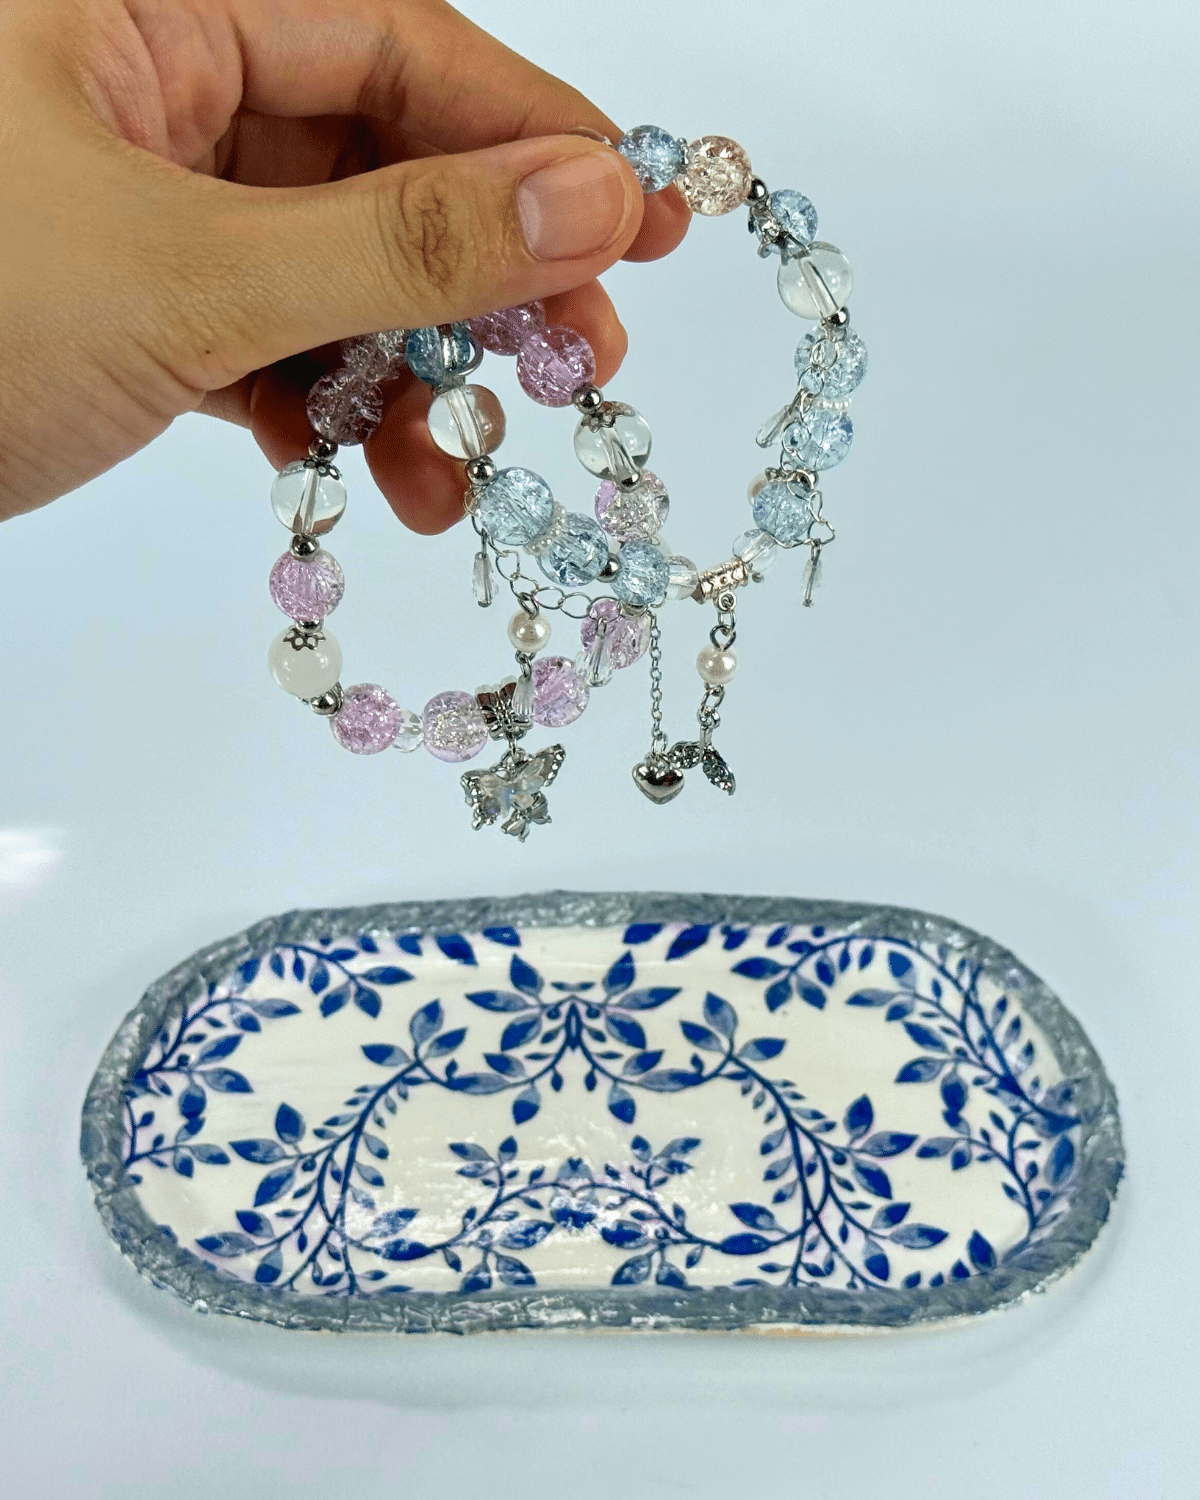
These handmade pieces are perfect for storing rings, earrings, and other small treasures while also adding a touch of personality to your space. For anyone curious about clay crafts for beginners, this project is the perfect way to explore creativity and make something both beautiful and useful.
▶ Watch this tutorial on TikTok
What You’ll Need for Air-Dry Clay Jewelry Tray
- Tray
- Napkin Paper
- Baby Powder
- Sponge
- Air Dry Clay
- Sculpting tools
- Cutting tools
- UV resin
- UV lamp
How to Make an Air-Dry Clay Jewelry Tray
Step-by-step guide to making an air-dry clay jewelry tray with photos
Step 1: Preparing the clay
Get a chunk of clay, then roll and flatten it until the desired thickness. Get your mold/tray, then place it above the clay, and cut roughly around the shape, making sure to leave enough allowance. Sprinkle some powder all over your mold or tray and spread it evenly.
Step 2: Shaping the clay
Carefully transfer the clay to the mold, then, using a damp sponge, wipe it down to smooth it as the clay takes the shape of the mold. Cut out the excess, then smooth any cracks that will appear using water and any tool that you have; feel free to use your hands or fingers.
Step 3: Applying the primer
Allow the clay to dry and set completely, then gently remove it from the mold. It should come off easily because of the powder that you applied, which helped the clay not to stick to your mold or tray. Next, apply a coat of primer, then let it dry completely, and apply another coating as needed.
Step 4: Placing the napkin paper
First, you need to apply the Mod Podge all over the clay tray, then remove the backing paper of your napkin paper, and carefully place it onto the tray, making sure that the pattern lines up nicely. Cut out the excess, then apply more Mod Podge all over the napkin paper. Note: If you don’t have Mod Podge, you can DIY one by mixing 2 parts of white glue with 1 part of water.
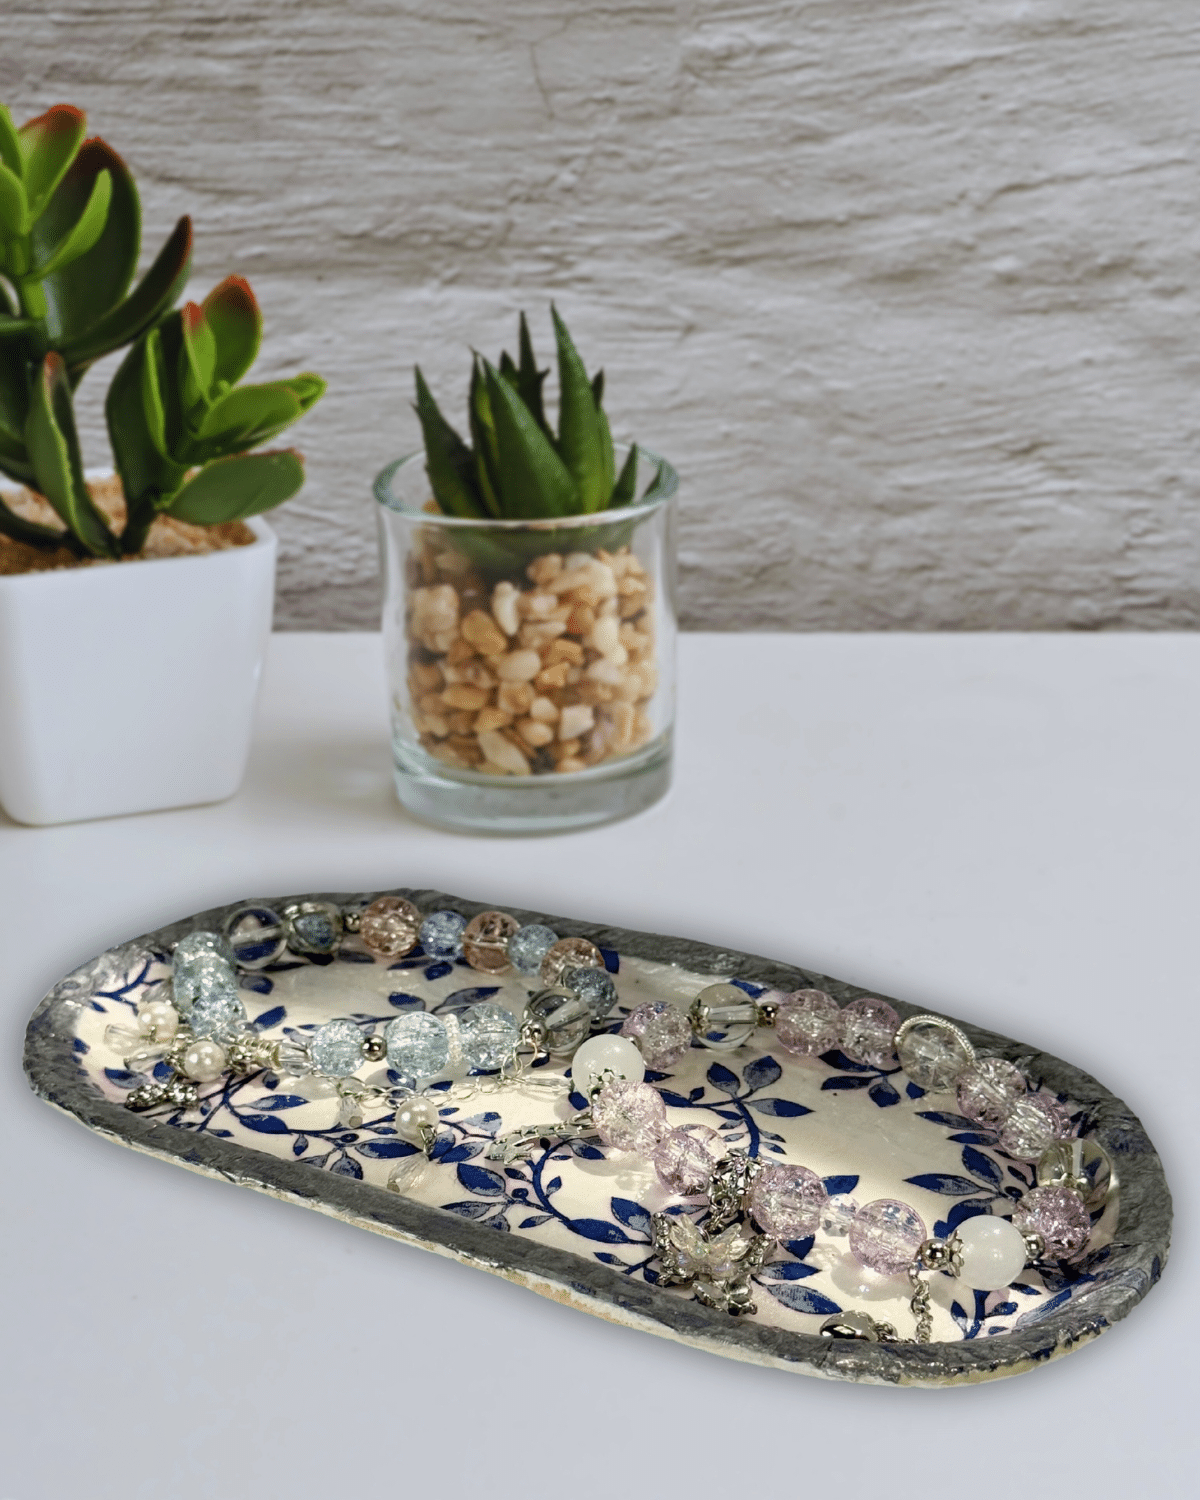
Step 5: Applying the resin
Once the glue has dried completely, feel free to add some details around the edges using a metallic marker. Apply a thin coat of UV resin, then spread that out evenly all over the tray, making sure to cover the edges nicely to lock the napkin paper and the marker in place. Place it on a UV lamp and let it cure until it’s not sticky anymore.
![]()
Pro Tip
- Every time your clay cracks or becomes too hard to shape, just keep it moisturized with some water. This trick can also help when smoothing out edges and filling in gaps.
- The key to perfectly applied UV resin is to coat it thinly. Thick resin will result to uneven and textured curing, bubbles even.
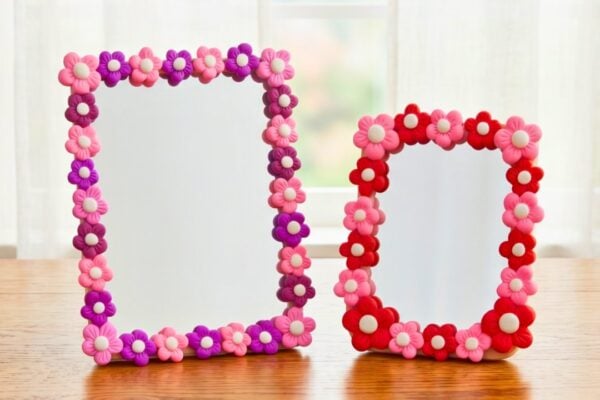
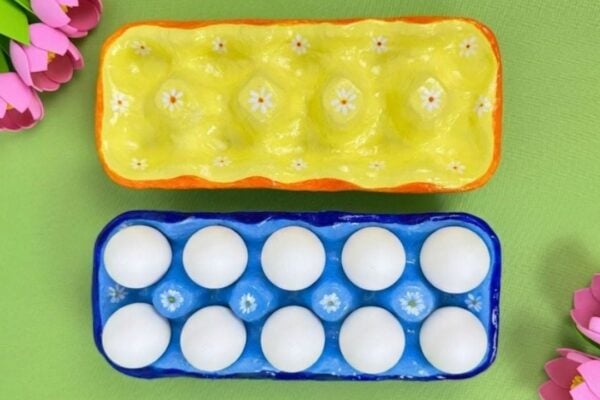
Other Cute Projects You’ll Love


*If you love this craft, then visit our official website, follow our Facebook page, and subscribe to our YouTube channel for more!
Easy DIY Air-Dry Clay Jewelry Tray