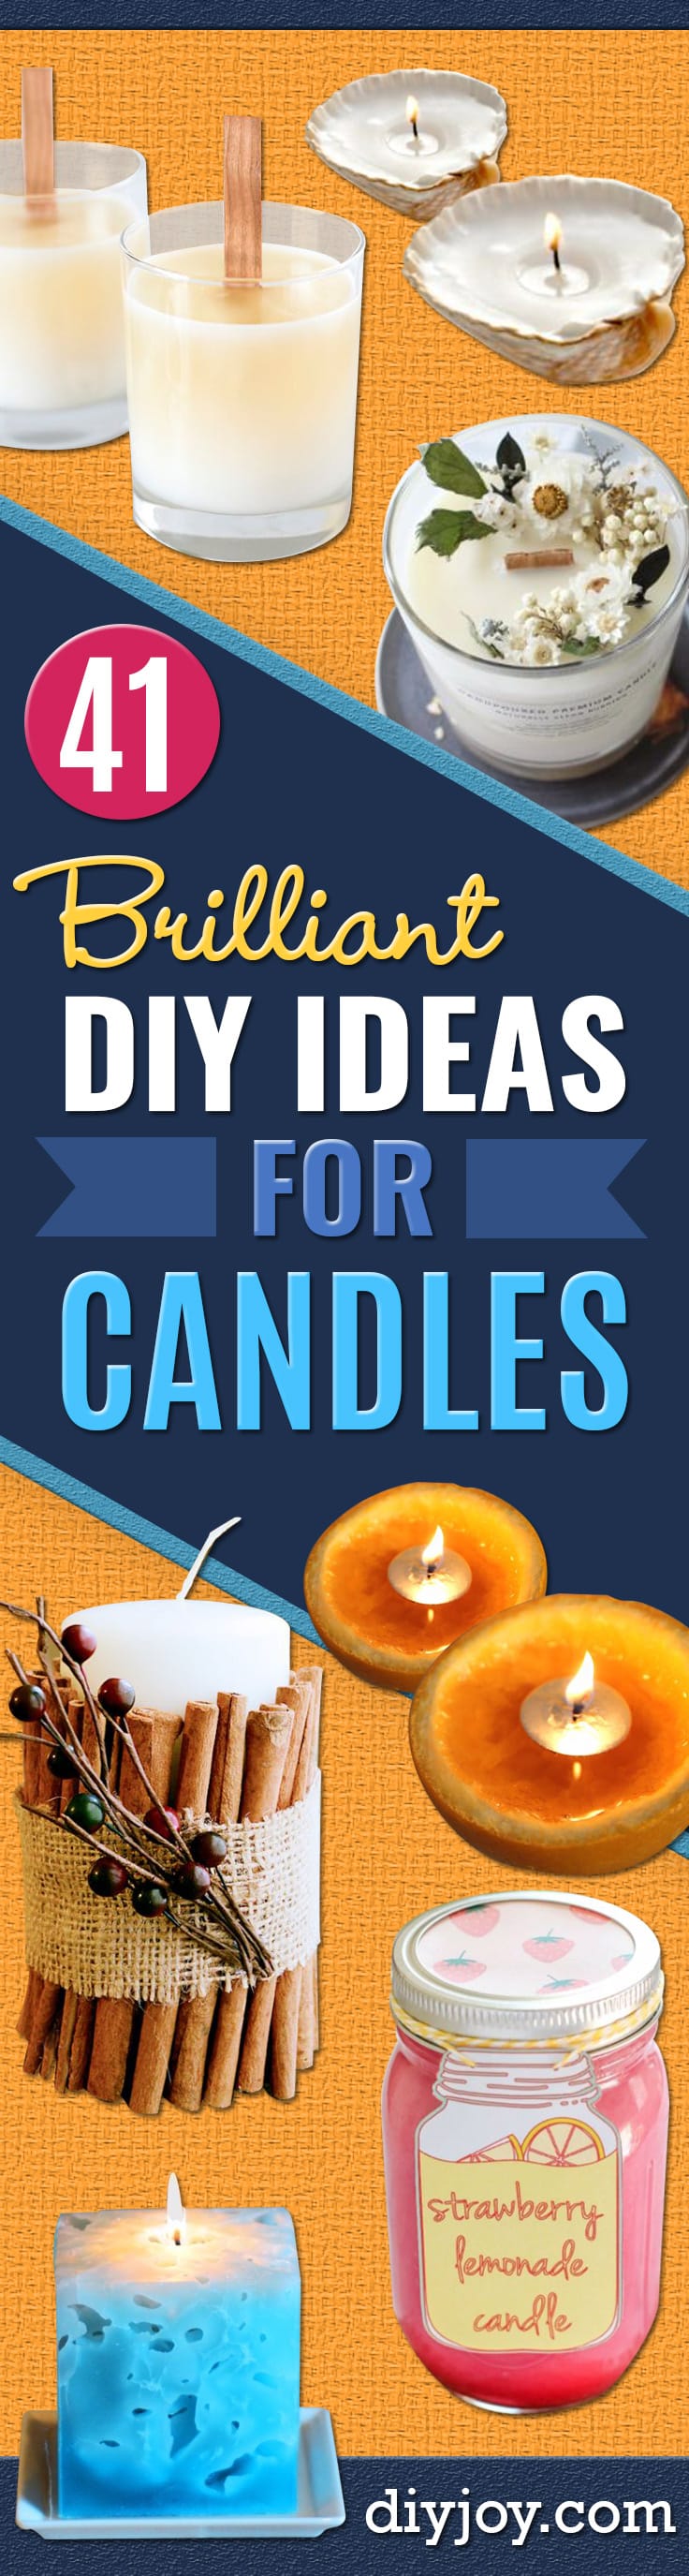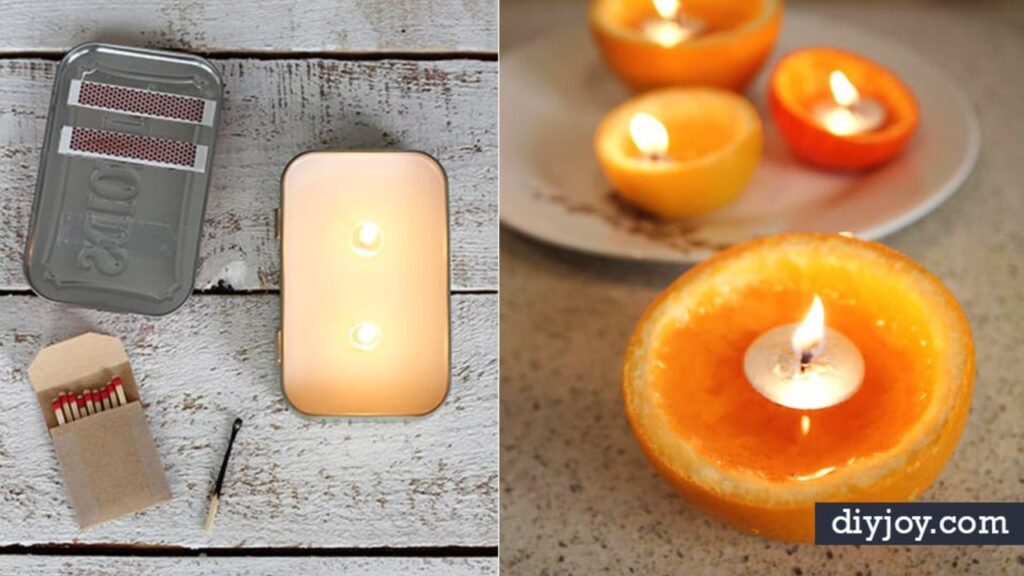
A candle you made yourself just glows a little warmer, and these 23 DIY candle ideas cover every skill level. Some are true from-scratch pours, with soy flakes, beeswax and a double boiler, like a chai latte candle with a whipped topping or a seashell pillar that shows off a summer of beachcombing. Others start with a plain store candle and take ten minutes, like wrapping one in printed napkin paper or painting tiny flowers on the side with melted tea light wax. You’ll find mason jar lanterns, ice candles full of nooks and crannies, citrus peel votives and a few DIY JOY favorites with step by step videos. Here’s the best tip for any of them: save every jar, teacup and candle stub you come across, because half of these projects start with something you already own. Browse even more on the candle making project hub.
1. Napkin Paper Candles
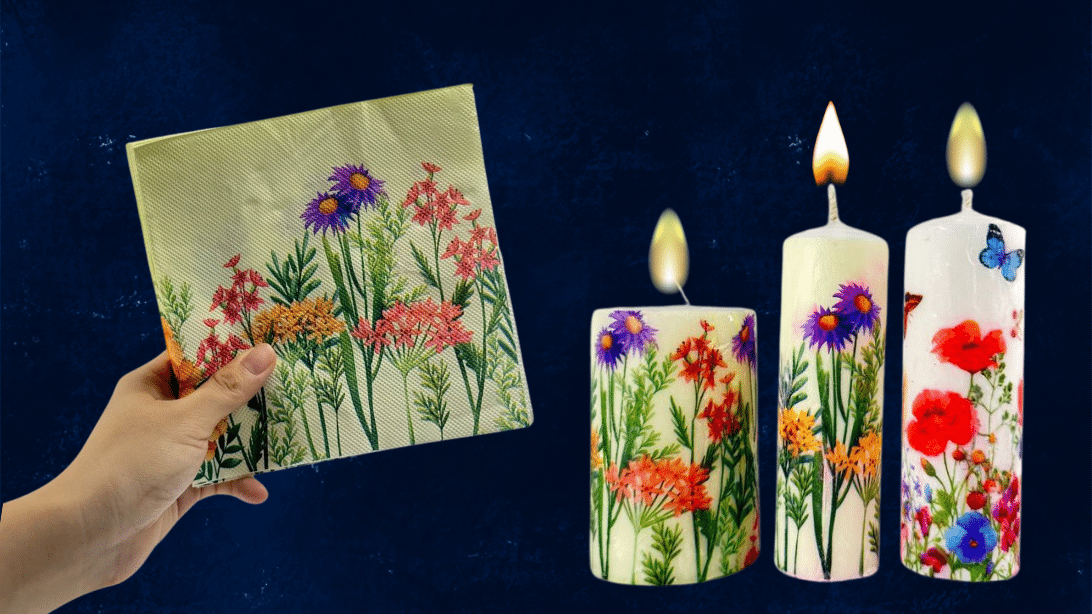
Napkin paper candles turn a plain pillar into a decorator piece without a drop of paint or glue. Separate a printed paper napkin so only the thin top layer is left, trim it to fit and wrap it around a clean candle, taping it lightly in place. Cover the napkin with wax paper, then run a warm iron over it. The heat melts the candle’s surface just enough to fuse the print into the wax. Peel away the wax paper and the design looks painted on. Floral napkins make a sweet hostess gift.
Get the full tutorial at DIY JOY.
2. DIY Candle Decor
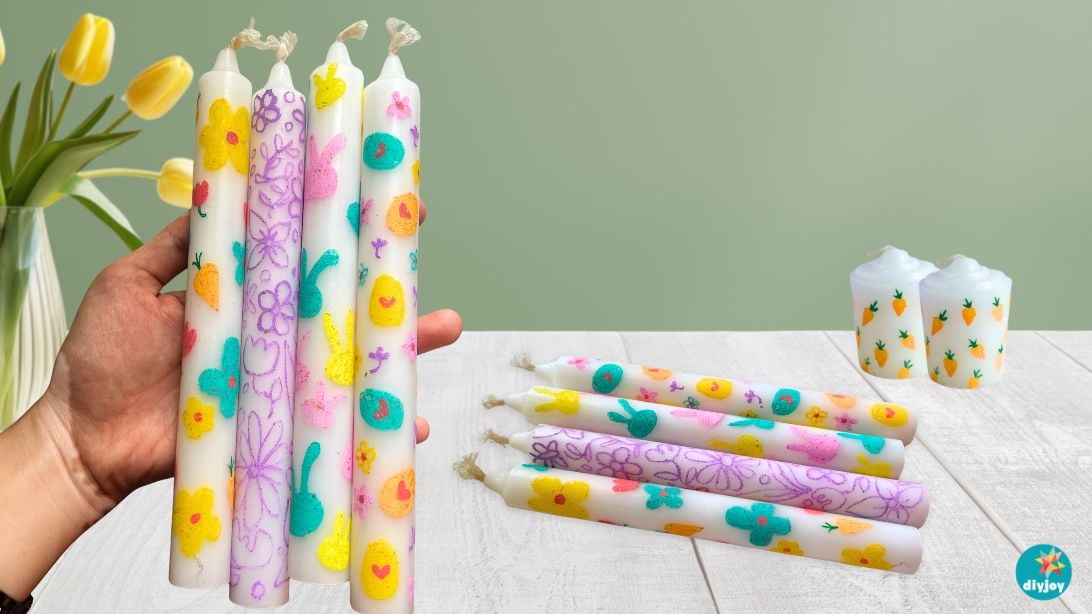
Spring candle decor starts with plain white taper or pillar candles and a few Posca paint markers. Pick a design first, like flowers, eggs, bunnies or carrots, then draw the outlines one small area at a time so nothing smudges. Let each section dry before moving to the next spot or the next color. Fill in the shapes, then add the little details last. Pastel colors read softer than bold ones. These candles are for display only, so do not light them. Tie on a bow and set them in holders for a quick centerpiece.
Get the full tutorial at DIY JOY.
3. Fairy Jar Lanterns
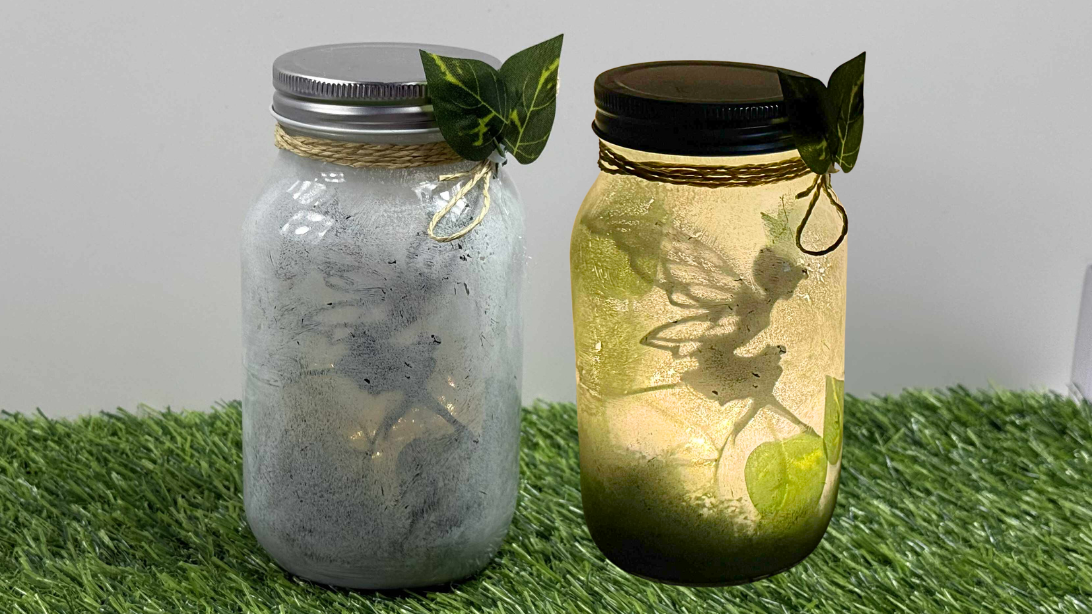
Fairy jar lanterns give an old pickle or mason jar a soft, storybook glow. Print a fairy silhouette, or trees and mushrooms, cut out the shape and paint the inside of the jar with white acrylic or primer so light still passes through. Tuck faux moss or crumpled tissue in the bottom, hot glue the silhouette to the inside of the glass and add a few leaves so they cast shadows too. Drop in a battery tea light or fairy lights, then tie twine around the neck with a bow and a couple of leaves.
Get the full tutorial at DIY JOY.
4. Citronella Candles
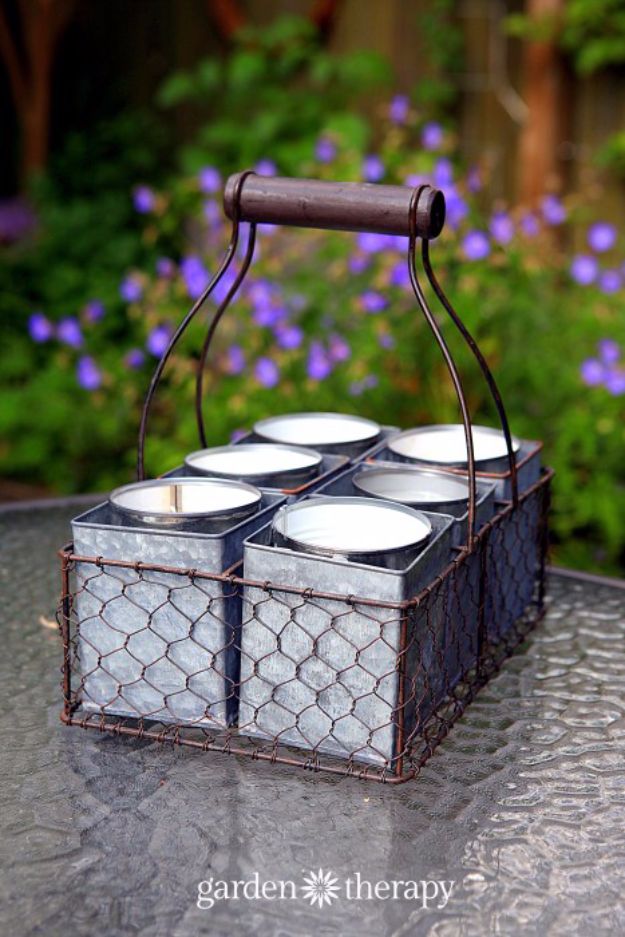
Citronella candles in recycled cans keep patio evenings a little less buggy. Hot glue a tabbed wick to the center of each clean can, or use two or three wicks in a wide one. Melt soy wax, paraffin or old candle stubs in a double boiler, then stir in about 1 ounce of citronella oil per pound of wax after it melts so the scent doesn’t burn off. Pour once it cools slightly, holding wicks straight with a clothespin. Cure for 48 hours, trim the wick to 1/4 inch and let the first burn pool wide.
Get the full tutorial at Garden Therapy.
5. Caramel Latte Tea Cup Candle
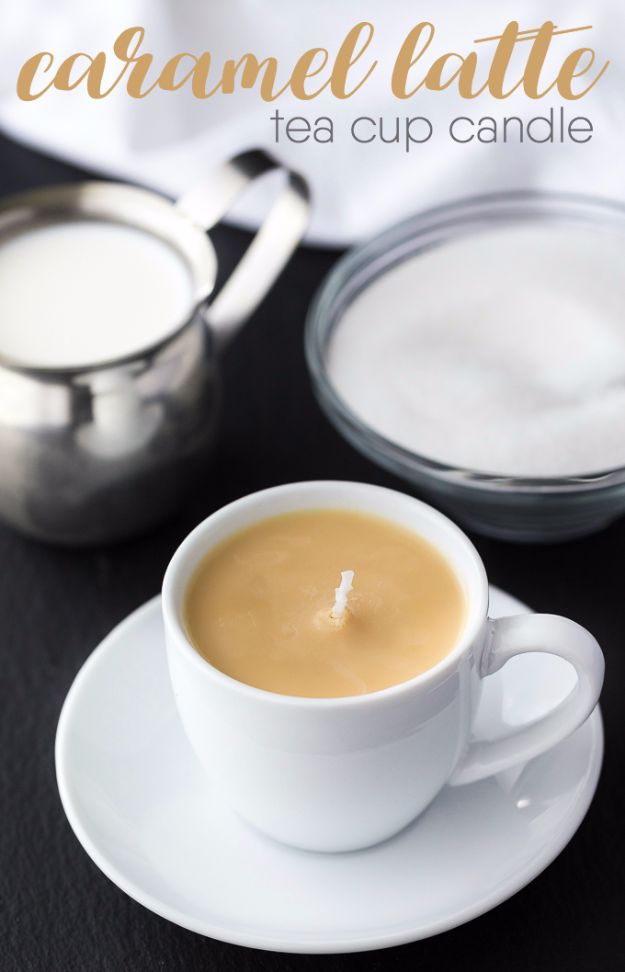
A caramel latte tea cup candle is a sweet gift for any coffee lover. Any tea cup works as long as the wick fits it. Fix the wick to the center of the cup with a dab of wax adhesive. To measure, fill the cup to the brim with soy wax flakes twice, because melted flakes shrink to about half. Melt them in a bowl over boiling water to 160F, then stir in a few drops of caramel liquid dye and 10 to 15 drops of caramel latte fragrance oil. Pour and let it set for about an hour.
Get the full tutorial at Simply Stacie.
6. DIY Flower Tea Light

A DIY flower tea light looks like something out of an animated movie and takes very little time. Start with a large, high quality faux rose so it looks real. Take the flower apart and glue the petals back in their original layers around a battery tea light, so the glow shines through every petal. Change the light color, make several in different shades or add a stem for a handmade gift. Under a glass cloche with fairy lights, it becomes a lovely piece for a wedding table, a party or a reading corner.
Get the full tutorial at DIY JOY.
7. DIY Handmade Shell Candles
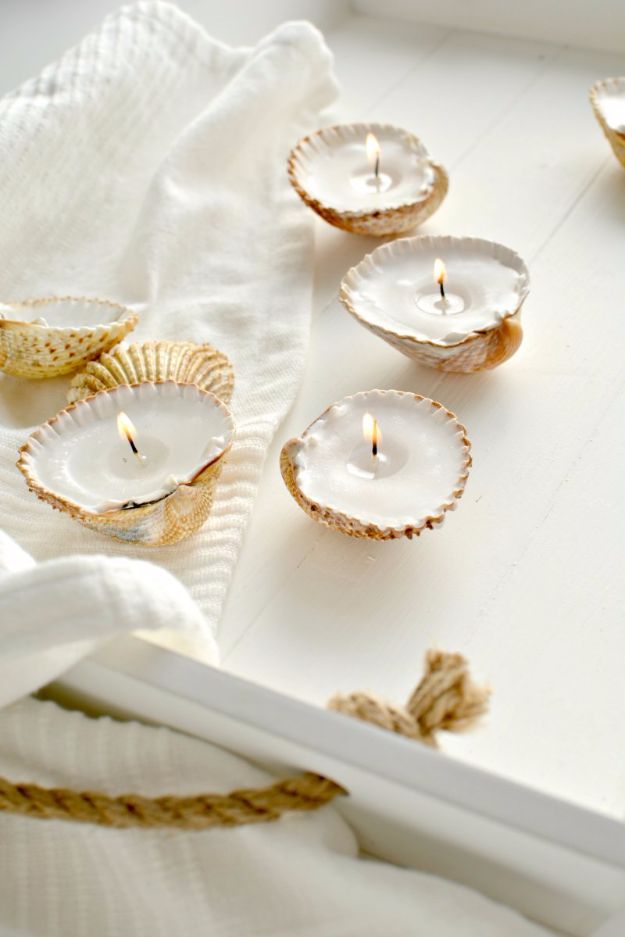
Handmade shell candles are a lovely way to use the shells collected on beach trips. Choose deep shells that sit upright, since a deeper shell means a longer burn. Glue a pre-waxed wick into the center of each one. Cover the table with newspaper, melt plain or colored wax pellets gently over low heat and pour it in. Prop any wobbly shells with poster putty or balance them over an egg cup until the wax cools fully. When one burns down, pull out the old wick and refill it for another round.
Get the full tutorial at Burkatron.
8. Vintage Teacup Candles
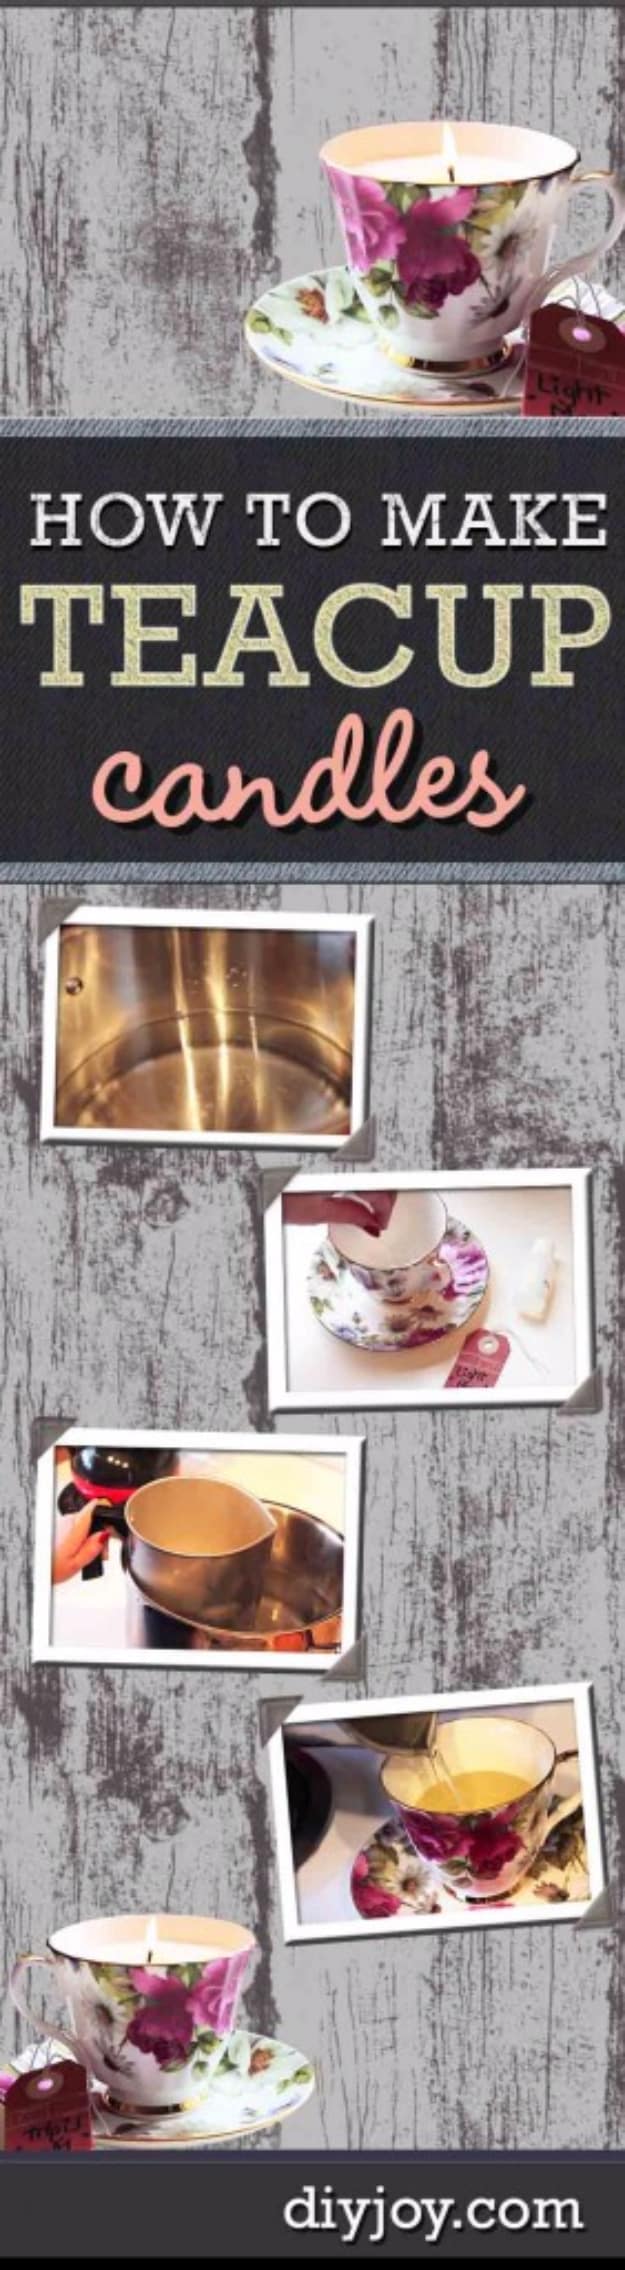
Vintage teacup candles turn mismatched thrift store china into functional home decor in under an hour. Clean each cup well, set a wick in the center and pour in melted candle wax, then let it harden before trimming the wick. The cups do the decorating for you, so floral rims, gold edges and pastel glazes all look charming together. A set of teacup candles makes a fantastic DIY gift that suits almost any room, and it is a smart way to rescue a pretty cup whose saucer went missing years ago.
Get the full tutorial at DIY JOY.
9. Mason Jar Fairy Lights
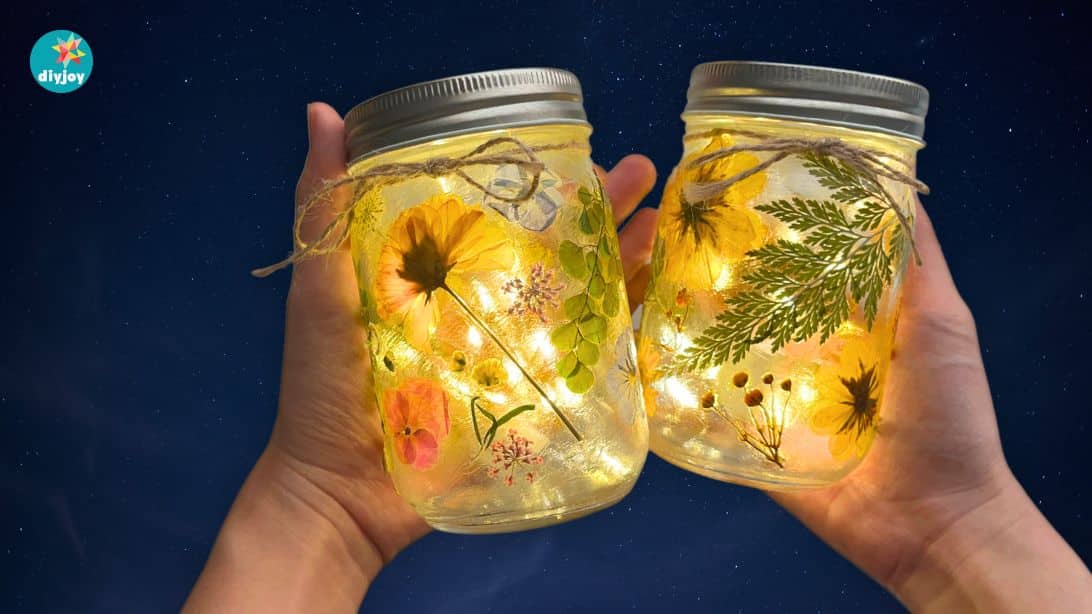
Mason jar fairy lights with pressed flowers turn a plain jar into a glowing night light. Clean the jar well and let it dry completely. Play with your pressed flowers and leaves until you like the layout, then brush a thin layer of Mod Podge onto one small section of the glass, press a flower in place and brush more glue over the top. Working in sections keeps the glue from drying too fast, and bulky stems can be trimmed. Once it dries, add a second coat to seal everything. Tuck a string of fairy lights inside, close the lid and tie a twine bow around the neck. Thin, delicate flowers let the most light shine through.
Get the full tutorial at DIY JOY.
10. Painted Color Candles
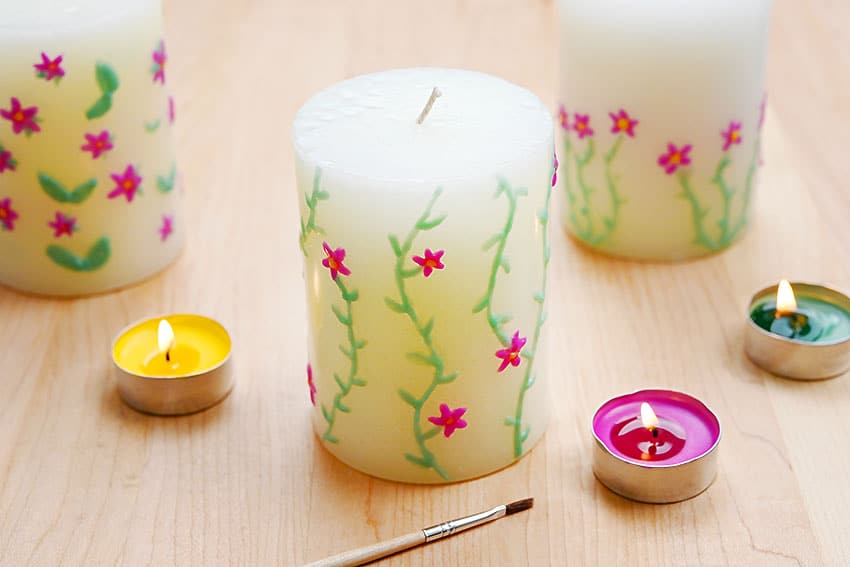
Painted color candles use melted tea lights as the paint. Light a few colored tea lights, like yellow, green and pink, and let a pool of wax form in each. Dip a fine tipped brush into the colored wax and paint stems up the side of a plain pillar candle, then add one or two more layers for deeper color. Wipe the brush on a paper towel every few dips so the buildup doesn’t smear the design. Add tiny leaves, then five small petals for each flower. Mistakes scrape right off with a toothpick.
Get the full tutorial at One Little Project.
11. Layered Jar Candle
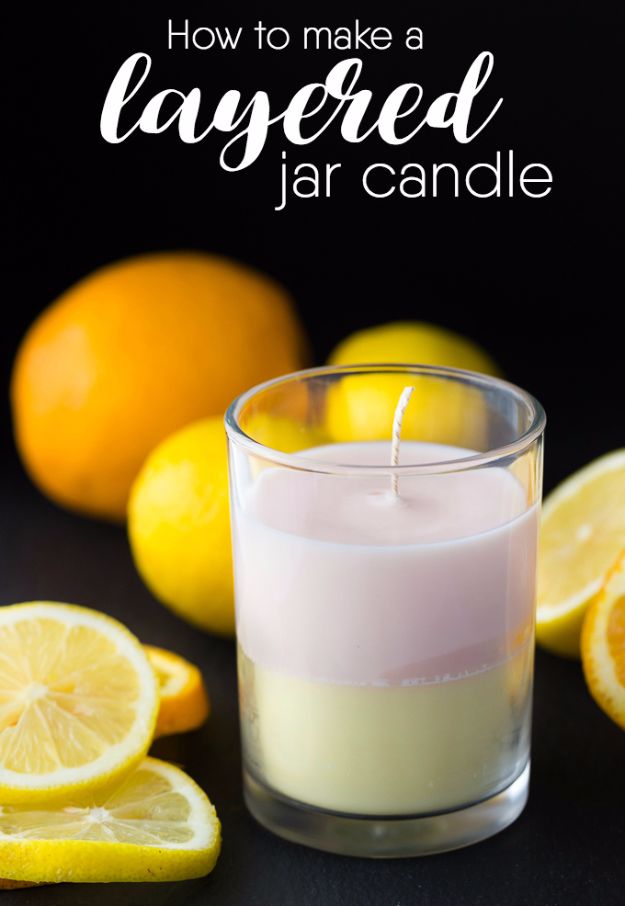
A layered jar candle looks fancy but only needs patience between pours. Start with a pre-wicked candle jar and hold the wick straight between two skewers banded together at each end. Melt about 9 ounces of soy wax flakes in a double boiler to 160F, then stir in 5 or 6 drops of yellow liquid dye and about 15 drops of lemon essential oil. Pour and let it harden completely, which takes a few hours. Repeat with coral dye and orange oil for the second layer, then remove the skewers and trim the wick.
Get the full tutorial at Simply Stacie.
12. DIY Sea Glass Candle
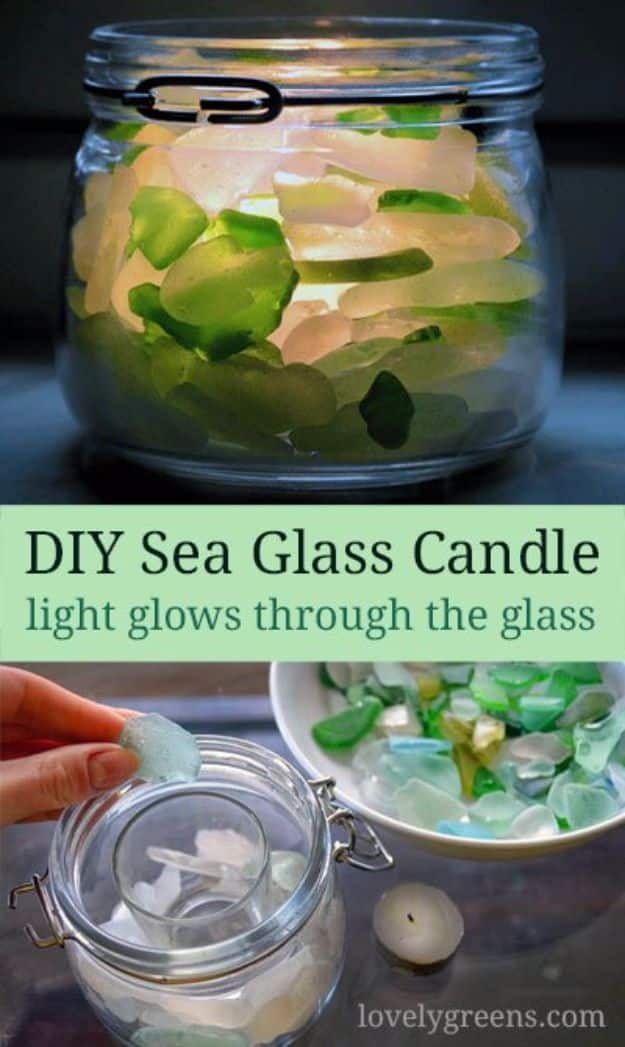
A DIY sea glass candle takes about ten minutes and no glue or tools. All you need are two clear glasses, one small enough to sit inside the other with at least a centimeter of space between them, plus sea glass, marbles, aquarium glass or colored craft glass. Set the small glass inside the larger one and fill the gap with glass pieces, favoring light and bright colors so the glow comes through. Drop a tea light in the center. Since nothing is glued, the pieces empty out easily to wash or rearrange.
Get the full tutorial at Lovely Greens.
13. Beeswax Succulent Mason Jar Candles
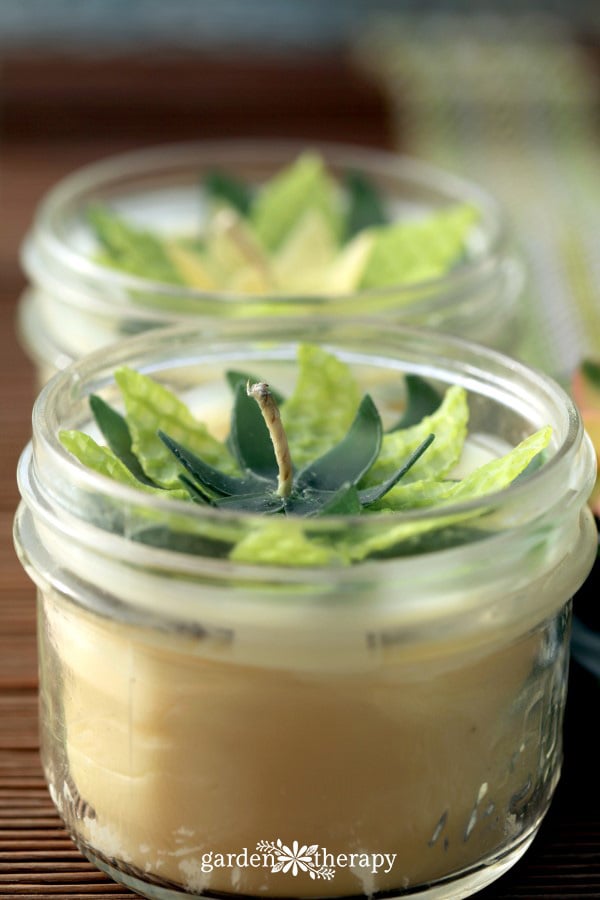
Beeswax succulent mason jar candles look impressive and are simpler than they seem. Pour soy and beeswax candles into wide mouth half pint jars, filling them only three quarters full so the topper fits under the lid. Cut a flower shape from a beeswax sheet with a cookie cutter, poke a hole in the center with an empty pen and slide it down over the wick. Cut a second color into single petals, stick them around the wick with tacky wax and bend each tip up. They even ship safely as gifts.
Get the full tutorial at Garden Therapy.
14. Lemon Lime Votive Candles
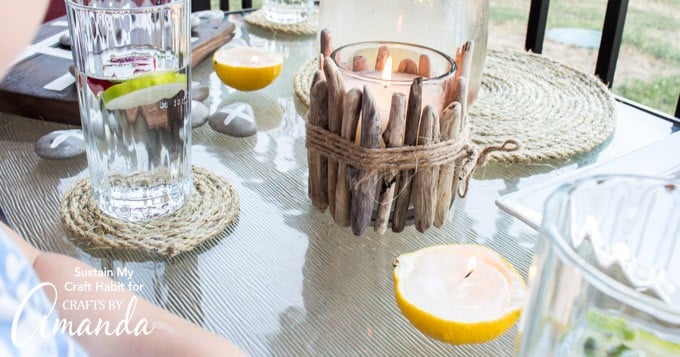
Lemon lime votive candles use the fruit itself as the holder, and they smell naturally fresh. Cut lemons and limes in half crosswise, slice a thin piece off the bottom so each half sits flat and scoop out the center to make a citrus bowl. Pull the wick from a large paraffin votive and set it in the middle. Melt the rest of the candle in a microwave safe bowl and pour it in, holding the wick upright for about 30 seconds. Store them in a bag in the fridge between uses so they stay fresh longer.
Get the full tutorial at Crafts by Amanda.
15. Chai Tea Latte Candle
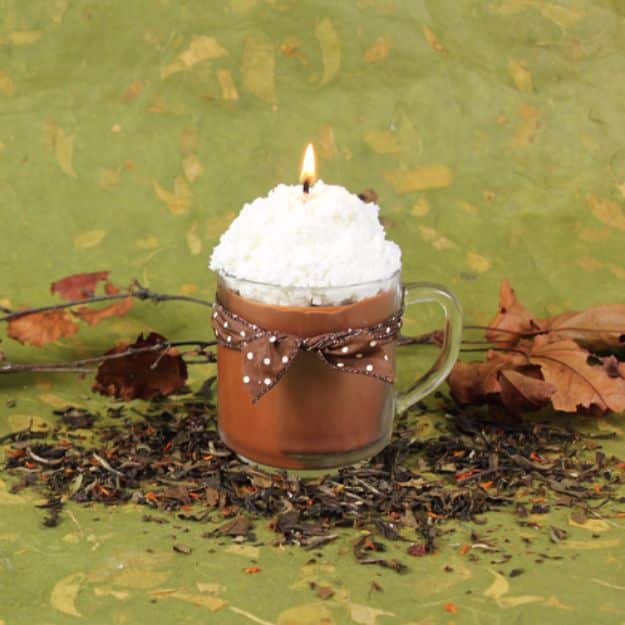
A chai tea latte candle comes with a whipped wax topping that looks just like foam. Melt 8 ounces of soy wax in 30 second bursts, color it with equal shavings of red, orange and black dye block and stir in 7 mL of chai fragrance oil. Set the wick in a dribble of wax at the bottom of a glass mug, then pour once the wax cools to 120 to 130F and let it harden overnight. Melt the rest of the wax with a little vanilla oil, whip it with a hand mixer until it forms soft peaks and spoon it on top.
Get the full tutorial at Soap Queen.
16. DIY Scentsy Candle
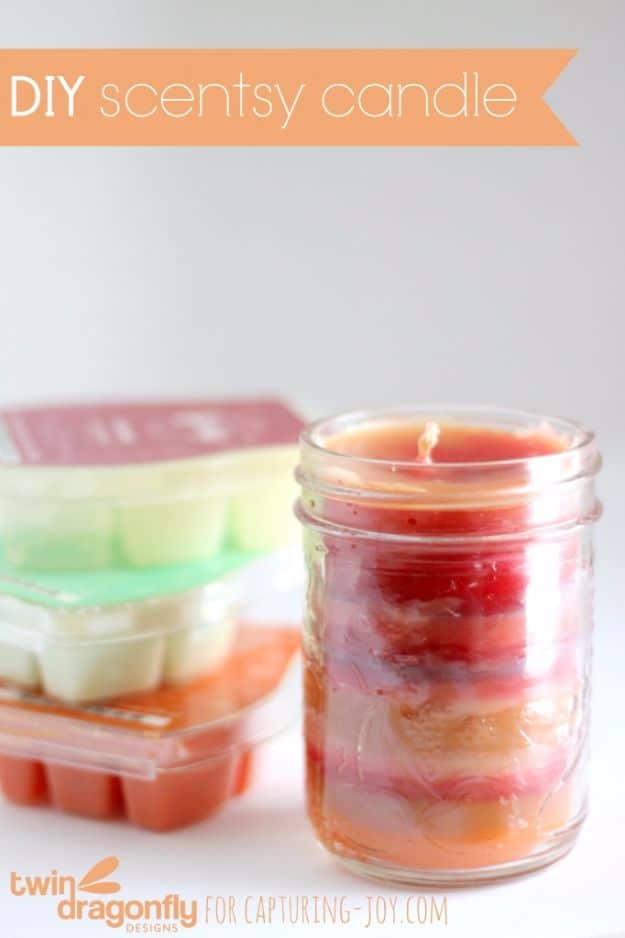
A DIY Scentsy candle rescues wax melts that have lost their scent. Cut a wick to match the height of a mason jar, attach a wick tab to one end and tape the other end to the middle of a dowel laid across the jar’s mouth. Each time a wax bar is done in the warmer, pour the melted wax into the jar. Before it cools, add a drop of fragrance oil. Over months the colors build up in pretty stripes. Always burn it in a well ventilated spot and never leave it unattended.
Get the full tutorial at Capturing Joy.
17. Designer Seashell Candles
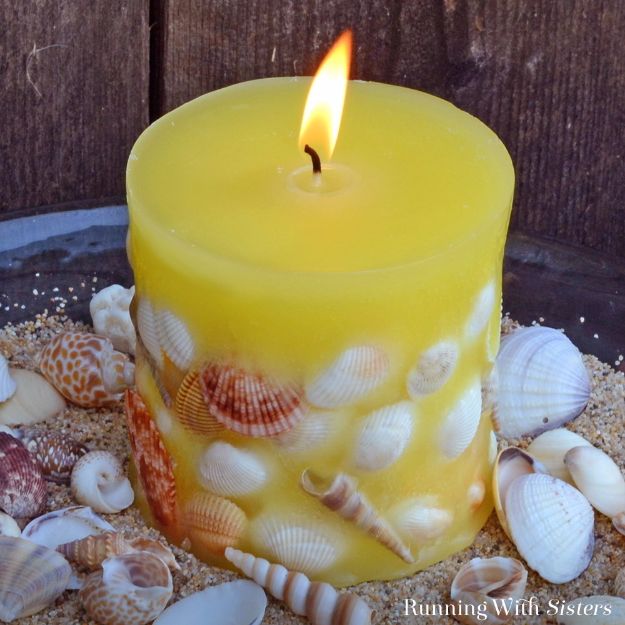
Designer seashell candles look like the ones in home decor catalogs, and the first half is just a pillar candle. Seal the wick through a 3 inch core mold, prop it on a pencil and pour wax melted to 210F with translucent crystals, dye and scent. Poke holes near the wick as it cools and top off the well. Once the core is set, unmold it, stand it inside a 4 inch outer mold and slide shells into the gap. Pour more wax over everything, let it cool overnight, then melt the sides with a heat gun to reveal the shells.
Get the full tutorial at Running With Sisters.
18. Lavender Candles
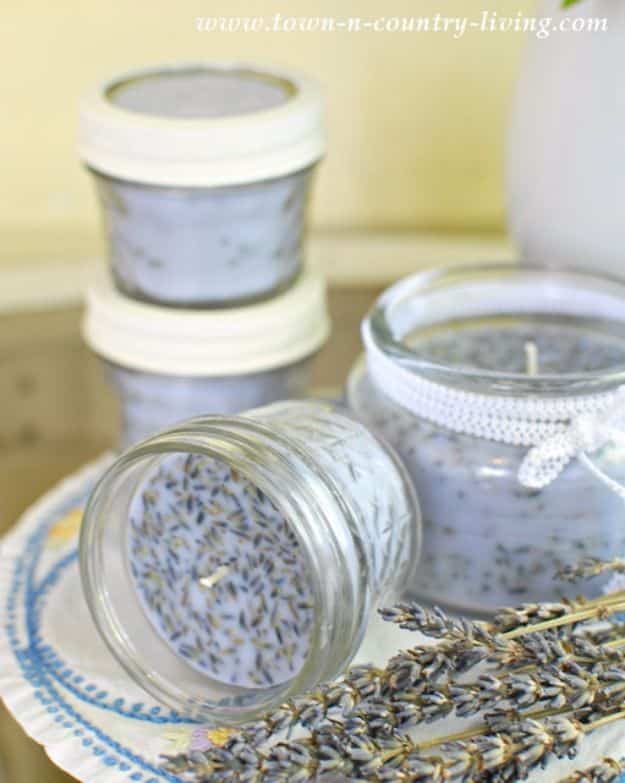
Lavender candles bring that calming scent into a bedroom or bath. Lay parchment under your jars, then hot glue each wick to the center of a jar bottom, leaving at least half an inch above the planned wax line. Melt 2 to 3 pounds of wax in a double boiler to 180F, let it cool to 125F and stir in half an ounce of lavender essential oil. Add tiny amounts of blue and red dye for a soft purple. Pour, cool overnight and trim the wicks to 1/4 inch. Skip loose lavender buds, which can catch fire as it burns down.
Get the full tutorial at Town & Country Living.
19. Ice Candle
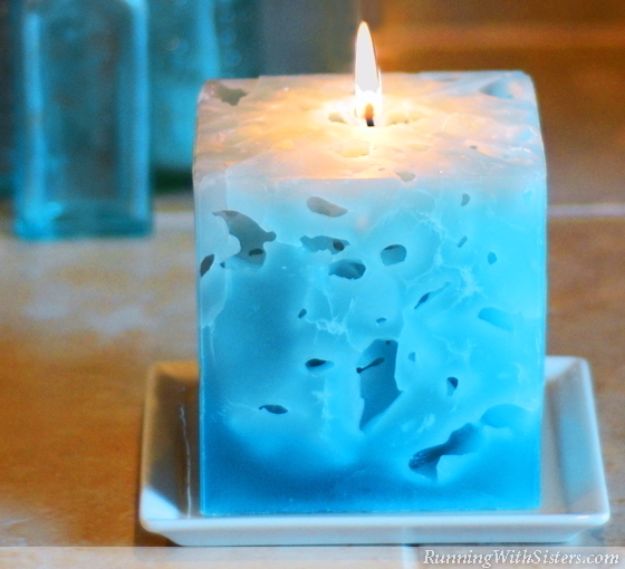
An ice candle is part science project and part decor, because hot wax goes right over ice cubes. Cut a 32 ounce milk carton to 5 inches tall, poke a hole in the bottom with an awl and feed through a large flat braid wick, sealing it with mold sealer. Tie the top to a pencil. Melt 8 ounces of wax to 200 to 210F and shave in some dye. Fill the carton with ice, pour the wax over it and keep the wick centered. After an hour or two, peel the carton over a sink, pour out the water and let it dry before burning.
Get the full tutorial at Running With Sisters.
20. Geometric Candles
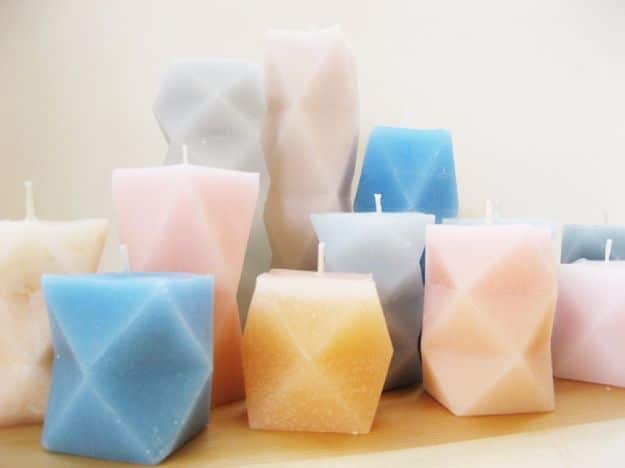
Geometric candles are poured into molds you fold yourself from paper or card stock using a free printable template. Score the fold lines with a bone folder or the dull side of a craft blade, cut out the pieces and glue the tabs one at a time, then dab glue over any pinholes. Card stock holds up better than paper. Secure a tabbed wick in the bottom with melted wax. Pour colored, scented wax to the line, let it cool, top off the dip in the center and chill before peeling away the paper.
Get the full tutorial at How Did You Make This.
21. Yarn Wrapped Candles
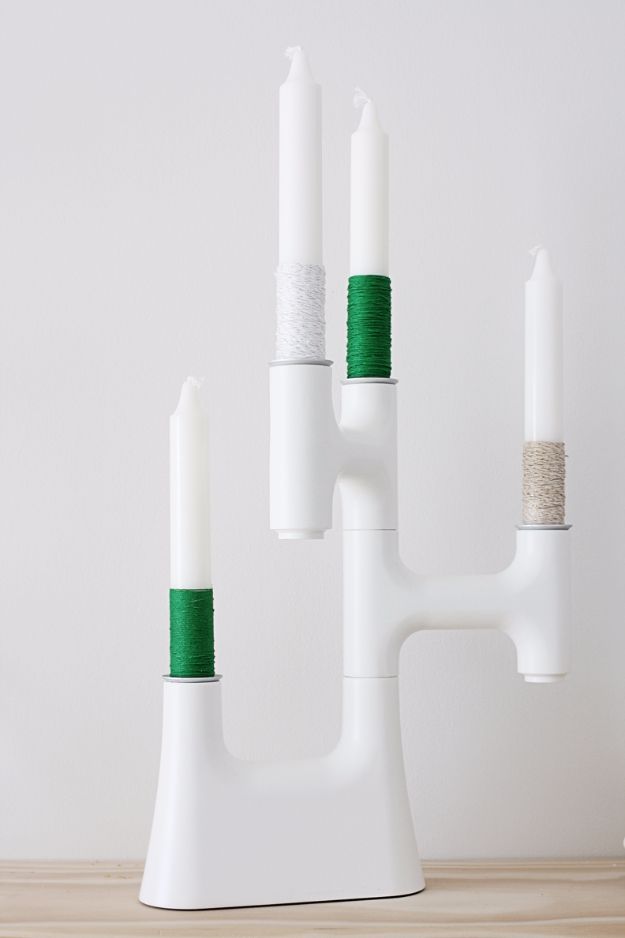
Yarn wrapped candles add a soft, cozy touch to plain candlesticks. Thrift store yarn works perfectly and costs very little. Gather your candlesticks and a few colors of yarn, like one dark shade and two light ones or a metallic thread for sparkle. Start at the bottom of each candle and wrap the yarn tightly around it, keeping the rows close together. Hot glue the ends so they don’t unravel. Stop well below the wick so the yarn stays away from the flame. It’s a simple holiday craft kids can help with.
Get the full tutorial at Hello Lidy.
22. DIY Lemon Beeswax Candle
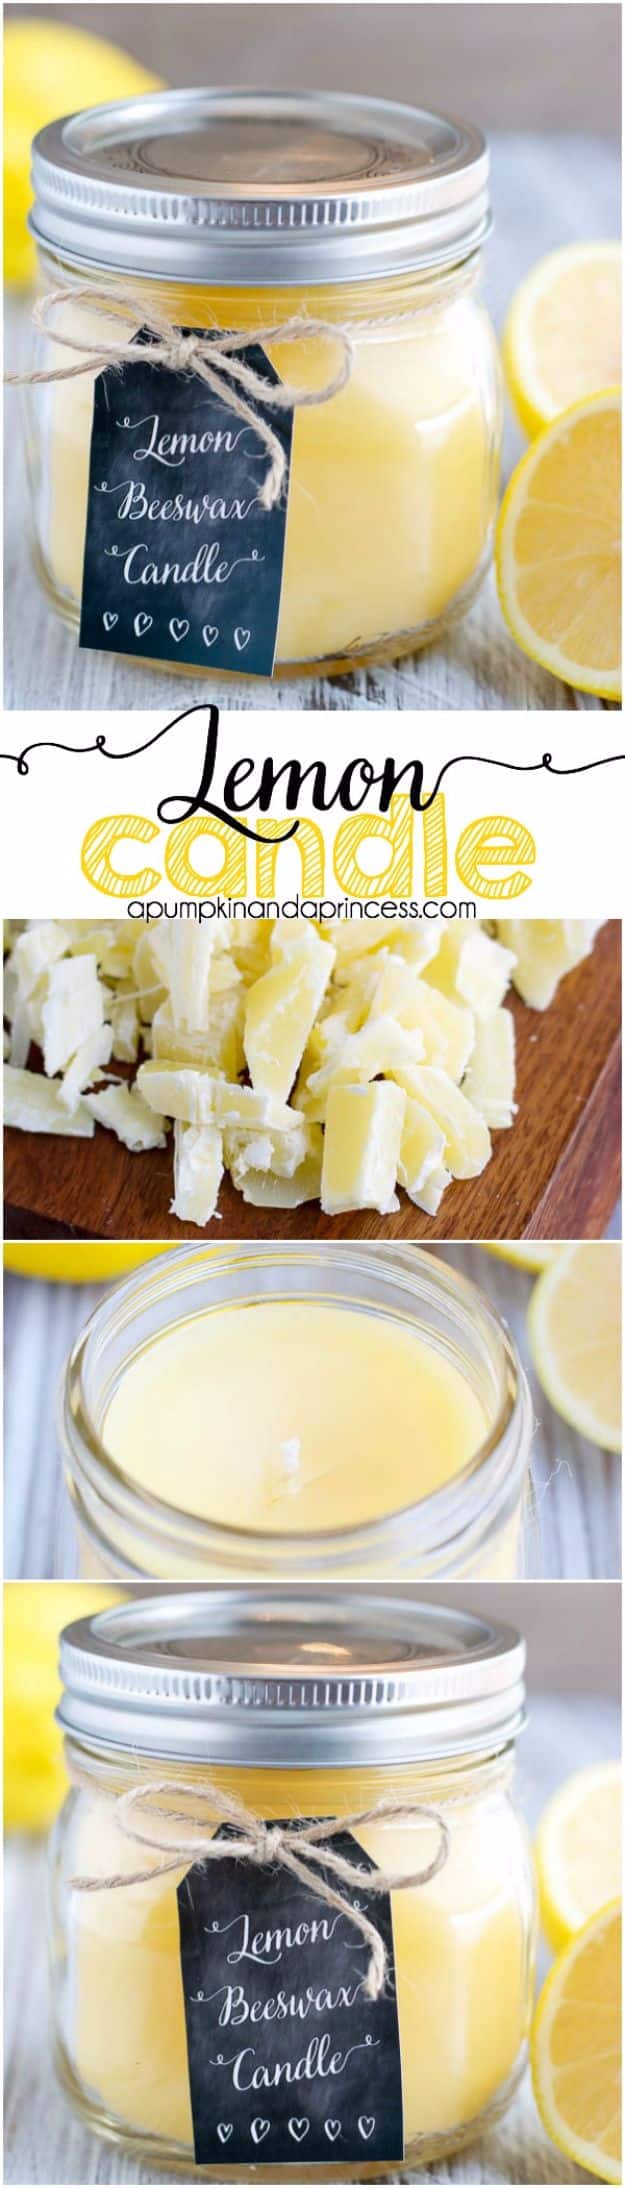
A DIY lemon beeswax candle makes a lovely handmade gift. Cut beeswax into chunks and melt it in a double boiler over low to medium heat, since beeswax scorches if it gets too hot. Pour a little melted wax into the bottom of a pillar mold or mason jar and press the wick into the center, or use a wick with a metal clip and adhesive. Stir about 20 drops of lemon essential oil into the rest of the wax, pour and hold the wick straight with a chopstick. Two pounds of beeswax filled several jars.
Get the full tutorial at A Pumpkin And A Princess.
23. Beach Sand Candle
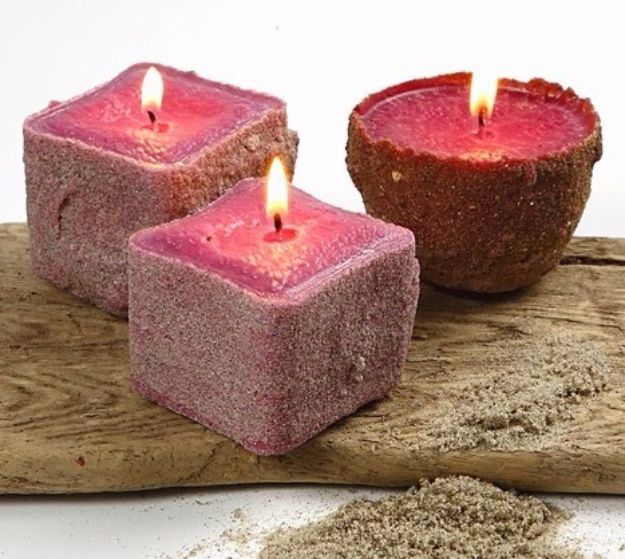
A beach sand candle is poured right into a mold you press into damp sand. Push a shape, like a cube or bowl, into moist sand and lift it out. Knot one end of a wick and push it into the sand in the middle of the hollow, holding it upright between two sticks. Melt candle wax in a melting pot and add dye beads a few at a time until the shade looks right. Pour the wax carefully into the mold and let it harden. Lift the candle out, brush off loose sand and trim the wick. The sandy crust stays.
Get the full tutorial at Craft & Creativity.