Ever looked at a plain candle and thought, This could use a glow-up? Well, I was in that situation just a few days ago. I initially thought of this because I was then looking for a great handmade gift idea that I could give to a friend, and that’s when I stumbled upon DIY candles.
Making a candle from scratch sure is a lot of work in itself and is a real trial-and-error situation. It’s a project that I’m willing to dive into, but at the moment, I need something quick and easy to make, but most of all, cost-effective. That’s when I got introduced to the idea of napkin decoupage on candles.
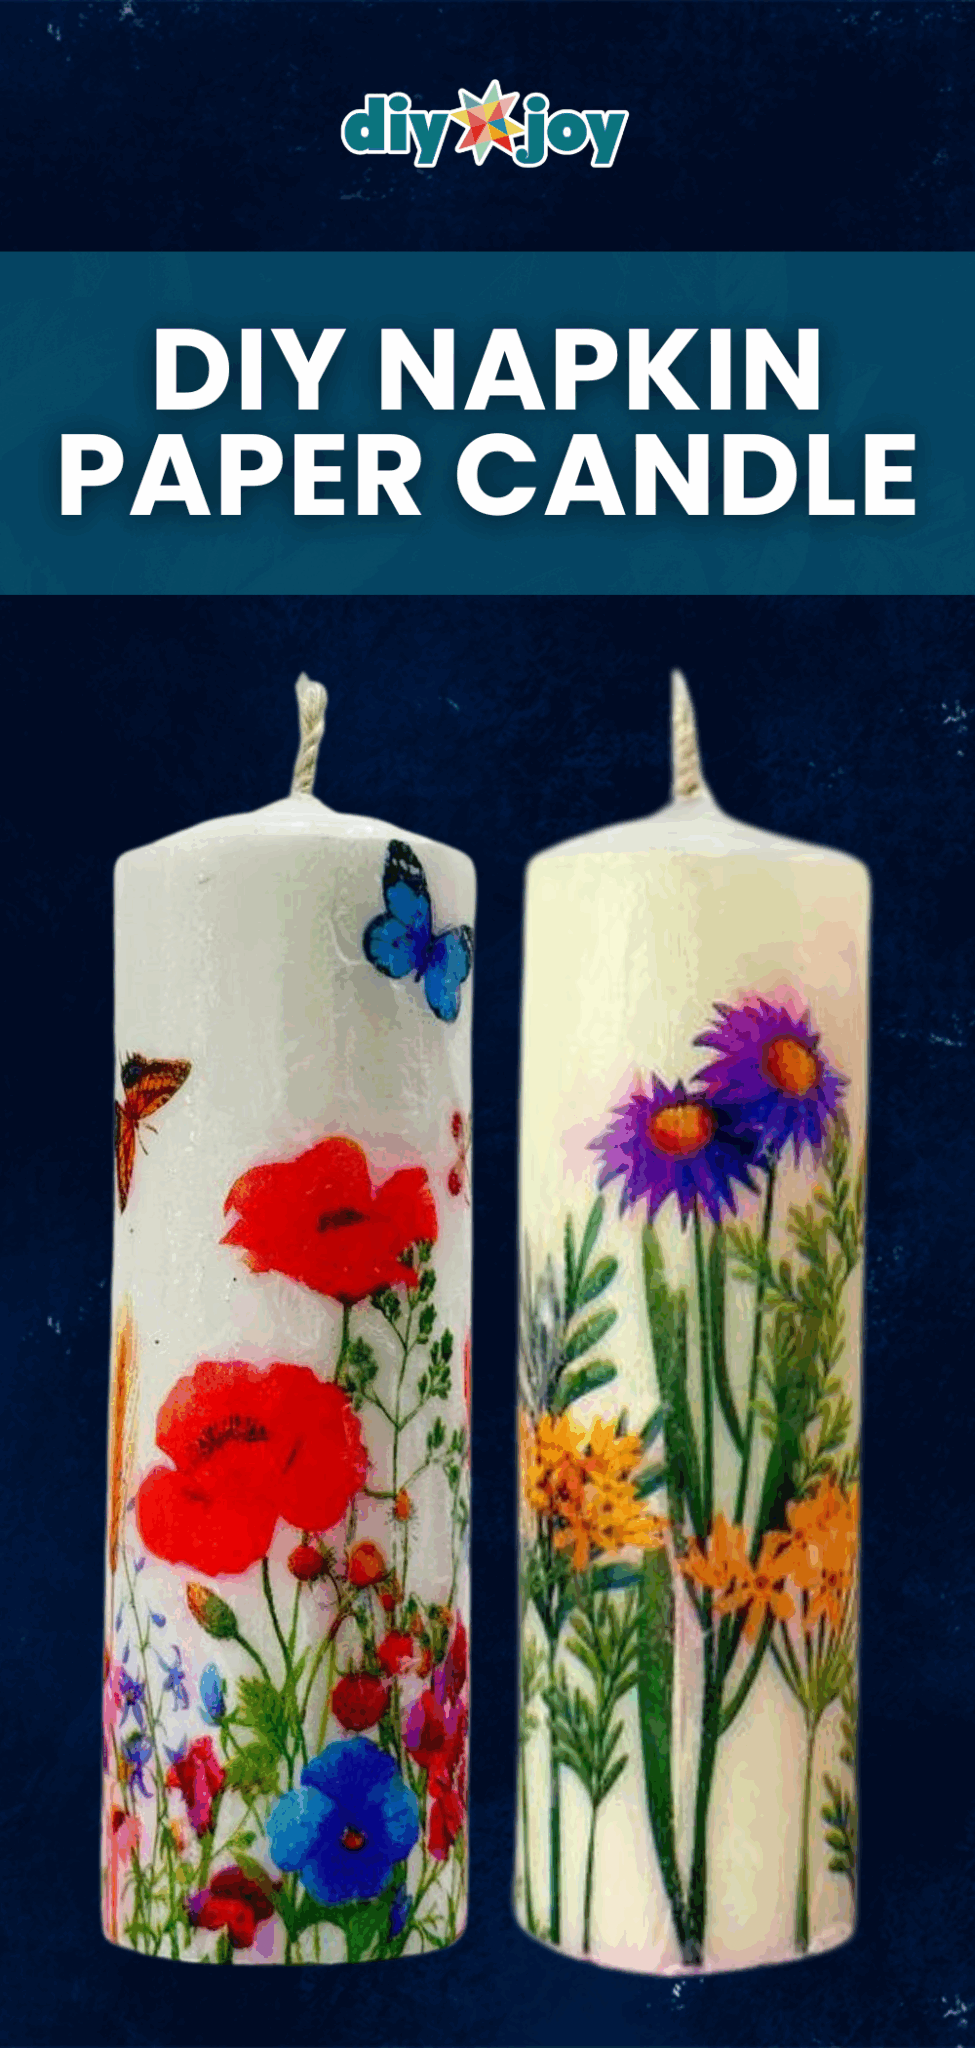
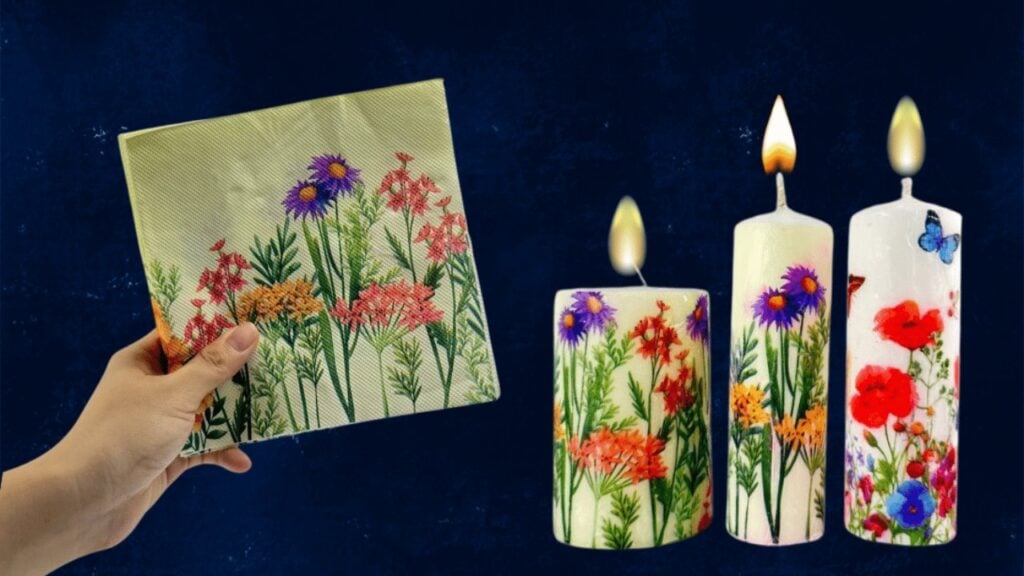
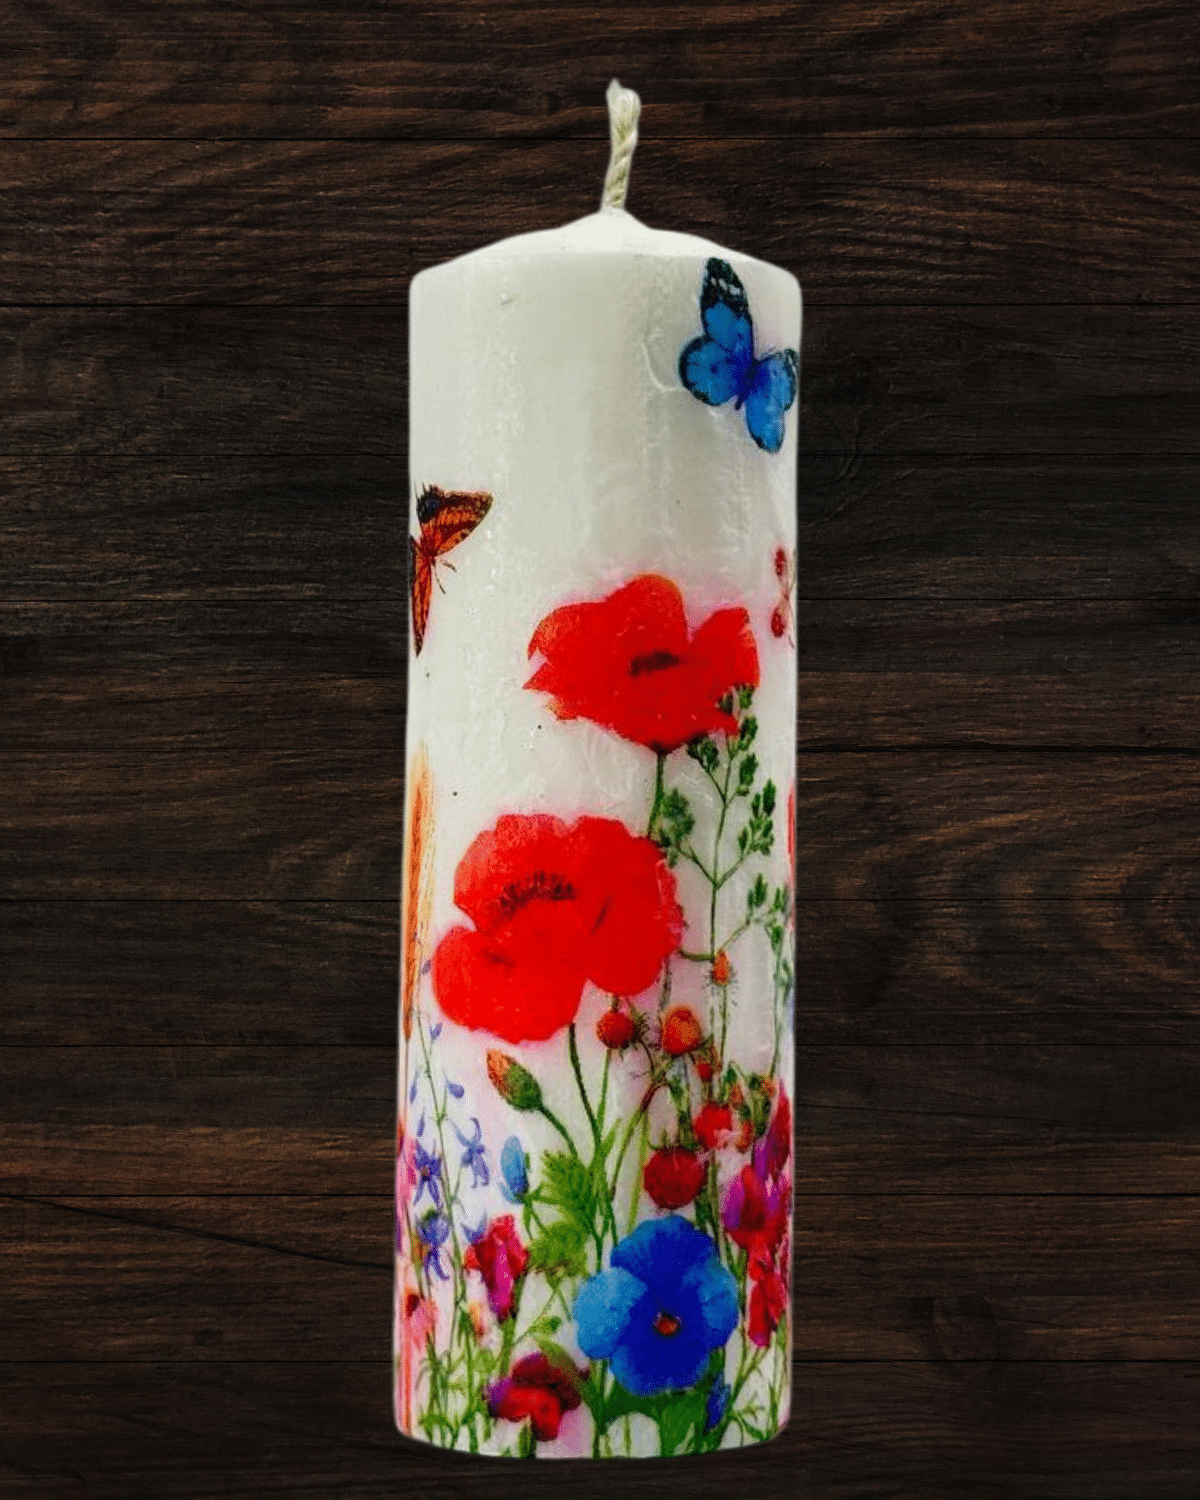
Whether you’re crafting gifts, decorating for the holidays, or just looking for a way to jazz up your home, this simple DIY trick adds a beautiful accent without the mess of paint or glue. All you need is a candle, a decorative napkin, some wax paper, and your iron. Learn how to wrap a candle with napkin paper by following the step-by-step guide below.
▶ Watch this tutorial on TikTok
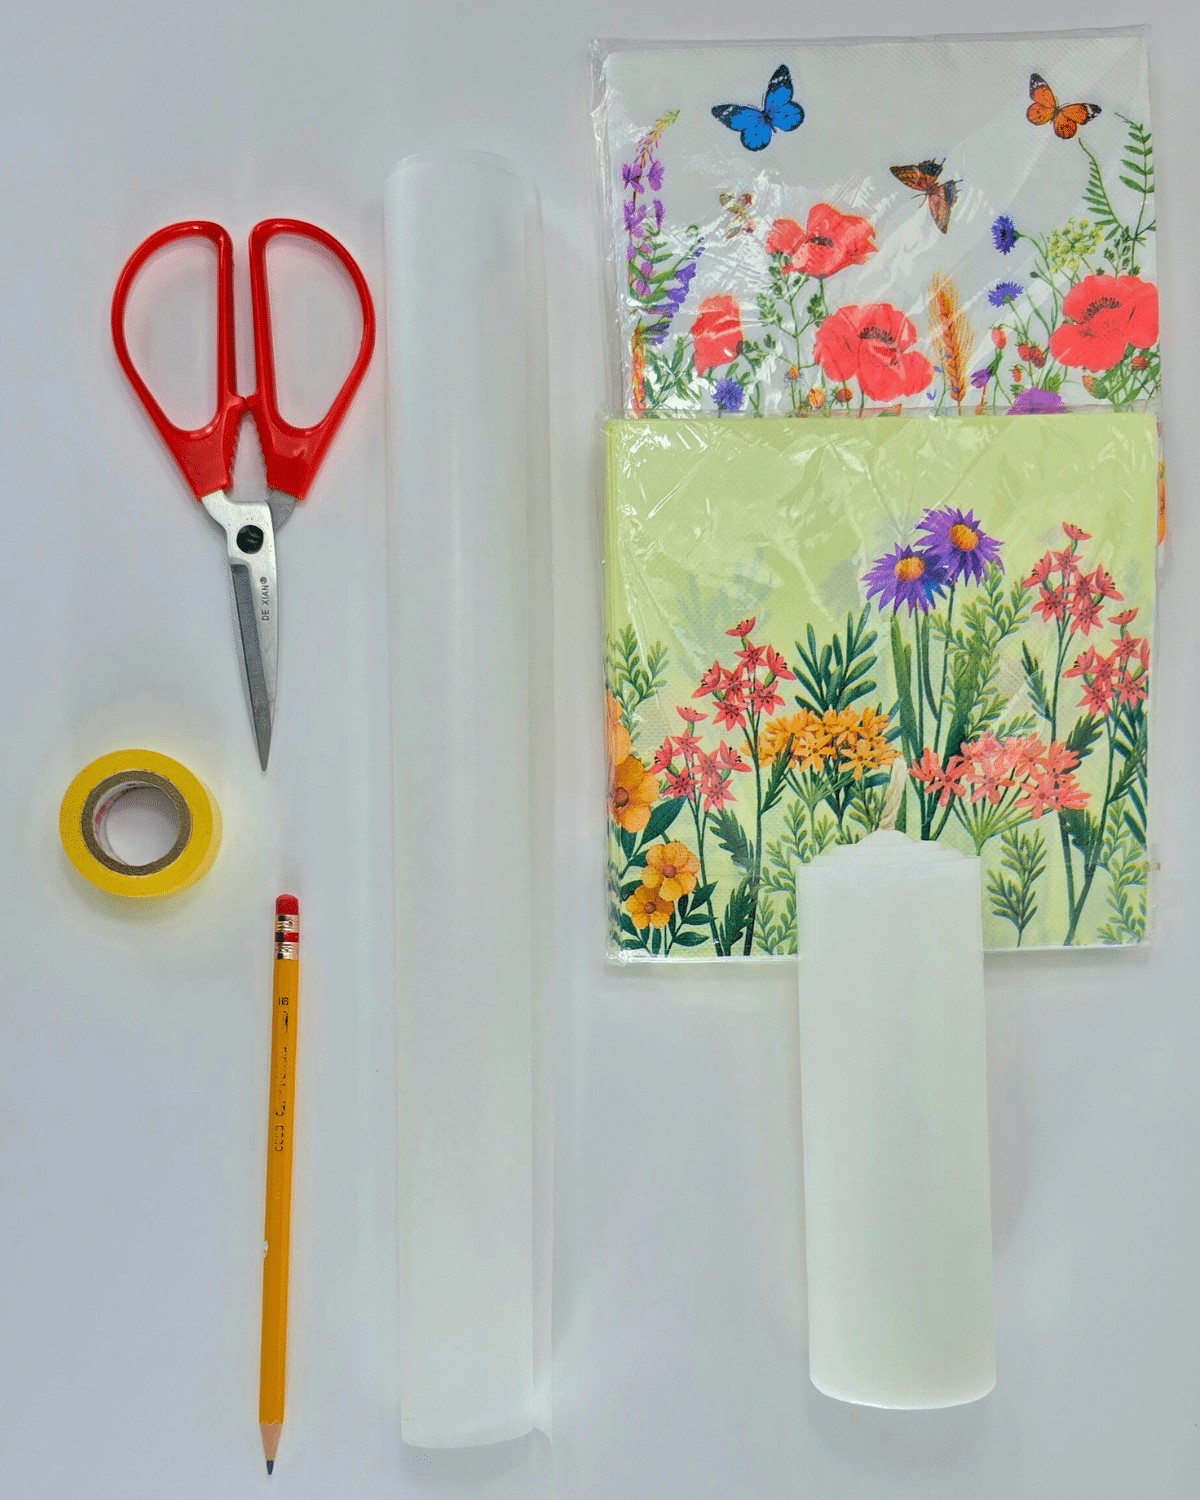
What You’ll Need for the Napkin Paper Candles
- Napkin Paper
- Wax paper
- Candle
- Scissors
- Pencil
- Iron
- Tape
How to Wrap Candles with Napkin Paper
A step-by-step guide to wrapping a candle with napkin paper with photos
Step 1: Prepare the materials needed
Get your candle and make sure it’s all clean, then take a piece of printed napkin paper, and separate the layers, discarding the backing paper.
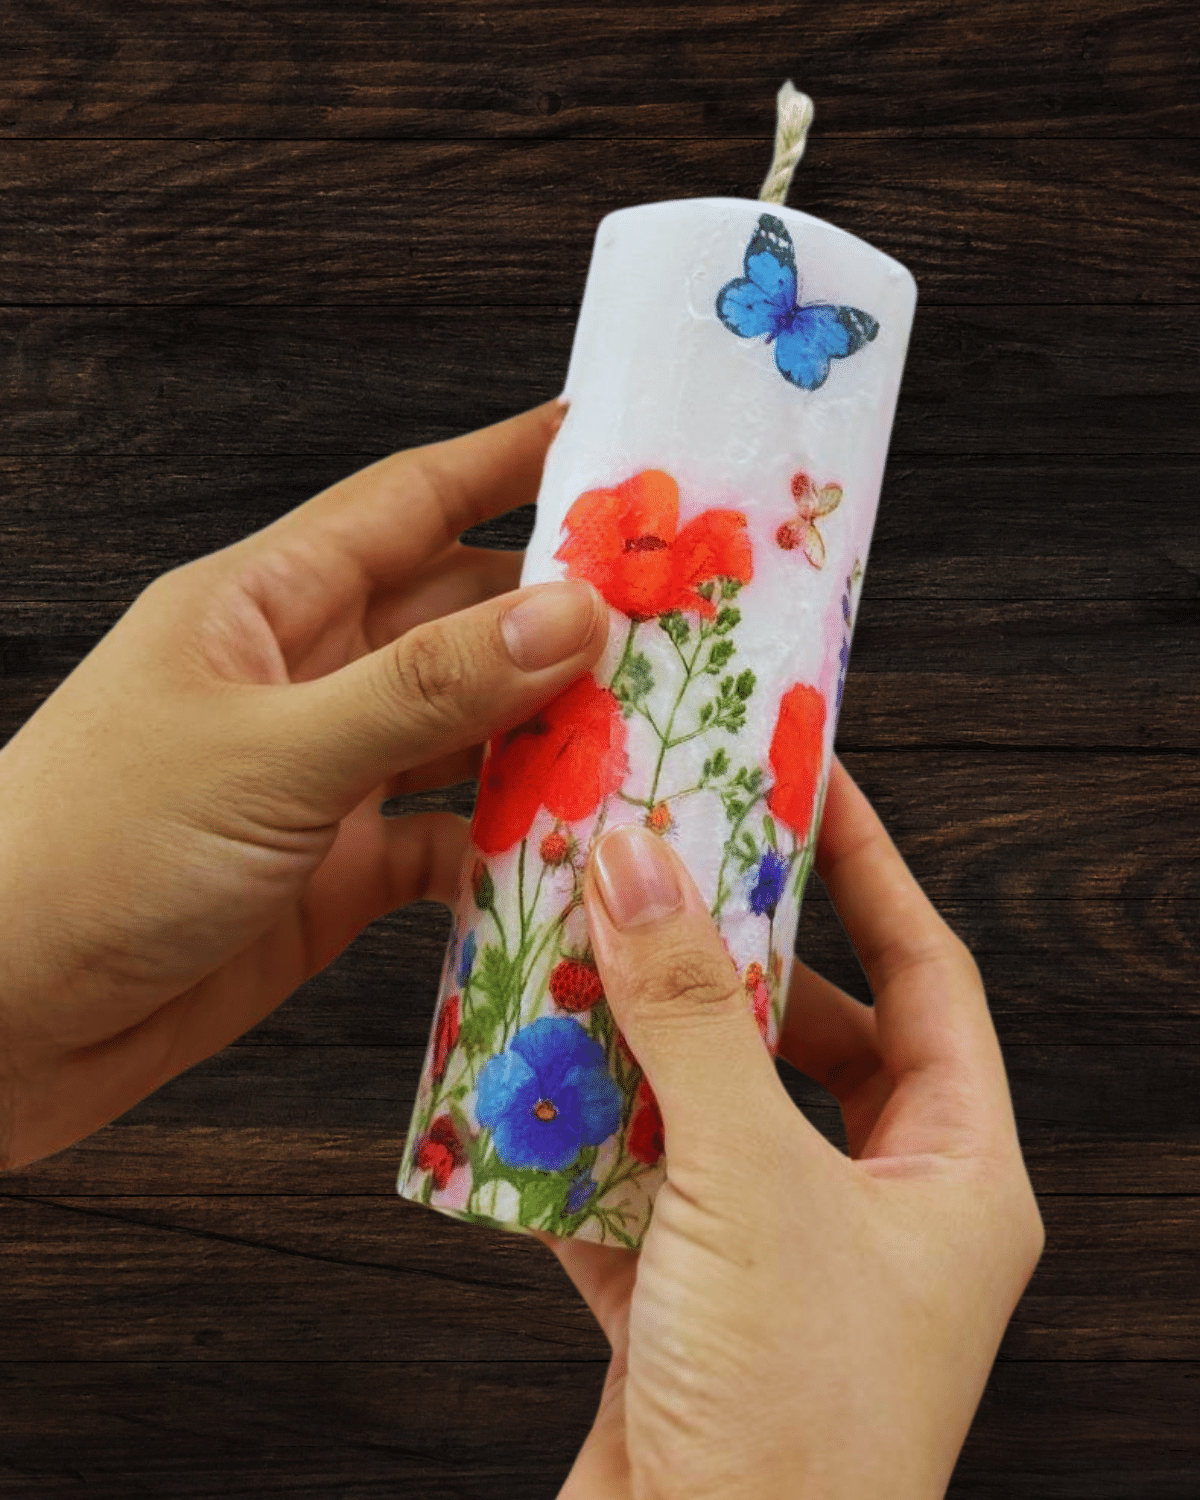
Step 2: Cut the napkin paper
Cut the napkin to size so that it covers the entire candle. Cover the candle with the napkin, making sure it’s applied evenly.
Step 3: Cover the candle with wax paper
Cover it with a piece of wax paper, this will help fuse the napkin paper and prevent the wax of the candle from bleeding out or dripping.
Step 4: Iron it
Carefully iron the candle until the melted wax fuses the napkin paper in place, then remove the wax paper cover, and keep ironing the edges and clean out any unfused areas.
![]()
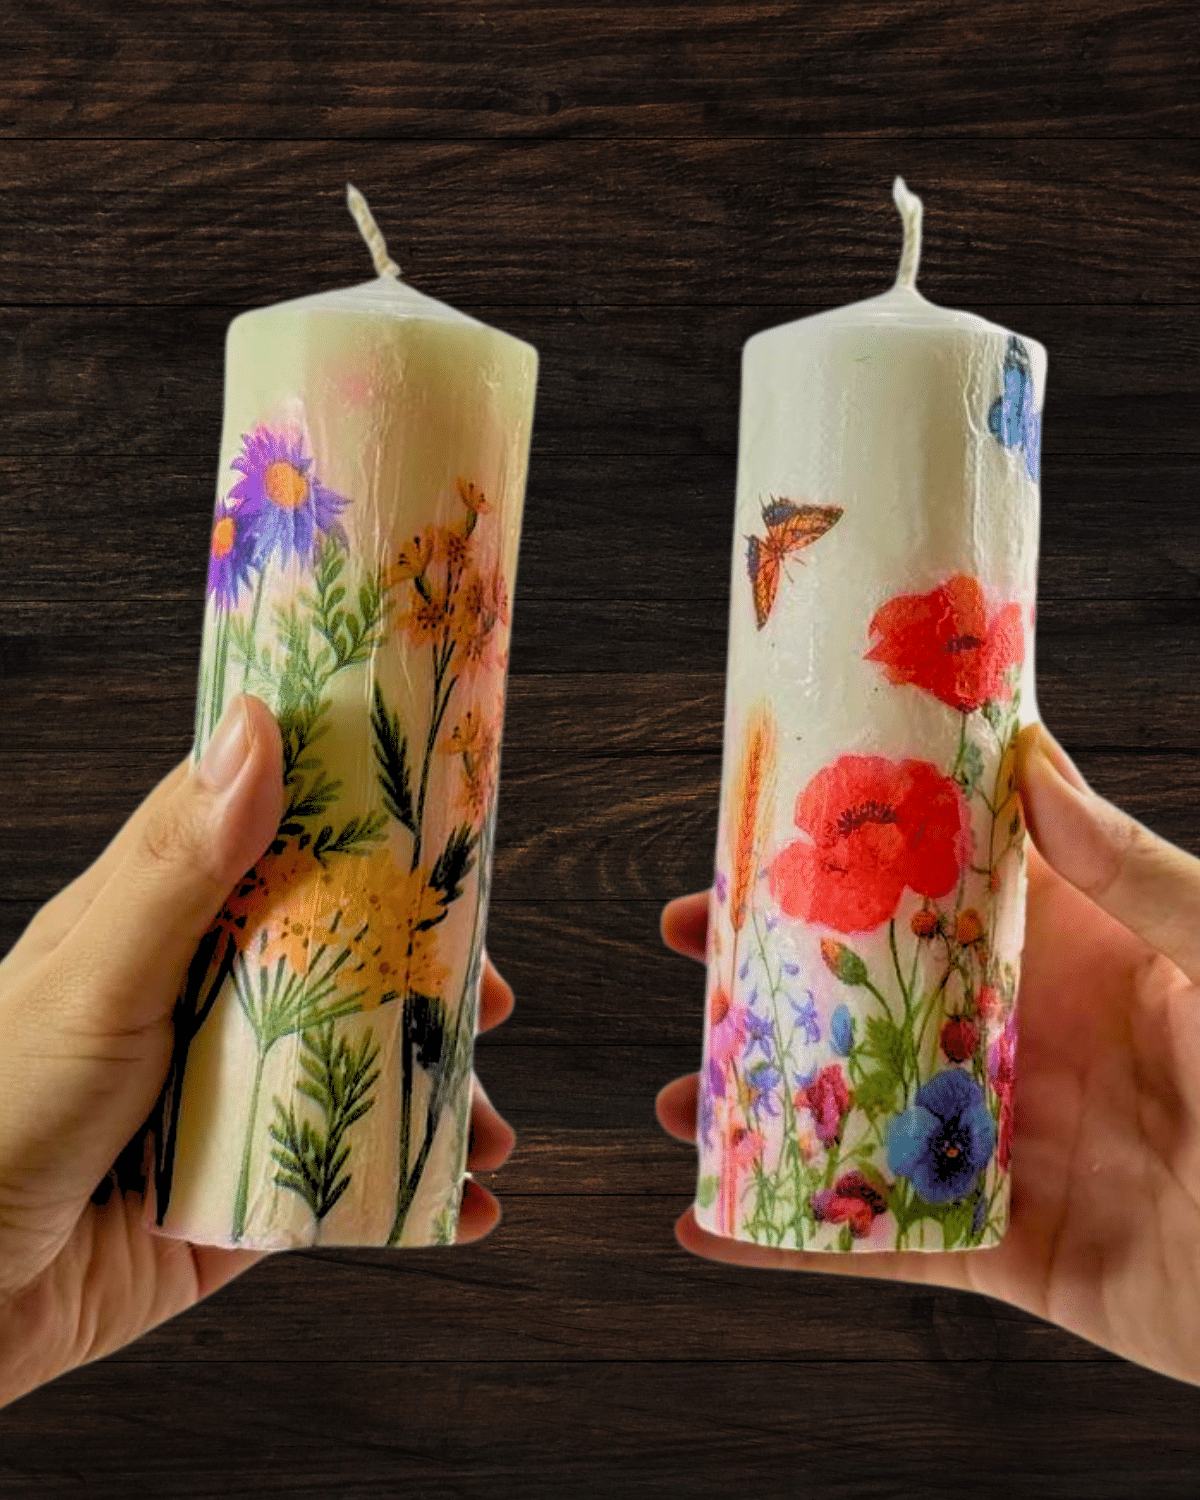
How to Level Up Your Candle
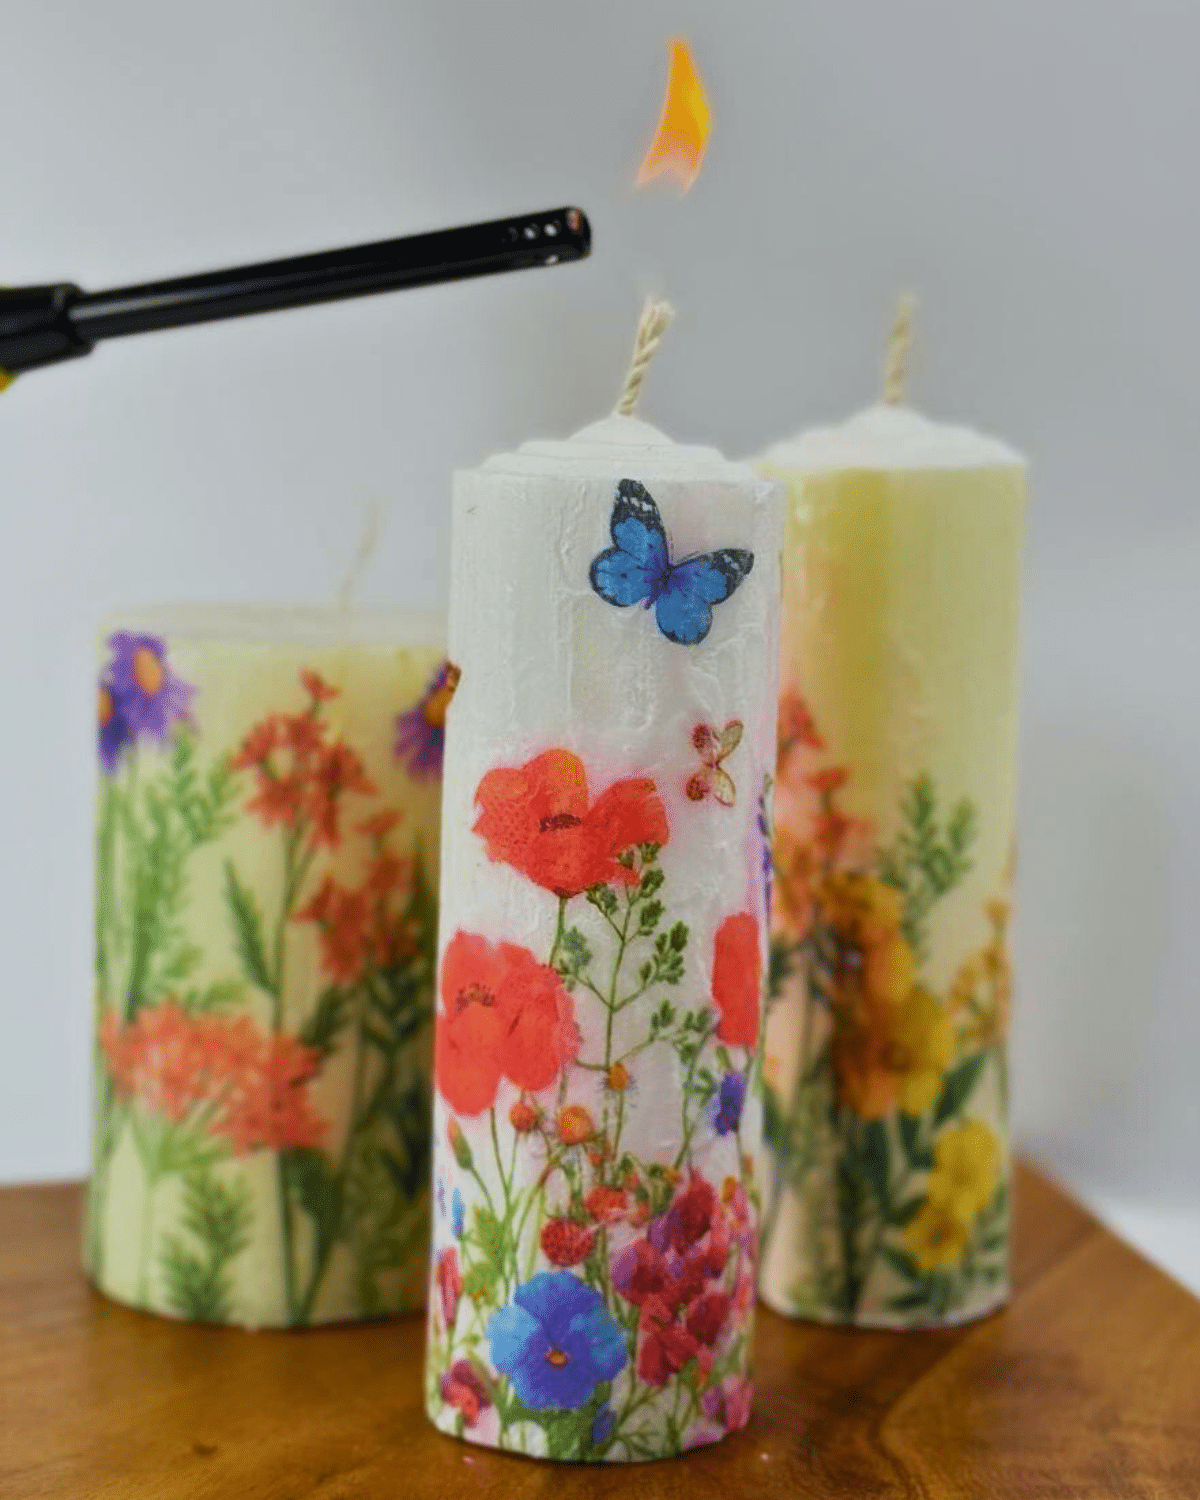
You can add more embellishment to your candle by wrapping it with a cord or ribbon, or even use a photo instead of a napkin paper, then light up just the top part, and once melted, place a battery-operated or LED candle on the crater/dent in the middle. That way you can protect the design of your candle and at the same time it would still be functional.
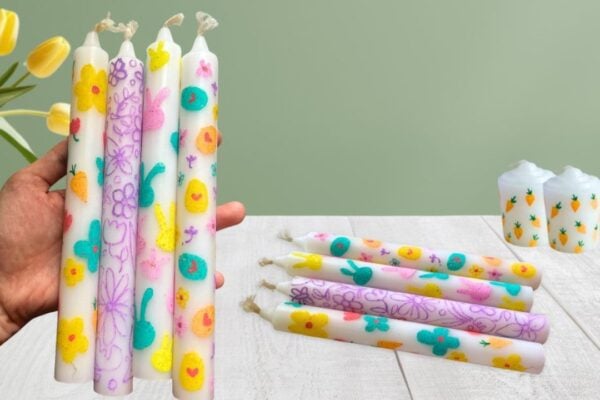
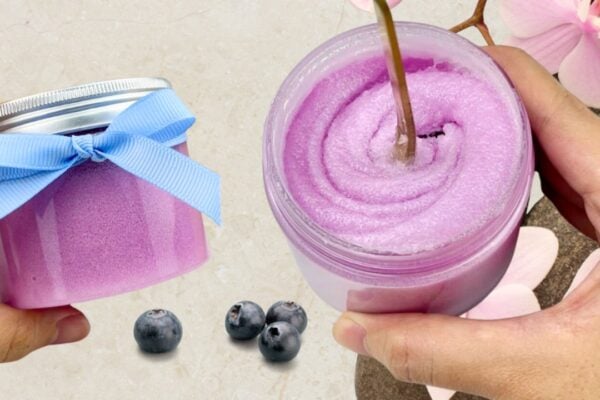
Other Fun Crafts to Try


*If you love this craft, then visit our official website, follow our Facebook page, and subscribe to our YouTube channel for more!
Easy DIY Napkin Paper Candle