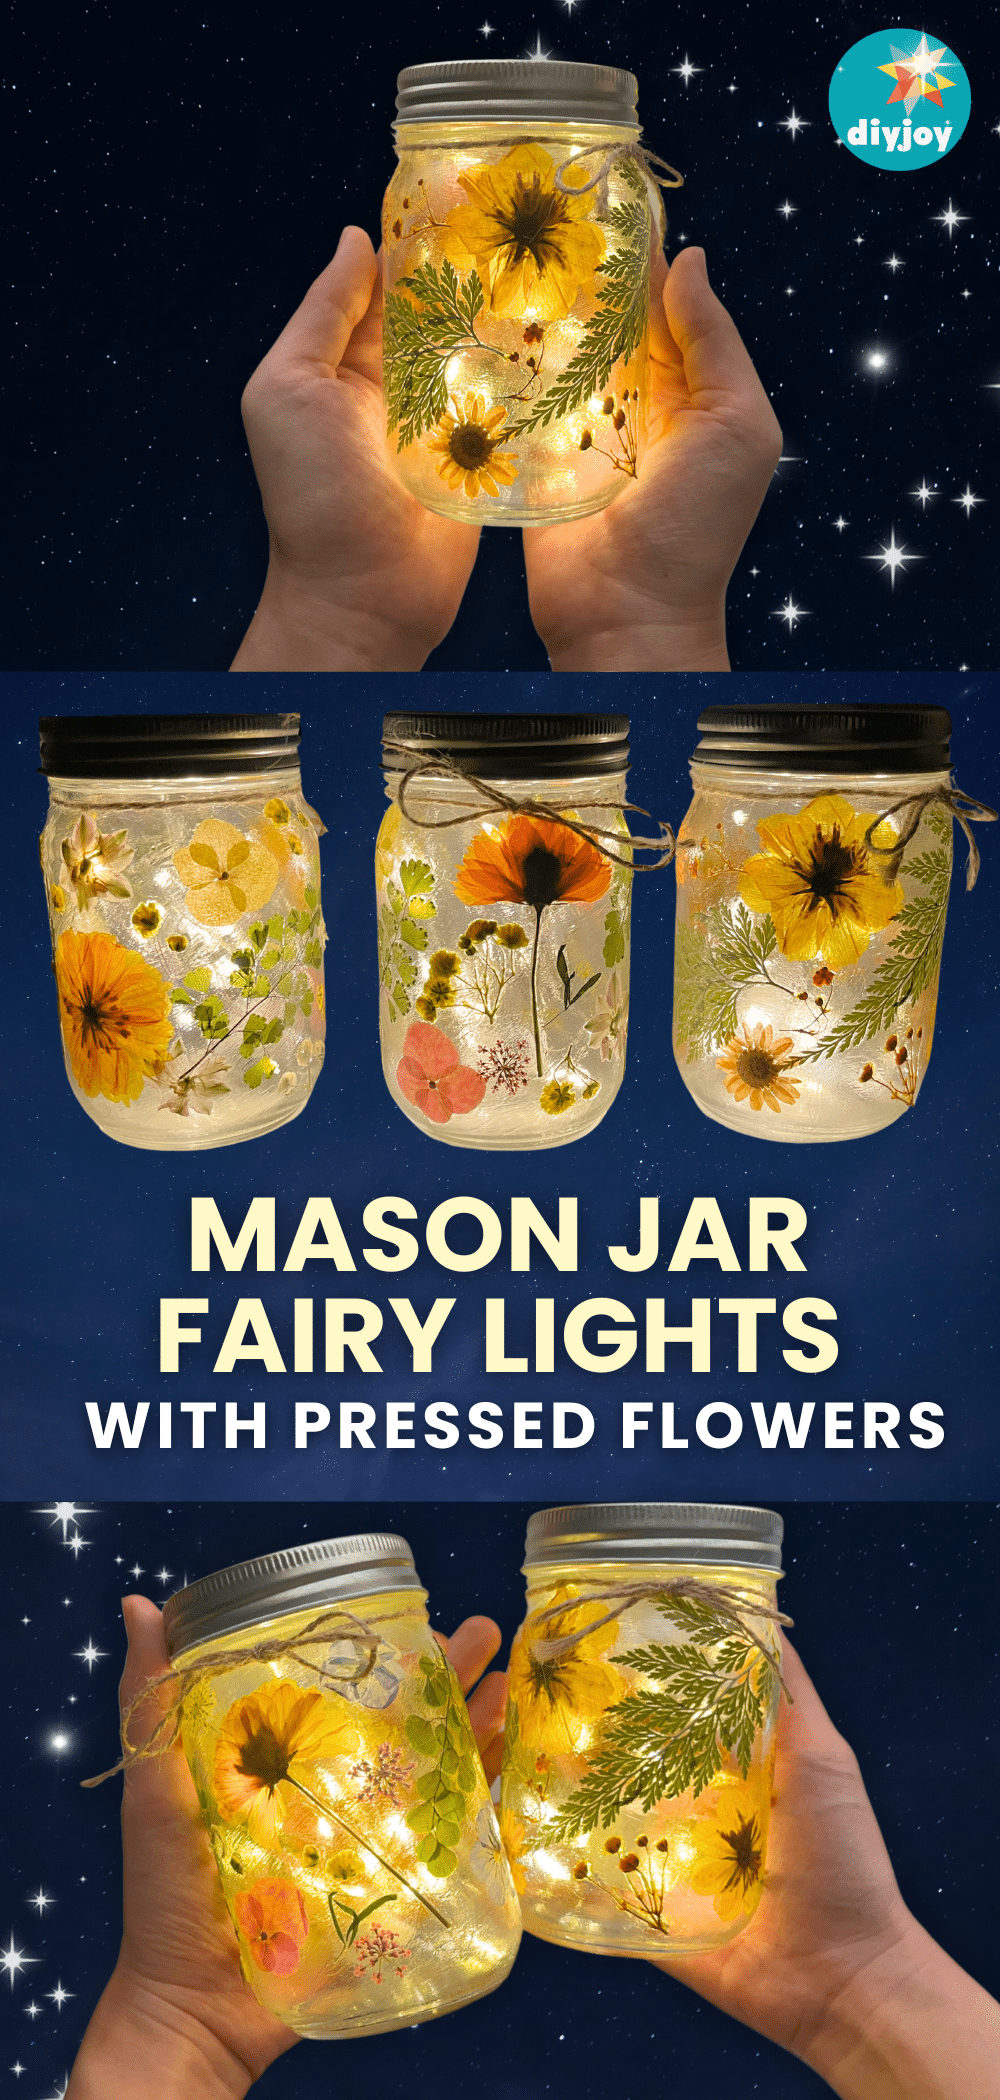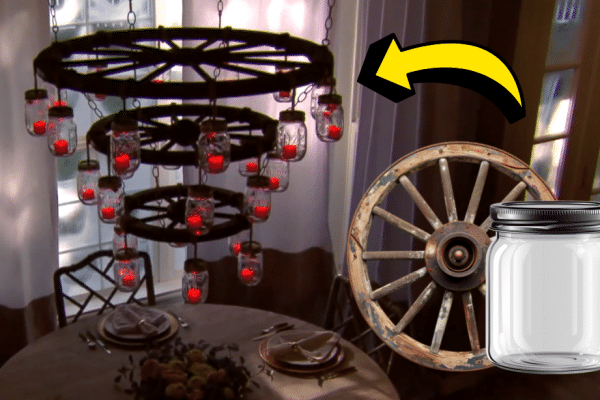
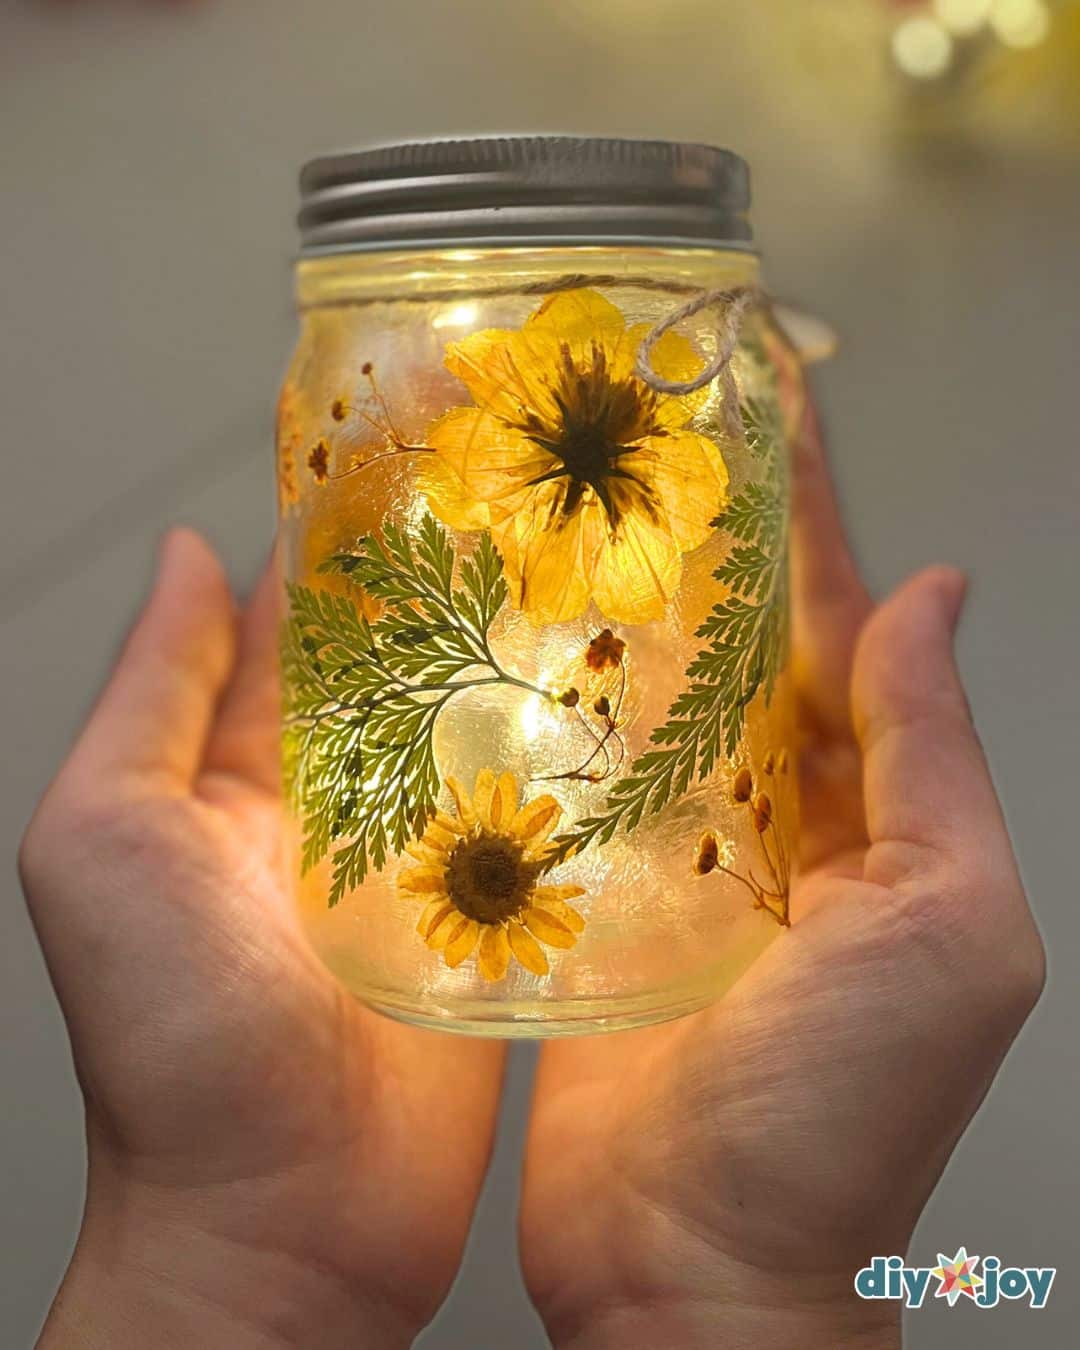
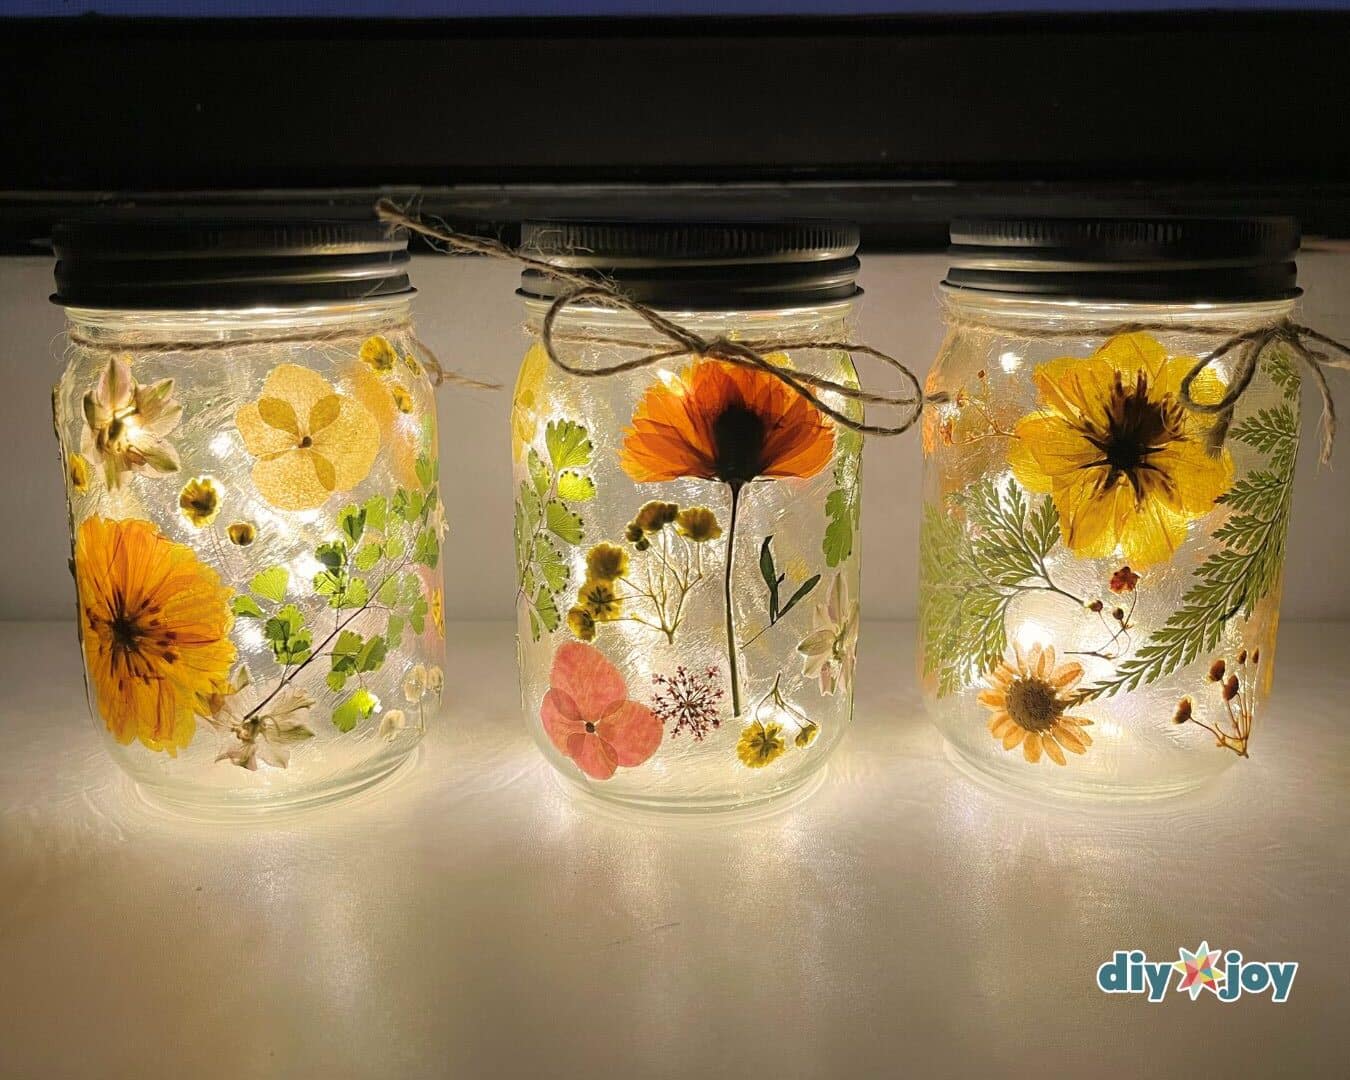
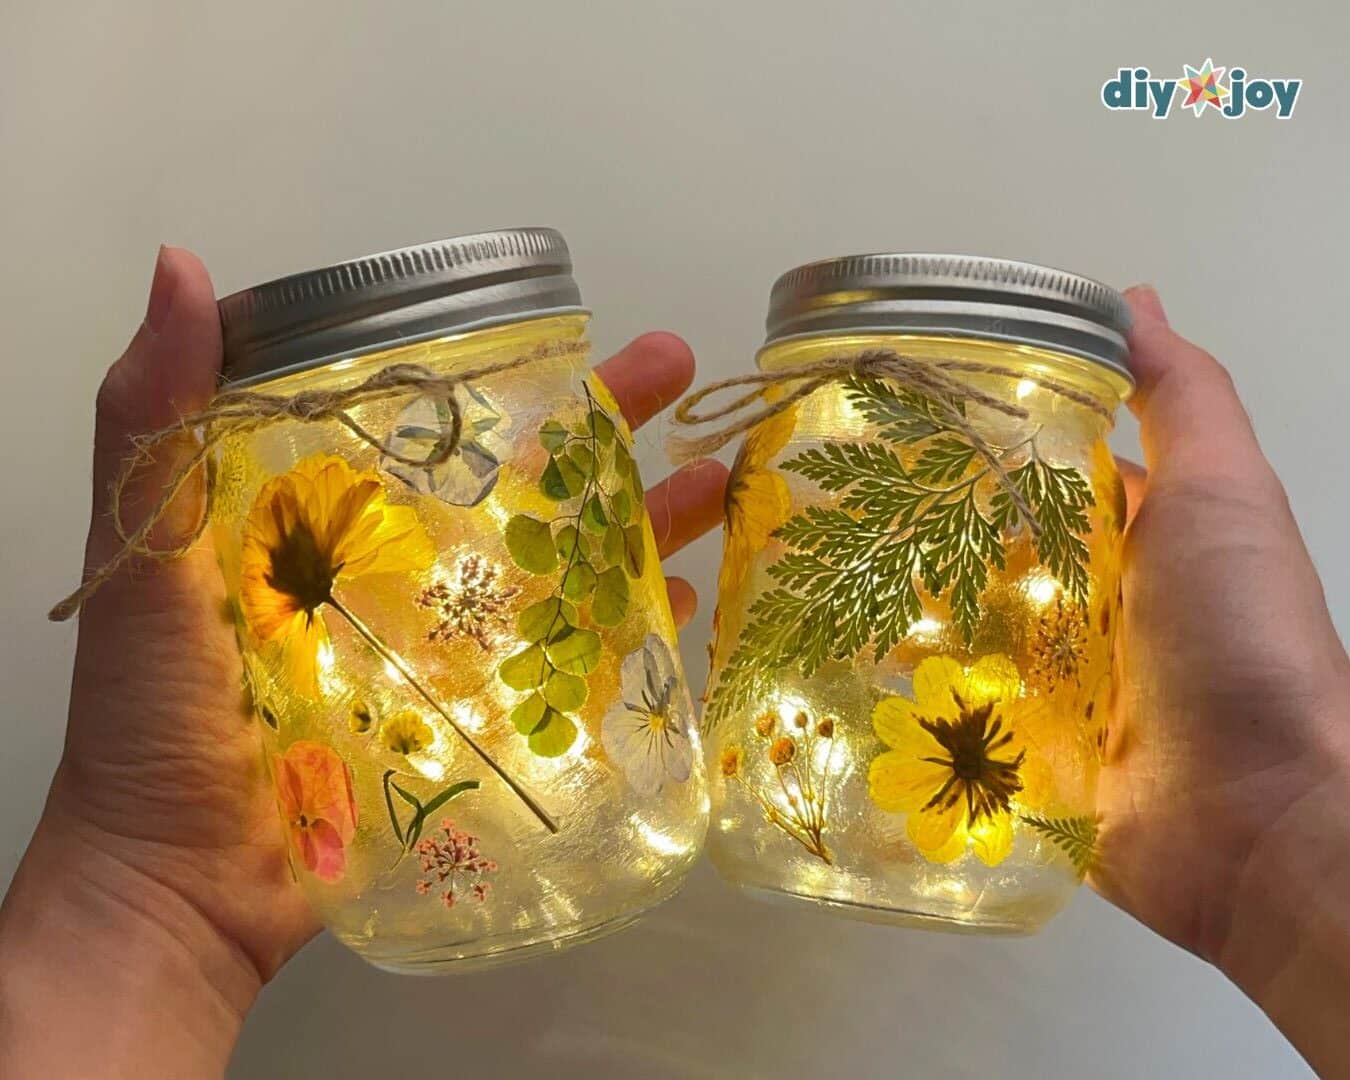
Do you have some mason jars lying around your house? This might be the perfect way to give them new life! It’s easily one my favorite spring projects. The glass jar transforms into something truly gorgeous, especially with the lights on, giving the flowers a magical glow. Doesn’t this remind you of Tinkerbell? This mason jar with fairy lights definitely captures a touch of fairy tale. If you love making DIY flower projects and being creative with your hands, this is definitely something you’ll enjoy!
RELATED: DIY Watering Can with Lights Tutorial
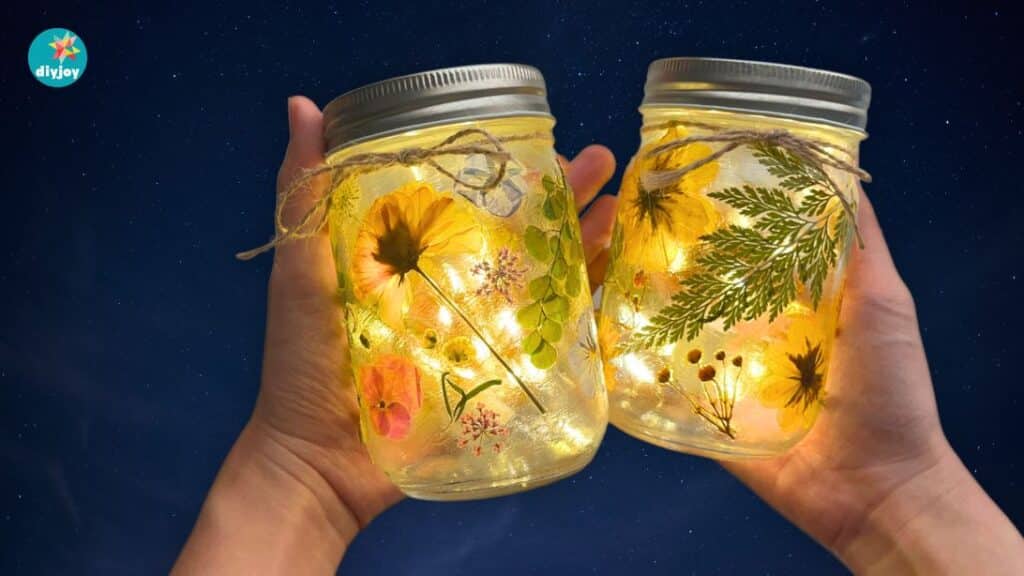
Making this mason jar project was so fun, therapeutic, and calming. I enjoyed this easy craft so much that I didn’t notice I had already spent the whole day designing these three jars. It’s a very engaging art activity that really makes you lose track of time. If you have pressed flowers from your garden or picked up some pretty ones, this a great way to show them off.
A lot of people loved this project on Facebook, TikTok, and Instagram. Watch the TikTok video to see why!
They’re also the perfect night lights. Imagine them on your bedside table, reading table, coffee table, or even on your bookshelf beside your books. They can easily make any space beautiful and cozy! If you are looking for the perfect DIY room décor or mason jar gift ideas, give this a go.
How to Make Mason Jar Fairy Lights with Pressed Flowers
Time Needed : 00 days 00 hours 45 minutes
Ready to craft something beautiful? Dive into our step-by-step tutorial and learn how to make these magical DIY lighting made from fairy lights and mason jars.
Preparing the mason jars
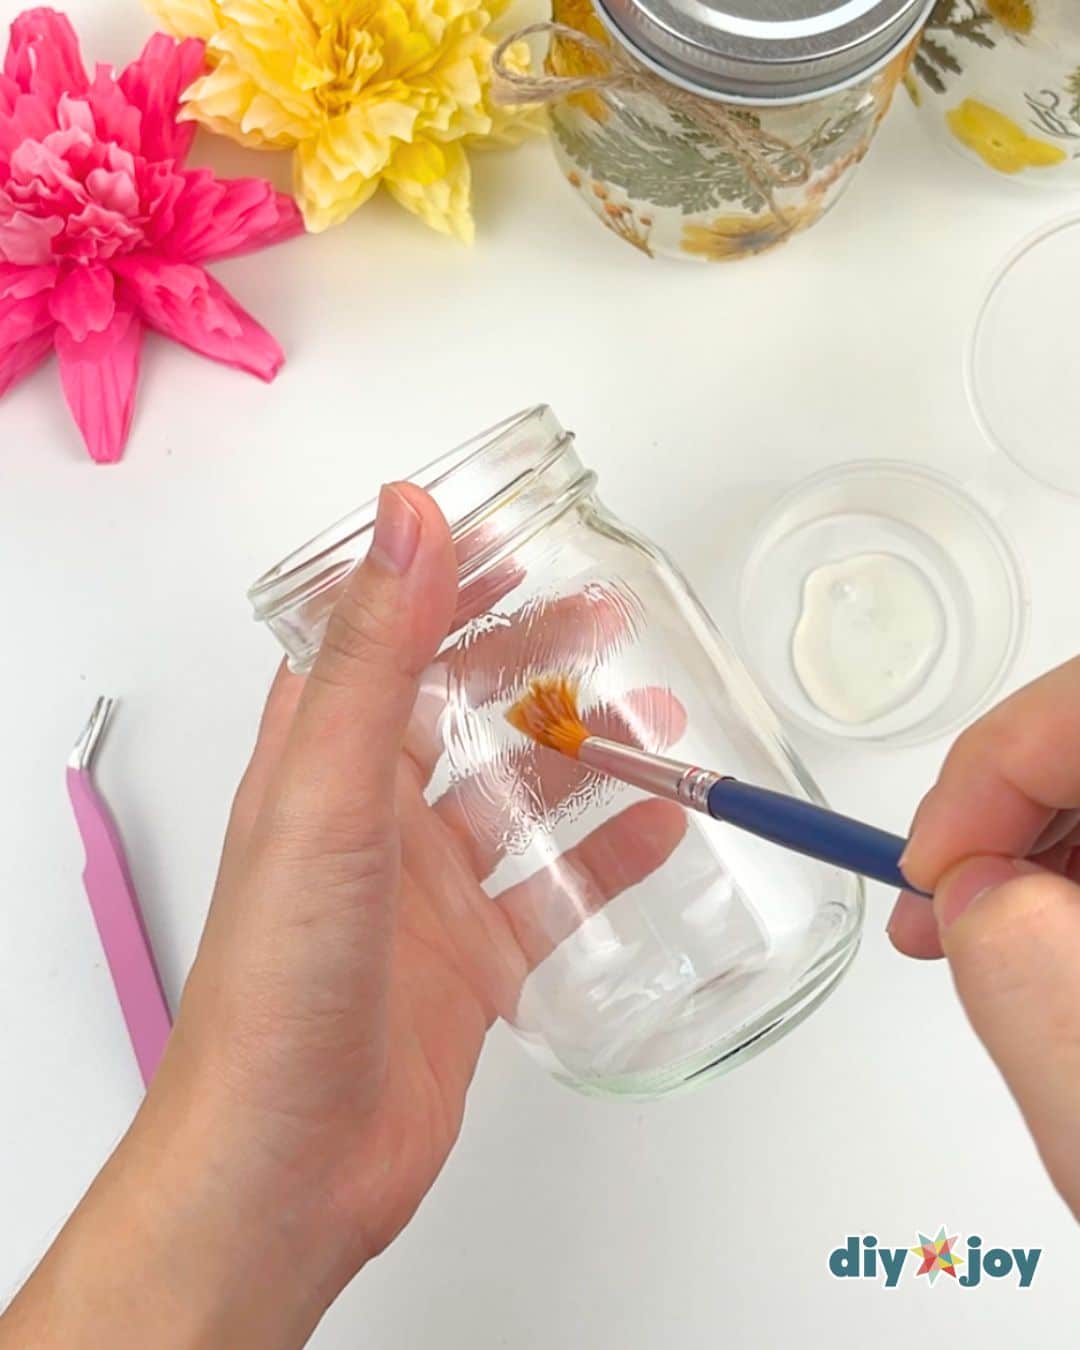
Take your mason jar and give it a good clean using a paper towel. If it is covered with dirt, use soap and water. Be sure it’s completely dry before you do the next step.
Designing your jar
 Grab your pressed flowers and play around with them to see how you want your finished jar to look. Once you have a design you love, brush a thin layer of Mod Podge onto your glass.
Adding the flowers
Carefully place a flower onto the area where you planned. Press it gently, then brush a thin layer of glue over the top of the flower. I highly suggest working in sections to keep the glue from drying.Working with pressed flower
If you have trouble keeping a stem in place, simply glue a flower at the end of the stem. You can cut the stems of the flowers, if they are too bulky.Filling the spaces
Repeat with all your flowers until your jar looks the way you want it. Sealing the leaves and flowers
While this step is optional, it ensures everything is sealed properly. Once the first layer of glue has dried, apply a second layer of Mod Podge.Adding the fairy lights
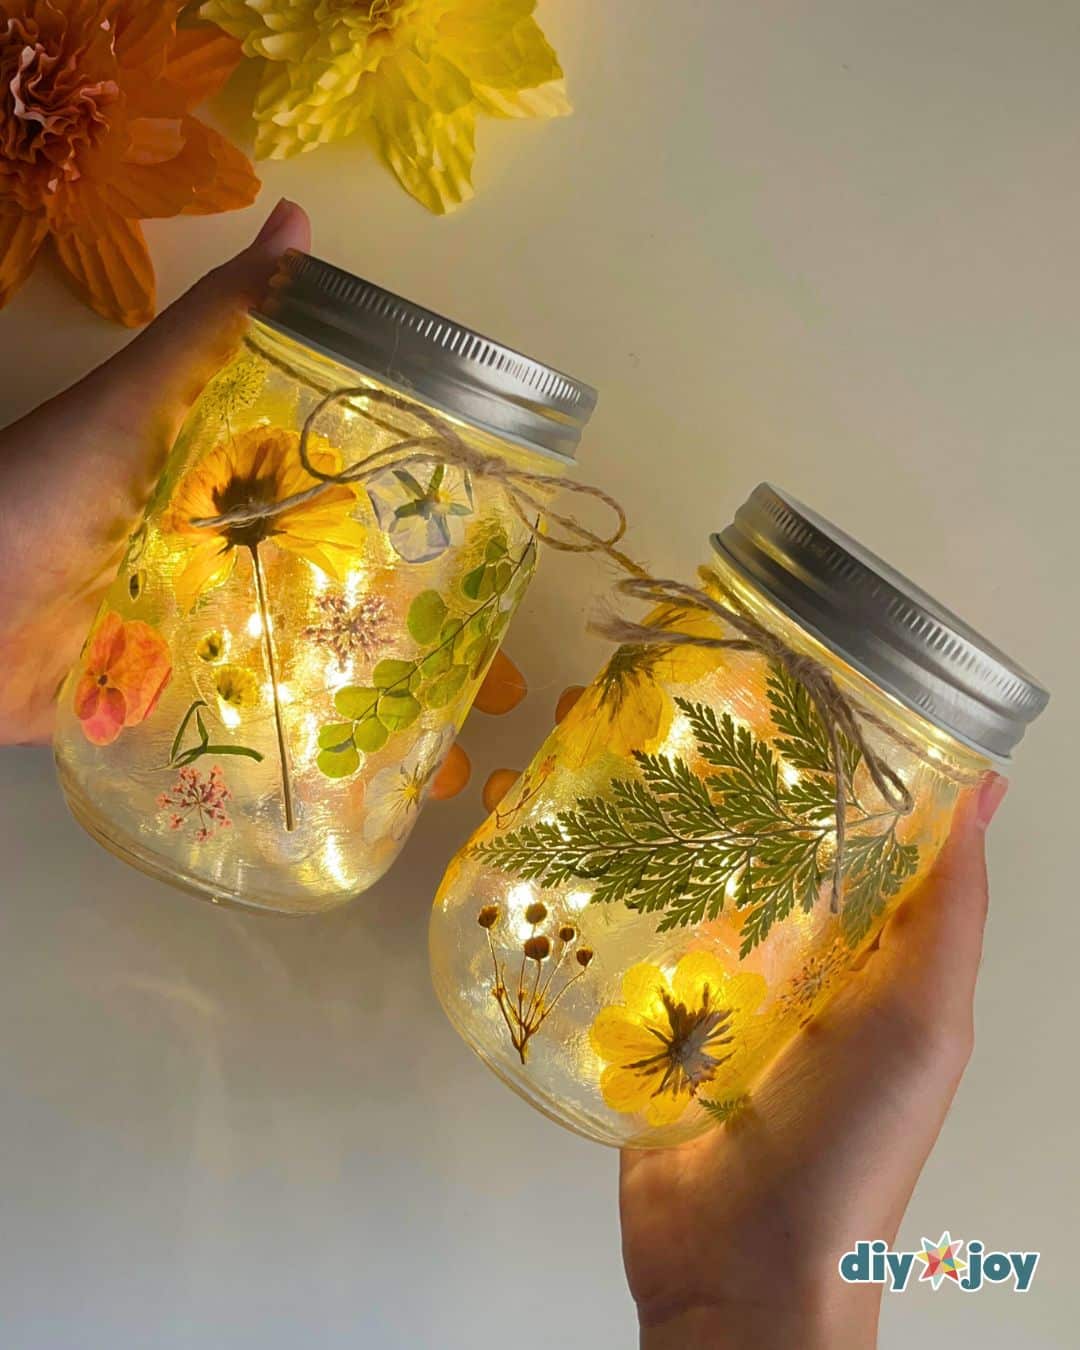
Add the fairy light inside your fully dried mason jar and cover with the lid. Finishing touches
Take a small piece of jute twine, wrap it around your jar and make a bow.
 Grab your pressed flowers and play around with them to see how you want your finished jar to look. Once you have a design you love, brush a thin layer of Mod Podge onto your glass.
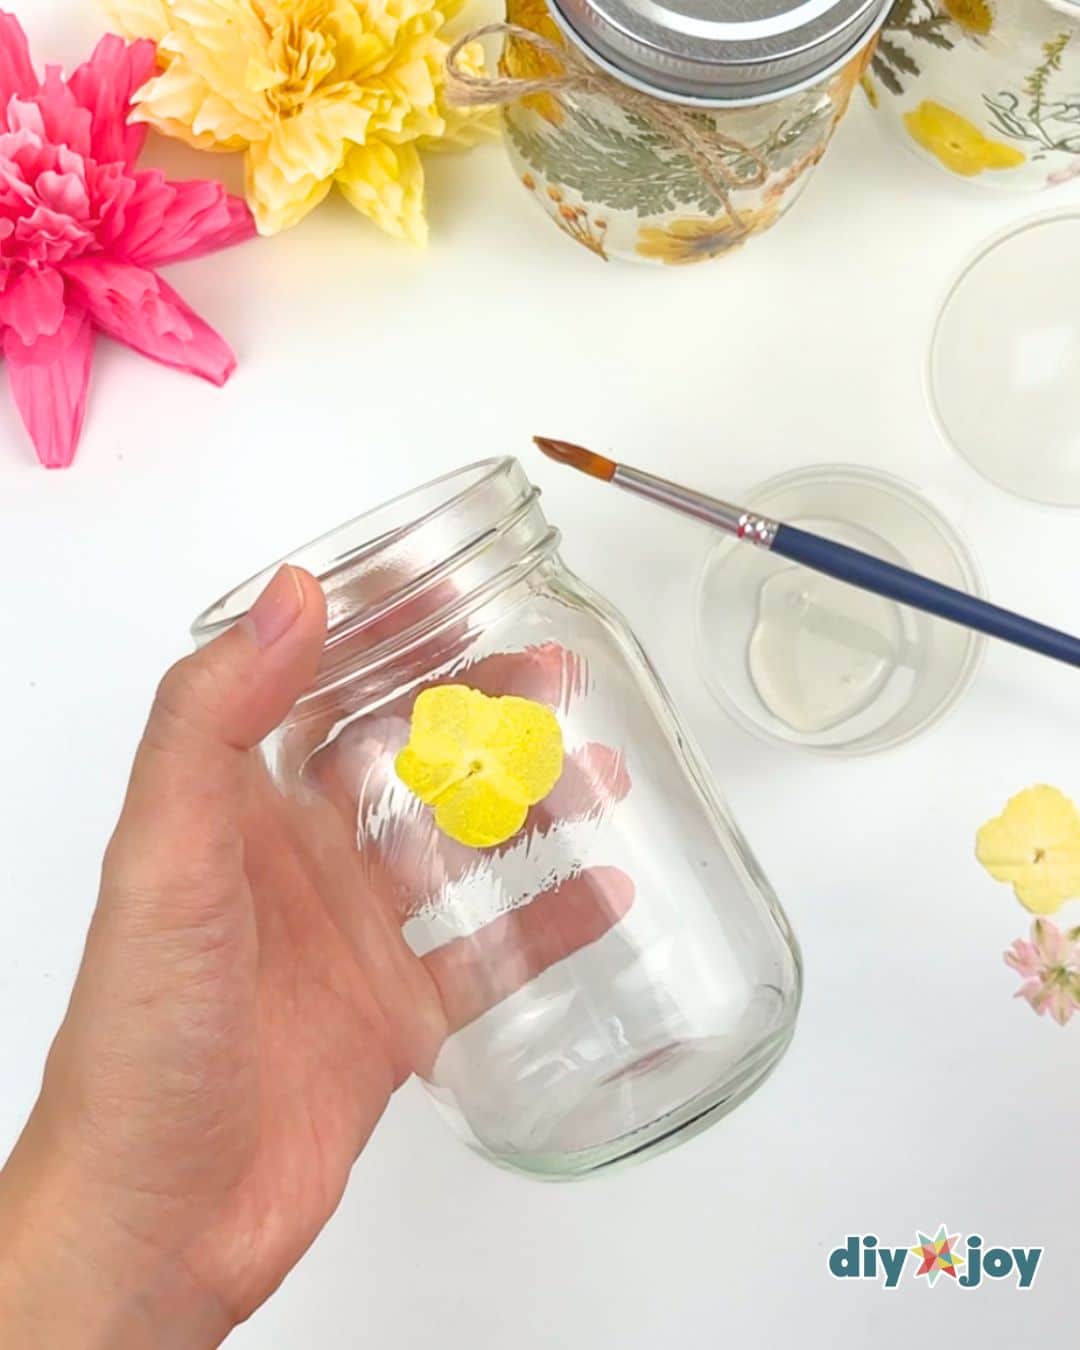 Carefully place a flower onto the area where you planned. Press it gently, then brush a thin layer of glue over the top of the flower. I highly suggest working in sections to keep the glue from drying.
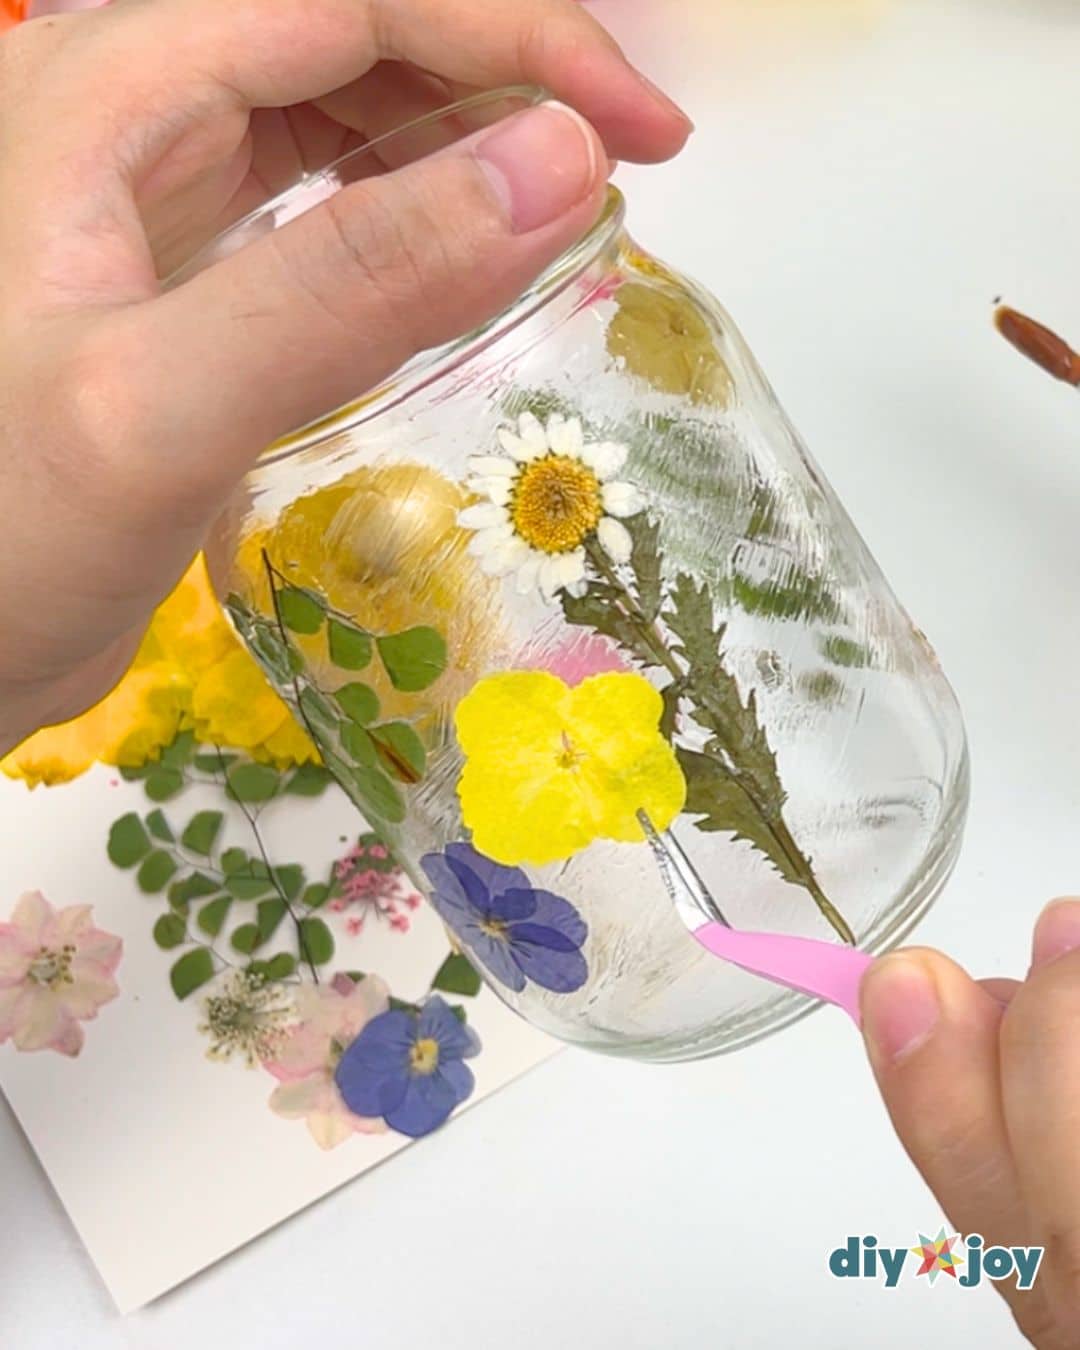 If you have trouble keeping a stem in place, simply glue a flower at the end of the stem. You can cut the stems of the flowers, if they are too bulky.
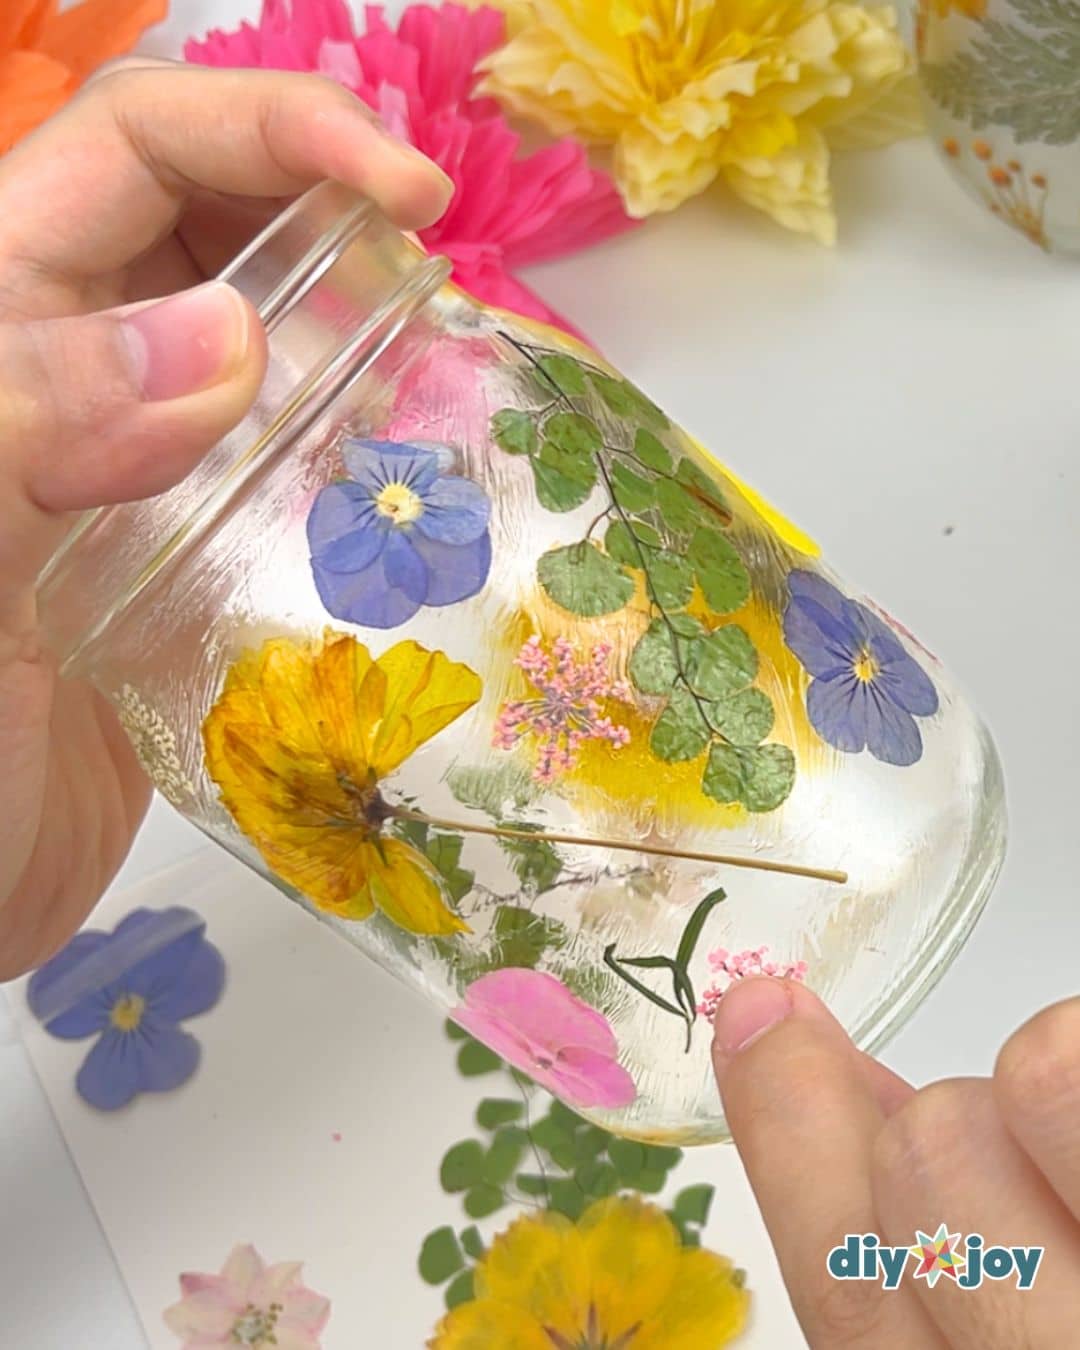 Repeat with all your flowers until your jar looks the way you want it.
 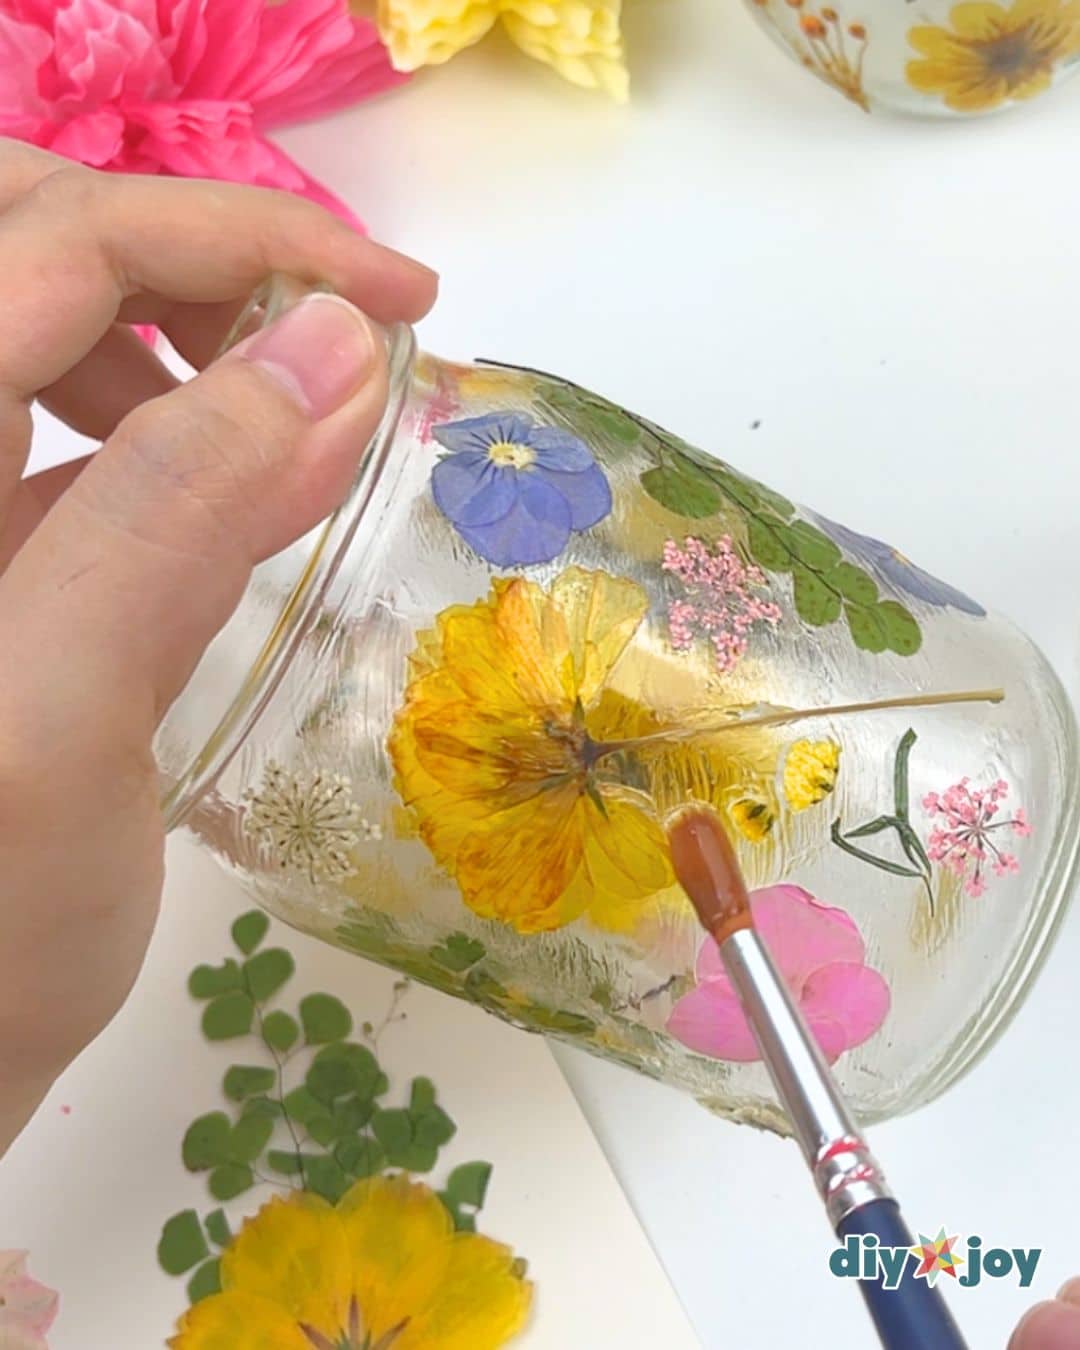 While this step is optional, it ensures everything is sealed properly. Once the first layer of glue has dried, apply a second layer of Mod Podge.
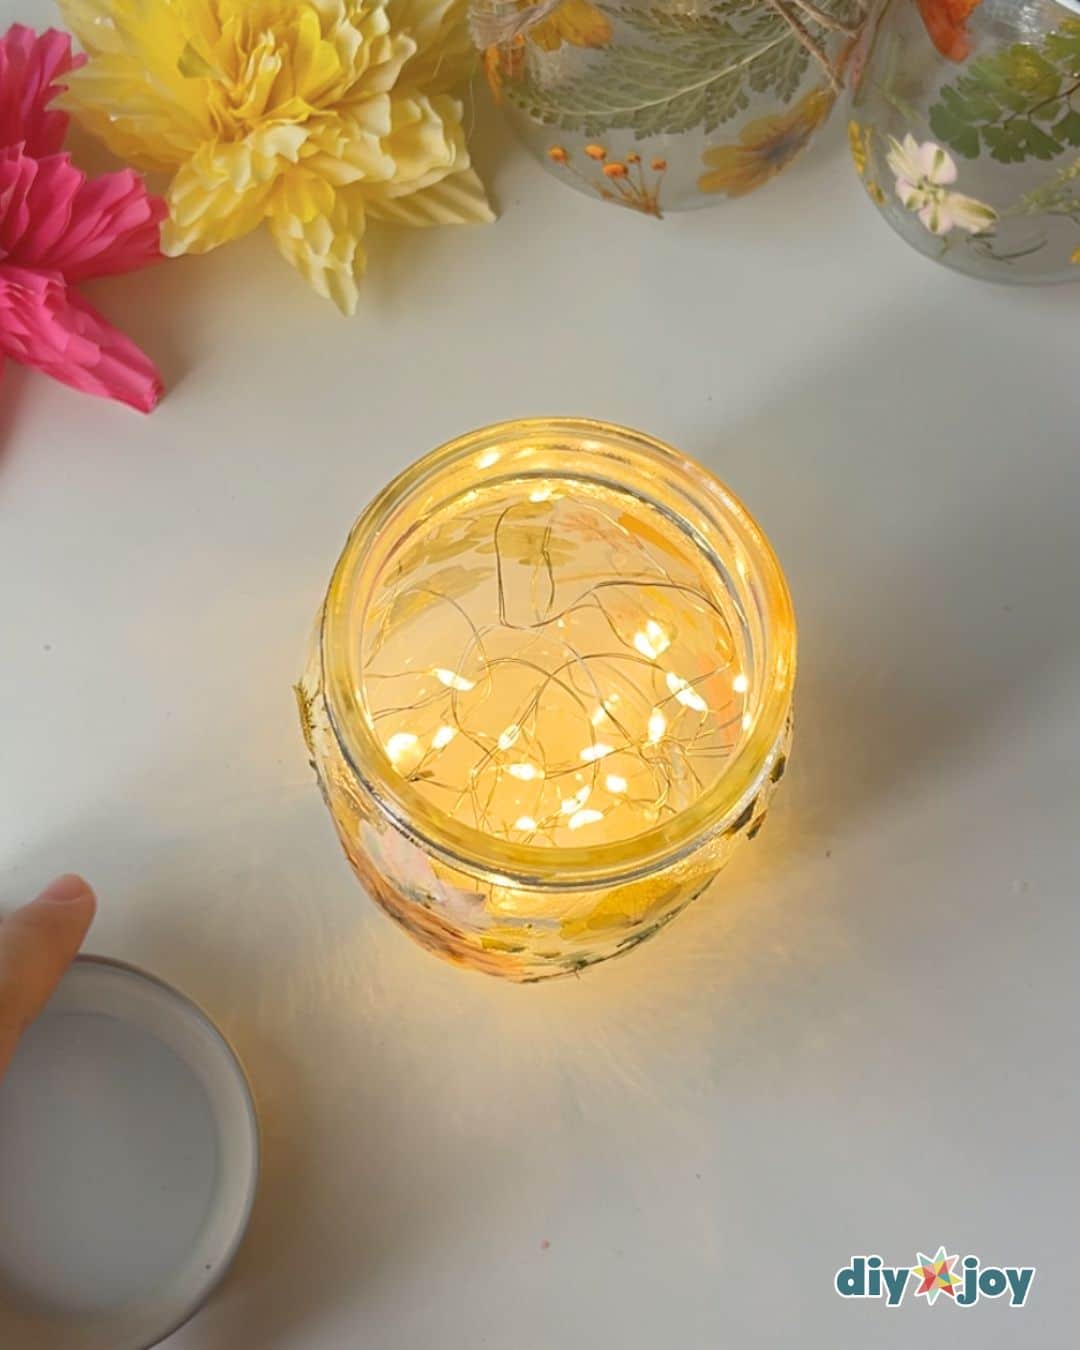 Add the fairy light inside your fully dried mason jar and cover with the lid.
  Take a small piece of jute twine, wrap it around your jar and make a bow.
Tools
- Tweezer (optional)
- Scissors
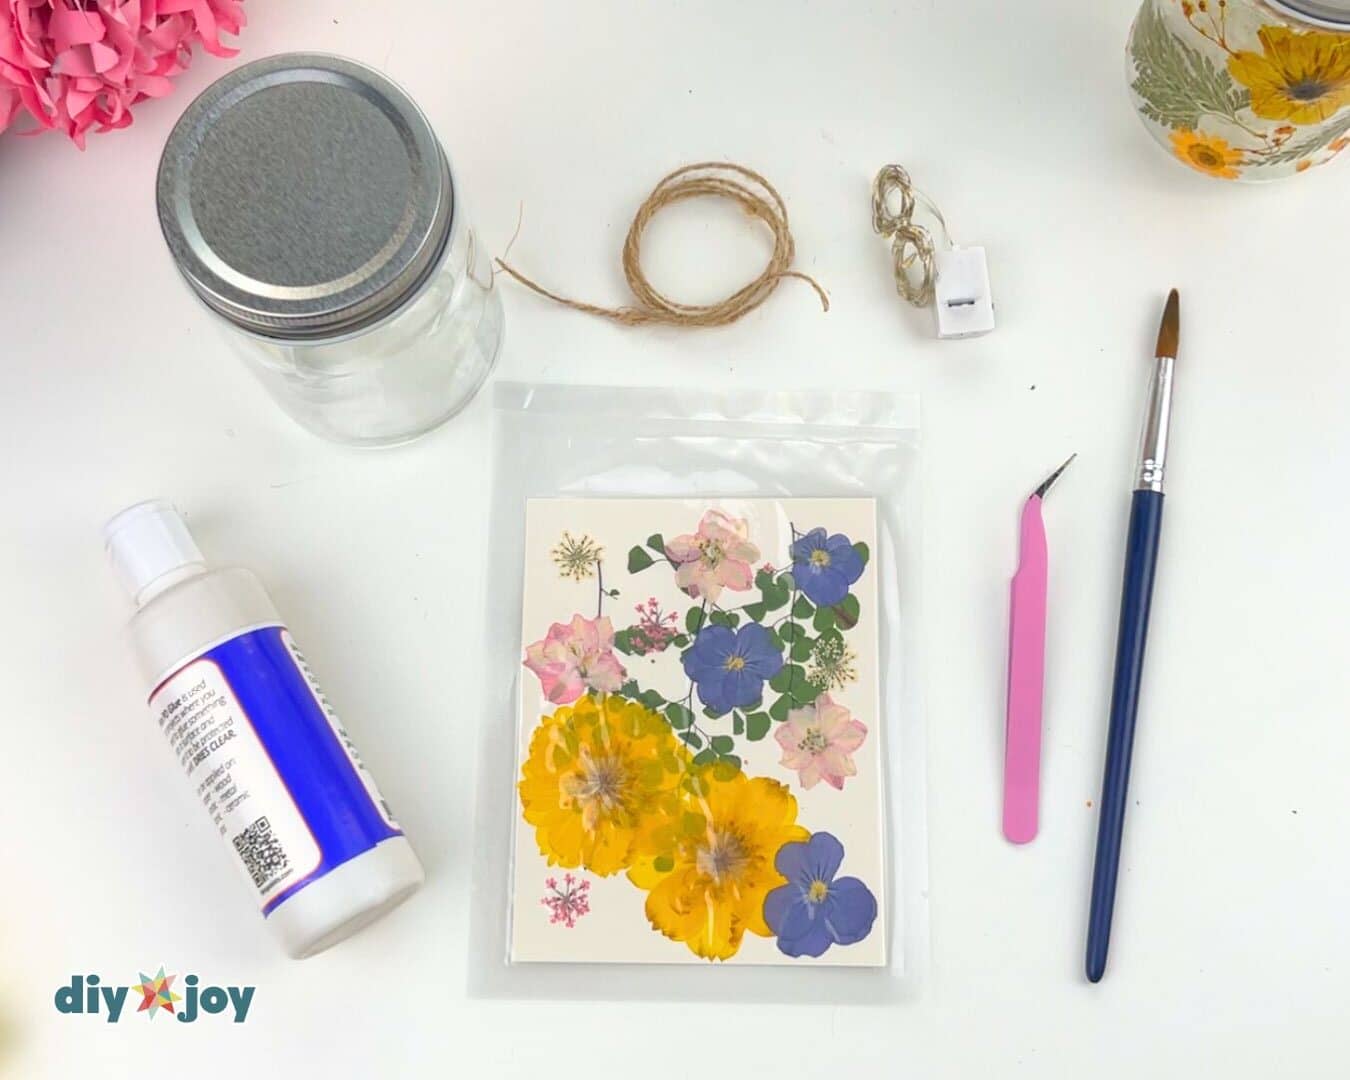
Materials
- Mason jars
- Pressed flowers
- Mod Podge
- Brush
- Jute twine
- Paper towel
- Battery-operated fairy lights
![]()
Crafting Tip
Choose thin flowers and leaves as they take up less bulk, easier to arrange and position, and are more translucent, allowing the light from the fairy lights to pass through them more easily.

Cool Ideas to Try
• Different sizes. Try using different sizes of jars to make a beautiful display, a great DIY for decorating room.
• Themes. Think of holidays, seasons, flower symbols, and colors. Or, if you are planning to make mason jar gifts, personalize them by picking the receiver’s favorite flowers. These truly make cute DIY gifts on a budget.
• Variation. Use different sizes of flowers and add dried leaves, little pieces of lace, sequins, or glitter.
• Light colors. Don’t forget that fairy lights come in different colors.
• Garland. For cute bedroom DIYs, use tiny glass bottles to make a pretty garland of flower lights.
Mason Jar Fairy Lights With Pressed Flowers Video Tutorial