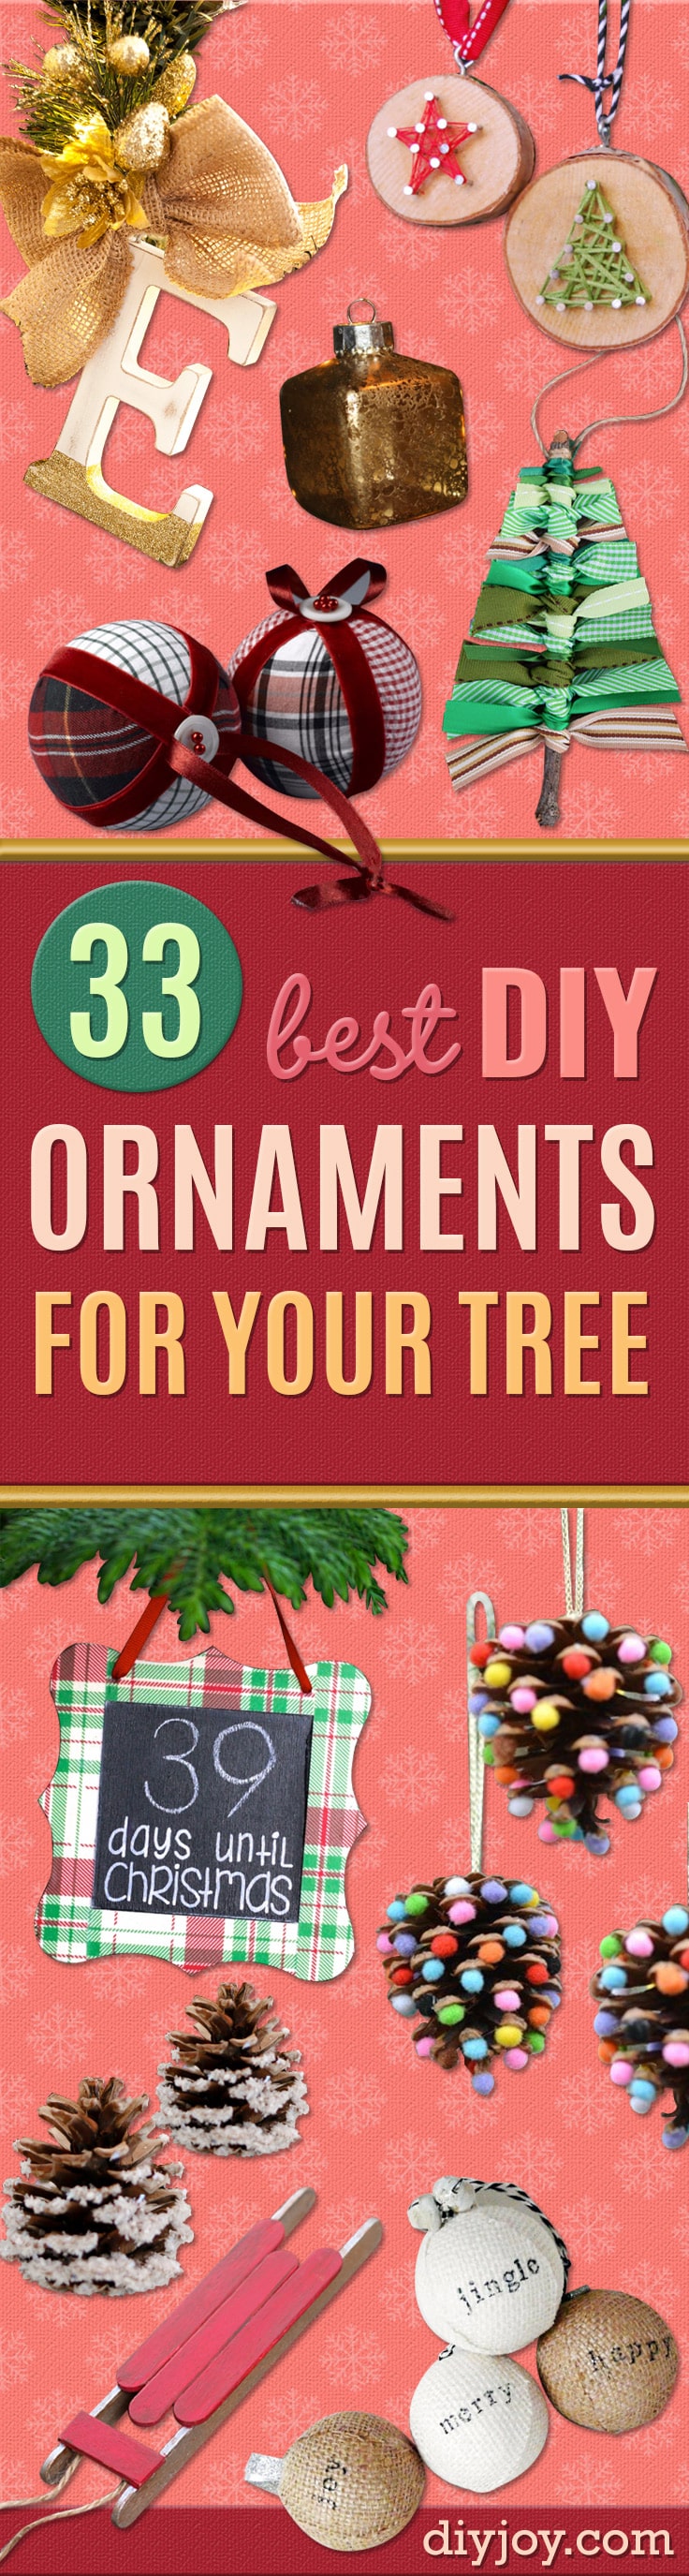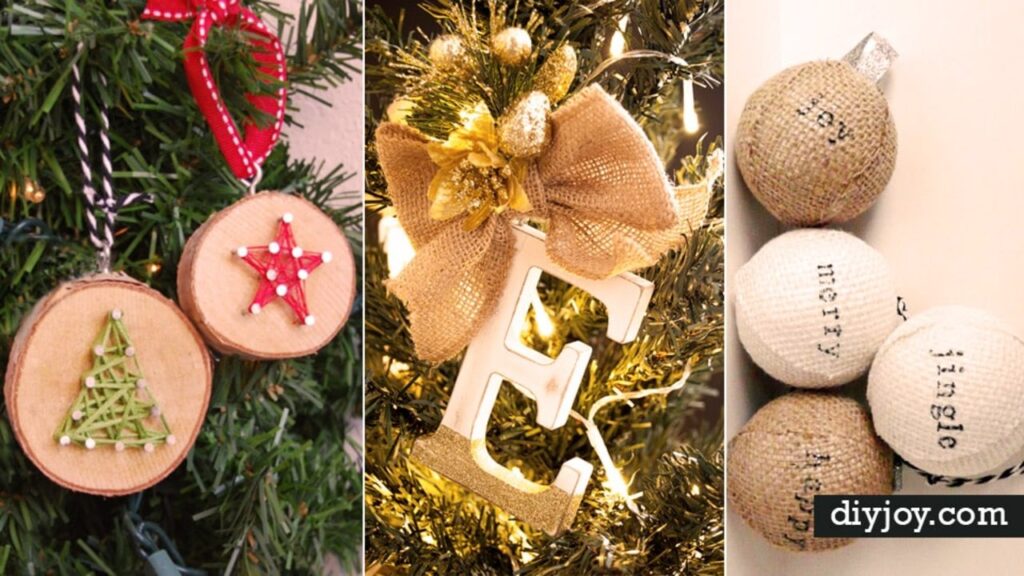
Decorating the tree and realizing you don't have nearly enough ornaments to make it look amazing? Skip the plastic balls at the store this year and make these DIY Christmas ornaments instead. There are gold stars folded from a paper bag, pipe cleaner wreaths, paper balls and cupcake liner ornaments you can make in front of a movie, salt dough and clay shapes for the kids, twig trees and wood slices for a rustic tree and velvet look balls and marbled glass for a fancy one. A few are keepsakes you can personalize with a name or a word in chalk. Most of these homemade Christmas ornaments cost a couple of dollars and take an afternoon. Perfect for filling the bare spots, boxing up as a gift or starting a new tradition with the kids.
1. Dried Orange Slice Ornaments
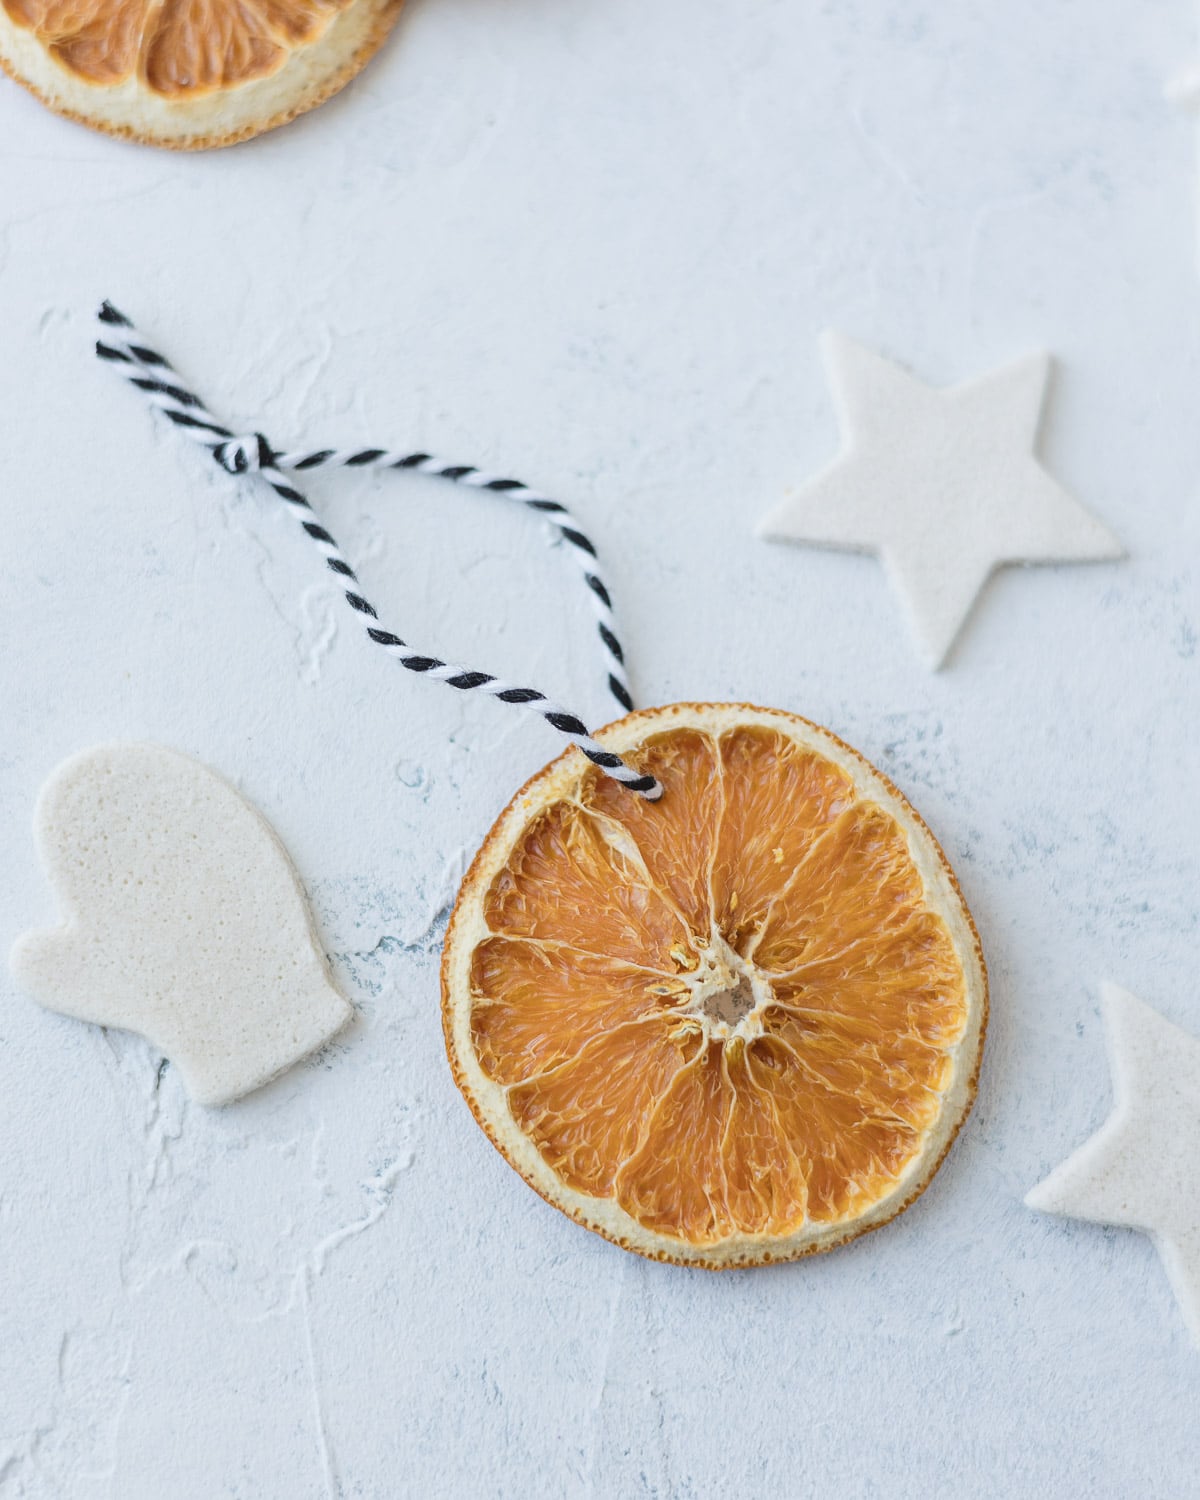
Start with the ornament that makes the whole house smell like Christmas. Ellen slices oranges thin, lays them out on a sheet pan and dries them low and slow in the oven until they turn to stained glass. One large orange fills a whole pan, and clementines, lemons or grapefruit work too if you want a mix of sizes. Thread a little baker's twine through the top and they are ready for the tree, a garland or the top of a gift. Bellewood Cottage has the drying times.
2. Gold Paper Bag Star Ornament
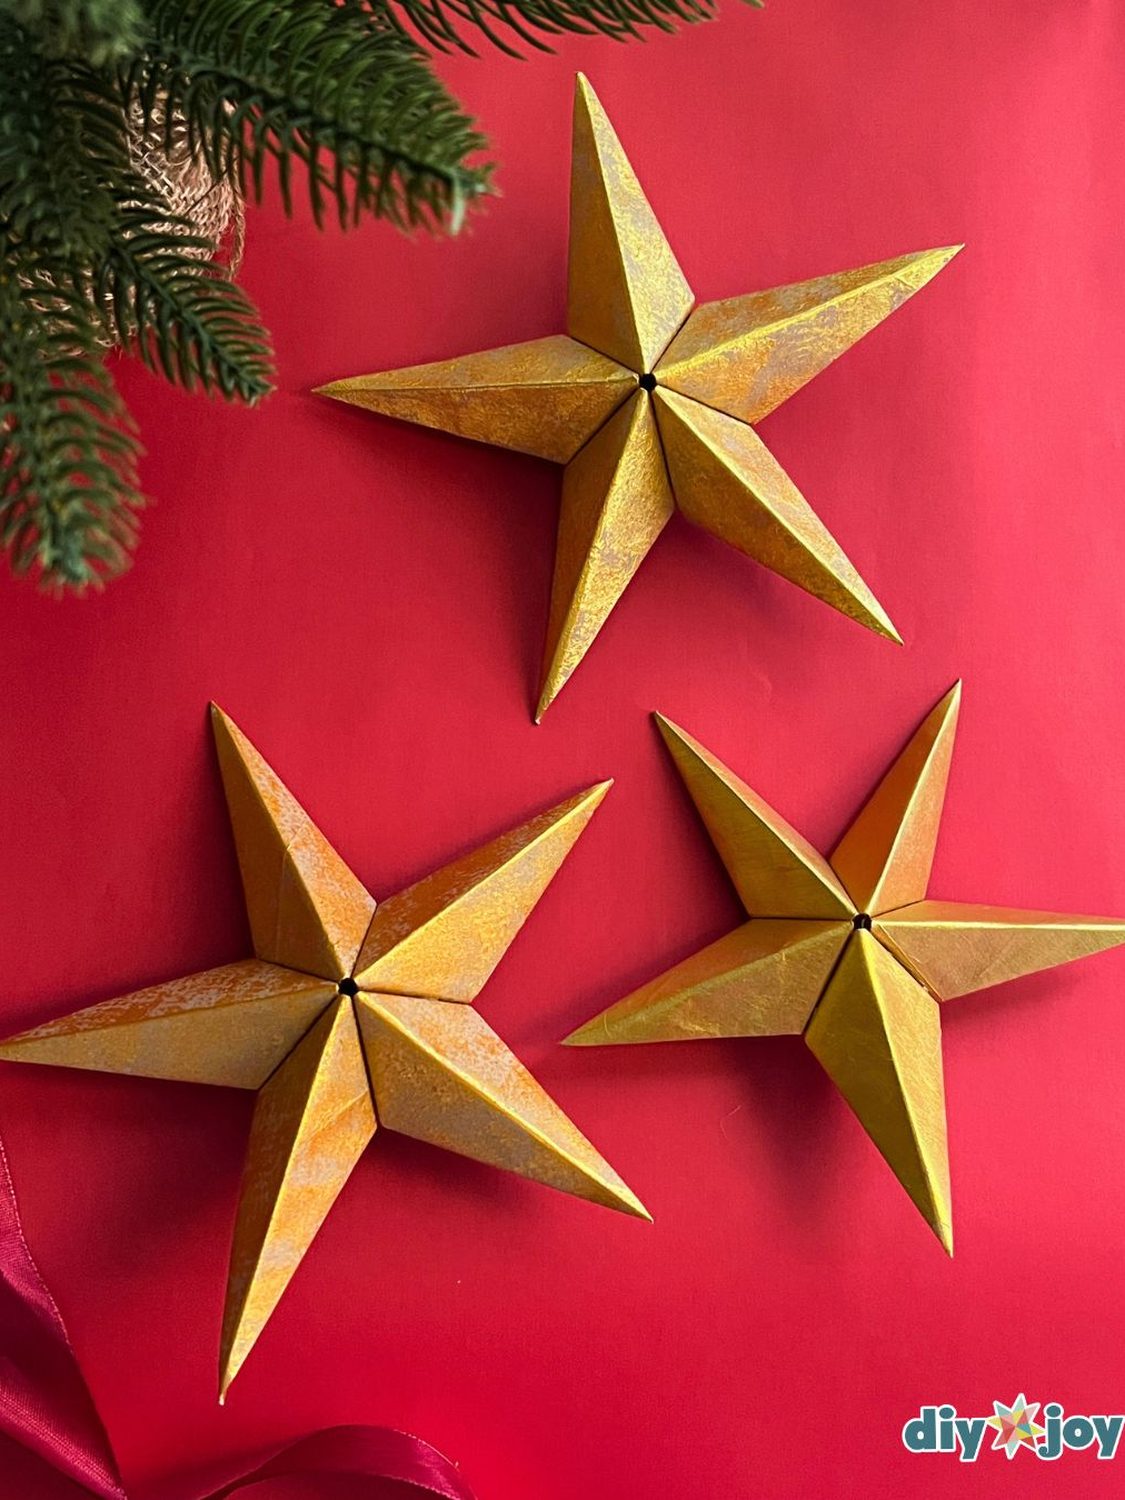
Nobody has ever guessed what our gold stars are made of. It's a paper grocery bag. You dab metallic gold acrylic paint onto the back of the bag with a toothbrush so it dries with a hammered texture, cut five three and a half inch squares, fold each one into a diamond and hot glue the five points into a 3D star. Skip the bargain paint here, the finish does all the work. They look like hammered metal on the tree and cost nothing.
3. White Glitter Star Ornaments
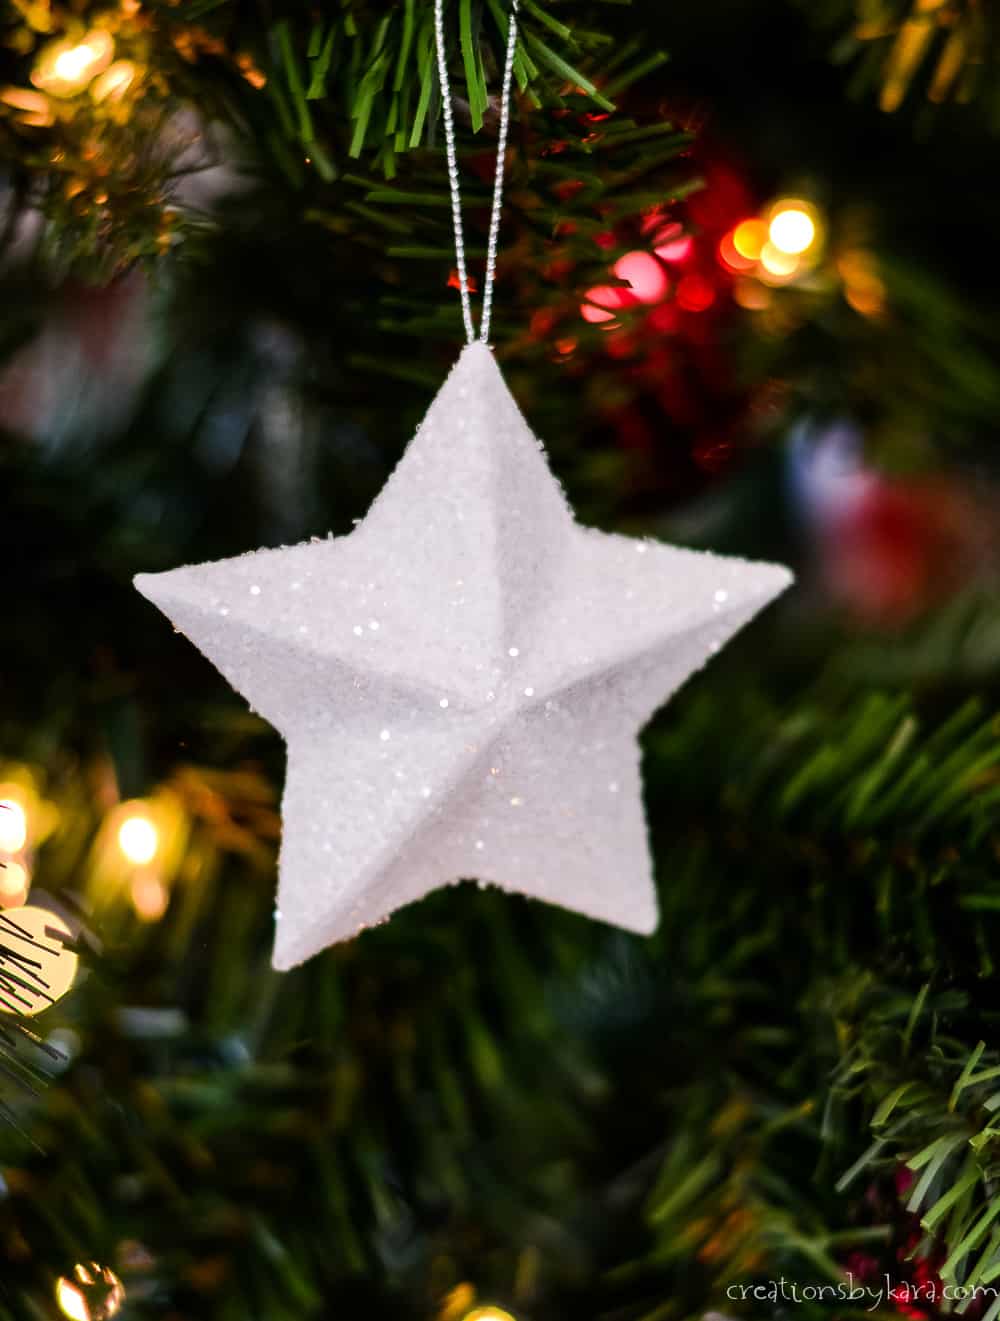
Kara's mom gives each grandchild an ornament every year, and these white glitter stars were the ones that ended up all over her farmhouse tree. They start as small paper mache stars from the craft store, get a coat of white paint and a heavy dusting of glitter, and the only slow part is waiting for the paint to dry. The two of them cranked out two dozen in an afternoon. Keep them white or paint them to match your tree. Creations by Kara has the details.
4. Rustic Twig Christmas Tree Ornament
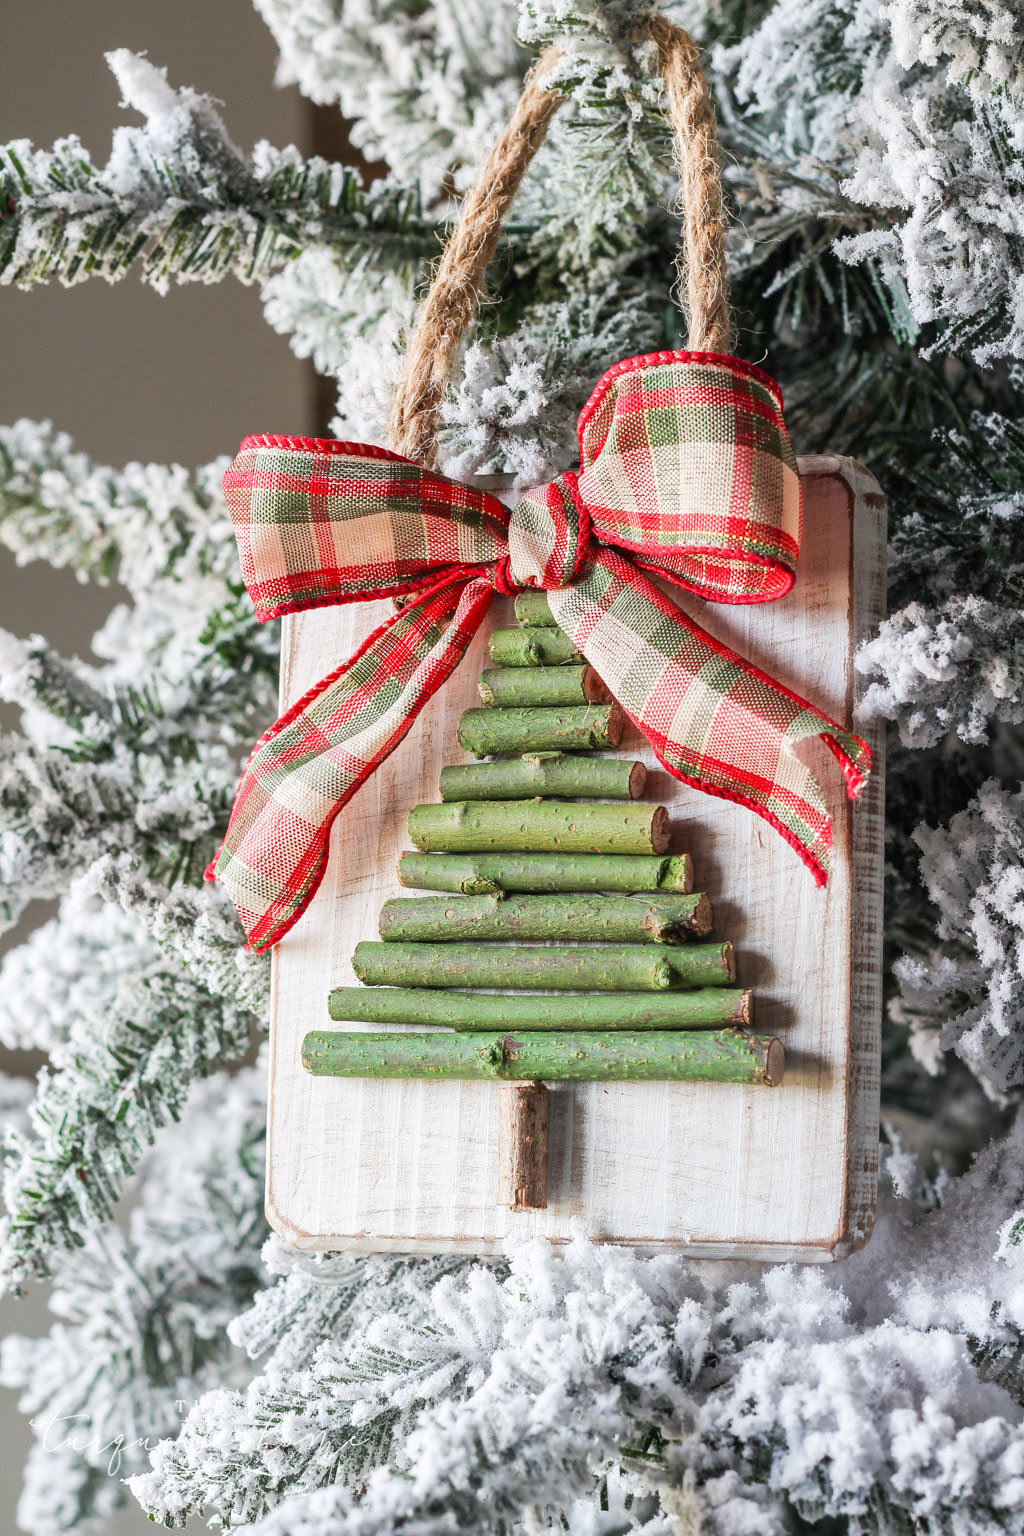
A stained and whitewashed wood plaque, eleven twigs cut a little shorter each time and a plaid bow, and you have a tree ornament that looks like it came from a farmhouse shop. Laura brushes the twigs with green craft paint, glues them on with a hot glue gun and sands the edges of the board so it looks a little worn. Her daughters each made one. Swap the bow for a glittery star if that's more your style. The Turquoise Home walks through every step.
5. Pipe Cleaner Wreath Ornaments
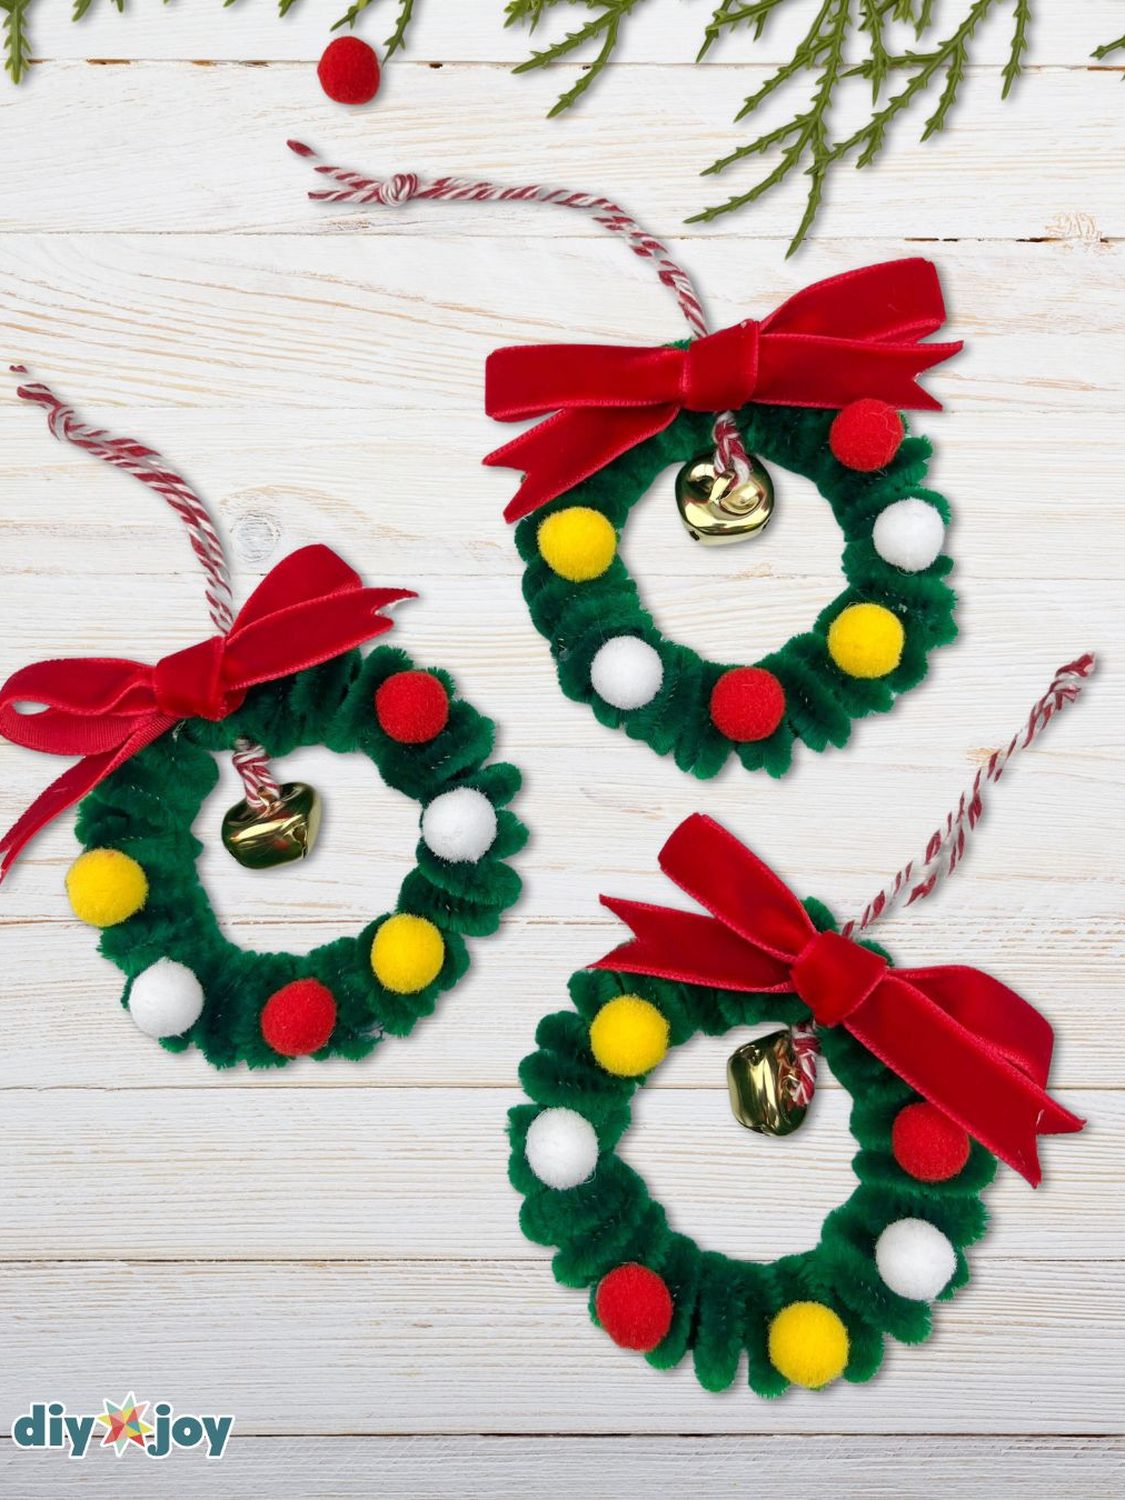
These mini wreaths are ours and they take a few minutes each. Three green pipe cleaners get twisted around a pencil into fuzzy coils, a fourth threads through the middle, and the ends bend around and glue into a circle. Then come the decorations: red, white and yellow pom poms around the ring, a gold jingle bell hanging in the center, a red velvet bow on top and a loop of baker's twine. If the kids are helping, swap the hot glue for tacky glue.
6. Marble Paint Pour Ornaments

These DIY Christmas ornaments look like they came from a fancy boutique and cost a fortune, and they came from a bottle of craft paint and a marbling medium. Cyndy pours the paint over the outside of clear glass or plastic ornaments instead of swirling it inside, because the outside dries faster and keeps the marbling lines crisp. The finish comes out matte, and no two balls match. She calls it addicting, which sounds about right for a girls night craft. The Creativity Exchange has the video.
7. Cinnamon Stick Star Ornaments

Cinnamon sticks, a hot glue gun and a few minutes, and the tree smells like Christmas every time the heat kicks on. Jo-Anna's little stars are the kind of ornament you make a dozen of while the cookies bake, and the red and white twine with tiny silver bells is what makes them look finished instead of homemade. Tie one onto a wrapped gift as the tag and it does double duty. A Pretty Life in the Suburbs has the how to.
8. Easy Paper Ball Ornaments
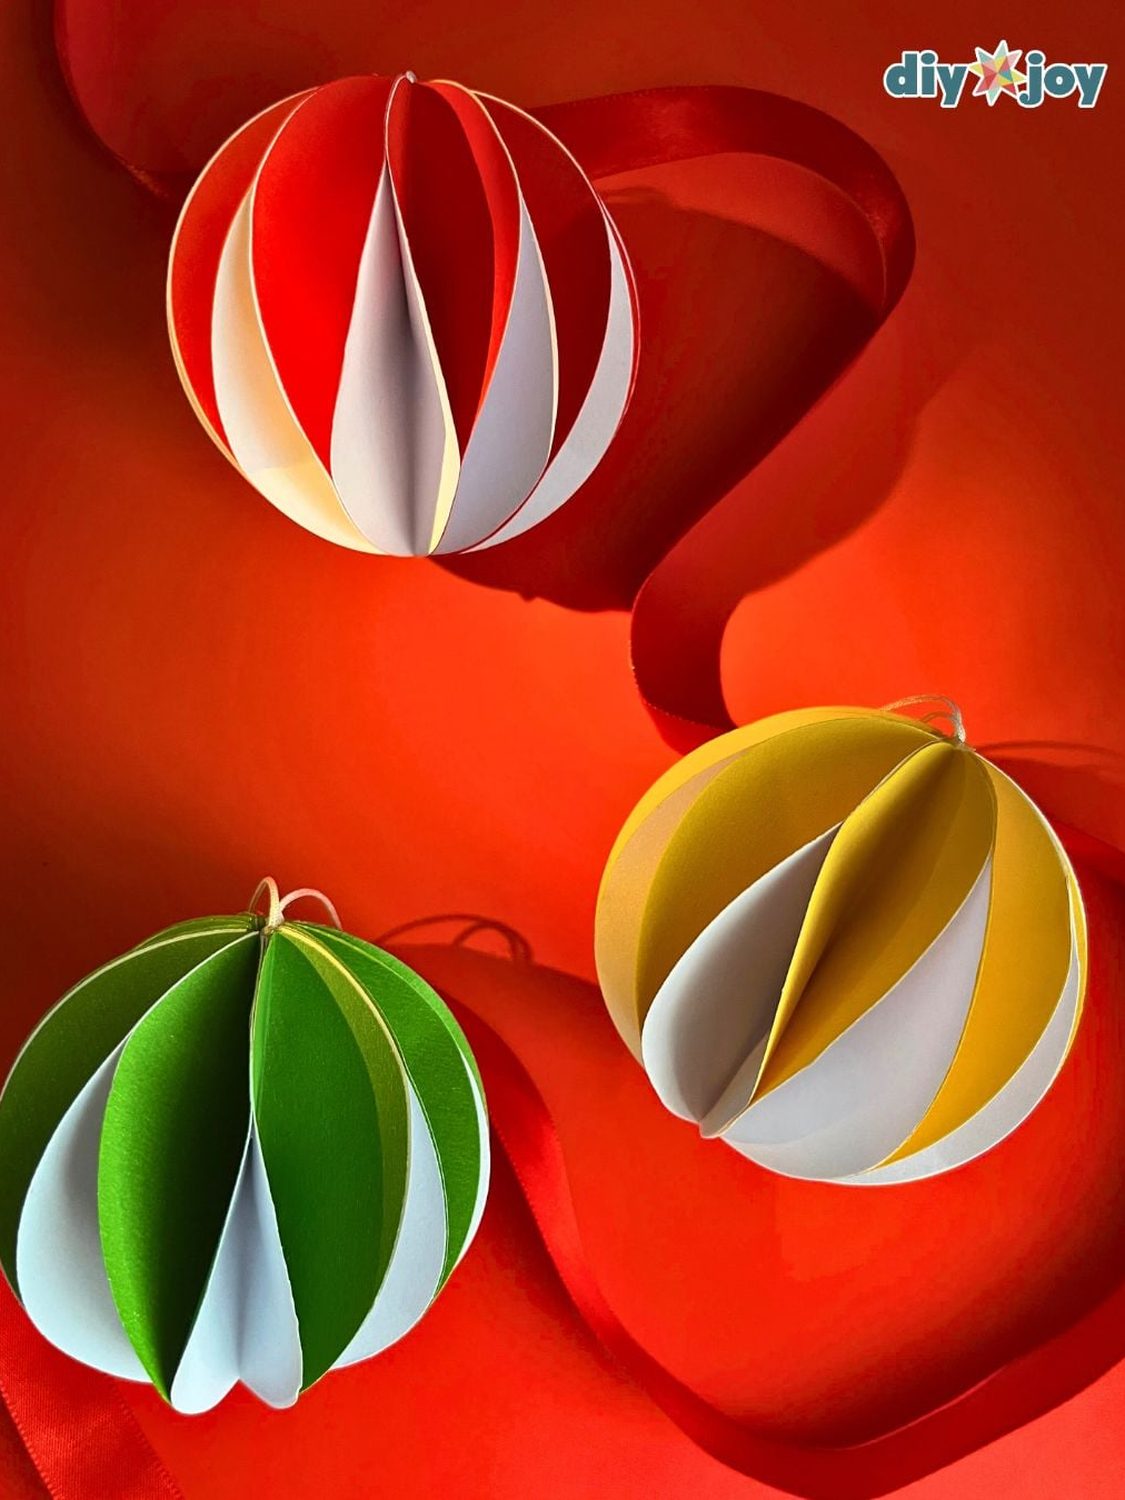
Nothing but paper circles, folded in half and glued back to back until the stack opens into a ball. No sewing, no machine, nothing to order. I made my first batch on a Sunday afternoon with a stack of colored cardstock and half a bottle of glue, and once you find the fold, glue, press rhythm you stop thinking about it. Pair a bright color with white for the striped look in the photo. This one is ours, and the tutorial and video are on DIY Joy.
9. DIY Velvet Look Ornaments
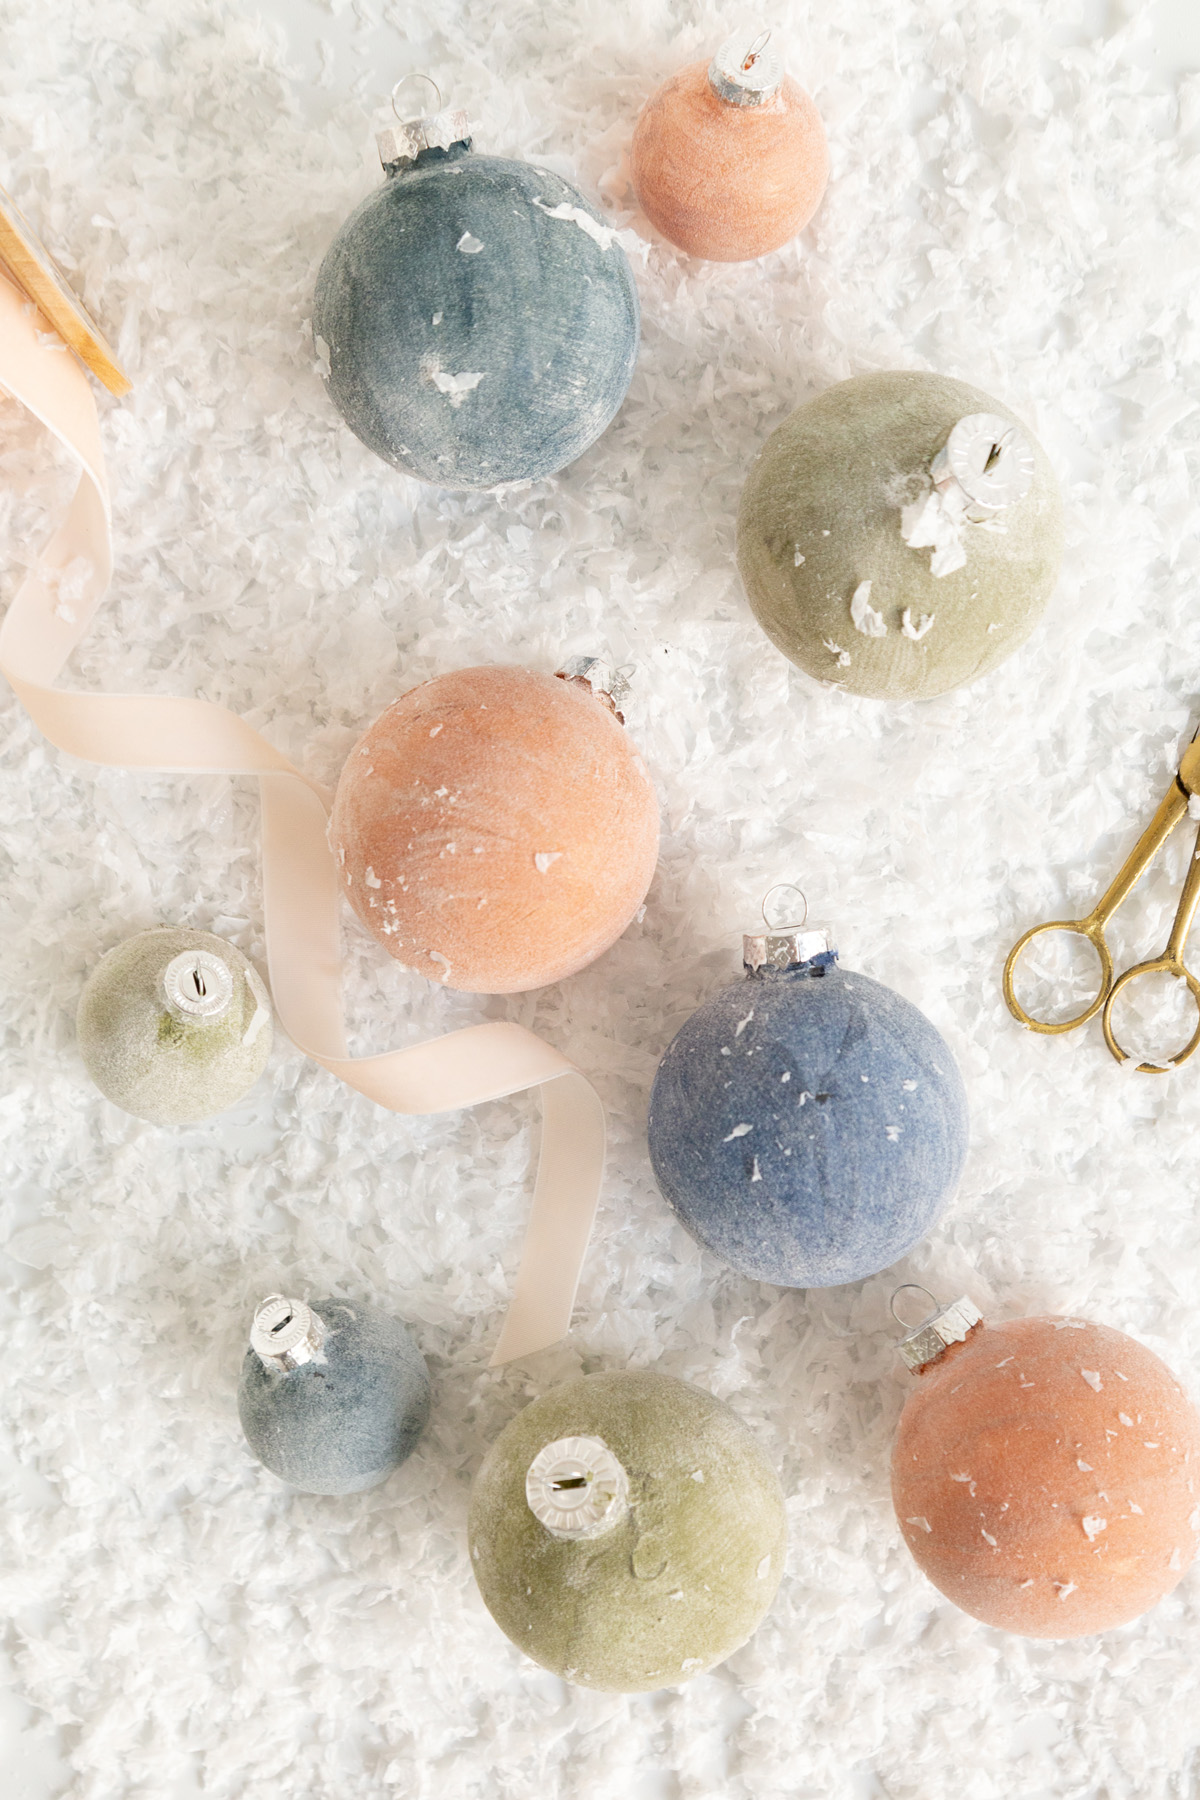
Velvet and flocked ornaments are everywhere in the stores, and Sara gets the same soft look at home with acrylic paint and two things from the pantry. The finish dries right into the paint, so her set still looked velvety a year later, and the colors she chose, bronze, cornflower blue, navy and dusty rose, make the tree feel calm instead of flashy. Plastic or glass balls both work. Alice and Lois has the full how to and the pantry trick.
10. Felt Vintage Red Truck Ornament
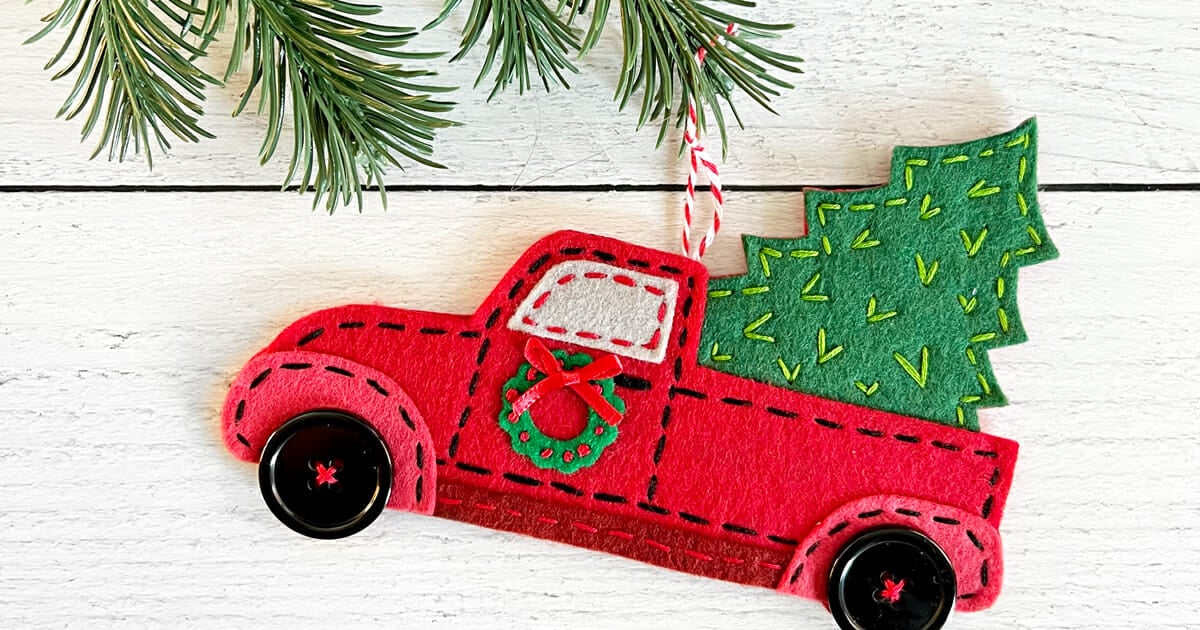
The vintage red truck with a tree in the bed is on everything at Christmas, and Kim's felt version might be the sweetest. She cuts the truck, the tree and the little wreath from wool felt, fuses the layers with interfacing and stitches the outlines with a simple running stitch, then adds two black buttons for wheels. It's a sewing project, but the stitches are the easy kind. Use fabric instead of felt if that's what you have. Crafting Cheerfully has the template.
11. Five Minute Santa Gnome Ornament
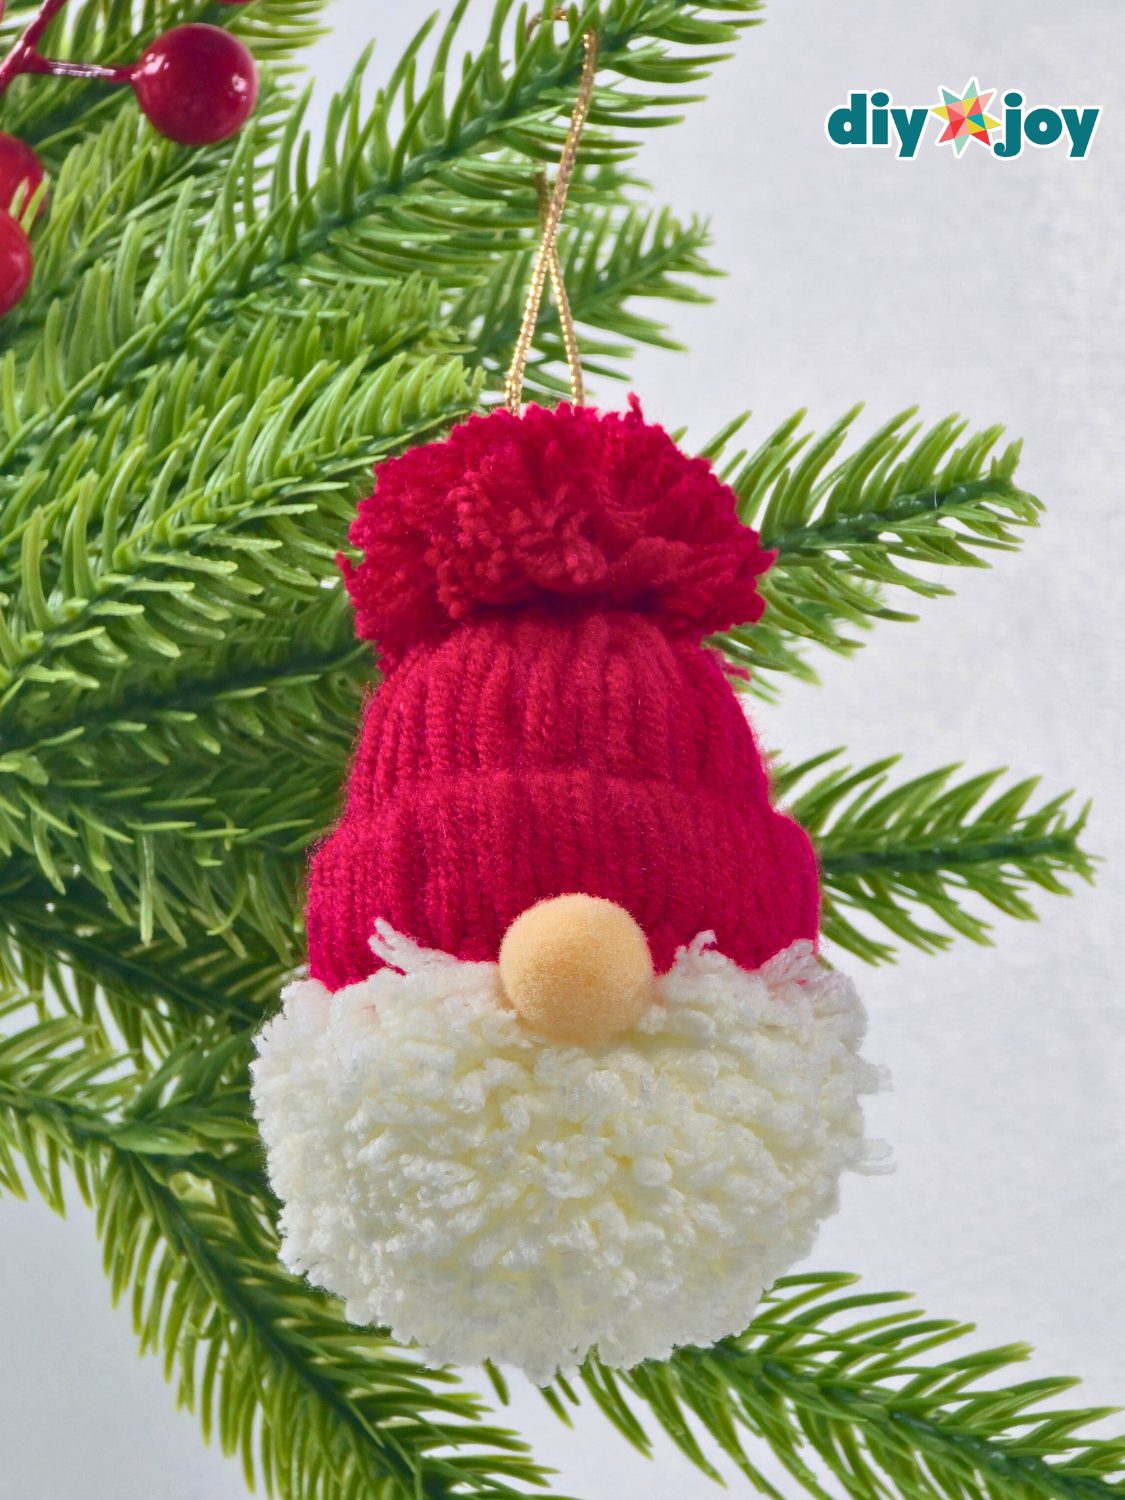
All you need is yarn, an empty tissue roll and a little fiberfill, and about five minutes. Wrap red yarn into a hat with a pom pom on top, pile on a fluffy white yarn beard and glue a peach pom pom nose peeking out from under the brim. They were designed as ornaments, but I've turned them into a garland, gift bag toppers and keychains too. Swap the yarn colors to match anyone's kitchen. This one is ours, and the video is on DIY Joy.
12. Mason Jar Ring Mini Wreath Ornaments
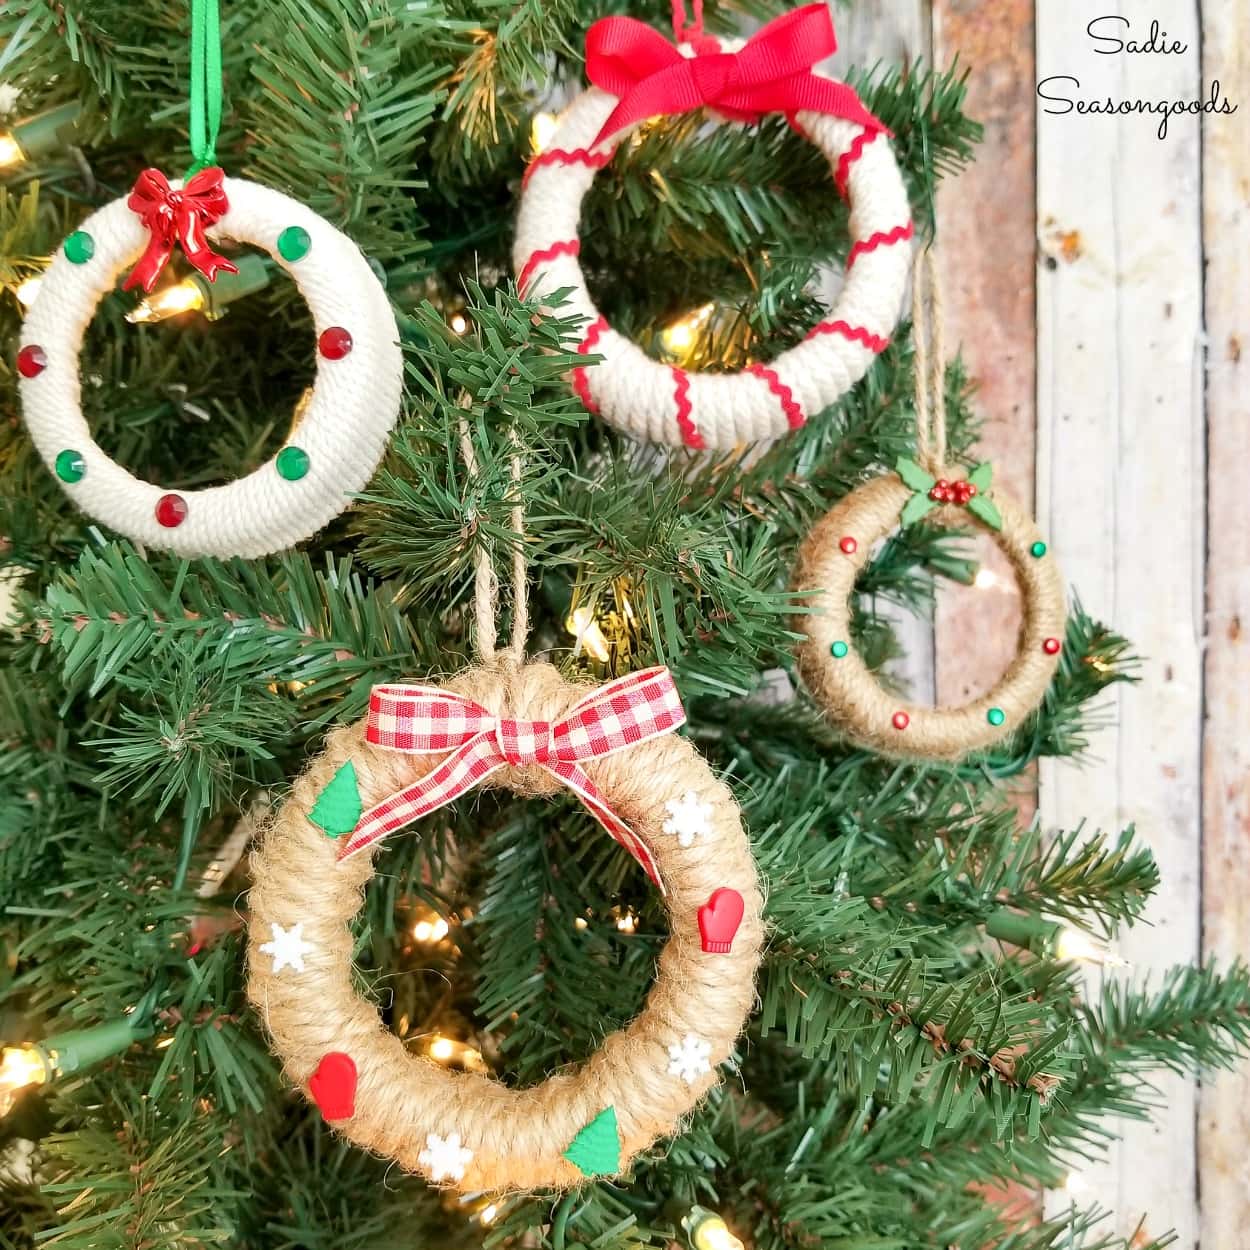
Sarah turns the rings from her mason jars into mini wreaths, and they are exactly the right size to hang on the tree. Each one gets wrapped in jute twine or cream yarn and dressed up from the scrapbooking aisle with ric rac, a gingham bow, tiny gems or a holly sprig, so no two match. She had a whole batch done in a couple of hours, and it's a good one for a crafting group or for kids. Sadie Seasongoods has the photos and the details.
13. Paper Strip Ball Ornaments
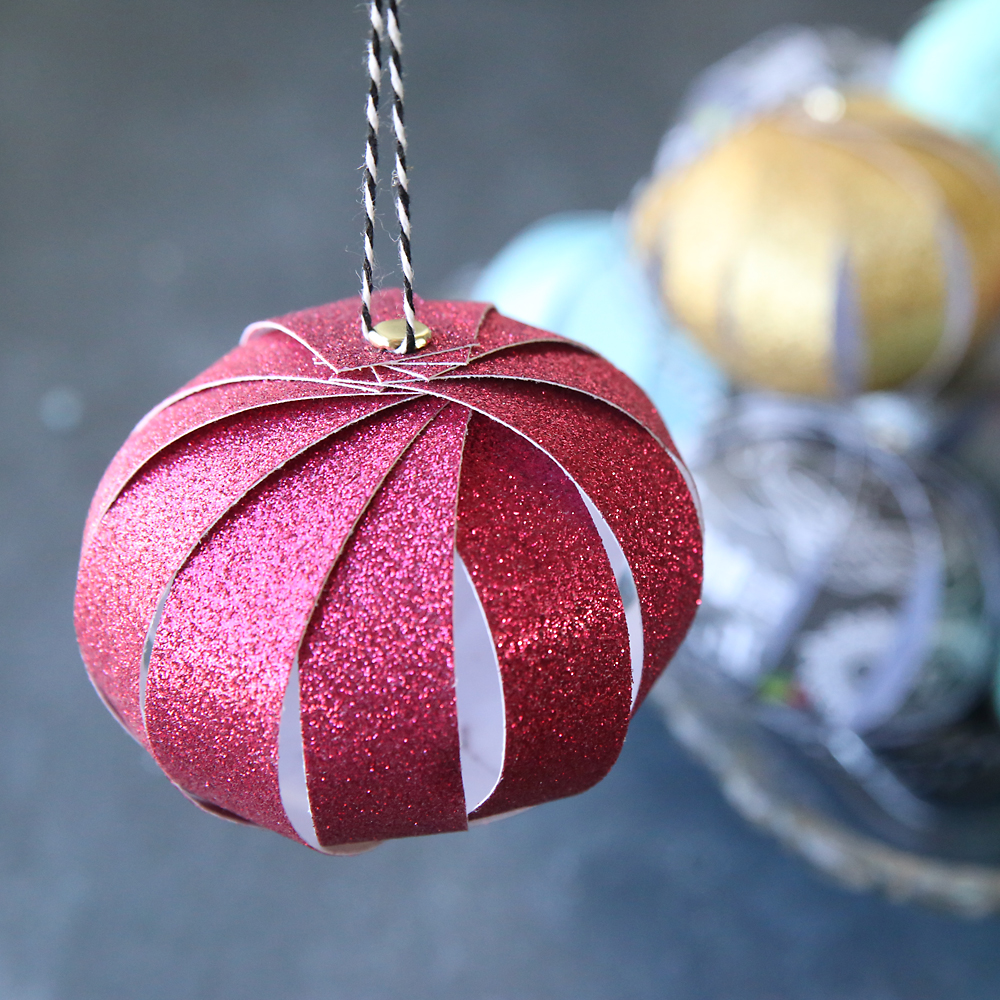
Use up that old scrapbook paper. Autumn's free template turns one sheet into two ornaments: cut eleven strips, punch a hole at each end, stack them and push a brad through one end with a loop of twine tucked underneath. Push a second brad through the other end, then fan the strips out and around until they form a sphere. Glitter cardstock gives you the shiny ball in the photo. It's Always Autumn has the template and a quick video.
14. DIY Cupcake Liner Christmas Ornament
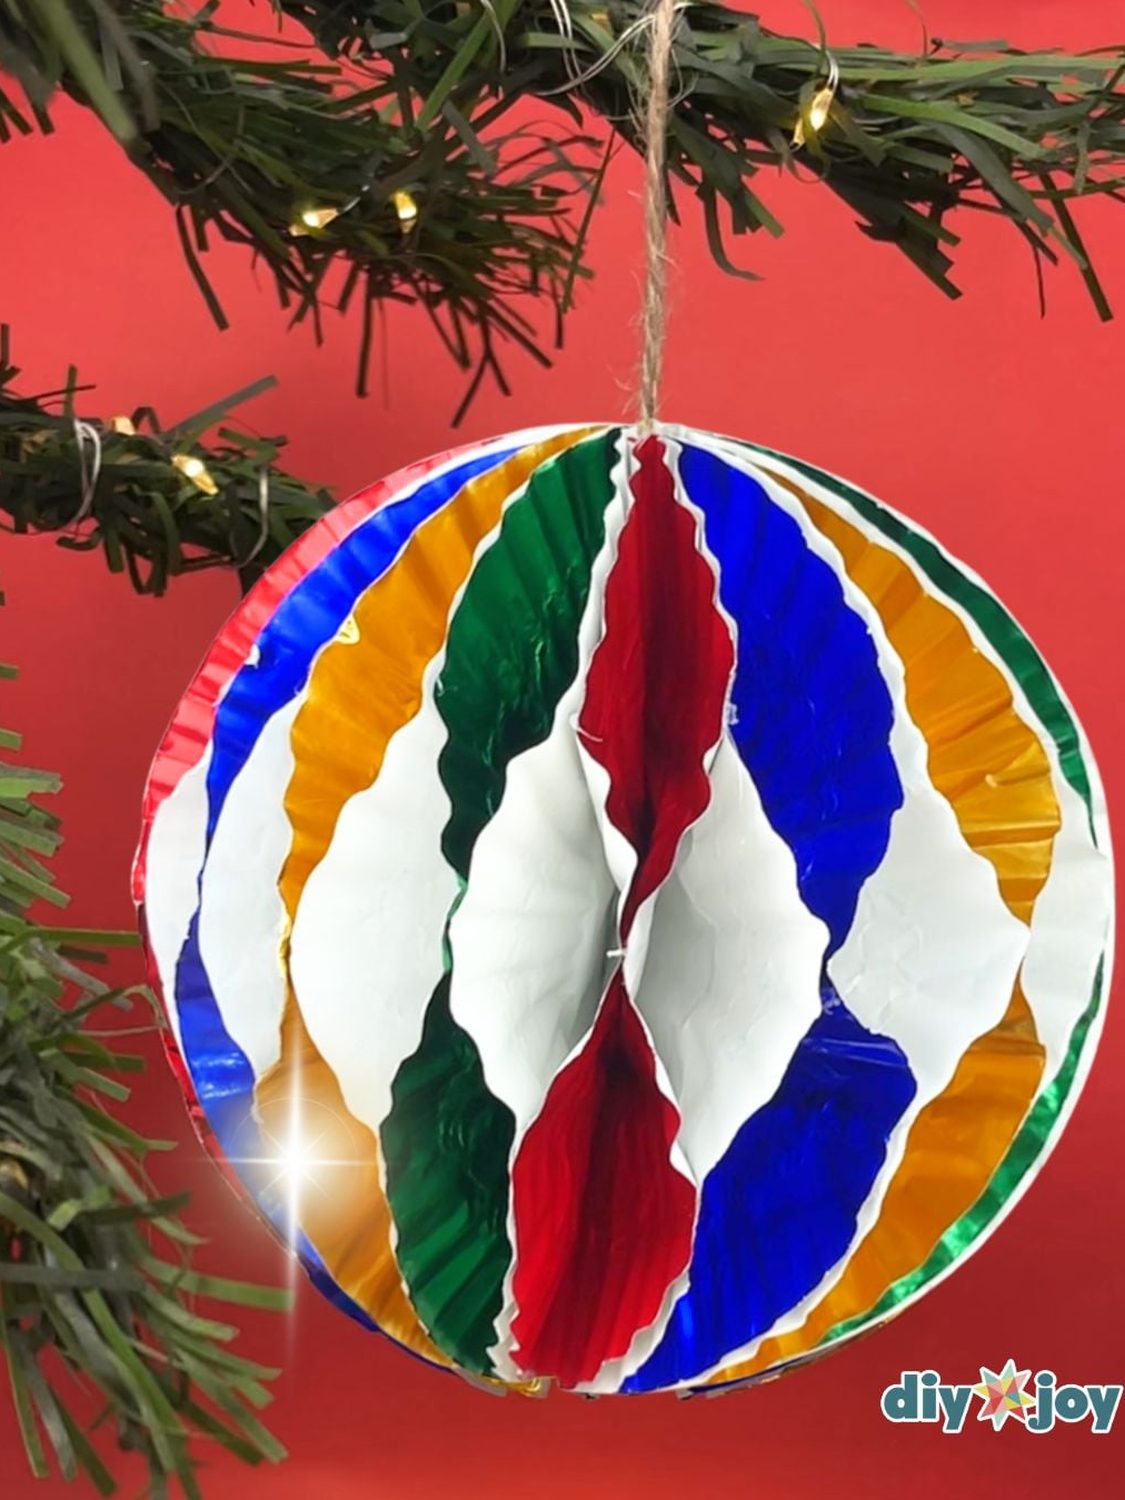
This one is ours, and it started the year I ran out of ornaments halfway through decorating. A pack of metallic cupcake liners costs almost nothing, and once you get the folding rhythm you can fill a bowl with striped balls in one evening on the couch. Stack the colors in a different order each time and no two come out the same. Kids can handle the folding while you do the gluing. The full step by step and the video are on DIY Joy.
15. Believe Wood Slice Ornaments
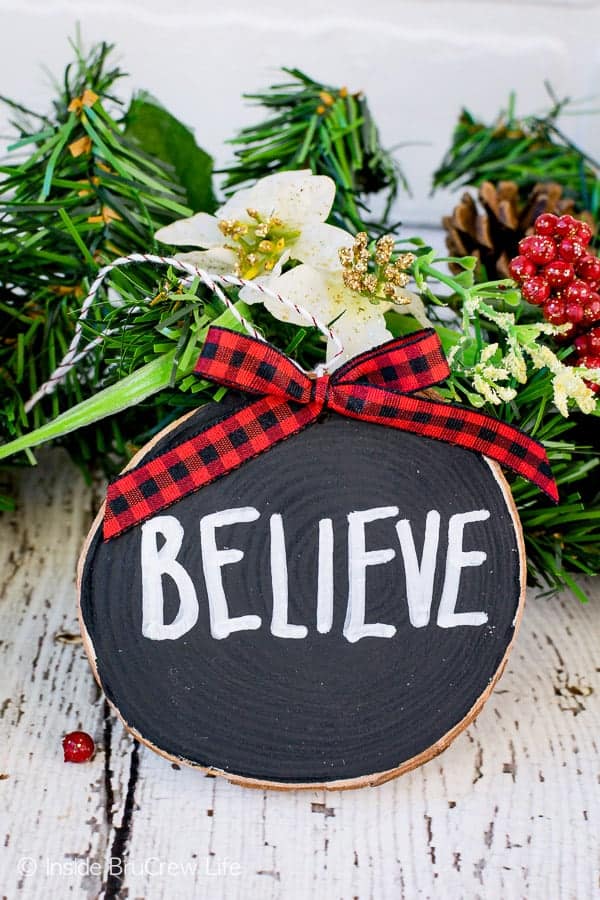
Jocelyn saw ornaments like these selling for five dollars apiece, went home and made twenty for about thirty dollars. Round wood slices get a coat of red, white or black craft paint, then a word in that clean hand lettered style with a paint marker and a bow of red and black checkered ribbon. Split your slices into three piles so every color gets its turn. Baker's twine hangs them. Inside BruCrew Life has the whole rustic set.
16. Microwave Popcorn Glass Ball Ornament
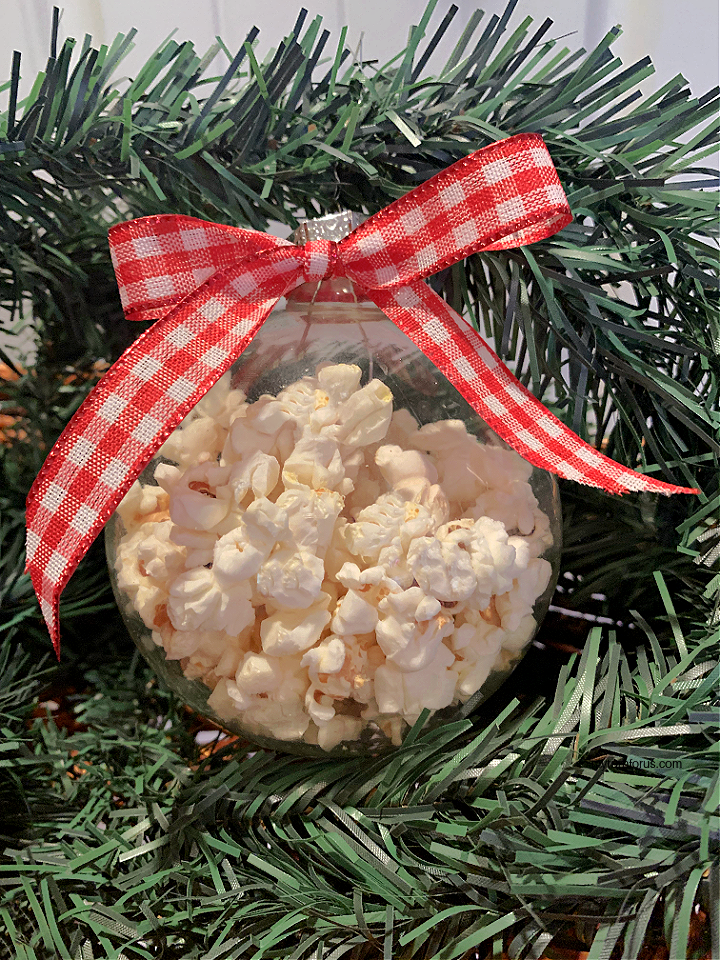
Evelyn's popcorn ornament is a party trick. Her vintage looking ornament is a clear glass ball with real popped popcorn inside, and the popcorn gets popped in there, not stuffed in afterward. A red gingham bow on top and it costs under five dollars. Everyone who sees it asks how you got the popcorn in, which is half the fun of hanging it. My Turn for Us has the method, the timing and the safety notes.
17. Glitter Foam Pinwheel Ornament
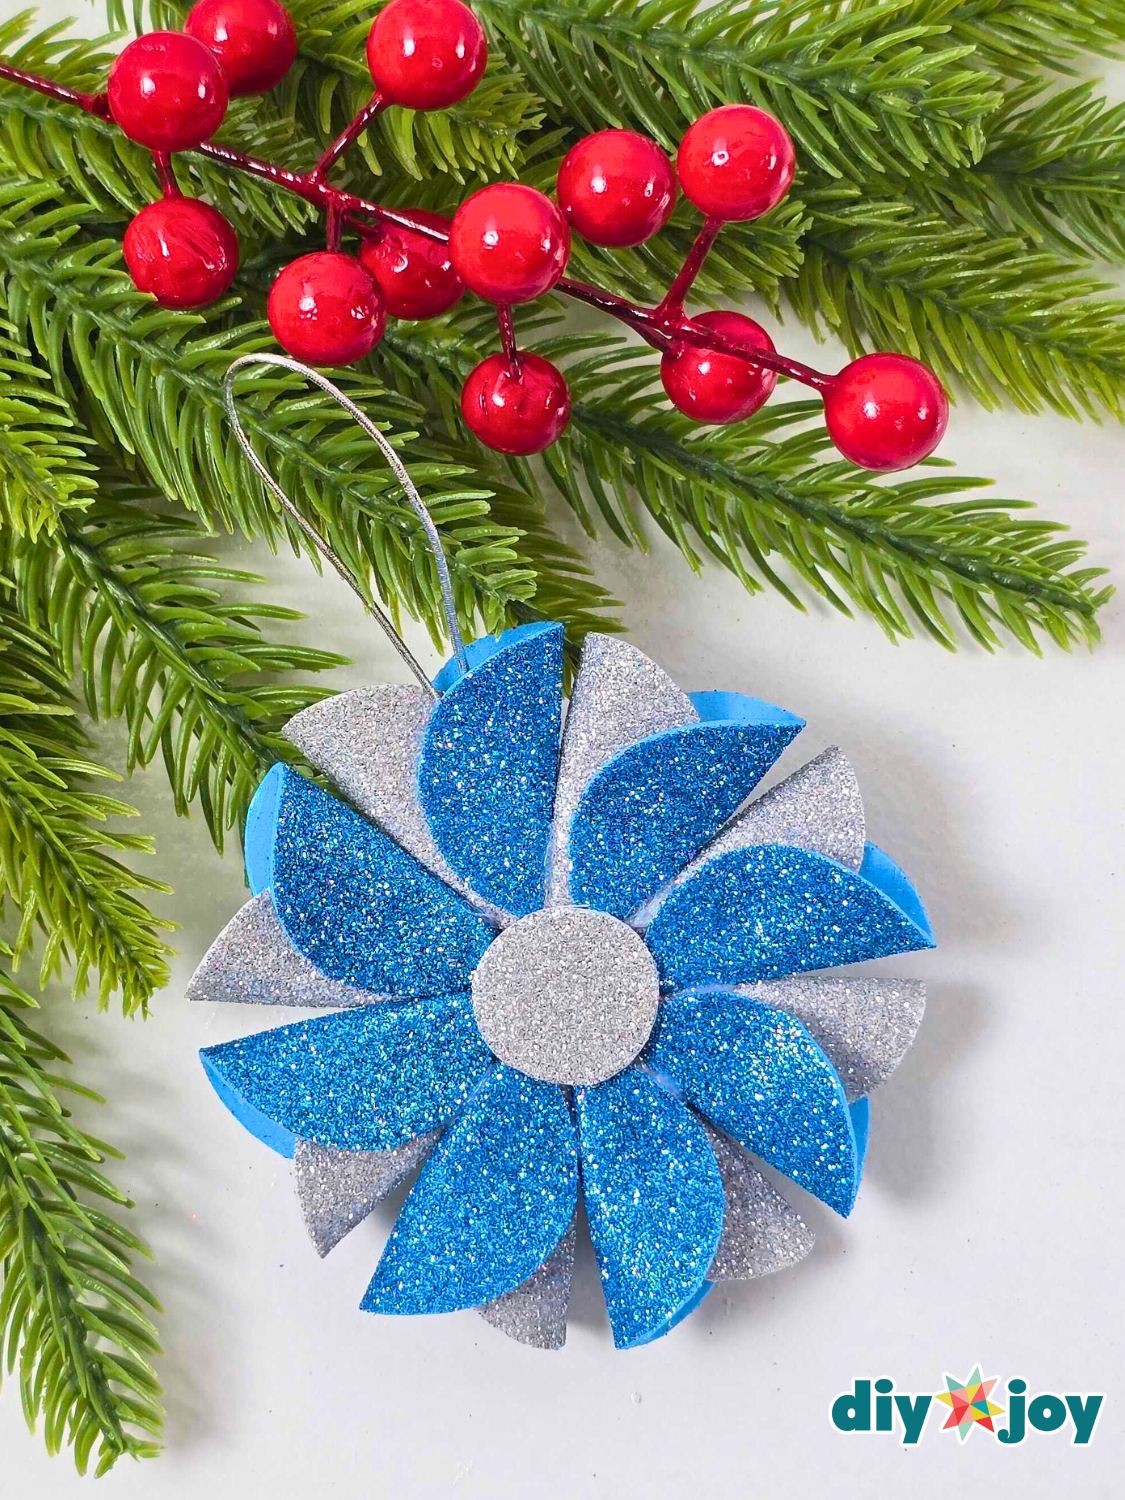
Glitter foam sheets are one of my favorite things to craft with because they sparkle without shedding glitter all over the house. Cut petal shapes from blue and silver foam, layer them around a circle in a pinwheel and glue a silver disc in the center, then add a cord loop. It's beginner friendly, and once you make one you'll want a whole set in different sizes and colors. This one is ours, and the step by step is on DIY Joy.
18. Rustic Twine Ball Ornaments
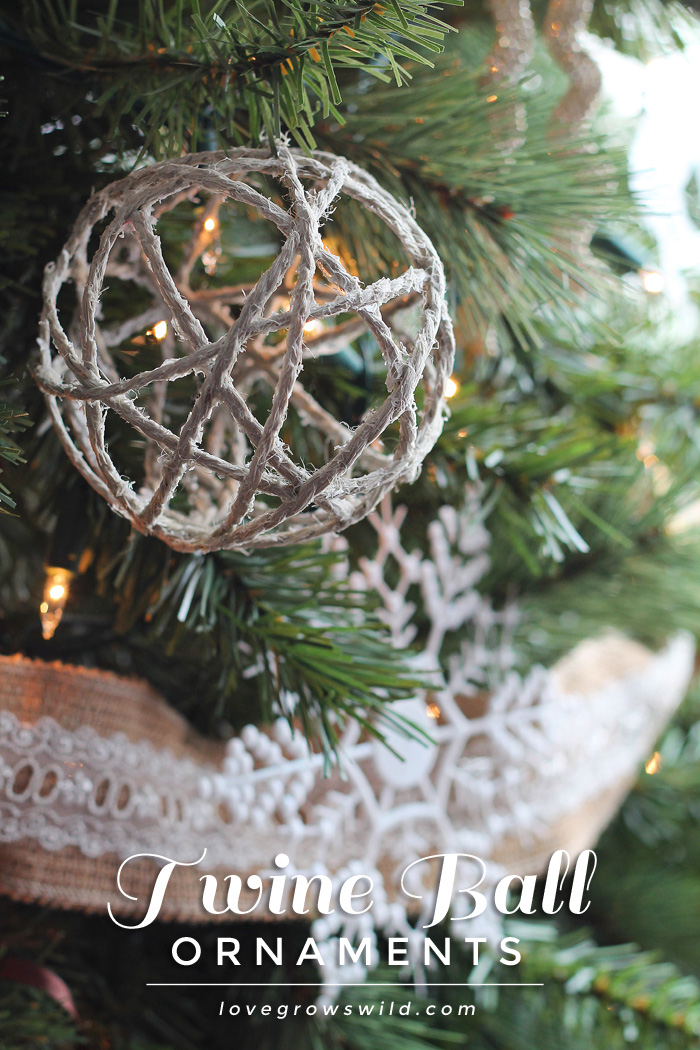
Liz wanted a little rustic charm to balance all the glitter on her tree, and these twine balls did it. Mix four ounces of school glue with half a cup of cornstarch and a quarter cup of warm water, wrap a small balloon in plastic wrap and wind jute twine around it through the glue. Once it dries hard, pop the balloon and pull it out. Hang them with an ornament hook. Love Grows Wild has the full walk through.
19. Tiny White Cardboard House Ornaments
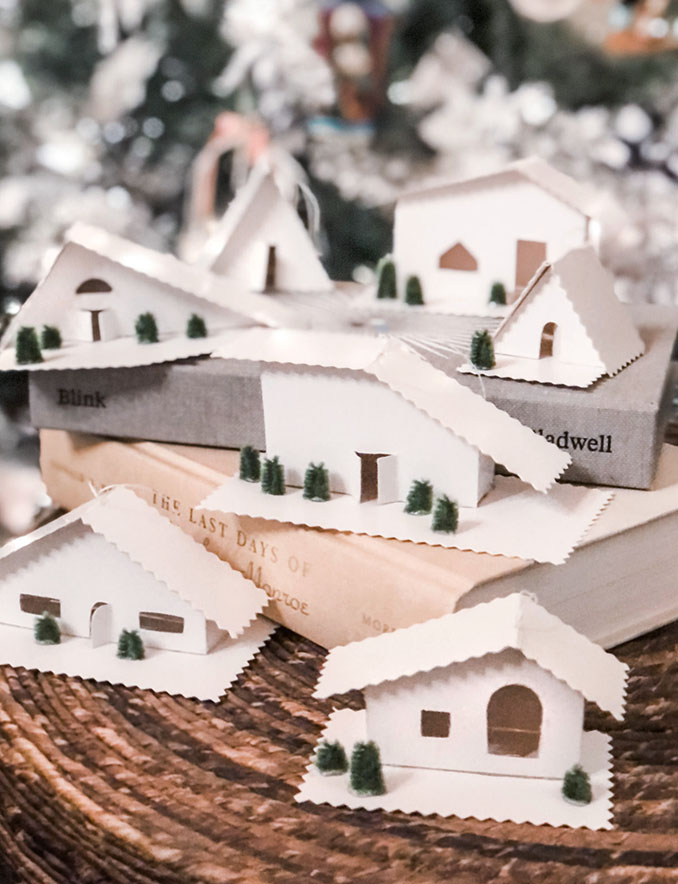
Maegan's grandma had tiny midcentury house ornaments from the fifties, and these are her version in plain white. She cuts the walls and roofs from thin white cardboard, the kind that comes packed with printer paper, trims the roof edges with pinking shears and cuts the doors and windows with a blade. Hot glue holds it together and a string goes through the roof. Tiny trees by the door finish them. Love Maegan has the shapes to cut.
20. Glitter Salt Dough Ornaments
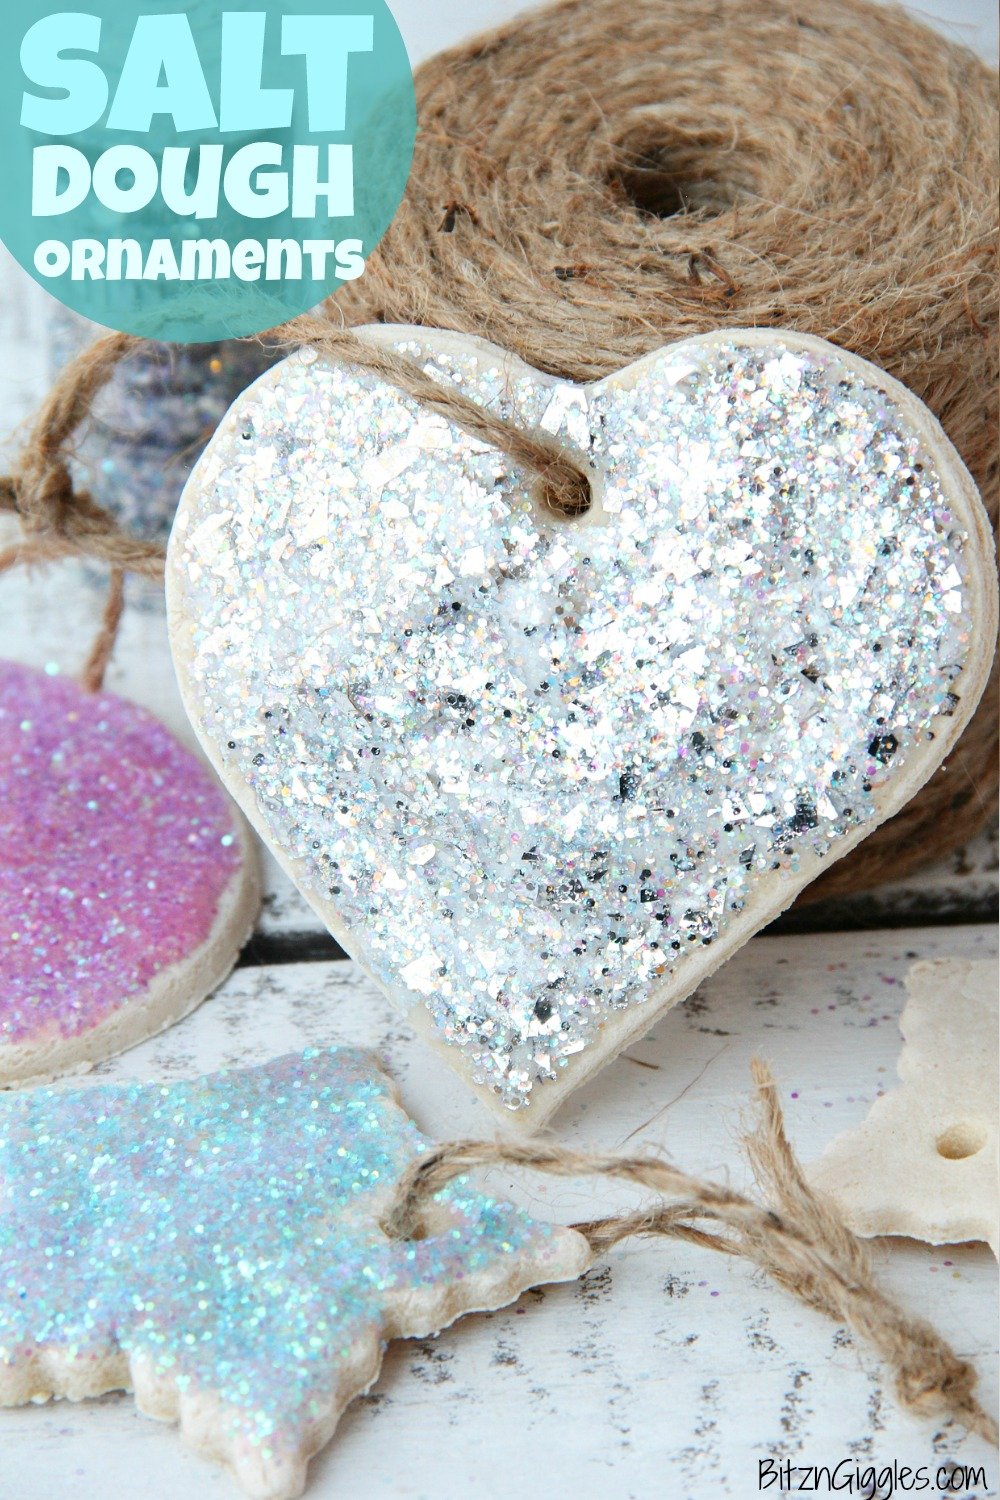
Three ingredients, a rolling pin and your cookie cutters. Sara's salt dough recipe bakes up hard and holds a shape, and while the ornaments are still wet with glue she covers them in chunky glitter so they catch the tree lights. Hearts, mittens, snowflakes, whatever cutters you own. Punch the hanging hole before they bake and thread jute twine through it after. Bitz & Giggles has the recipe and the baking time.
21. Embroidered Air Dry Clay Ornaments
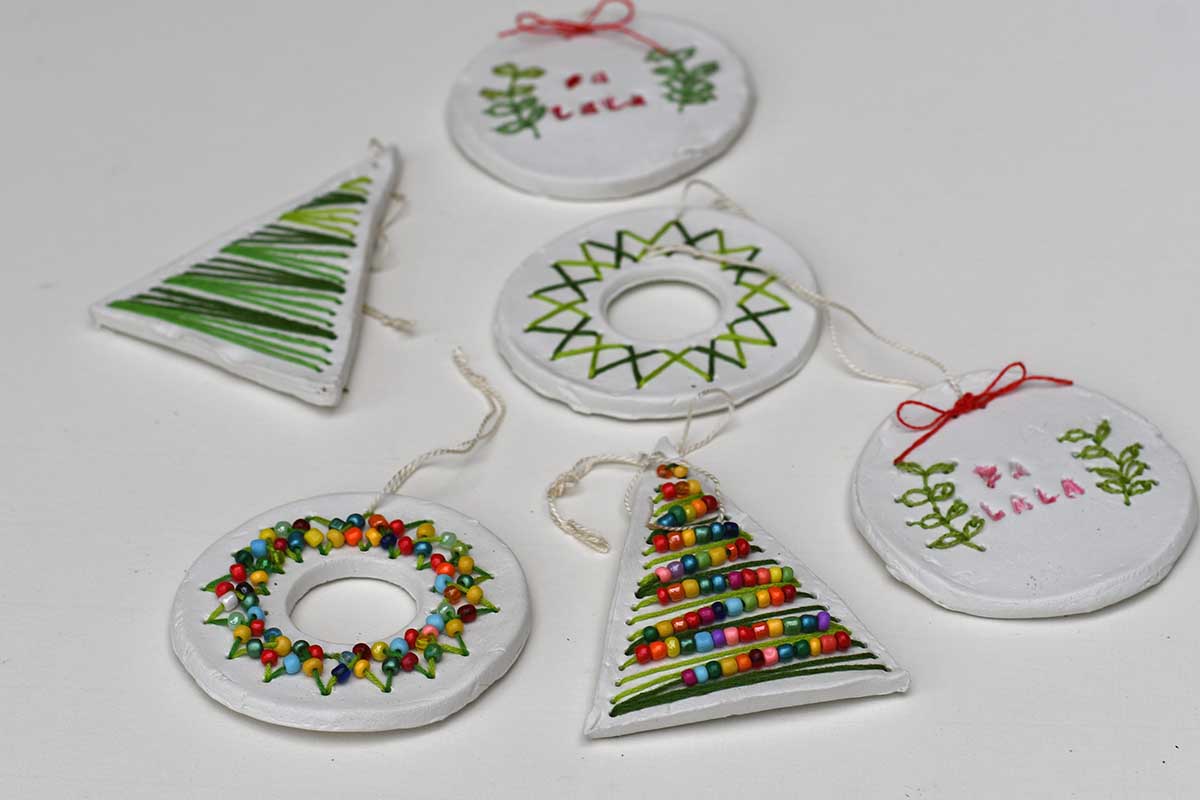
Claire rolls white air dry clay to about three millimeters, cuts trees, wreaths and baubles, then punches stitching holes with an awl using her free templates before it dries. Once the shapes are hard, she stitches through the holes with embroidery thread, adds seed beads for the tree lights and stamps FA LA LA on the round ones. A single small block of clay makes about eight. They hang on the tree, tie onto gifts or string into a garland. Pillar Box Blue has the templates.
22. Buffalo Check and Snowflake Wood Ornaments
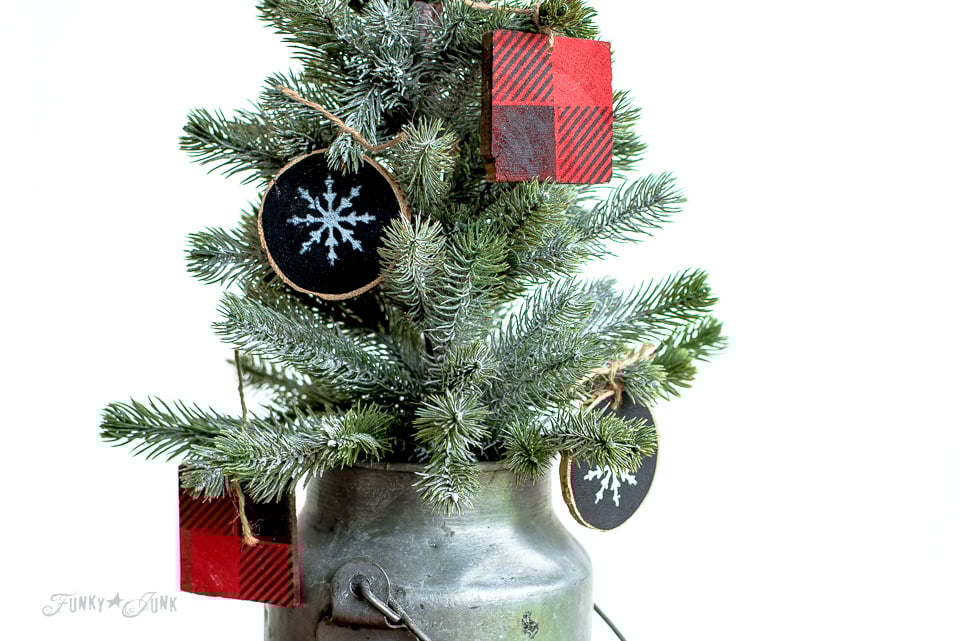
Donna cut slices from a firewood log and squares from a scrap post, and the bark edges give them that homespun look you can't buy. The rounds get painted black with a white stenciled snowflake, and the squares get a red and black buffalo check stencil. Drill a hole, thread thin twine and hang. She has a video showing how to stencil buffalo check onto anything, which is worth a look on its own. Funky Junk Interiors has the tutorial.
23. DIY Floating Ornaments

These are the ornaments that look like there's a tiny scene floating inside the glass. Melissa cuts inserts from transparency film using her free printable templates, leaves a tab at the top so the insert stays put, and draws the scene with oil based paint pens. Let it dry overnight, roll it with the painted side inward and slide it into a clear ornament. No cutting machine needed. She did birch trees with a cardinal, mountains and a snowman. Sincerely Saturday has the templates.
24. Popsicle Stick Gingerbread House Ornaments

Mini popsicle sticks painted brown become the walls of a gingerbread house, white craft foam becomes the icing trim and the decorating is where the kids come in. Elizabeth adds red and white paper straws for candy cane posts, a row of mini pom pom gumdrops and gingerbread man stickers, then hangs each house on a loop of cord. Make the houses ahead and let the kids do the candy. Frugal Mom Eh! has the supply list.
25. Beaded Wire Christmas Tree Ornament

Beaders and jewelry makers, this one is yours. Adrianne's beaded tree is rows of green glass beads on wire, graduated from a wide row at the bottom to a single bead at the top, with a sparkly star bead on the tip and an amber drop hanging below as the trunk. It's a jewelry project that isn't jewelry, and the same wire techniques you already know are all it takes. Happy Hour Projects has the full step by step.
26. Chalkboard Paint Ball Ornaments

Linda almost threw these out, because black chalkboard balls are not exactly festive on their own. Then she wrote joy on them in chalk, hung them on red ribbon and loved them. They started as old ornaments that had seen better days, and a can of chalkboard spray paint gave them a second life. Write a word, a name or the year, then wipe and rewrite next Christmas. It All Started With Paint has the how to.
27. Watercolor Fabric Bauble Ornaments

Francesca noticed all Christmas ornaments are hard and wanted something soft and squishy, so she printed her own watercolor fabric and sewed it into stuffed baubles. Cut circles with a four and a half inch template, sew two together right sides facing with an inch gap at the top, turn, stuff and hand stitch the gap closed with a knotted cord loop tucked in. Add dried lavender or pine to the stuffing. Fall For DIY shows the printing.
28. Felt Holly Ornament With Template

Felt doesn't crease, fade, shatter or dent, which is why Menucha keeps making ornaments out of it, and her holly is the simplest one in her collection. Two shades of green leaves, three red pom pom berries and a loop of red yarn, and it looks right at home on the tree or clipped to a gift. There's a free template to trace, so the shapes come out right the first time. Moms and Crafters has the template and the how to.
29. Modern Paint Dipped Clay Ornaments

These modern little clay sticks were made for a kids' tree, and they're the kind of thing you'd find in a design shop. Roll oven bake clay into cylinders three to six inches long, poke a hanging hole an inch from the top with a needle, bake, then thread on embroidery floss and dip the bottom of each one in bright acrylic paint. Set up a drip dry station before you start dipping. Barley & Birch has the details and the color ideas.
30. Cheesy Pizza Slice Clay Ornament
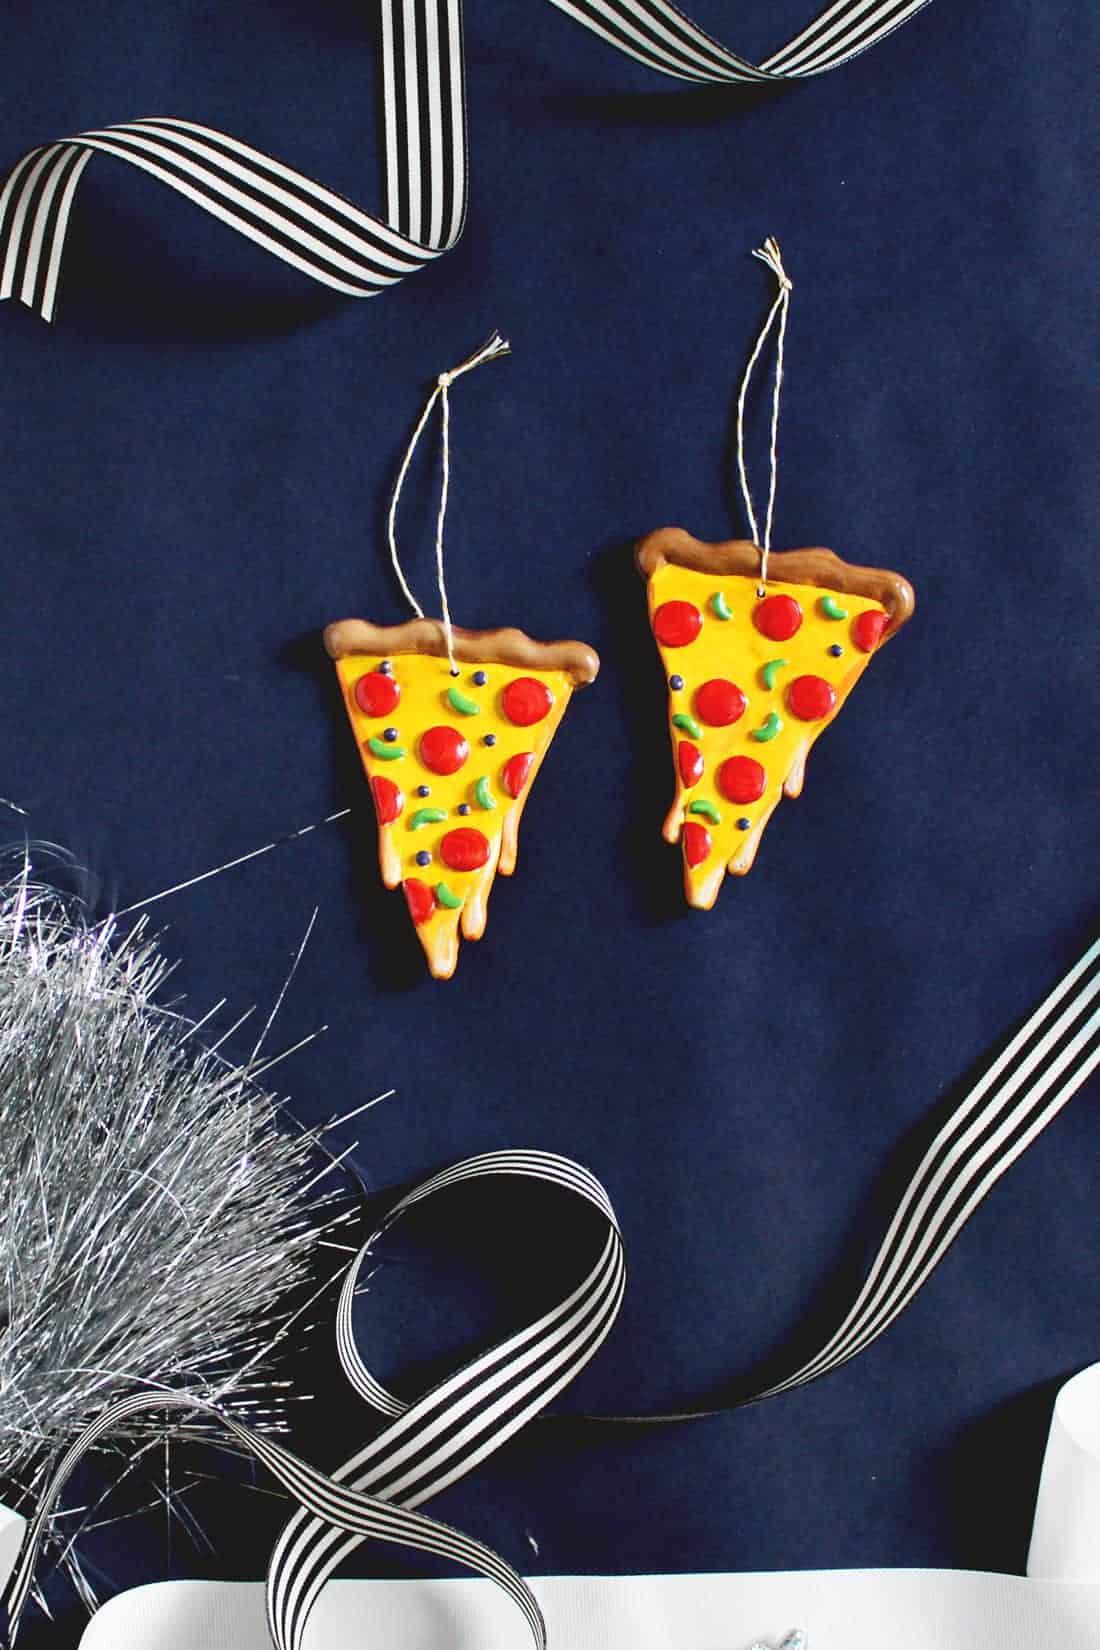
Not all DIY Christmas ornaments have to be snowflakes. Anusha and her husband make a new ornament every year, and this cheesy pizza slice is a favorite: oven bake clay rolled flat, cut into a triangle, given a rolled crust and a drippy edge of melting cheese, then baked and painted with pepperoni and green peppers. A high gloss sealer makes it shine. It's a good one for the pizza lover on your list. Fish & Bull has the step by step.
31. Pom Poms and Pinecones Ornaments
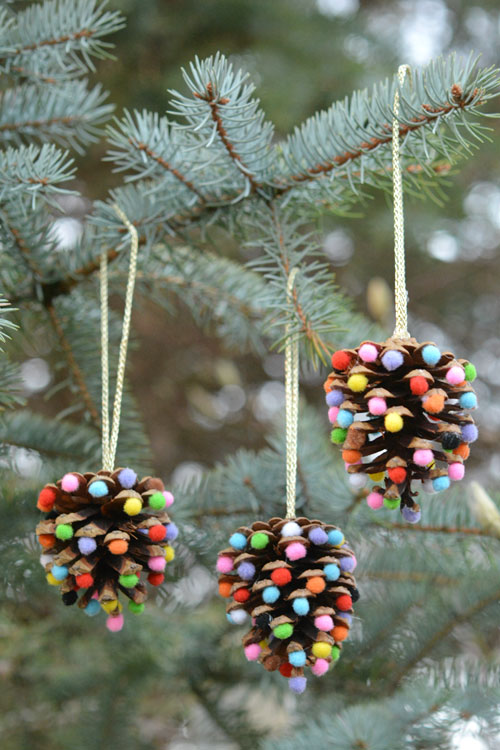
Debbie calls these ridiculously easy, and she's right. Pinecones from the yard, a bag of mini pom poms in every color and a loop of gold metallic cord, and somehow they turn out surprisingly beautiful hanging on the spruce. It's a good one for kids with a low temp glue gun and an adult nearby, and a bag of pom poms covers a whole tree's worth of pinecones. One Little Project has the photos and the details.
32. Wood Veneer Edge Banding Ornaments
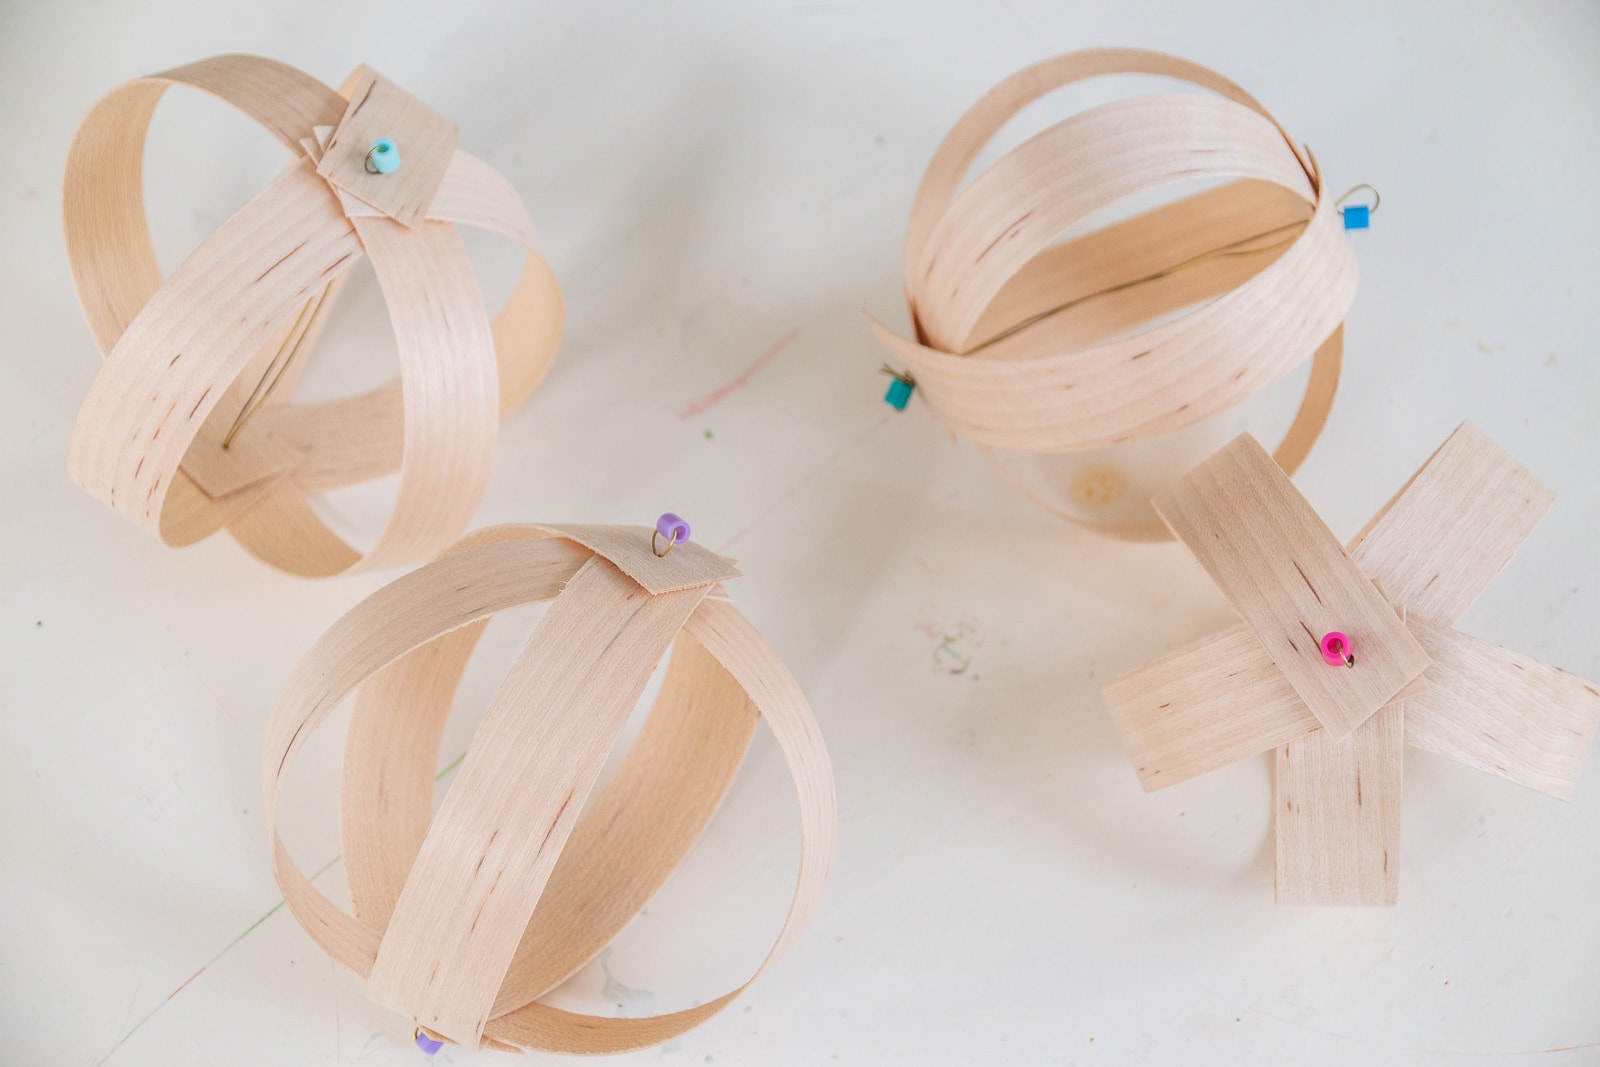
Edge banding is the thin strip of wood veneer meant for finishing plywood, and a roll of it makes a whole box of ornaments for under ten dollars. Charlotte cuts it into six inch strips, uses five per ornament, punches a hole in each end and threads them onto thin floral wire so they fan into a sphere, with a bead on top. Under thirty minutes for ten or more, and they match any decor. At Charlotte's House has the tutorial.
33. Cornstarch Dough Ornaments
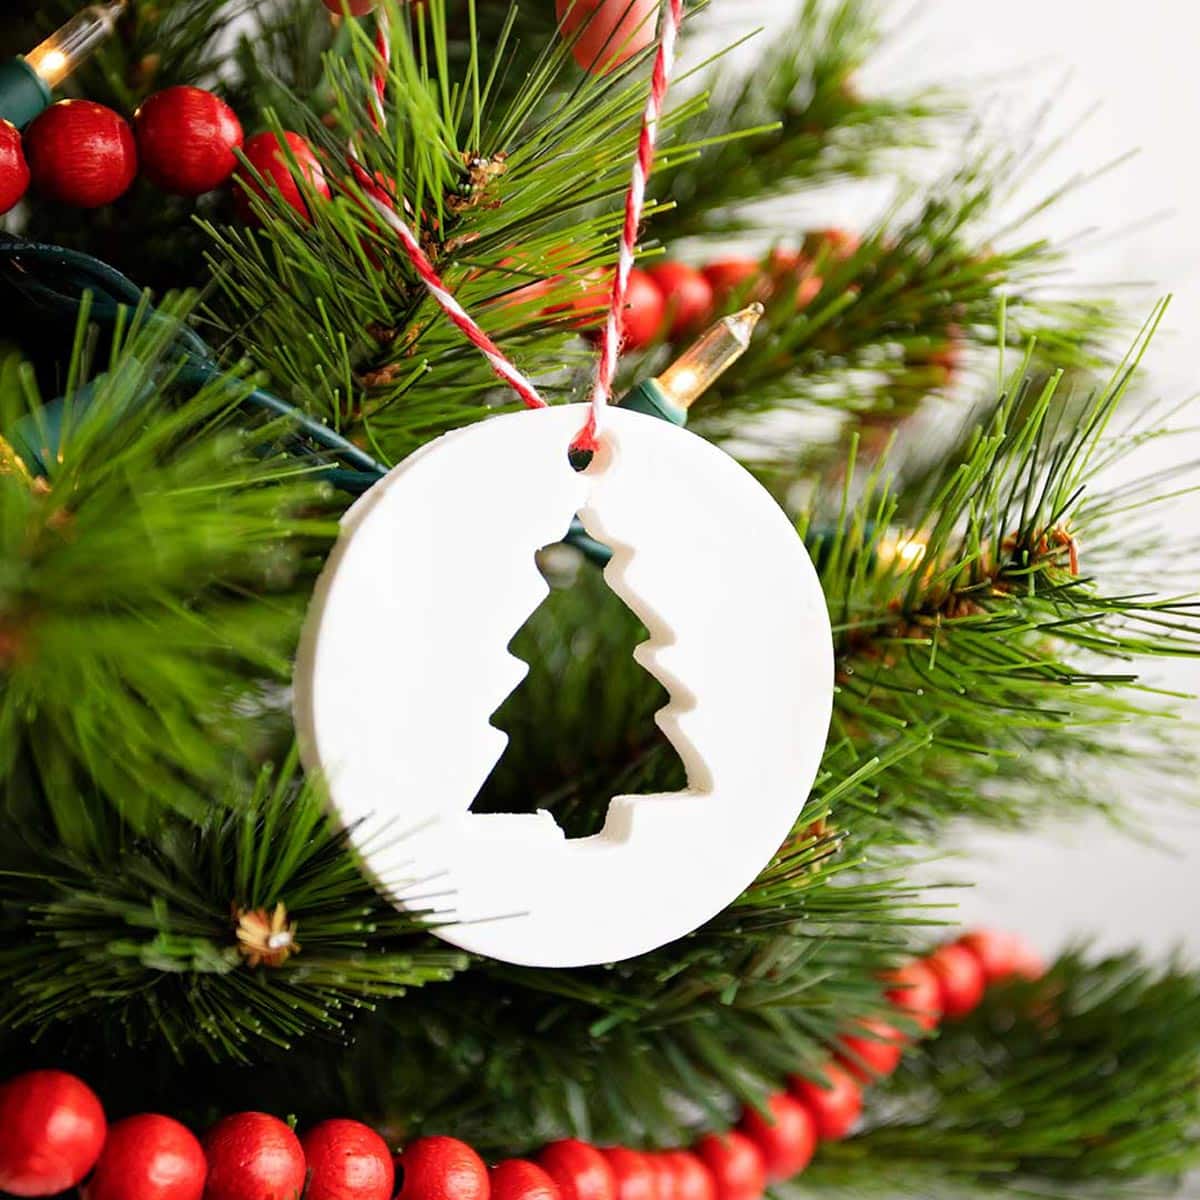
Cornstarch, baking soda and water from the kitchen cook up into a smooth white dough that dries bright and clean, and Shelly's favorite part is the pressed patterns. Send the kids around the house looking for things to press into the dough, a doily, a cookie stamp, the bottom of a glass, then cut the shapes and let them dry. Add a drop of peppermint oil for scented ornaments. Welcome To Nana's has the recipe and the drying tips.
34. Embroidered Mistletoe Hoop Ornament

For the stitchers, a mistletoe hoop to hang on the mantel or a wide branch. Gabriela's free pattern fills a seven inch hoop with satin stitched leaves in two greens on linen, and the berries are eight millimeter wooden beads wrapped in red thread. If wrapping beads sounds fussy, stitch French knots or sew on red beads instead. Use all six strands for the leaves. Makenstitch has the pattern in her free library.