
These projects will help you lessen your plastic consumption. All of these are reusable and great for the environment. You can even save money by never buying cling wraps and one-time use ziplock again. Here are 3 zero waste DIY ideas to say bye to single-use plastic by The DIY Mommy on Youtube. Watch the video below for the full instructions.
1. Beeswax wraps
Materials:
- 100% cotton fabric
- beeswax or beeswax thread
- Jojoba oil
- grater
- old towel
- parchment paper
- iron
- zigzag scissors
- scissors
Instructions:
Cut a fabric square to your desired size and grate the beeswax. Next, put an old towel over your ironing board and then put some parchment paper. Place the square fabric over the parchment paper and sprinkle some beeswax on top. Cover the whole square of fabric with it. Next, take the Jojoba oil and put drops on the fabric. Place another parchment paper on top and start ironing your beeswax on the cotton setting. Let it cool and remove the parchment paper. Next, remove the wrap from the parchment paper. Trim the edges with zigzag scissors.

[social_warfare buttons=”Facebook,Pinterest,Twitter,WhatsApp”]
2. Bowl cover
Materials:
- 100% cotton fabric
- pencil
- elastic
Instructions:
Trace your bowl upside down, then add 1-1/2 to 2 inches to the edge of the circle. Then trace to make a bigger circle. Cut it using the zigzag scissors. Wrap the elastic around your bowl and tug it, so it’s nice and tight. Make a mark on your finger and cut it off with scissors. Fold the elastic in half and mark with a stick pin. Attach one end of the elastic to one side of the fabric and halfway around the circle attach where you marked the half of the elastic. Then mark 1/4 of the elastic and put the elastic in between the 2. Do the same for the remaining elastic. Start sewing the elastic to the fabric and leave half an inch of the fabric.
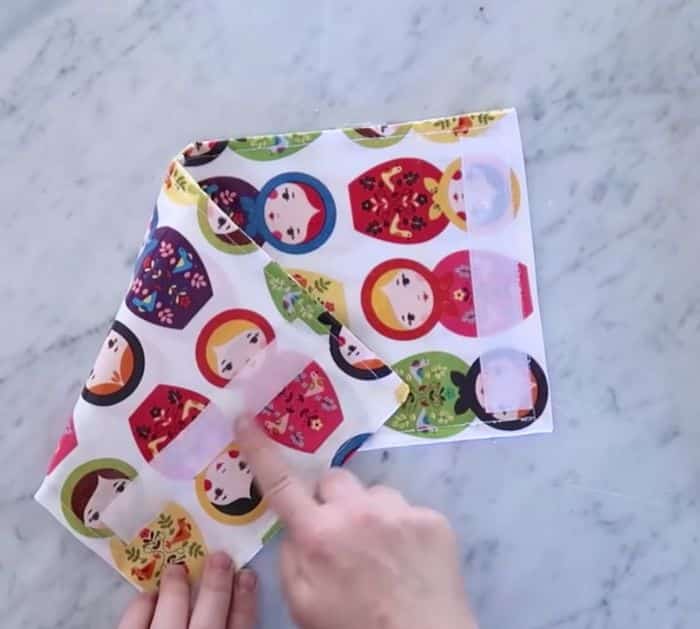
3. Snack bags
Materials:
- laminated cotton fabric or your preferred one
- hook and loop tape
Instructions:
Cut 2 pieces of 16 by 7-1/2 inches of the fabric. Iron the fabric if it’s wrinkled. Put the right side of the fabric together and sew along the perimeter with a half-inch seam allowance. Leave one end of the snack bag open. Trim the corners diagonally then turn it right side out. Next press the seams using your fingers as best as you can not iron them. Fold the open end inside and press using your fingers. Next, sew the opening about a quarter inch then the edges. Cut some hoop and loop tape 6 inches long and take the hook side and place half an inch from the top of one side of the snack bag. Stitch using the sewing machine. Next, sew the loop on the other side of the fabric about two and a half inches from the edge. Fold it by attaching the hook to the loop. Then sew the sides together.
3 Zero Waste DIY Ideas to Say Bye to Single-Use Plastic


