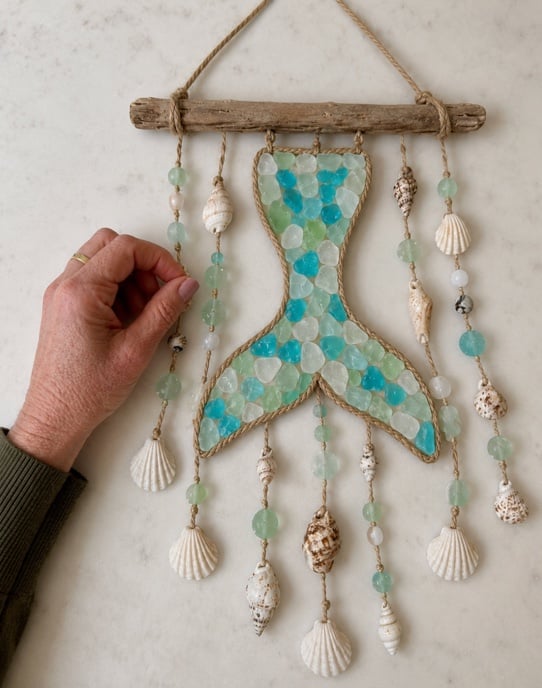
If you love cute summer crafts, the kind that have you wanting summer never to end, this beachy mermaid windchime is for you. Made from collected shells, sea glass and driftwood (or purchase from your local craft store), it’s so much fun to make!
Be sure to grab the free printable template for making the mermaid tail. If you need supplies, I chose the exact ones for you, and the links are below. Unless you are skilled at drilling small holes, I highly recommend grabbing the sea glass beads and the shell mix with pre-drilled holes. This will ensure that your project looks like mine. I love collecting sea glass and can spend hours at any and every beach that has it. If you don’t have this obsession, you can also pick up some sea glass. Need driftwood? I didn’t have any of that or a place to get it, so i included my source below.
Table of Contents
Instructions :
Supplies Needed
Driftwood stick, about 12 nches wide
Sea glass ( I used aqua, teal, mint, white, and pale green)
Small and medium seashells: variety is best. Drill them or buy pre-drilled shell mix
Clear fishing line or thin jewelry wire
Hot glue gun or E6000 glue
Cardboard or thin wood backing, even milk carton works for the mermaid tail
Scissors
Pencil
Drilled sea glass beads or alternately,
Drill or awl for small holes to use your own sea glass
How to Make The Windchime
1. Make the mermaid tail base
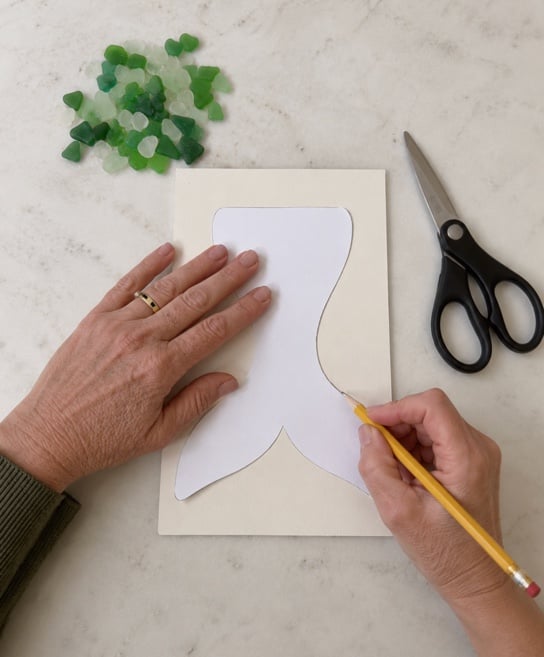
Draw or print a mermaid tail shape on chipboard, thin wood, fabric or even a plastic or paper milk carton. Cut it out. You can paint the base aqua if you want the spaces between the glass pieces to be less noticeable. Depends how uniform your sea glass is. Get the free printable mermaid tail template here.
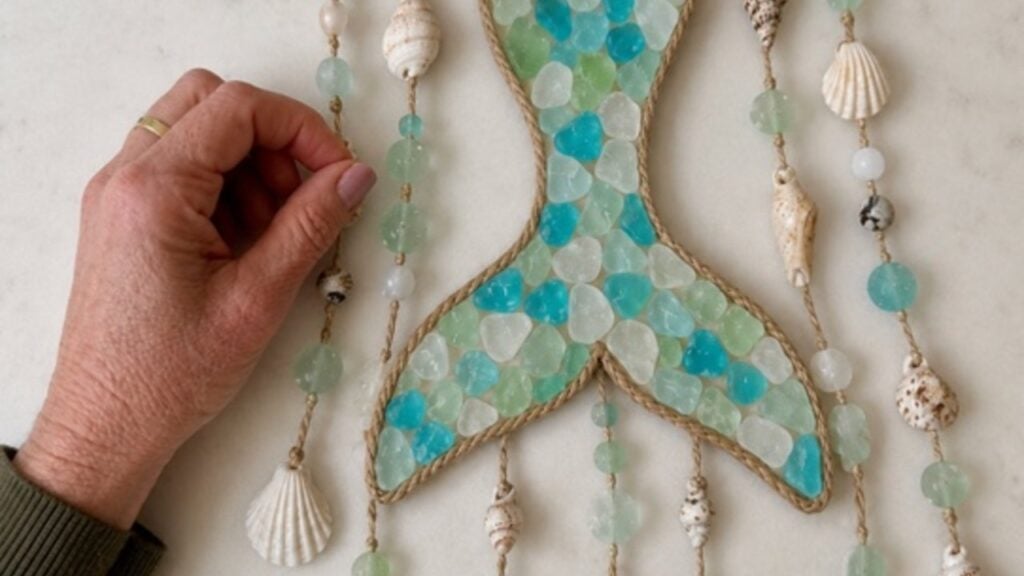
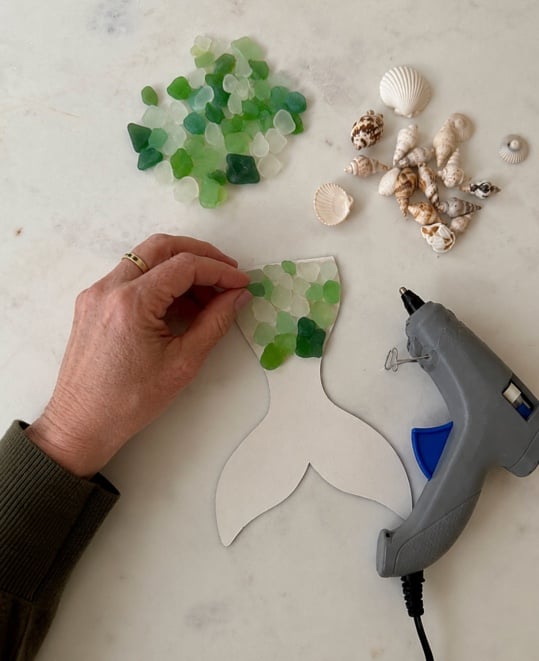
2. Glue on the sea glass
Arrange the sea glass pieces inside the tail shape like a mosaic. Mix blues, greens, and frosted white pieces. Once you like the layout, glue each piece down with E6000 or hot glue. Let it dry fully (or cool off)
3. Add jute rope edging
Glue twine around the outside edge of the mermaid tail to hide the base and give it that coastal handmade look.
4. Attach the tail to driftwood
Tie two short pieces of twine from the top of the tail to the driftwood. Then tie a longer rope to both ends of the driftwood for hanging. If you grab my driftwood from the link above, you will have hangers already set up for you.
5. Make the dangling strands
Cut several pieces of twine that are slightly longer that the attached tail piece. Tie on shells and sea glass beads along the twine with jewelry wire or fishing line, spacing them out. Knot between pieces so they stay secure.
6. Hang the strands
Tie the finished strands along the bottom of the driftwood and under the mermaid tail. Vary the lengths so it looks natural and beachy instead of too even.
7. Finish and display
Trim loose strings, add a little glue to knots for strength, and hang it near a window, porch, patio, or beach-themed room. This looks great on the patio or porch, too.