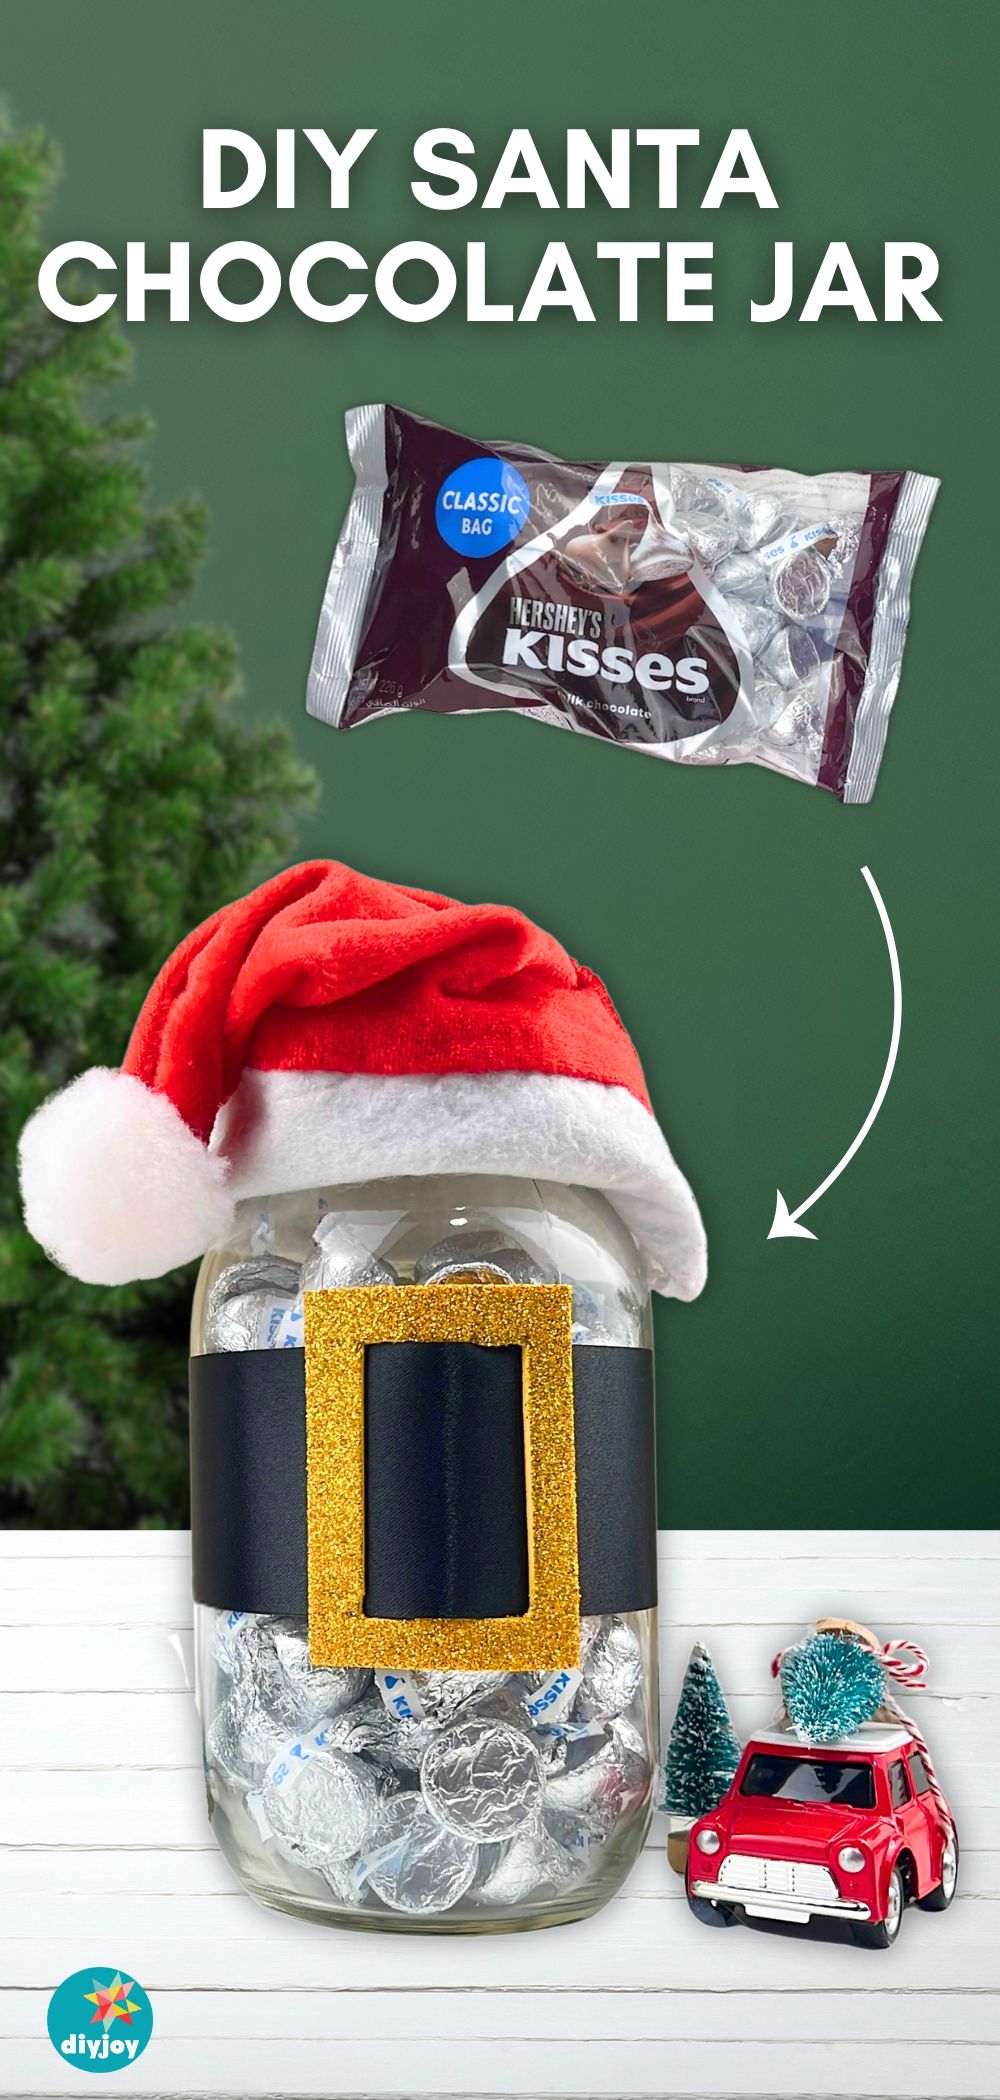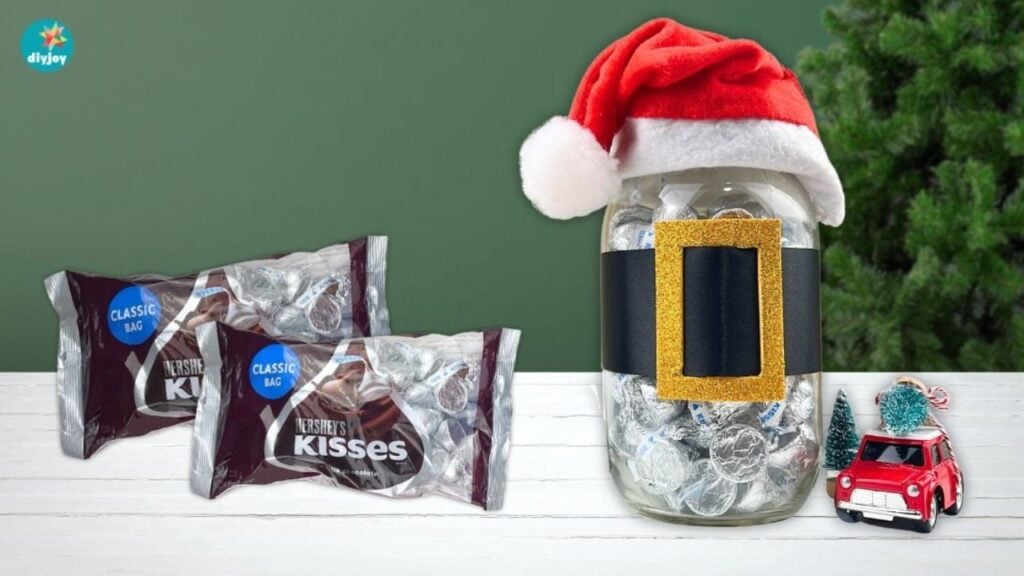
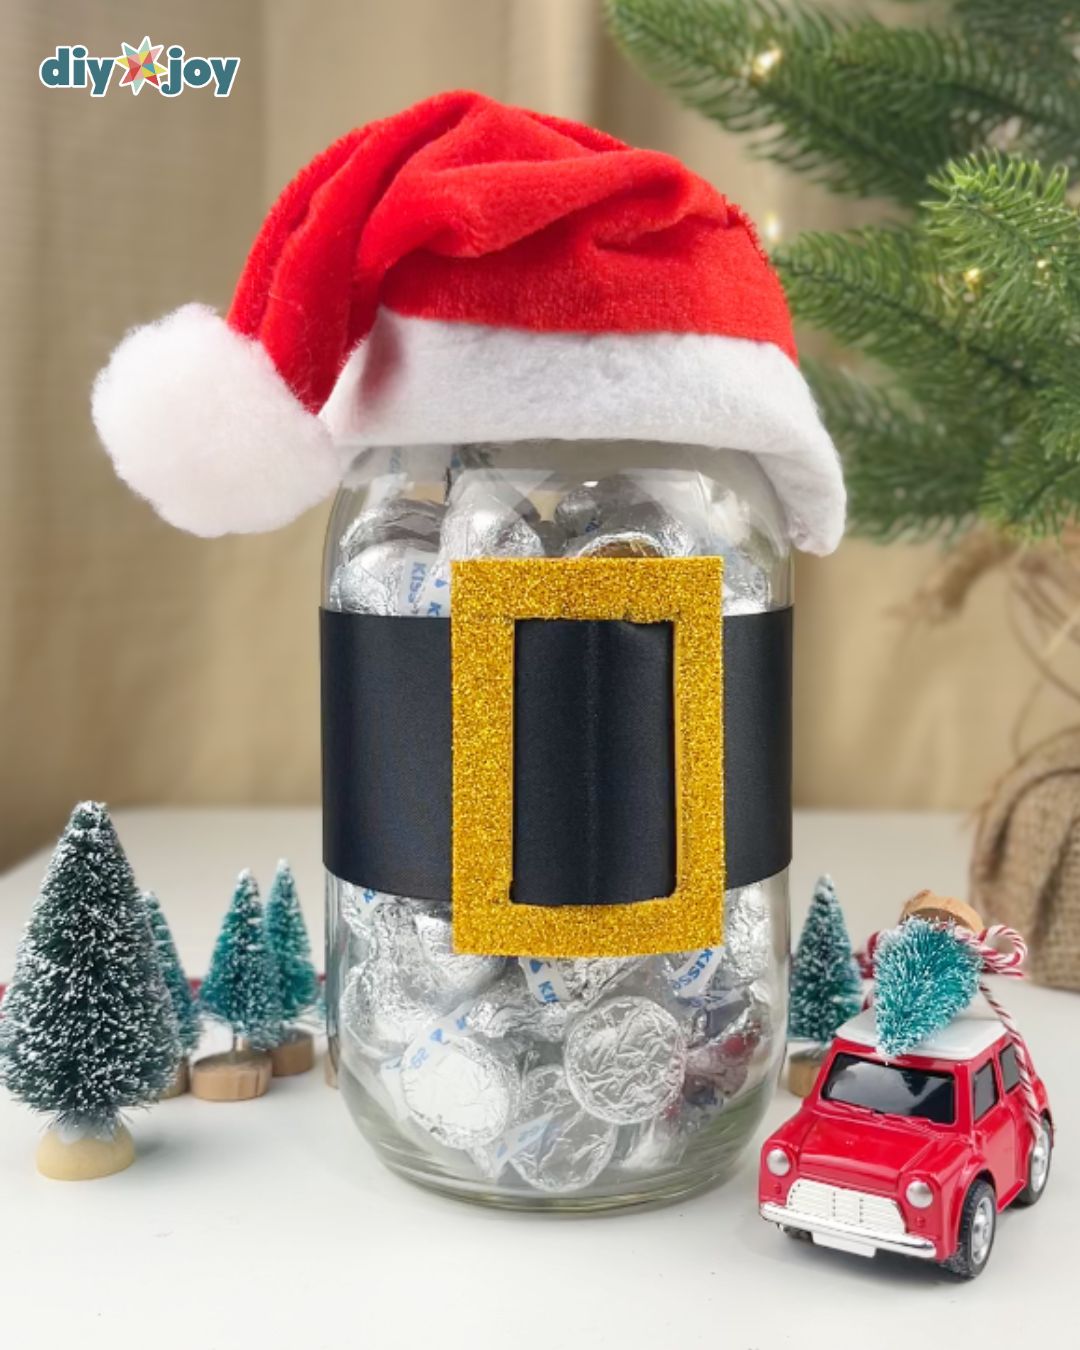
This DIY Santa Chocolate Jar is the perfect last-minute gift idea this Christmas. It’s cute, unique, and very easy to make. Not to mention it’s cheap! This Santa jar can be used in many different ways. It can be a candy jar, chocolate jar, trinket jar, or hot cocoa jar. And if you don’t have anything to put inside, it works as an adorable DIY Christmas decoration you can put on your table and use as a centerpiece.
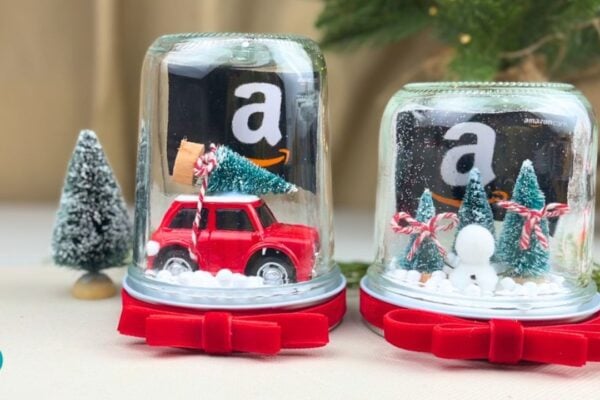
RELATED: DIY Snow Globe Gift Card Holder
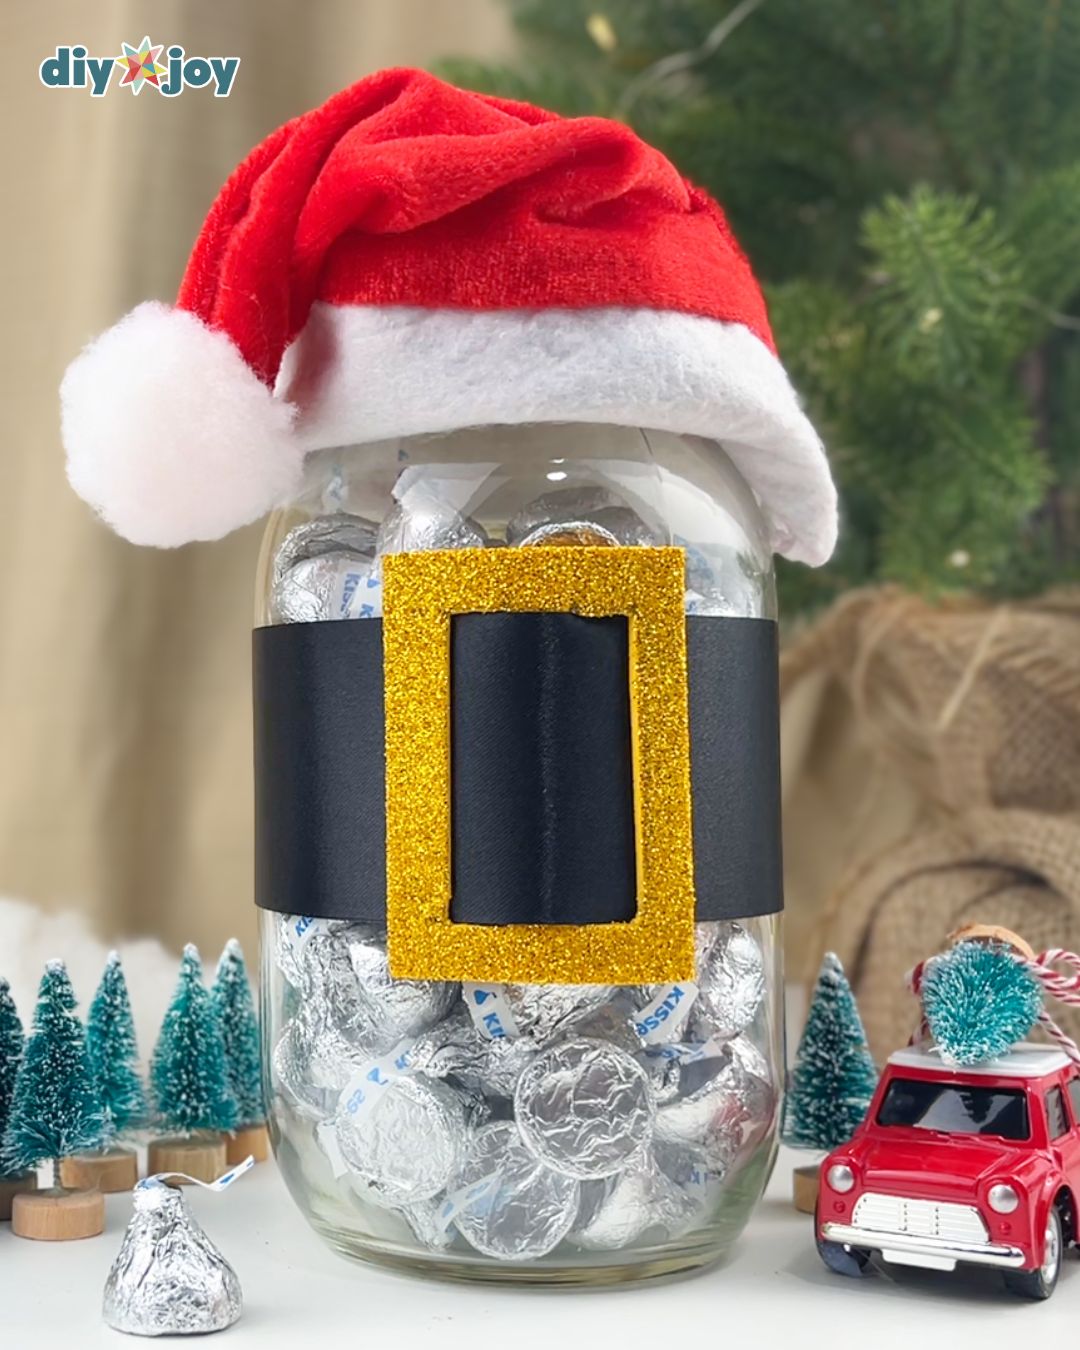
I absolutely love this Christmas project. It’s quick, simple, and only requires basic materials. If you are looking for a holiday craft you can do with the kids or your family, this is the one. You’ll only need a regular Santa hat, mason jar, gold EVA foam, black ribbon, hot glue, and chocolates. There is no sewing required, so you don’t have to worry! If you can find a small Santa hat that exactly fits your mason jar, perfect! If not, you can simply resize a regular Santa hat with just a pair of scissors and hot glue. Keep reading or watch the video tutorial below for the step-by-step instructions. Happy crafting, everyone!
How to Make a Santa Chocolate Jar
Learn how to turn a simple mason jar into a cute santa jar with this easy step-by-step tutorial.
Measuring
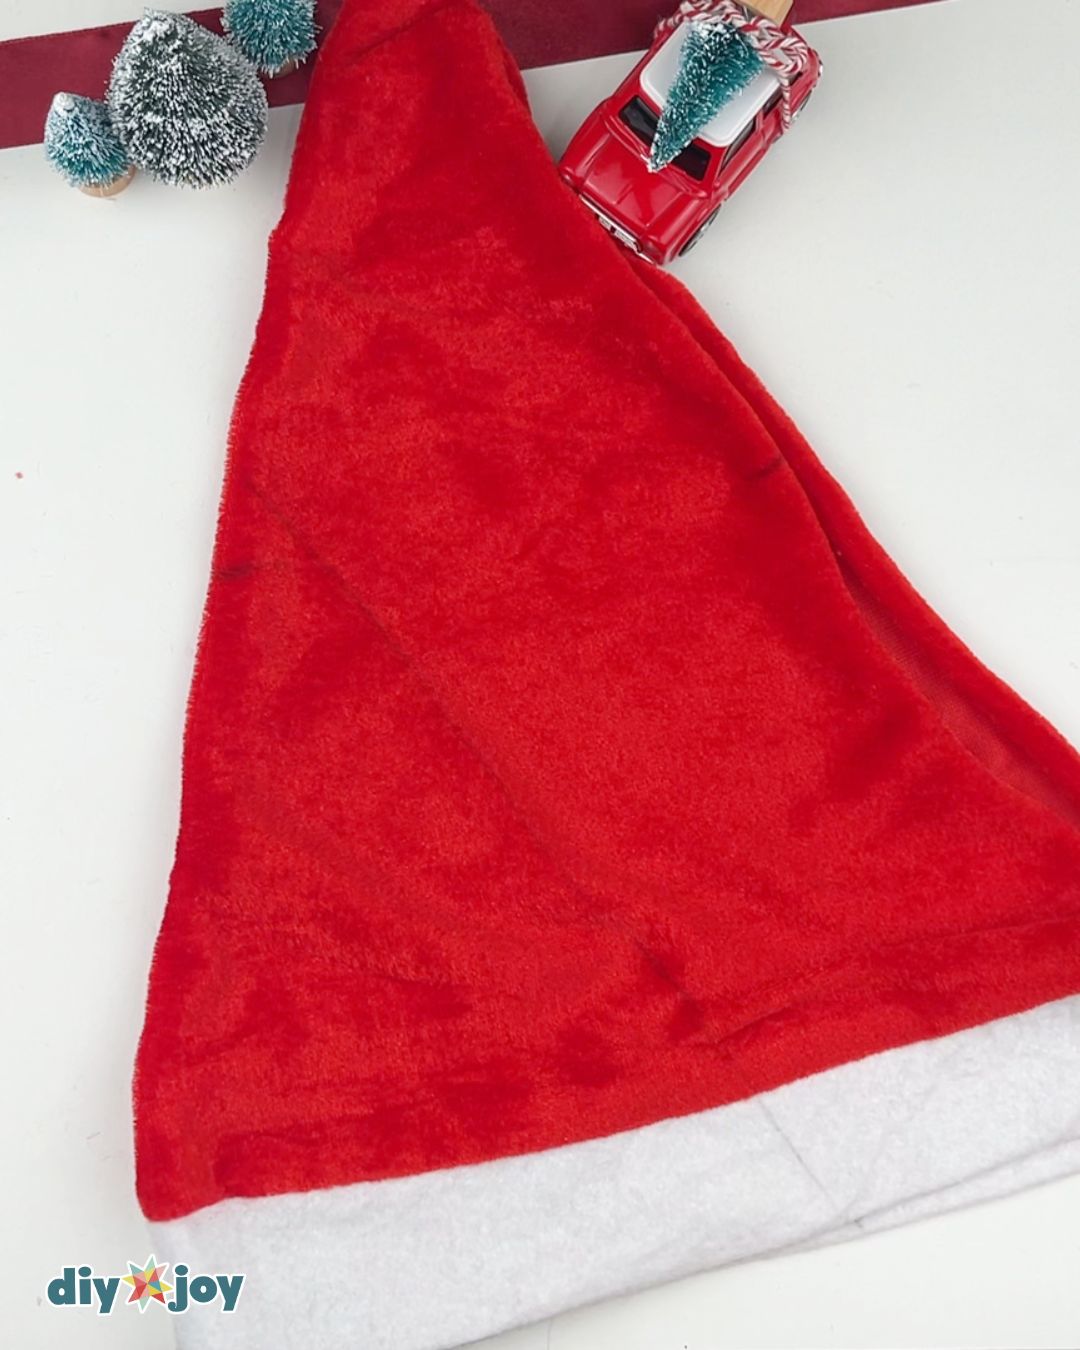
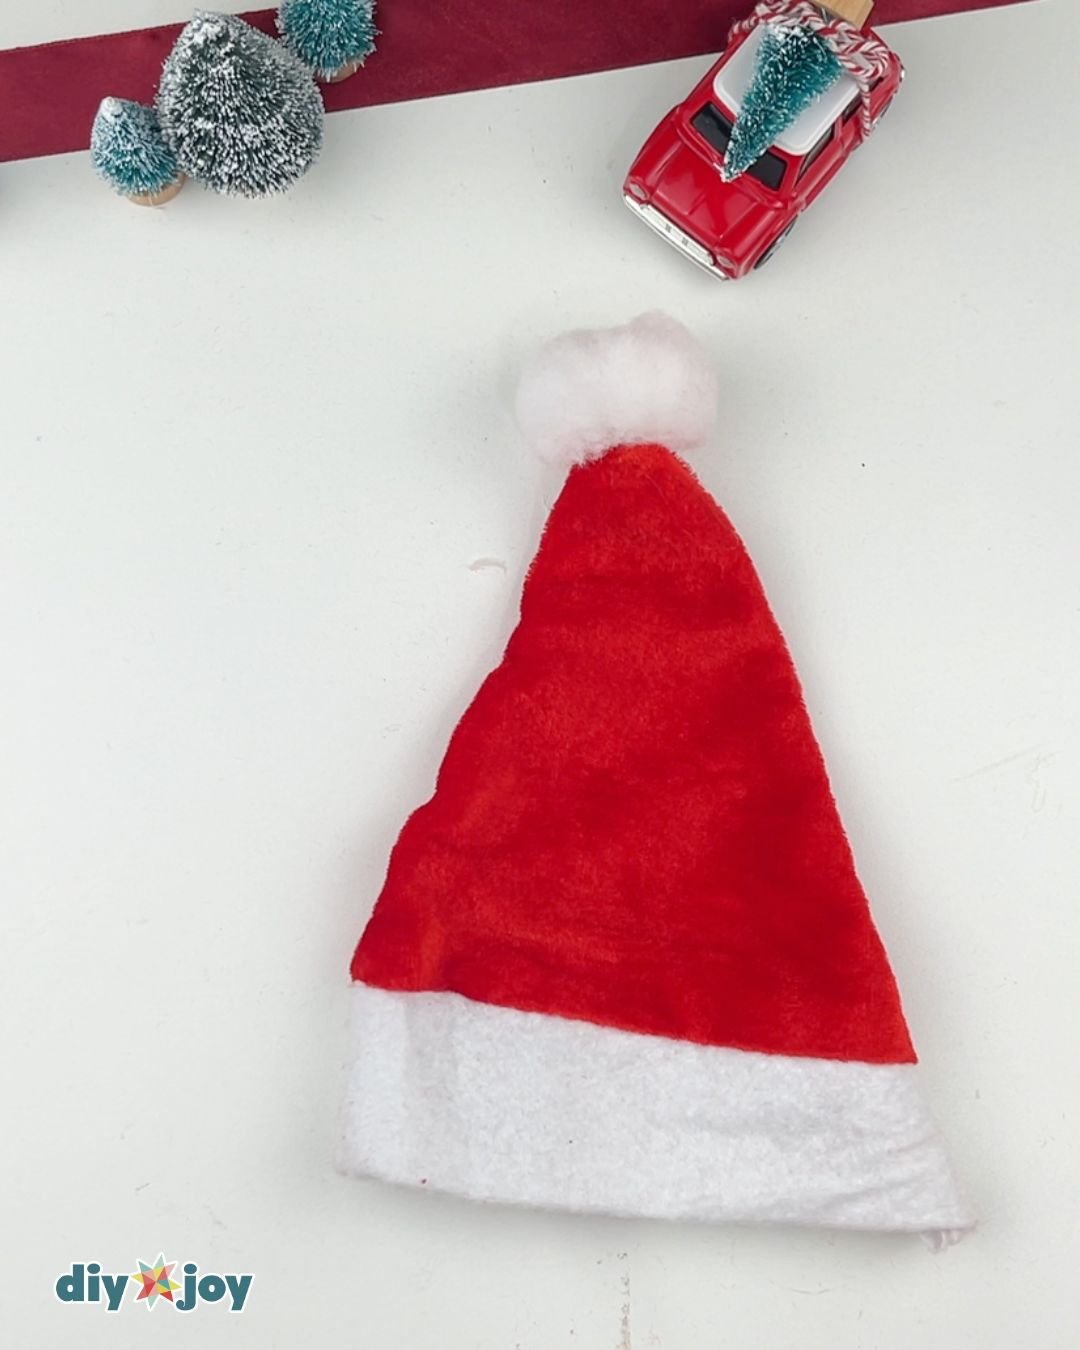
Start by measuring the diameter of the mason jar lid and use that as guide for the new width of the Santa hat. Place the hat on the mason jar to determine your preferred length, then mark it.
Cutting and gluing
Cut the santa hat along the marked line, then unfold the fabric piece and place it right side up on your work surface. Apply a thin line of hot glue along one edge, then fold the other side over.

Gluing the pompom ball
Flip the hat right side out. Cut the pom-pom ball from the previous hat, then hot glue it to the top of the new Santa hat.
Making the belt buckle
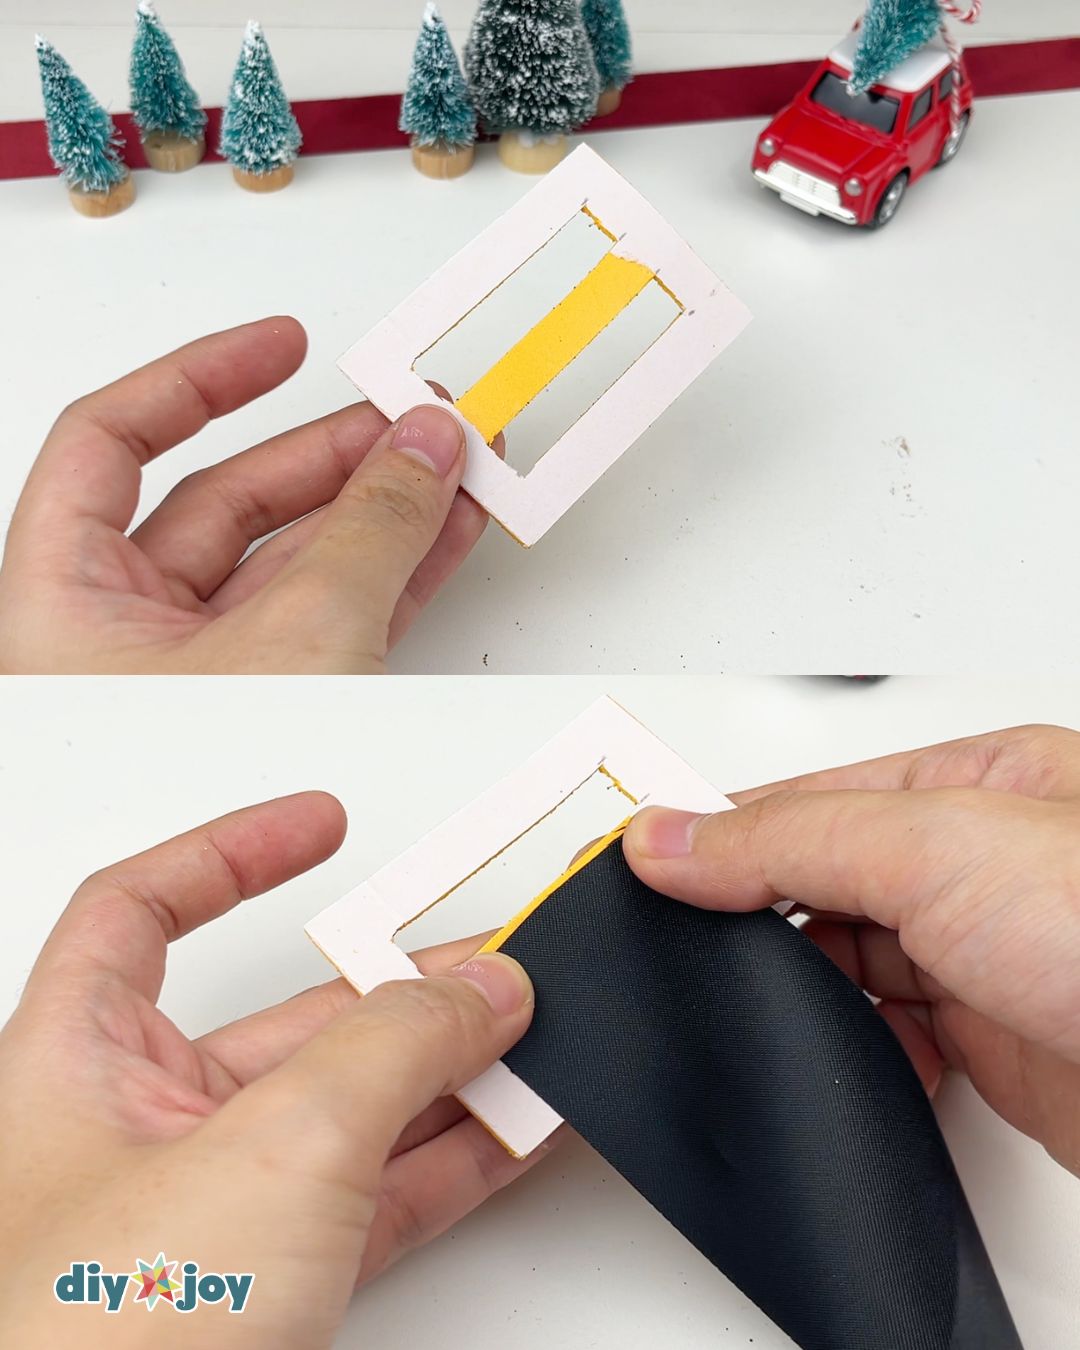
Take a 2 3/4-inch by 2-inch gold EVA foam and draw two equal rectangles in the center, then cut them.

Making the belt
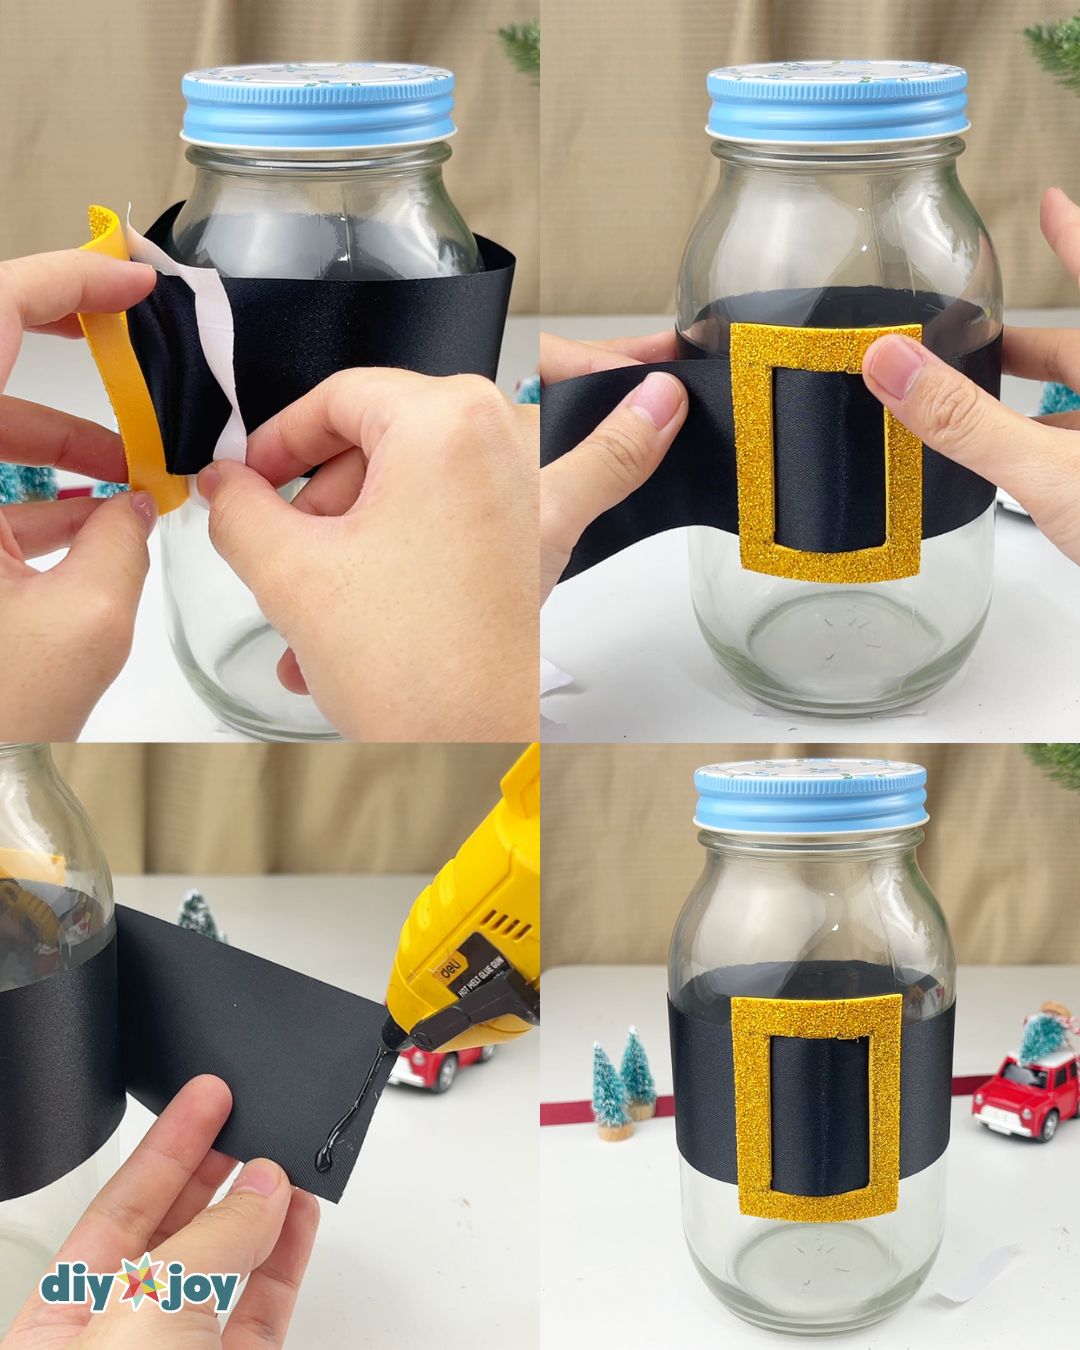
Peel the backing from the center section, then glue the end of the black ribbon into that part.
Placing the belt
Place the belt onto the mason jar, and secure the buckle as you would with a normal belt.

Gluing the belt
Peel the remaining backing from the back of the EVA foam. Pull the free end of the ribbon tight, then press the EVA foam against the glass to secure the belt. Hot glue the end of the ribbon to keep it in place.
Finishing touches
Add the chocolates or other treats, replace the lid, then place the santa hat on top.
Creative Ideas and Variations
- Jar sizes. Mason jars are available in different sizes. If this mason jar is too big for your needs, you can easily use a small one. Don’t want to buy a new jar? Repurpose old jars you already have in your kitchen!
- Belt Materials. If you can’t find EVA foam for the belt buckle, use felt paper and cover it with glitter or metallic paint for a sparkling finish. Another great option: If you have an old black belt, you can cut the length and use that instead. For the main belt strap (black ribbon): try using a strip of black fabric or black colored paper as an alternative.
More DIY Gift Ideas You Can Make
DIY Santa Chocolate Jar Video Tutorial