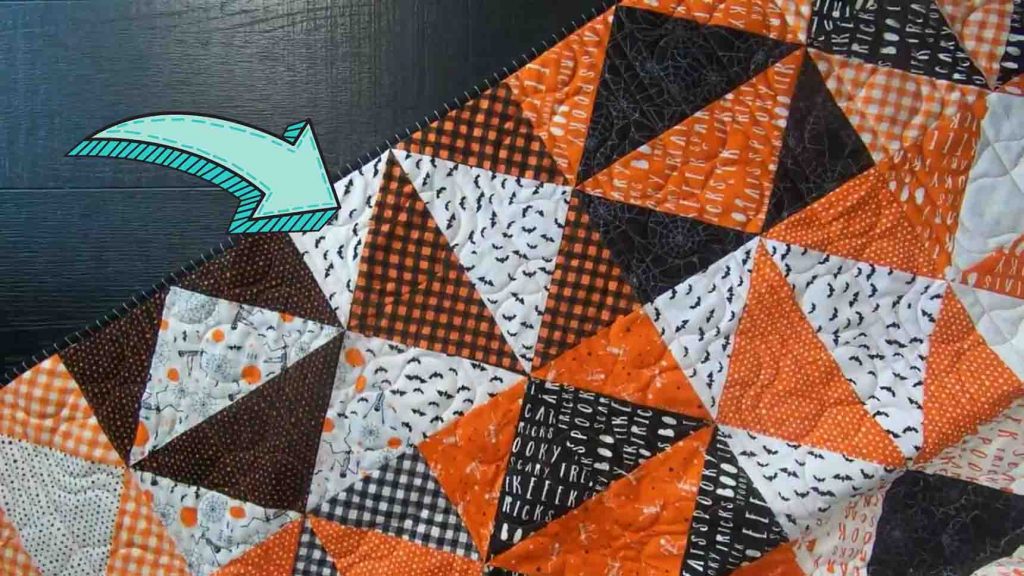
Do you like making quilts using layer cakes? Then you have to try this inverse quilt pattern from Moonkin Stitchery on Youtube! This project only uses 10” squares or layer cakes – quick, easy, and makes the perfect gift for family and friends. Watch the video tutorial below to learn the step-by-step instructions.
Materials:
- layer cakes (or 10″ squares)
- long quilt ruler
- rotary cutter
Directions:
Step 1
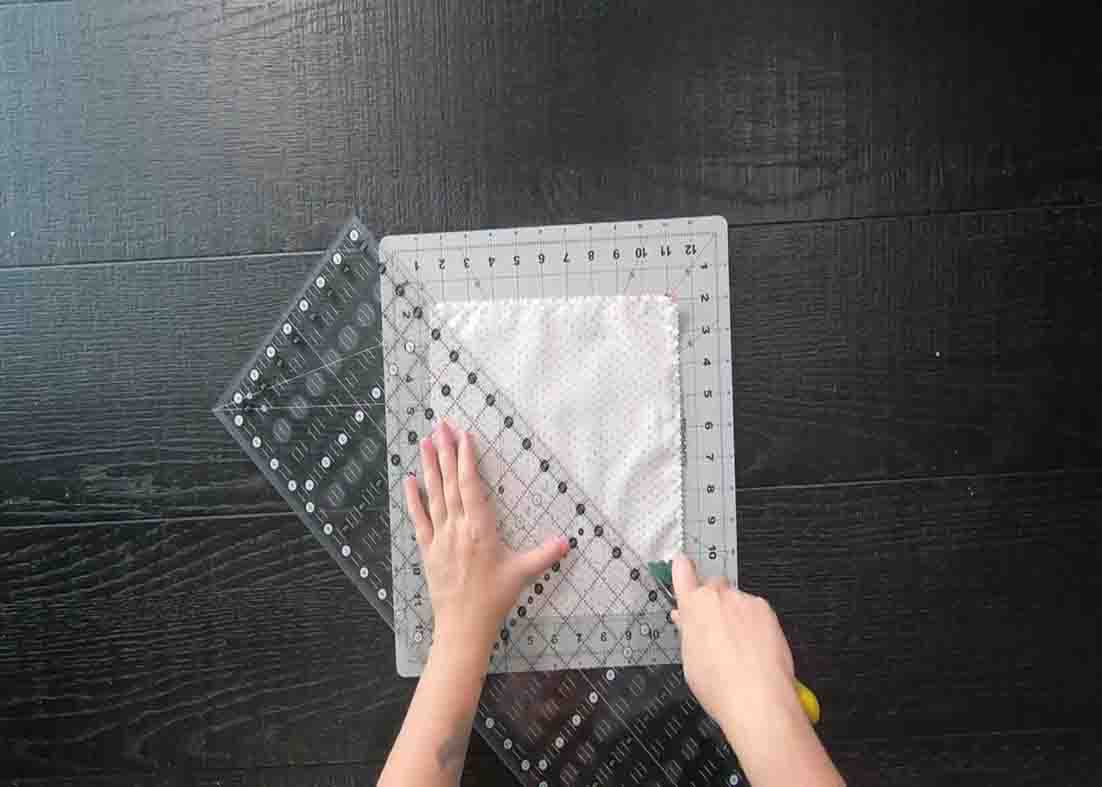
Start by taking two different prints, and laying them on top of each other, right side together. Sew with a quarter-inch seam allowance all the around the edges. After sewing, take your ruler and cut with your rotary cutter from corner to corner at a 45-degree angle. Turn it and cut the opposite side the same way. With this, you will yield four half-square triangles. Press them all open. Once pressed, trim your blocks down to a 6 & 1/2″ square.
[social_warfare]
Step 2
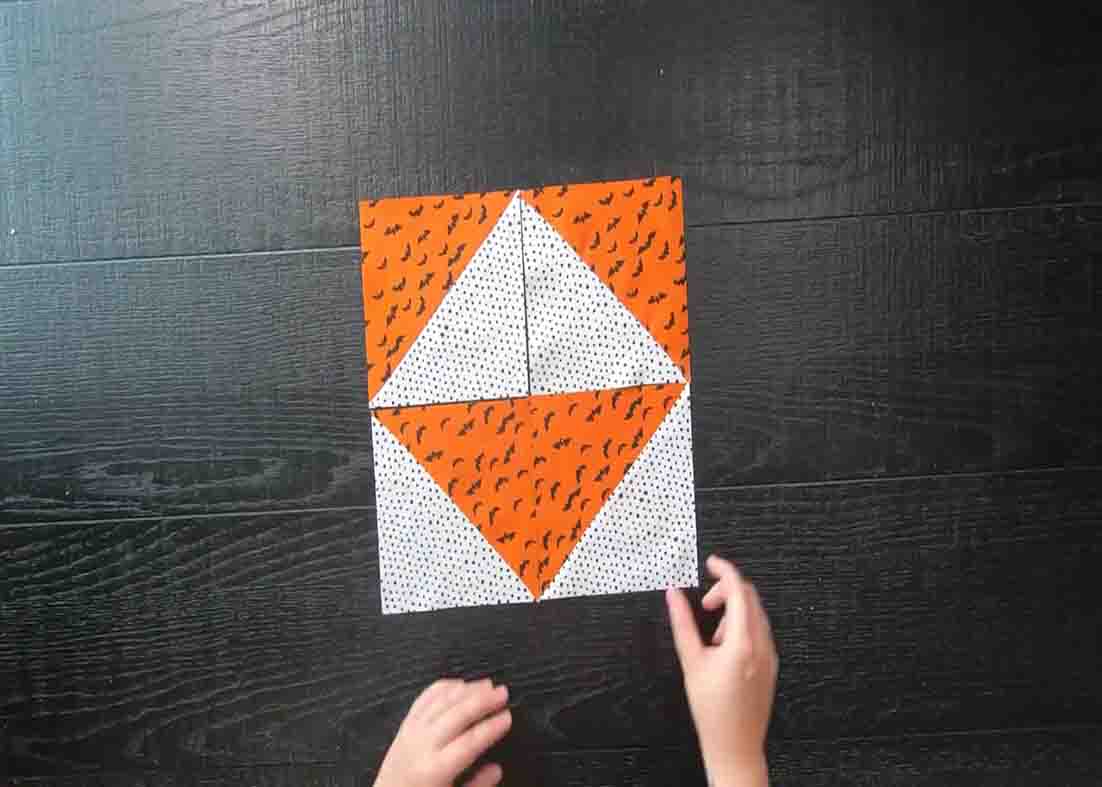
Now lay your half-square triangles out, rotating a few around to form a layout. Or you can turn the bottom blocks, creating an easy square in a square quilt block. Once you’re happy with the layout, sew your blocks together to form rows, then sew your rows together to complete the quilt block. Do this to all of your layer cakes, repeating the same exact steps until you have enough for your desired quilt size.
Layer Cake Inverse Quilt Pattern Tutorial


