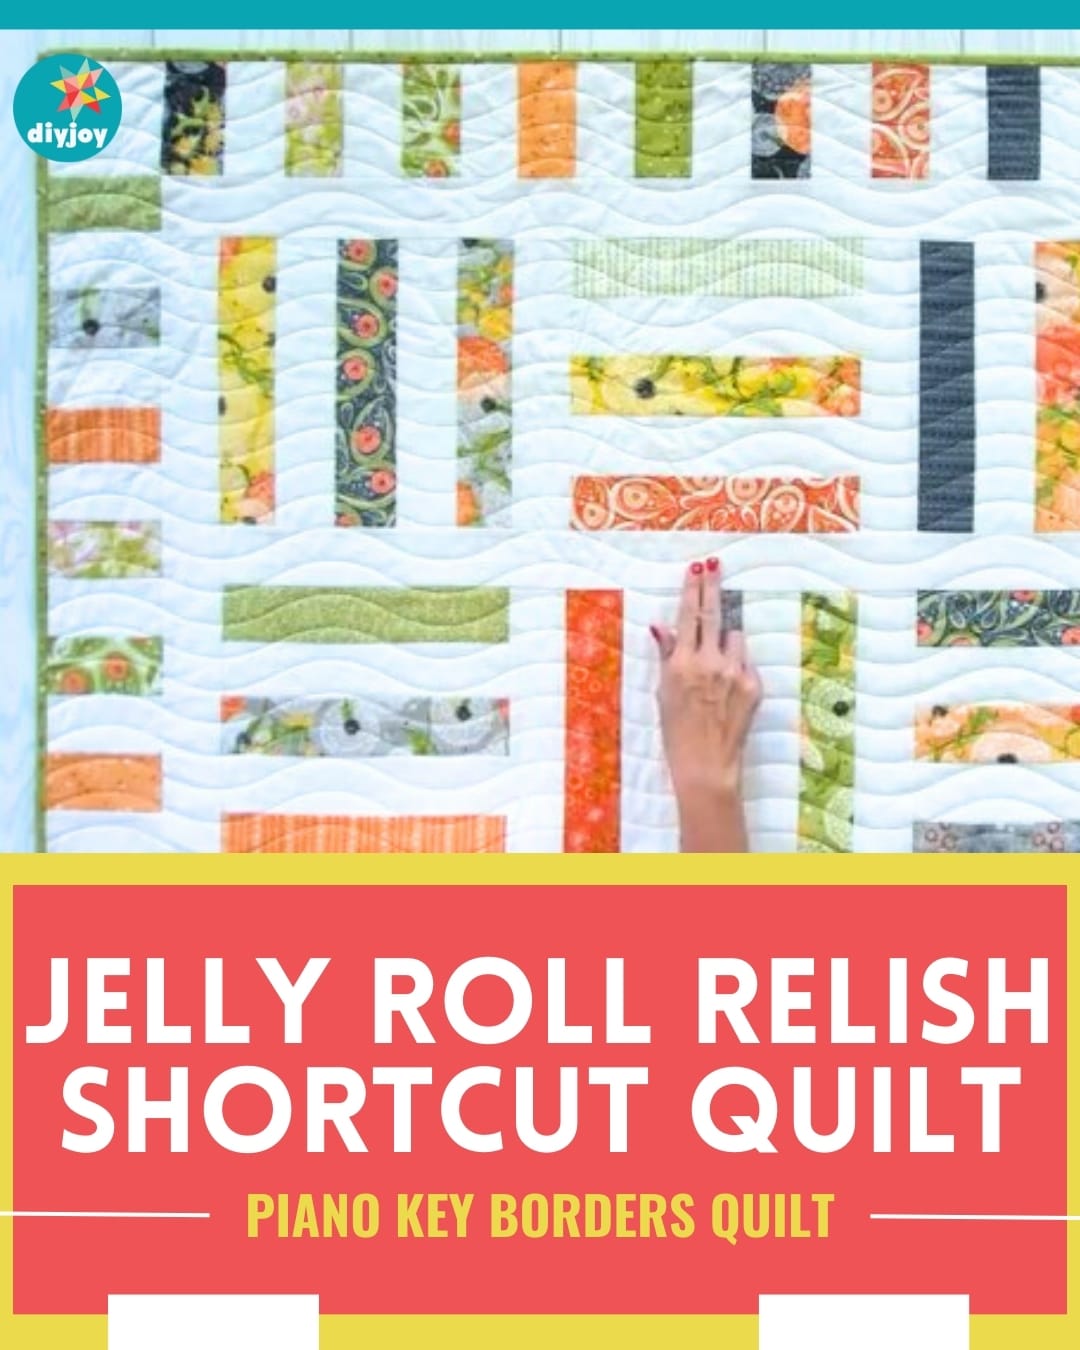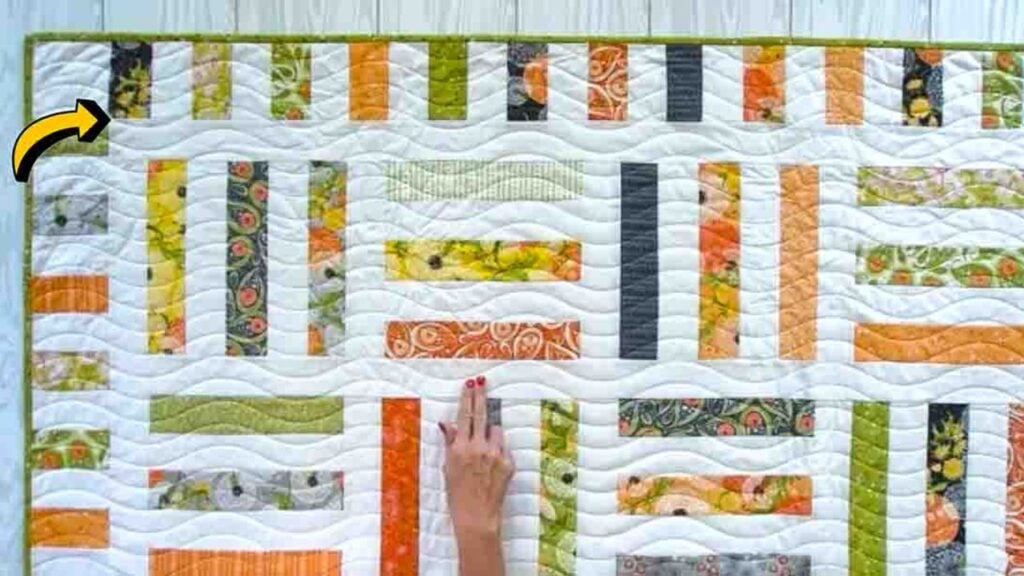
This fun piano key-bordered quilt from Fat Quarter Shop on YouTube is a quick and easy quilt project perfect for beginners! If you’re looking for a project to use your stashed jelly roll, try this one out; I promise you’ll love how this quilt turns out.
RELATED: Handy Dandy Quilt Block Tutorial
This pattern is perfect for nurseries, personalized gifts, or as a lap quilt! So, what are you waiting for? Make this quilt today and see for yourself! Watch the video tutorial below to learn the step by step instructions.
Materials:
- 1 – print jelly roll or 32 – 2 1/2″ WOF strips
- 1 – solid jelly roll or 39 – 2 1/2″ WOF strips
- 3/4 yard binding
- 3 7/8 yards backing
- (click here for the free pattern)
Cutting:
- 30 print 2 1/2″ WOF stirps (fabric A)
Cut 2 print 2 1/2″ WOF stips into:
- 2 – 2 1/2″ x 4 1/2″ rectangles – 4 total (fabric B)
- 20 solid 2 1/2″ x WOF strips (fabric C)
Cut 5 solid 2 1/2″ x WOF strips into:
- 3 – 2 1/2″ x 10 1/2″ rectangles – 15 total (fabric D)
- 1 – 2 1/2″ x 4 1/2″ rectangle – 5 total (fabric E)
Cut 3 solid 2 1/2″ x WOF strips into:
- 7 – 2 1/2″ x 4 1/2″ rectangles – 21 total (fabric E)
- 11 solid 2 1/2″ x WOF strips (fabric F)
Cut binding fabric into:
- 8 – 2 1/2″ x WOF strips (fabric G)
Directions:
Step 1
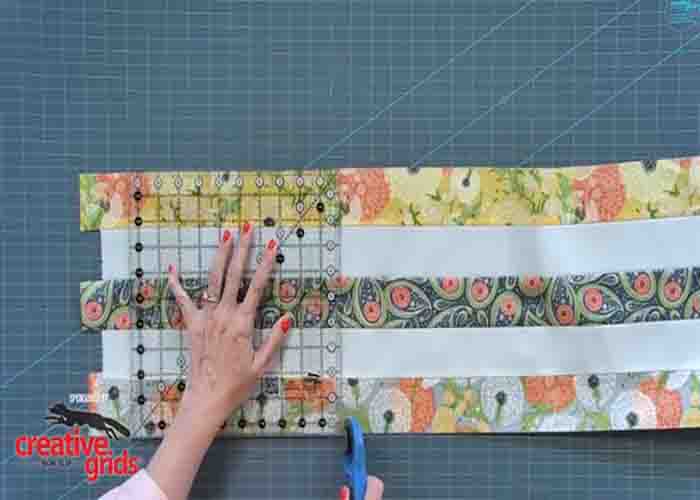
To start, cut all the fabric requirements accordingly and set them aside. Next, lay three print strips in different colors and different prints (fabric A) and insert two plain fabric C in between each. After this, sew these together, then press the seams towards the dark. Make a total of ten-row strip sets. Then, from each strip set, cut two 10 1/2″ squares and two 4 1/2″ x 10 1/2″ rectangles. Once you’re done cutting all the strip sets, you’ll end up with 20 rectangles and 20 squares.
[social_warfare]
Step 2
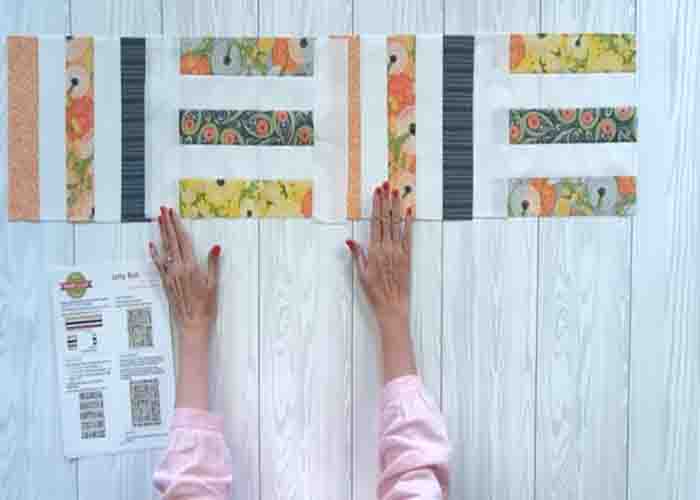
Now, start assembling the quilt center. Lay each square in this manner: vertical, horizontal, vertical, horizontal. In between those, add fabric D rectangles, then pin them in place, and press toward your sashing. Make three of these and that will be rows 1, 3, and 5. For rows 3 and 4, just reverse the placements of the block on previous rows. Sew these row by row, then sew those rows together to complete the quilt top.
Jelly Roll Relish Shortcut Quilt Tutorial