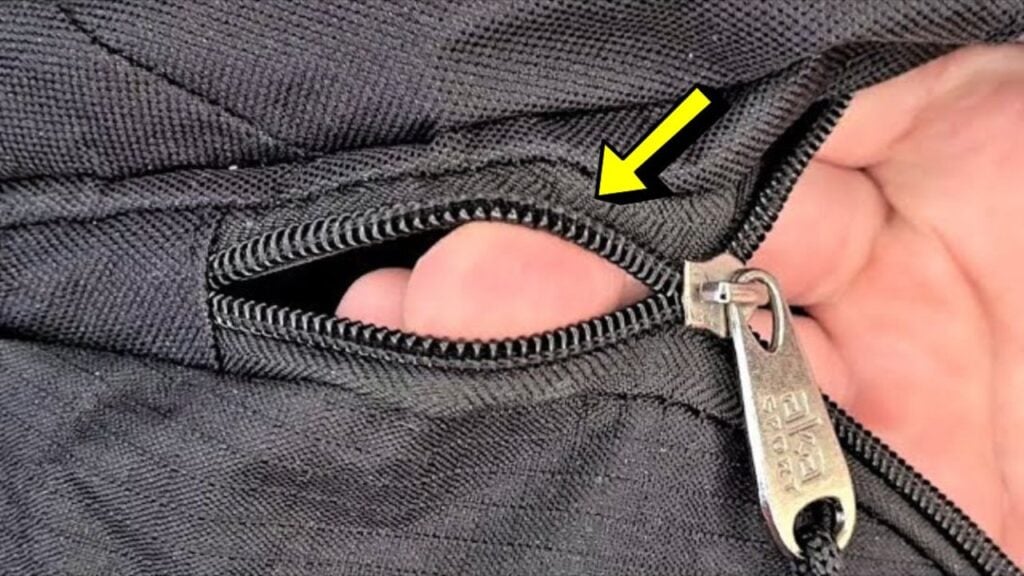
You have probably encountered a broken zipper before, and one of the most common issues is that the teeth won’t close. You surely don’t want to buy a new bag when that is the only problem, as it’s actually easy to fix! Your zipper may not close properly due to a loose slider. This is normal, especially when you use it often. But don’t worry! You can mend a zipper on a bag with this tutorial by k-nemo. All you need to do is gather the materials you need, follow these simple steps, and it will work great again!
Materials
- linesman pliers
- blade
- thread and needle
[social_warfare buttons=”facebook,pinterest,twitter,whatsapp”]
Instructions
Step 1:
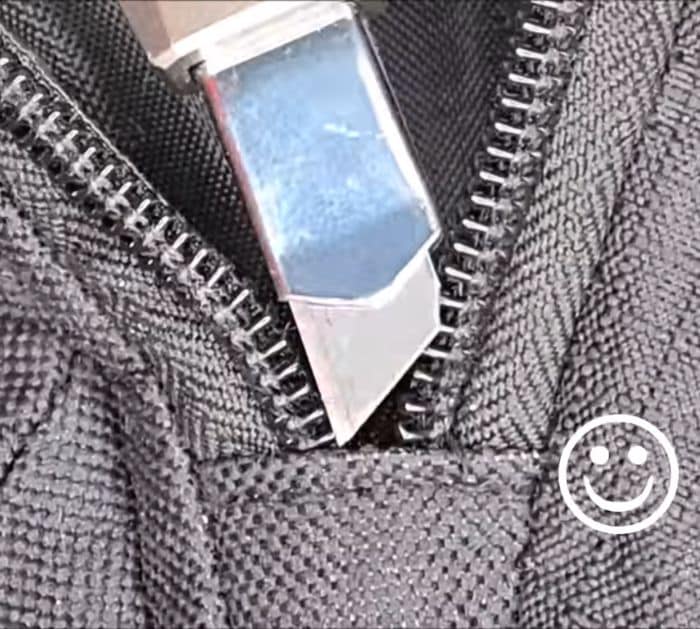
Start by cutting the threads on the end of the zipper of the bag with a blade so you can remove the slider. You don’t need to do this if the front part of the teeth is closed, but if it’s not, you have to follow all of the steps.
Step 2:
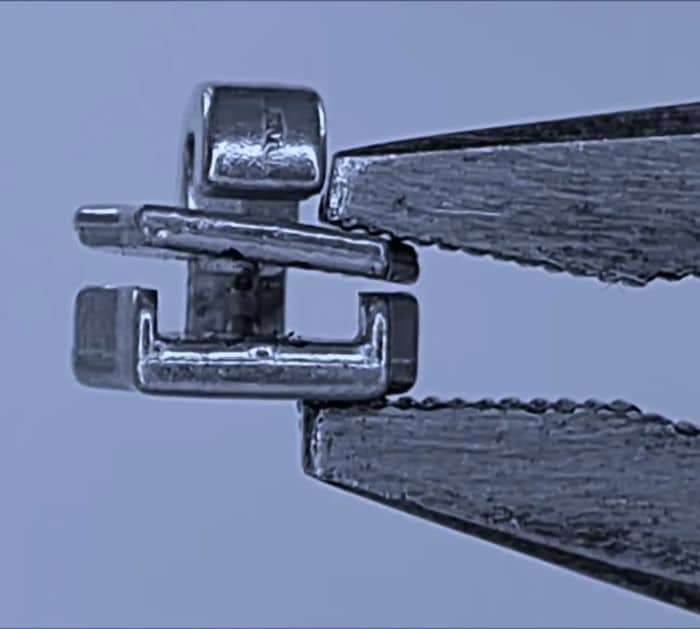
Using the pliers, tighten the mouth of the slider. You want the space to be tight enough for the zipper to close. But make sure not to pinch it too tightly, otherwise, it will get stuck.
Step 3:
Insert the slider back into the teeth on both sides, then pull it until you can see it on the front zipper of the bag. Make sure you hold the end while zipping.
Step 4:
Once you are sure it’s working great again, sew the end of the zipper to make a stop. This will prevent the slider from sliding out of the teeth and keep it nicely secured. Insert the end of the zipper inside the bag. The slider should just be on the top of the fabric covering the bottom end of the zipper. Sew the fabric to the zipper, and you are done!
How to Mend a Zipper on a Bag


