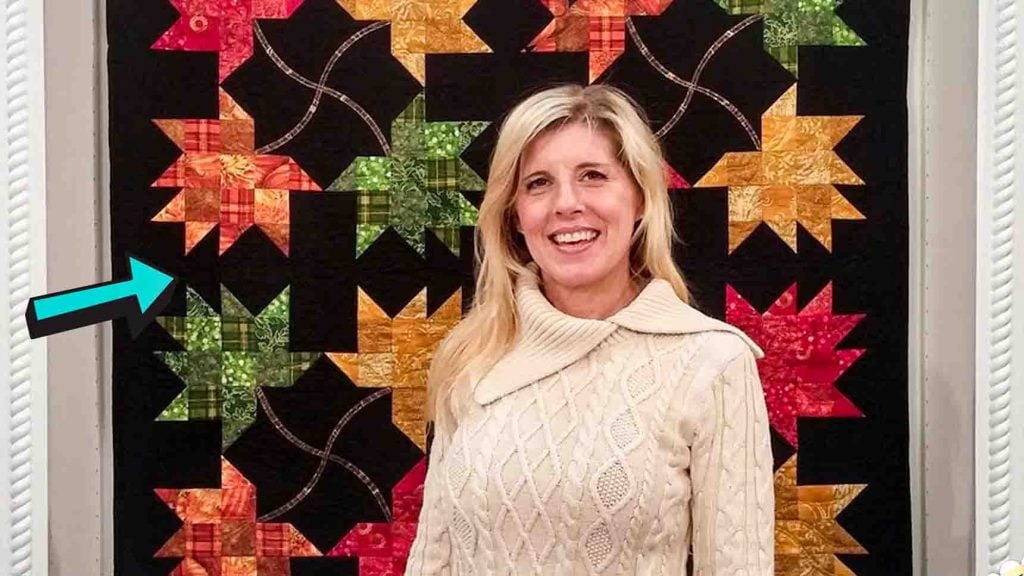
If you have been saving up some fall-themed fabrics for the fall season, it’s time to make a beautiful quilt out of them! Try making this falling leaves quilt block from Shabby Fabrics on Youtube. It’s a quick and easy quilt block you can make, and you can decide from there whether to make it into a lap quilt, placemat, or anything you want. Watch the video below to learn the step-by-step instructions.
Materials:
- autumn themed fabrics
- 1/4″ seam marker
- frixion pen
- 6 & 1/2″ square ruler
- rotary cutter
- blades
- mats
- 2″ star singles half square triangle paper
- metallic threads
- bottom line thread
Directions:
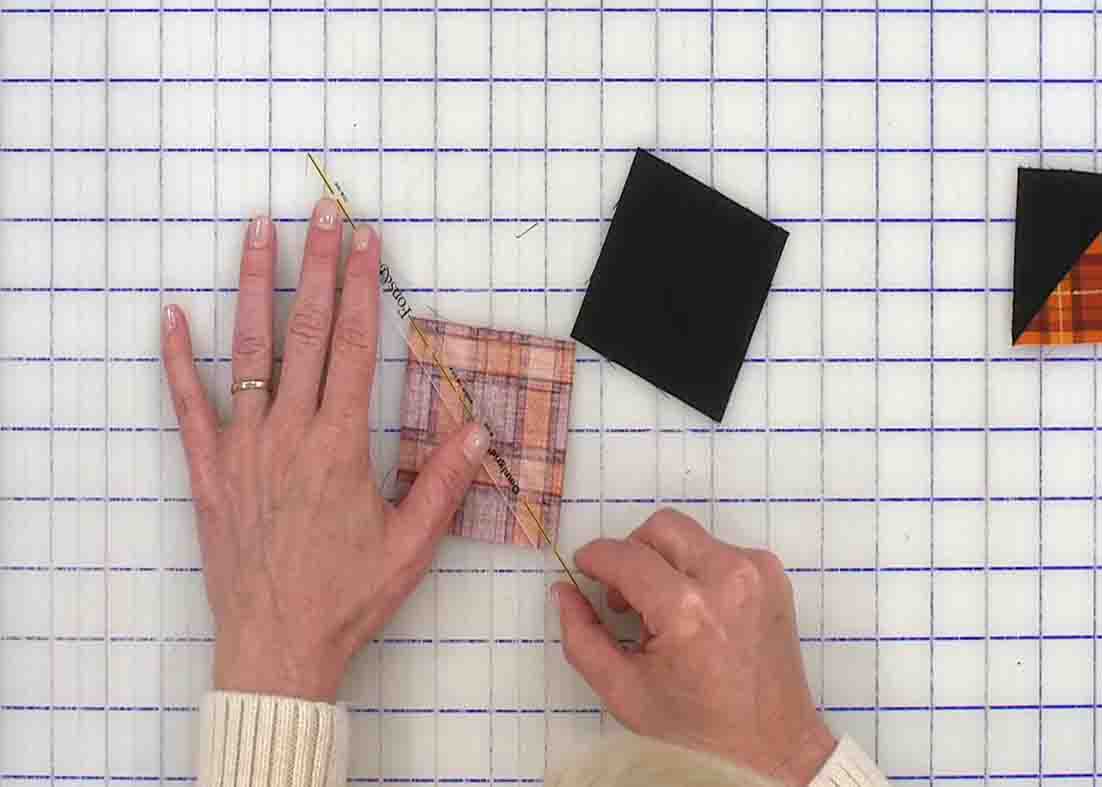
Step 1
Cut your 2 squares to 2 & 7/8″ each and lay those right sides together. Next, line the front fabric from corner to corner using a frixion pen. Place that right side together with your other fabric and sew on those lines. Once that is sewn together, cut it using your rotary cutter and open it up. Press the darker fabric down and trim the excess fabric.
[social_warfare]
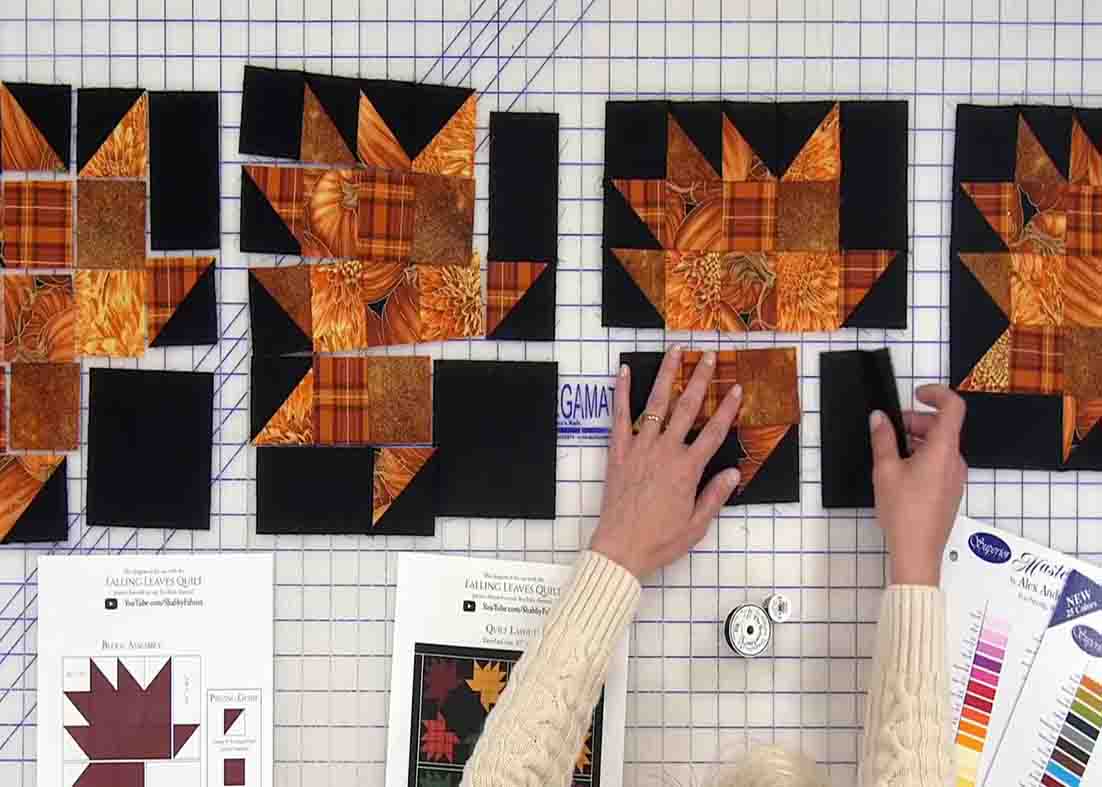
Step 2
Now that you have all of your half-square triangle units made, lay everything out. (Click here for the pattern.) After you assemble the leaf pattern, go ahead and sew the rows together. After this, press the seams open all in one direction. Then, you need to sew those first three rows together to make a unit, then attach the row from the next block, sew the bottom ones together, then simply put that together to make your leaf.
Falling Leaves Quilt Block Tutorial


