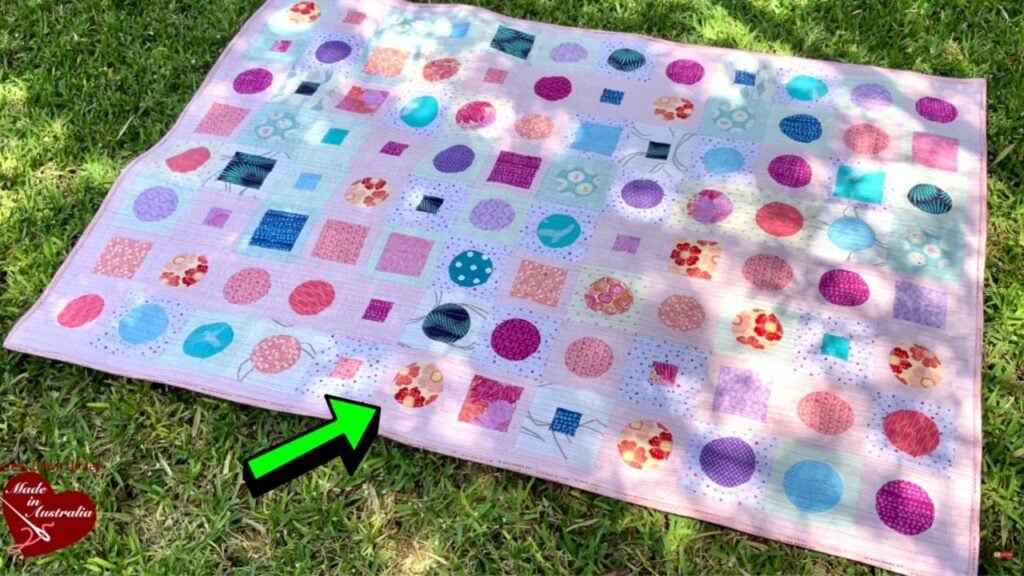
Out of all the quilt blocks that I’ve tried before, this one by Teresa DownUnder is the most unique and interesting. I’ve always preferred making quilts that involve waves and curves rather than straight ones which is also why I was intrigued by this project.
RELATED: How to Make Charming Circles Quilt Using Old Denim & Fabric Scraps
Learning how to make a perfect circle quilt block is surprisingly easier than I initially thought, and it is so simple that I think even beginners can give it a try. Watch the video tutorial now and see for yourself.
Materials for a Circle Quilt Block:
- Main fabric
- Contrasting fabric, for the circle
- Freezer paper
- Marking pen, pencil, or chalk
- Ruler
- Compass drawing tool
- Scissors or rotary cutter and a cutting mat
- Needle and thread
- Fabric glue stick
- Iron, for pressing
- Sewing machine
How to Make a Circle Quilt Block:
Step 1
Cut a freezer paper into a 5-inch square, then draw 2 diagonal lines on opposite corners, and make a 1-inch mark from the paper’s edge on each side. Using those marks, draw a circle using your compass tool, and cut the circle out of the center. Set the template aside, then cut your main fabric into a 5-inch square, and cut the other fabric into a 3¾-inch square.
Step 2
Next, place the main fabric on top of the sticky side of the freezer paper with its right side facing up, then press it down nicely, and trim off the inside of the circle leaving about ¼ inch seam allowance. Make some notches around the circle about ¼ inch apart cutting it almost to the end of the paper, then flip it over to the wrong side, and apply some fabric glue around the sides of the circle.
[social_warfare]
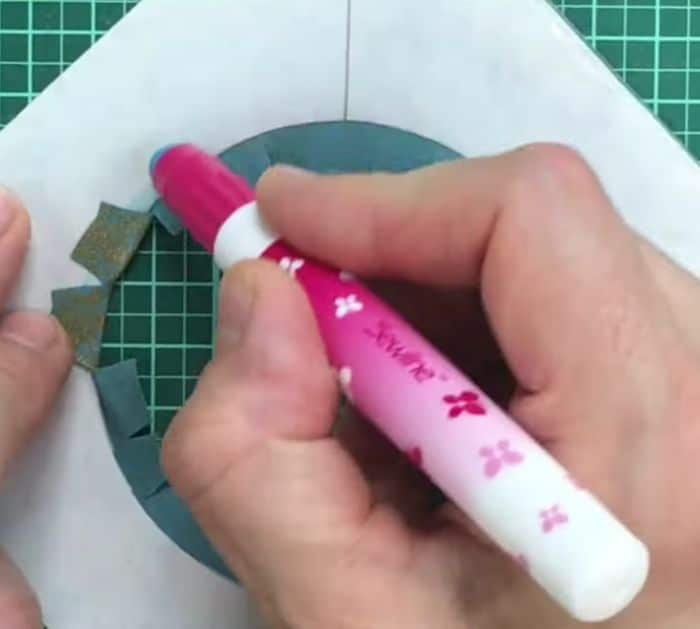
Step 3
Press the notched edges of the fabric back to the paper, then press them down, and adhere nicely. Put some glue around the sides of the circle and over the adhered fabric, then place the smaller square over it with its right side facing down or out of the circle, and press it down with your hand.
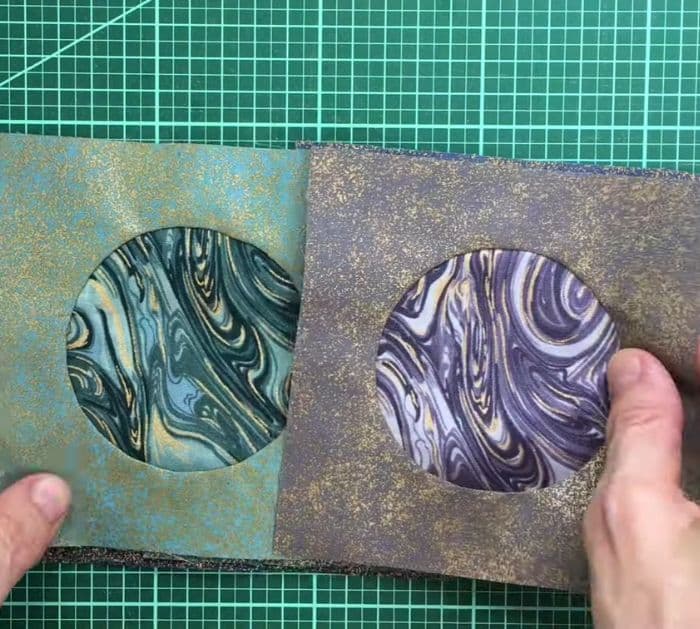
Step 4
After the glue dries, carefully remove the freezer paper, then with a zipper foot, sew along the fold, and make sure to lift the top fabric for easier access as demonstrated in the video. Trim off the excess layers at the back with ¼ inch seam allowance, then give it a good press, and you’re done!
*All image credit belongs to Teresa DownUnder via YouTube. Follow and subscribe to her channel for more!
How to Sew a Perfect Circle Quilt Block


