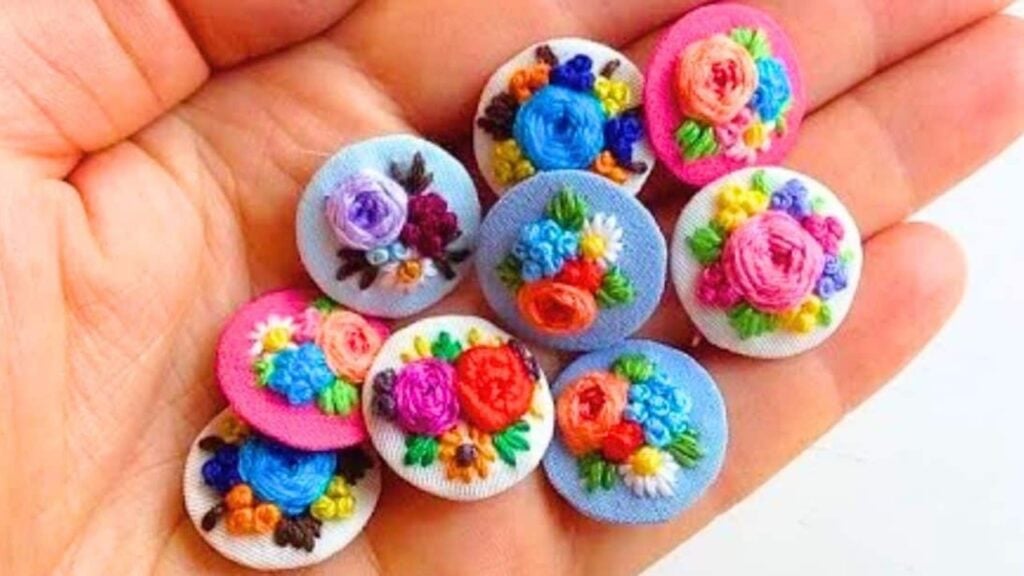
Embroidery is a new hobby that I’m getting myself into, and so far, it has been really fun and a good way to pass the time. My most recent project is a simple but lovely one, and it is embroidering buttons. I just can’t stop making embroidered buttons because it’s so easy and there are a lot of designs that I can think of, and colors that I want to play with.
RELATED: DIY Oval Embroidery Design Potholder
If you are also interested in giving embroidery a try, then you’ve come to the right tutorial. Go ahead and read the written instructions down below now, and be sure to watch this video tutorial by Rimu Hand Embroidery on YouTube for more details, too. Once you get the hang of it, you can now gather your embroidery kit along with your favorite thread colors.
Materials Needed for Embroidered Button:
- Embroidery kit (wooden hoop, fabric, needle, and thread)
- Button
- Pencil
- Scissors
- Needle and thread, for sewing
How to Embroider a Button:
Step 1
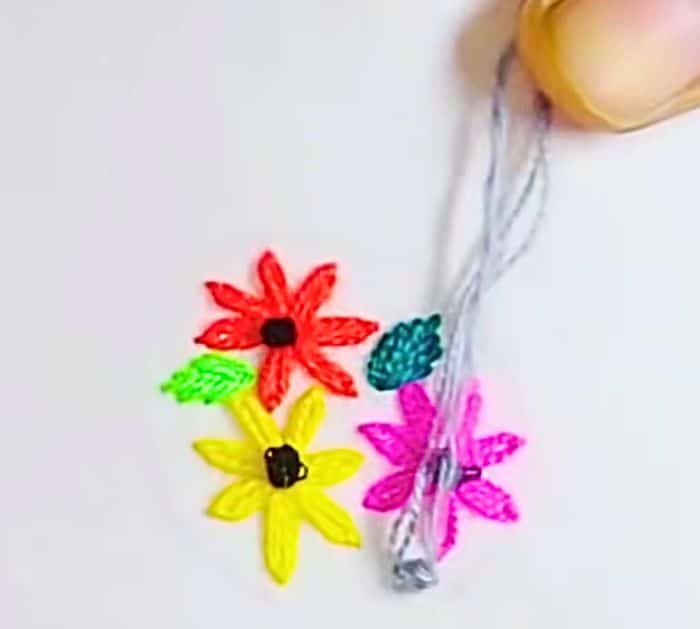
Prepare your embroidery kit and insert the fabric into the wooden hoop, then place a button on top of the fabric, and trace the shape around it with a pencil. Set the button aside and roughly draw the shape of a flower or flowers as a guide, then start embroidering little flowers of different colors, and make sure that they are all inside the drawn line. Now, embroider leaves in between the spaces of the flowers and you’re done.
[social_warfare]
Step 2
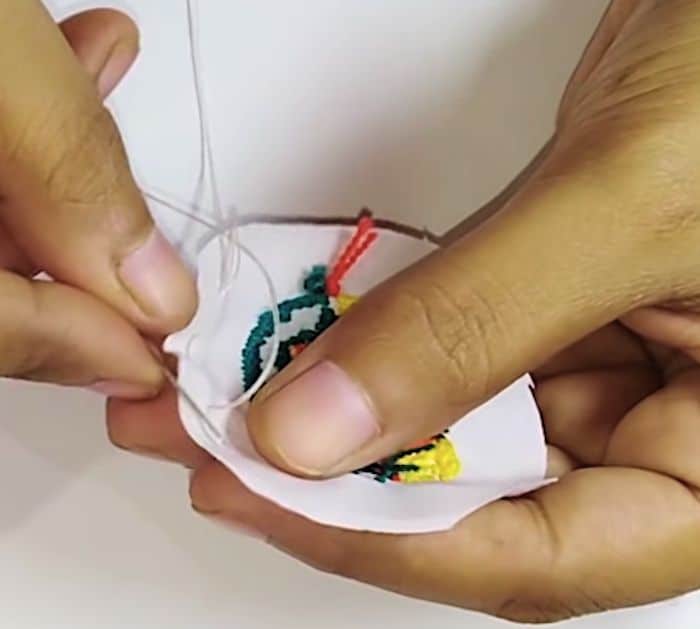
Another method you can do is to embroider half a flower covering almost the entire space as shown in the video. Once done with the flower, fill the spaces until it’s entirely covered and no more fabric is shown, then roughly draw a circle around it with about a 1-inch allowance, and cut it out. Make a running stitch around the edges, then insert the button inside making sure that the embroidery is nicely centered, and pull the thread tightly before making a secure knot.
*All these images are credited to Rimu Hand Embroidery via YouTube. Give her channel a visit and subscribe for more!
How to Make an Embroidered Button


