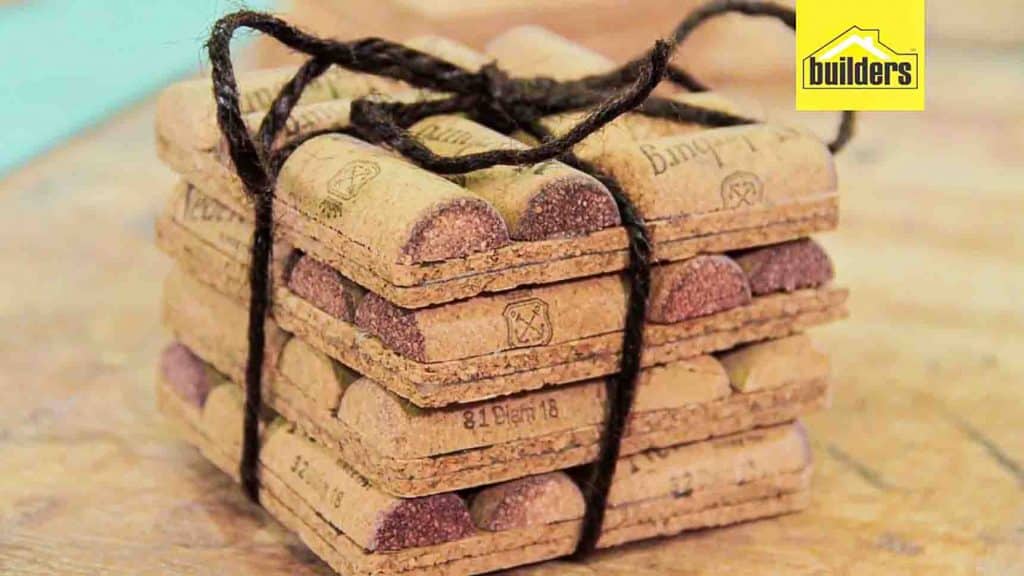
These coasters made out of old wine corks from BuildersSA on Youtube are the perfect present to give to your family and friends! It’s also easy to do, with all the materials easily found in your home already. It’s also the perfect project if you have wine corks piling up in your storage. Make these cool and rustic coasters today by watching the video below for the step-by-step tutorial.
Materials:
- wine corks
- cork tiles
- cutter
- ruler
- pencil
- cutting mat
- glue gun
- sander
Directions:
Step 1
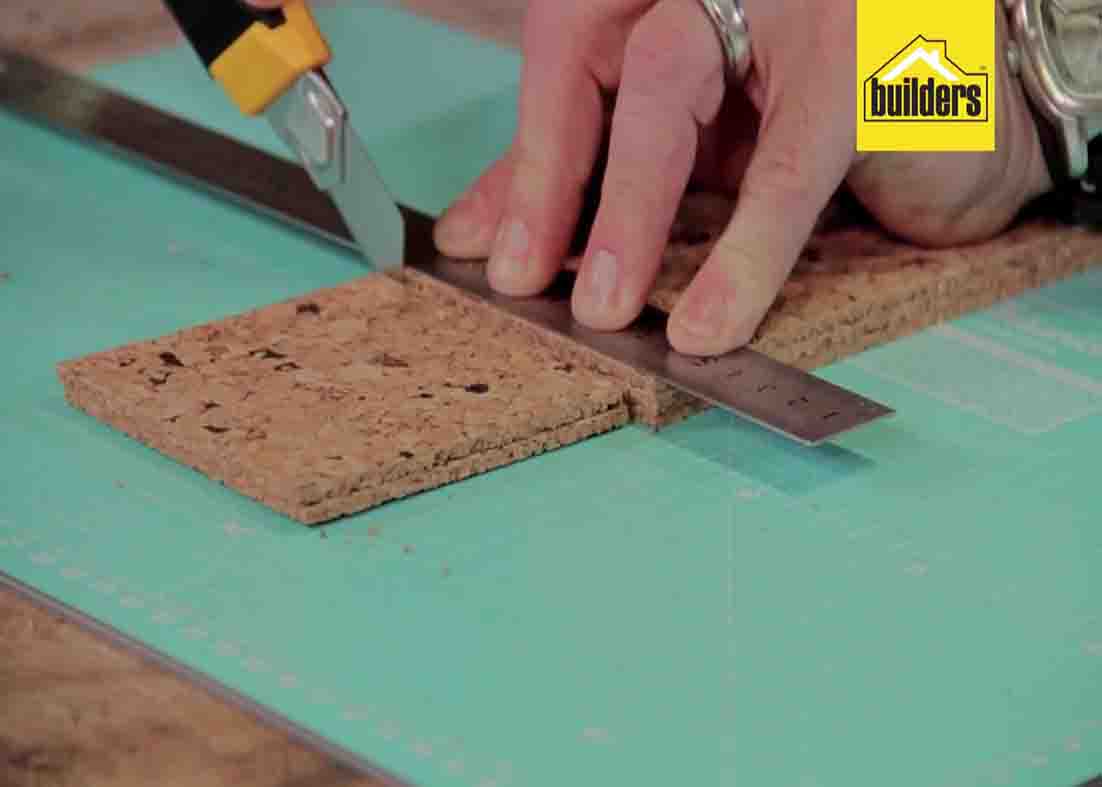
To start, you’re going to cut the base of the coaster. Measure the cork tiles into 90mm x 90mm tiles and cut them. You should end up with 9 pieces of these mini cork tiles. Next, join 2 pieces together to make a thick base by using a glue gun. Make sure to put the hot glue close to the edges as possible.
[social_warfare]
Step 2
Now it’s time to cut the wine corks in half. It’s important that you cut each piece at the same height otherwise your glass is going to wobble down on the coaster. Make sure your cutter is sharp. You need four corks for each coaster so repeat this process until you have enough. After cutting the corks in half, it’s time to glue them to the base. Line the corks into position, work out where you want them, then glue them down using the glue gun. After this, trim off the excess glue on the sides using a cutter, then sand it down using the sander.

Easy DIY Wine Cork Coasters Tutorial


