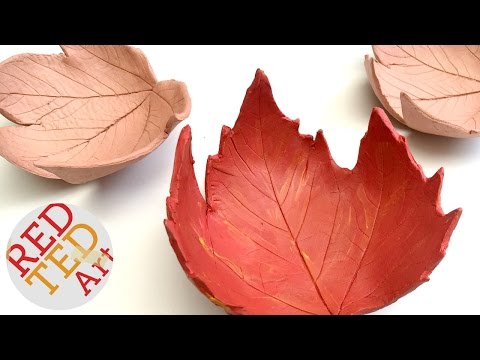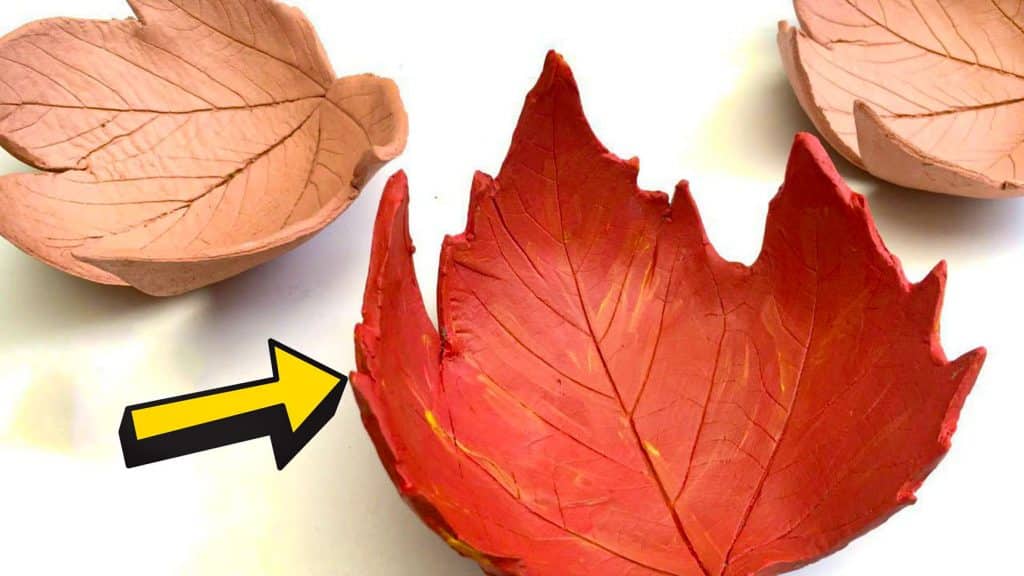
The fall season is here, and it’s the best time to go all out with your fall decor! This autumn leaf bowl from Red Ted Art on Youtube is a classic DIY project you can do to add to your fall decor. This project may look complex, but it’s actually super simple and easy to do! Watch the video below to learn the step-by-step instructions.
Materials:
- air-dry clay
- large detailed leaf
- bowl (make sure the leaf is fitted)
- plastic
- rolling pin
- knife
- acrylic paint
Directions:
Step 1
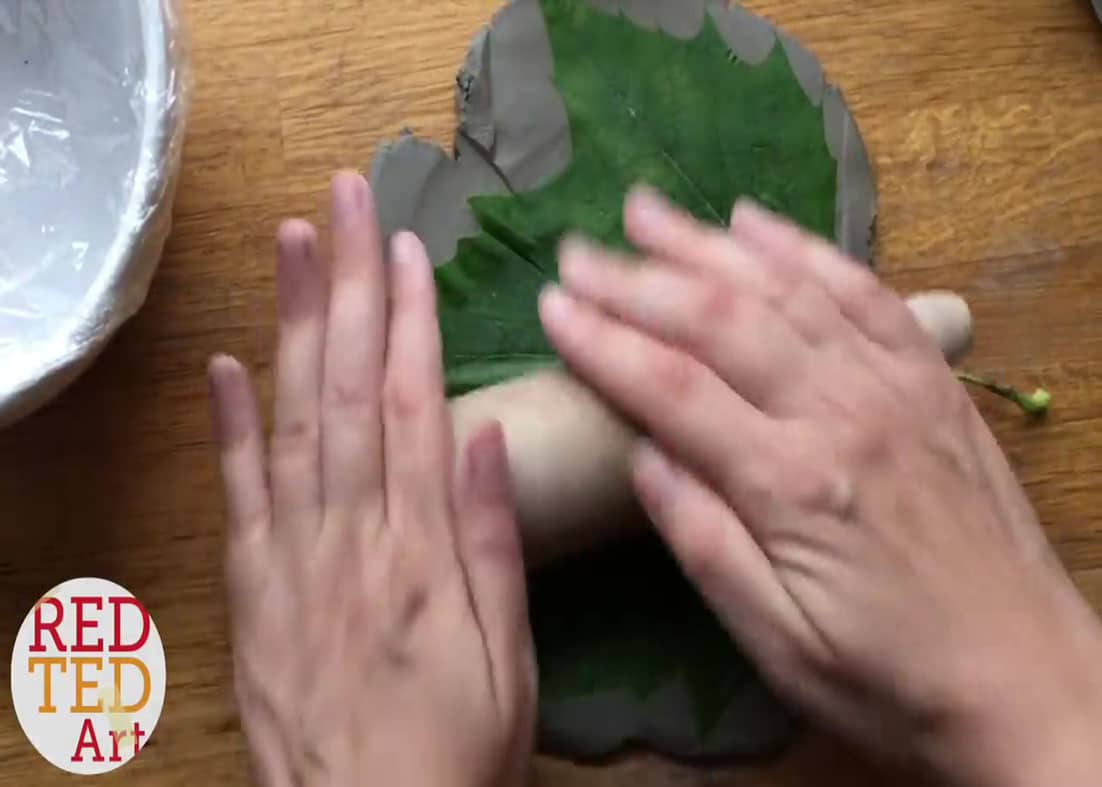
First, roll out your air-dry clay with your rolling pin, making sure your leaf fits on all corners. After this, put your leaf on top and give it a good roll so the details of the leaf will be engraved on the clay nicely. Once your leaf is settled to the clay, grab your knife and slowly cut the excess clay, following the shape of the leaf. Now, slowly lift up and remove the leaf. Next, very carefully lift up the clay off your working table.
[social_warfare]
Step 2
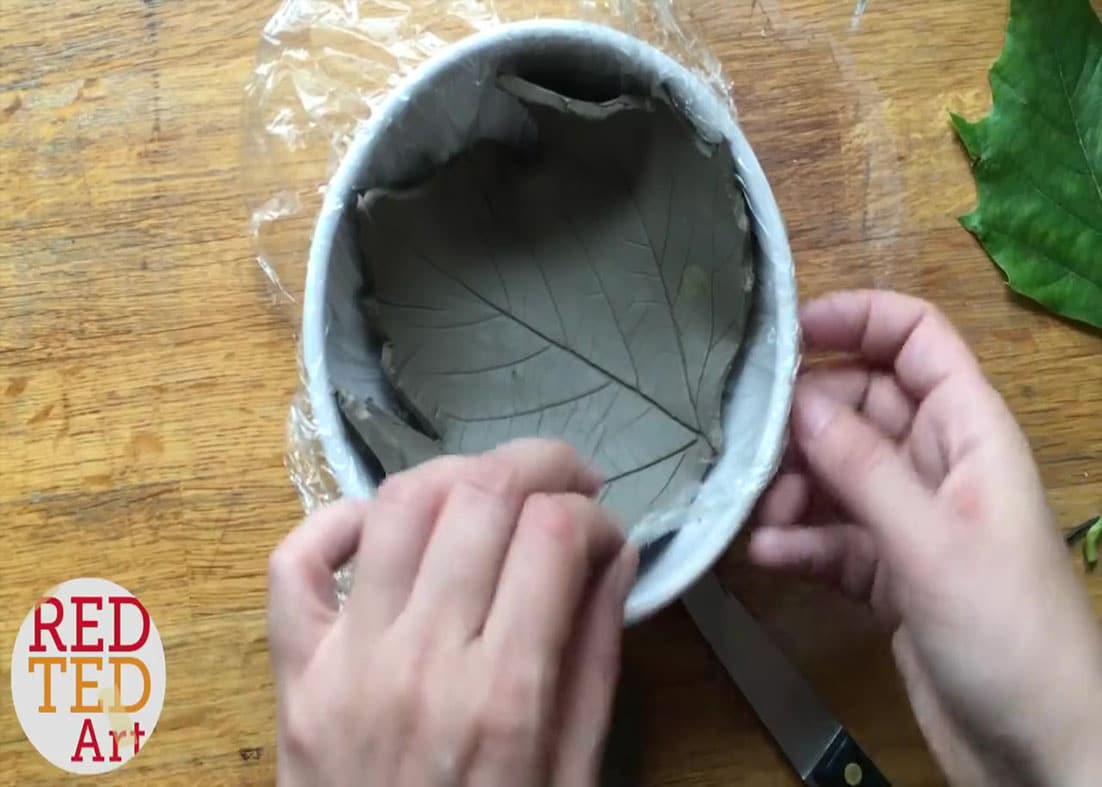
After you’ve lifted up the clay, gently place it in the bowl covered with plastic. Now, very carefully shaped it into the bowl shape and after this, set it aside and let it dry for a couple of days. After 2 days, your bowl is fully dry and by this time, you can finally put some color to it. You can use some acrylic paint (color of your choice) and start painting your leaf bowl.
Easy DIY Autumn Leaf Bowl Tutorial