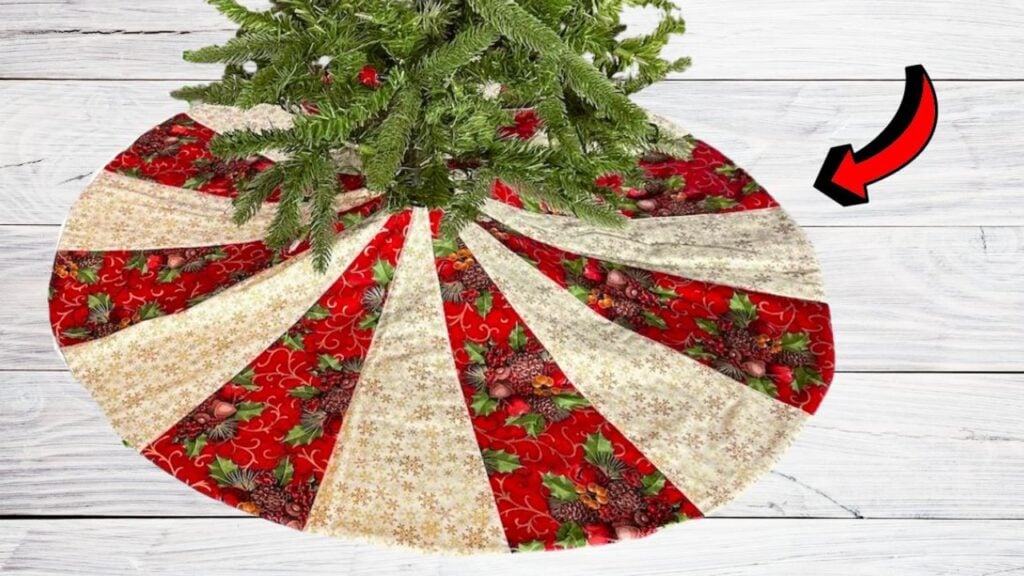
Looking for a beautiful Christmas tree skirt? Why not make it instead of buying one from the store? Let The Sewing Room Channel teach you how to make this easy project for your Christmas tree. I love how the two different fabrics create this beautiful pattern. Placing this around the stand of your tree will surely elevate its look. You can also add embellishments like ribbons and beads to make it even more stunning.
RELATED: Quilted Dresden Pattern Christmas Tree Skirt
For this project, you are going to make your own pattern using a big piece of paper. Trust me, it’s super easy. There’s a step-by-step instructions on how to do it, so you don’t need to worry. You can use one fabric color, but making it two-toned will be more eye-catching and festive. The pattern can also be used to make tablecloths, so save it for a different season.
DIY Christmas Tree Skirt Materials
- 7/8 yard for fabric A
- 7/8 yard of fabric B
- 1 1/4 yard of back fabric
- 1 1/4 yards of cotton batting
- 19″ – 20″ long piece of paper
Note: The finished size is 41″
[social_warfare buttons=” Facebook,pinterest,twitter,whatsapp”]
How to Make Christmas Tree Skirt
Step 1:
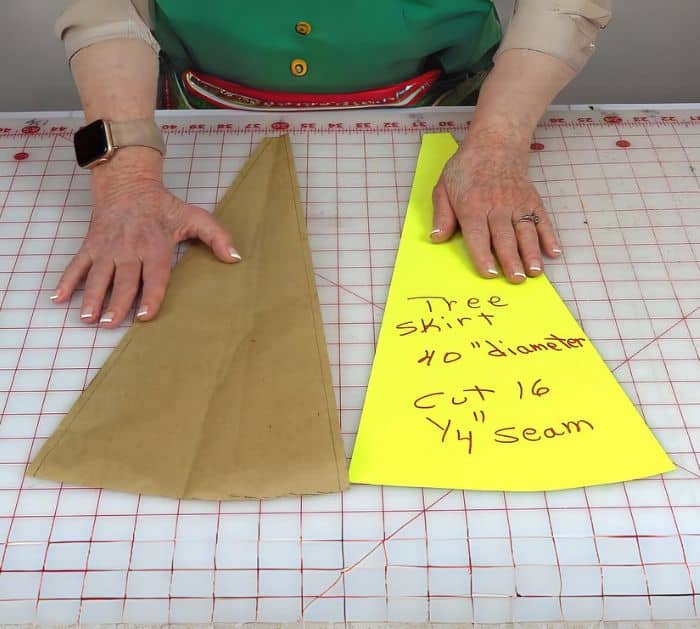
Fold the paper in half. On the top folded edge, measure 1 inch down, then draw a 1/2″ horizontal line. From that line, go down 18.5″, and put a mark. Measure 4 1/4″ from the folded mark and make another mark. Connect the mark from the top and at the bottom, making a diagonal line. From the mark on the folded edge, go down about 1/2″ and draw a gentle curve connecting to the 4 1/4″ mark. Once done, cut it out. Trace it into cardboard and cut. You need two templates. Write on your pattern: tree skirt with a 40″ diameter. Cut 16 pieces and use 1/4″ seam.
Step 2:
Fold your fabric A in half twice. Place 2 of the templates on top, arranged in the opposite direction. Cut around the edges. Make sure to use a sharp blade. Repeat the process for fabric B.
Step 3:
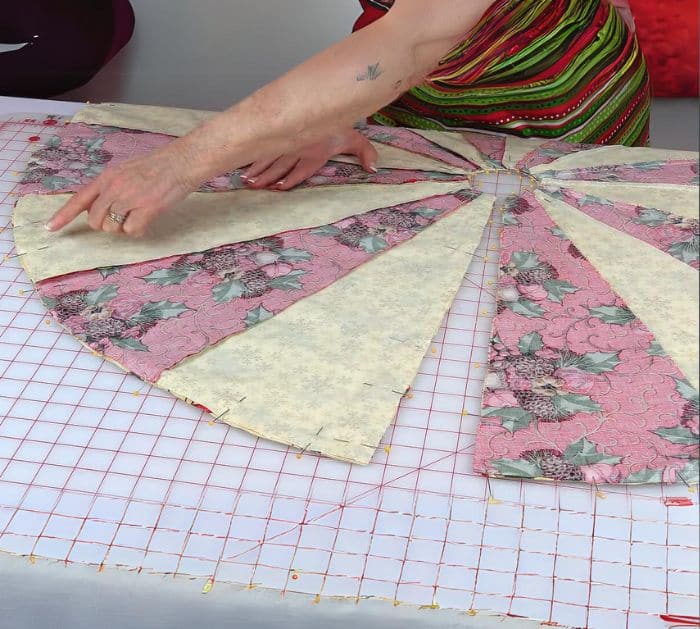
Once you have 16 pieces, take one from A and B. Line them up on the long edge and sew with 1/4″ seam allowance. Keep adding the other pieces, making sure to alternate the colors, until you form a circle. Press all seams in one direction.
Step 4:
Lay the back fabric on top of the cotton batting, with the right side up. Next, place the tree skirt on top, right side down, and pin the edges. Make sure each layer is smoothened. Trim the excess cotton batting and back fabric. Next, cut where the ends meet and the small circle in the middle.
Step 5:
Sew the edges all the way around but leave a big opening. Cut little slits just before the stitch line.
Step 6:
Pull it right side out and flatten. Sew the opening. Once closed, stitch on top of the seams to hold everything in place.
Easy Christmas Tree Skirt With Free Pattern