Nothing makes a cold night better than a soft throw over your lap, and the handmade kind is even cozier. These 17 DIY throw blankets range from ten minute upgrades to weekend sewing projects. Short on time? Splatter paint a plain cotton throw, knot chunky yarn tassels along the edge or tie giant pom poms onto a store-bought knit. Ready to sew? Fleece with a blanket stitch edge, flannel with a pom pom trim and a self-binding minky are all beginner friendly, since fleece and flannel don’t fray much. And for the knitters (or the curious), chunky yarn worked by hand needs no needles at all. Pick one for the couch, then make a stack for gifts. A two yard cut of fleece is the sweet spot for a classic throw, big enough to curl up under without swallowing the sofa.
1. How to Make an Easy Blanket Stitch Fleece Throw
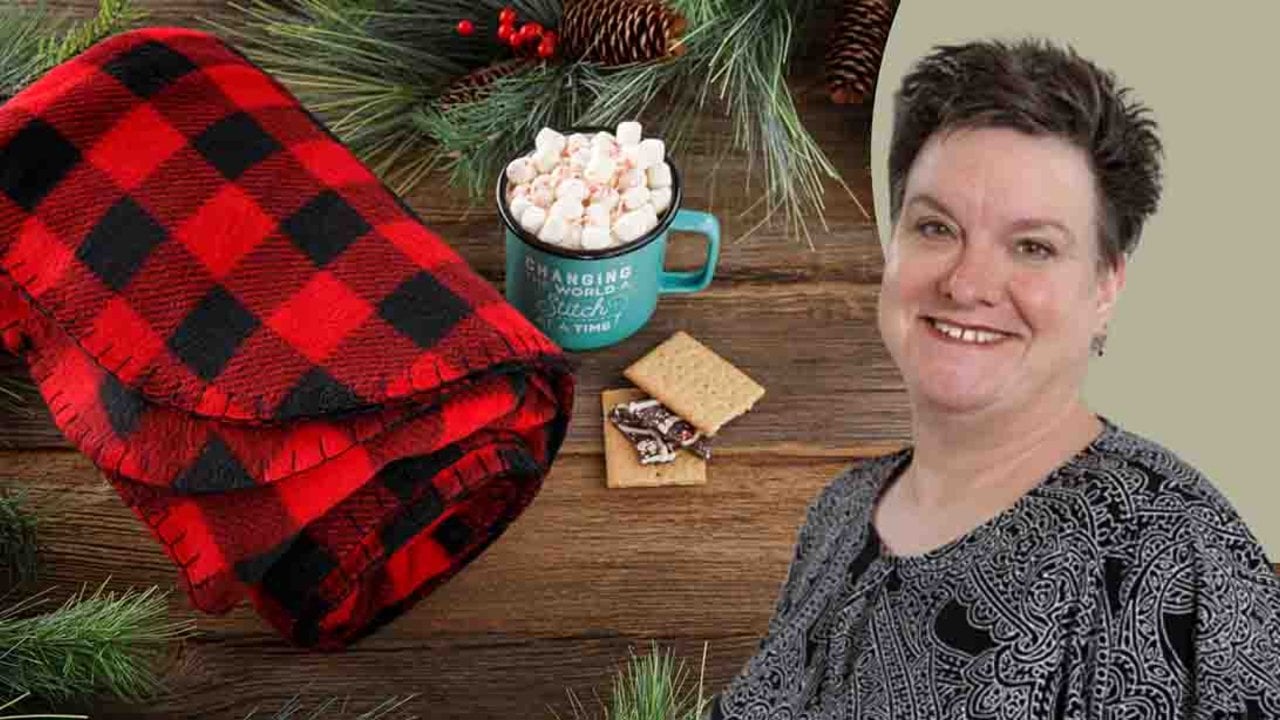
A blanket stitch edge turns two yards of fleece into a gift-worthy throw in an hour or two. Trim off the selvedges, round all four corners by tracing a plate, then mark a line 1/2 inch in from the edge all the way around. Thread two to three feet of size 8 perle cotton on a felt needle, knot it and bring it to the edge. Stitch every 1/2 inch, catching the loop each time. When the thread runs out, knot it on the back and start fresh.
Get the full tutorial at DIY JOY.
2. DIY Splatter Paint Throw Blanket

A splatter paint throw blanket turns accidental spills into a pattern on purpose. Lay a neutral cotton throw flat, load a brush with fabric paint and flick it across the surface in bright pinks and blues. If the paint is too thick to splatter well, thin it with a little water. Paint any extra details you like, such as pom poms along the edge. To do both sides, let the first side dry completely before flipping. Once dry, it’s ready for the couch.
Get the full tutorial at Mr. Kate.
3. How To Finger-Knit A Blanket

A finger-knit chunky blanket needs no needles and no knitting experience, just bulky blanket yarn. Start with a slip knot, then pull loops through to make a chain as long as the blanket should be wide. Working back along the chain, pull a loop up through the top of every chain stitch, keeping the loops the same size. Repeat row after row, checking the bars stay straight so nothing twists. Tie new skeins on with a tight double knot, and roll the blanket as you go.
Get the full tutorial at DIY JOY.
4. Giant Ombre Pom Pom Blanket

Giant yarn pom poms knotted onto a plain knit throw make a playful blanket that doesn’t shed. Use the inner ring of a 5 inch embroidery hoop as a sturdy template, wrap extra thick yarn around it about 15 times, then tie it tightly with upholstery thread. Keep wrapping and tying in rounds until half a skein is used. Leave a 12 inch tie, cut the loops and trim it round. Thread each tie through the knit, loop it back through the center knot and tie off.
Get the full tutorial at Vintage Revivals.
5. Easy Flannel Throw Blankets

Easy flannel throws need only one layer of fabric, because flannel is soft on both sides, so the only job is finishing the edges. Each throw takes 2 yards of 44 inch flannel shirting and about 7 yards of trim. For mini puff trim, serge a rolled edge and topstitch the trim on with a zipper foot. For bigger pom pom trim, serge first, then stitch the trim inside the serging and fold it under. Wash and dry after serging to stop fraying.
Get the full tutorial at girl. Inspired.
6. DIY Pom Pom Fleece Blanket

A pom pom fleece blanket big enough to wrap up in twice costs under $20 with sale fleece. It takes 2.5 yards of light gray fleece, 120 inches of white pom pom trim, white thread and a sewing machine. Fold each long edge over 1/4 inch, pin and zigzag stitch, then repeat on the short ends. Cut the trim in half and pin one piece over each short-end seam to hide it, then zigzag along the trim’s tape edge. Done in an evening.
Get the full tutorial at Sew Bake Decorate.
7. DIY Pocketed Picnic Blanket

Triangle pockets on each corner keep a picnic blanket from blowing away and keep your stuff organized at a festival or park. Cut four triangles of stretchy fabric (swimsuit fabric expands nicely), leaving a couple of extra inches for the folded edge. Starting at a corner point, hot glue the fabric face down, then fold it back for a clean edge, working up each side and folding as you go. Practice the corner folds before gluing for good. No sewing machine needed.
Get the full tutorial at Mr. Kate.
8. DIY Tassel Throw Blanket

Chunky yarn tassels dress up a plain knit throw in about 25 minutes and under $30. Cut a 5 inch cardboard square and wrap yarn around it 125 times. Slip a 24 inch length under the wraps at the top, cinch and knot it, then cut through the wraps at the bottom. Wrap a 20 inch length around the tassel about an inch below the knot, tie it off and trim the ends even. Knot the long top tails through the blanket’s edge, spacing tassels evenly.
Get the full tutorial at Woman's Day.
9. Easy Bound Fleece Blanket

Bias tape binding gives a fleece blanket a crisp, finished edge in about 15 minutes of sewing. Lay out the fleece and trim off the selvedges so every edge is straight. Round each corner by tracing a mixing bowl or plate, then join two packs of 7/8 inch double fold quilt binding into one long strip. Feed it through a binding foot, sandwich the fleece edge inside and sew all the way around. Fold the end under, overlap and finish. Two yards makes a couch size.
Get the full tutorial at see kate sew.
10. Hand Knitted Throw Blanket

Super chunky merino wool and two hands make a cloud-soft knitted blanket, and a newborn size takes about an hour and four pounds of wool. Unwind plenty of wool first so it doesn’t break from tugging. Cast on with a slip knot, then pull the working yarn through each loop to make the next, about 20 stitches across for a baby blanket. Keep the loops generous for a looser, fluffier knit. Work on a clean floor, and buy more wool for bigger sizes.
Get the full tutorial at Lauren Conrad.
11. Quilted Blanket Knockoff

Prequilted fabric gives you a quilted blanket without any actual quilting. One yard is the perfect size for a baby blanket, and fabric store coupons (often 40 to 50 percent off) help with the price. Trim the edges straight, then sandwich them inside double fold bias tape, pin all the way around and sew. Store-bought bias tape is easiest, but homemade binding in a contrasting print looks just as polished. It’s an ideal starter project for anyone learning to sew.
Get the full tutorial at A girl and a glue gun.
12. Gorgeous DIY Fleece Blanket

Luxe fleece and a fancy trim make a fleece blanket that looks far more grown-up than the knotted kind. A standard throw takes 1.5 yards (2 yards for tall folks) and about 7 yards of trim, such as bias binding, jumbo ric rac or pom poms. Cut off the selvedges and square up the other edges. Fold the fleece in fourths, trace a bowl to round all four corners at once, then sew the trim around the edge. Each one takes about 30 minutes.
Get the full tutorial at It's Always Autumn.
13. Easy DIY Star Wars Fleece Blankets

Two coordinating Star Wars fleece prints become a double-sided fringe blanket that sews up much faster than tying knots. Buy equal yardage of each (about 2 yards makes two kid-size blankets), keeping in mind about 4 inches per edge goes to fringe. Place the fleeces wrong sides together and stitch 3 to 4 inches in from the edges all the way around. Then cut 1 inch fringe up to the stitch line. No machine? Cut 3 inch corner squares and knot the fringe instead.
Get the full tutorial at Mom Endeavors.
14. Simple Fabric Throw

Two coordinating fabrics and a velvet ribbon edge make a simple spring throw that tosses over the end of the bed. A 4 by 6 foot throw takes two yards of each fabric and about 7 yards of 1 inch ribbon. Stack the pressed fabrics wrong sides together and stitch down the center, then smooth outward and stitch more lines lengthwise, five seams in all. Trim to the final size, wrap ribbon around each raw edge, pin the corners and stitch close to the inner edge.
Get the full tutorial at Design Mom.
15. Baby Rag Blanket

Strips instead of squares give this rag blanket a cleaner, modern look with just the right amount of fluff. It uses two layers of flannel (2 yards and 1.75 yards in different prints) and no batting. Cut twelve 4 inch strips and ten 7 inch strips across the full width, plus five 3 inch binding strips. Stack the strips in pairs, wrong sides together, sew them into rows with exposed seams, then clip the seams and bind the outer edge. Finished size: about 42 by 48 inches.
Get the full tutorial at Angie's Art Studio.
16. Self Binding Minke Baby Blanket

This self-binding minky blanket sews and binds itself at the same time, with a patchwork back that wraps around to the front as a scrappy border. It takes nine fat quarters and one yard of dimple minky. Cut nine 14 inch squares and sew them into a three by three patchwork, then cut the minky to 32 inches square. Stitch the two together, turn and fold the patchwork over the minky to form the binding. It’s about 2 1/2 hours start to finish.
Get the full tutorial at The Polka Dot Chair.
17. Sunburst Picnic Blanket

A sunburst picnic blanket has a quilted top in sunny yellow wedges and a sturdy duck cloth bottom that stands up to grass and sand. For a blanket about 55 by 59 inches, gather 2 yards of duck cloth, several yellow fabrics, thin batting, about 7 yards of bias tape, plus Velcro and twill tape for a carry handle. Wash, dry and press everything first, since duck cloth shrinks. Piece the sunburst, quilt the layers, bind the edge, then add the folding strap.
Get the full tutorial at you and mie.