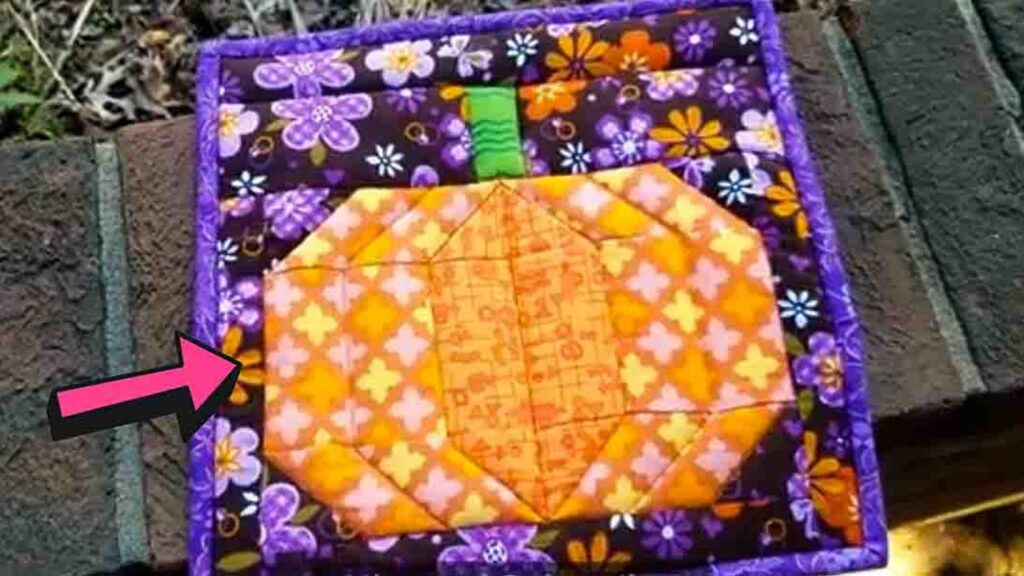
If you’re looking for fall-inspired DIY to do, I recommend this pumpkin potholder project from Little Chookie on YouTube. I just love how this potholder turned out, and if you’re worrying that it’s an advanced project, it’s actually easy and beginner-friendly. It’s also a great gift idea for your friends or family. Watch the video tutorial below and start making one today!
Materials:
- 1 background fabric
- 1 outer pumpkin fabric
- 1 inner pumpkin fabric
- green fabric (for the stem)
- Insul bright
Directions:
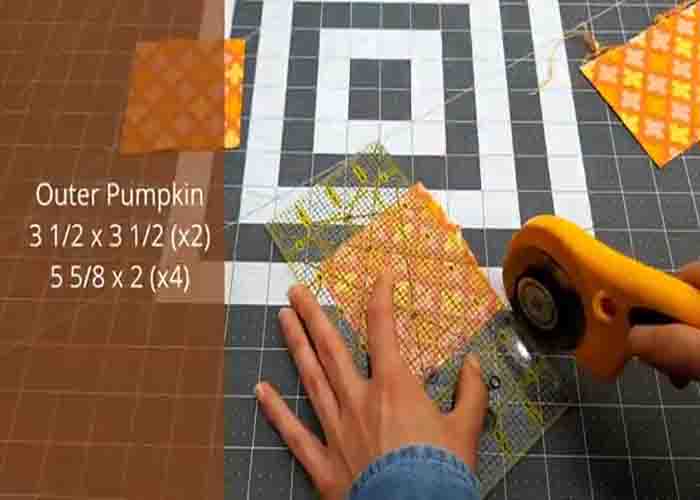
Step 1
Grab the green fabric and cut 1 1/2″ x 2 1/2″ piece. For the outer pumpkin, cut two 3 1/2 ” x 3 1/2″ fabric pieces and four 5 5/8″ x 2″ fabric pieces. Now, cut two of the 5 5/8″ x 2″ into parallelograms with a 45-degree angle. After this, create an inverse with the other two 5 5/8″ x 2″ parallelograms (cut at a 45-degree angle). Moving on to the inner pumpkin, cut two 3 1/2″ x 2″ fabric pieces and two 2 3/8″ x 2 3/8″ fabric pieces. Next, cut both of the 2 3/8″ x 2 3/8″ in half to create four triangles. Lastly, cut the pieces needed for the background: one 11 1/2″ x 2 1/2″ fabric piece, two 5 1/2″ x 2 1/2″ fabric pieces, two 2 3/8″ x 2 3/8″ fabric pieces, 7 1/2″ x 1 1/2″ fabric pieces, and one 9 1/2″ x 1 1/2″ fabric piece. Cut one 11″ x 11″ for the backing. Next, cut both 2 3/8″ x 2 3/8″ in half to create four triangles then cut two 11″ x 11″ pieces of insul bright.
[social_warfare]
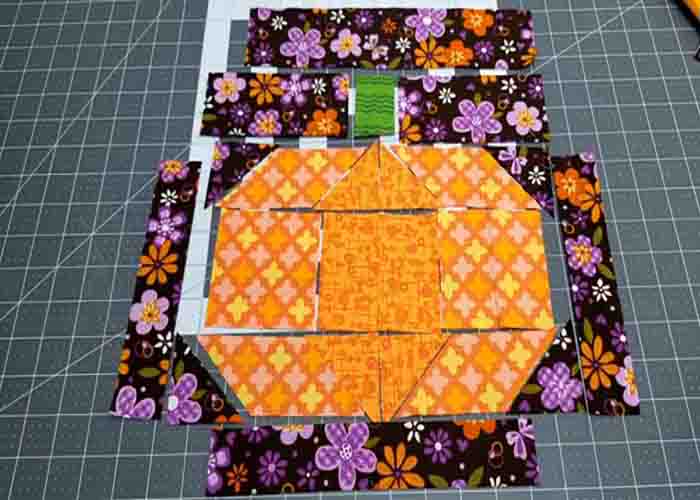
Step 2
Once you have all the fabric pieces, put a label on each group to assemble them more easily. Once you have all the fabric groups set on the side, it’s time to assemble them. Lay the outer fabric first, then the pumpkin pieces, starting from the bottom all the way to the top (refer to the image below for the exact placements of each piece). Once you have all the fabric pieces laid down, go ahead and start sewing with a 1/4″ seam allowance the pieces together, pressing the sewn pieces in between.
Step 3
Once you have the block finished, it’s time to quilt it. Lay the backing fabric first followed by two pieces of Insul Bright, then the pumpkin block. After this, hand-baste the layers together using a needle and thread. Once done, mark the middle of the outer pumpkin with an erasable pen, then start to machine-quilt your potholder however you like.
Step 4
Now, for the edging, trim the edges of the potholder first, then cut 2 1/2″ width strips with a matching fabric, then attach as needed on the diagonal. After this, fold it in half, pin it to the potholder, then sew. For corners, stop 1/4 from the edge, fold at a 45-degree angle, then fold down and continue sewing. Once done, flip the edging over the seam, pin it in place, and then sew in the ditch on the front.
DIY Pumpkin Potholder Tutorial


