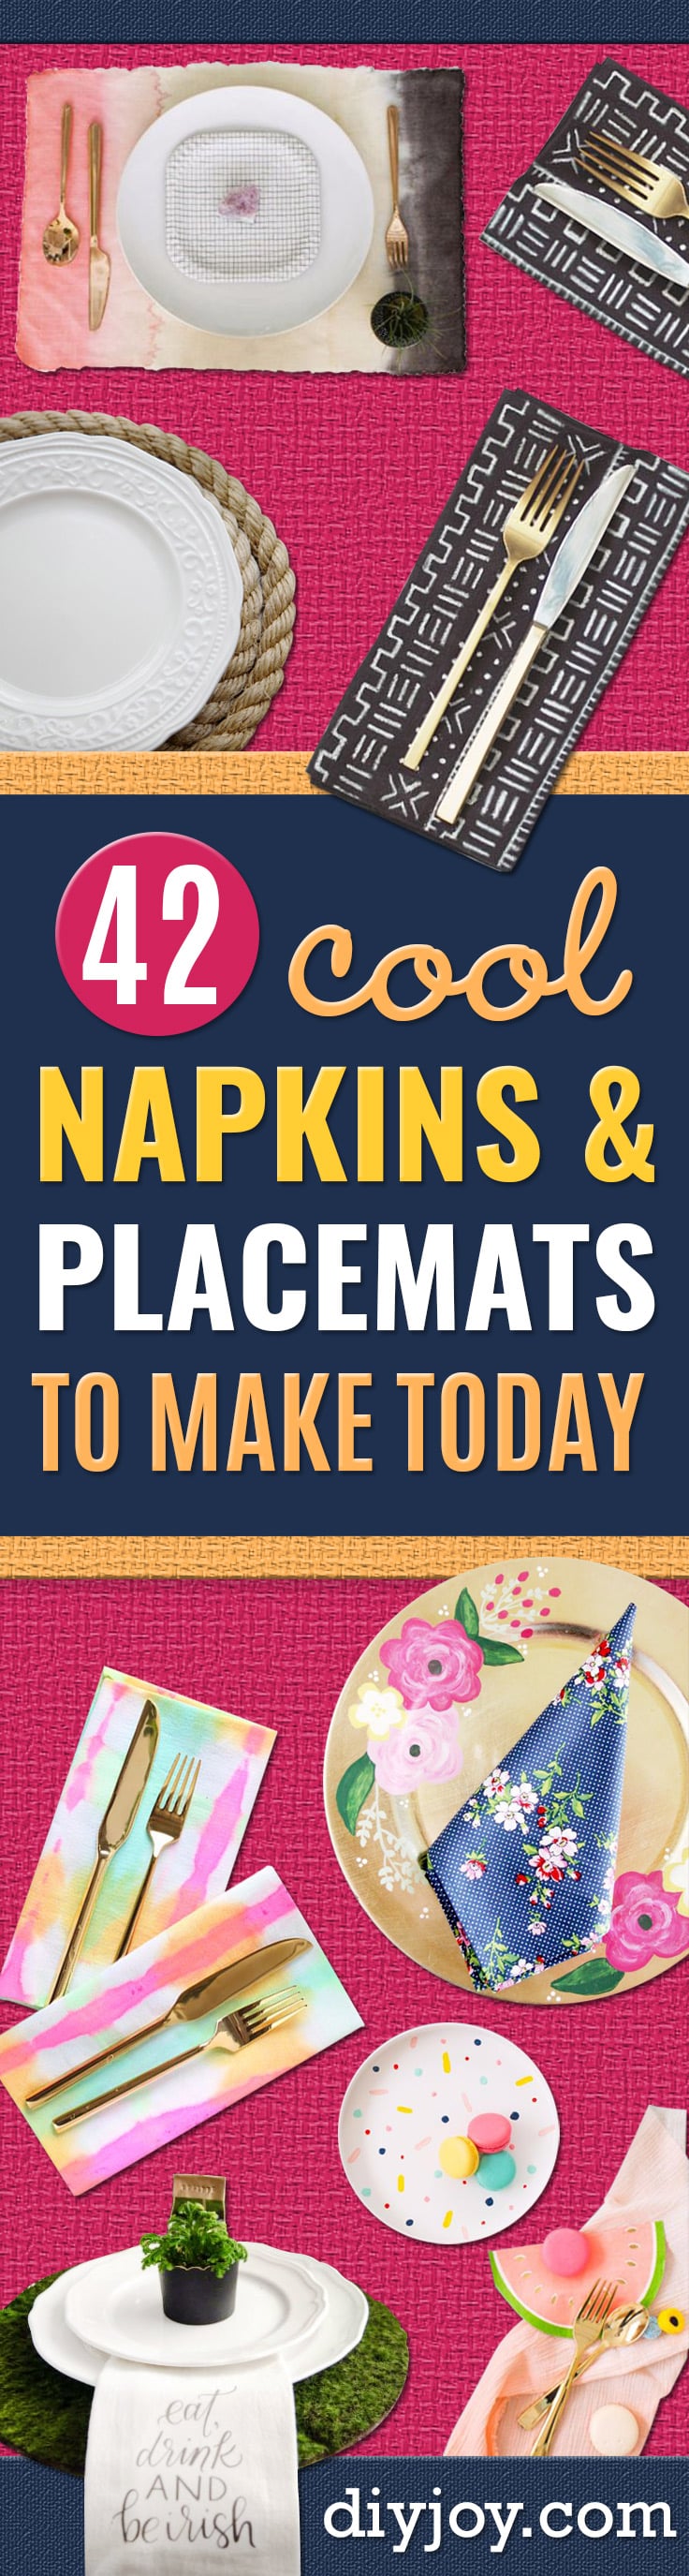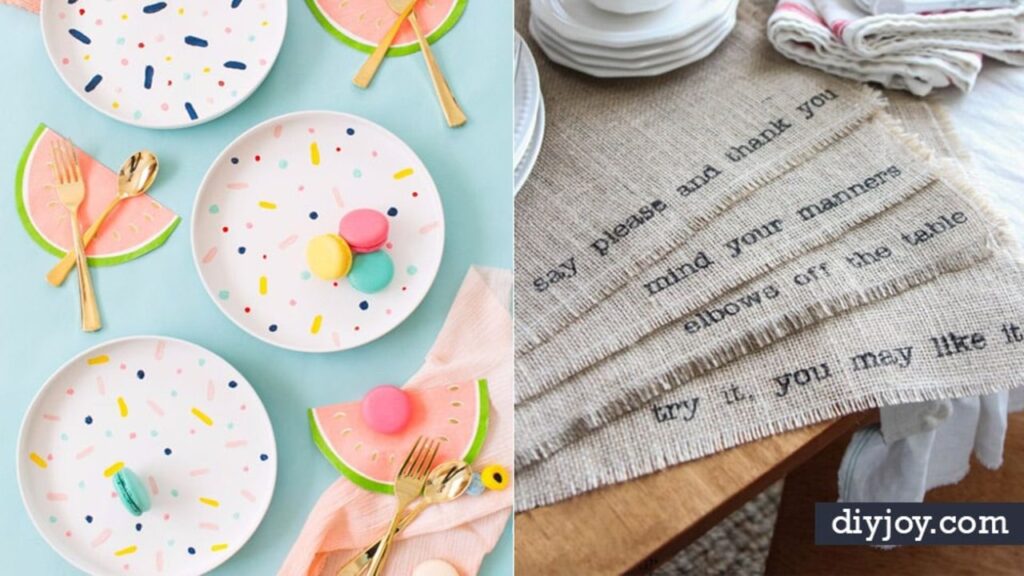
Paper napkins are fine for Tuesday, but a stack of handmade cloth napkins and placemats makes every meal feel a little more special. These 30 DIY napkins and placemats cover every skill level, from no-sew burlap mats and painted rattan to double sided napkins with crisp mitered corners. You’ll find dip dyed, spray painted, cork stamped and watercolor linens, a quilt as you go set, pom pom trims and a few napkin folds that take seconds. DIY JOY video tutorials are in the mix too, including no-sew placemats made from old jeans and a rose fold that turns any plate into a centerpiece. One tip before you start: prewash every fabric, because napkins live in the laundry and cotton and linen shrink the first time through.
1. DIY Speckled Placemats
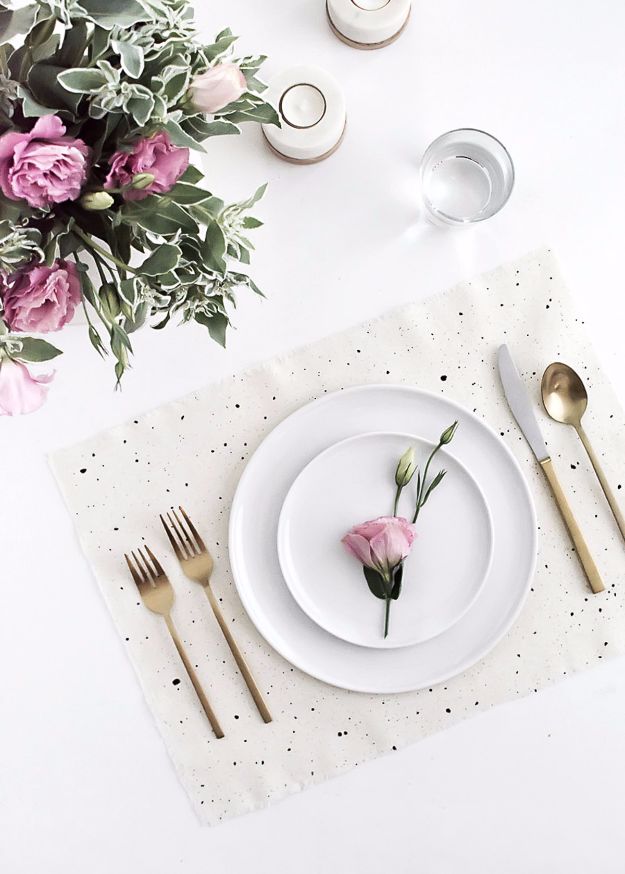
DIY speckled placemats are what happens when a messy craft is the whole point. Cut cotton fabric to roughly 14 by 19 inches and pull a few threads from each side for a soft fringed edge. Thin your paint with an equal amount of water, load just the tips of a stiff brush, then hold it right over the fabric and flick down so the dots land round, not streaky. Do this outside on a drop cloth, because the splatter travels farther than you’d think. A fine brush can dot in extra speckles wherever you want more.
Get the full tutorial at Homey Oh My.
2. Jeans Pocket Placemats
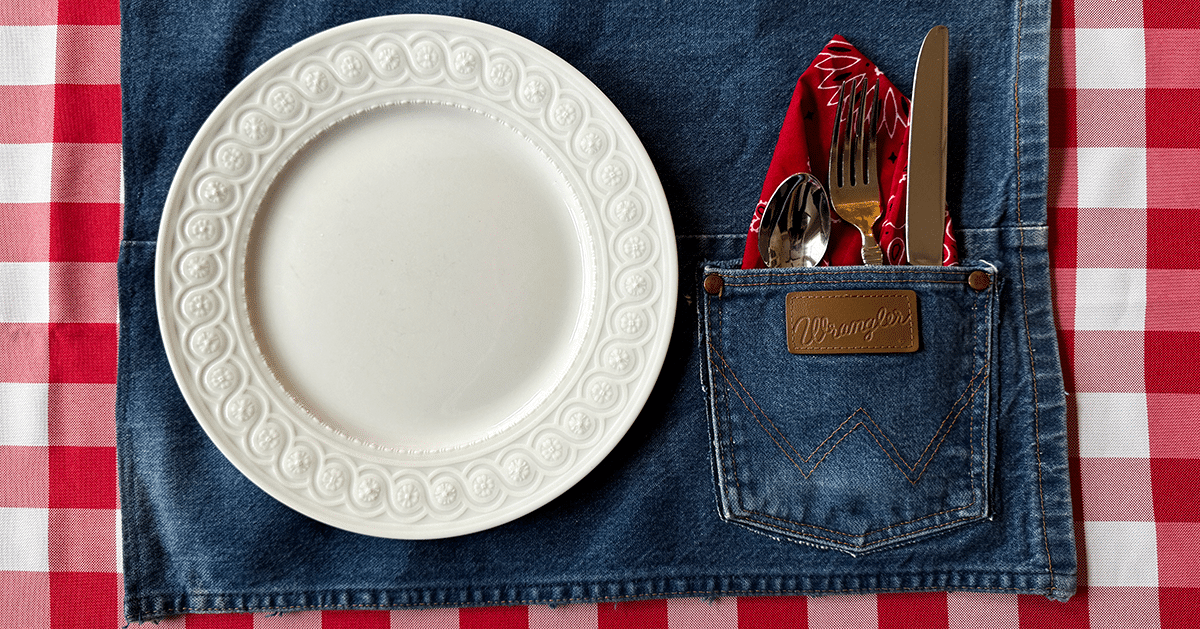
Jeans pocket placemats are a no-sew way to give old denim a second life. Choose non-stretch jeans and cut up the outside seam of a leg, then cut the leg off around 22 inches and trim the flattened piece to 14 by 19 inches. Cut out a back pocket with a small border. Fold every edge under a quarter inch, iron it, then run fabric glue along the folds and clip them while they dry. Glue the pocket to the lower right corner to hold the silverware.
Get the full tutorial at DIY JOY.
3. DIY Burlap Placemats
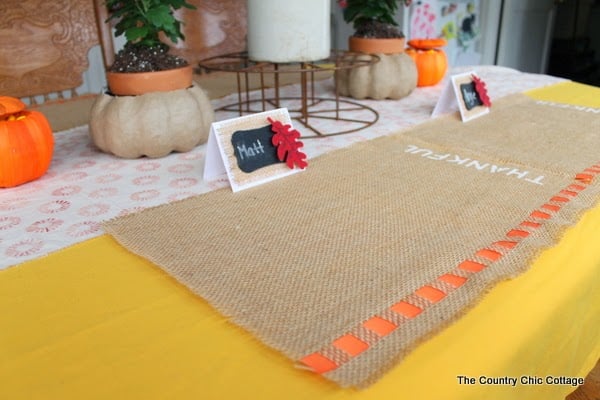
Burlap placemats with a woven ribbon stripe are a quick fall project with a big payoff. Cut the burlap to match a placemat you already own, then pull about three strings from every side for a frayed edge. Count in eight strings from one end and pull those out to open a channel, then weave ribbon over and under every five strings all the way down. Stencil a word like THANKFUL down the side in white acrylic, let it dry and iron. A little fray check keeps the edges from creeping.
Get the full tutorial at The Country Chic Cottage.
4. Turkey Napkin Fold
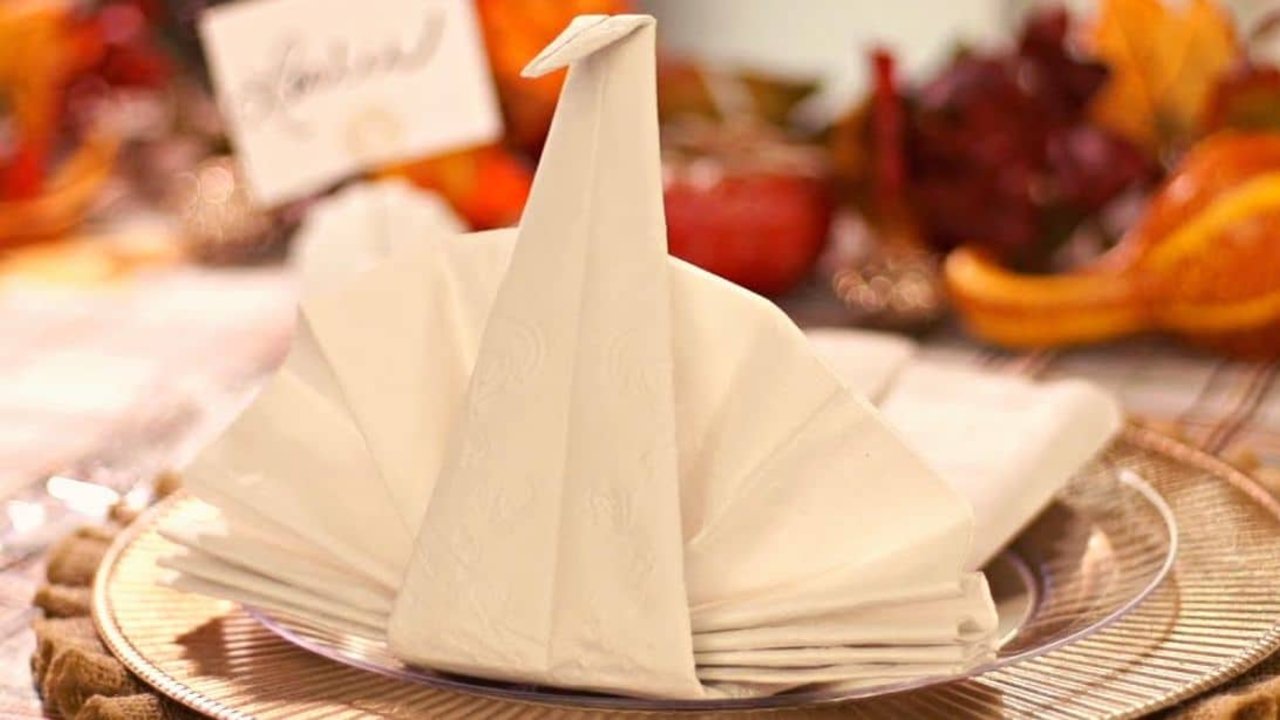
A turkey napkin fold takes two cloth napkins and about a minute. For the body and head, fold the top corners of the first napkin to meet in the middle, fold both sides in to the center twice, fold it in half and bend the tip up into a little head. For the tail, keep the second napkin folded lengthwise and accordion pleat it crosswise, leaving about 3 inches flat. Fold that in half, tuck the flat end into the pleats, fan it open and stand it behind the head.
Get the full tutorial at DIY JOY.
5. Fast And Easy Fabric Napkins
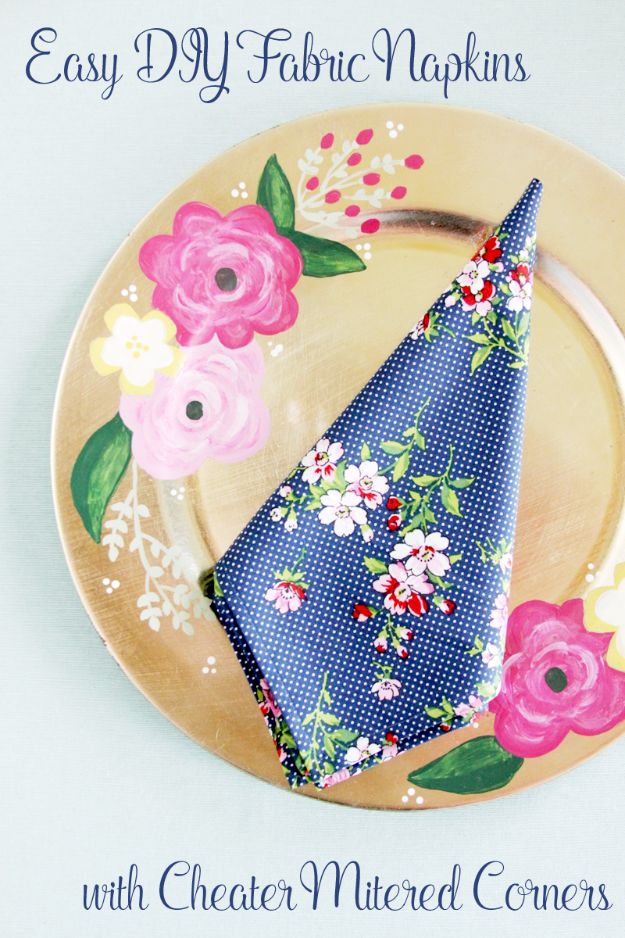
Fast and easy fabric napkins come down to one clever corner trick. Cut an 18 inch square for each napkin, so half a yard gives you two. Start sewing mid-side with a narrow quarter inch hem folded twice, and stop about 3 inches before the corner. Fold the corner point in about half an inch, then fold the next edge up twice and keep stitching right around the turn. It’s a cheater mitered corner with no trimming first, and it looks just as crisp from the right side. Any cotton print works.
Get the full tutorial at Flamingo Toes.
6. DIY Pom Pom Cocktail Napkins
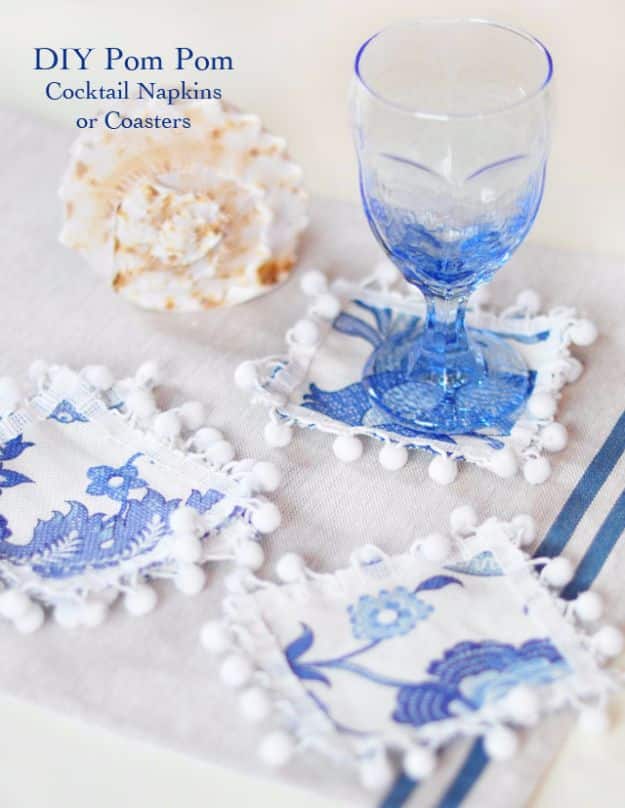
Pom pom cocktail napkins are tiny, so they come together in minutes. Cut squares about 4 and three quarter inches with pinking shears, which gives a fun edge and means no hemming. Measure ball fringe trim for each side and stitch it on by hand or by machine, finishing the corners so they sit smooth. Dab seam sealer on any raw edges to stop fraying. Cotton is easiest to wash, and doubling up a thin fabric helps. Wash on cold and line dry so the little balls keep their shape.
Get the full tutorial at Love Maegan.
7. Easy Quilt As You Go Placemats
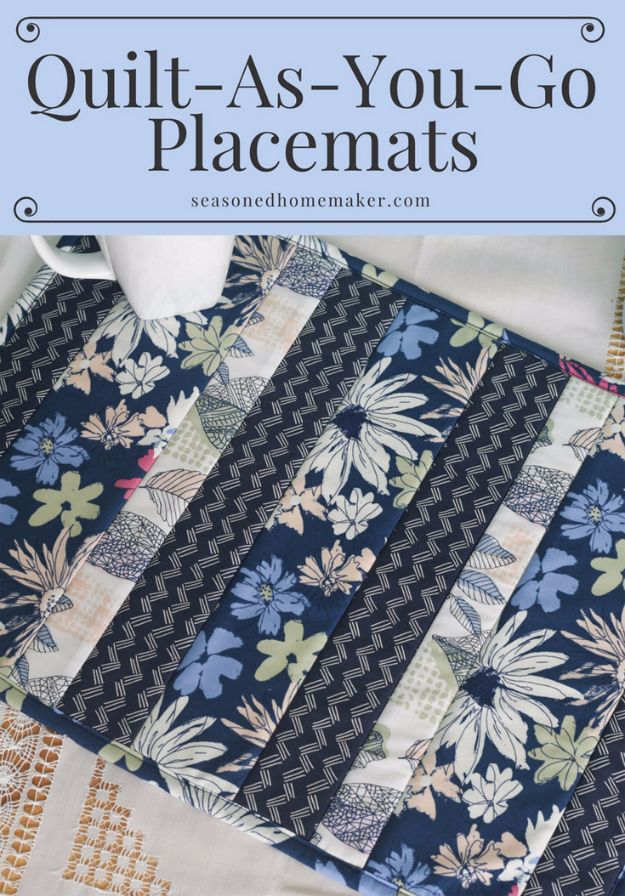
Quilt as you go placemats let you piece and quilt in one pass. The project starts with a four pack of precut foam stabilizer, which comes with the pattern, plus a yard and a quarter of a dark print and half a yard each of a medium and a light. Sew strips right onto the foam so the quilting happens as you go, then add the backing. The pattern self binds from the backing, which is the faster route, or cut 2 and a quarter inch strips for a separate binding.
Get the full tutorial at The Seasoned Homemaker.
8. DIY Fruit Fabric Placemat
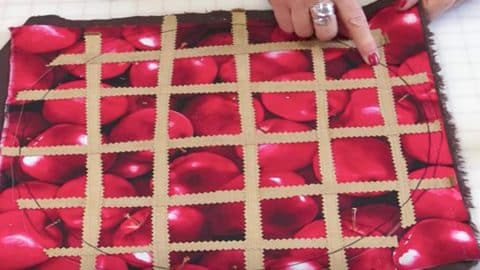
Fruit pie placemats look good enough to eat, with a lattice top sewn right over cherry print fabric. They’re round like a real pie, and the same idea scales down to matching coasters. Swap the cherries for blueberries, apples or peaches and you’ve got a whole bakery case for the table. They have a vintage, baking-with-Grandma feel and make a cute gift for anyone who loves to bake. Pair a set with a pie plate and a recipe card for a sweet housewarming bundle.
Get the full tutorial at DIY JOY.
9. Stenciled Buffalo Plaid Placemats
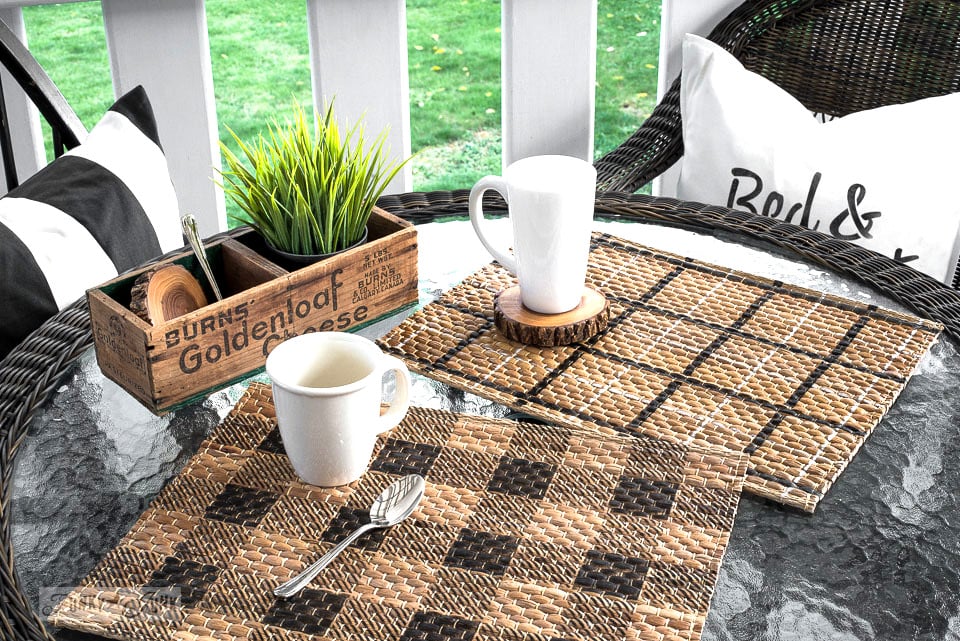
Stenciled buffalo plaid placemats turn plain rattan mats into farmhouse table decor. Tape a buffalo check stencil in the center of one placemat, load a stencil brush and blot most of the paint onto a rag until the brush feels dry. Tap or swirl through the stencil until it’s covered, then lift. Do half the set in black on light mats and the rest with a plaid shirt stencil in an off white, so they coordinate without matching. A top coat makes them wipe clean.
Get the full tutorial at Funky Junk Interiors.
10. Reversible Placemats
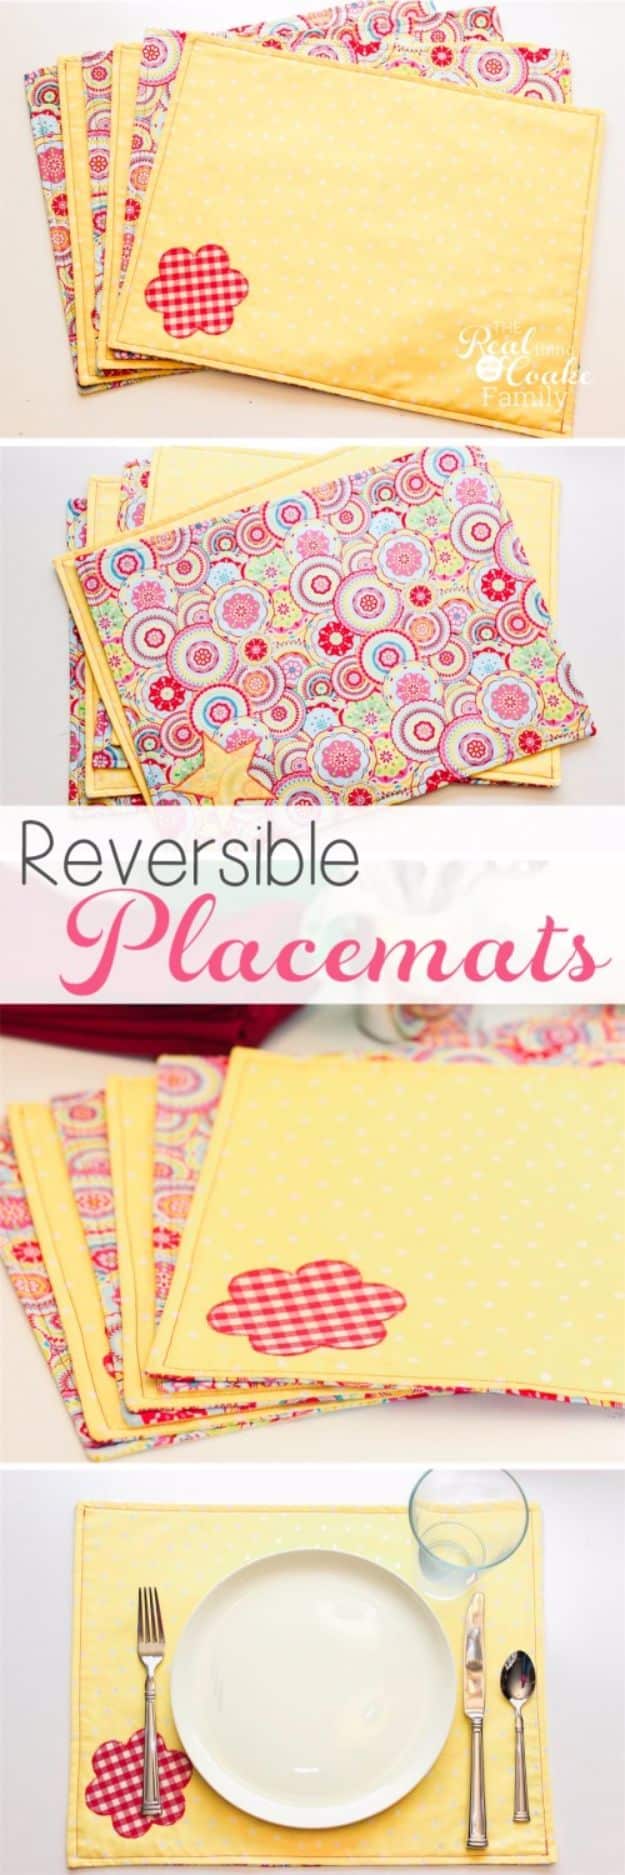
Reversible placemats give you two looks from one sewing session. Measure a placemat you like, then add an inch each way: for a standard mat that’s 18 and a half by 14 and a half inches. Cut two fabrics plus sew-in interfacing per mat, and prewash everything first so nothing shrinks later. Stack the fabrics right sides together with the interfacing on the outside, never in between, and sew with a half inch seam, leaving 4 inches open. Clip, turn, press and topstitch all around.
Get the full tutorial at Real Creative Real Organized.
11. Pretty No-Sew Placemats
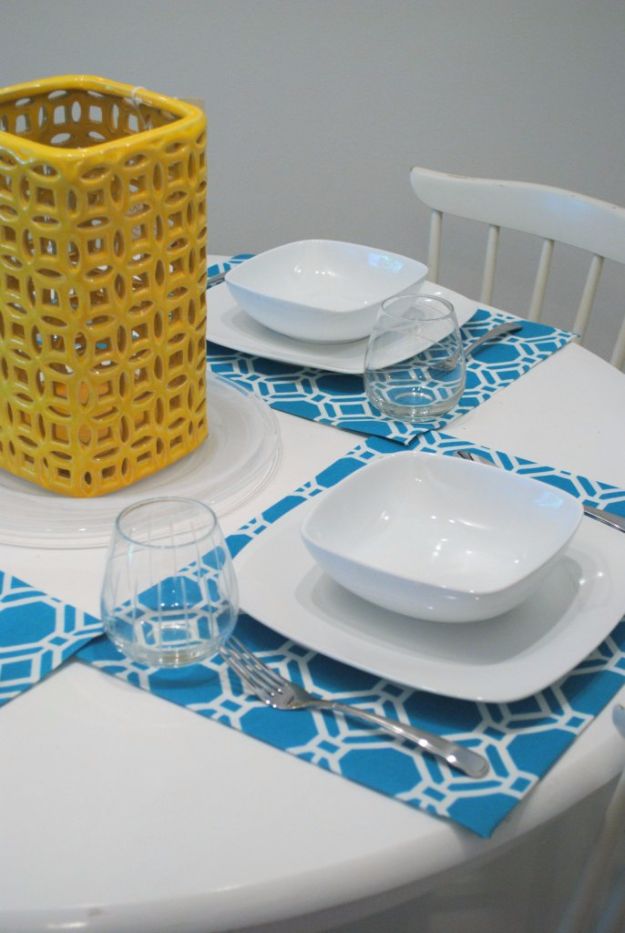
No-sew placemats from outdoor fabric are wipeable and nearly spill-proof. Use an old mat as a guide to cut the fabric, leaving a little extra for the hem, and use it again to get a true rectangle with square corners. Iron the hems down, then fold each corner into a neat triangle at a 45 degree angle. Fabric tape holds every fold, with no sewing machine needed. A geometric print makes straight lines much easier to follow, and each mat works out to about a dollar.
Get the full tutorial at L'amour chez nous.
12. Thrifted Chalkboard Placemats
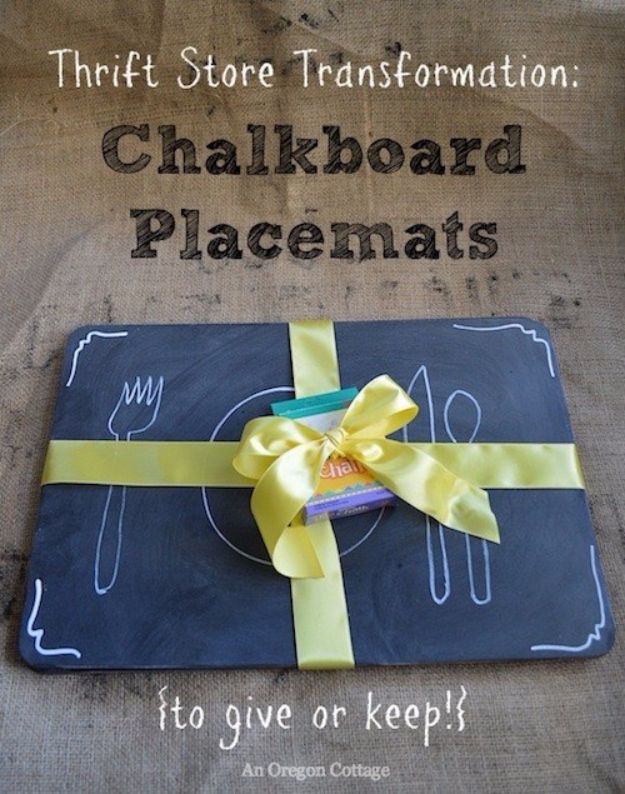
Thrifted chalkboard placemats start as those dated cork mats that turn up at every thrift store. Roll on plain flat black paint with a foam roller for a smooth finish with no brush lines, let it dry, then add a second coat. Once dry, rub the side of a piece of chalk over the whole surface and wipe it off. That conditions it like a real chalkboard, without buying chalkboard paint. Kids can draw a place setting, and guests can write their names. A set of four cost about five dollars.
Get the full tutorial at An Oregon Cottage.
13. Citrus Print Tea Towels
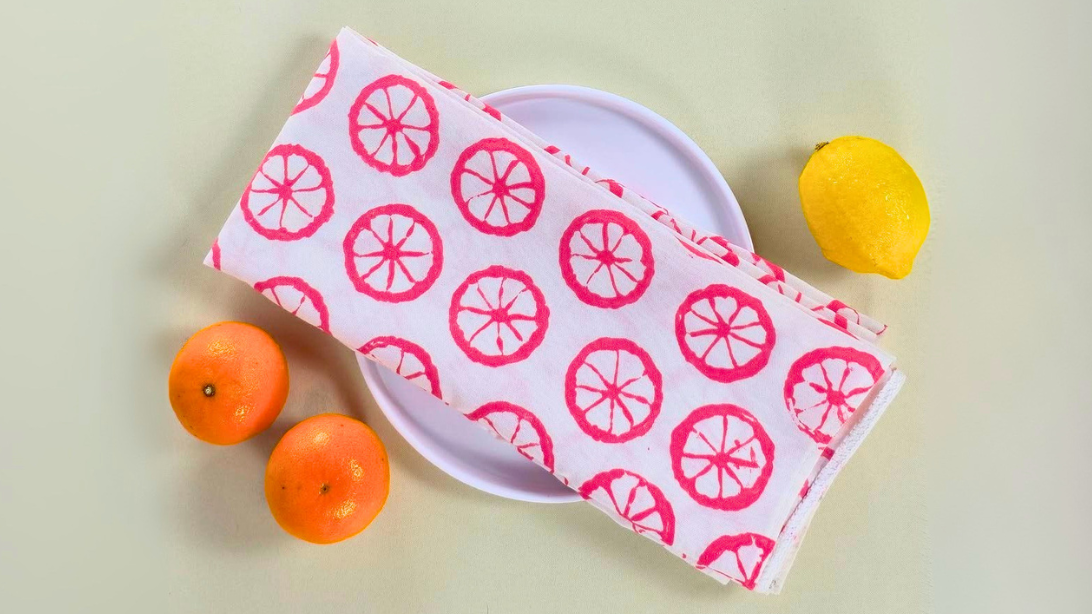
Citrus print tea towels are fruit stamping at its prettiest. Slice oranges, lemons or limes in half, blot the cut side dry, brush on fabric paint and press it onto plain white cotton towels. Halves make round wheels, while wedges give a playful scattered look. Stick to a single color for a crisp, modern set, or mix shades and shapes for a bright summer pattern. Let the paint dry fully before using. It’s a fast way to refresh kitchen linens, and the towels make a lovely handmade gift.
Get the full tutorial at DIY JOY.
14. Easy Peasy DIY Placemats
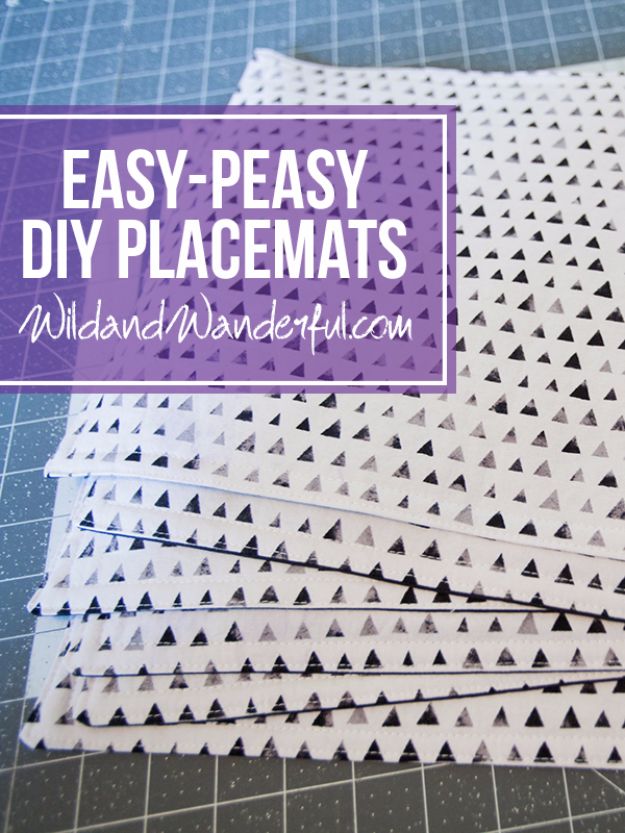
Easy peasy placemats really are, with one long seam each. For a set of six, grab a yard of a main fabric, a yard of a contrasting fabric and a yard of fusible fleece. Cut the fabrics 17 by 12 inches and the fleece an inch smaller each way. Fuse the fleece to the back of the main piece, place the two fabrics right sides together and sew around with a half inch seam, leaving 4 inches open. Turn, press, then edge stitch to close.
Get the full tutorial at Wild+Wanderful.
15. Rose-Folded Cloth Napkins
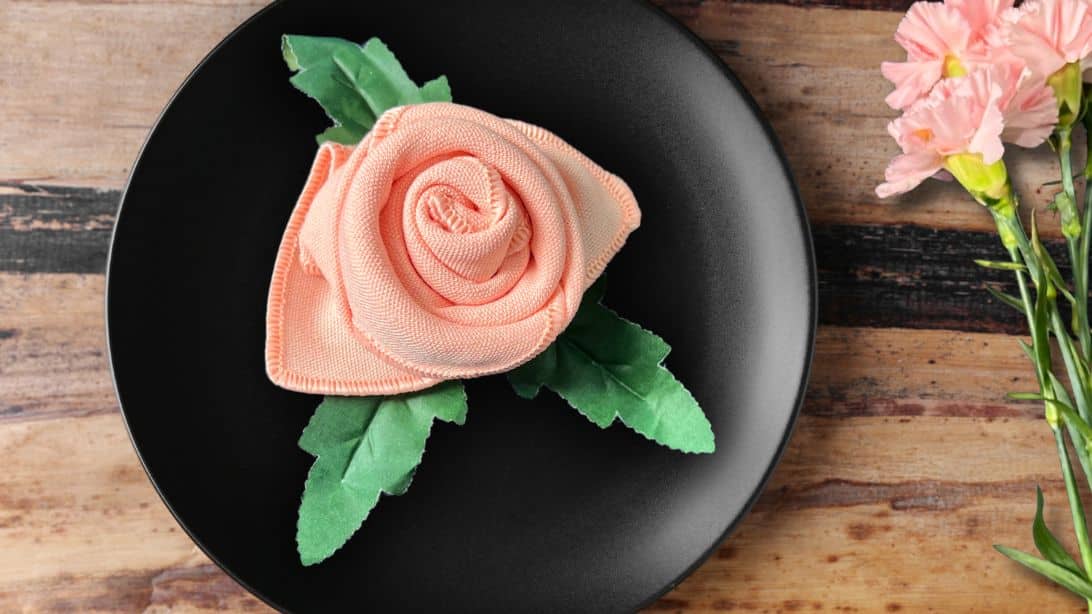
A rose-folded cloth napkin needs nothing but a square napkin. Fold it in half into a triangle, then roll from the long edge, leaving about 2 and three quarter inches of fabric at the top. Keep rolling end to end, hold it and tuck the tail into the fold. Stand it up, separate the top layers and fold them down, then flip it to reveal the rose. Don’t roll too tightly; a looser roll looks more natural. Paper napkins are too thin for this fold.
Get the full tutorial at DIY JOY.
16. Burlap Placemats
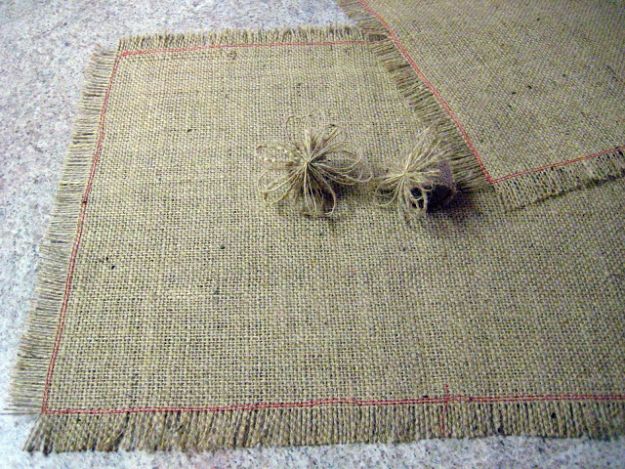
Burlap placemats with matching napkin rings make a whole set from one yard of burlap. Cut each mat 19 by 14 inches, keeping the lines straight with a ruler. Sew around once about an inch in, or twice if you don’t have a double needle, pivoting at each corner. Then pull the threads outside the stitching for a frayed edge. For the rings, wrap a slice of paper towel tube in burlap and hot glue it, then twist loose burlap threads into a looped flower with wire.
Get the full tutorial at All for Giggles.
17. Cork Stamped Cloth Napkins
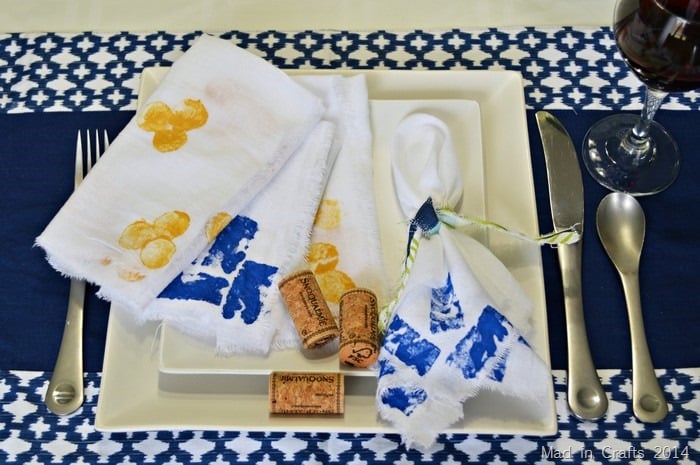
Cork stamped napkins come from flour sack towels and leftover wine corks. Iron a towel, snip a notch at the middle of two sides and just inside any hems, then rip it into four raw-edged squares. The end of a cork prints polka dots; slice one lengthwise for a rectangle, carve in a design, or tape several together for a cluster of circles. Stamp with fabric paint, let them dry flat for a few hours, then wash and use as normal. Tie each with a strip of scrap fabric.
Get the full tutorial at Mad in Crafts.
18. Spray Painted Napkins
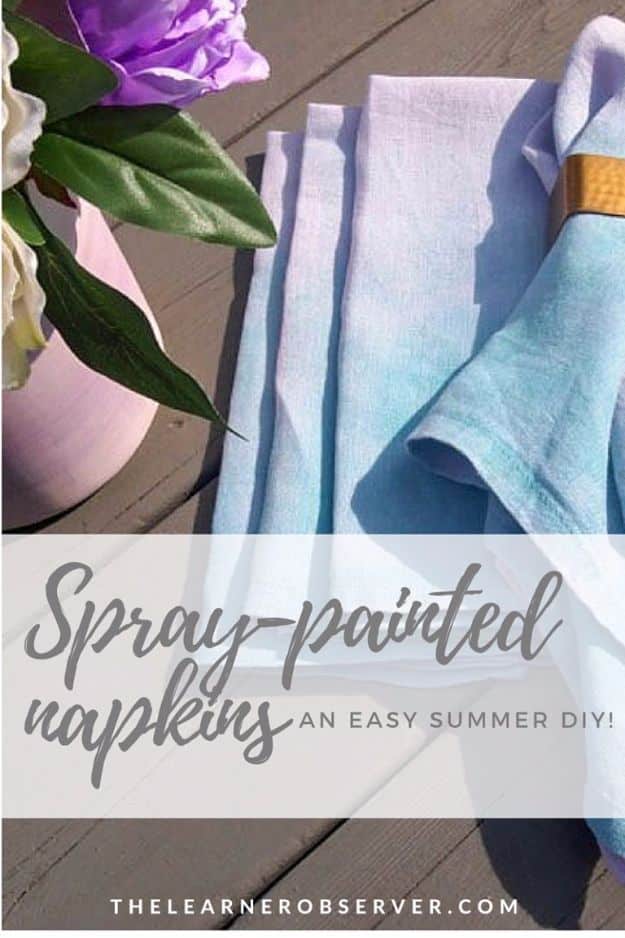
Spray painted napkins are about as easy as fabric crafts get. Look for fabric spray paint in the craft store aisle, lay plain linen napkins on a drop cloth and line up the ends so no paint goes to waste. Spray from the edge to about halfway up and let them dry in the sun. Wash them to set the color so nothing rubs off on guests, then iron. The color fades softer after washing, which gives a gentle ombre that looks lovely with pastels.
Get the full tutorial at The Learner Observer.
19. DIY 5 Minute Cloth Napkin
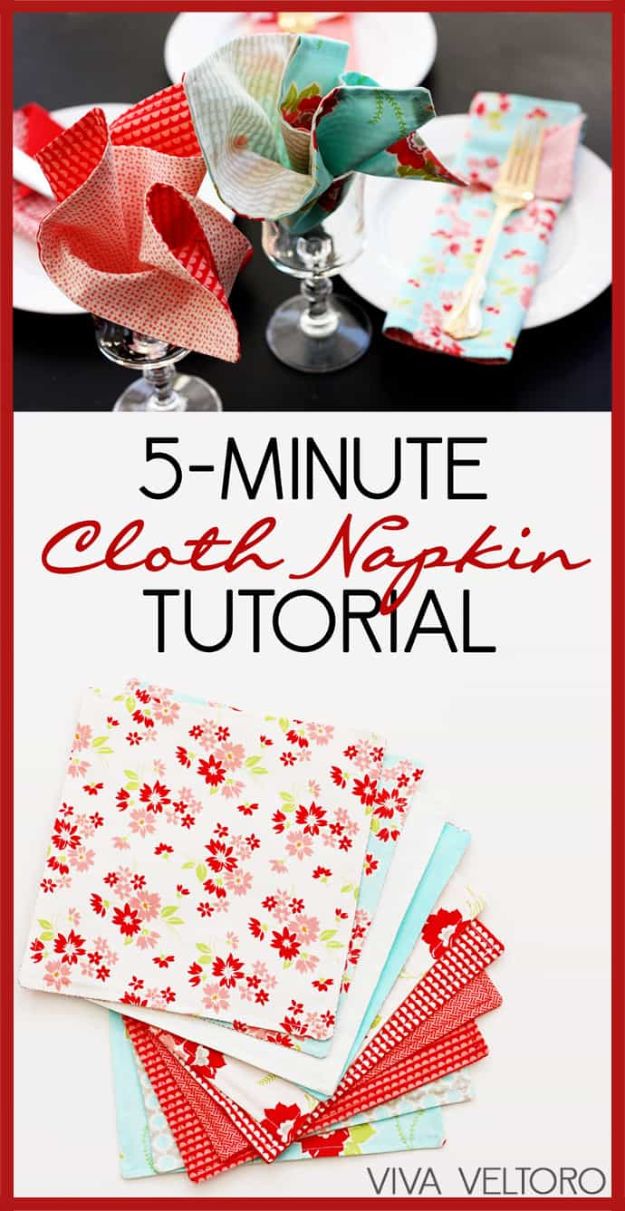
Five minute cloth napkins start with a layer cake, a bundle of precut 10 inch fabric squares that already coordinate. Prewash them, then pair the squares so each napkin has a front and back you love. Put right sides together and sew around all four sides with a 3/8 inch seam, leaving 2 or 3 inches open. Clip the corners, turn them right side out and poke the corners crisp with a chopstick. Press, then topstitch a quarter inch from the edge to close the gap.
Get the full tutorial at Viva Veltoro.
20. DIY Pom Pom Napkins
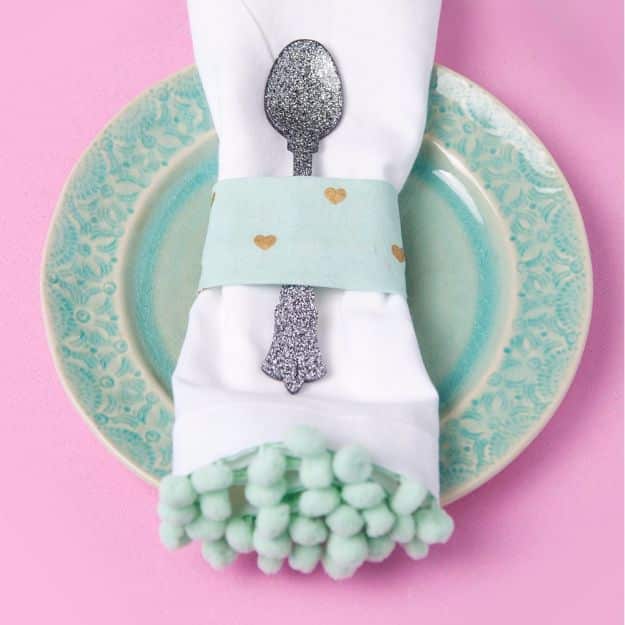
Pom pom napkins dress up plain store bought napkins with almost no effort. Measure the edge you want to trim: four 20 inch napkins take about 80 inches of pom pom trim. Hand sew it on with matching embroidery thread, catching only one layer of the hem so no stitches show on the front. Washable fabric glue works too if you’d rather skip the needle. Each one takes about the length of a sitcom episode, so it’s a perfect couch craft.
Get the full tutorial at Peony + Ink.
21. Easy To Sew Dinner Napkins
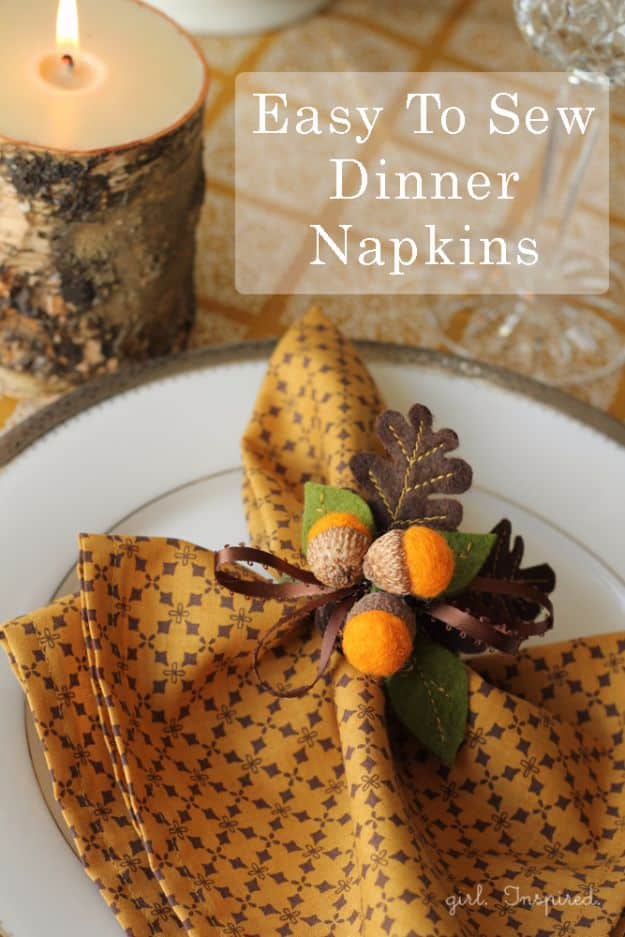
Easy to sew dinner napkins get their neat mitered corners from folding and pressing, not fiddly cutting. Prewash and iron the fabric, cut 18 inch squares, and on the wrong side mark where 1 inch up and 1 inch over meet in each corner. Fold each corner up to the mark, fold it again, then press every edge up half an inch twice so the corners meet on a diagonal. Topstitch a quarter inch from the edge, pivoting with the needle down at each corner.
Get the full tutorial at girl. Inspired.
22. DIY Watercolor Cloth Napkins
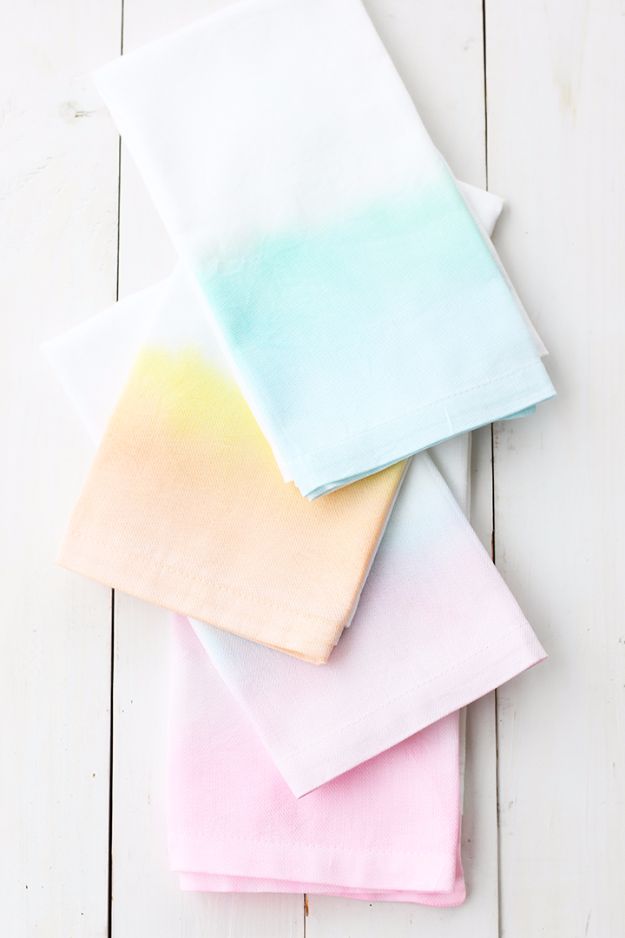
Watercolor cloth napkins are hand painted, and the soft washes forgive every wobble. Start with plain white cotton napkins, fabric paint and a few brushes. Thin the paint so it bleeds into the weave, then sweep a band of color along one edge and let it fade out toward the middle. Aqua, peach and blush look dreamy together, but any palette works. Heat set the paint once it’s dry. They suit a summer brunch or bridal shower, or bundle a set as a hostess gift.
Get the full tutorial at Alice and Lois.
23. Dip Dye Summer Napkins
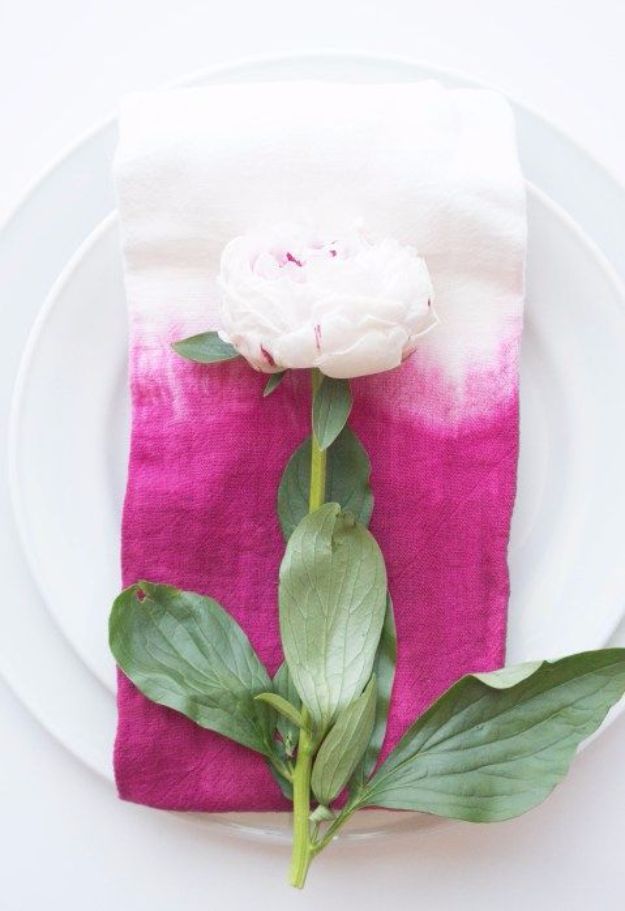
Dip dyed napkins get their ombre fade all on their own. Mix powdered or liquid dye in an old bucket or glass bowl following the package directions. Fold white linen napkins in half lengthwise and lower just half into the dye, keeping the rest out. Leave them about 10 minutes, then hang them to dry overnight. The next morning, rinse in the sink and dry again. Wear gloves, work outside and wash them on their own the first few times so the color doesn’t bleed.
Get the full tutorial at Simply J & K.
24. Inexpensive DIY Personalized Napkins
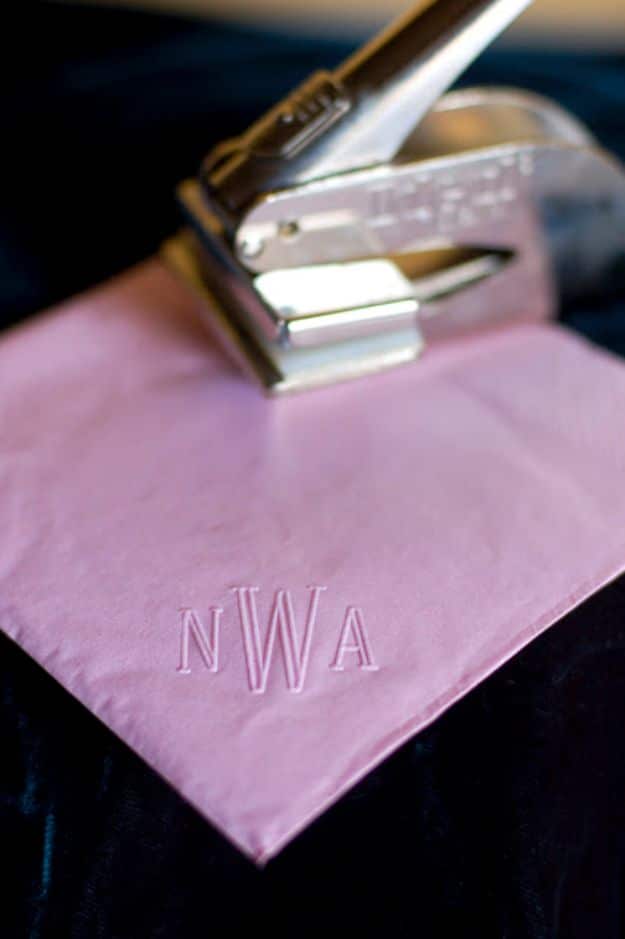
Personalized napkins don’t have to come from a stationery shop. A monogram embosser, the same kind used for envelope flaps, presses a raised, tone on tone monogram into colored paper cocktail napkins from any party store. Press a stack ahead of a wedding, shower or anniversary party and set them out at the bar. For a couple’s monogram, the traditional order is the bride’s first initial, the shared last initial in the middle and larger, then the groom’s first initial.
Get the full tutorial at Tikkido.
25. DIY Linen Fringe Napkins
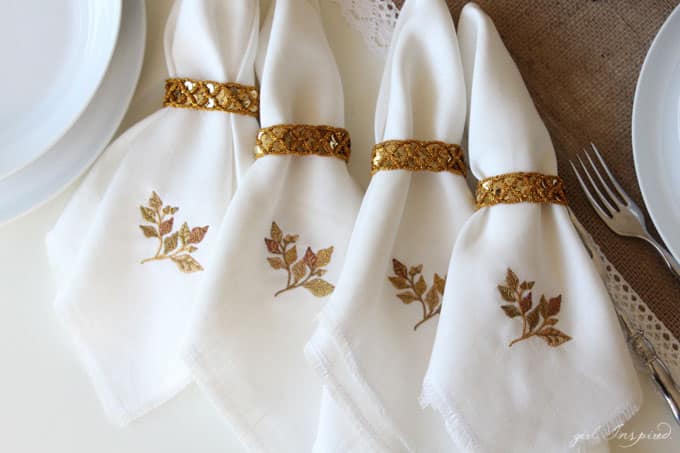
Linen fringe napkins look high end but use a simple thread pulling trick. A yard and a quarter of linen makes four. Prewash, rough cut 19 and a half inch squares, then pull cross threads on each side until one runs the full width, so you’re cutting true to the grain. Trim to 18 inches. Stitch a border a quarter inch in, with a cover stitch or two rows of straight stitches, then pull threads up to the stitching to form the fringe. Embroider a corner leaf to finish.
Get the full tutorial at girl. Inspired.
26. DIY Double Sided Cloth Napkins
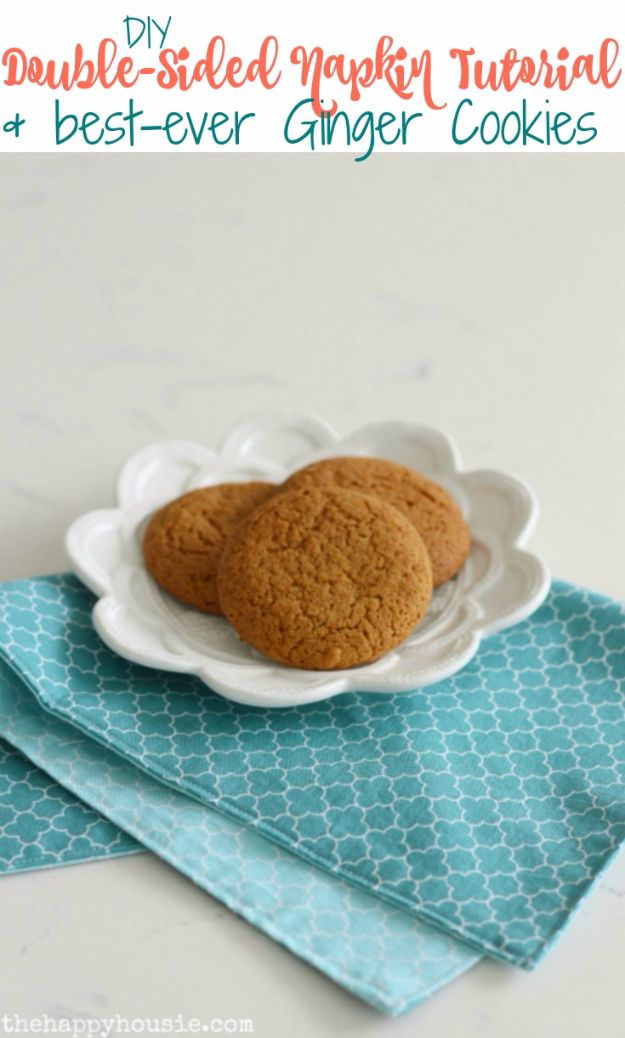
Double sided cloth napkins are thick, soft and reversible, with no hemming at all. Prewash two coordinating fabrics, iron and cut them into squares; 16 inches is a little smaller than standard, but 18 or 20 inches works too. Three yards of each fabric gives about 14 napkins. Pin each pair right sides together and sew around three sides. Turn right side out, press the open edge in, then topstitch along that edge and all the way around for a neat border.
Get the full tutorial at The Happy Housie.
27. DIY Color Block Pattern Napkins
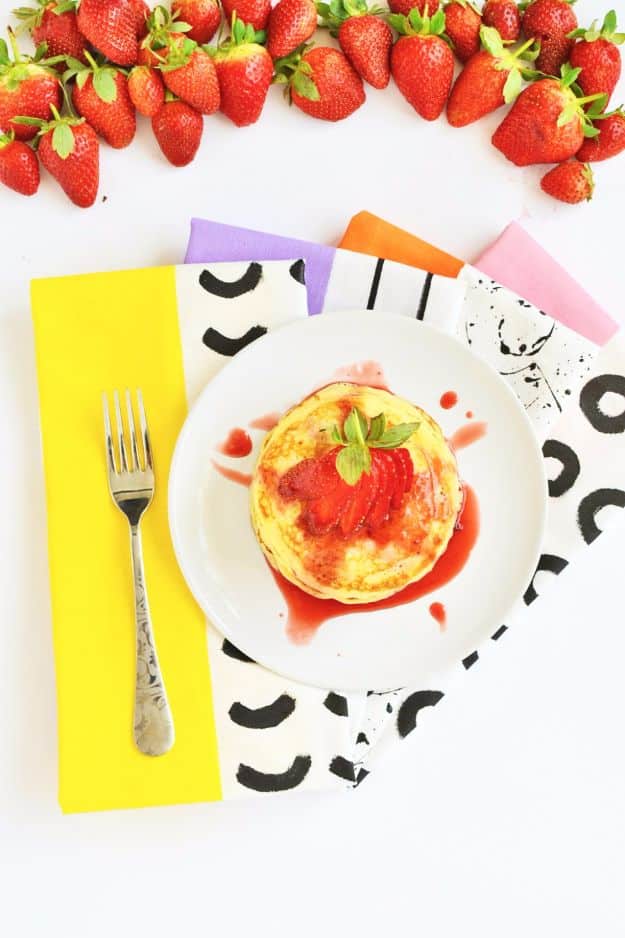
Color block napkins are half bold color and half doodled pattern. Tint fabric or acrylic paint with an equal part of white for soft pastels in violet, crimson, yellow and orange. Tape off half of each white cotton napkin, paint the bare side with a foam brush, let it dry and add a second coat for even coverage. Peel the tape and draw easy patterns like dots, lines and arches, or speckle one over cardboard. After 24 hours, iron from the back to set the paint.
Get the full tutorial at Enthralling Gumption.
28. Easy DIY Cloth Napkin
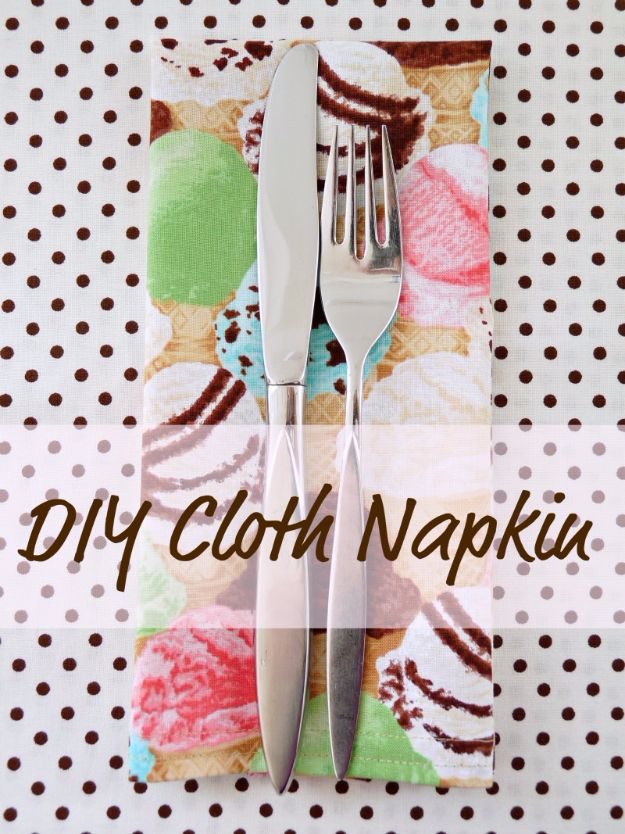
These easy cloth napkins teach a proper mitered corner you’ll use on everything. Iron and cut your fabric, then fold each edge over, press, and fold again for a tidy double hem. Unfold and look for the little square the creases make at each corner. Fold the corner in at that point and press, then trim the tip and refold the edges so they meet in a neat diagonal. Pin, sew around, and add a second decorative row if you like. Larger squares become tea towels.
Get the full tutorial at Dans le Lakehouse.
29. Self Binding Napkin
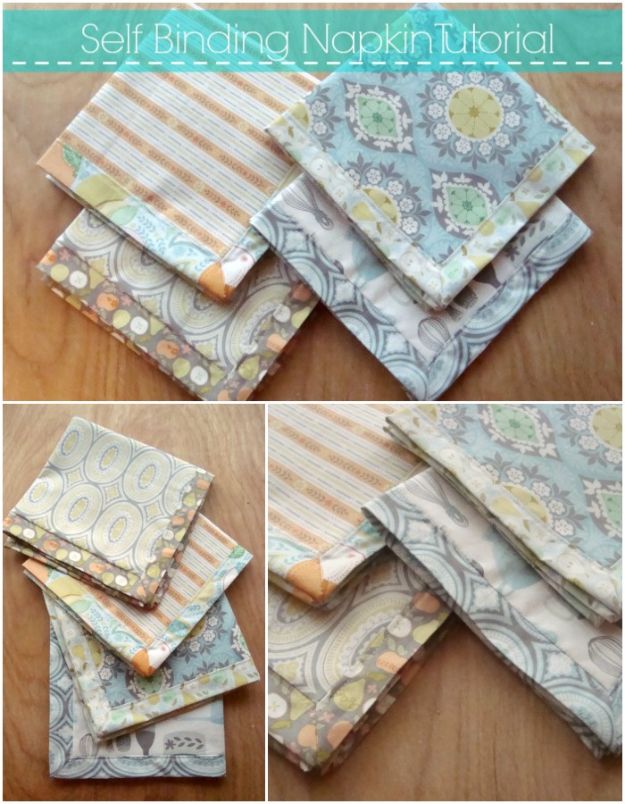
Self binding napkins wrap the back fabric around to the front as a built-in border. Cut a 14 inch square for the center and an 18 inch square for the outside. Fold and press both in half and in half again, match the creases and pin. Sew each side, starting and stopping a quarter inch from the corners, and leave about 2 and a half inches open. Fold each corner, draw a line from the fold to the stitching, sew, trim, turn, and press out a crisp miter.
Get the full tutorial at Patchwork Posse.
30. DIY Fat Quarter Cloth Napkins
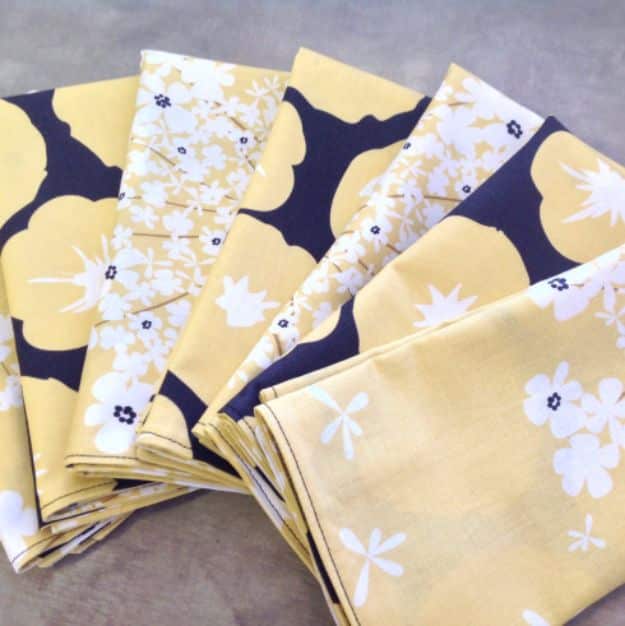
Fat quarter cloth napkins are double sided with a simple topstitch. Use two fat quarters or two 18 inch squares from your stash for each one. Pin them right sides together and sew all the way around with a quarter inch seam, leaving a 3 to 4 inch opening. Clip the corners without cutting the stitches, turn right side out and push the corners out gently. Press, folding in the raw edges at the opening, then topstitch close to the edge so the layers don’t shift.
Get the full tutorial at SewMod.