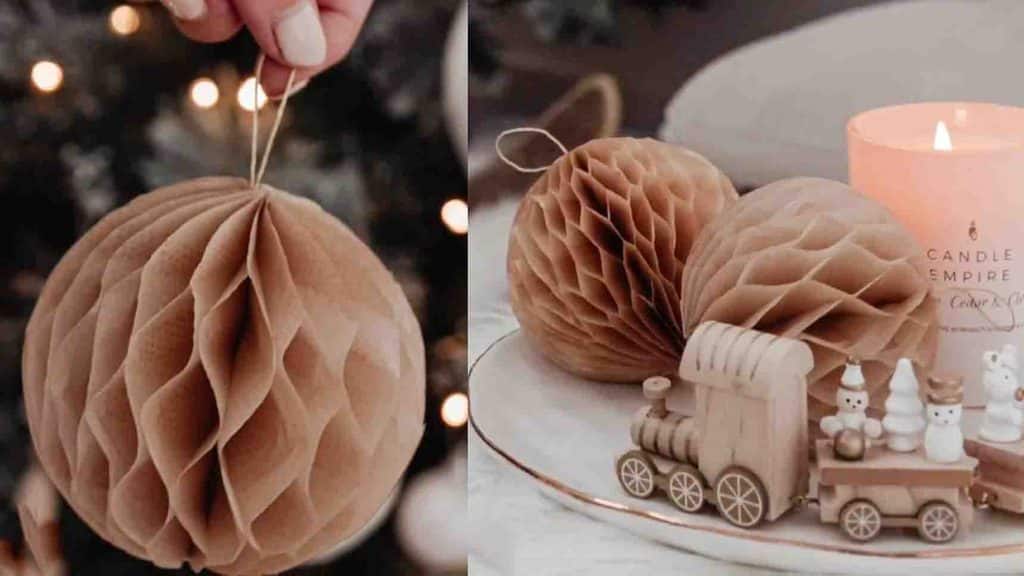
This stunning DIY honeycomb ornament from Ashlee White on Youtube is the perfect decor piece to complete your Christmas tree! Using only some tissue paper and basic crafting supplies, you can make a bunch of this honeycomb ornament. Super quick and easy to do – perfect for a weekend project to bond with your family. Learn the step-by-step instructions by watching the video tutorial below.
Materials:
- tissue paper
- paper
- a small bowl or glass (for tracing)
- pen
- glue tape
- scissors
- wood glue
- twine
Directions:
Step 1
Trace a small bowl or glass to a piece of paper. This will be the size of the ornament. Divide the circle into six equal parts and mark them 1 and 2 alternately. Next, cut 35 tissue paper squares larger than your circle. Put one piece of tissue paper on the circle (this will be layer one) and apply glue to the lines marked with 1. Then, put another piece of tissue paper (layer two) and apply glue to the lines marked with 2. Repeat this process until you finished all 35 pieces of tissue paper. After this, draw another circle and cut it out. Fold it in half, then fold it again, and trim the half-circle edges a little bit. Open it, apply glue, and attach it to the layers of tissue paper. Now, cut it but make sure to leave a border around the circle.

[social_warfare]
Step 2
Next, make sure the glue lines are horizontal, then cut along the vertical line. Place it on top of the template again and apply glue to the lines marked with 1, then glue the halves together. After this, get a bit of wood glue and brush it on the straight edge of the half circle. (Secure with pins while you wait for it to dry.) Get some twine, cut your desired length for the hang, and attach it to the area where you apply wood glue. After it dries completely, apply some glue to one side, open it up, and attach both ends. Your honeycomb ornament is now finished.

DIY Honeycomb Christmas Ornaments Tutorial